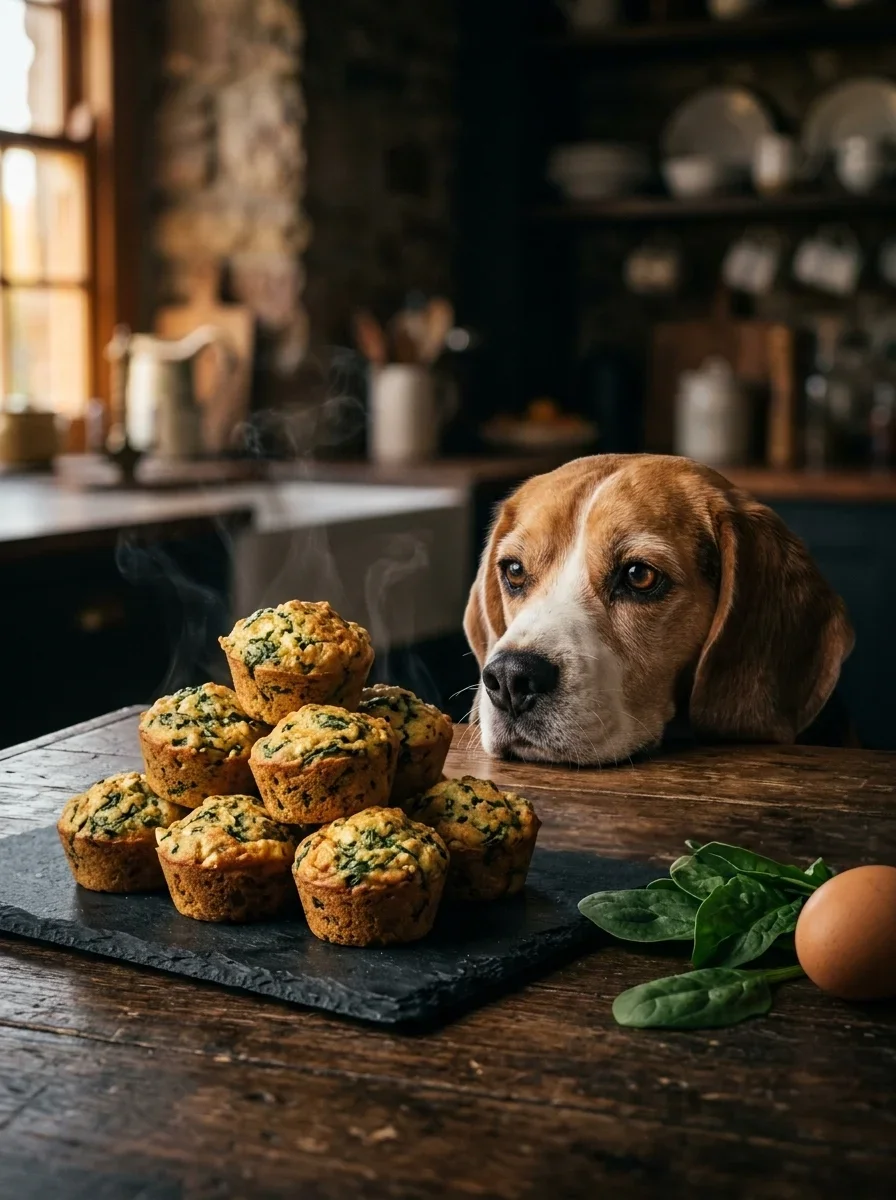
Healthy Homemade Dog Meatloaf: 3 Formats, 3 Flavors, One Base Recipe
If your dog inhales dry kibble like it’s the last meal on Earth, it might be time to switch things up. A healthy homemade dog meatloaf is one of the easiest ways to give your pup a real, nutritious meal without spending hours in the kitchen. It’s basically a giant, dog-safe meatball baked into a loaf — packed with lean protein, dog-friendly veggies, and just enough binder to hold it all together.
What makes this recipe worth trying isn’t just that it’s homemade — it’s that it’s genuinely balanced. A lot of “dog-friendly” recipes online are really just human meatloaf with the seasoning removed, which leaves you with something bland and nutritionally incomplete. This guide is different. It gives you a tested, vet-conscious base recipe, three different ways to format it depending on your kitchen setup and schedule, and three ingredient variations if your dog has allergies or you simply want to rotate flavors.
Every recipe below is written as a clean, copy-and-paste recipe card, so you can jump straight to cooking without digging through paragraphs of backstory. Skim the headings, find the format that fits your week, and get cooking. Let’s get your dog’s bowl filled with something better than another scoop of kibble.
What You’ll Need Before You Start
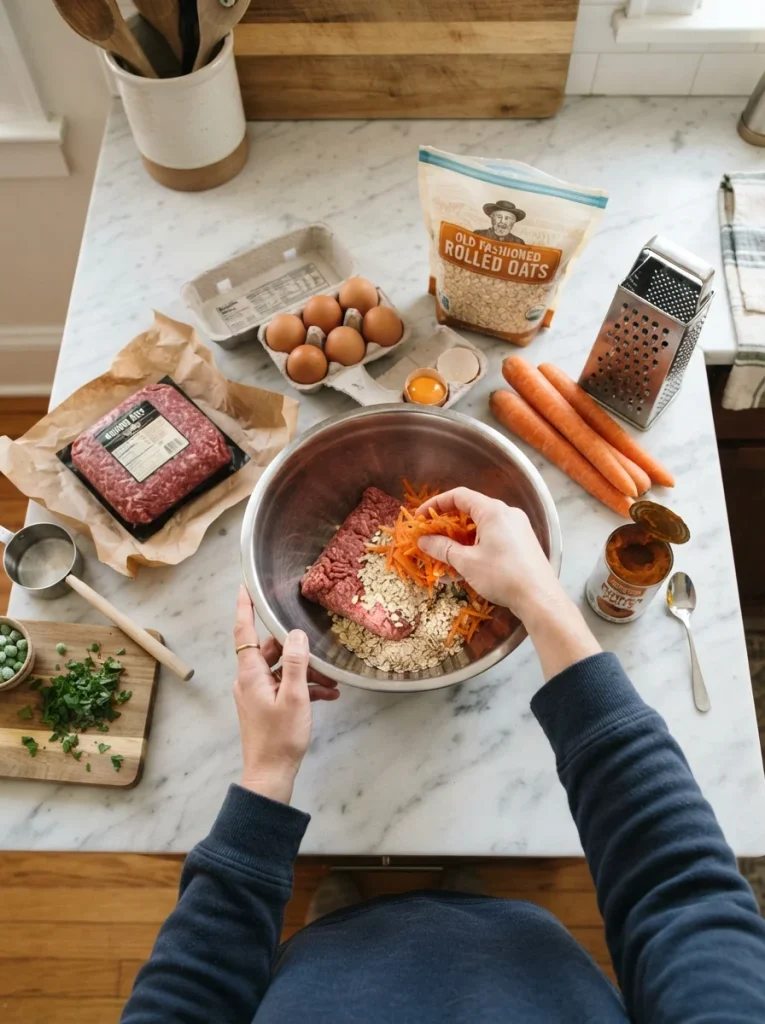
Before you dive into the meatloaf for dogs recipe below, gather a few basics. You probably already have most of this in your kitchen, which is part of what makes this recipe so approachable for a first-time home cook.
Tools:
- A large mixing bowl
- A loaf pan, muffin tin, or slow cooker (depending on the format you choose)
- A meat thermometer (this matters — undercooked meat is not safe for dogs either)
- Measuring cups and spoons
- Parchment paper or freezer bags for storage
Core ingredient categories:
- Lean protein — ground turkey, beef, chicken, or fish
- A binder — eggs and oats work best, since they hold the loaf together without adding unnecessary carbs
- Dog-safe vegetables — carrots, peas, sweet potato, spinach, or pumpkin
- A small flavor boost — a spoonful of plain pumpkin puree or a sprinkle of parsley, both of which double as gentle digestive aids
It’s worth taking a moment to double-check every ingredient before you start mixing, since a lot of common kitchen staples are actually unsafe for dogs. Avoid onion, garlic, grapes, raisins, and anything seasoned with salt, pepper, or spice blends — these are unsafe for dogs even in small amounts, and onion or garlic powder in particular can be just as dangerous as the fresh version. If your dog has a pre-existing health condition, always run any new recipe by your vet first, especially around your puppy’s changing nutritional needs or a senior dog’s dietary restrictions.
The Base Recipe: Healthy Homemade Dog Meatloaf
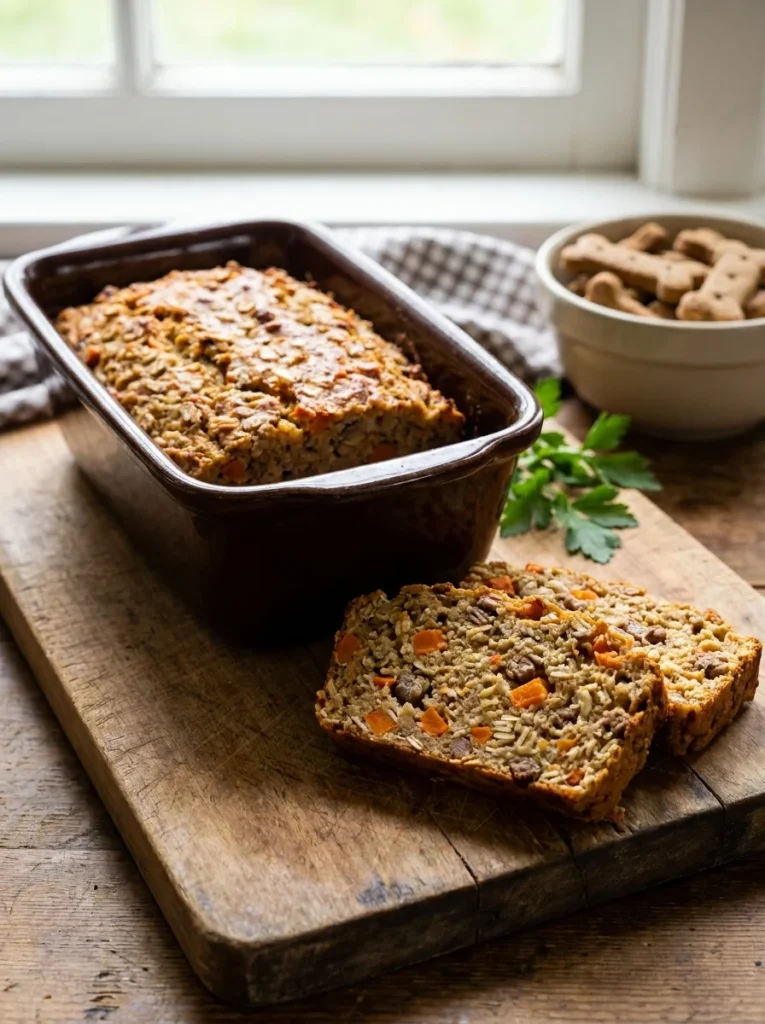
This is your go-to recipe. It’s simple, balanced, and freezer-friendly, and it’s designed to work as a full meal rather than just a treat. Once you’ve got this version down, you can experiment with the variations further down the page without having to relearn the whole process.
🍖 RECIPE CARD: Healthy Homemade Dog Meatloaf
Prep Time: 15 minutes Cook Time: 60–70 minutes Freeze Time (optional): Up to 3 months Yield: 1 standard loaf (approximately 12–16 servings, depending on dog size)
Ingredients:
- 2 lbs lean ground turkey or beef
- 2 large eggs
- 1 cup rolled oats (uncooked)
- 1 cup finely grated carrots
- 1/2 cup finely chopped spinach or peas
- 1/4 cup plain canned pumpkin (not pumpkin pie filling)
- 1 tablespoon chopped fresh parsley (optional, for freshness)
Instructions:
- Preheat your oven to 350°F (175°C). Lightly grease a standard loaf pan.
- In a large bowl, combine the ground meat, eggs, and oats. Mix with your hands until just combined — don’t overmix, or the texture will turn dense and rubbery.
- Fold in the grated carrots, chopped spinach or peas, pumpkin, and parsley.
- Press the mixture evenly into the loaf pan, smoothing the top with a spatula so it cooks evenly.
- Bake for 60–70 minutes, or until a meat thermometer inserted into the center reads 165°F (74°C).
- Remove from the oven and let the loaf rest for 10–15 minutes before slicing. This helps it hold together instead of crumbling.
- Slice into individual portions sized for your dog’s weight (see notes below).
Notes:
- Let the loaf cool completely before refrigerating or freezing.
- Store in the fridge for up to 4 days, or freeze individual slices for up to 3 months.
- A general portion guide is about 1 ounce of cooked meatloaf per 5 lbs of body weight per meal, but always check with your vet for your dog’s specific calorie needs.
- Never serve the meatloaf hot straight from the oven — let it cool to room temperature first.
Step-by-Step Tips for a Better Texture
A few small tweaks make a big difference in how this loaf turns out, and most of them come down to handling the mixture gently.
Don’t skip the resting step. Cutting into hot meatloaf right away almost always causes it to fall apart, since the proteins haven’t had time to firm up. Ten minutes of rest time makes slicing far cleaner and keeps portions intact for storage.
Grate your vegetables finely. Chunky vegetable pieces can make the loaf crumbly and harder for small dogs to chew comfortably. A fine grate blends in seamlessly and also helps the loaf hold its shape better once sliced.
Check doneness with a thermometer, not a timer. Oven temperatures vary from one appliance to the next, and dogs are more sensitive to undercooked meat than we are. The 165°F mark is non-negotiable, so don’t rely on color alone to judge whether it’s ready.
Let the mixture come to room temperature before baking. If you’ve refrigerated your ingredients beforehand, giving the mixture a few minutes to warm up slightly helps it bake more evenly from edge to center.
Storage & Freezing Tips
This is where homemade dog meatloaf really shines — it batch-cooks beautifully, which means one afternoon of cooking can cover weeks of meals.
- Fridge storage: Keep cooked meatloaf in an airtight container for up to 4 days.
- Freezer storage: Slice the cooled loaf into single-meal portions, wrap each slice individually in parchment paper, then place them all in a freezer-safe bag. This way you can grab exactly one portion at a time instead of thawing the whole loaf and risking waste.
- Thawing: Move a frozen portion to the fridge the night before you plan to serve it. Avoid microwave-thawing, which can create hot spots that unevenly cook parts of the meat.
- Serving temperature: Always serve at room temperature or slightly warmed — never hot, since this can burn your dog’s mouth and also changes the texture in a way that’s less appetizing for them.
- Labeling: Write the date on each freezer bag. It’s easy to lose track of how long something’s been frozen once you’ve got a few batches going.
If you’re setting up a regular meal-prep routine, it also helps to have a dedicated space for storing and serving these portions — check out these dog feeding station layout ideas if your current setup feels cluttered or your dog’s bowls are scattered across the kitchen.
3 Ways to Format Your Dog’s Meatloaf
The base recipe above works in more than one shape, and the format you choose can actually change the texture and convenience quite a bit. Depending on your schedule, kitchen tools, and how many dogs you’re feeding, one of these formats might suit you better than a classic loaf pan.
1. Classic Loaf Pan (Sliceable)
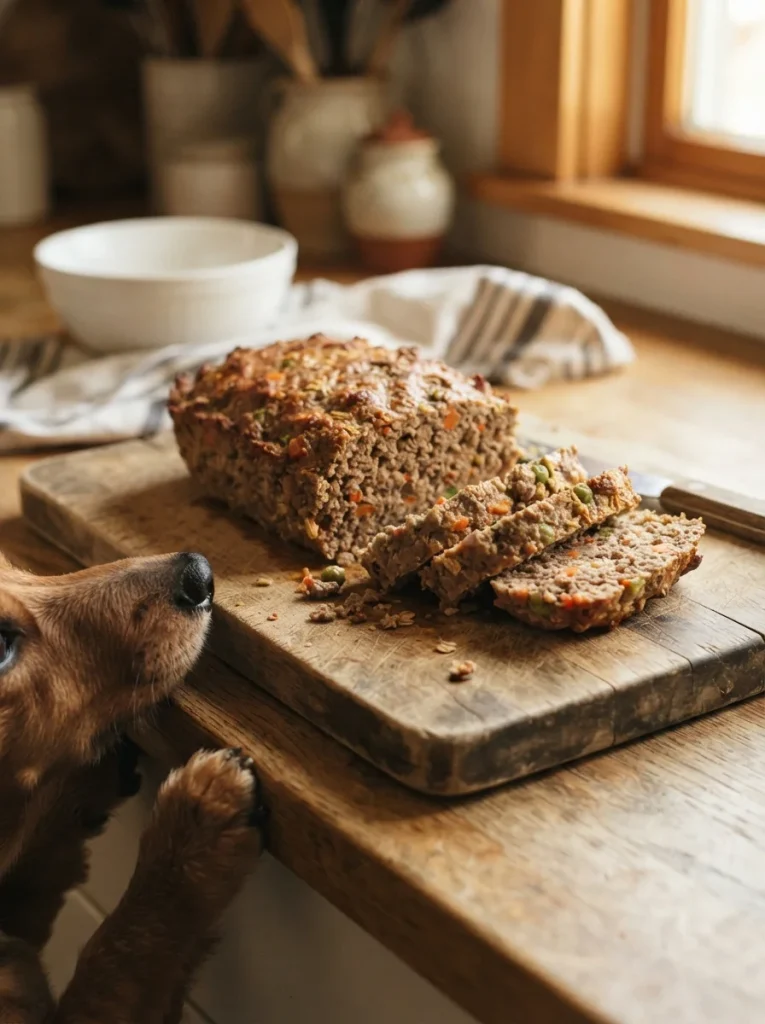
This is the format used in the base recipe above. It’s the easiest to make in bulk and slices cleanly for portioning, which makes it a great default if you’re new to homemade dog food. It’s the best choice if you’re meal-prepping for one dog over a week or two, since you get uniform slices that store flat and thaw quickly. It also requires the least hands-on effort of the three formats, since you’re not filling individual cups or monitoring a slow cooker throughout the day.
2. Muffin-Tin Mini Meatloaves (Best for Freezer Portions)
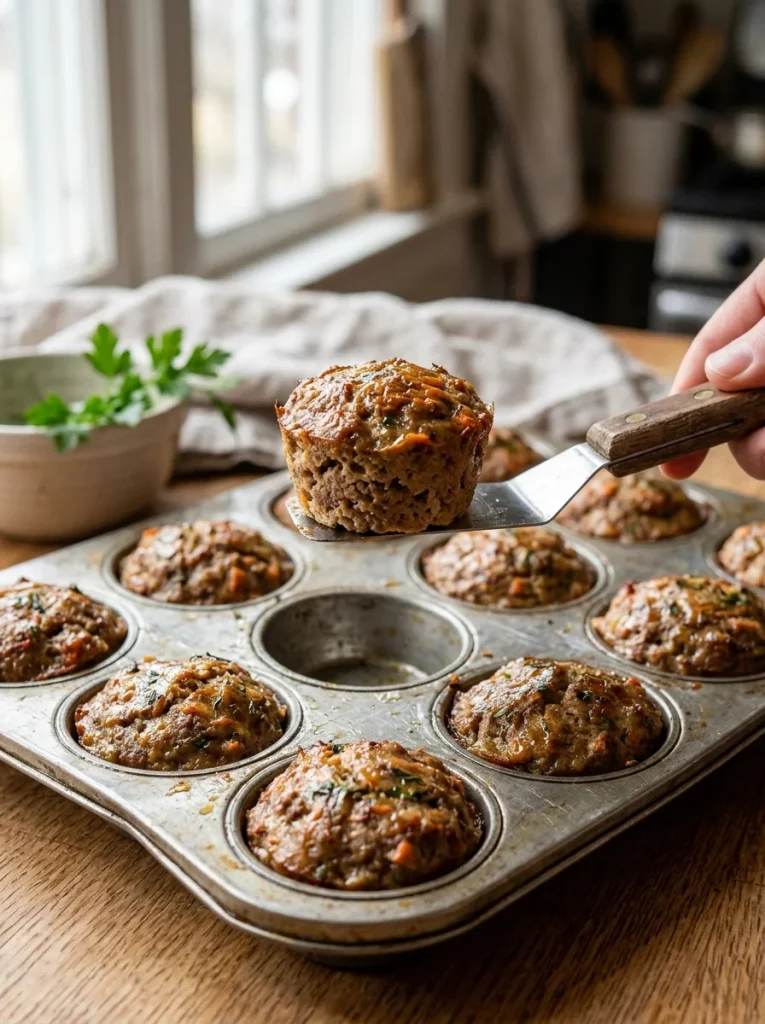
Baking the same mixture in a muffin tin instead of a loaf pan creates individually sized portions with no slicing required — ideal if you have multiple dogs of different sizes or want grab-and-go servings that thaw faster than a full slice.
Prep Time: 15 minutes Cook Time: 25–30 minutes Freeze Time (optional): Up to 3 months Yield: 12 mini meatloaves
Ingredients:
- Use the exact same ingredients as the base recipe above
Instructions:
- Preheat your oven to 375°F (190°C). Lightly grease a 12-cup muffin tin.
- Prepare the meatloaf mixture exactly as described in the base recipe.
- Divide the mixture evenly among the muffin cups, filling each about three-quarters full.
- Bake for 25–30 minutes, or until each mini loaf reaches an internal temperature of 165°F (74°C).
- Let cool in the tin for 10 minutes before removing, since they’re more delicate straight out of the oven than a full loaf.
Notes:
- These cook faster than a full loaf, so start checking doneness around the 22-minute mark to avoid overcooking.
- Perfect for small dogs, since each muffin is naturally a controlled single portion — no slicing or measuring required at feeding time.
- Freeze individually on a baking sheet first, then transfer to a freezer bag once solid — this keeps them from clumping together into one frozen mass.
- This format is also handy if you’re feeding more than one dog, since you can hand out a slightly different number of muffins based on each dog’s size.
3. Slow Cooker Meatloaf (No Oven Needed)
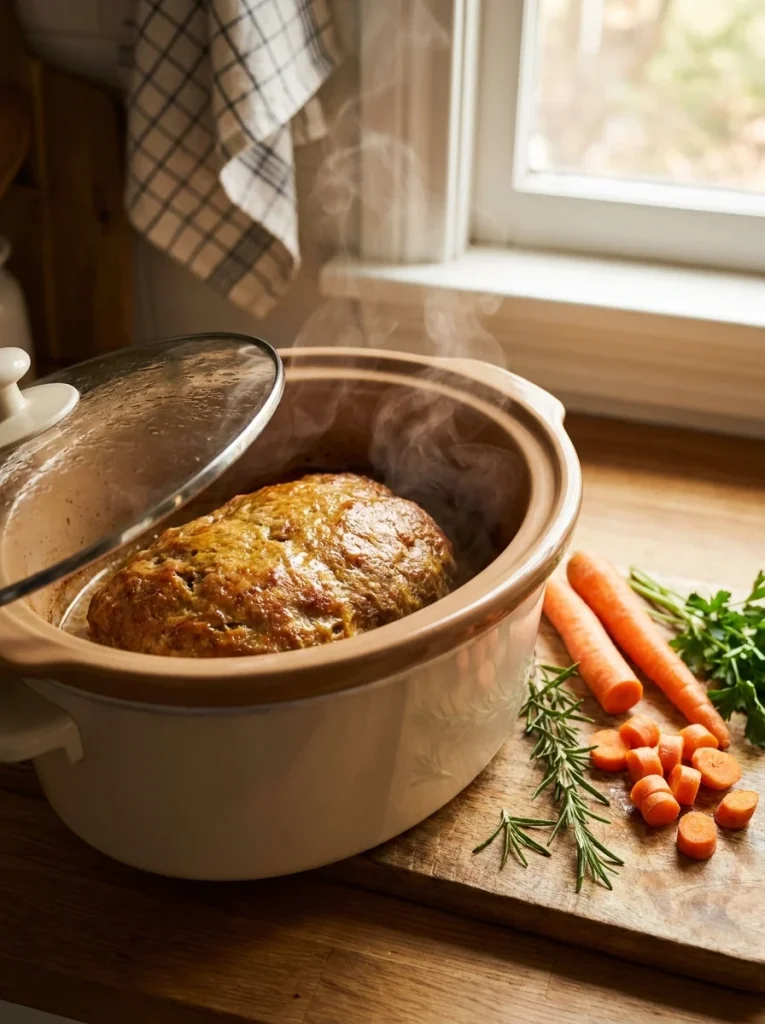
If your oven is tied up or you’d rather set it and forget it, a slow cooker works surprisingly well for this recipe. It also keeps the loaf extra moist, which some picky eaters prefer over a firmer, oven-baked texture.
Prep Time: 15 minutes Cook Time: 4 hours on low Freeze Time (optional): Up to 3 months Yield: 1 loaf (approximately 12–16 servings)
Ingredients:
- Use the exact same ingredients as the base recipe above
Instructions:
- Line the base of your slow cooker with parchment paper, or lightly grease it.
- Mix the ingredients exactly as described in the base recipe.
- Shape the mixture into a loaf shape by hand and place it in the slow cooker.
- Cover and cook on low for 4 hours, checking that the internal temperature reaches 165°F (74°C) before removing.
- Let the loaf rest for 15 minutes before slicing, since slow-cooked meatloaf is softer and needs extra time to firm up before it holds a clean slice.
Notes:
- This method produces a softer, moister loaf than oven-baking — great for senior dogs or dogs with dental issues who struggle with firmer textures.
- If you enjoy hands-off cooking, this pairs well with other slow cooker dog food recipes for batch-prepping a whole week of meals at once without babysitting the stove.
- Avoid cooking on high heat, which can dry the loaf out unevenly and undo the moisture benefit this method offers.
- Because slow cookers vary in temperature, it’s worth checking doneness a little earlier the first time you try this method with your specific appliance.
3 Ingredient Variations on the Base Recipe
Once you’ve mastered the base recipe, these three variations let you rotate flavors, manage allergies, or add extra nutrients — without changing the format or cooking method you’ve already gotten comfortable with.
1. Turkey & Veggie Meatloaf
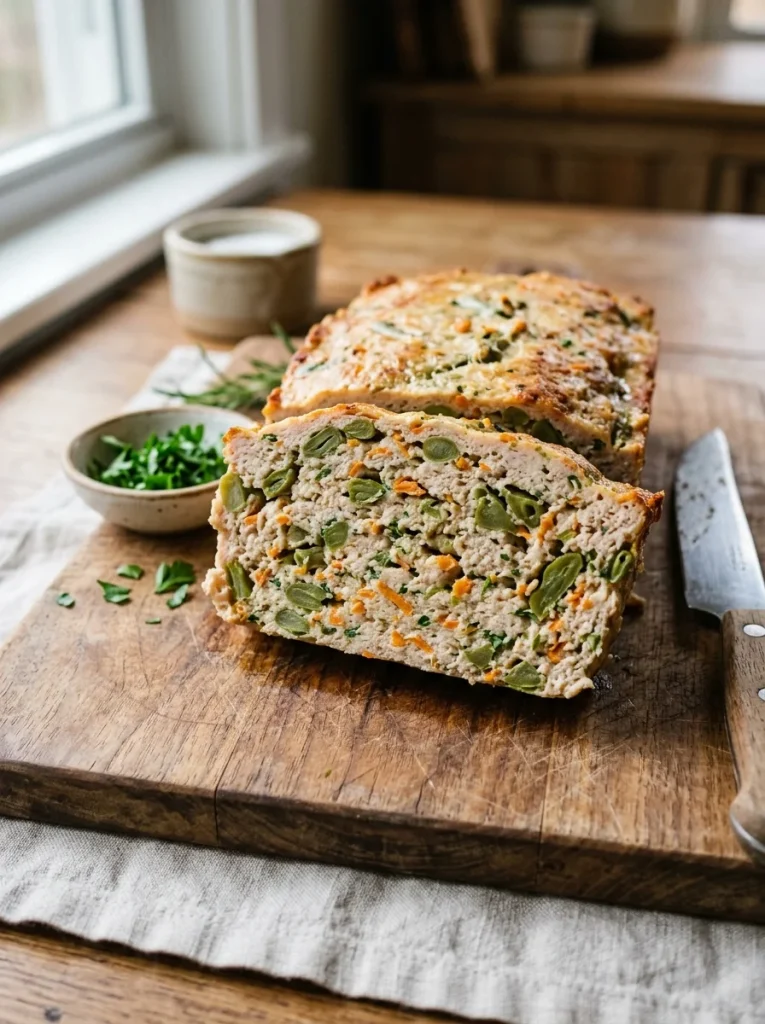
A lighter option that’s easy on sensitive stomachs. Turkey is leaner than beef, making this a good pick for dogs who need to manage their weight or who tend to get an upset stomach from richer proteins.
Swap: Replace the ground beef in the base recipe with lean ground turkey, and add 1/2 cup of finely chopped green beans along with the carrots.
Why it works: Turkey is lower in fat than beef, and the added green beans bring extra fiber without many calories — useful if your vet has recommended a lighter diet for weight management or general digestive support.
2. Beef & Liver Boost Meatloaf
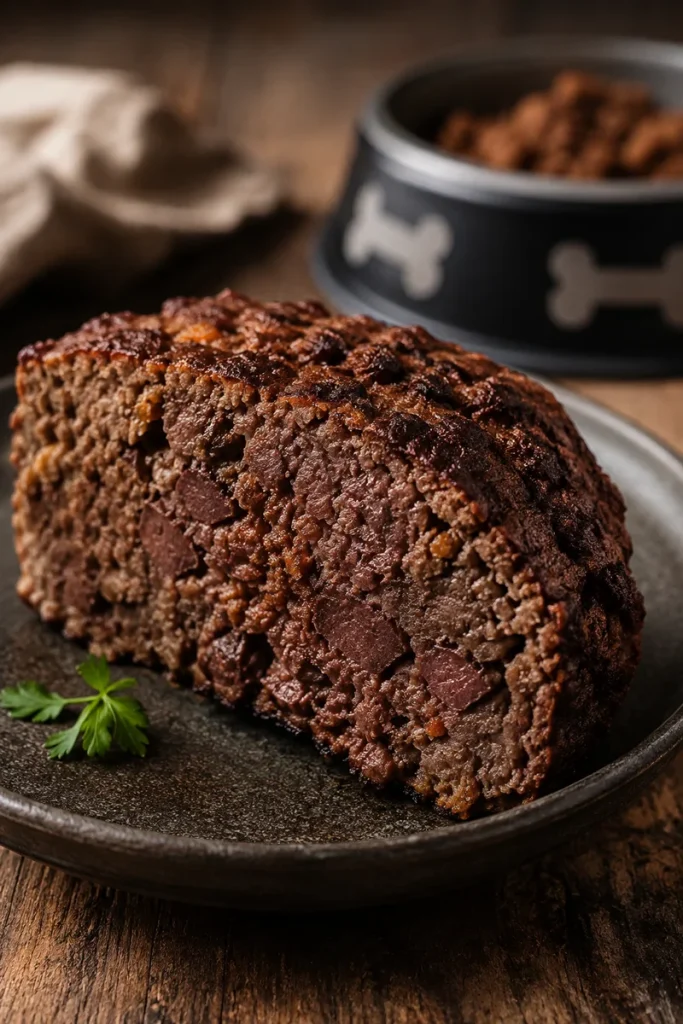
This variation adds organ meat, which is naturally rich in iron, vitamin A, and B vitamins — nutrients that muscle meat alone doesn’t fully provide, even in a well-balanced recipe.
Swap: Use 1.5 lbs ground beef plus 1/2 lb finely chopped or ground beef liver in place of the 2 lbs of protein in the base recipe. Keep everything else the same.
Why it works: Liver is nutrient-dense, but too much can cause digestive upset, so keeping it to roughly a quarter of the total meat is a safer ratio than using liver alone or adding too much at once. This gives your dog the nutritional benefits without overwhelming their system.
3. Fish-Based Meatloaf (For Poultry or Beef Allergies)
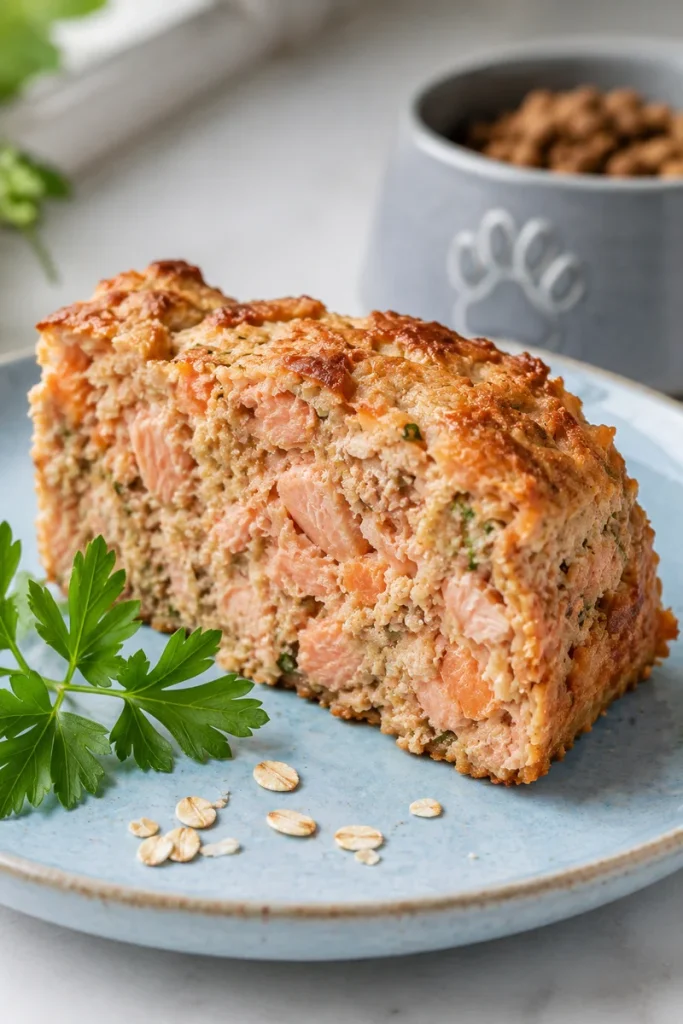
If your dog has a known sensitivity to chicken, turkey, or beef, a fish-based version can be a helpful alternative protein source worth trying, especially if you’ve already ruled out the more common proteins.
Swap: Replace the ground meat with 2 lbs of cooked, flaked salmon or white fish (deboned), and reduce the oats to 3/4 cup since fish holds less moisture than red meat.
Why it works: Fish is a novel protein for many dogs, meaning it’s less likely to trigger the same allergic response as more common proteins like chicken or beef. It also adds omega-3 fatty acids, which support skin and coat health, and can be especially helpful for dogs dealing with itchy skin or a dull coat.
If you want to keep experimenting with protein-based recipes beyond meatloaf, this list of homemade dog food recipes is a solid next stop for expanding your rotation.
Common Mistakes to Avoid When Making Meatloaf for Dogs
A few small errors can turn a healthy recipe into a problem, so it’s worth reviewing this list before your first batch, even if you’re an experienced home cook.
Adding onion or garlic for flavor. These are toxic to dogs, even in small amounts, and are common in human meatloaf recipes. Never use seasoning blends that might contain them, and always check pre-made broths or sauces for hidden onion or garlic powder.
Overmixing the meat. This makes the texture tough and dense, which some dogs find less appealing and harder to chew, especially for seniors or puppies with smaller mouths and fewer or more sensitive teeth.
Skipping the thermometer. Guessing doneness by color or time isn’t reliable enough for meat that’s going to a dog with a more sensitive digestive system than most adult humans have.
Serving portions that are too large. It’s easy to overfeed when a recipe looks and smells like “real food.” Stick to portion guidelines based on your dog’s weight, and treat this as a meal replacement, not an addition to their regular food, unless your vet says otherwise.
Not introducing it gradually. Switching your dog’s diet too fast, even to something healthy, can cause an upset stomach. Mix a small amount into their usual food for the first few days, gradually increasing the ratio over about a week.
Skipping the vet conversation. This one matters most for puppies, seniors, or dogs with existing conditions — always confirm any new home-cooked recipe fits your dog’s veterinary needs before making it a regular meal rather than an occasional addition.
Health Benefits of Homemade Dog Meatloaf
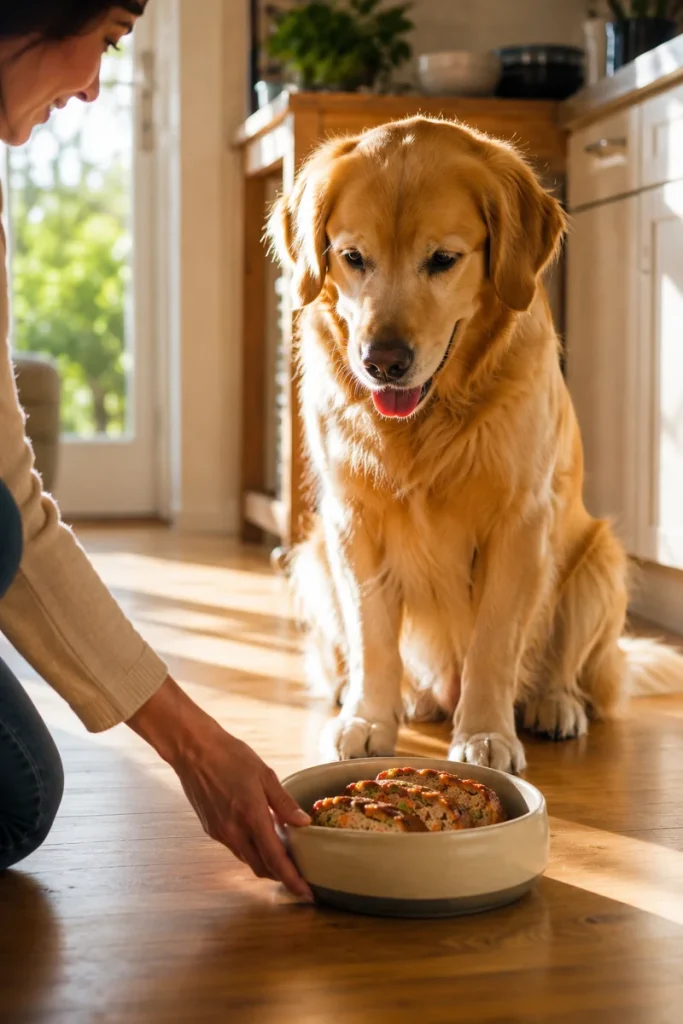
Store-bought dog food, especially canned varieties, often contains fillers, preservatives, and byproducts that offer little nutritional value. A healthy homemade dog meatloaf gives you full control over exactly what goes into your dog’s bowl, which is one of the biggest draws for owners making the switch.
Real, identifiable ingredients. You know exactly what’s in every bite — no mystery meat, artificial coloring, or unpronounceable preservatives hiding on an ingredient label.
Balanced macronutrients. Lean protein plus fiber-rich vegetables supports muscle maintenance and digestion, giving your dog a more complete meal than many processed alternatives.
Customizable for health needs. Whether your dog needs more protein, less fat, or a novel protein for allergies, this recipe adapts easily without requiring you to learn an entirely new method each time.
A step toward human-grade feeding. Many pet owners are shifting toward human-grade dog food recipes as a way to improve their dog’s overall diet quality, and meatloaf is one of the simplest recipes to start with since it doesn’t require specialized equipment or hard-to-find ingredients.
As with any diet change, talk to your veterinarian first — especially if your dog has kidney disease, pancreatitis, or another condition that requires a specific nutrient balance that a general recipe might not account for.
Final Thoughts
A healthy homemade dog meatloaf doesn’t need to be complicated to make a real difference in your dog’s diet. Start with the base recipe, pick the format that fits your schedule — loaf pan, muffin tin, or slow cooker — and rotate in a variation or two once your dog gives it the paws-up.
Batch-cook a few loaves on a Sunday, freeze the portions, and you’ll have healthy, vet-conscious meals ready to go for weeks without repeating the same prep work every few days. And if your dog loves this one, it might be worth exploring a few more homemade treat recipes to round out their weekly menu with something a little extra special.

Izzy is an experienced ranch worker who has a passion for exploring nature and getting up close to wildlife. With her connections to various animal organizations, Izzy is well-versed in animal care and rehabilitation.