
Frozen Strawberry Pineapple Dog Treats: Easy 3-Ingredient Recipe
When the weather heats up, your dog feels it too. Panting, flopping on the cool kitchen floor, and giving you those “please help” eyes are all signs it’s time for a chilly snack.
These frozen strawberry pineapple dog treats are a simple fix. You only need fruit, a little plain yogurt, and a freezer. There’s no baking, no oven, and no fancy equipment. You can make a full batch in about ten minutes, and it costs far less than store-bought frozen dog treats.
Better still, you control what goes in. There are no fillers, no mystery ingredients, and no added sugar. You know every ingredient because you picked it yourself.
This guide gets straight to the cooking. You’ll get the full recipe first, then six fun ways to freeze it, three tasty variations, and quick tips for serving and storing. The safety and background notes come last, so you can start making treats right away.
1. Homemade Frozen Strawberry Pineapple Dog Treats (Main Recipe)
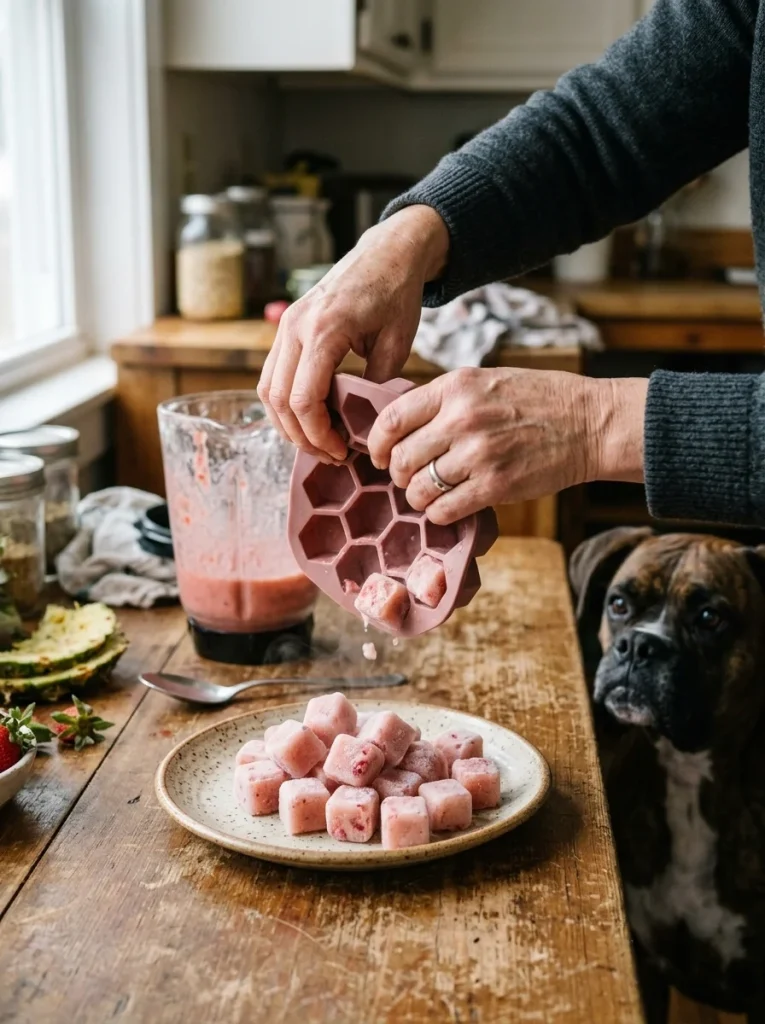
This is your base recipe. Every other idea in this article starts here, so try it first. Once you’ve made it once, you’ll be able to whip it up without looking at the card.
Recipe Card:
Prep Time: 10 minutes
Freeze Time: 4 hours
Yield: About 24 small bites (using a standard ice cube tray)
Difficulty: Easy
Ingredients:
- 1 cup fresh strawberries, tops removed
- 1 cup fresh pineapple chunks, skin and core removed
- 1/2 cup plain, unsweetened yogurt (no xylitol, no added sugar)
- 1/4 cup water
Instructions:
- Wash the strawberries and cut off the green tops.
- Add the strawberries, pineapple, yogurt, and water to a blender.
- Blend until smooth, about 30 seconds.
- Pour the mixture into an ice cube tray or silicone mold.
- Freeze for at least 4 hours, or until solid.
- Pop the treats out and serve one at a time.
Notes:
- Use fresh or plain frozen fruit only. Never use canned pineapple in syrup.
- Store treats in a freezer bag for up to 2 months.
- Start with a small portion to see how your dog’s stomach handles it.
What You’ll Need
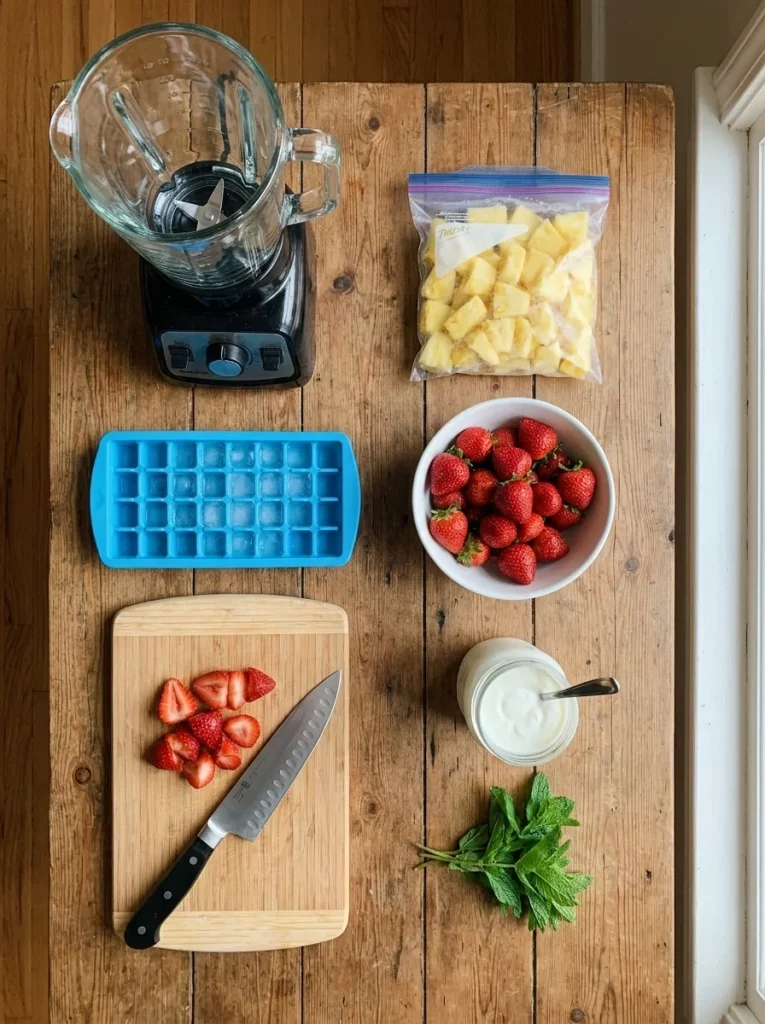
Good news: you probably own everything already. There’s no need to buy special dog-treat gear before you try this recipe.
Tools:
- A blender or food processor
- An ice cube tray or silicone mold
- A sharp knife and cutting board
- A freezer-safe bag or container
Ingredient notes:
- Strawberries: Fresh or plain frozen both work. Frozen berries are handy because they’re already washed and trimmed, and they keep the blend extra cold.
- Pineapple: Fresh is best. It has the most natural juice and flavor. Frozen pineapple with no added sugar also works well.
- Yogurt: Plain and unsweetened only. Check the label for xylitol, a sweetener that is toxic to dogs. Greek yogurt makes a thicker, creamier treat.
- Water: You can swap in a little unsweetened coconut water for extra flavor, or use plain water to keep things simple.
Step-by-Step Instructions
Here’s how the process looks from start to finish. The whole thing takes about ten minutes of hands-on time. The freezer does the rest.
Step 1: Prep the fruit. Rinse the strawberries and cut off the tops. Slice the pineapple away from its rough skin, then remove the hard center core. Cut everything into chunks so your blender doesn’t struggle. Smaller pieces blend faster and more evenly.
Step 2: Blend it smooth. Add all four ingredients to the blender. Blend until you see no chunks. A smooth mix freezes evenly and is easier for dogs to lick. If the blender gets stuck, add a splash more water.
Step 3: Fill the mold. Pour the mixture into your tray. Fill each space almost to the top, but leave a tiny gap because the mix expands as it freezes. A measuring cup with a spout makes pouring much less messy.
Step 4: Freeze. Place the tray flat in the freezer. Leave it for about four hours. Overnight is even better. Make sure nothing heavy sits on top, or the tray may tilt.
Step 5: Serve and store. Pop out one treat and let it sit for a minute so it’s not rock hard. Move the rest into a freezer bag, press out the air, and label it with the date.
C. Pro Tips for Smooth, Non-Icy Treats
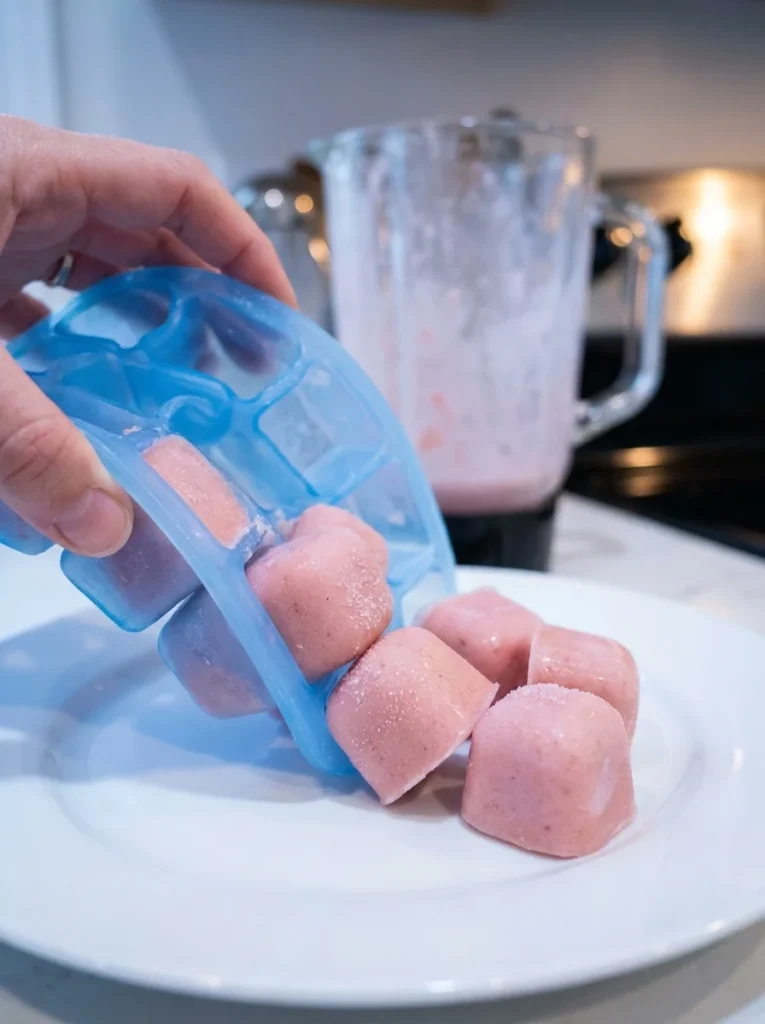
A few small tricks make a big difference. These are the things most people learn only after a batch or two goes wrong.
- Blend longer than you think. Tiny fruit bits can turn icy. Smooth blending prevents that.
- Use less water for a creamier treat. More yogurt means a softer, scoopable texture.
- Freeze on a flat surface. A tilted tray means uneven treats.
- Twist the tray, don’t yank. A gentle twist releases the cubes without breaking them.
- Label the bag with the date. You’ll thank yourself later.
- Chill your blender jar. A cold jar helps the mix stay cool and thick, which cuts down on ice crystals.
If you love making treats at home, check out more homemade dog treats recipes for ideas that go beyond the freezer.
2. Six Ways to Freeze These Treats (Format Guide)
The same blend can become very different treats depending on how you freeze it. You don’t need a new recipe for each one. Just make the base blend from Section 1 and pour it into a different container.
Each format below follows the same pattern: what it is, who it suits, how to make it, and one quick tip. Pick the one that matches your dog and your schedule.
A. Pupsicles in Popsicle Molds
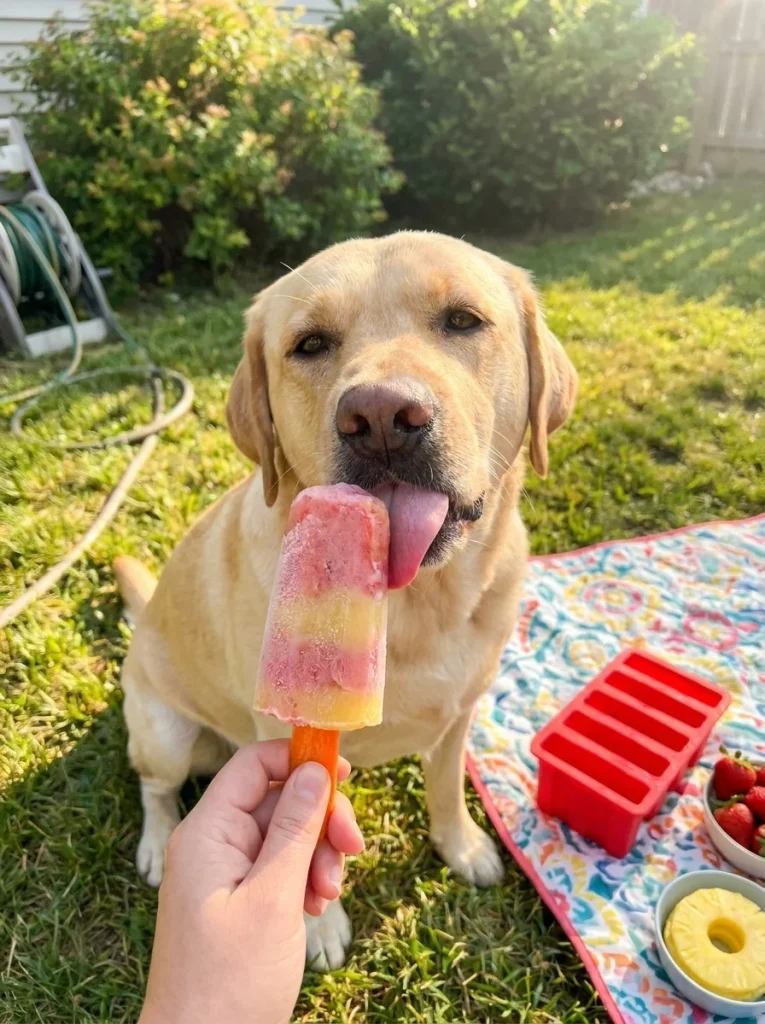
What it is: A big frozen pop, just like the ones people eat. Because it’s larger, it needs its own recipe card with bigger amounts.
Best for: Medium and large dogs, and outdoor play.
How to make it: Use the recipe card below. Pour the blend into silicone popsicle molds and freeze.
Quick tip: Skip wooden sticks, which can splinter. Use a thin carrot stick as a handle, or serve the pop without one.
Recipe Card: Strawberry Pineapple Pupsicles
Prep Time: 10 minutes
Freeze Time: 6 hours
Yield: 4 large pupsicles
Difficulty: Easy
Ingredients:
- 1 1/2 cups fresh strawberries, tops removed
- 1 cup fresh pineapple chunks, skin and core removed
- 3/4 cup plain, unsweetened yogurt (no xylitol)
- 1/4 cup water
Instructions:
- Add all ingredients to a blender and blend until smooth.
- Pour the mixture into 4 silicone popsicle molds.
- Add a thin carrot stick to each mold, if you like.
- Freeze for 6 hours or overnight.
- Run the mold under warm water for a few seconds to release the pop.
- Serve outdoors or on a washable surface.
Notes:
- Supervise your dog while they enjoy the pop.
- Cut a pupsicle in half for smaller dogs.
- Keep leftovers in the mold or a sealed bag for up to 1 month.
B. Ice Cube Tray Bites
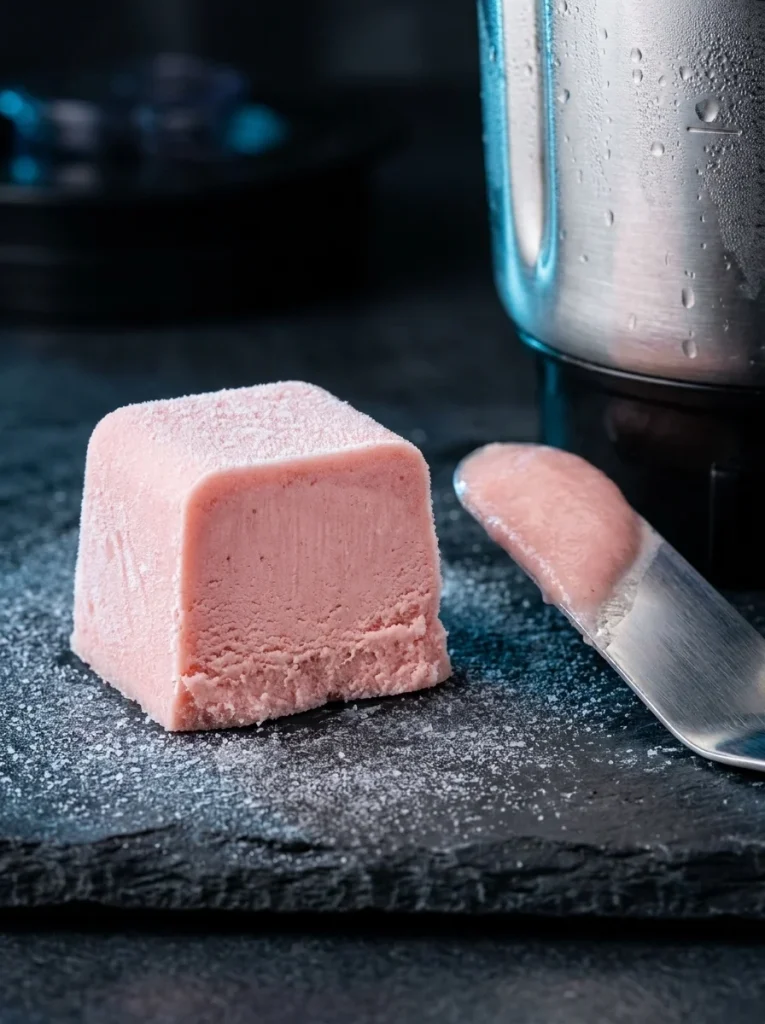
What it is: Small frozen cubes. This is the exact main recipe from Section 1, so there’s no new card here.
Best for: Small dogs, training rewards, and quick cool-downs.
How to make it: Follow the main recipe card and use a small-cube tray. Mini trays make bite-sized pieces that suit tiny mouths.
Quick tip: Small cubes are easy to portion. Use them as tiny rewards during a hot-weather training session. If you’re teaching new tricks, these pair well with positive reinforcement methods, since most dogs will work hard for a cold, fruity reward.
C. Frozen Yogurt Bark
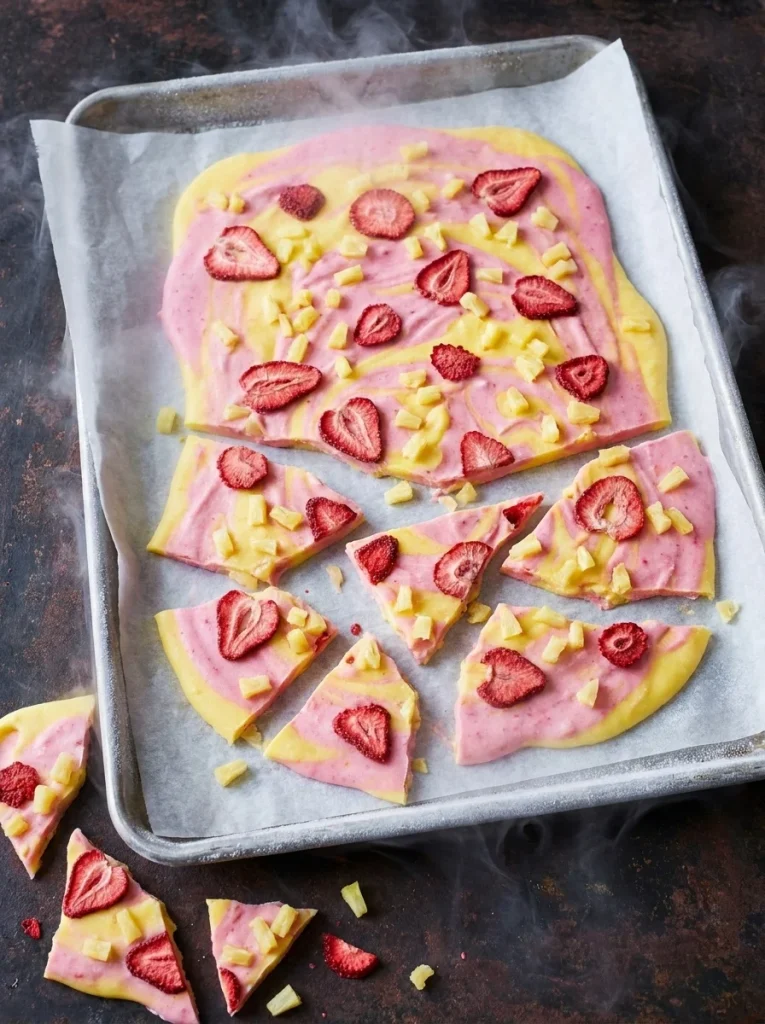
What it is: A flat sheet of frozen treat that you break into pieces. It uses the same base blend.
Best for: Batch prep and busy weeks.
How to make it: Line a baking sheet with parchment paper. Spread the blend about 1/4 inch thick. Drop a few extra strawberry slices on top. Freeze for 3 hours, then snap it into shards.
Quick tip: Break the bark into pieces sized for your dog. Small dogs need smaller shards. Bark also stores flat, so it takes up little freezer space.
D. Lick Mat or Stuffed Kong Filling
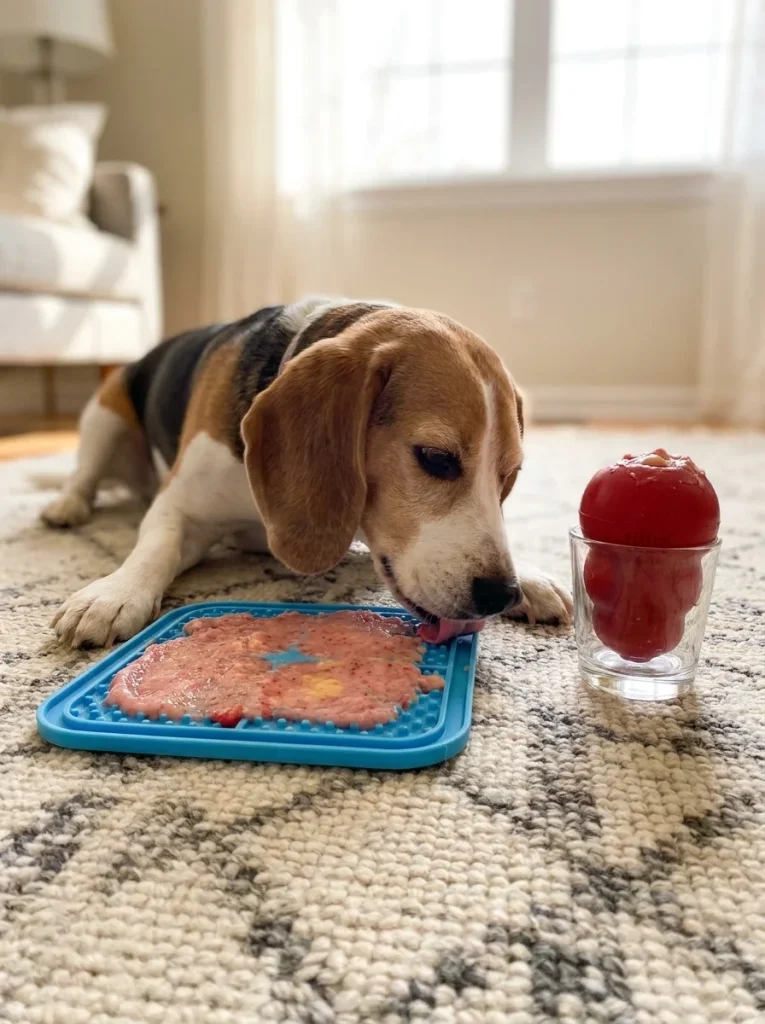
What it is: The base blend spread on a lick mat or packed into a hollow toy.
Best for: Bored, anxious, or high-energy dogs.
How to make it: Spread a thick layer on a silicone lick mat, or spoon the blend into a hollow rubber toy. Freeze for 4 hours.
Quick tip: Stand the toy in a cup while it freezes so the filling stays put. Licking is a calming activity for many dogs, but if your pup licks nonstop, read about excessive licking in dogs to find out what’s normal.
E. Frozen “Nice Cream” Scoops
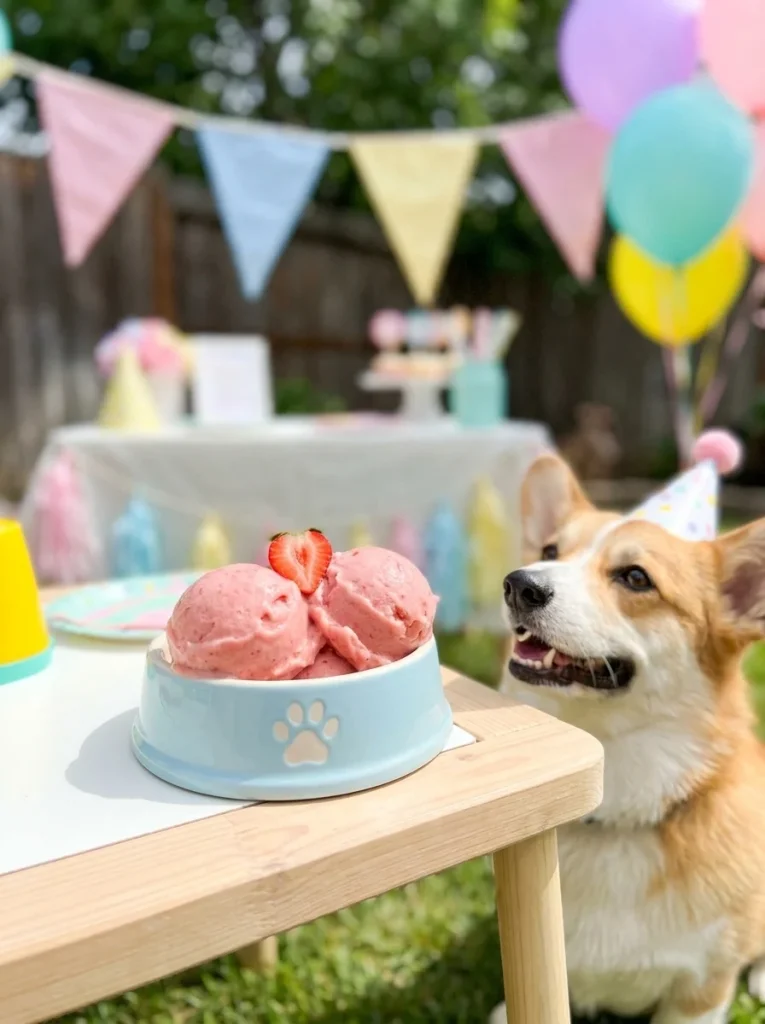
What it is: A soft, scoopable treat that looks like ice cream. Again, it’s the same blend with a different texture.
Best for: Dog birthdays and backyard parties.
How to make it: Freeze the blend in a shallow container. Let it sit at room temperature for 5 to 10 minutes, then scoop it into a bowl.
Quick tip: Add an extra 2 tablespoons of yogurt for a creamier scoop. Serve a small scoop in a bowl, not a giant one.
F. Silicone Shape Molds
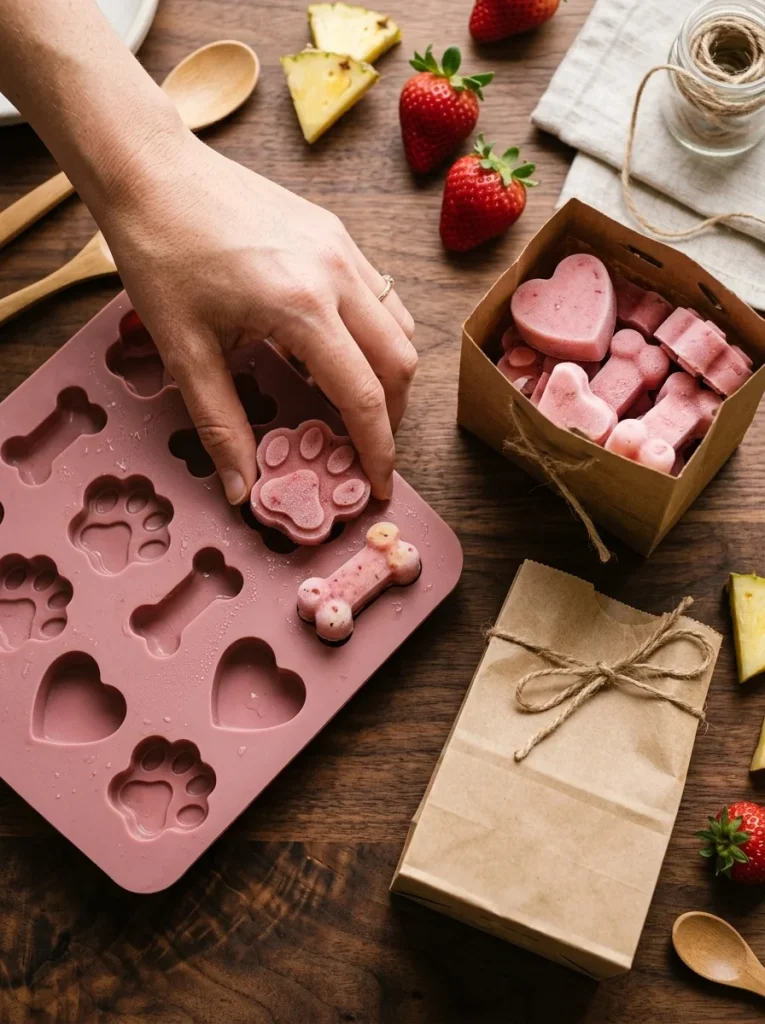
What it is: Treats shaped like paws, bones, or hearts. It’s the same base blend in a cuter package.
Best for: Gifts, holidays, and photos for social media.
How to make it: Pour the blend into fun silicone molds and freeze for 4 hours. Pop them out and bag them.
Quick tip: Shaped treats make a sweet gift for a friend’s dog. For more party ideas, see these dog birthday cake recipes.
3. Three Ingredient Variations to Try
Once you’ve made the base recipe, mix things up. Unlike the formats above, these change the ingredients themselves. Each variation uses the same layout: what changes, how to make it, and who it’s best for.
A. Dairy-Free Coconut Milk Version
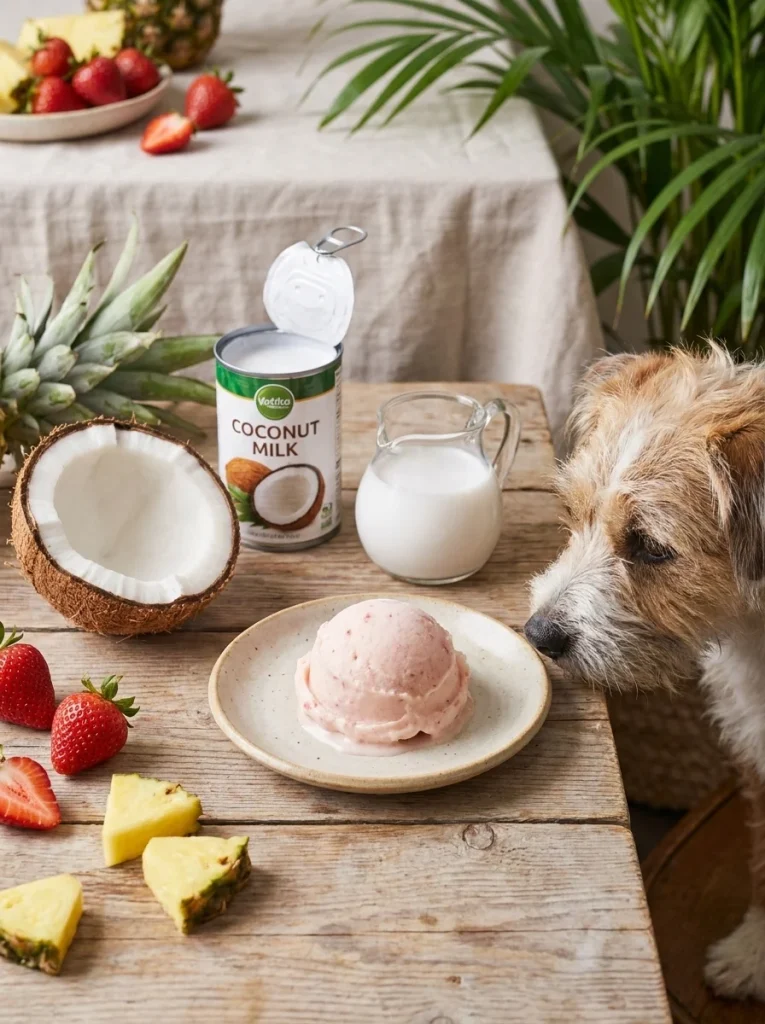
What changes: Coconut milk replaces yogurt. This is a good option for dogs that struggle with lactose.
Best for: Dogs with sensitive tummies.
Recipe Card: Dairy-Free Strawberry Pineapple Coconut Treats
Prep Time: 10 minutes
Freeze Time: 4 hours
Yield: About 20 small bites
Difficulty: Easy
Ingredients:
- 1 cup fresh strawberries, tops removed
- 1 cup fresh pineapple chunks, skin and core removed
- 1/2 cup canned coconut milk (unsweetened, no additives)
- 1 tablespoon water
Instructions:
- Shake the can of coconut milk well.
- Add all ingredients to a blender.
- Blend until smooth.
- Pour into molds and freeze for 4 hours.
- Serve one small piece at a time.
Notes:
- Coconut milk is rich in fat, so keep portions small.
- Stop serving it if your dog gets loose stools.
- Store in the freezer for up to 2 months.
B. Strawberry Pineapple Mint Cooler
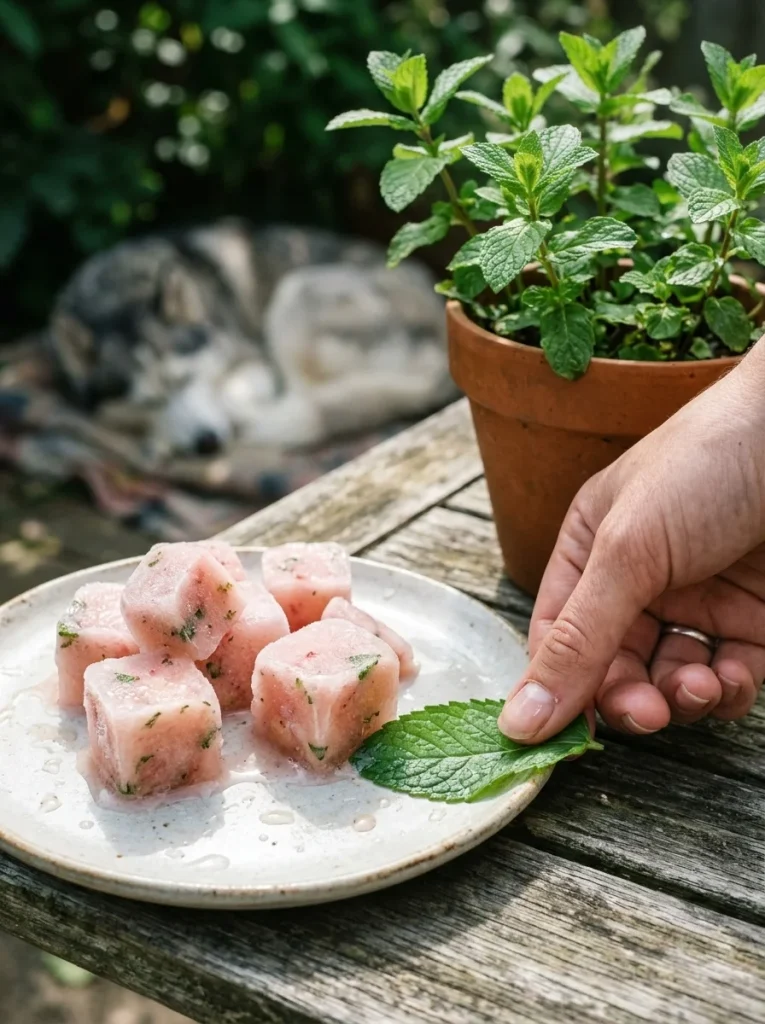
What changes: A few fresh mint leaves add a cool, fresh flavor.
How to make it: Add 5 or 6 fresh spearmint leaves to the main recipe before blending. Freeze as usual. The leaves will blend into tiny green flecks that look pretty in the finished cube.
Best for: Hot summer days and dogs with “doggy breath.”
Quick tip: Use plain spearmint or peppermint only, in small amounts. Never use pennyroyal, which is toxic to dogs.
C. Strawberry Pineapple Carrot Boost
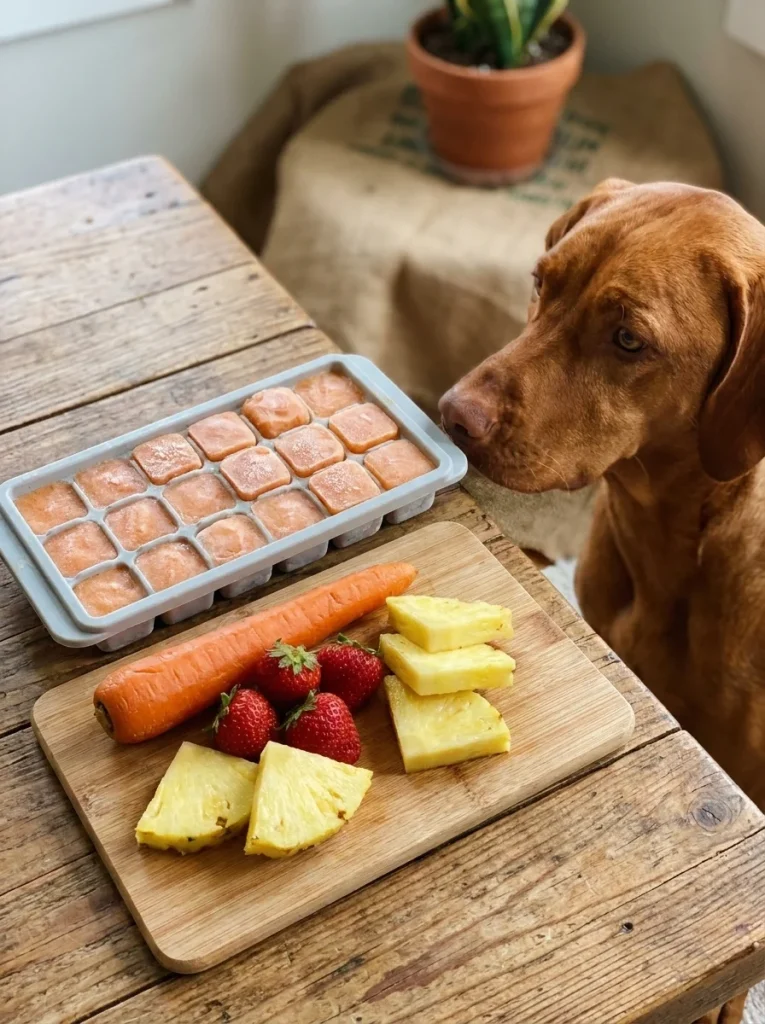
What changes: Cooked carrot adds natural sweetness and extra fiber.
How to make it: Steam a small carrot until soft. Cool it, then blend 1/4 cup of it into the main recipe. Freeze as usual. The color turns a soft peachy orange.
Best for: Dogs that love crunchy veggies.
Quick tip: Plain, cooked carrot blends best. Skip butter, salt, and seasonings.
4. How to Serve, Store, and Portion
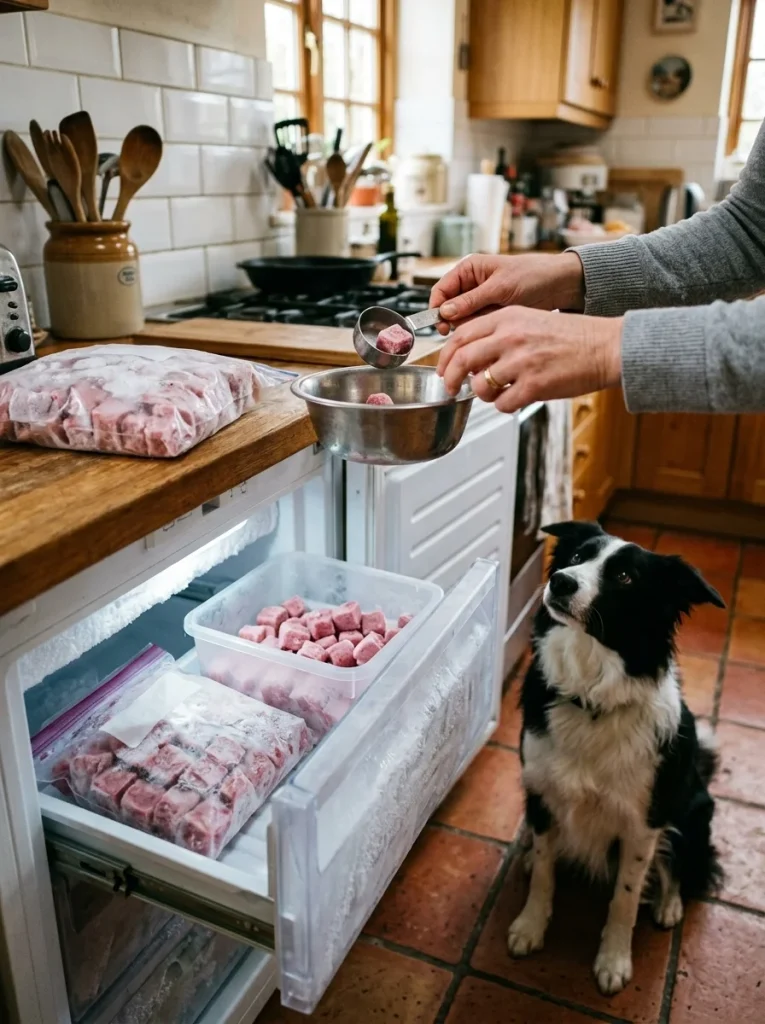
Even healthy treats need limits. Here’s how to serve these frozen bites the smart way. A little planning keeps treat time fun and your dog’s tummy happy.
A. Serving Sizes by Dog Weight
Use this as a simple guide for the small cube treats:
- Under 10 lbs: 1 cube
- 10 to 30 lbs: 1 to 2 cubes
- 30 to 60 lbs: 2 to 3 cubes
- Over 60 lbs: 3 to 4 cubes, or one small pupsicle
Treats should stay under 10 percent of your dog’s daily calories. Start with less, then watch how your dog does. If your dog is new to fruit, try just one cube on the first day and wait 24 hours before offering more.
B. Storage Guide
- Freezer bag: Up to 2 months
- Airtight container: Up to 2 months
- Pupsicles in molds: Up to 1 month
- Room temperature: Serve right away and don’t refreeze melted treats
Press the air out of the bag before sealing. That prevents freezer burn and keeps the flavor fresh. Keep dog treats on their own shelf or in a clearly marked bag so no one in the family mistakes them for human snacks.
C. Travel and Set-Up Tips
Taking your pup on a road trip? Pack a few cubes in a small cooler with an ice pack. They make a great pit-stop snack on a warm day. For more packing ideas, check out these travel essentials to pack for your dog.
At home, keep a small bin in the freezer just for dog treats. You can even build a fun spot for the rest of their goodies with these dog treat station ideas.
5. Safety Rules Every Dog Owner Should Know
Keep this section handy. A few simple rules keep treat time safe.
A. Prep Rules
- Remove strawberry tops. The green leaves are hard to chew.
- Peel and core the pineapple. The skin and center are tough and can cause stomach trouble or blockages.
- Skip canned fruit in syrup. It’s loaded with extra sugar.
B. Ingredient Rules
- Check yogurt labels for xylitol. This sweetener is dangerous for dogs.
- Use plain and unsweetened only. Flavored yogurts often hide sugar.
- Watch for lactose trouble. Some dogs get gassy or loose stools from dairy. If that happens, use the coconut version instead.
C. When to Call Your Vet
Every dog is different. If your dog has allergies, diabetes, or a sensitive stomach, ask your vet before adding new treats. New puppies have special needs too, so read up on puppy veterinary needs before offering fruit.
Stop feeding the treat and call your vet if you see vomiting, diarrhea, or swelling.
6. Why Dogs Love (and Benefit From) This Combo
This section is short on purpose. You already have the recipe, so here’s a quick look at why it works.
What’s in the Fruit
- Strawberries: Contain fiber and vitamin C, and they’re mostly water.
- Pineapple: Adds vitamin C, manganese, and a sweet, tropical taste dogs enjoy.
- Plain yogurt: Offers protein and calcium.
Why Frozen Works
Frozen treats last longer than a quick snack. Dogs have to lick and chew slowly, which keeps them busy and helps them cool off. That slow pace also means they’re less likely to gulp the treat down.
A Treat, Not a Meal
These bites are a fun extra, not a replacement for balanced dog food. Think of them as dessert. They add variety and hydration, but your dog’s regular meals should still provide most of their nutrition.
Final Thoughts
Frozen strawberry pineapple dog treats are simple, cheap, and fun to make. With one blend, you can create bites, pops, bark, scoops, and lick mat fillings. You can also switch things up with coconut milk, mint, or carrot.
Start with the main recipe, keep portions small, and follow the safety rules. Then pick your favorite format and watch your dog enjoy a cool break on a hot day. Happy freezing!

Izzy is an experienced ranch worker who has a passion for exploring nature and getting up close to wildlife. With her connections to various animal organizations, Izzy is well-versed in animal care and rehabilitation.


