Cheesy Chicken Dog Treat Recipe (Bake, Air-Fry, or No-Bake)
If your dog goes from “meh” to “SIT, STAY, ANYTHING YOU WANT” the second cheese hits the air, this cheesy chicken dog treat recipe is about to become your new favorite kitchen trick.
It only takes two main ingredients — chicken and cheese — plus a few pantry staples you probably already have in your kitchen. You can bake it into crunchy biscuits, pop it in the air fryer for a quicker batch, or skip the oven completely with a no-bake version that takes minutes to prep.
What makes this recipe so useful is how flexible it is. Some dogs prefer a hard, crunchy biscuit they can really sink their teeth into. Others do better with something soft, especially puppies who are still teething or senior dogs with worn-down teeth. This guide covers both, plus a couple of ingredient swaps for dogs with special dietary needs.
Below you’ll find the classic recipe card first, then three different ways to make it depending on your kitchen setup, then a few tasty ingredient variations that go beyond the basic chicken-and-cheese combo. Grab a mixing bowl, clear off some counter space, and let’s get started.
1. The Classic Cheesy Chicken Dog Biscuits (Recipe Card)
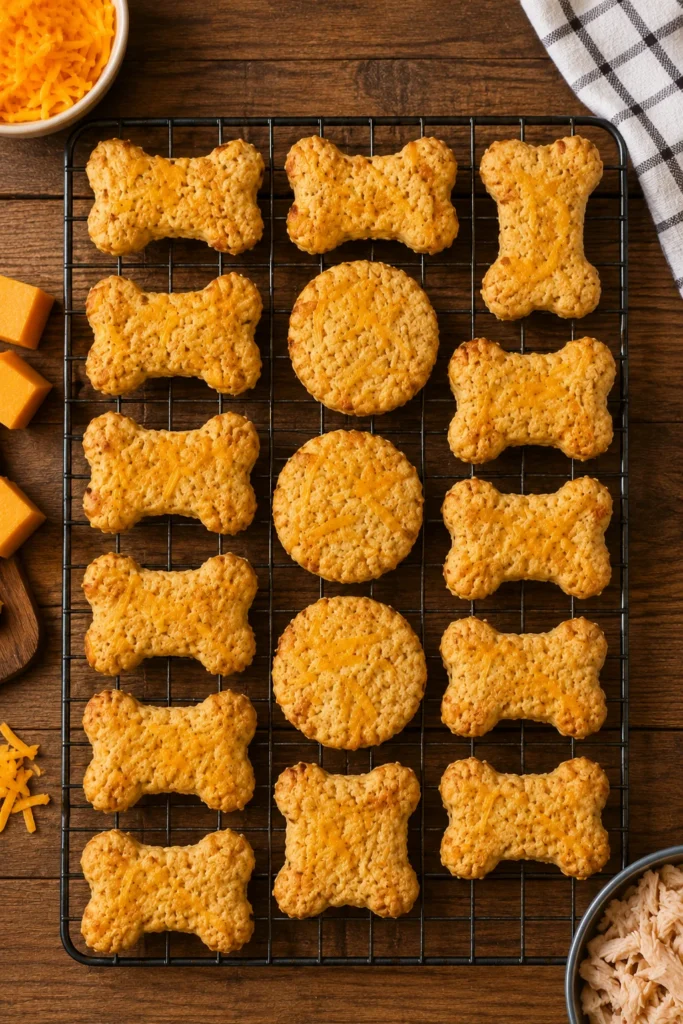
This is the base recipe, and it’s the one to start with if you’ve never made homemade dog treats before. It makes crunchy, golden biscuits that store well and work great for training sessions, since they hold their shape in a treat pouch without crumbling apart.
📋 Cheesy Chicken Dog Biscuits
Prep Time: 15 minutes Cook Time: 22 minutes Total Time: 40 minutes Yield: About 30–35 small biscuits
Ingredients:
- 1 cup cooked chicken, shredded finely (no skin, no bones, no seasoning)
- ½ cup shredded cheddar cheese
- 1½ cups whole wheat flour (or oat flour)
- 1 large egg
- 2–4 tablespoons water, added slowly
Instructions:
- Preheat your oven to 350°F (175°C). Line a baking sheet with parchment paper.
- In a large bowl, mix the shredded chicken, cheese, and flour together until the chicken and cheese are evenly spread through the flour.
- Crack in the egg and stir until it’s evenly combined. The mixture will look crumbly at this point, almost like wet sand.
- Add water one tablespoon at a time until the dough holds together without sticking to your hands. Most batches need somewhere between 2 and 4 tablespoons, but this can shift slightly depending on how much moisture was left in your shredded chicken.
- Roll the dough out to about ¼-inch thick on a floured surface. Rolling between two sheets of parchment paper makes this step faster and keeps the dough from sticking to your rolling pin.
- Cut into small shapes using a cookie cutter, or use a knife to cut simple squares. If you don’t have cutters on hand, a butter knife or pizza cutter works just fine for small training-size pieces.
- Place the biscuits on the baking sheet, leaving a little space between each one so air can circulate and they bake evenly.
- Bake for 20–22 minutes, until the edges turn golden brown and the biscuits feel firm when you press down lightly.
- Let the biscuits cool completely on a wire rack before serving or storing. This step matters more than people expect — warm biscuits trap steam, and that steam is what leads to mold forming early.
Notes:
- The dough should feel like Play-Doh — firm, not sticky. If it’s sticking to your fingers, add a little more flour.
- Cool biscuits fully before storing, or trapped steam can cause mold within just a few days.
- This recipe uses cheese as a flavor booster, not the main ingredient, since too much cheese can upset a dog’s stomach or add unnecessary fat to their diet.
- If your dog is small or a picky eater, you can make the pieces smaller and shave a couple of minutes off the bake time.
2. Three Ways to Make This Recipe (Pick Your Method)
Not everyone wants to turn on the oven for 20 minutes, especially in the middle of summer or on a busy weeknight. Here are three other ways to make the same cheesy chicken flavor, depending on the texture and tools you prefer.
2.1 Oven-Baked Crunchy Biscuits
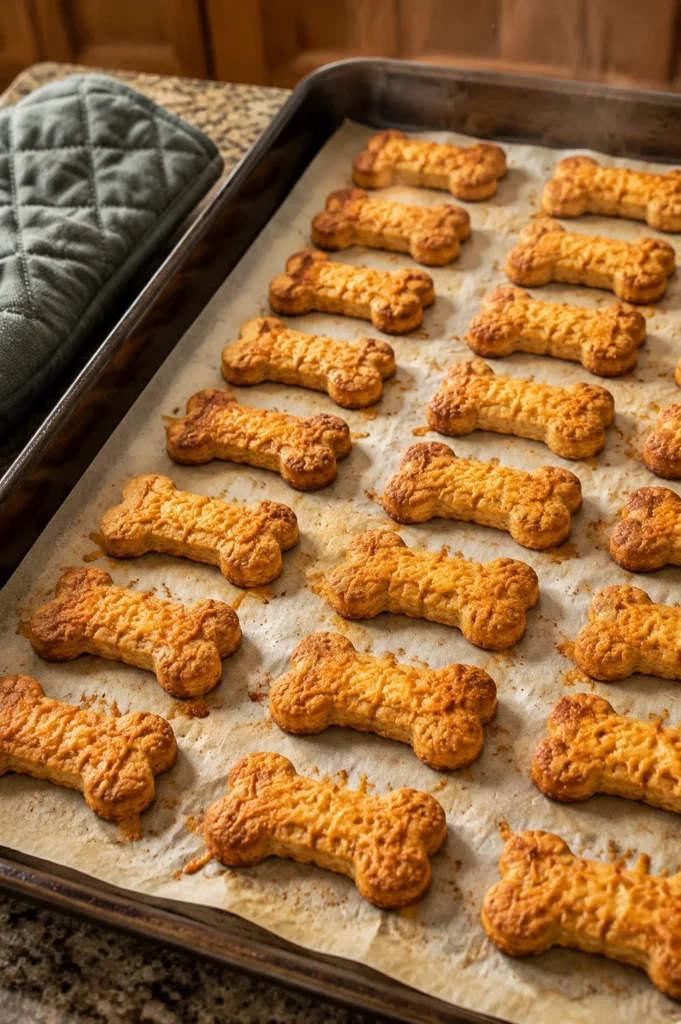
This is the method described above, and it’s the best choice if you want a firm, crunchy treat that lasts the longest on the shelf without going soft or stale.
Baking removes more moisture from the dough than any other method covered here. That’s why these biscuits can sit in a sealed container in the pantry for up to two weeks without going bad, while the softer versions need to stay in the fridge.
The trade-off is time. Between mixing, rolling, cutting, and baking, this method takes close to 40 minutes from start to finish. It’s worth it if you’re planning to make a large batch to last a few weeks, or if your dog specifically loves that satisfying crunch when they bite down.
Use this method if you want treats that travel well too — crunchy biscuits hold up better in a bag or your pocket during a long walk than a soft treat would, which can get squished or sticky.
2.2 Air Fryer Cheesy Chicken Bites (Recipe Card)
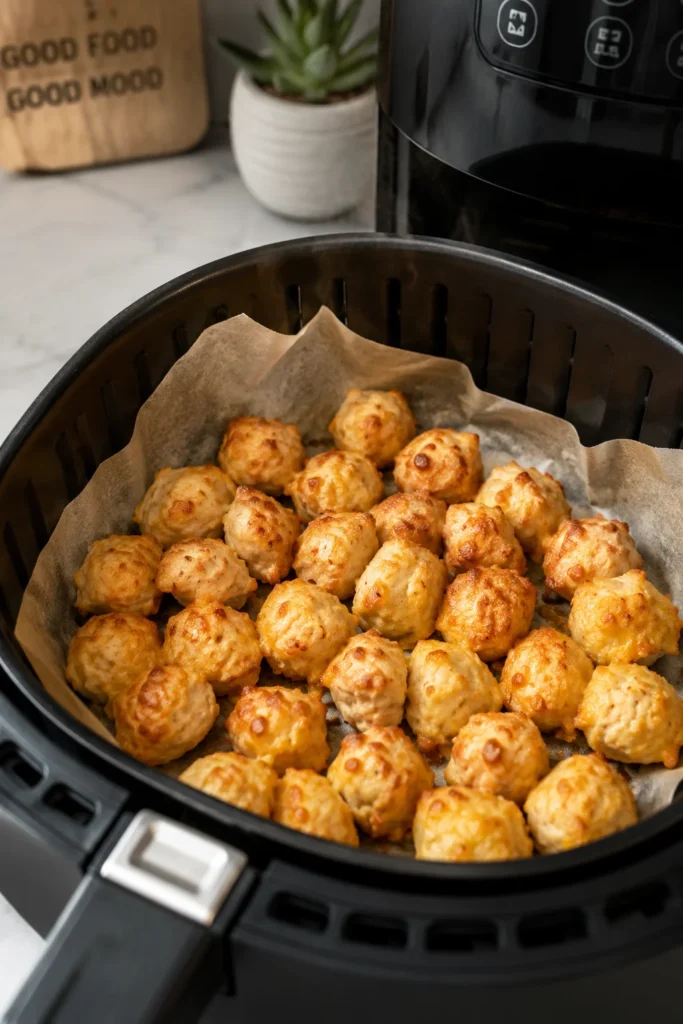
Air fryers cook faster and use less energy than heating up a full-size oven, which makes this a solid option if you only want a small batch or you’re short on time. This version comes out slightly crispier on the outside and a touch softer in the middle compared to the oven-baked biscuits.
Prep Time: 10 minutes Cook Time: 12 minutes Total Time: 22 minutes Yield: About 25 small bites
Ingredients:
- 1 cup cooked chicken, finely shredded
- ½ cup shredded mozzarella or cheddar cheese
- 1 cup oat flour
- 1 large egg
- 1 tablespoon plain Greek yogurt (helps bind the dough without extra water)
Instructions:
- Mix chicken, cheese, and oat flour in a bowl until everything looks evenly distributed.
- Add the egg and yogurt, then stir until a thick dough forms. The yogurt helps the dough hold together without needing much added water, which keeps the bake time shorter.
- Roll the dough into small balls, about the size of a marble, and flatten slightly with your palm so they cook through evenly.
- Line the air fryer basket with parchment paper (cut to fit, with holes for airflow) or lightly grease it so the bites don’t stick.
- Set the air fryer to 320°F (160°C) and cook for 10–12 minutes, flipping halfway through so both sides get that light golden color.
- Let cool for 10 minutes before serving. They firm up quite a bit as they cool, so don’t judge the texture straight out of the basket.
Notes:
- Air fryer models vary a lot in strength, so check at the 8-minute mark the first time you make these to avoid overcooking.
- These bites are softer than oven-baked biscuits, so store them in the fridge instead of the pantry.
- If you’re making these for a small dog or a puppy, roll the dough into smaller balls and shave a minute or two off the cook time.
2.3 No-Bake Soft Fridge Treats (Recipe Card)
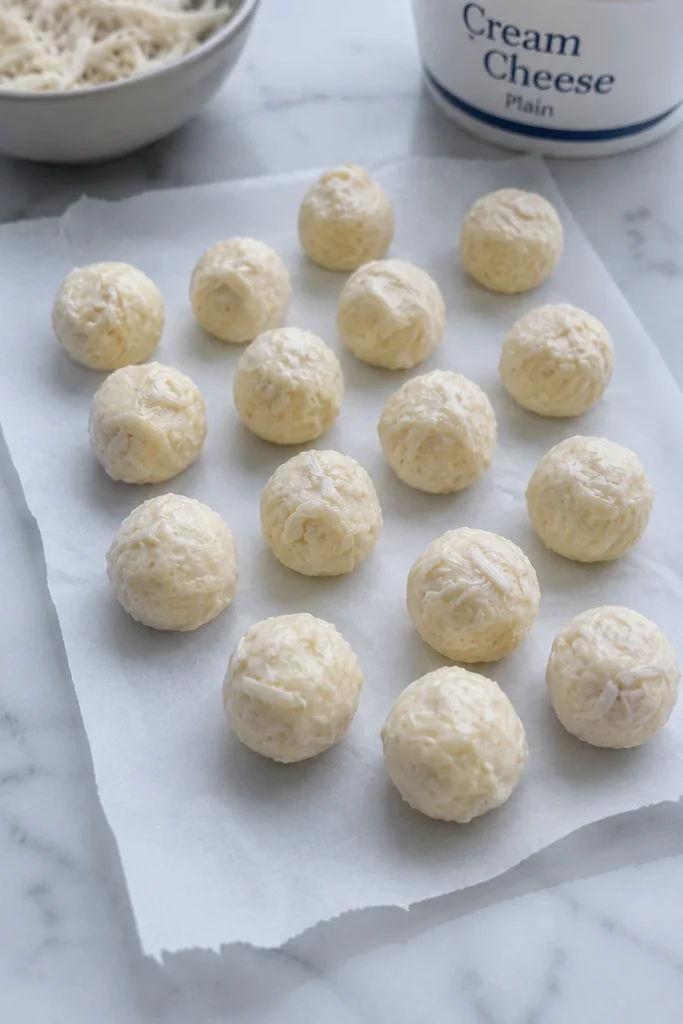
No oven, no air fryer, no problem. This version is mixed, shaped, and chilled — perfect for hot summer days when you don’t want to heat up the kitchen, or for quick training rewards when you’re in a hurry.
Prep Time: 10 minutes Freeze Time: 2 hours Total Time: 2 hours 10 minutes Yield: About 20 small bites
Ingredients:
- 1 cup cooked chicken, very finely shredded or blended
- ½ cup cream cheese, softened
- ¼ cup shredded cheddar cheese
- 2 tablespoons plain oat flour (to thicken)
Instructions:
- Mix the chicken, cream cheese, and cheddar in a bowl until it forms a thick, sticky paste. A food processor makes this step faster if you have one, since it breaks down the chicken more finely than shredding by hand.
- Stir in the oat flour a little at a time until the mixture is easy to shape but not runny. You’re looking for a texture similar to thick cookie dough.
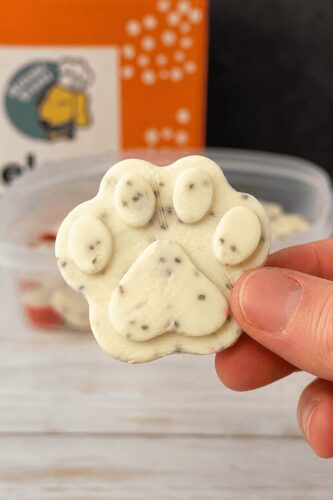
- Roll into small balls, or press into a silicone mold with paw or bone shapes for a fun presentation.
- Place the tray in the freezer for at least 2 hours, or the fridge for 4 hours, until firm to the touch.
- Store the finished treats in the fridge and serve chilled, straight from the container.
Notes:
- This version is soft the whole time and never develops a crunchy texture, since there’s no baking involved.
- Great for puppies, senior dogs, or any dog who struggles with hard biscuits or has dental issues.
- Because there’s no baking, these treats have a shorter shelf life — keep refrigerated and use within 5 days for best quality and safety.
- These also work well as a frozen treat straight from the freezer on hot days, similar to a lick-mat filler.
3. Ingredient Variations to Try
Once you’ve picked a format that works for your kitchen, you can swap ingredients to fit your dog’s specific needs. Here are three variations worth trying, each aimed at a slightly different goal.
3.1 Grain-Free Cheesy Chicken Treats
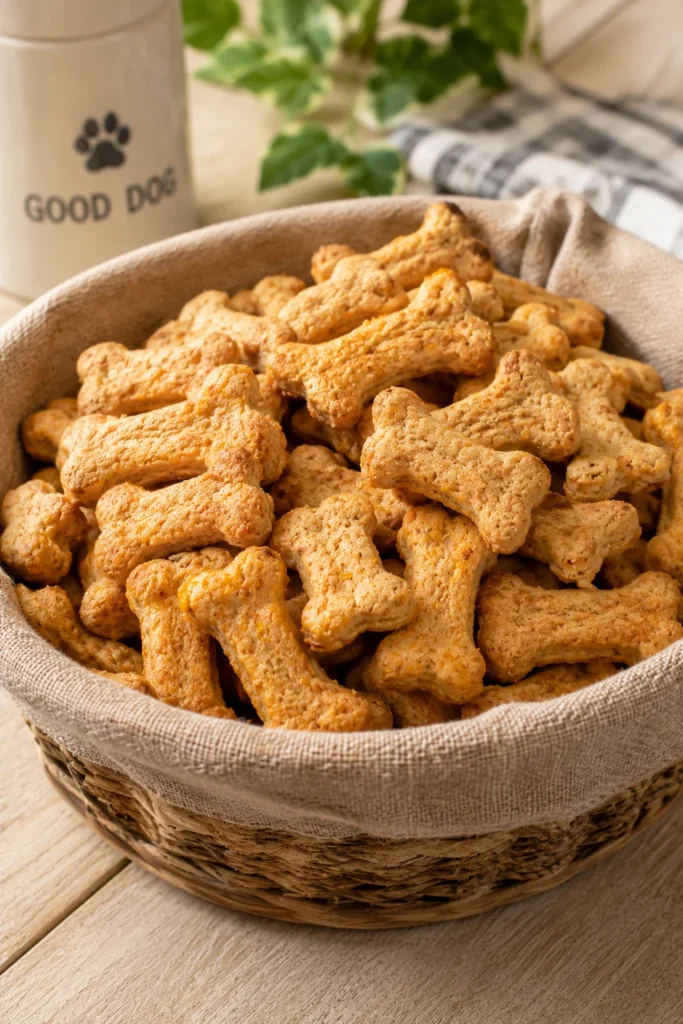
Some dogs do better without wheat or oats in their diet, whether that’s due to sensitivity, allergy, or just personal preference from their owner. Swap the flour in the classic recipe for 1¾ cups of coconut flour, or 1½ cups of chickpea flour instead.
Coconut flour soaks up a lot more moisture than regular flour, so you may need an extra 2–3 tablespoons of water to keep the dough from crumbling apart when you try to roll it. Chickpea flour behaves a bit more like wheat flour and usually needs less adjustment. This version works well for dogs with wheat sensitivities or dogs on a general grain-free diet plan.
If your dog shows signs of a food issue, like scratching more than usual or licking their paws repeatedly, it’s worth reading up on excessive licking and food allergies before switching ingredients long-term, just to rule out other causes first.
3.2 Anti-Inflammatory Cheesy Chicken Treats for Joints

For senior dogs or dogs with stiff joints, you can turn this recipe into an anti-inflammatory dog treat for joints with just a couple of small additions to the classic dough.
Add ½ teaspoon of ground turmeric and 1 teaspoon of fish oil (like salmon oil) to the classic dough recipe before adding water. Turmeric has natural anti-inflammatory properties that many dog owners use to support aging joints, and fish oil supports joint lubrication while also giving the coat a nice shine over time.
Extra tip: Add a pinch of black pepper along with the turmeric. It’s a small trick that helps the body absorb turmeric more effectively, since turmeric on its own isn’t absorbed very well.
Bake exactly like the classic recipe, just note the biscuits may turn slightly yellow from the turmeric — that’s completely normal and doesn’t affect the taste in any way your dog will notice.
3.3 Vegan Cinnamon Dog Treats (Dairy-Free Version)
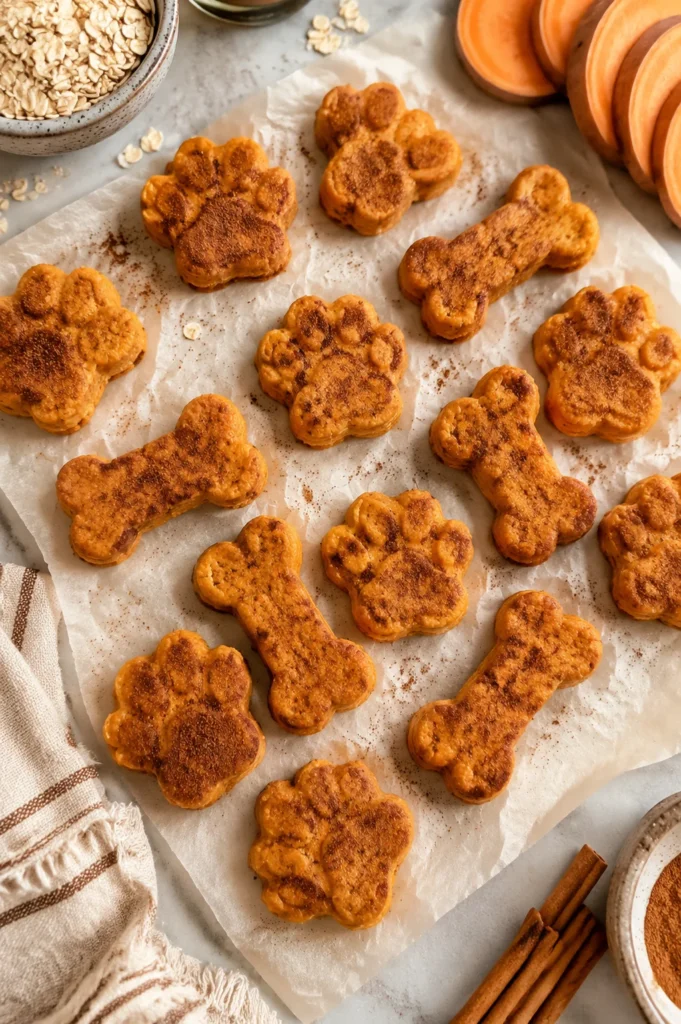
If your dog can’t handle dairy, or you simply want a plant-based option to rotate into their treat routine, this vegan cinnamon dog treat swaps out both the chicken and the cheese entirely.
Ingredients:
- 1 cup mashed sweet potato or canned pumpkin (plain, not pie filling)
- 1½ cups oat flour
- ¼ teaspoon ground cinnamon
- 2 tablespoons unsweetened applesauce (replaces the egg)
- 2–3 tablespoons water
Instructions:
- Mix the mashed sweet potato, oat flour, and cinnamon in a bowl until well combined.
- Stir in the applesauce, then add water slowly until a firm dough forms. The dough should feel similar to the chicken-based versions — firm enough to hold its shape but not crumbly.
- Roll to ¼-inch thickness and cut into shapes using the same method as the classic biscuit recipe.
- Bake at 350°F (175°C) for 20 minutes, until firm and lightly golden around the edges.
- Cool completely before storing, following the same cooling rule as the other baked versions.
This version has no chicken and no dairy, making it a good rotation option if you’re trying to reduce animal protein in your dog’s diet, watch for allergies, or just want to add some variety to their weekly treat jar. Cinnamon adds a warm, mild flavor that many dogs enjoy, and it’s considered safe for dogs in small amounts.
4. Storage & Freezing Guide
How you store these treats depends heavily on which version you made, since baked treats last much longer than soft or no-bake versions. Here’s a simple breakdown to keep things organized.
| Recipe Version | Room Temperature | Refrigerator | Freezer |
|---|---|---|---|
| Oven-Baked Biscuits | 1–2 weeks | 3–4 weeks | 4–6 months |
| Air Fryer Bites | Not recommended | 1–2 weeks | 3 months |
| No-Bake Fridge Treats | Not recommended | 5 days | 2 months |
| Vegan Cinnamon Treats | 1 week | 3 weeks | 4 months |
Always store treats in an airtight container, regardless of which method you used. Glass containers with tight-fitting lids work especially well for the crunchy oven-baked biscuits, since they help keep out extra moisture from the air.
If you go through treats fast and find yourself constantly digging through cabinets looking for the treat bag, it might be worth setting up a small treat jar or organized space near your dog’s feeding area. This guide on organizing treats at home has some good layout ideas if you want to make treat time a little more convenient for both you and your dog.
A quick freezing tip: Freeze biscuits in a single layer on a tray first, then transfer them to a freezer bag once they’re solid. This stops them from sticking together in one big frozen block, which makes it much easier to grab just a few at a time instead of thawing the whole batch.
When thawing frozen biscuits, leave them at room temperature for about 10–15 minutes, or let them sit in the fridge overnight if you’re planning ahead. Avoid microwaving them, since that can create hot spots and change the texture unevenly.
5. Troubleshooting: Fixing Common Dough Problems
Even simple recipes can go sideways the first time you make them. Here’s how to fix the most common issues so your next batch comes out right.
Problem: The dough is too crumbly. Add water one teaspoon at a time until it holds together when pressed in your fist. Crumbly dough usually means there wasn’t quite enough liquid to bind the flour, chicken, and cheese together.
Problem: The dough is too sticky. Add flour one tablespoon at a time until it stops sticking to your hands. This is the opposite problem, and it’s just as easy to fix — a little extra flour brings the dough back to the right consistency.
Problem: The biscuits burned on the edges. Your oven may run hot, which is more common than people realize. Lower the temperature by 25 degrees next time and check a few minutes early to catch them before the edges turn too dark.
Problem: The center stayed raw or gummy. Roll the dough thinner next time — no more than ¼ inch thick. Thick dough needs longer bake times and can stay raw or gummy in the middle even when the outside looks perfectly done.
Problem: The treats fell apart after baking. This usually means there wasn’t enough egg or binder in the mix. Add an extra egg to the classic recipe, or an extra tablespoon of yogurt in the air fryer version, to help everything hold together better next time.
Problem: My dog isn’t interested. Try using dark meat chicken, which has a stronger smell than white meat, or add a small splash of low-sodium chicken broth to the dough for extra flavor. Some dogs simply prefer a stronger scent, and a little broth can make a noticeable difference without adding much liquid to the dough.
6. Why Chicken and Cheese Work So Well for Dogs
Chicken is a lean protein that most dogs love, and it’s gentle on their stomachs when it’s plain and fully cooked without any added seasoning. It also gives a boost of B vitamins that support energy levels and help keep their nervous system functioning properly.
Cheese adds a strong smell and rich flavor that dogs find hard to resist, which is part of why it works so well in training treats. In small amounts, it also provides calcium and a bit of extra protein on top of what the chicken already offers.
The catch is that cheese is high in fat, and some dogs don’t digest lactose particularly well, which can lead to loose stool or an upset stomach if they get too much. That’s why this recipe uses cheese as a flavor add-in rather than a main ingredient — a little goes a long way, and you don’t need much to get your dog excited.
If you’re using these treats during training sessions, pairing them with the right method matters just as much as the treat itself. Learning about reward-based training methods can help you get the most out of every treat you hand out, since timing and consistency often matter more than the treat’s flavor alone.
For puppies trying this recipe for the first time, it’s smart to introduce new foods slowly and check in with guidance from your puppy’s vet care checklist before adding new treats to their regular routine, just to make sure everything lines up with their current diet and any health considerations.
7. Final Thoughts
You don’t need a fancy kitchen setup to make treats your dog will lose their mind over. A little chicken, a little cheese, and about 20 minutes of your time is really all it takes to put together a batch that beats anything from a store shelf.
Whichever method you choose — crunchy oven-baked biscuits, quick air fryer bites, or a no-bake fridge version — the goal is the same. A treat made with real, simple ingredients that you know went into it yourself, without any of the fillers or preservatives found in a lot of packaged options.
Once you’ve got this one down, it’s easy to build a small rotation of homemade snacks so your dog never gets bored of the same flavor week after week. If you want to keep expanding your dog’s treat jar, this collection of homemade dog treat recipes is a good next stop for more ideas to try.
Now go shred that chicken, grate that cheese, and get baking. Your dog is already waiting by the oven, tail wagging, hoping today is the day.

Izzy is an experienced ranch worker who has a passion for exploring nature and getting up close to wildlife. With her connections to various animal organizations, Izzy is well-versed in animal care and rehabilitation.