Fresh Breath Dog Gummies: 6 Easy Homemade Ways to Fight Doggy Breath
Your dog trots over, plants a big wet kiss on your face, and then it hits you. Dragon breath.
If that sounds familiar, you’re far from alone. Bad breath is one of the most common complaints dog owners have. The good news is that you can make something fun and useful right in your own kitchen.
Fresh Breath Dog Gummies are chewy, bite-sized treats made with simple ingredients that freshen your dog’s breath and give them a tasty reward. They’re easy to make and cheap compared to store-bought dental chews. You also control exactly what goes in them.
In this guide, you’ll get six different recipes, each in a copy-ready recipe card. You’ll also learn how to store, serve, and fix your gummies. We keep the background info short and put it at the end, so you can start cooking right away.
If you love making treats at home, you’ll also enjoy these homemade dog treat recipes.
Quick safety rule before we start: never use xylitol (a sweetener that is toxic to dogs), onion, garlic, essential oils, or sugary flavorings in any of these recipes. Read every label.
1. Recipe One: Classic Parsley and Mint Fresh Breath Dog Gummies
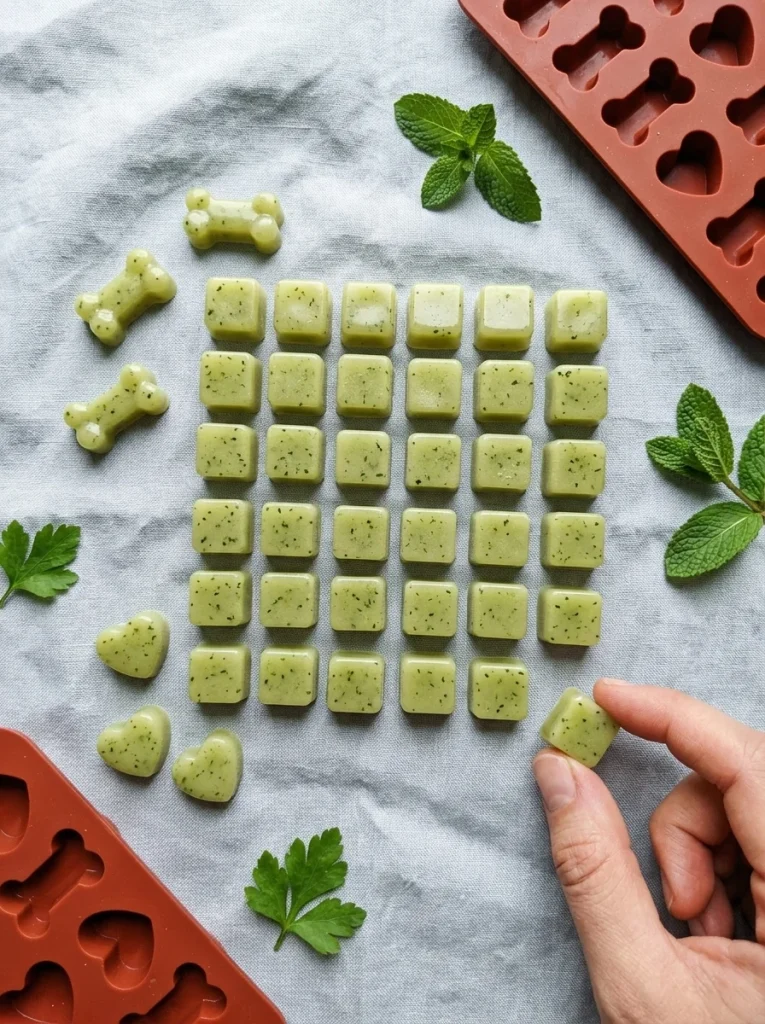
This is your base recipe. It uses gelatin, fresh herbs, and a splash of applesauce to make a firm, chewy gummy that holds its shape. Once you master this one, the other five recipes are easy.
a) Best For
- First-time gummy makers
- Dogs of any size
- Dogs that like soft, chewy treats
b) The Recipe Card
Prep Time: 15 minutes
Cook Time: 5 minutes
Freeze or Chill Time: 1 to 2 hours in the fridge
Yield: About 40 small gummies (half-inch size)
Ingredients:
- 1 cup cool water
- 2 tablespoons fresh parsley, chopped
- 1 tablespoon fresh spearmint, chopped
- 2 tablespoons unsweetened applesauce (no added sugar or xylitol)
- 3 tablespoons plain, unflavored gelatin powder (not gelatin dessert mix)
Instructions:
- Blend the water, parsley, spearmint, and applesauce until smooth.
- Pour half of the blended mix into a bowl. Sprinkle the gelatin on top and let it sit for 5 minutes until it looks wrinkly.
- Heat the other half of the mix in a small pot until steaming. Do not let it boil.
- Pour the hot mix into the gelatin bowl and stir until the gelatin fully dissolves.
- Pour the mixture into small silicone molds or a flat pan.
- Chill in the fridge for 1 to 2 hours until firm.
- Pop the gummies out of the molds, or cut them into squares.
Notes:
- Keep the herbs small in amount. A little goes a long way.
- Use plain parsley and spearmint only. Never use essential oils or mint extract.
- Store in the fridge for up to 7 days.
c) Tips for a Firm, Chewy Texture
The secret to great Fresh Breath Dog Gummies is the gelatin ratio. For firm gummies, you need about three tablespoons of gelatin per cup of liquid. Less than that and you get jiggly cubes that fall apart in your hand.
Here are a few more quick tips:
- Bloom the gelatin first. Letting it soak in cool liquid keeps it from clumping.
- Don’t boil it. Very high heat can weaken gelatin.
- Use a flat pan for easy cutting. Pour the mix about half an inch deep, then cut with a small knife or pizza cutter.
- Blend the herbs well. Big herb chunks can sink to the bottom.
2. Recipe Two: Frozen Yogurt Breath Bites
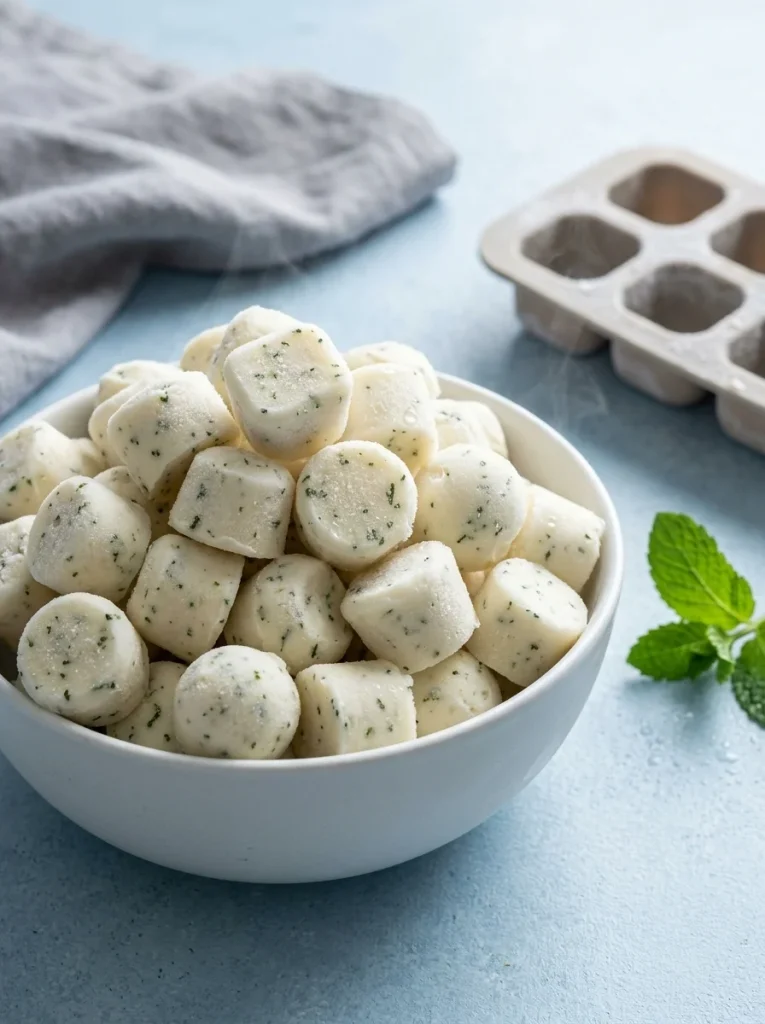
Hot day? Training session? These cold, creamy bites are a great option. They’re also the easiest recipe in the guide, since there is no cooking at all.
a) Best For
- Summer treats
- Teething puppies (the cold feels good on sore gums)
- Dogs that handle dairy well
b) The Recipe Card
Prep Time: 10 minutes
Cook Time: None
Freeze or Chill Time: 3 to 4 hours in the freezer
Yield: About 24 mini bites
Ingredients:
- 1 cup plain, unsweetened yogurt (check that it has no xylitol)
- 2 tablespoons fresh parsley, finely chopped
- 1 tablespoon fresh spearmint, finely chopped
- 1 tablespoon water
Instructions:
- Add the yogurt, parsley, spearmint, and water to a bowl.
- Stir until well mixed.
- Spoon the mixture into a mini silicone mold or an ice cube tray.
- Tap the mold on the counter to remove air bubbles.
- Freeze for 3 to 4 hours until solid.
- Pop the bites out and serve right away.
Notes:
- Some dogs are sensitive to lactose. Start with one bite and watch for loose stools.
- Greek yogurt is thicker and holds its shape better.
- Store frozen bites in a sealed container for up to 2 months.
c) Tips for Frozen Yogurt Bites
Frozen treats can be hard on teeth if they’re frozen too solid. Let the bite sit out for one or two minutes before you hand it over. This is especially helpful for small dogs and seniors.
A few more ideas:
- Use small molds. Mini bites are easier to portion.
- Stir well. This spreads the herbs so every bite has them.
- Line a plate with parchment. If you scoop dollops instead of using molds, the frozen drops lift off easily.
3. Recipe Three: Bone Broth Gelatin Gummies
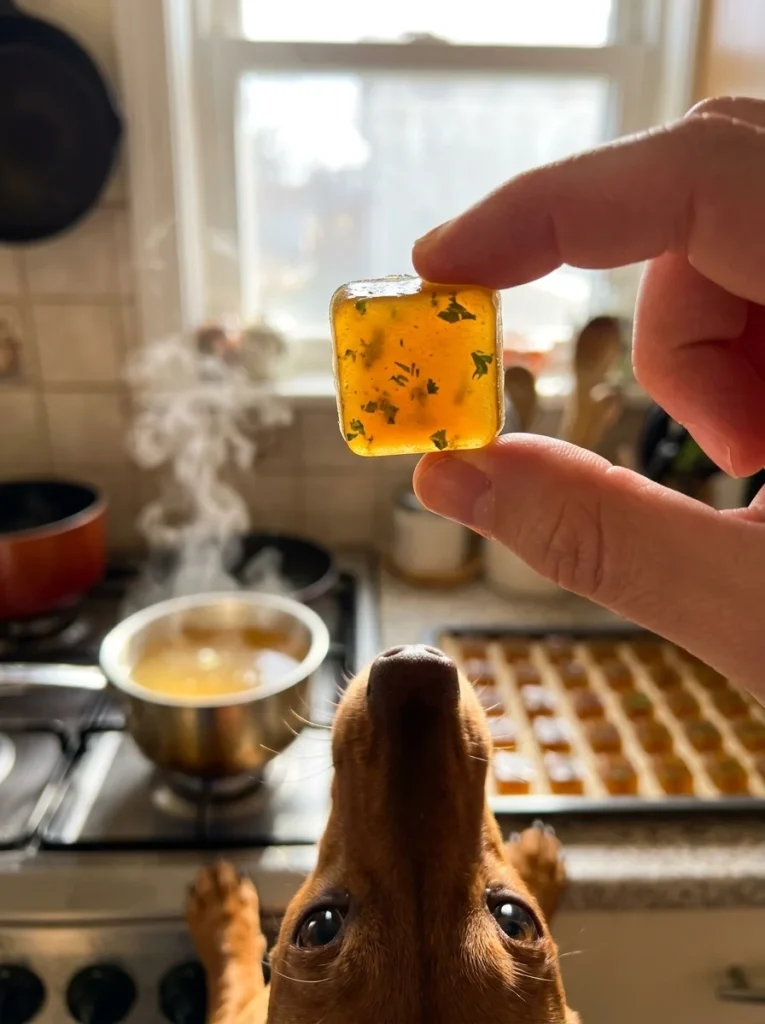
Most dogs go wild for the smell of broth. That makes this the best recipe for picky eaters. It’s also a savory take on gummies, so there’s no fruit flavor at all.
a) Best For
- Picky eaters
- Dogs that ignore sweet or fruity treats
- Dogs on a low-dairy diet
b) The Recipe Card
Prep Time: 10 minutes
Cook Time: 5 minutes
Freeze or Chill Time: 2 hours in the fridge
Yield: About 30 gummies
Ingredients:
- 1 cup low-sodium bone broth (no onion, no garlic)
- 3 tablespoons plain, unflavored gelatin powder
- 1 tablespoon fresh parsley, finely chopped
Instructions:
- Pour half a cup of cool broth into a bowl.
- Sprinkle the gelatin over it and wait 5 minutes.
- Warm the other half cup of broth in a small pot until steaming.
- Pour the warm broth into the bowl and stir until the gelatin dissolves.
- Stir in the chopped parsley.
- Pour into molds or a flat pan.
- Chill for 2 hours, then pop out or cut into small squares.
Notes:
- Check the label. Many store-bought broths contain onion or garlic, which are toxic to dogs.
- You can make your own broth by simmering plain beef or chicken bones in water. Strain well and skim off the fat.
- Keep in the fridge for up to 5 days. Broth gummies spoil a little faster.
c) Tips for Broth Gummies
Broth is salty, so choose low-sodium or unsalted broth when you can. Too much salt isn’t good for any dog, especially small ones or those with heart or kidney problems.
Here is how to get great results:
- Skim the fat. Fatty broth can make gummies greasy and cause an upset stomach.
- Cool the broth a bit before pouring. Steaming hot liquid can warp thin silicone molds.
- Expect a strong smell. Your dog will love it. You may not.
If your dog likes chewing on tougher treats too, check out these dog bone treats for ideas on safe chewing.
4. Recipe Four: Baked Chewy Breath Treats (No-Gelatin Option)
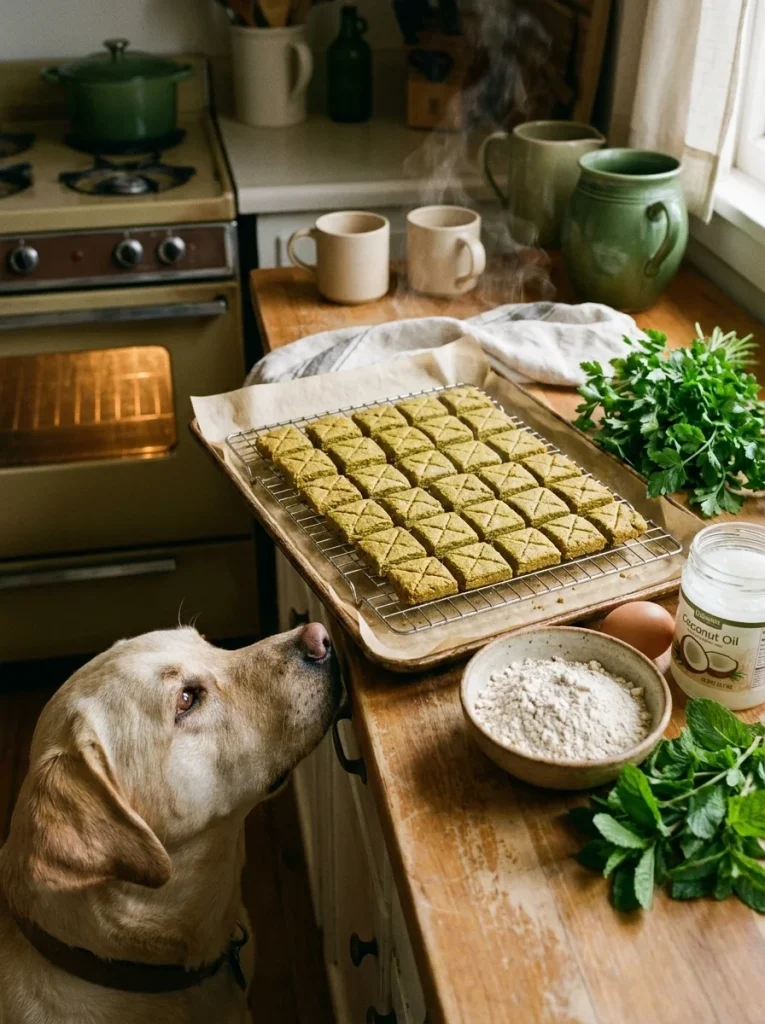
Not every kitchen has gelatin on hand. This recipe uses oat flour and bakes into soft, chewy squares. They behave like gummies but hold up much better at room temperature, so they travel well.
a) Best For
- Dogs that don’t tolerate gelatin well
- Road trips and walks (no fridge needed)
- Owners who like a longer shelf life
b) The Recipe Card
Prep Time: 15 minutes
Cook Time: 20 to 25 minutes
Freeze or Chill Time: None (cool for 30 minutes on a rack)
Yield: About 36 small squares
Ingredients:
- 1 cup oat flour (blend plain oats in a blender to make your own)
- 1 egg
- 1/4 cup unsweetened applesauce
- 1 tablespoon coconut oil, melted
- 2 tablespoons fresh parsley, finely chopped
- 1 tablespoon fresh spearmint, finely chopped
- 2 to 3 tablespoons water, as needed
Instructions:
- Heat your oven to 325°F (160°C) and line a baking sheet with parchment paper.
- Mix the egg, applesauce, and coconut oil in a large bowl.
- Stir in the parsley and spearmint.
- Add the oat flour and mix. Add water a spoonful at a time until a soft dough forms.
- Press the dough flat on the baking sheet, about a quarter inch thick.
- Score it into small squares with a knife.
- Bake for 20 to 25 minutes. For chewier treats, stop closer to 20 minutes.
- Cool fully, then break apart along the lines.
Notes:
- Baked treats are softer and shorter-lived than store-bought biscuits, so store them in the fridge for up to 7 days or freeze for 2 months.
- If your dog is allergic to eggs or oats, swap in a flour your vet approves.
- Always let the treats cool before serving.
c) Tips for Baked Treats
The baking time controls the texture. A shorter bake gives a soft chew, and a longer bake gives a crunchy biscuit. Neither is wrong. Pick the one your dog likes best.
A few helpful tricks:
- Roll the dough between parchment sheets. This stops sticking and gives an even thickness.
- Score before baking. Cutting hot treats is tricky.
- Break one open to test. If the center is wet, give it five more minutes.
5. Recipe Five: Jiggly Lick-Mat Gummy Spread
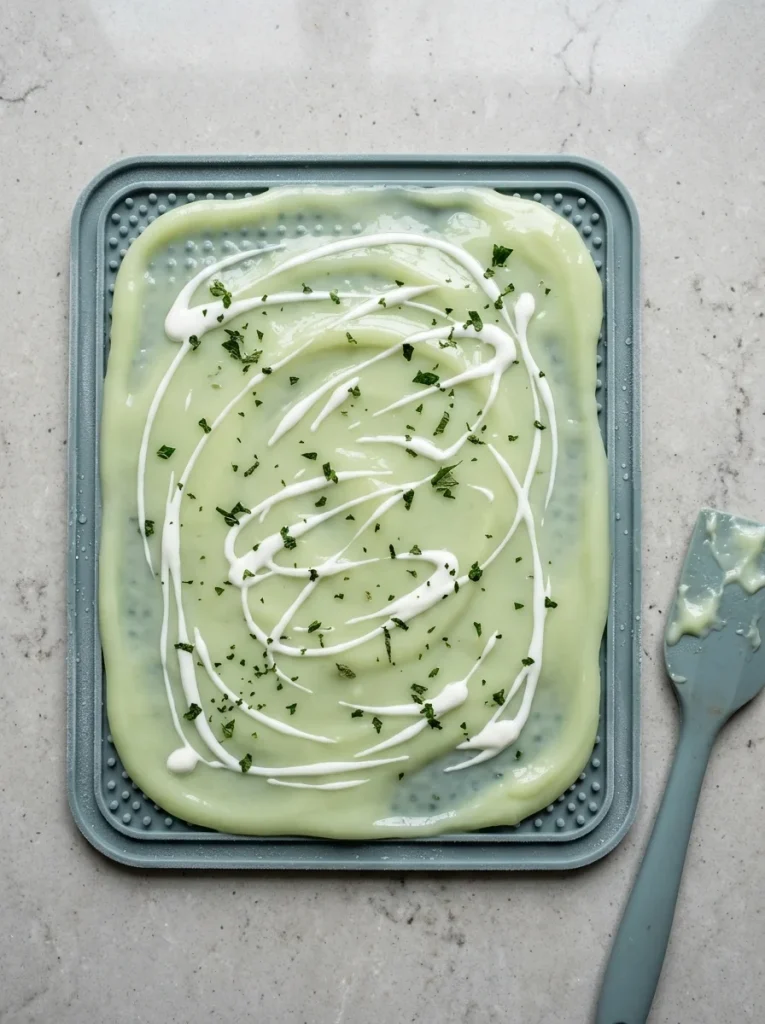
This one is a little different. Instead of firm gummies, you make a soft, spreadable gel. You press it onto a lick mat and freeze it. Your dog then spends 10 to 20 minutes licking it off, which is a fun brain game.
a) Best For
- Dogs that need something to do (crate time, vet visits, bath time)
- Dogs that gulp treats too fast
- Hot days
b) The Recipe Card
Prep Time: 10 minutes
Cook Time: 5 minutes
Freeze or Chill Time: 2 hours in the freezer
Yield: 1 large lick mat (2 to 3 servings)
Ingredients:
- 1 cup water
- 2 tablespoons plain, unflavored gelatin powder
- 1/2 cup plain, unsweetened yogurt
- 1 tablespoon fresh parsley, finely chopped
- 1 teaspoon fresh spearmint, finely chopped
Instructions:
- Pour half a cup of cool water into a bowl and sprinkle in the gelatin. Wait 5 minutes.
- Heat the other half cup of water until steaming, then stir it into the bowl until dissolved.
- Let the mixture cool for 10 minutes.
- Whisk in the yogurt, parsley, and spearmint.
- Pour or spread the mix onto a silicone lick mat.
- Freeze for 2 hours.
- Serve right away, with your dog supervised.
Notes:
- This uses less gelatin on purpose. You want a soft, lickable gel, not a firm chew.
- Wash the mat right after use. Dried gel is hard to scrub off.
- Always watch your dog. Lick mats are for supervised time only.
c) Tips for Lick-Mat Treats
Licking is naturally calming for dogs, which is why lick mats are so popular. But if your dog licks nonstop (floors, paws, furniture), that can point to stress or a health problem. Our guide on excessive licking in dogs explains when it’s normal and when it isn’t.
More ideas:
- Spread it thin. A thin layer lasts longer and is easier to lick.
- Prep two mats. Freeze one while your dog uses the other.
- Use a small cup mold for tiny dogs. A full mat can be too much for them.
6. Recipe Six: Powdered Supplement Gummies (Dental Powder Boost)
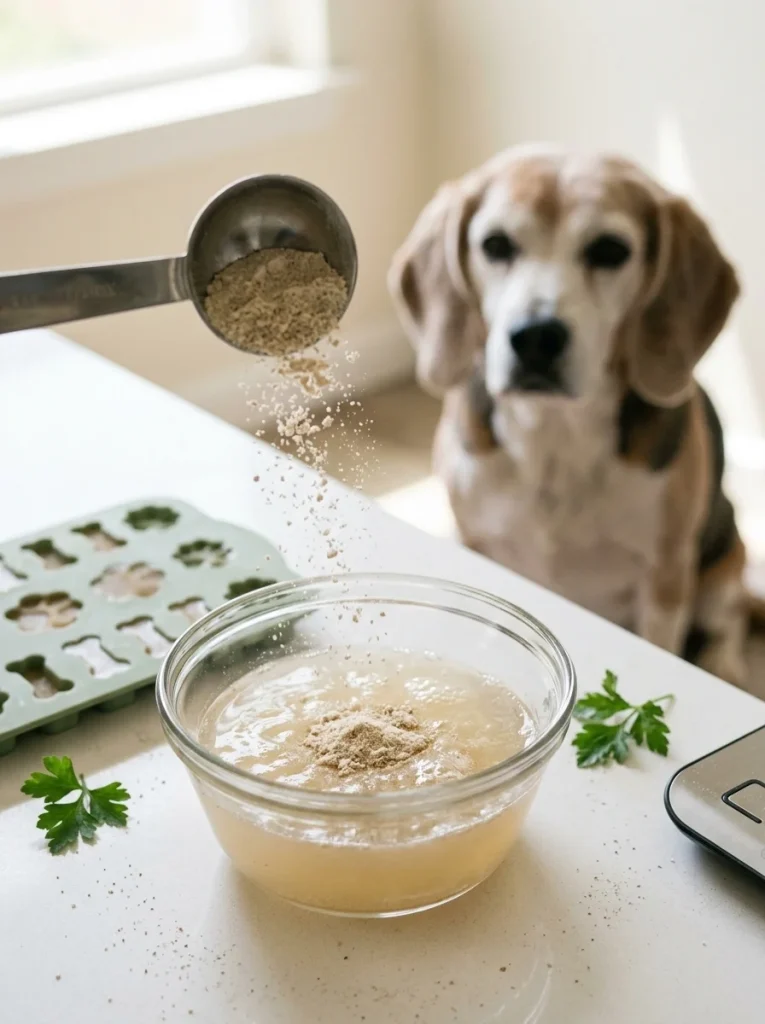
Some owners already use a dental powder for dogs. These powders sprinkle on food and are made to support oral health. The problem is that some dogs refuse to eat food that has powder on it.
The fix is simple. Hide the powder inside a gummy. Dogs think they’re getting a treat, and you get the dose in without a fight.
a) Best For
- Dogs that turn up their nose at powder on food
- Owners who want a steady daily routine
- Dogs already on a dental powder recommended by a vet
b) The Recipe Card
Prep Time: 15 minutes
Cook Time: 5 minutes
Freeze or Chill Time: 2 hours in the fridge
Yield: About 30 gummies
Ingredients:
- 1 cup bone broth (low-sodium, no onion or garlic) or water
- 3 tablespoons plain, unflavored gelatin powder
- Dog dental powder (see the math in the notes)
- 1 tablespoon fresh parsley, finely chopped
Instructions:
- Pour half a cup of cool broth into a bowl and sprinkle in the gelatin. Wait 5 minutes.
- Warm the other half cup until steaming and stir it in until the gelatin dissolves.
- Let the mixture cool for 5 to 10 minutes.
- Stir in the dental powder and parsley until fully mixed.
- Pour into molds.
- Chill for 2 hours until firm.
Notes:
- Do the math. Check the label for your dog’s daily dose. Multiply it by the number of days the batch will last. For example, if your dog gets 1/4 teaspoon a day, and you plan 2 gummies a day for 15 days, add 15 times 1/4 teaspoon (about 3.75 teaspoons) to the batch.
- Add the powder after cooling so heat doesn’t break down active ingredients.
- Talk to your vet before starting any supplement.
c) Tips for Supplement Gummies
Keep the amount of powder in each gummy even. Stir well and, if possible, use molds of equal size. That way, every gummy gives the same dose.
Also keep these points in mind:
- Pick products with proof. The Veterinary Oral Health Council (VOHC) lists products that have been tested for plaque or tartar control.
- Don’t double up. If your dog already gets powder on dinner, skip it in the gummies.
- Track the dose. Write the date and batch amount on the container lid.
How to Store, Serve, and Portion Fresh Breath Dog Gummies
You’ve made your gummies. Now let’s make sure they last and that your dog gets the right amount.
a) Storage Guide
| Recipe | Fridge | Freezer |
|---|---|---|
| Parsley and Mint Gummies | Up to 7 days | Up to 2 months |
| Frozen Yogurt Bites | N/A | Up to 2 months |
| Bone Broth Gummies | Up to 5 days | Up to 2 months |
| Baked Chewy Treats | Up to 7 days | Up to 2 months |
| Lick-Mat Spread | N/A | Up to 1 month |
| Supplement Gummies | Up to 7 days | Up to 2 months |
Use airtight containers, and place parchment between layers so gummies don’t stick together. Throw away any gummy that smells sour or looks slimy.
Want a neat home for all your homemade goodies? These treat station ideas show how to keep everything organized and in easy reach.
b) How Many Gummies Per Day?
Gummies are treats, not meals. As a rule, treats should make up no more than about 10 percent of your dog’s daily calories.
Here is a simple starting point for half-inch gummies:
- Tiny dogs (under 10 pounds): 1 gummy a day
- Small dogs (10 to 25 pounds): 1 to 2 gummies a day
- Medium dogs (25 to 50 pounds): 2 to 3 gummies a day
- Large dogs (over 50 pounds): 3 to 4 gummies a day
Start with half this amount for the first few days. If your dog’s stomach is fine, you can move up.
c) Tips for Picky Eaters and Small Dogs
- Cut gummies smaller. Tiny dogs can choke on big pieces.
- Warm them slightly. A few seconds out of the fridge brings out the smell.
- Use them as rewards. Hand a gummy over after a good trick. This builds a habit your dog actually enjoys.
- Rotate recipes. Dogs can get bored of one flavor.
If you’re training a new puppy, small gummies make great rewards. Our essential puppy training tips show how to use treats the right way.
Troubleshooting: Why Your Gummies Aren’t Setting
Even simple recipes go wrong sometimes. Here are the most common problems and quick fixes.
a) Gummies Are Too Soft or Runny
Cause: Not enough gelatin, or the gelatin never fully dissolved.
Fix: Warm the mixture again, stir in another tablespoon of bloomed gelatin, and chill again. Also, make sure you used plain gelatin powder, not a sweet dessert mix.
b) Gummies Are Rubbery or Too Hard
Cause: Too much gelatin.
Fix: Next time, cut the gelatin by half a tablespoon. For the current batch, cut them into smaller bits so they’re easier to chew.
c) Herbs Sank to the Bottom
Cause: Herbs were chopped too big, or the mix was poured while too hot.
Fix: Blend the herbs fully, then let the mix cool for 5 minutes before pouring. Give it a quick stir right before it goes in the mold.
d) Gummies Are Sticky
Cause: Too much moisture in the fridge, or storing them while still warm.
Fix: Pat them dry with a paper towel, then let them air-dry for 20 minutes. Store with parchment between layers.
e) Fresh Pineapple or Kiwi Won’t Set
Cause: Some fresh fruits (pineapple, kiwi, papaya) contain enzymes that break down gelatin.
Fix: Skip these fruits, or cook them first. Applesauce, pumpkin, and parsley are safe, steady choices.
f) Baked Treats Are Crumbly
Cause: The dough was too dry.
Fix: Add water one spoonful at a time until the dough holds together when pressed.
Quick Notes: Why Dogs Get Bad Breath and When to Call the Vet
Here’s the short version of the background info, since you came here to cook.
a) The Most Common Causes
Most doggy breath comes from bacteria in the mouth. These bacteria build up into plaque, then harden into tartar. That leads to gum disease, which smells awful.
Other causes include:
- Eating smelly things (trash, poop, or other gross finds)
- Dry mouth
- Tooth damage or broken teeth
- Certain foods
Curious about the weird things dogs eat? Our post on whether dogs can eat cockroaches is a fun (and slightly gross) read.
b) What Gummies Can and Can’t Do
Fresh Breath Dog Gummies can help mask odor and offer a bit of cleaning from chewing and fresh herbs. They are a nice add-on, not a replacement for brushing or vet care.
The best mouth routine has three parts:
- Brush your dog’s teeth when you can.
- Offer safe chews or gummies.
- Schedule regular dental checkups.
If you already do your own home care, adding brushing to your home grooming routine is easy.
c) Signs It’s Time to See the Vet
Call your vet if you notice:
- A sudden, very strong smell (sweet, fruity, or like ammonia)
- Red, swollen, or bleeding gums
- Drooling more than usual
- Trouble eating or dropping food
- A loose or broken tooth
- Brown or yellow buildup on the teeth
A strange breath smell can sometimes point to problems with the kidneys, liver, or blood sugar. Don’t wait on these signs.
If you have a young dog, learn what checkups to plan in our guide to puppy vet needs.
Conclusion
Fresh Breath Dog Gummies are a simple way to turn a smelly problem into a tasty daily moment. You now have six recipes to try: classic parsley and mint, frozen yogurt bites, savory broth gummies, baked chewy treats, lick-mat spread, and powder-boosted gummies.
Start with Recipe One. It takes about 20 minutes of work, and you’ll know right away if your dog loves it. Then branch out to the others based on your dog’s taste, size, and needs.
Keep these three rules in mind:
- Check every label for xylitol, onion, and garlic.
- Keep treats small and stick to the portion guide.
- Pair gummies with brushing and vet visits for the best results.
Your dog’s next kiss could smell a lot better.

Izzy is an experienced ranch worker who has a passion for exploring nature and getting up close to wildlife. With her connections to various animal organizations, Izzy is well-versed in animal care and rehabilitation.