4 Ingredient Pumpkin Dog Biscuits: Easy Homemade Recipe Your Pup Will Love
Some dog treat recipes read like a chemistry experiment — fifteen ingredients, three specialty flours, and a trip to a health food store. These 4 ingredient pumpkin dog biscuits are the opposite. Just pumpkin purée, peanut butter, an egg, and flour, mixed in one bowl and baked into crunchy, golden biscuits your dog will lose their mind over. No preservatives, no mystery ingredients, and no complicated techniques. If you can stir and roll, you can make these.
Pumpkin is one of the best things you can feed your dog. It is packed with fiber for healthy digestion, loaded with vitamins A and C, and most dogs find the taste irresistible. Combined with protein-rich peanut butter and a simple flour base, these biscuits deliver real nutrition in a treat your pup will think is pure indulgence. Let us get baking.
4 Ingredient Pumpkin Dog Biscuits Recipe
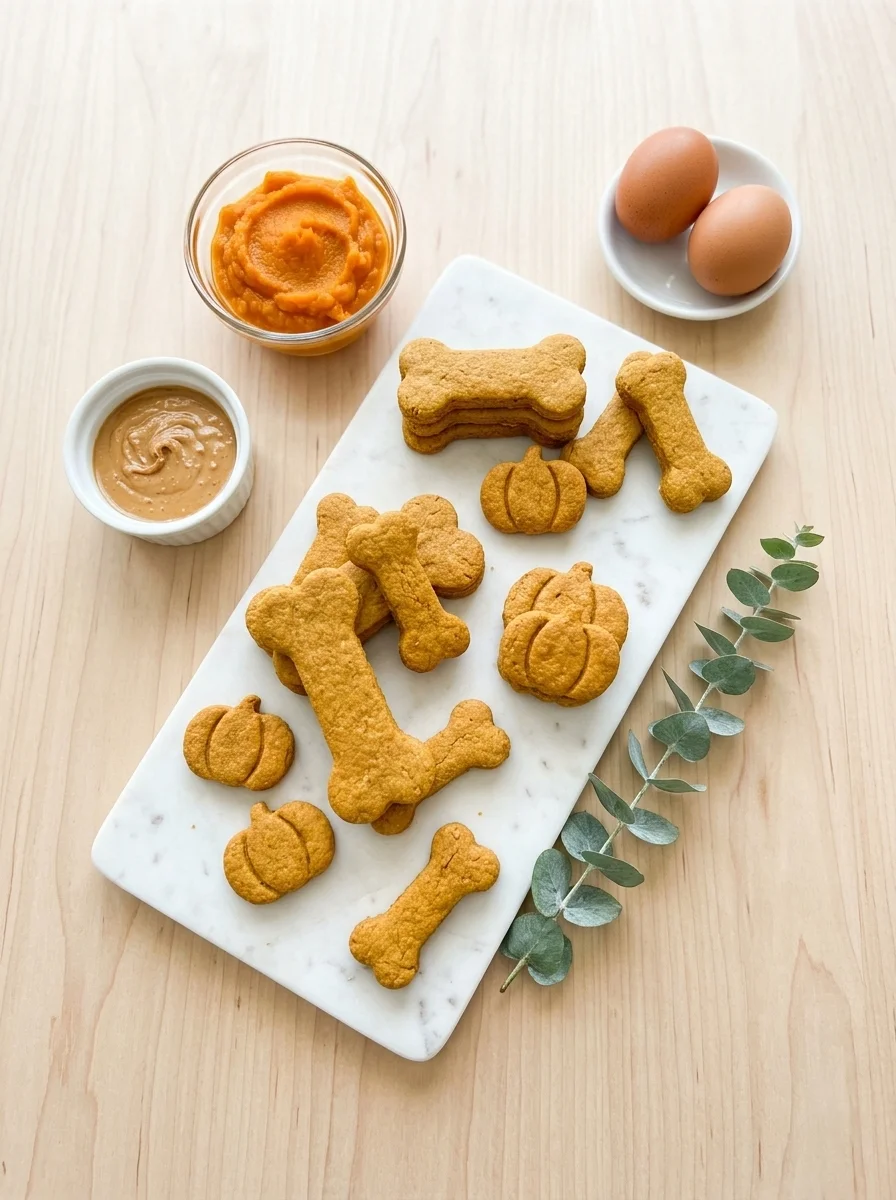
This is the base recipe — simple, forgiving, and endlessly adaptable. Once you have made it once, you will have it memorized. The dough comes together in about five minutes, and the hardest part is waiting for them to cool before your dog gets a taste.
Ingredients
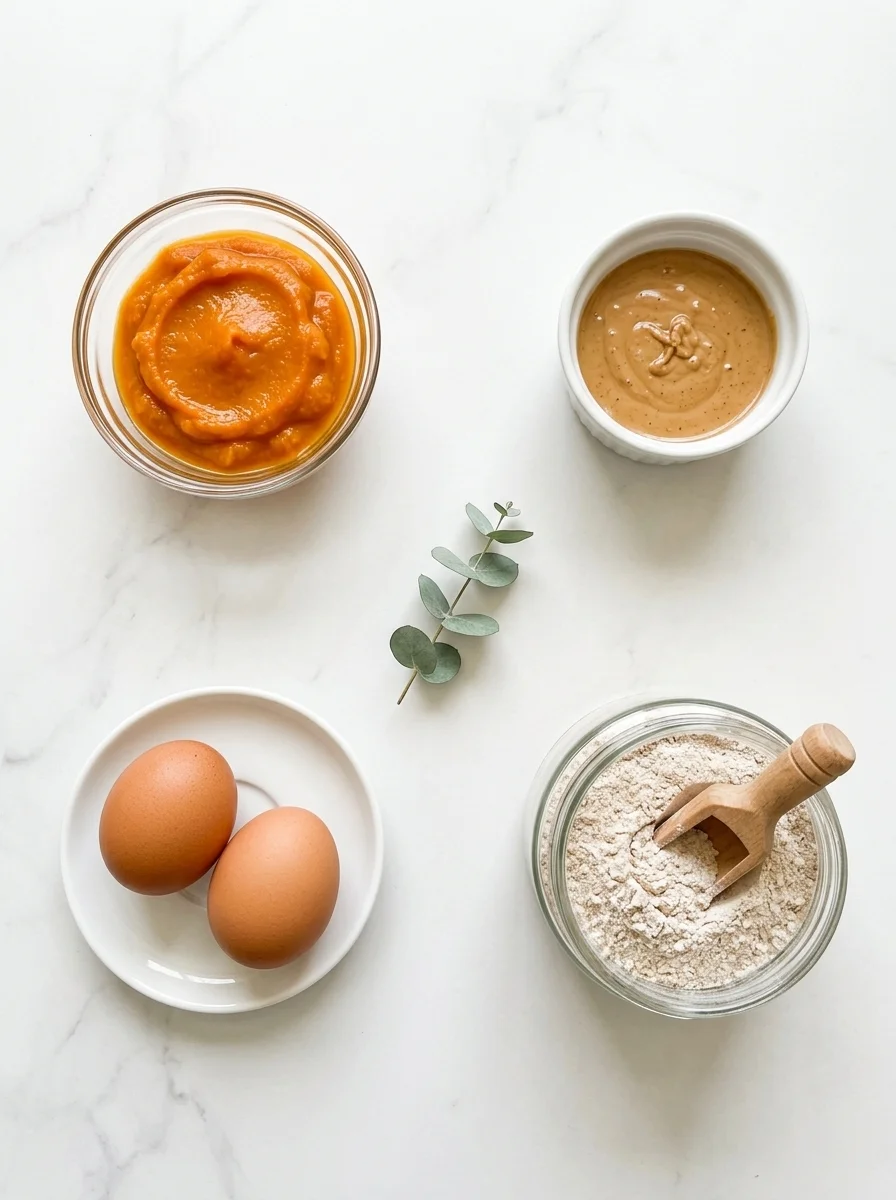
- 1 cup plain pumpkin purée — not pumpkin pie filling, which contains sugar and spices. Plain canned pumpkin (or homemade) is what you want.
- 1/2 cup smooth peanut butter — xylitol-free is non-negotiable. Check the label every time; xylitol is deadly to dogs.
- 1 large egg — acts as the binder that holds everything together and adds protein.
- 2 cups whole wheat flour — plus a little extra for dusting your work surface. Oat flour works as a substitute if your dog is sensitive to wheat.
That is genuinely it — four ingredients. Each one earns its place. The pumpkin brings moisture, fiber, and flavor. The peanut butter adds protein and healthy fats plus the taste dogs go crazy for. The egg binds the dough so your biscuits hold their shape. And the flour gives them structure and that satisfying crunch.
Step-by-Step Instructions
- Preheat your oven to 350°F (175°C). Line two baking sheets with parchment paper. This prevents sticking and makes cleanup effortless.
- Mix the wet ingredients. In a large bowl, stir together the pumpkin purée, peanut butter, and egg until completely smooth. Take an extra thirty seconds here — you want zero streaks of peanut butter.
- Add the flour gradually. Pour in the whole wheat flour one cup at a time, stirring after each addition. The dough will go from sticky to shaggy to smooth. If it feels too wet, add flour a tablespoon at a time.
- Knead briefly. Turn the dough onto a lightly floured surface and knead 4–5 times until it forms a cohesive ball. Do not overwork it — just enough to bring it together.
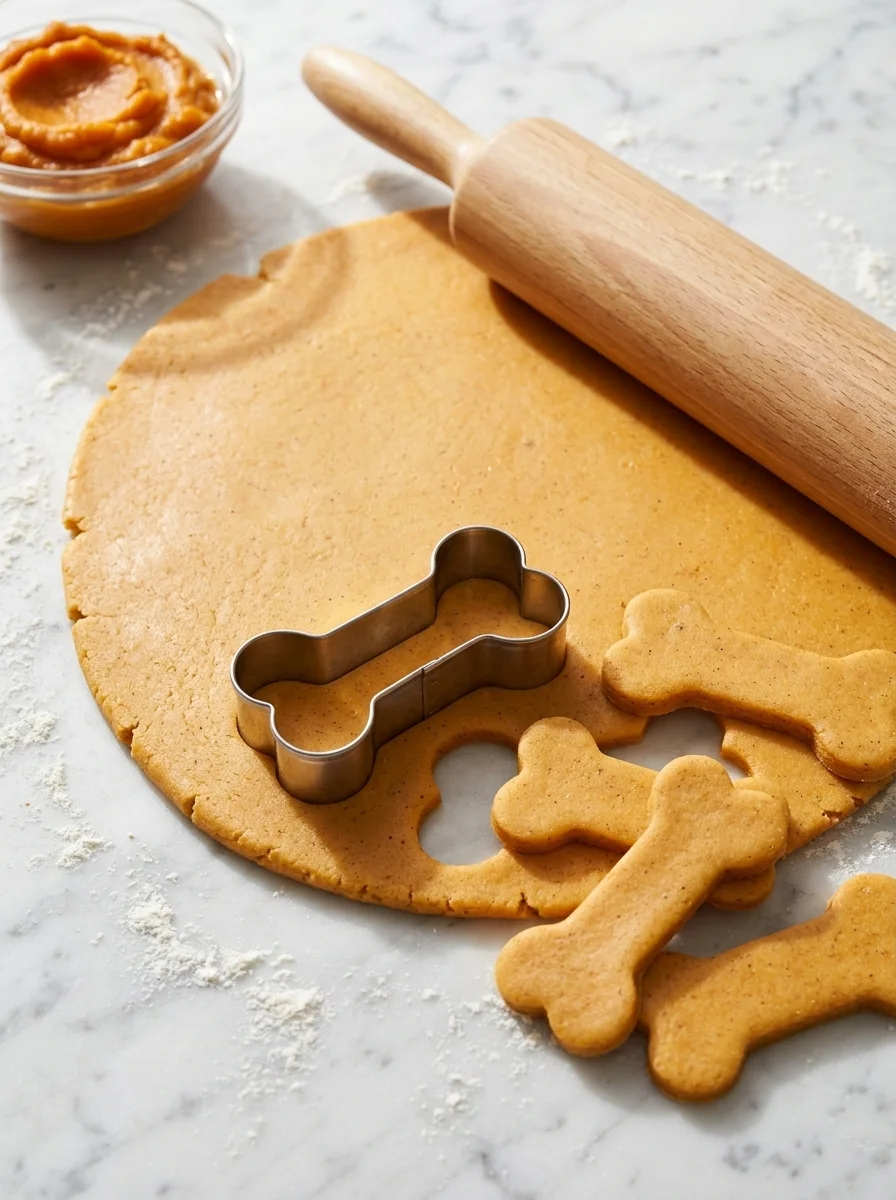
- Roll it out. Using a rolling pin, roll the dough to about 1/4-inch thickness. Thinner biscuits bake up crunchier; thicker ones stay a little chewy in the center.
- Cut your shapes. Use cookie cutters (bone shapes are classic) or a simple round cutter. Press straight down without twisting for the cleanest edges. Gather and re-roll scraps once — after that the dough gets tough.
- Arrange on baking sheets. Place biscuits about an inch apart. They do not spread much, so you can fit plenty on each sheet.
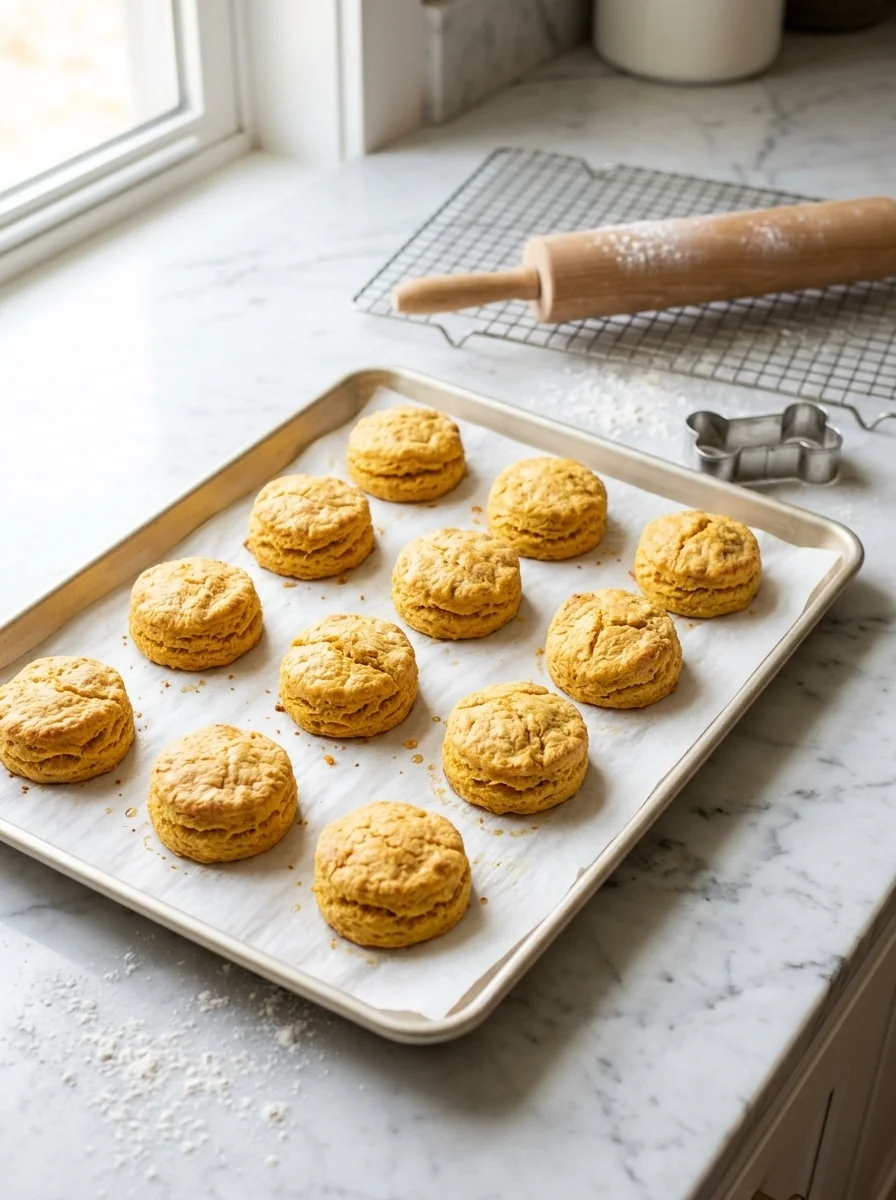
- Bake for 25–30 minutes. They are done when the edges are golden brown and the tops feel firm to the touch. For extra-crunchy biscuits, turn off the oven and leave them inside for another hour to dry out.
- Cool completely. Transfer to a wire rack and let them cool for at least 30 minutes. They crisp up further as they cool — do not judge the texture while they are warm.
Recipe Notes
Flour matters. Whole wheat flour gives the sturdiest, crunchiest biscuit. If your dog has a wheat sensitivity, oat flour is an excellent 1:1 substitute — just grind rolled oats in a blender until fine.
Watch the peanut butter. Some brands have quietly added xylitol (also listed as birch sugar) to their recipes. Read the ingredients every single time you buy a new jar. When in doubt, choose a brand whose only ingredients are peanuts and salt.
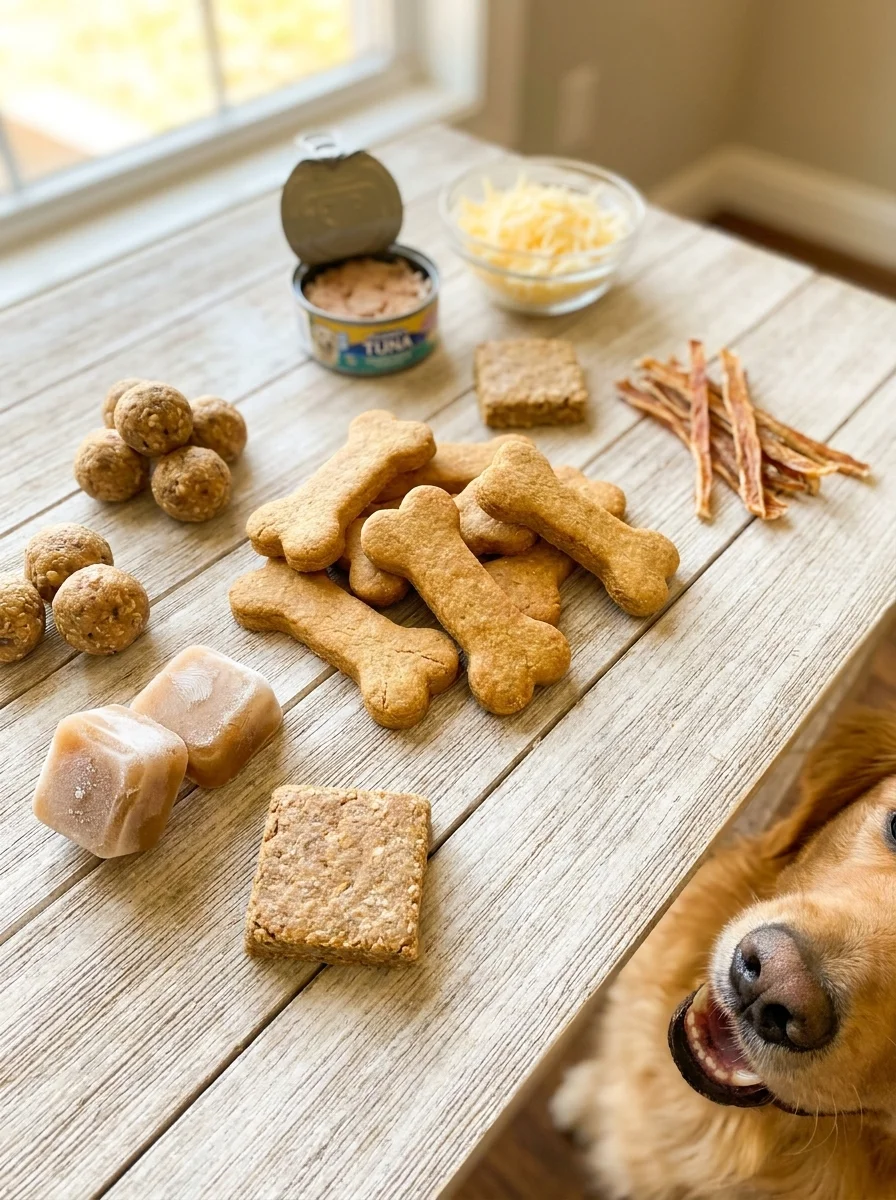
Size them for your dog. Use small cutters for tiny breeds and larger ones for big dogs. You can also break big biscuits in half for training treats — these are sturdy enough to snap cleanly.
Why Pumpkin Is So Good for Dogs
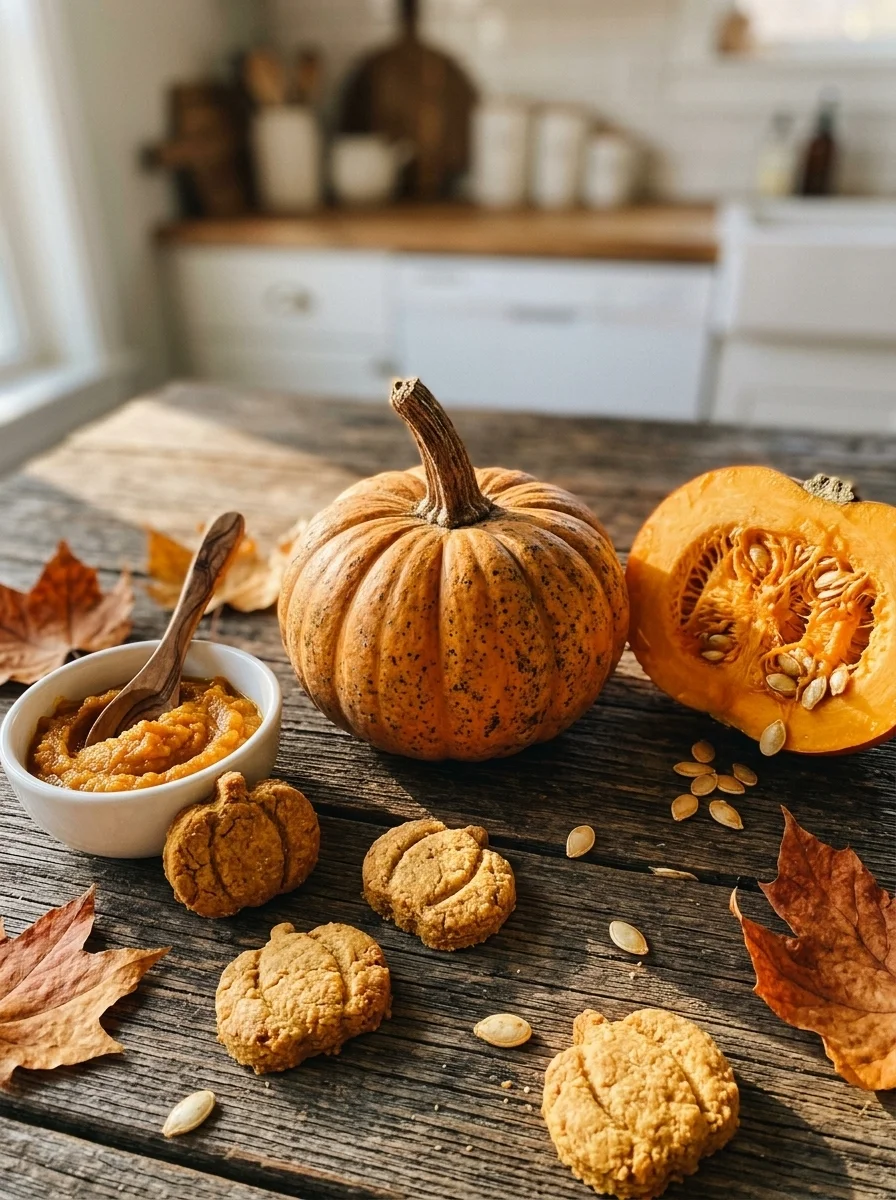
Pumpkin is not just a tasty filler — it is genuinely one of the healthiest whole foods you can add to your dog’s diet. The soluble fiber in pumpkin helps regulate digestion, which is why vets often recommend it for dogs with upset stomachs, constipation, or diarrhea. A couple of these biscuits can be a gentle way to keep things moving smoothly.
Beyond fiber, pumpkin is rich in vitamin A for eye health and immune support, vitamin C as an antioxidant, and potassium for muscle function. It is also naturally low in fat and calories, so these biscuits will not pack on the pounds the way many commercial treats do. The beta-carotene that gives pumpkin its orange color converts to vitamin A in your dog’s body, supporting skin and coat health too.
One important note: always use plain pumpkin purée, never pumpkin pie filling. Pie filling contains sugar, cinnamon, nutmeg, and other additives that are not appropriate for dogs in treat quantities. Canned plain pumpkin is available year-round and works perfectly — just double-check the label says “100% pumpkin” and nothing else.
Easy 4-Ingredient Variations to Try
Once you have the base recipe down, these variations keep things interesting. Each one stays true to the four-ingredient spirit — simple swaps, same easy method.
Apple Cinnamon Biscuits
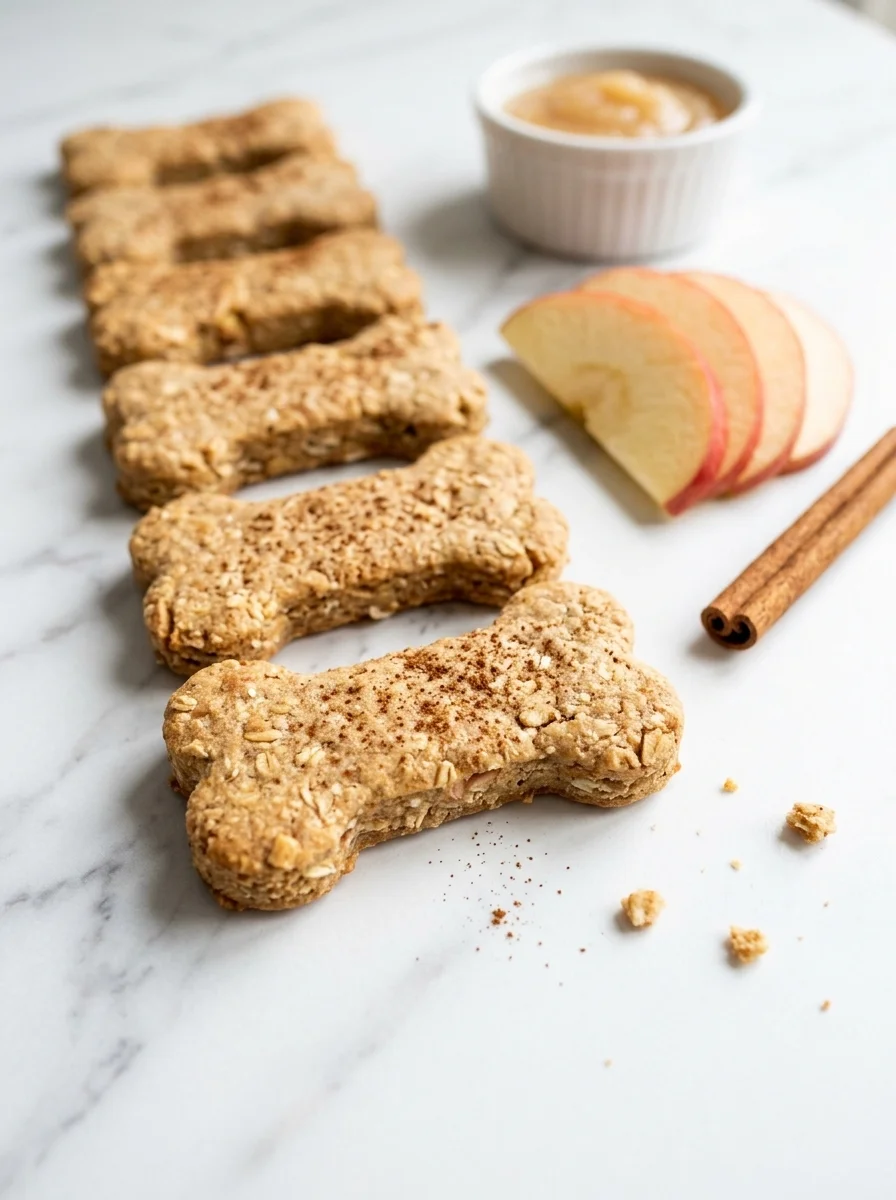
Swap the pumpkin purée for 1 cup of unsweetened applesauce and add 1/2 teaspoon of cinnamon to the flour. Apples bring natural sweetness and extra vitamin C, and the cinnamon adds warmth that smells incredible while baking. Everything else stays exactly the same — same bake time, same method. These are especially popular in the fall, and the kitchen smells amazing.
Banana Oat Biscuits
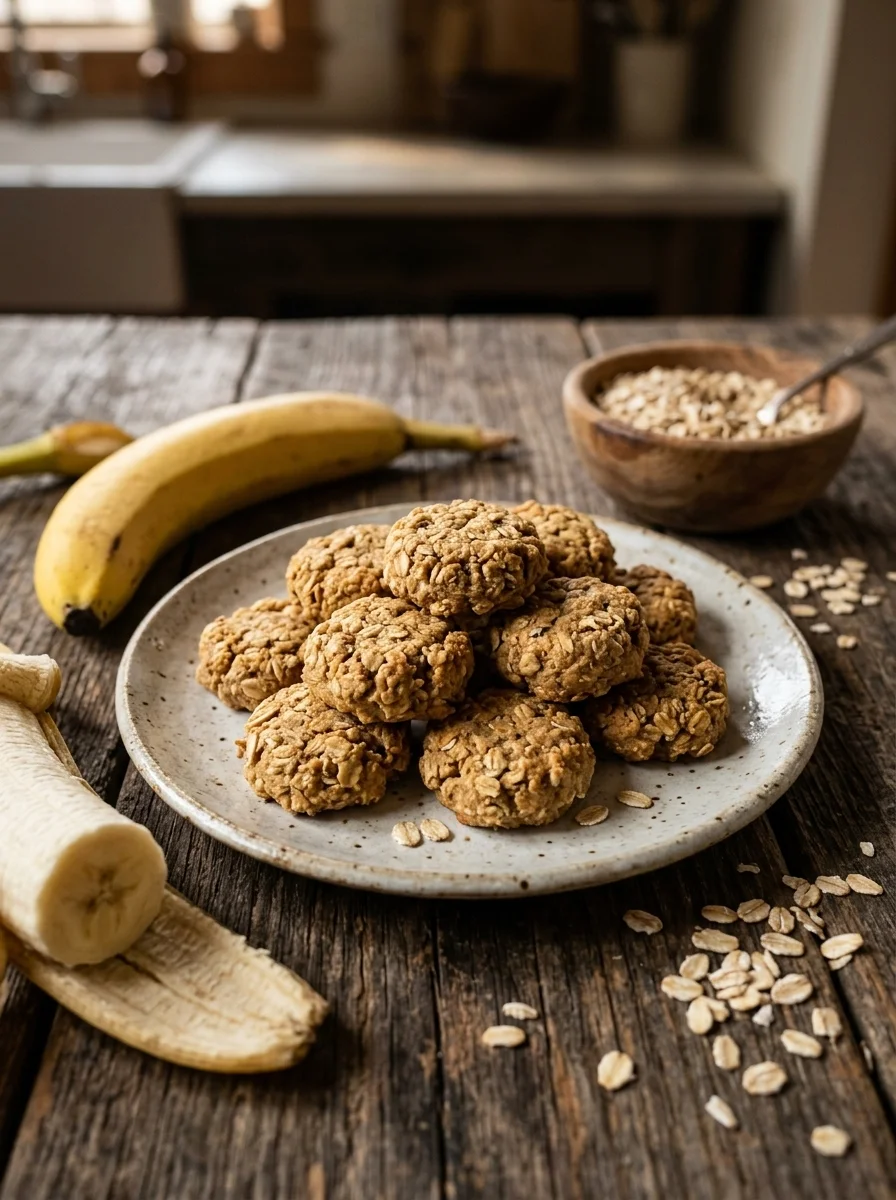
Replace the pumpkin with 1 cup of mashed ripe banana and swap the whole wheat flour for 2 cups of oat flour. The banana makes these slightly sweeter and softer, so add an extra 5 minutes to the bake time if you want them crunchy. Bananas are packed with potassium and most dogs find them irresistible — this is the variation to try if your pup is a picky eater.
Sweet Potato Biscuits
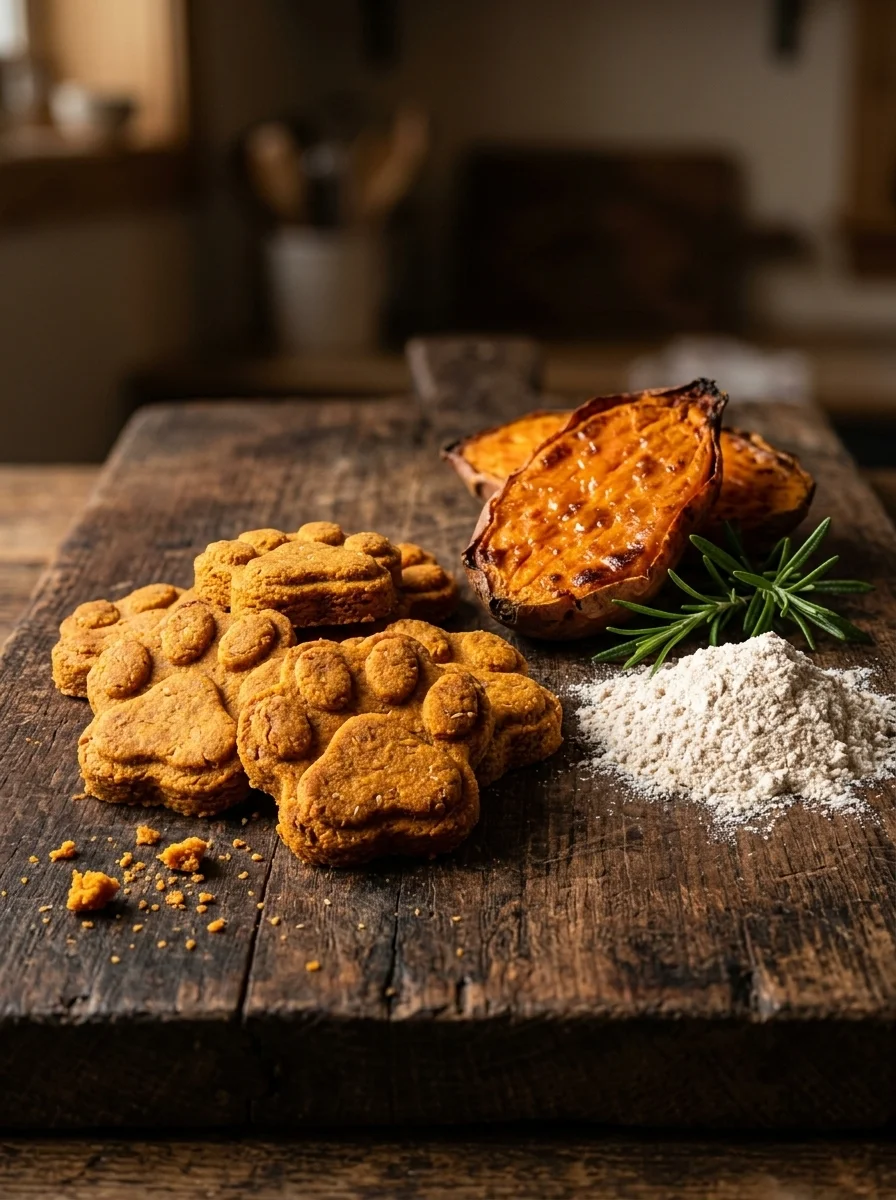
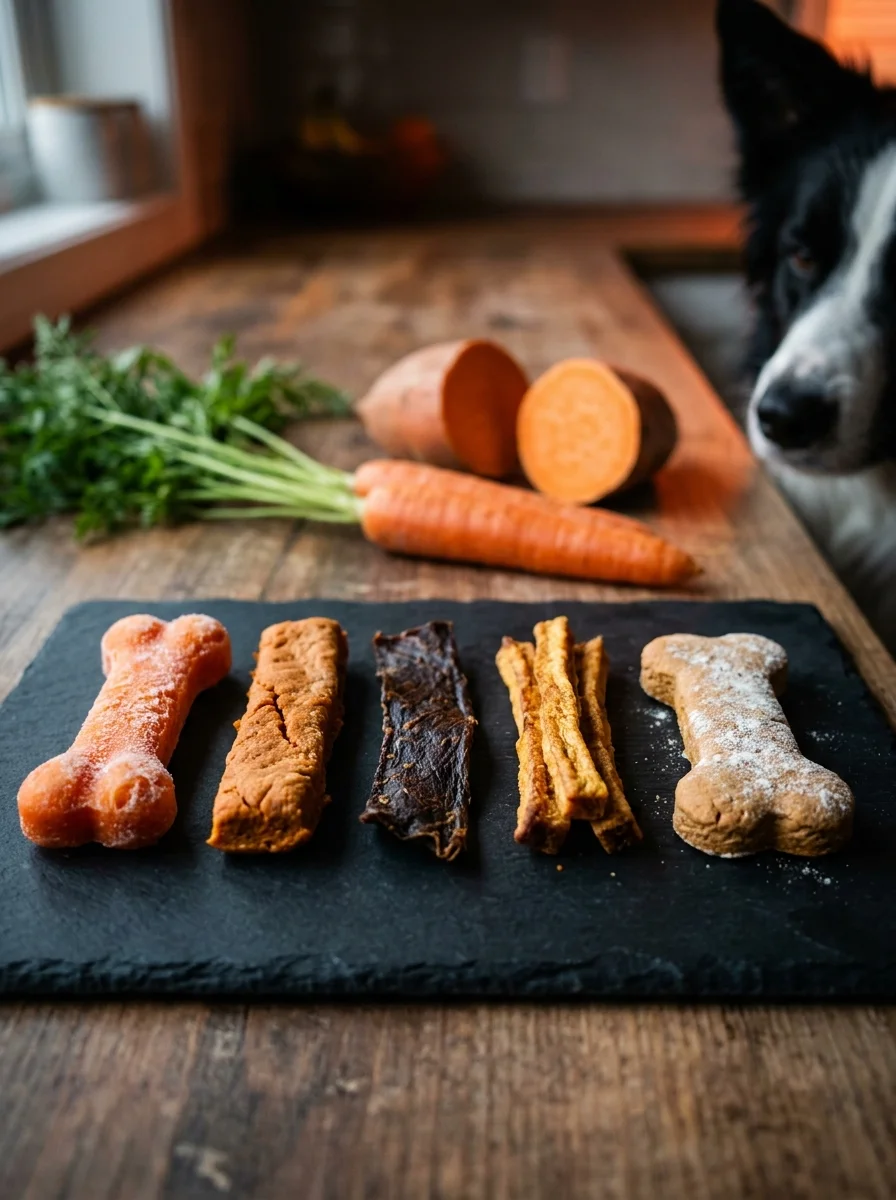
Use 1 cup of mashed cooked sweet potato instead of pumpkin. Sweet potatoes are nutritional powerhouses for dogs — loaded with fiber, beta-carotene, and vitamins B6 and C. The dough will be slightly stickier than the pumpkin version, so keep extra flour handy for dusting. Bake as directed; the finished biscuits have a beautiful deep orange color.
How to Store Your Dog Biscuits
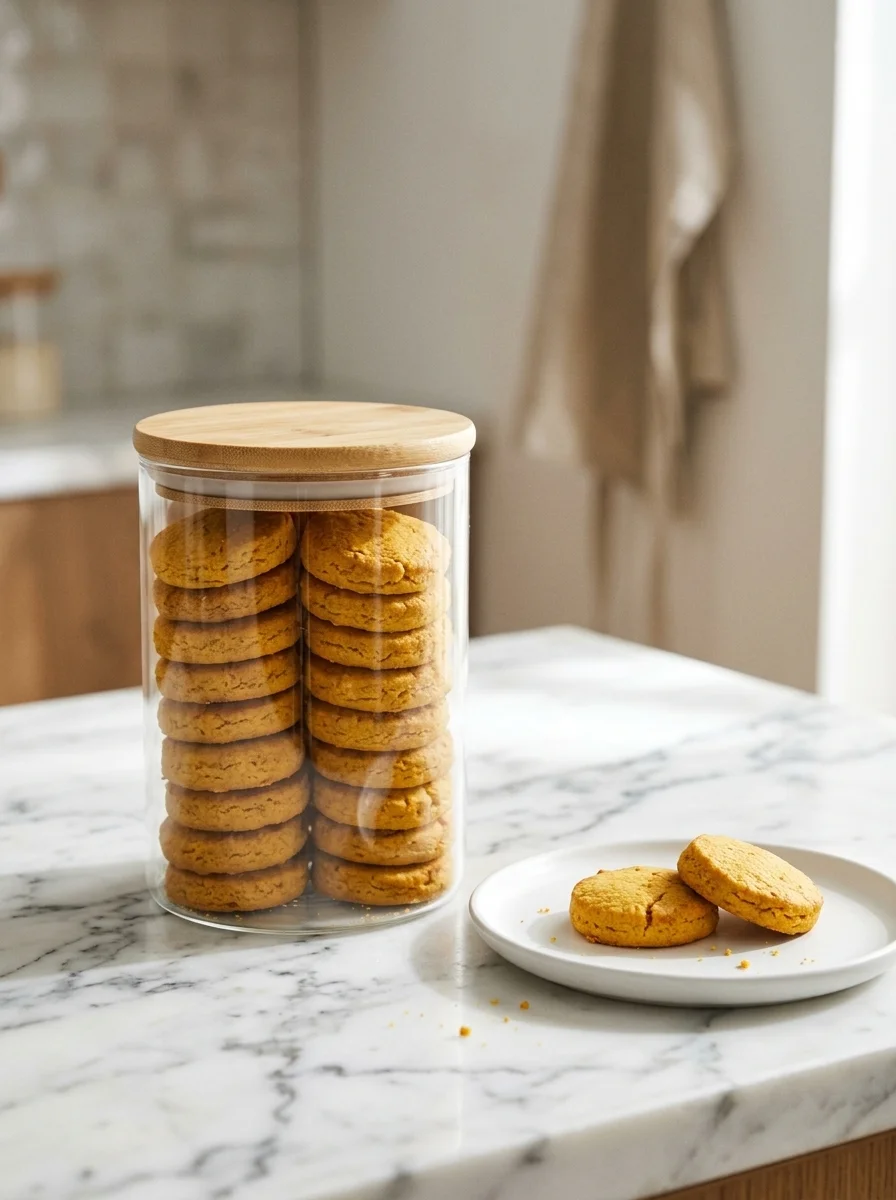
Because these biscuits contain no preservatives, proper storage matters. At room temperature in an airtight container, they stay fresh and crunchy for up to two weeks. Make sure they are completely cool before sealing the container — any trapped warmth creates condensation, which leads to soggy biscuits.
For longer storage, the refrigerator extends freshness to about three weeks, and the freezer keeps them perfect for up to three months. Freeze them in a single layer on a baking sheet first, then transfer to a freezer bag so they do not stick together. Thaw at room temperature for 15–20 minutes before serving — or serve them frozen on a hot day for a cooling crunch your dog will love.
If your biscuits ever lose their crunch, you can revive them: spread them on a baking sheet and pop them in a 300°F oven for 8–10 minutes. They will come out crisp again. Just let them cool fully before offering one to your eager taste-tester.
Tips for Perfect Biscuits Every Time
Chill sticky dough. If your kitchen is warm and the dough feels tacky, wrap it in plastic and refrigerate for 20 minutes. Cold dough rolls out cleanly and holds cutter shapes beautifully.
Invest in good cutters. Metal cutters give sharper edges than plastic ones, which means your bone and paw shapes actually look like bones and paws after baking. A basic set costs very little and lasts forever.
Batch and freeze. This recipe doubles easily — just use two bowls or one very large one. Bake in batches and freeze the extras so you always have homemade treats on hand. It is far cheaper than buying premium dog biscuits, and you control every ingredient.
Make them training-sized. For training sessions, roll the dough thinner (about 1/8 inch) and use a tiny cutter or a pizza wheel to make pea-sized squares. Small, crunchy, and low-calorie — everything a training treat should be. For more high-value training options, our ground turkey jerky for dogs is another protein-packed favorite.
Dogs with a sweet tooth might also enjoy our sweet potato frosting for dogs spread thinly on a cooled biscuit for special occasions — just keep the portion small.
Frequently Asked Questions
Final Thoughts
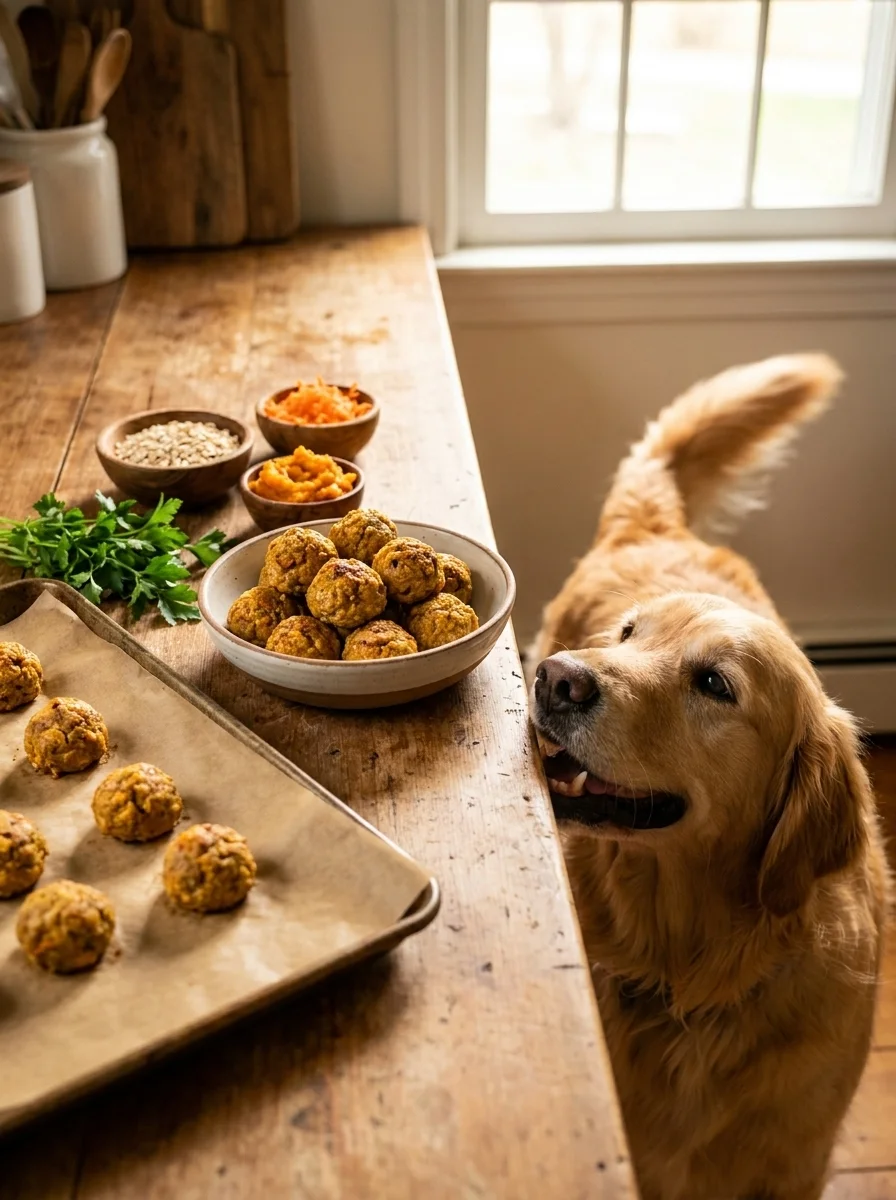
There is something deeply satisfying about pulling a tray of golden biscuits from the oven knowing exactly what went into them. Four ingredients, one bowl, zero guesswork — and a dog who will follow you around the kitchen for the rest of the day hoping for another one.
These 4 ingredient pumpkin dog biscuits prove that homemade treats do not need to be complicated to be wonderful. Start with the classic pumpkin version, then branch out into the apple, banana, or sweet potato variations as the seasons change. Your dog gets variety, you get simplicity, and everybody wins. If you enjoyed this recipe, you might also like our fluffy banana pancakes for dogs for a weekend breakfast treat, or our blueberry muffin dog treats for another easy baked option. Happy baking!

Izzy is an experienced ranch worker who has a passion for exploring nature and getting up close to wildlife. With her connections to various animal organizations, Izzy is well-versed in animal care and rehabilitation.