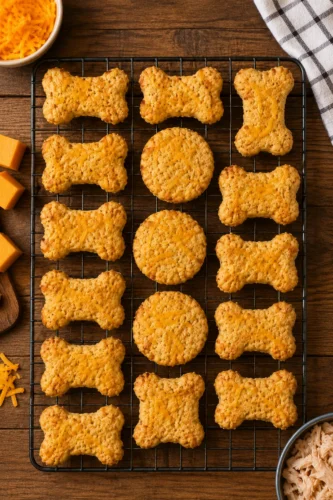
10 Homemade Diabetic Dog Treat Recipes Using Low-Glycemic Ingredients
If your dog has diabetes, treat time doesn’t have to disappear. You just need the right recipes. This guide gives you 10 homemade diabetic dog treat recipes that skip added sugar, use low-glycemic ingredients, and still taste like a reward instead of a punishment.
Store-bought “diabetic-friendly” treats can be expensive, and some brands hide sugar under names like molasses, honey, or fruit concentrate. Making treats at home means you control every ingredient that goes into your dog’s bowl. These recipes use whole foods like lean meat, oats, pumpkin, and low-sugar vegetables — the same kinds of ingredients found in traditional dog bones and treats, just rebalanced for a dog managing blood sugar.
Each recipe below comes with a clean, copy-ready recipe card: prep time, cook or freeze time, yield, ingredients, instructions, and notes. Jump to whichever one sounds tastiest, or work through all 10 to build a full treat rotation.
3 Quick Rules for Diabetic-Safe Treats
Before you start baking, keep these three rules in mind. They apply to every recipe in this article.
- Skip added sugar completely. No honey, syrup, molasses, or sweetened peanut butter. Even small amounts can spike blood glucose in a diabetic dog.
- Choose low-glycemic carbs. Oats, barley, and non-starchy vegetables release sugar into the bloodstream slowly. White flour, white rice, and potato skip that slow-release benefit.
- Keep portions small. Treats should stay under 10% of your dog’s daily calories, diabetic or not. A tiny cube or half a biscuit is usually plenty.
With those rules set, let’s get into the recipes.
10 Homemade Diabetic Dog Treat Recipes
Recipe #1: Baked Beef Liver Squares
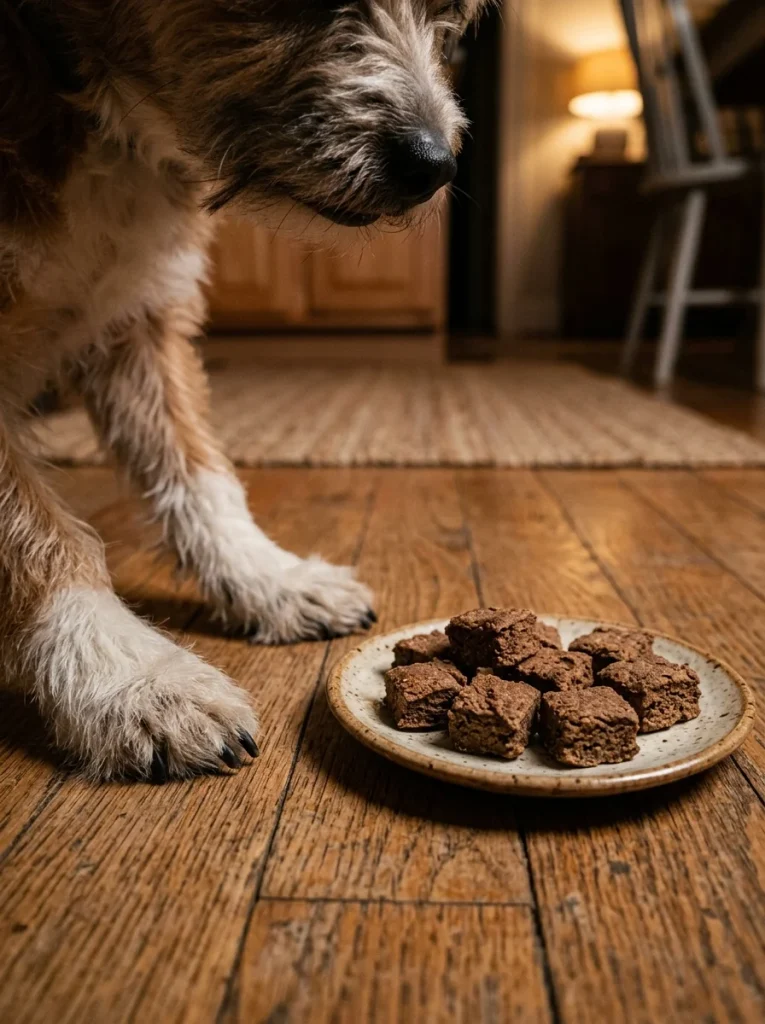
Liver is naturally low in carbohydrates and high in protein, which makes it a smart base for a diabetic dog’s treat rotation. It also has a strong smell dogs love, so it works well as a high-value training reward too.
Prep Time: 15 minutes Cook Time: 15 minutes Yield: About 40 small squares
Ingredients:
- 1½ pounds beef liver, cut into chunks
- ½ cup whole wheat or oat flour
- 2 large eggs
Instructions:
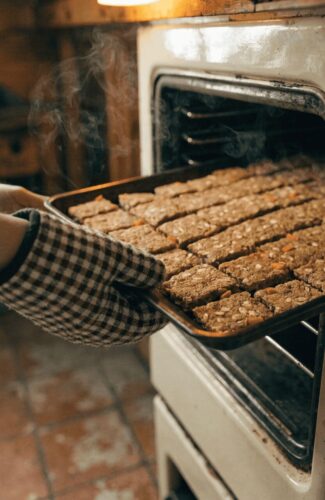
- Preheat the oven to 350°F. Line a 10×15-inch baking pan with parchment paper.
- Place the liver in a food processor and pulse until finely chopped.
- Add the flour and eggs to the processor and blend until smooth. If your processor is too small, mix by hand in a bowl instead.
- Spread the mixture evenly across the prepared pan.
- Bake for 15 minutes, or until the center feels firm to the touch.
- Let cool completely, then cut into small squares with a pizza cutter.
Notes: The texture will be soft, almost sponge-like. Store in the refrigerator for up to 5 days, or freeze for up to 2 months. Because liver is rich, keep pieces bite-sized.
Recipe #2: No-Sugar Oat & Pumpkin Biscuits
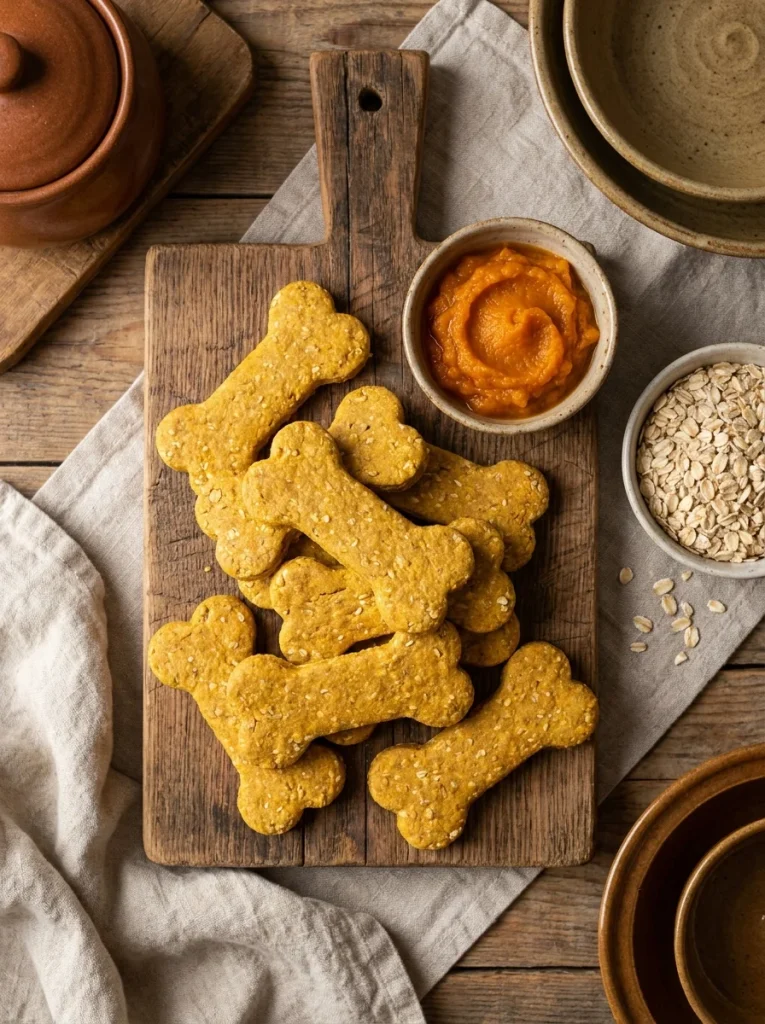
Oats have a lower glycemic index than wheat flour, and pumpkin adds fiber that slows digestion. This combination makes a crunchy, satisfying biscuit without any added sweetener.
Prep Time: 15 minutes Cook Time: 25 minutes Yield: About 24 biscuits
Ingredients:
- 2 cups rolled oats, ground into flour (use a blender or food processor)
- ½ cup plain canned pumpkin (not pumpkin pie filling)
- 1 large egg
- 2-3 tablespoons water, as needed
Instructions:
- Preheat the oven to 325°F. Line a baking sheet with parchment paper.
- In a bowl, mix the oat flour, pumpkin, and egg together.
- Add water a tablespoon at a time until the dough holds together without being sticky.
- Roll the dough out to about ¼-inch thickness on a floured surface.
- Cut into shapes with a cookie cutter and place on the baking sheet.
- Bake for 20-25 minutes, until firm and lightly golden.
- Turn off the oven and leave the biscuits inside for an extra 30 minutes to crisp up further.
Notes: For a crunchier biscuit, let them cool completely with the oven door slightly open. Store in an airtight container for up to 1 week.
Recipe #3: Peanut Butter & Apple Training Bites
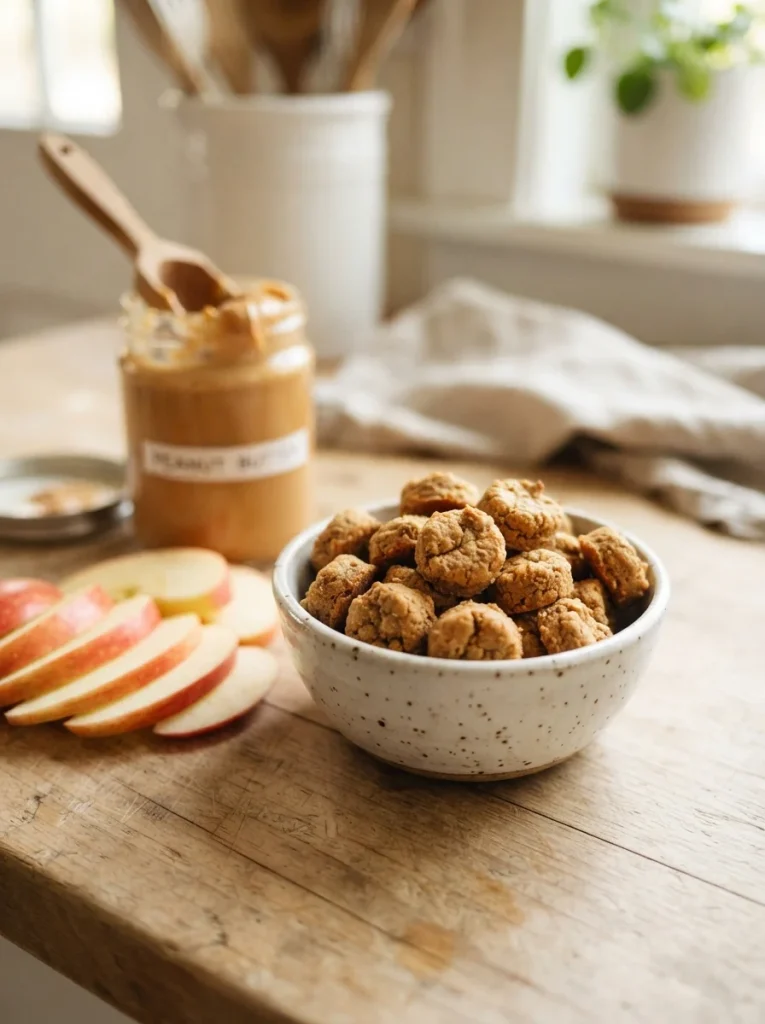
Small, soft bites like these work great for training sessions since you can break off tiny pieces. Just make sure the peanut butter is 100% natural with no xylitol, sugar, or salt added.
Prep Time: 10 minutes Cook Time: 12 minutes Yield: About 30 small bites
Ingredients:
- 1 cup oat flour
- ¼ cup unsweetened, xylitol-free natural peanut butter
- ½ cup unsweetened applesauce
- 1 large egg
Instructions:
- Preheat the oven to 350°F. Line a mini muffin tin or baking sheet with parchment paper.
- Whisk the peanut butter, applesauce, and egg together in a bowl.
- Stir in the oat flour until a thick batter forms.
- Drop small teaspoon-sized portions onto the baking sheet, or spoon into mini muffin cups.
- Bake for 10-12 minutes, until set and lightly firm.
- Cool completely before serving.
Notes: Always double-check peanut butter labels before every purchase — some brands change their recipes and add xylitol, which is toxic to dogs. Store bites in the fridge for up to a week.
Recipe #4: Frozen Yogurt & Blueberry Bites
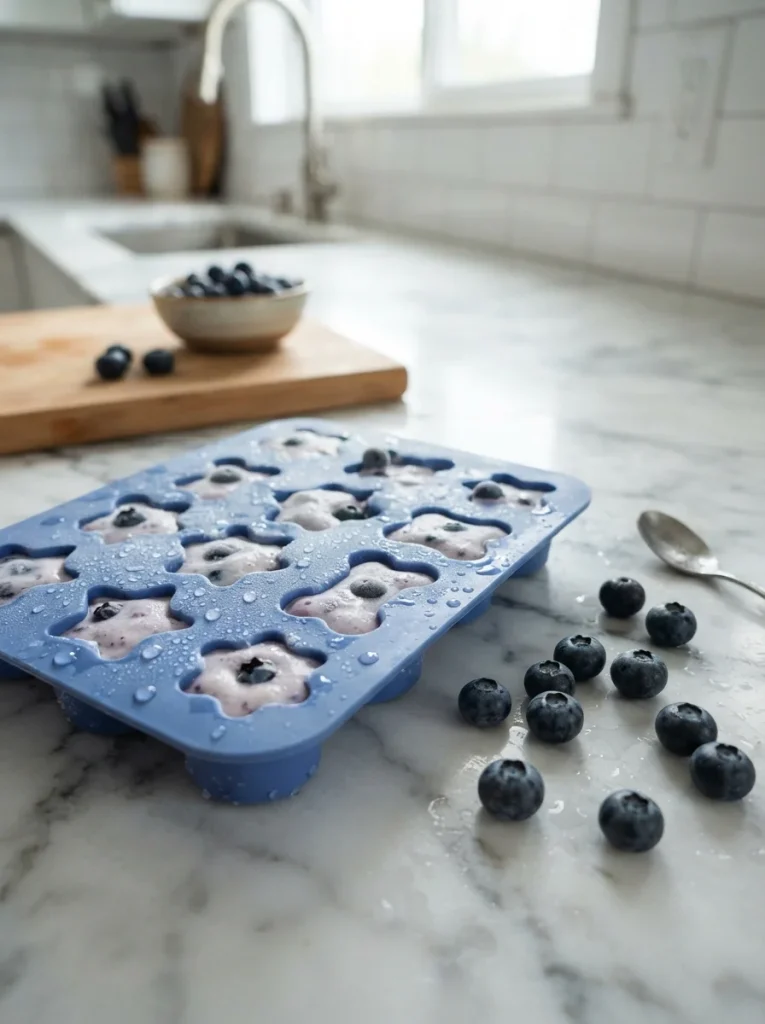
This is a no-bake option, perfect for hot days or dogs who love a cold, chewy snack. Blueberries have a relatively low glycemic impact compared to many other fruits, making them a safer sweet option in moderation.
Prep Time: 10 minutes Freeze Time: 3 hours Yield: About 24 bites (using a mini silicone mold)
Ingredients:
- 1 cup plain, unsweetened Greek yogurt
- ½ cup fresh or frozen blueberries, mashed
- 1 tablespoon ground flaxseed (optional, for fiber)
Instructions:
- Mix the yogurt, mashed blueberries, and flaxseed together in a bowl until combined.
- Spoon the mixture into a silicone mini muffin mold or ice cube tray.
- Freeze for at least 3 hours, or until solid.
- Pop the bites out and store in a freezer bag.
Notes: Serve straight from the freezer. These melt quickly at room temperature, so hand them out one at a time.
Recipe #5: Dehydrated Chicken Jerky Strips
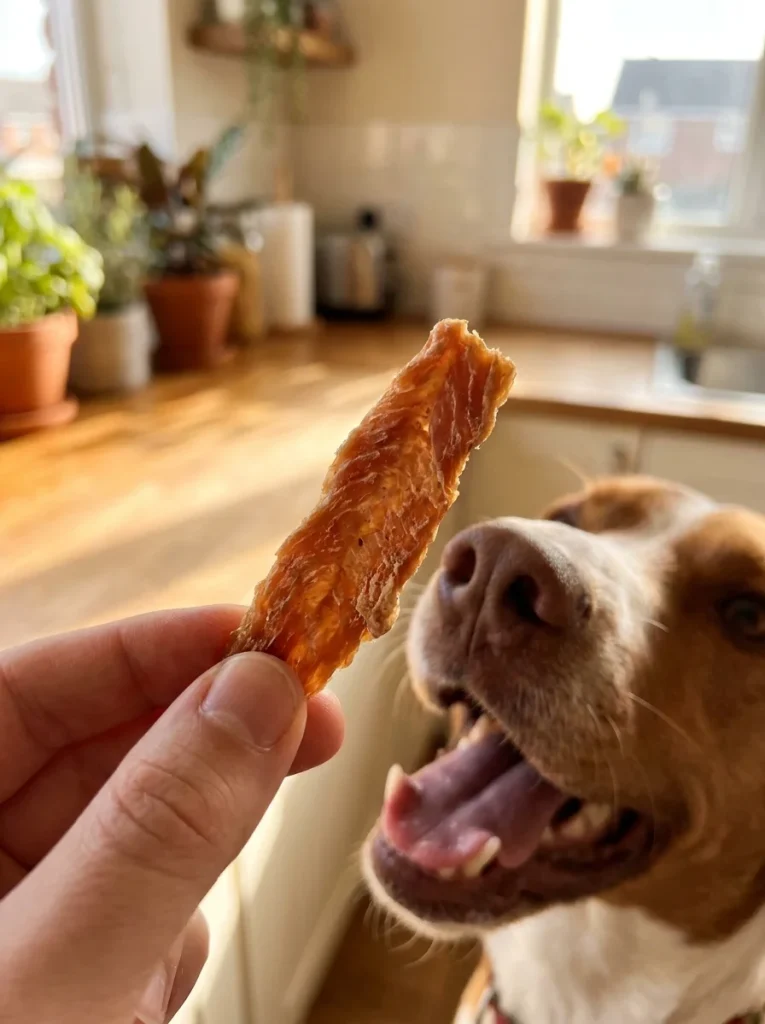
Dehydrating meat concentrates flavor without adding any carbohydrates at all, which makes this one of the safest treat formats for a diabetic dog. It also avoids the food-safety concerns tied to some imported jerky products.
Prep Time: 10 minutes Dehydrate Time: 6-8 hours Yield: About 20 strips (depends on chicken breast size)
Ingredients:
- 2 boneless, skinless chicken breasts
Instructions:
- Slice the chicken breasts into thin strips, about ¼-inch thick, against the grain.
- Lay the strips flat on dehydrator trays without overlapping.
- Dehydrate at 145°F for 6-8 hours, flipping halfway through, until the strips are dry and leathery with no moist spots.
- If you don’t have a dehydrator, use an oven on its lowest setting with the door slightly propped open, checking every hour.
- Cool completely before storing.
Notes: Store in an airtight container in the refrigerator for up to 2 weeks, or freeze for longer storage. No seasoning is needed — plain is safest.
Recipe #6: Dehydrated Sweet Potato & Green Bean Chews
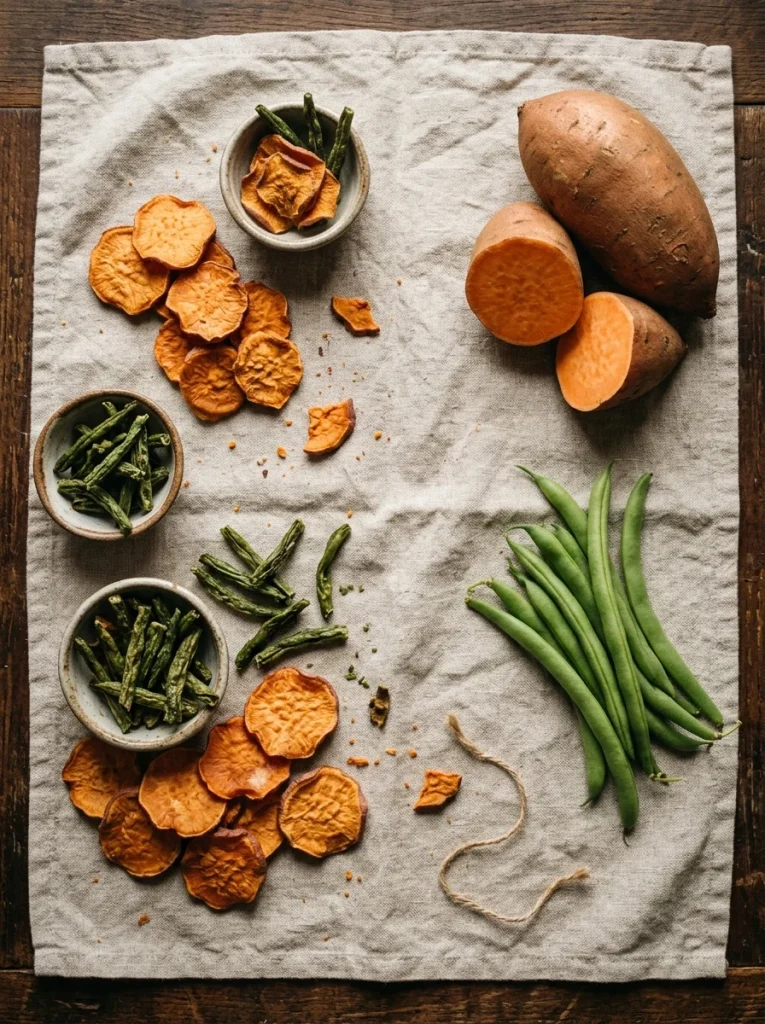
Both sweet potato and green beans are gentle on blood sugar in small amounts, and dehydrating them turns them into a satisfying, chewy texture dogs enjoy gnawing on.
Prep Time: 15 minutes Dehydrate Time: 8 hours Yield: About 40 pieces
Ingredients:
- 1 medium sweet potato, sliced into ¼-inch rounds
- ½ pound fresh green beans, ends trimmed
Instructions:
- Rinse and prep both vegetables.
- Bring a pot of water to a boil and blanch the green beans for 4 minutes.
- Remove and place immediately into an ice bath to stop cooking.
- Arrange sweet potato rounds and green beans on dehydrator trays without touching.
- Dehydrate at 125°F for about 8 hours, or until chewy and mostly dry.
- Cool fully before storing.
Notes: Keep portions small since sweet potato does carry natural starch — this is a chew, not a daily staple. Store in the fridge for up to 10 days.
Recipe #7: Carrot & Cinnamon Refrigerator Bites
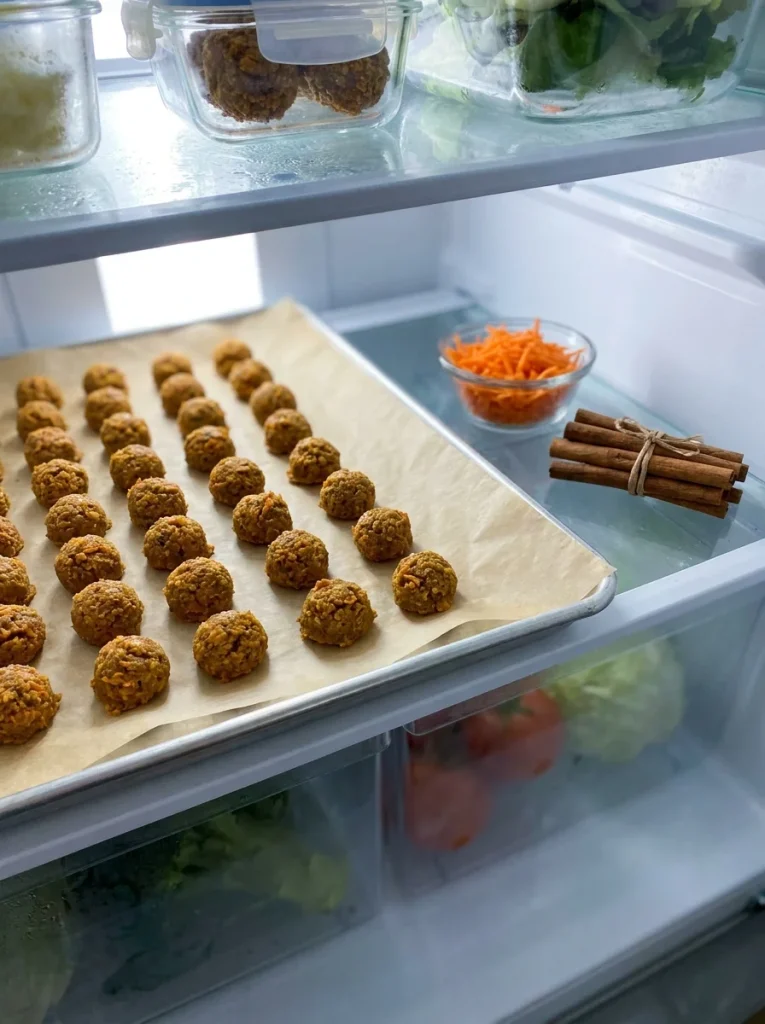
This no-bake recipe sets in the fridge instead of the oven or freezer, making it the fastest option on this list if you’re short on time. Cinnamon (true Ceylon cinnamon, not cassia in large amounts) is often mentioned for its mild blood sugar support in dogs.
Prep Time: 10 minutes Chill Time: 2 hours Yield: About 20 bites
Ingredients:
- 1 cup finely grated carrot
- ½ cup plain cottage cheese (low sodium)
- ¼ teaspoon ground cinnamon
- ½ cup oat flour
Instructions:
- Mix the grated carrot, cottage cheese, and cinnamon together in a bowl.
- Stir in the oat flour until the mixture is thick enough to roll into small balls.
- Roll into bite-sized balls and place on a plate lined with parchment paper.
- Refrigerate for at least 2 hours to firm up.
Notes: These stay soft, so they’re a good choice for older dogs or dogs with dental issues. Keep refrigerated and use within 5 days.
Recipe #8: Salmon & Spinach Mini Muffins
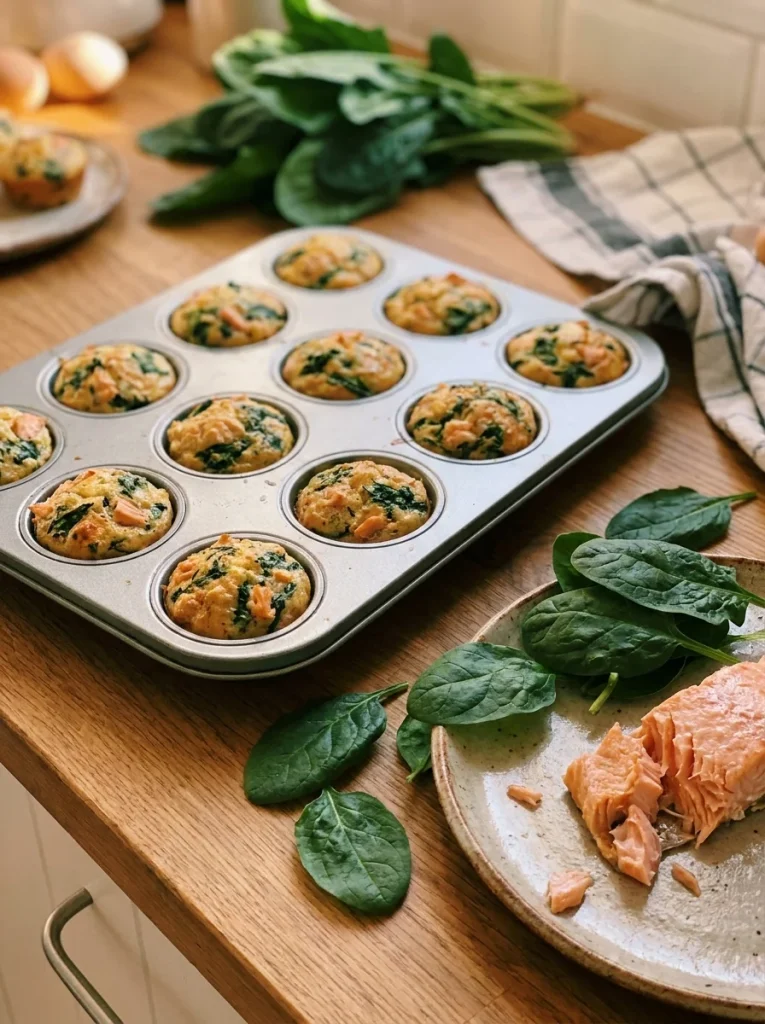
Salmon brings omega-3s to the table along with protein, and spinach adds fiber and volume without many carbs. This savory muffin format is a nice change of pace from sweeter treats.
Prep Time: 15 minutes Cook Time: 18 minutes Yield: About 24 mini muffins
Ingredients:
- 1 can (5 oz) salmon, drained and mashed (or 1 cup cooked, flaked salmon)
- 1 cup fresh spinach, finely chopped
- 2 large eggs
- 1 cup oat flour
Instructions:
- Preheat the oven to 350°F. Grease a mini muffin tin or line with silicone liners.
- Mash the salmon in a bowl, removing any large bones if using canned salmon.
- Mix in the chopped spinach and eggs.
- Stir in the oat flour until fully combined.
- Spoon the batter into the mini muffin tin, filling each cup about ¾ full.
- Bake for 15-18 minutes, until set and lightly golden on top.
- Cool completely before removing from the tin.
Notes: Great for dogs who need extra protein variety. Freeze extras in a labeled bag for up to 2 months.
Recipe #9: Lentil & Chicken Training Nuggets
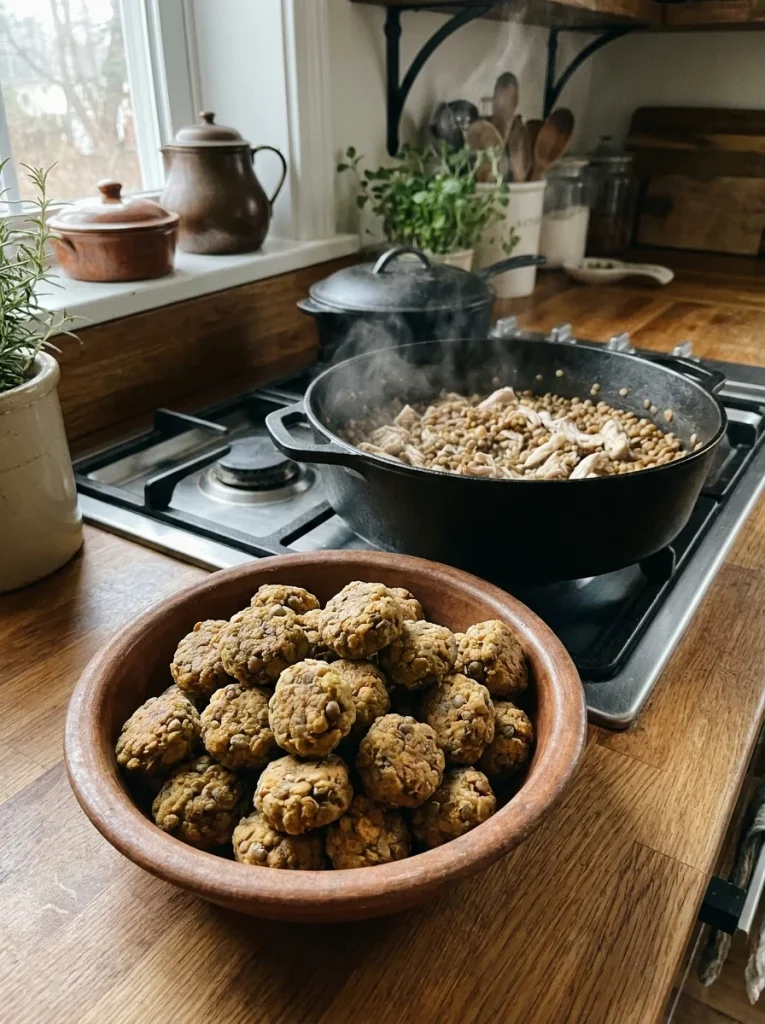
Lentils are a low-glycemic protein and fiber source that holds together nicely once cooked, making this a good stovetop alternative to baking. If your dog already enjoys meals made in a slow cooker, this recipe pairs well with the same slow cooker dog food recipes style of batch cooking.
Prep Time: 10 minutes Cook Time: 20 minutes Yield: About 30 small nuggets
Ingredients:
- 1 cup dried lentils, rinsed
- 1 cup cooked, shredded chicken breast (unseasoned)
- 2 cups low-sodium chicken broth (no onion or garlic)
- 1 tablespoon oat flour, if needed to thicken
Instructions:
- Combine the lentils and broth in a saucepan and bring to a boil.
- Reduce heat and simmer for 15-18 minutes, until the lentils are soft and most of the liquid is absorbed.
- Mash the lentils slightly with a fork and mix in the shredded chicken.
- If the mixture is too wet, stir in a spoonful of oat flour to firm it up.
- Let the mixture cool, then roll or scoop into small nugget shapes.
- Refrigerate for 30 minutes to help them hold their shape before serving.
Notes: These freeze well in small batches, which is handy if you also cook other meals ahead using nutritious crockpot dog food recipes. Use within 5 days refrigerated.
Recipe #10: Green Bean & Egg White Puffs
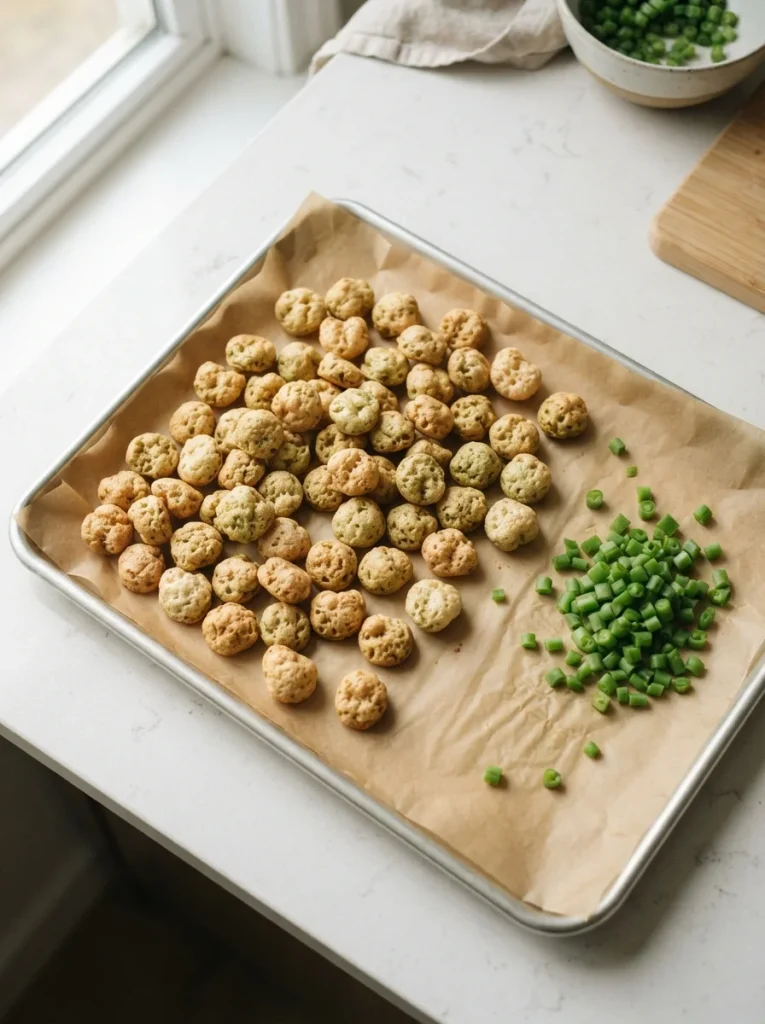
This is the lightest recipe on the list, using egg whites instead of whole eggs to cut back on fat while keeping protein high. It’s a good option for diabetic dogs who are also managing their weight.
Prep Time: 10 minutes Cook Time: 15 minutes Yield: About 20 puffs
Ingredients:
- 1 cup finely chopped, cooked green beans
- 3 egg whites
- ¼ cup oat flour
Instructions:
- Preheat the oven to 325°F. Line a baking sheet with parchment paper.
- Whisk the egg whites until slightly frothy.
- Fold in the chopped green beans and oat flour until combined.
- Drop small spoonfuls onto the prepared baking sheet.
- Bake for 12-15 minutes, until puffed and set.
- Cool completely before storing.
Notes: These are low in calories per piece, so they work well for frequent training rewards. Store in the refrigerator for up to 5 days.
2 Ways to Make These Treats Even Healthier (Ingredient Swaps)
Once you’re comfortable with the base recipes above, these two swaps let you fine-tune any biscuit or bite recipe for your dog’s specific needs.
Swap 1: Low-Carb Flour Options
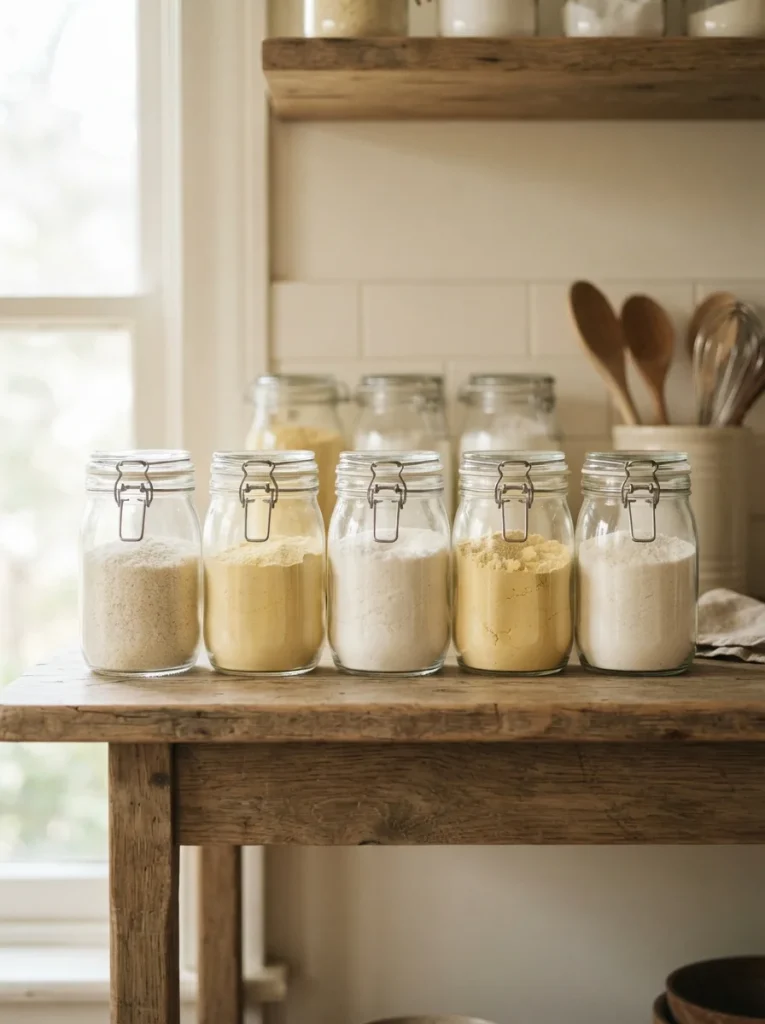
If your vet recommends going even lower on carbohydrates, you can replace oat or wheat flour in most of the baked recipes above with:
- Coconut flour — very low in digestible carbs, but absorbs a lot of moisture, so use about a quarter of the amount called for and add extra egg or liquid.
- Chickpea flour — adds protein and fiber along with a lower glycemic profile than wheat flour, though it has a stronger flavor.
Both work best in the biscuit, muffin, and puff recipes (#2, #8, #10) rather than the no-bake or dehydrated ones.
Swap 2: Extra-Fiber Boosters
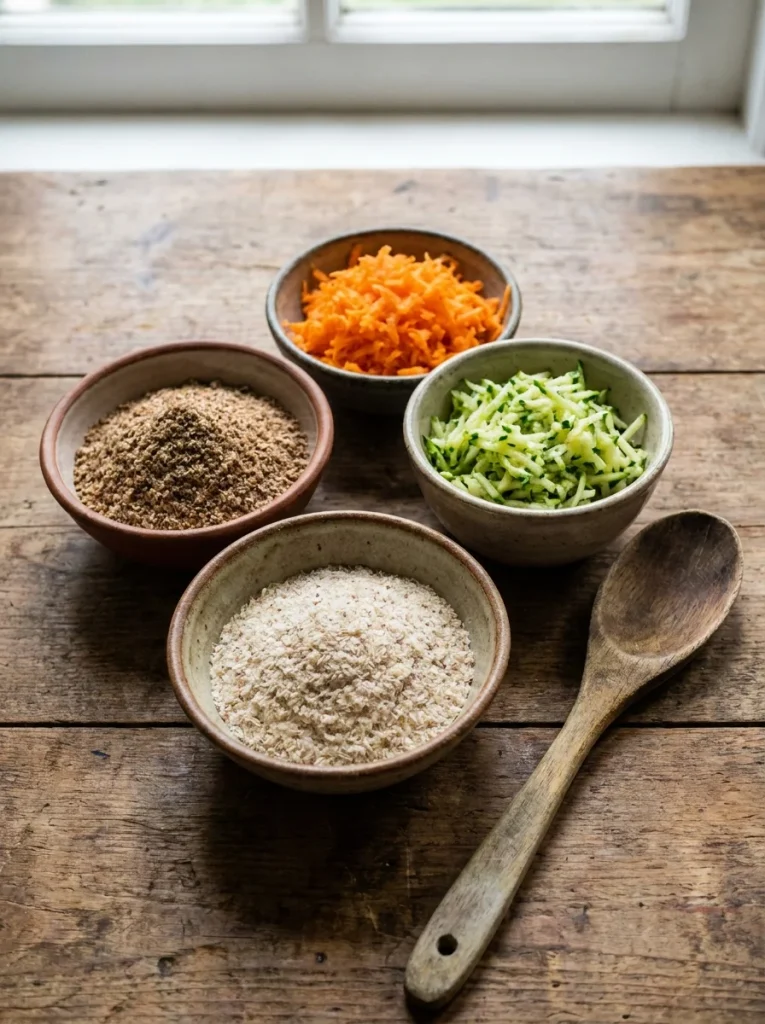
Fiber slows down how quickly sugar enters the bloodstream, which is exactly what you want in a diabetic dog’s diet. You can boost fiber in almost any recipe by mixing in:
- 1 tablespoon of ground flaxseed or psyllium husk per batch
- A few extra tablespoons of finely grated carrot or zucchini
These additions work particularly well in the pumpkin biscuits (#2), refrigerator bites (#7), and lentil nuggets (#9), where the extra moisture and texture blend in easily.
A Few Notes on Diabetes and Diet
Canine diabetes means a dog’s body either doesn’t produce enough insulin or can’t use it properly, which leads to unstable blood sugar. Diet plays a real role in managing this alongside any prescribed insulin treatment.
Low-glycemic ingredients — like oats, lean proteins, and non-starchy vegetables — release glucose more slowly than sugary or highly processed carbs. That slower release helps avoid the sharp blood sugar spikes that make diabetes harder to control. This is also why consistency matters: feeding treats at similar times and amounts each day helps keep things predictable for both your dog’s body and their insulin schedule.
If your dog has recently been diagnosed, it’s worth reviewing feeding habits from the ground up, not just treats. General homemade dog food recipes can be adapted with similar low-glycemic swaps to support the same goal at mealtime.
How to Store and Serve Diabetic Dog Treats
Most of these recipes fall into one of three storage categories:
- Refrigerator (up to 1 week): biscuits, muffins, jerky, chews, refrigerator bites
- Freezer (up to 2 months): liver squares, frozen yogurt bites, lentil nuggets, salmon muffins
- Room temperature, airtight container (up to 1 week): fully dried dehydrated treats only
Label containers with the recipe name and date made, since some of these look similar once cooled. If you’re making treats regularly, it can help to organize things with dedicated dog treat station ideas so portions stay consistent and easy to grab.
When serving, stick to small pieces — about the size of a pea to a dime, depending on your dog’s size — and count treats as part of their daily food intake rather than extra on top.
Final Thoughts + Vet Reminder
Homemade diabetic dog treat recipes give you full control over sugar content, ingredient quality, and portion size — three things that matter a lot for a dog managing diabetes. Start with one or two recipes from this list, see how your dog’s blood sugar responds, and build out a rotation from there.
Before introducing any new treat, even a homemade one, check in with your vet about how it fits into your dog’s insulin schedule and daily calorie needs. Routine veterinary checkups are the best way to confirm a recipe is actually working the way you hope, not just guessing based on how excited your dog gets at treat time.

Izzy is an experienced ranch worker who has a passion for exploring nature and getting up close to wildlife. With her connections to various animal organizations, Izzy is well-versed in animal care and rehabilitation.