7 Best Dog Friendly Icing That Hardens for Cookies and Cakes
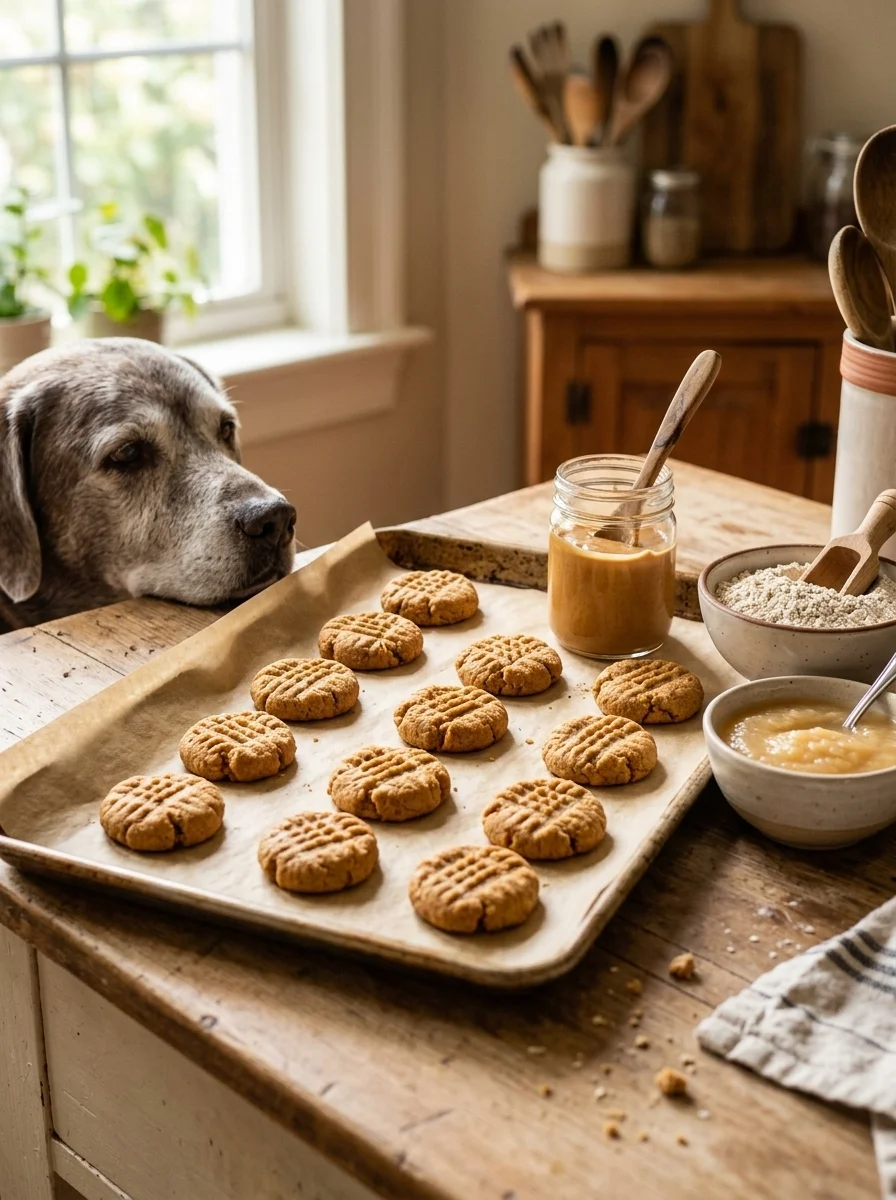
You baked a tray of dog-safe cookies. They smell amazing, and now you want to decorate them. But most icing stays sticky, smears on the container, or melts the second it hits a warm paw.
That’s where the best dog friendly icing that hardens comes in. A good one sets firm enough to stack, pack, and gift. It also keeps sugar, dyes, and risky ingredients out of your pup’s bowl.
Below are 7 independent recipes. Each one has its own recipe card, so you can pick any one and start. You’ll also find 3 flavor twists, a quick comparison table, and tips for piping and storage. If you love baking for your pup, these pair well with our homemade dog treats.
1. Yogurt and Tapioca Icing: Creamy and Chill-Set
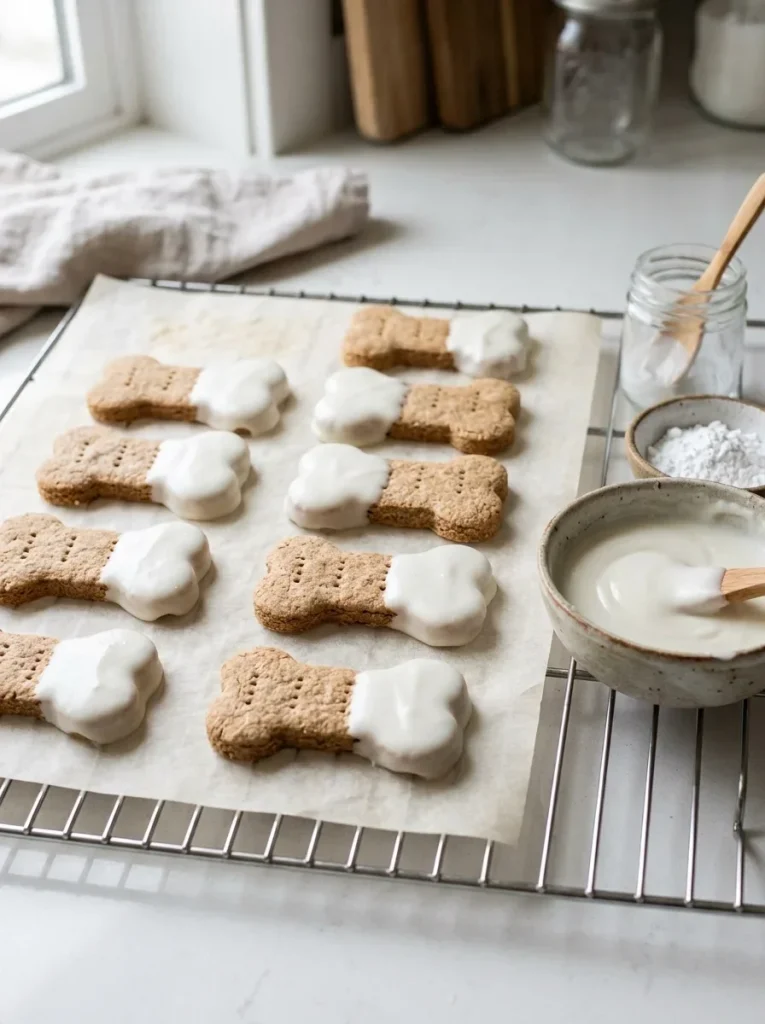
This is the icing to start with if you’ve never made one for dogs. It’s thick, white, and easy to spread. It also looks a lot like classic vanilla frosting.
It firms up in the fridge or freezer. Think “cold and set,” not “rock hard.” That’s perfect for cookies you plan to store chilled.
A. Why It Works
Plain Greek yogurt gives the icing its body. Tapioca starch thickens it so it doesn’t run off the cookie. Coconut oil firms up when cold, which locks everything in place.
You get a smooth, spreadable icing that sets into a soft-firm shell. It’s great for dipping the tops of cookies.
Best for: Dipped cookies, cupcakes, and anything you’ll keep in the fridge.
B. Recipe Card
Yogurt and Tapioca Icing
- Prep Time: 5 minutes
- Set/Freeze Time: 20 minutes in the freezer or 1 hour in the fridge
- Yield: About ¾ cup (covers 12 small cookies)
Ingredients
- ½ cup plain Greek yogurt (unsweetened, no artificial sweeteners)
- 2 tablespoons tapioca starch
- 1 tablespoon melted coconut oil
- 1 teaspoon water (optional, to thin)
Instructions
- Add the yogurt and tapioca starch to a small bowl.
- Stir until no dry lumps remain.
- Stir in the melted coconut oil. Mix until smooth.
- Add water a few drops at a time if it’s too thick.
- Dip or spread onto fully cooled cookies.
- Chill on a tray until firm.
Notes
- Keep refrigerated. Use within 5 days.
- Skip this one if your dog is sensitive to dairy.
- Always check that the yogurt has no xylitol.
C. Pro Tips
Cool your cookies completely first. Warm cookies melt the coconut oil and the icing slides right off.
For a harder shell, freeze the dipped cookies for 20 minutes. Then move them to the fridge for serving.
2. Dog-Safe Royal Icing: The Piping Favorite
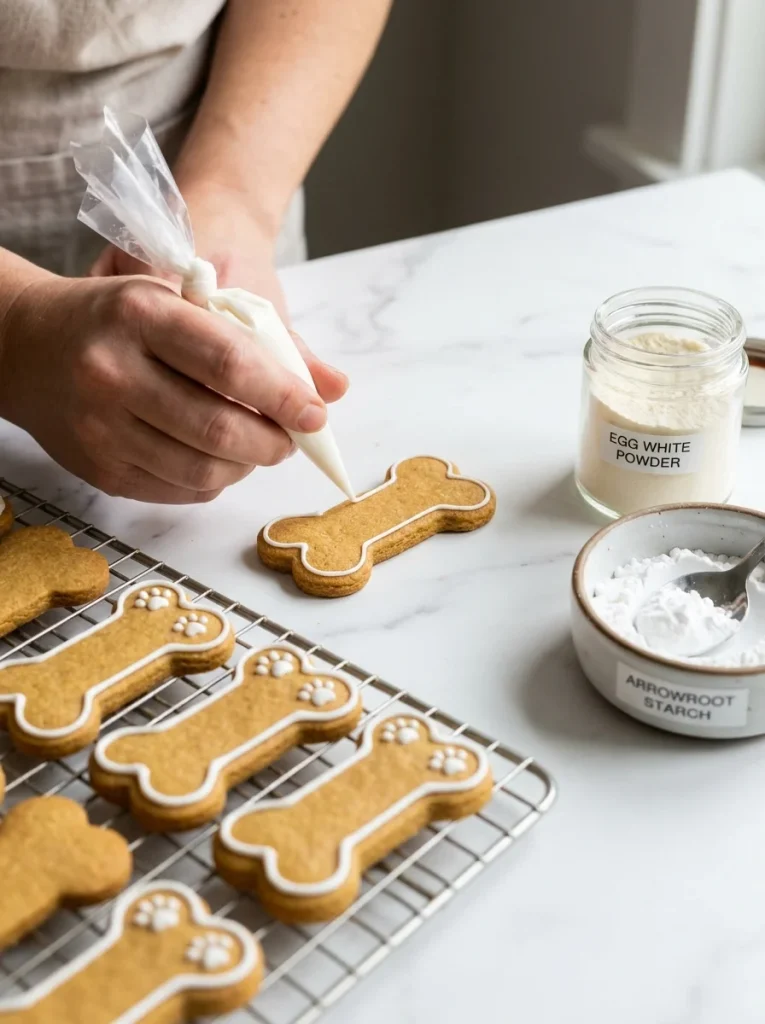
Royal icing is the gold standard for fine lines, names, and paw prints. The classic version uses a lot of powdered sugar. That isn’t ideal for dogs.
This version swaps sugar for starch and pure egg white powder. It dries matte and firm at room temperature.
A. Why It Works
Egg white powder is pasteurized, so it’s safer than raw egg whites. When it dries with starch, it forms a firm, chalky shell.
A quick honesty note: it’s softer and less shiny than sugar royal icing. But it holds its shape well, and it’s the best choice for detailed piping.
Best for: Writing names, outlines, and small decorations.
B. Recipe Card
Dog-Safe Royal Icing
- Prep Time: 10 minutes
- Dry Time: 2 to 4 hours at room temperature
- Yield: About ½ cup (enough for 10 to 12 cookies)
Ingredients
- 2 tablespoons pasteurized egg white powder (pure, no added sugar)
- ¼ cup warm water
- ¾ cup arrowroot or tapioca starch
- ¼ teaspoon lemon juice
Instructions
- Whisk the egg white powder and warm water for 1 minute until foamy.
- Add the lemon juice.
- Sift in the starch a little at a time.
- Mix until you get a thick, smooth paste.
- Add water by the drop for a thinner “flood” icing.
- Spoon into a piping bag and decorate cooled cookies.
- Let dry uncovered until firm to the touch.
Notes
- Cover the bowl with a damp cloth while you work. Royal icing crusts fast.
- Store decorated cookies in the fridge. Eat within 5 days.
- Skip if your dog has an egg allergy.
C. Pro Tips
Test one line on a plate first. It should hold a clean ridge for about 10 seconds.
If the icing is too stiff, add water one drop at a time. Too much water at once ruins the texture.
3. Peanut Butter and Coconut Oil Icing: Chill-Set and Dog Approved
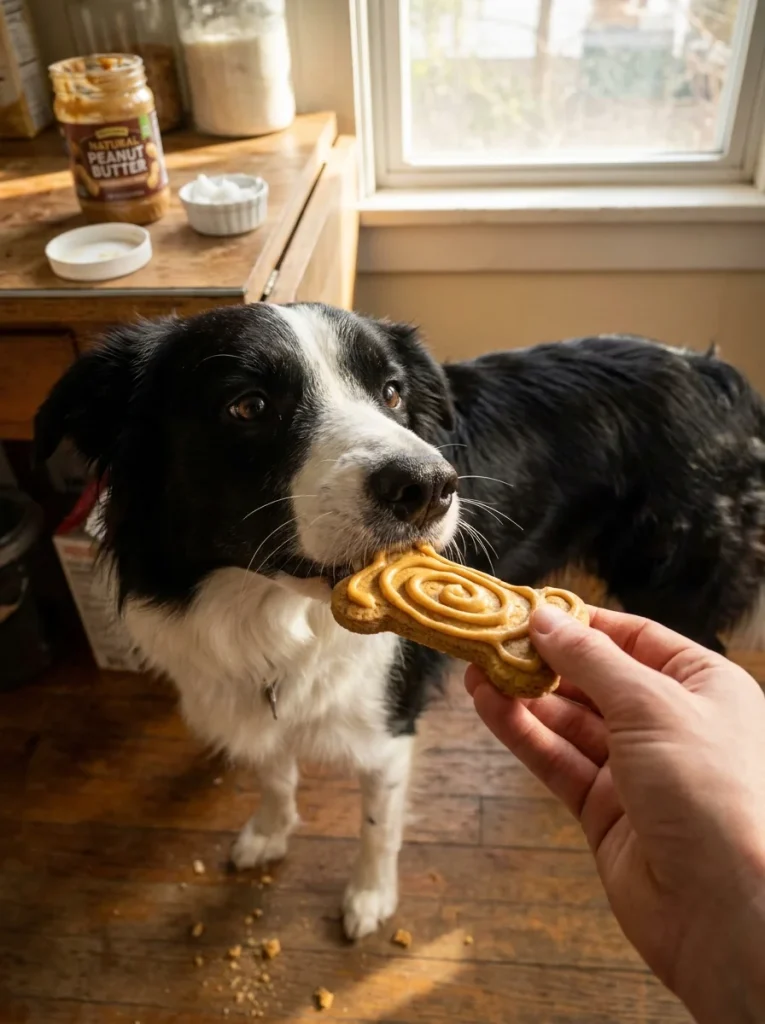
Most dogs go wild for peanut butter. This icing uses that to your advantage. It’s rich, smells amazing, and sets nicely in the fridge.
Pick a plain, unsalted peanut butter with only peanuts on the label. Never use one that lists xylitol.
A. Why It Works
Peanut butter and coconut oil are both thick and fatty. When you chill them, they firm up together like a soft candy coating.
It also works as a “glue” for sprinkles made from crushed dog biscuits. Try it on a dog bones treat for a fun finish.
Best for: Bone-shaped biscuits, stuffed toys, and quick party treats.
B. Recipe Card
Peanut Butter and Coconut Oil Icing
- Prep Time: 5 minutes
- Set/Freeze Time: 15 minutes in the freezer or 45 minutes in the fridge
- Yield: About ½ cup (covers 10 cookies)
Ingredients
- ¼ cup unsalted, xylitol-free peanut butter
- 2 tablespoons coconut oil, softened
- 1 tablespoon plain unsweetened applesauce
- 1 tablespoon oat flour (optional, for thickness)
Instructions
- Warm the peanut butter and coconut oil in a bowl for 15 seconds.
- Stir until smooth and glossy.
- Mix in the applesauce.
- Stir in oat flour if you want a thicker icing.
- Spread over cooled treats.
- Chill until firm.
Notes
- Keep refrigerated. Use within 7 days.
- Serve in small amounts. This icing is high in fat.
- Not for dogs with pancreatitis or fat sensitivity.
C. Pro Tips
If the icing gets too soft while you work, pop the bowl in the fridge for 5 minutes. It will thicken right back up.
Want fancy swirls? Chill the mixture until spreadable, then pipe it through a bag.
4. Carob Glaze: The Safe “Chocolate” Shell
Chocolate is toxic to dogs. That’s why so many pet parents love carob. It tastes a bit like cocoa, but it’s safe for pups.
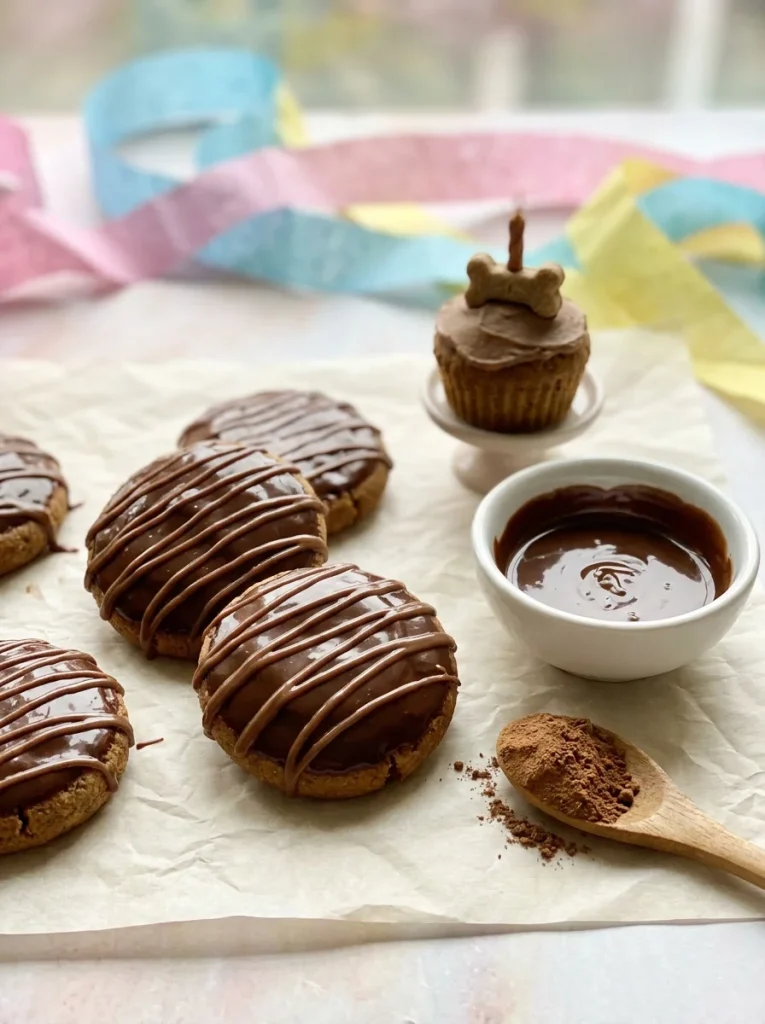
This glaze hardens into a thin, shiny shell. It looks like a chocolate dip, so it’s a hit for birthdays.
A. Why It Works
Carob powder blends smoothly into melted coconut oil. As soon as it cools, the oil firms up and locks the carob in place.
You get a snappy shell with a smooth, glossy look. It’s one of the easiest ways to get a candy-like finish.
Best for: Dipped cookies, cake edges, and party treats. Try it on a pup-friendly cake from our dog birthday cake recipes.
B. Recipe Card
Carob Glaze
- Prep Time: 5 minutes
- Set/Freeze Time: 10 minutes in the freezer or 30 minutes in the fridge
- Yield: About ⅓ cup (covers 8 to 10 cookies)
Ingredients
- ¼ cup unsweetened carob powder
- 3 tablespoons coconut oil, melted
- 1 teaspoon honey (optional, skip for puppies under 1 year)
Instructions
- Melt the coconut oil until just liquid.
- Whisk in the carob powder until smooth.
- Add honey if using. Stir well.
- Let the glaze cool for 2 minutes so it thickens slightly.
- Dip or drizzle over cooled treats.
- Chill on parchment paper until set.
Notes
- Use carob powder, not carob chips. Chips often contain added sugar or dairy.
- Store in the fridge. Use within 7 days.
- Warm rooms soften this glaze quickly. Serve it cool.
C. Pro Tips
For a drizzle, pour the glaze into a zip bag and snip a tiny corner. Drizzle in zigzags for a bakery look.
Sprinkle crushed dog biscuits on top before it sets. They’ll stick perfectly.
5. Rice Flour Glaze: A Simple Air-Dry Shine
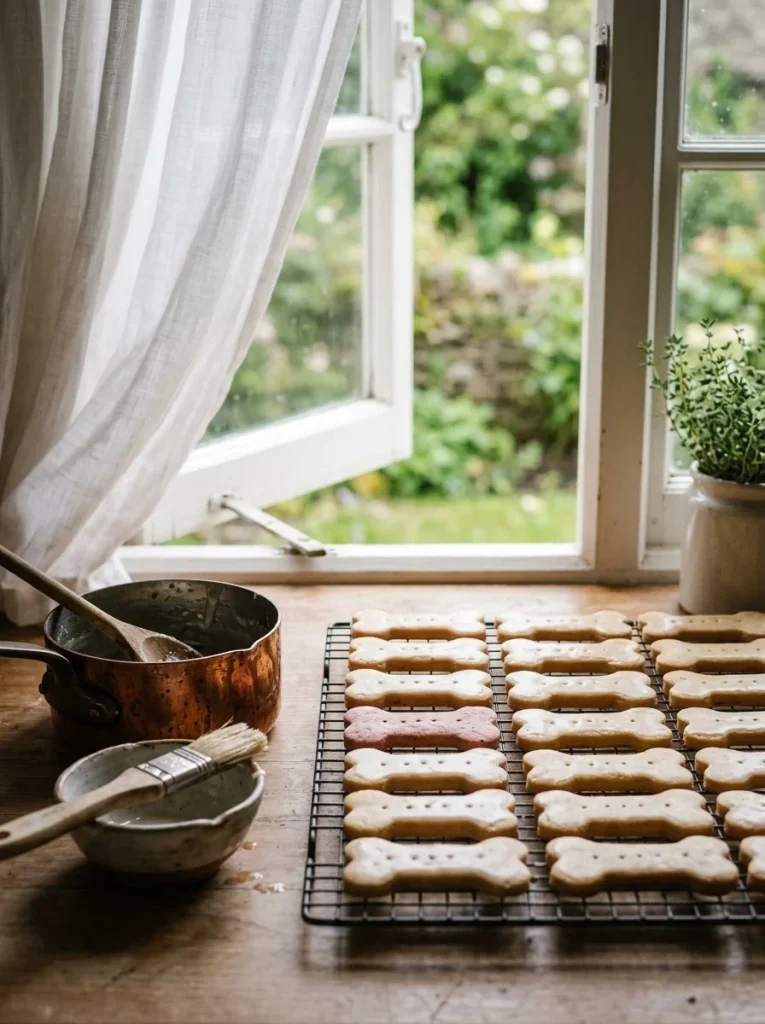
This is the best choice if you want an icing that hardens at room temperature. It’s also dairy-free, egg-free, and made with pantry basics.
Cooking the flour first makes it smooth and safe to eat. The result is a thin, light glaze with a soft sheen.
A. Why It Works
Rice flour thickens when you heat it with water. As it cools and dries, it forms a thin, firm layer on top of the cookie.
It won’t be thick like frosting. But it’s great for dogs with sensitive tummies, since it has so few ingredients.
Best for: Baked cookies, biscuits, and dogs with dairy or egg allergies.
B. Recipe Card
Rice Flour Glaze
- Prep Time: 8 minutes
- Dry Time: 1 to 2 hours at room temperature
- Yield: About ⅓ cup (covers 12 cookies)
Ingredients
- 2 tablespoons white rice flour
- ¼ cup water
- ¼ teaspoon beet powder (optional, for a pink tint)
Instructions
- Whisk the rice flour and water in a small pot.
- Heat on low, stirring nonstop.
- Cook for 2 to 3 minutes until the mix looks thick and glossy.
- Remove from heat. Stir in beet powder if using.
- Let it cool for 3 minutes.
- Brush over cooled cookies with a small pastry brush.
- Let dry on a rack.
Notes
- Store dry cookies in an airtight container for up to 5 days.
- Use a very thin layer. Thick layers stay tacky.
- Works with brown rice flour too, but the color will be darker.
C. Pro Tips
Brush the glaze on while it’s still slightly warm. It spreads easier and dries more evenly.
If it gets too thick as it cools, whisk in a teaspoon of warm water.
6. Sweet Potato and Arrowroot Icing: Thick, Orange, and Naturally Sweet

This icing gets its color and sweetness from the vegetable itself. There’s no added sugar, no dyes, and no dairy.
It sets into a thick, pipeable layer that firms up in the fridge. It’s perfect for fall treats.
A. Why It Works
Sweet potato has natural starch and a mild sweetness. Arrowroot helps it hold a shape. Together they make a smooth, thick icing that stays put on a cookie.
Pumpkin works too, but sweet potato gives a smoother texture.
Best for: Cupcake-style treats, autumn parties, and dogs with dairy issues.
B. Recipe Card
Sweet Potato and Arrowroot Icing
- Prep Time: 10 minutes (plus cooling)
- Set/Freeze Time: 30 minutes in the fridge
- Yield: About ¾ cup (covers 12 cupcakes)
Ingredients
- ½ cup cooked, mashed sweet potato (plain, no butter or salt)
- 1 tablespoon arrowroot powder
- 1 tablespoon water
- 1 teaspoon coconut oil
Instructions
- Mix the arrowroot and water into a smooth slurry.
- Warm the sweet potato in a small pot over low heat.
- Stir in the slurry. Cook for 1 to 2 minutes until thick.
- Stir in the coconut oil.
- Let the icing cool completely.
- Spread or pipe onto cooled treats.
- Chill until firm.
Notes
- Keep refrigerated. Use within 4 days.
- Make sure the sweet potato is fully cooked and plain.
- Use canned plain pumpkin if you prefer.
C. Pro Tips
Mash the sweet potato until there are no lumps. Even small lumps clog a piping tip.
Strain it through a fine sieve for the smoothest result.
7. Gelatin Glaze: Shiny and Firm
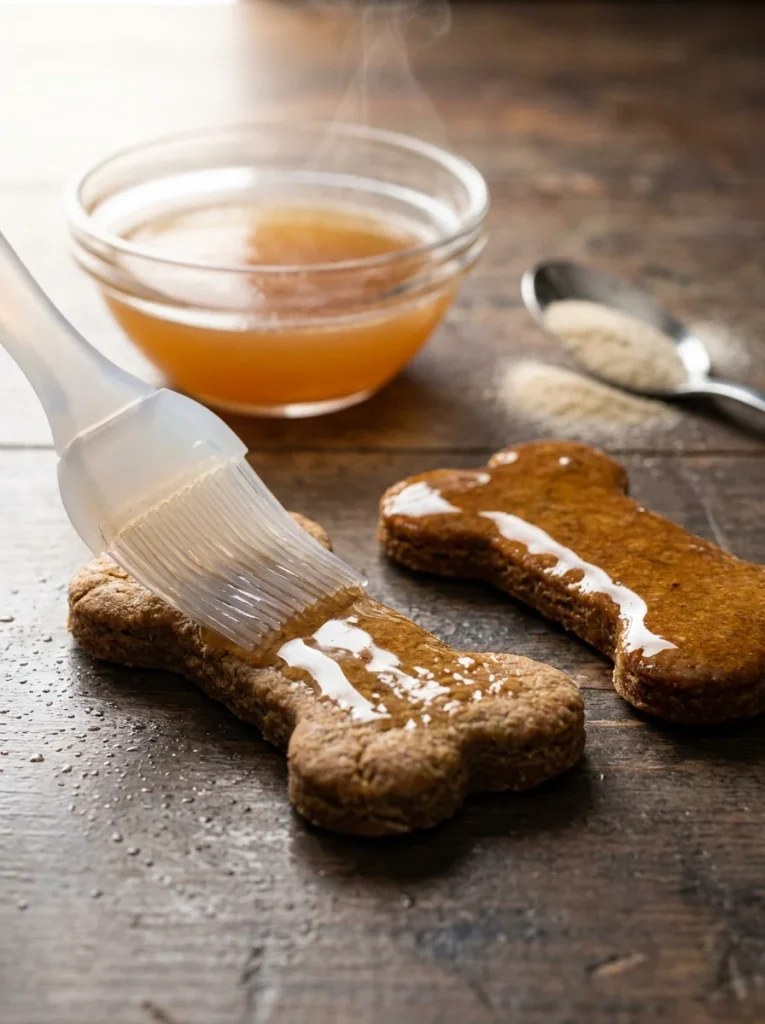
Want a glossy finish that looks professional? Gelatin glaze is a great option. It sets into a thin, jelly-like shell with a nice shine.
It also adds a little protein, and most dogs love the savory flavor.
A. Why It Works
Gelatin turns liquid into a gel as it cools. When you brush it on, it sets into a smooth, clear coat that seals the treat.
Using broth instead of water makes it extra tasty. If you make your own, check our human-grade dog food recipes for ideas on cooking with dog-safe ingredients.
Best for: Savory biscuits, meat-flavored treats, and glossy finishes.
B. Recipe Card
Gelatin Glaze
- Prep Time: 5 minutes
- Set/Freeze Time: 30 minutes in the fridge
- Yield: About ½ cup (covers 12 treats)
Ingredients
- 1 packet (2¼ teaspoons) unflavored gelatin
- 2 tablespoons cold water
- ½ cup warm low-sodium broth (no onion or garlic)
Instructions
- Sprinkle the gelatin over the cold water.
- Let it sit for 3 minutes until it looks wrinkly.
- Stir the bloomed gelatin into the warm broth until fully dissolved.
- Let it cool for 5 minutes until slightly thick.
- Brush over cooled treats.
- Chill until set.
Notes
- Store in the fridge. Use within 5 days.
- Always check the broth label. Onion and garlic are toxic to dogs.
- Reheat gently if the glaze starts to set in the bowl.
C. Pro Tips
Work fast. Gelatin sets quickly as it cools.
For a thicker coat, brush on one layer, chill for 10 minutes, then add a second.
Three Flavor Twists You Can Make From Scratch
Want to switch up your icing? These three flavor twists are complete recipes on their own. Each one builds on the creamy yogurt idea, so you can mix and match.
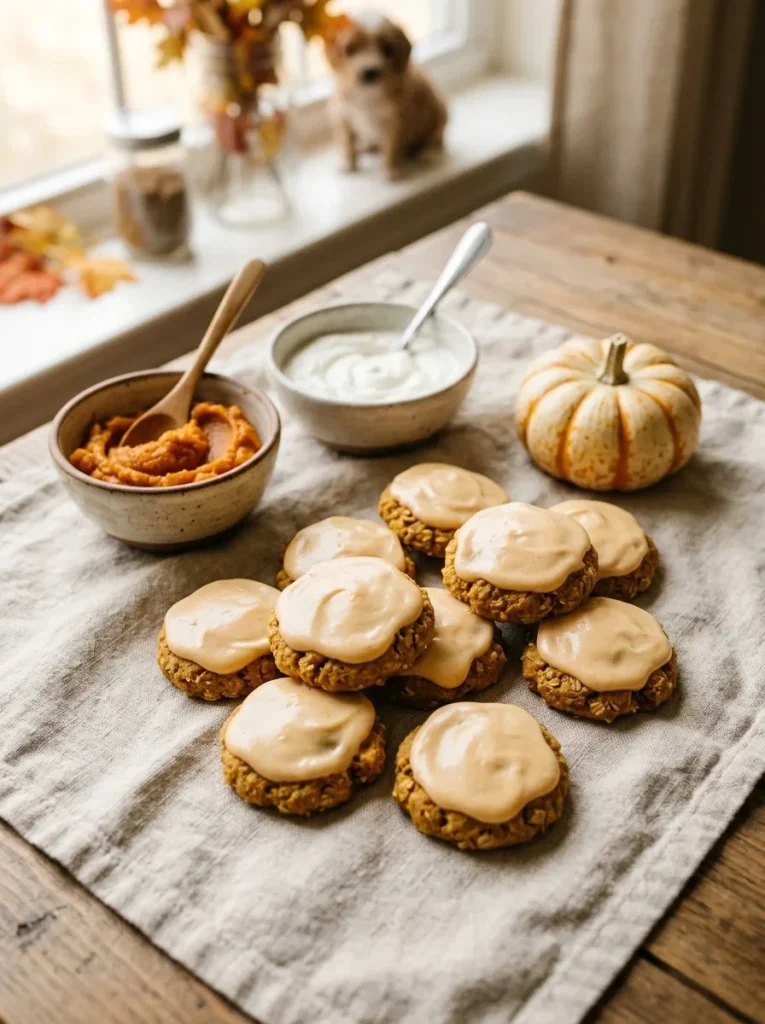
A. Pumpkin Yogurt Icing
- Prep Time: 5 minutes
- Set Time: 1 hour in the fridge
- Yield: About ¾ cup
Ingredients
- ⅓ cup plain Greek yogurt
- 2 tablespoons plain canned pumpkin (not pie filling)
- 2 tablespoons tapioca starch
- 1 tablespoon melted coconut oil
Instructions
- Mix the yogurt, pumpkin, and tapioca starch until smooth.
- Stir in the coconut oil.
- Spread over cooled treats and chill.
Notes: Pumpkin is gentle on tummies. Keep refrigerated for up to 5 days.
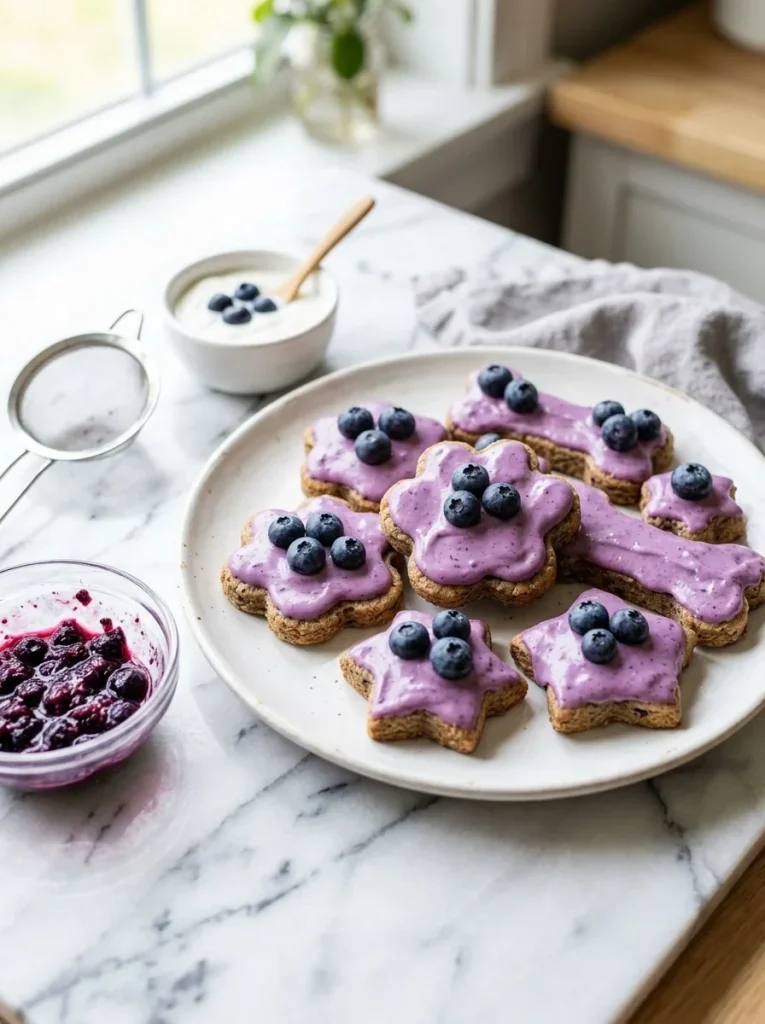
B. Blueberry Yogurt Icing
- Prep Time: 7 minutes
- Set Time: 1 hour in the fridge
- Yield: About ¾ cup
Ingredients
- ½ cup plain Greek yogurt
- 2 tablespoons mashed fresh blueberries (strained)
- 2 tablespoons tapioca starch
- 1 tablespoon melted coconut oil
Instructions
- Mash the blueberries and strain out the skins.
- Stir the juice and pulp into the yogurt.
- Mix in tapioca starch and coconut oil until smooth.
- Spread and chill.
Notes: This icing turns a soft purple, so it needs no dye. Use within 4 days.
C. Peanut Butter Yogurt Icing
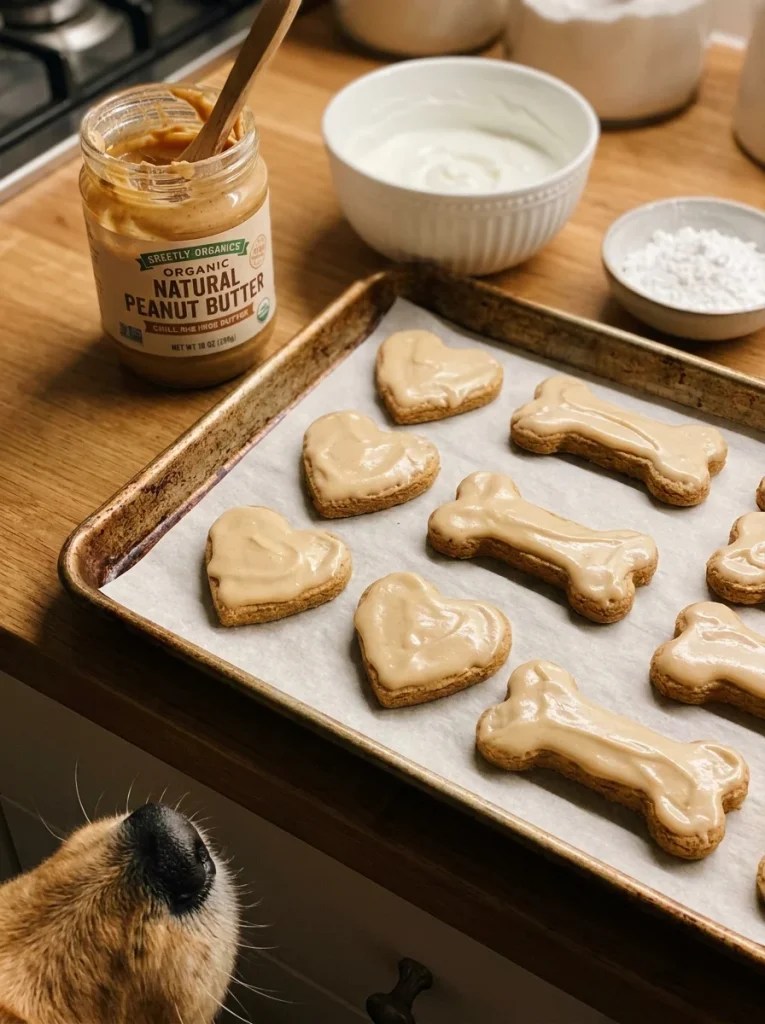
- Prep Time: 5 minutes
- Set Time: 45 minutes in the fridge
- Yield: About ¾ cup
Ingredients
- ⅓ cup plain Greek yogurt
- 2 tablespoons unsalted, xylitol-free peanut butter
- 2 tablespoons tapioca starch
- 1 teaspoon melted coconut oil
Instructions
- Warm the peanut butter for 10 seconds so it stirs easily.
- Mix it into the yogurt until smooth.
- Add tapioca starch and coconut oil.
- Spread over cooled treats and chill.
Notes: Rich and creamy. Serve in small amounts. Use within 5 days.
Which Icing Should You Pick? A Quick Comparison
Not sure where to start? Use this table to match the icing to your plan.
| Icing | How It Sets | Set Time | Best For | Firmness |
|---|---|---|---|---|
| 1. Yogurt and Tapioca | Chill | 1 hour | Dipped cookies | Soft-firm |
| 2. Royal Icing | Air-dry | 2-4 hours | Detailed piping | Firm, matte |
| 3. Peanut Butter | Chill | 45 min | Bone biscuits | Soft-firm |
| 4. Carob Glaze | Chill | 30 min | Shiny dipped shell | Snappy |
| 5. Rice Flour Glaze | Air-dry | 1-2 hours | Allergy-friendly | Thin, firm |
| 6. Sweet Potato | Chill | 30 min | Piped swirls | Soft-firm |
| 7. Gelatin Glaze | Chill | 30 min | Glossy finish | Gel-firm |
Quick picks:
- Hardest finish for stacking: Royal icing or rice flour glaze
- Easiest for beginners: Yogurt and tapioca icing
- Best for allergies: Rice flour glaze
- Most “party” look: Carob glaze
Tips for Piping, Drying, and Storing
A great icing can still go wrong if you rush. Follow these tips for clean, firm results every time.
A. Start With Fully Cooled Treats
Warm cookies melt icing. Let them cool at least 30 minutes. For best results, wait until they feel cold to the touch.
B. Use the Right Tool
- Thick icings (yogurt, sweet potato, peanut butter) work with a spatula or piping bag.
- Thin glazes (rice flour, gelatin) work best with a pastry brush.
- Royal icing needs a small piping tip or a zip bag with a snipped corner.
C. Dry or Chill the Right Way
Air-dry icings need airflow. Place treats on a wire rack and keep them away from steam.
Chill-set icings need a flat tray. Line it with parchment so nothing sticks.
D. Store Them Smart
Most of these icings include dairy, egg, or fresh produce. That means the fridge is the safest place.
- Store in an airtight container with parchment between layers.
- Eat within 4 to 7 days, depending on the recipe.
- Freeze plain undecorated treats and ice them fresh.
E. Set Up a Fun Display
If you’re hosting a pup party, a dedicated spot makes serving easy. Take a look at these dog treat station ideas for inspiration.
Why the Icing That Hardens Matters
Here’s the short version. Regular icing is full of sugar. Many store-bought versions also contain artificial dyes, flavors, and sometimes xylitol, which is extremely dangerous for dogs.
Chocolate is also toxic. Even a small amount can make a dog very sick.
Dog-safe icing avoids all of that. It uses simple ingredients you can pronounce. And when it hardens, your treats stay neat, stackable, and mess-free.
Still, icing is a treat. Keep portions small. If your dog has allergies, diabetes, or a sensitive stomach, check with your vet first. Our guide on puppy veterinary needs is a good place to learn when to ask.
Final Thoughts
You now have 7 independent recipes and 3 flavor twists to choose from. Every one of them is simple, dog-safe, and built to set firm.
If you want the quickest win, make the yogurt and tapioca icing. If you want clean lines and names, go with the royal icing. For a party-ready shine, try the carob or gelatin glaze.
The best dog friendly icing that hardens is the one your pup loves and your kitchen can handle. Pick a recipe, bake a batch, and enjoy watching that tail wag.

Izzy is an experienced ranch worker who has a passion for exploring nature and getting up close to wildlife. With her connections to various animal organizations, Izzy is well-versed in animal care and rehabilitation.