Homemade Tuna Dog Treats and Tuna Fudge Made Simple
Does your dog go wild the second you open a can of tuna? Then you’re in the right place. Homemade tuna dog treats are cheap, quick, and made with ingredients you probably already own. You also know exactly what goes into every bite, with no mystery fillers and no long ingredient list full of words you can’t pronounce.
This guide gets you cooking fast. You’ll find the main recipe first, then a soft, fudge-style version that’s great for training. After that come three other ways to make tuna treats, plus fixes for common problems, storage tips, and a short safety section.
Quick answer: To make homemade tuna dog treats, mix canned tuna, an egg, and flour into a dough. Cut or scoop it into small pieces, bake at 350°F, and let them cool. Most batches take under 45 minutes from start to finish.
Here’s what you’ll find below:
- A classic baked tuna biscuit recipe
- A homemade tuna fudge recipe for dog training
- Frozen, dehydrated, and scoop-and-bake options
- Troubleshooting tips
- Storage and serving size charts
- A short safety guide
Let’s get to it.
1. Homemade Tuna Dog Treats: The Base Recipe
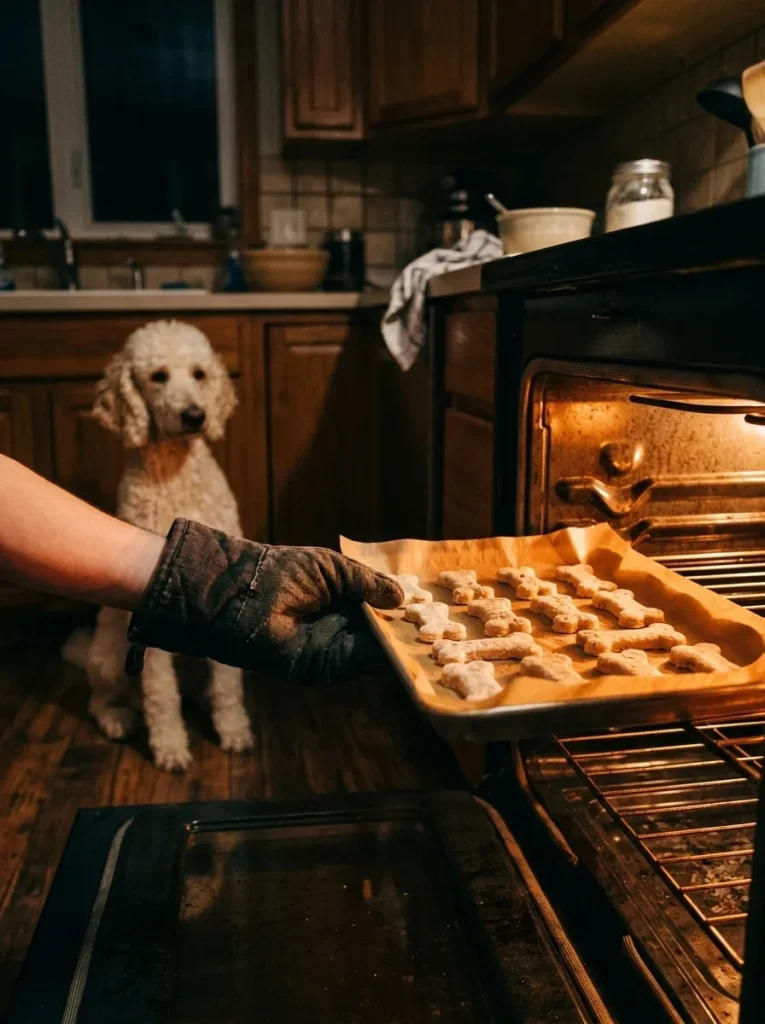
This is the one to start with. It uses simple pantry items, needs no special tools, and gives you crunchy little biscuits that keep their shape. If you’ve never baked dog treats before, begin here.
Quick look: Easy | About 40 minutes | Makes roughly 35 small treats
A. Why This Recipe Works
Tuna is strong and fishy, and dogs love that. The egg holds everything together. Whole wheat flour and oat flour give the dough some structure without making it heavy.
The dough is also forgiving. If it’s too wet, add flour. If it’s too dry, add a splash of water. You can’t really ruin it.
B. What You’ll Need
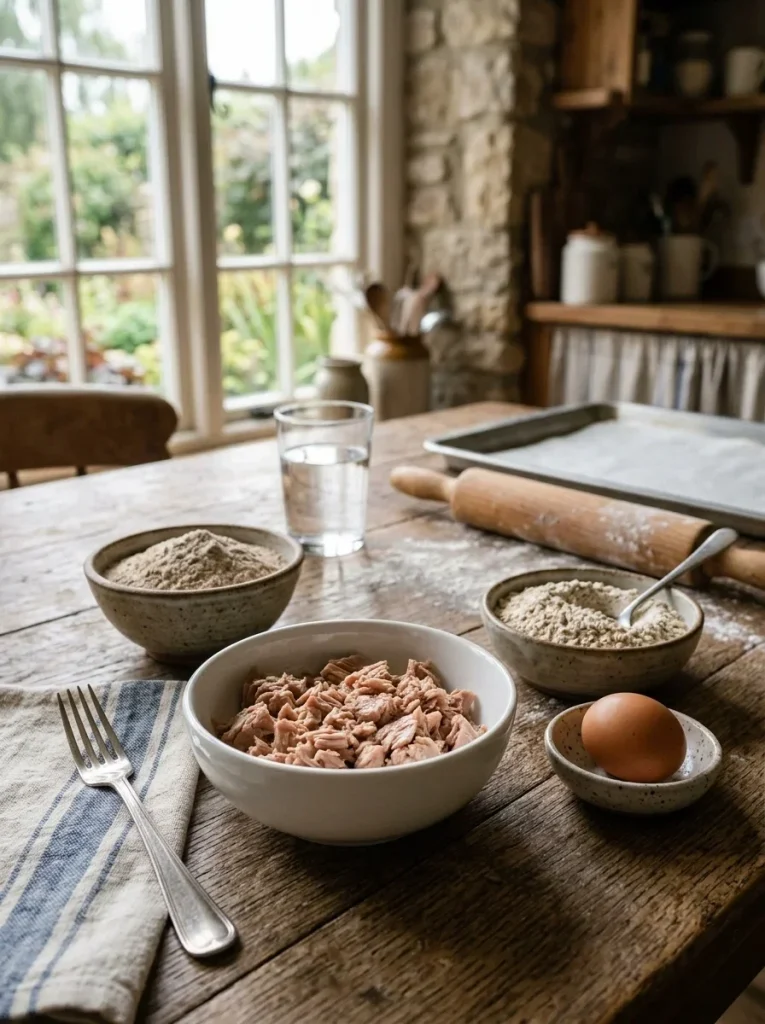
Ingredients: canned tuna, egg, whole wheat flour, oat flour, water.
Tools:
- A mixing bowl and a fork
- A baking sheet
- Parchment paper
- A rolling pin
- A small cookie cutter or a knife
No oat flour? Blitz plain rolled oats in a blender for 20 seconds. You’ll have oat flour in no time.
C. Step-by-Step Tips
Follow these small details and your first batch will come out right.
Choose the right tuna. Pick tuna packed in water with no salt added. Skip tuna in oil, tuna with seasonings, and anything with garlic or onion. Light or skipjack tuna is a smart pick because smaller fish tend to carry less mercury.
Drain the tuna well. Press the tuna in a strainer so you get rid of the extra liquid. This keeps the dough from turning sticky.
Mash it fine. Use a fork to break up every chunk. Smooth tuna mixes better and bakes evenly.
Add water slowly. Add water one tablespoon at a time. You want a soft dough that rolls out without sticking to your hands.
Cut small. Smaller treats bake faster, crisp up better, and are easier to use as rewards. Think thumbnail size for small dogs and half-dollar size for big ones.
D. Recipe Card: Classic Baked Tuna Dog Treats
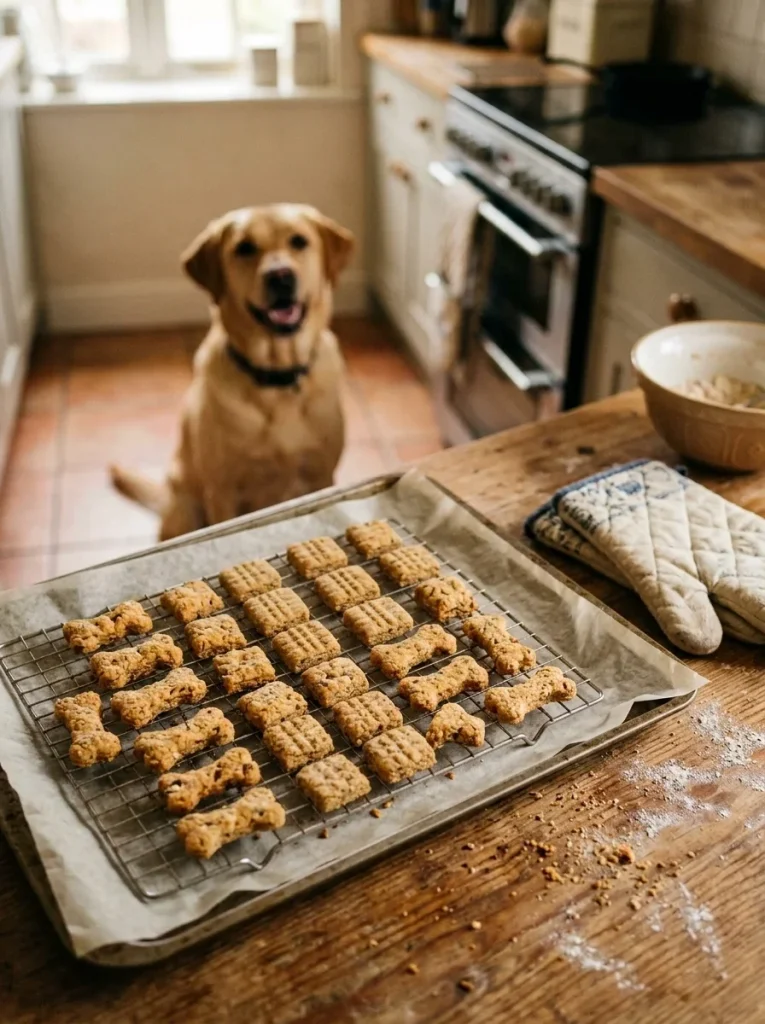
Classic Baked Tuna Dog Treats
Prep Time: 15 minutes
Bake Time: 20 minutes
Freeze Time: None (optional: freeze finished treats for storage)
Total Time: 35 minutes
Yield: About 35 small treats
Difficulty: Easy
Ingredients:
- 1 can (5 oz) tuna in water, no salt added, well drained
- 1 large egg
- 1 cup whole wheat flour, plus extra for rolling
- ½ cup oat flour
- 2 to 4 tablespoons water, as needed
Instructions:
- Preheat your oven to 350°F (175°C). Line a baking sheet with parchment paper.
- Add the drained tuna to a bowl and mash it with a fork until smooth.
- Stir in the egg until fully mixed.
- Add the whole wheat flour and oat flour. Stir until crumbs form.
- Add water, one tablespoon at a time, until the dough comes together in a ball.
- Dust your counter with flour. Roll the dough out to about ¼ inch thick.
- Cut into small shapes with a cookie cutter or knife.
- Place the treats on the baking sheet with a little space between them.
- Bake for 18 to 22 minutes, until the edges look golden and the treats feel firm.
- Turn off the oven and leave the treats inside for 30 minutes for extra crunch.
- Cool completely before serving.
Notes:
- Treats will be firm, not rock-hard. For a softer bite, skip step 10.
- Store in the fridge for up to 5 to 7 days or freeze for up to 3 months.
- Feed only to adult dogs, in small amounts. Check with your vet if your dog has allergies or health issues.
E. Pro Tip
Dough getting sticky while you roll? Chill it in the fridge for 10 minutes. Cold dough is much easier to cut cleanly.
2. Homemade Tuna Fudge Dog Treats
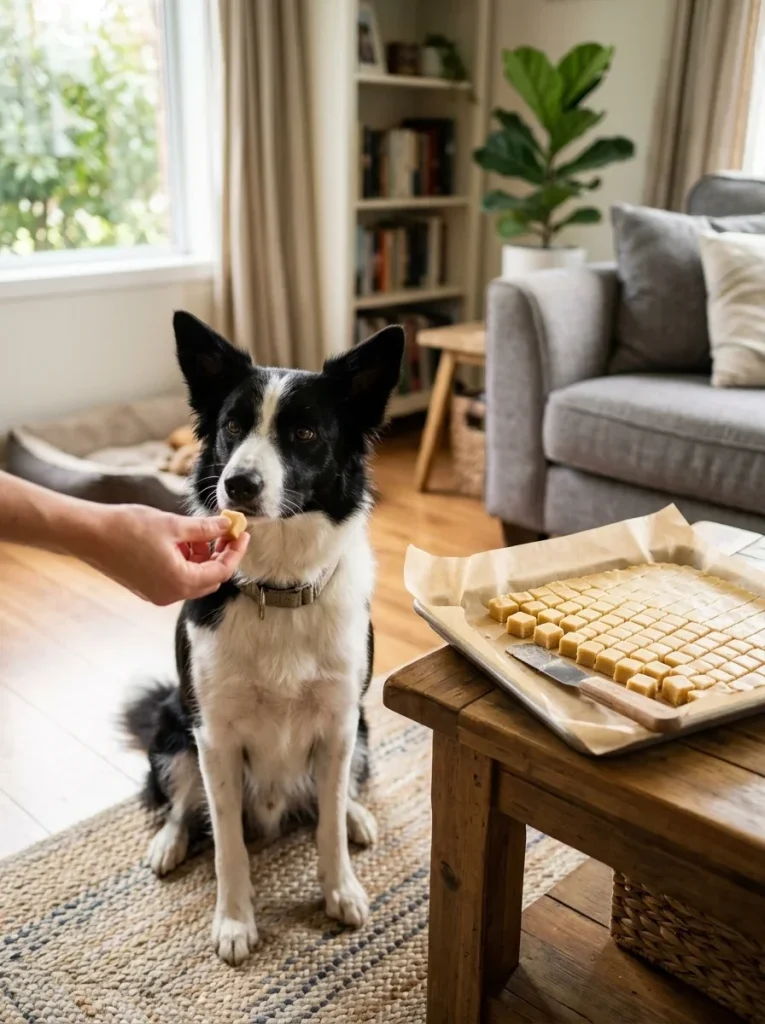
Now for the training star. Homemade tuna fudge dog treats are soft, smelly in the best way, and cut into tiny cubes in a few minutes. No rolling, no cookie cutters, and no sticky dough on your fingers.
Quick look: Super easy | About 35 minutes | Makes about 2 cups of small cubes
A. Why Tuna Fudge Is Great for Training
The word “fudge” doesn’t mean it’s sweet. It just describes the soft, sliceable texture. You press the mixture into a pan, bake it, then cut it into bites.
Here’s why trainers and dog owners love it:
- Tiny pieces work fast. Your dog eats a treat in one second, so training sessions keep their rhythm.
- Strong smell. Even picky dogs perk up for the smell of tuna.
- Easy to make in bulk. One pan gives you a big supply.
- Freezes well. You can pull out a handful whenever you need it.
If you’re working on obedience, pair these with positive reinforcement training. Quick, tasty rewards help your dog connect the right behavior with a good result.
B. What You’ll Need
Ingredients: canned tuna (undrained), eggs, whole wheat flour, oat flour, and a little parmesan if you want extra flavor.
Tools:
- A food processor or a fork
- A baking pan, about 9 by 13 inches
- Parchment paper
- A sharp knife or pizza cutter
C. Step-by-Step Tips
Keep the tuna liquid. Unlike the base recipe, don’t drain the tuna here. The water helps the mixture bind and stay soft.
Go light on the cheese. Parmesan adds flavor but also salt. A small amount is enough, and you can skip it completely.
Press it thin. Spread the mixture to an even layer about ½ inch thick. Press it down with the back of a spoon or damp fingers.
Cool before cutting. Hot fudge crumbles. Let it cool for 15 minutes first, then slice.
D. Recipe Card: Tuna Fudge Dog Treats
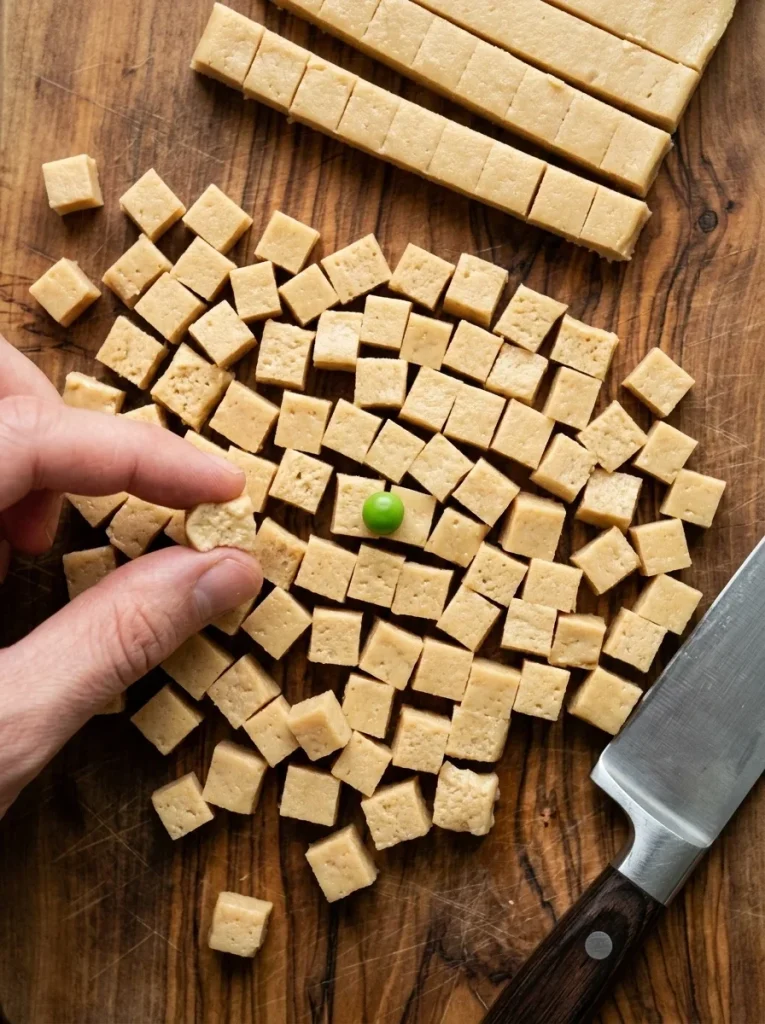
Homemade Tuna Fudge Dog Treats
Prep Time: 10 minutes
Bake Time: 20 minutes
Freeze Time: None (optional: chill 15 minutes before cutting)
Total Time: 45 minutes (including cooling)
Yield: About 2 cups of small cubes (roughly 150 pea-sized treats)
Difficulty: Very easy
Ingredients:
- 2 cans (5 oz each) tuna in water, no salt added, undrained
- 2 large eggs
- 1 cup oat flour
- ½ cup whole wheat flour
- 1 tablespoon grated parmesan (optional)
Instructions:
- Preheat your oven to 350°F (175°C). Line a 9 by 13-inch pan with parchment paper.
- Add the tuna with its liquid to a food processor. Pulse a few times to break up big chunks. No processor? Mash with a fork.
- Add the eggs and pulse or stir to combine.
- Add the oat flour, whole wheat flour, and parmesan if using. Mix until a thick, stiff paste forms.
- Scoop the mixture into the pan. Press it into an even layer about ½ inch thick.
- Bake for 18 to 20 minutes, until the top looks set and the edges are lightly golden.
- Let it cool in the pan for 15 minutes.
- Lift the fudge out using the parchment. Cut into narrow strips, then dice the strips into small cubes.
Notes:
- For training, cut cubes about the size of a pea (small dogs) or a fingernail (larger dogs).
- Store in the fridge for up to 5 days or freeze for up to 3 months.
- Salmon works too. Swap the tuna for a similar amount of canned salmon, with bones removed.
- If the mixture seems too wet, add 1 to 2 tablespoons more oat flour.
E. Pro Tip
Freeze the cubes spread out on a tray first. Then move them into a freezer bag. This stops them from clumping into one big block, so you can grab only what you need.
3. More Ways to Make Homemade Tuna Dog Treats
Not every day calls for the oven. Maybe it’s hot outside. Maybe your dog needs something chewier. Here are four more formats, each different in texture and purpose. Every one follows the same simple layout so you can skim fast.
A. Frozen Tuna Cubes (No Oven Needed)
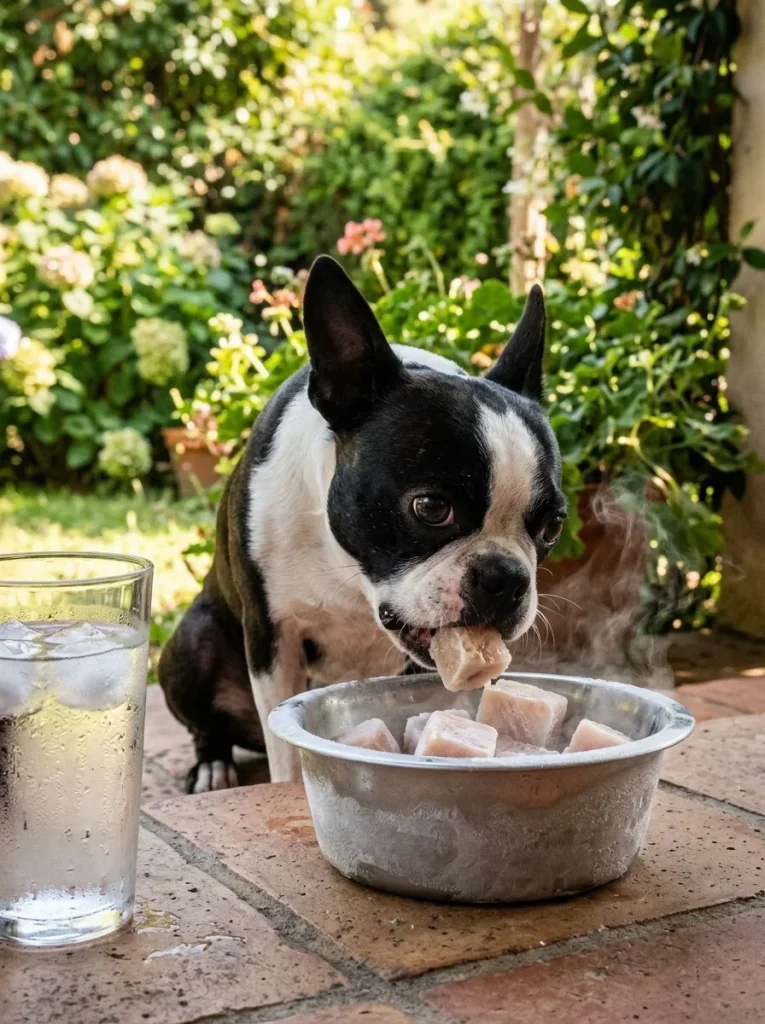
Best for: Hot days, quick snacks, and dogs that love cold treats.
These are the easiest of all. You blend, pour, and freeze. That’s the whole method.
Recipe Card: Frozen Tuna Dog Treats
Frozen Tuna Cubes for Dogs
Prep Time: 5 minutes
Bake Time: None
Freeze Time: 3 to 4 hours
Total Time: About 4 hours
Yield: About 12 cubes
Difficulty: Very easy
Ingredients:
- 1 can (5 oz) tuna in water, no salt added, undrained
- ¼ cup water
- 1 tablespoon plain, unsweetened yogurt (optional, must be xylitol-free)
Instructions:
- Add the tuna with its liquid, the water, and the yogurt (if using) to a blender.
- Blend until the mixture is mostly smooth.
- Pour into a silicone mold or an ice cube tray.
- Freeze for 3 to 4 hours, until solid.
- Pop out one or two cubes and serve right away.
- Move the rest into a labeled freezer bag.
Notes:
- Use a mold that’s only for dog treats, or label it clearly.
- Keeps in the freezer for up to 2 to 3 months.
- Serve one cube at a time to avoid brain freeze and tummy upset.
Pro Tip: Wash your hands and tools well after handling raw-style tuna mixtures. Fish smell sticks around.
B. Dehydrated Tuna Jerky Bites
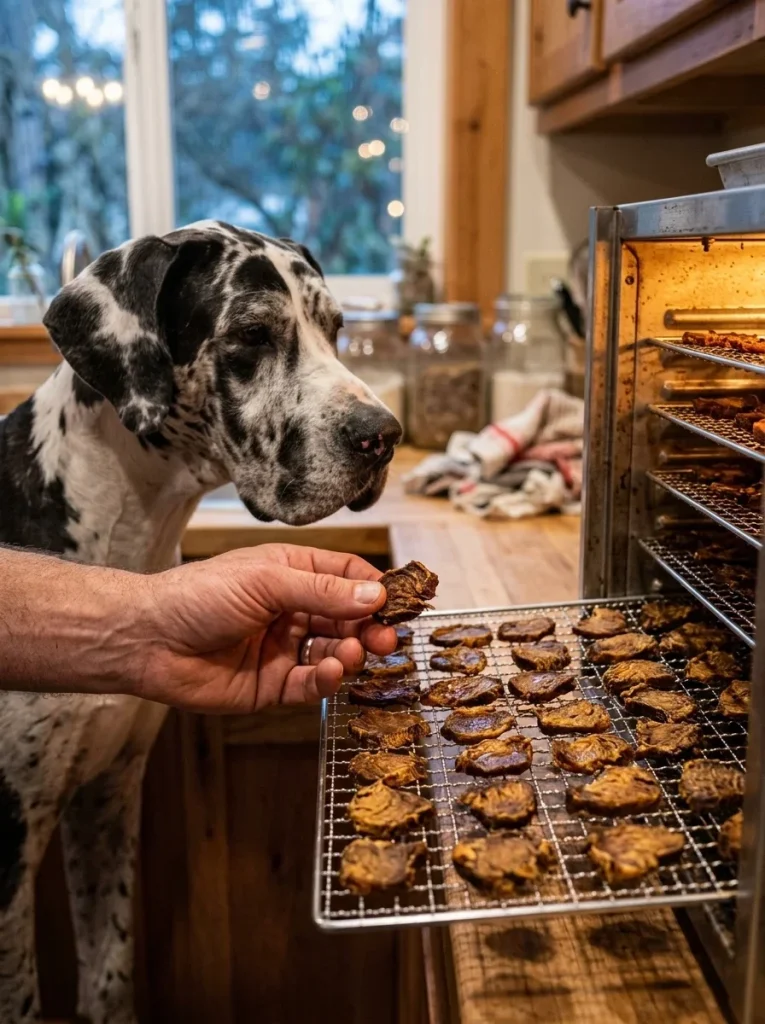
Best for: Long-lasting, chewy, travel-friendly treats.
Dehydrating pulls the water out, which gives treats a jerky-style chew. If you own a dehydrator, this is a great use for it. If not, your oven can do the job on low heat.
Prep Time: 15 minutes
Bake Time: 3 hours (dehydrator or low oven)
Freeze Time: None
Total Time: About 3 hours 15 minutes
Yield: About 40 small bites
Difficulty: Medium
Ingredients:
- 1 can (5 oz) tuna in water, no salt added, very well drained
- ½ cup plus 2 tablespoons whole wheat flour
- 1 to 3 teaspoons water, as needed
Instructions:
- Add the tuna and flour to a food processor. Pulse to combine.
- Add water one teaspoon at a time, pulsing until a stiff paste forms.
- Spoon the paste into a zip-top bag. Snip off a small corner.
- Line a dehydrator tray or baking sheet with parchment or a silicone mat.
- Squeeze small rounds of paste onto the tray, leaving space between each.
- Dehydrator: Dry at 165°F (74°C) for about 3 hours.
- Oven: Bake at 200°F (95°C) for 2 to 3 hours, with the door slightly open.
- Check at the 2-hour mark. Bites should feel dry on top and slightly chewy inside.
- Cool completely.
Notes:
- The natural oils in tuna keep these a bit soft. That’s normal.
- Store in the fridge for up to 1 to 2 weeks or freeze for up to 3 months.
- Thicker rounds need more time. Thin ones dry faster.
Pro Tip: Flip the treats halfway through drying so both sides get even heat.
C. Soft Scoop-and-Bake Training Bites
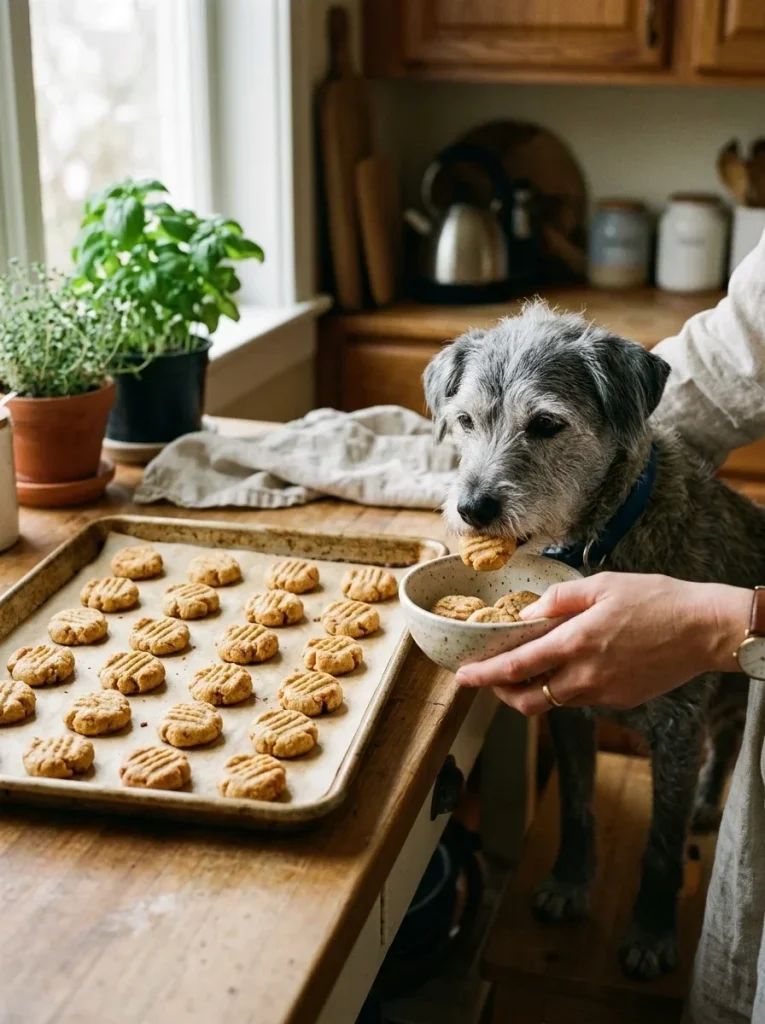
Best for: Quick batches, small dogs, and seniors who like a softer bite.
No rolling, no cutting. You scoop the dough into little balls and bake. The result is a chewy bite that’s easy on teeth.
Prep Time: 10 minutes
Bake Time: 15 minutes
Freeze Time: None
Total Time: 25 minutes
Yield: About 40 mini bites
Difficulty: Easy
Ingredients:
- 1 can (5 oz) tuna in water, no salt added, drained
- 1 large egg
- ½ cup rolled oats, blended into a rough flour
- ¼ cup whole wheat flour
- 1 tablespoon water
Instructions:
- Preheat your oven to 350°F (175°C). Line a baking sheet with parchment paper.
- Mash the tuna in a bowl until fine.
- Stir in the egg, oats, flour, and water until a sticky dough forms.
- Wet your hands slightly. Roll the dough into balls about the size of a marble.
- Place on the baking sheet and press each one down gently with a fork.
- Bake for 12 to 15 minutes, until lightly golden.
- Cool completely before serving.
Notes:
- These stay soft. Bake 3 to 5 minutes longer for a crisper bite.
- Store in the fridge for up to 5 days or freeze for up to 3 months.
- Roll smaller balls for training and larger balls for everyday treats.
Pro Tip: Wet hands stop the dough from sticking. Keep a small bowl of water nearby.
D. Freeze-Dried Tuna (Buy Instead of Make)
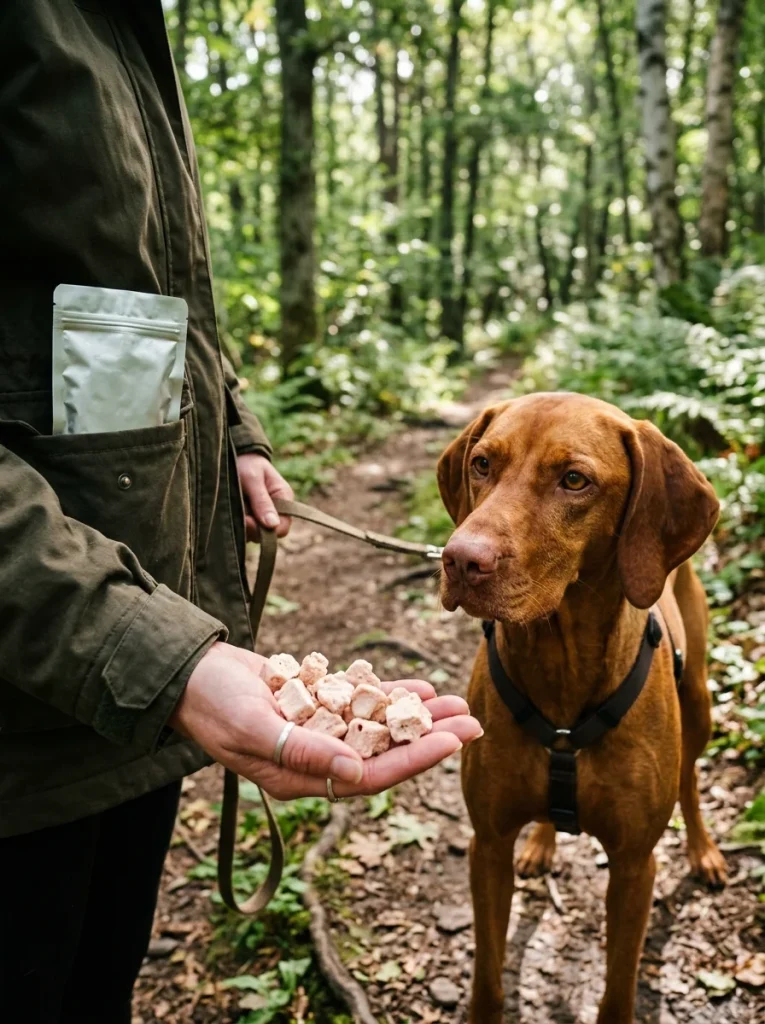
Best for: Busy days, travel, and super-picky eaters.
Freeze-drying needs special equipment, so this one isn’t a home recipe for most people. But store-bought options exist, and they’re handy to keep on hand.
Look for products with one ingredient: tuna. Skip any with added salt, sugar, flavors, or preservatives. Treat these as occasional rewards too, since they’re very concentrated and a few pieces go a long way.
Want more homemade ideas beyond fish? Check out these homemade dog treat recipes for options your dog might love just as much.
4. Troubleshooting Your Tuna Dog Treats
Even simple recipes can go sideways. Here are the most common problems and how to fix each one fast.
A. The Dough Is Too Sticky
Why it happens: Too much liquid from the tuna, or not enough flour.
Fix it:
- Add flour one tablespoon at a time
- Chill the dough for 10 minutes
- Dust your hands and rolling pin with flour
- Drain the tuna better next time
B. The Dough Is Too Crumbly
Why it happens: Not enough moisture, or too much flour.
Fix it:
- Add water one teaspoon at a time
- Knead gently with your hands
- Add a small spoonful of mashed tuna if the dough still won’t hold
C. The Treats Fall Apart After Baking
Why it happens: The mixture was too wet, or the treats were cut while hot.
Fix it:
- Let treats cool fully before moving them
- Bake a few minutes longer
- Make sure your egg is mixed in completely
D. The Treats Are Too Hard
Why it happens: Over-baking, or rolling the dough too thin.
Fix it:
- Roll to a full ¼ inch
- Shorten bake time by 3 to 5 minutes
- Skip the “oven off” drying step
E. The Smell Is Too Strong
Why it happens: Tuna smells. That’s part of the appeal for your dog, but it can be a lot for you.
Fix it:
- Open a window or run the kitchen fan
- Wash tools right after use
- Store treats in a tightly sealed container
- Bake early in the day so the smell fades by dinner
F. The Treats Go Soft in Storage
Why it happens: Moisture is sneaking in, or the treats weren’t fully cooled.
Fix it:
- Cool completely before storing
- Use an airtight container
- Pop in a paper towel to absorb moisture
- Freeze extras instead of leaving them out
5. Storage, Freezing, and Serving Sizes
Tuna treats contain fish and egg, so storing them correctly matters. Here’s a simple guide.
A. How Long Do They Last?
| Treat Type | Fridge | Freezer |
|---|---|---|
| Classic baked biscuits | 5 to 7 days | Up to 3 months |
| Tuna fudge cubes | Up to 5 days | Up to 3 months |
| Frozen tuna cubes | Not applicable | 2 to 3 months |
| Dehydrated jerky bites | 1 to 2 weeks | Up to 3 months |
| Soft scoop-and-bake bites | Up to 5 days | Up to 3 months |
Safe storage rules:
- Cool treats fully before storing
- Use airtight containers or freezer bags
- Label each bag with the date
- Toss anything that smells off, looks fuzzy, or feels slimy
- When in doubt, freeze it
B. Freezing Tips That Save Time
Flash freeze first. Spread the treats on a tray in a single layer. Freeze for one hour, then move them into a bag. They won’t stick together.
Freeze in small portions. Divide into bags of one week’s worth. You’ll only thaw what you’ll use.
Thaw in the fridge. Move a bag to the fridge the night before. Or just hand your dog a frozen cube on a warm day.
If you like keeping treats organized and within reach, a dog treat station can make daily rewards neat and easy to grab.
C. How Many Treats Can Your Dog Have?
Treats should stay a small part of your dog’s daily food. A common rule is that treats make up no more than about 10 percent of daily calories. Tuna treats are also a “sometimes” food, so don’t offer them every single day.
Here’s a simple starting guide for tiny, pea-to-fingernail-sized pieces:
| Dog Weight | Pieces Per Serving | How Often |
|---|---|---|
| Under 10 lbs | 1 to 2 | A few times a week |
| 10 to 25 lbs | 2 to 4 | A few times a week |
| 25 to 50 lbs | 4 to 6 | A few times a week |
| Over 50 lbs | 6 to 8 | A few times a week |
Remember: These are general starting points. Every dog is different. Ask your vet what’s right for your dog’s age, weight, and health.
Training tip: Using these for a big session? Count the treats, and reduce your dog’s regular meal a little to balance it out.
Looking for something a bit more special for your pup’s big day? Try a dog birthday cake recipe and serve a few tuna bites on the side.
6. Are Homemade Tuna Dog Treats Safe for Your Dog?
Tuna can be a fun treat for many dogs, but there are a few things to keep in mind. This section is short on purpose. Here are the key points.
A. Mercury and Moderation
Tuna can contain mercury, and larger fish tend to carry more. That’s why moderation matters. Small portions a few times a week are safer than large servings every day.
Smaller tuna types, like skipjack or light tuna, are usually a better choice than big species. Still, tuna should stay an occasional treat and not a main food.
B. Salt and Added Ingredients
Many canned tunas contain extra salt or flavors. Always choose:
- Tuna in water, not oil
- No salt added options
- Plain tuna with no spices, garlic, or onion
Also go easy on cheese. Parmesan has natural salt, so a little goes a long way.
C. Who Should Skip Tuna?
Talk to your vet before offering tuna treats if your dog is:
- A puppy. Young dogs have tiny tummies and special nutrition needs. Check out these puppy training tips for safer ways to reward them.
- Allergic to fish, eggs, or wheat. Watch for itching, tummy upset, or ear problems.
- Prone to pancreatitis. Rich or oily foods can be a problem.
- On a special diet. Dogs with kidney disease or other conditions need vet-approved treats.
- A senior dog with chewing problems. Choose the softest recipes and cut treats small.
D. Signs to Watch For
After trying any new treat, keep an eye on your dog for 24 hours. Call your vet if you see:
- Vomiting or diarrhea
- Constant itching
- Swelling around the face
- Low energy or loss of appetite
New foods should always be introduced slowly. Start with one tiny piece and see how your dog does.
Prefer a crunchy chew instead of fish? These dog bone treats make a nice alternative to tuna, especially for dogs that need a break from seafood.
7. Conclusion
Making homemade tuna dog treats is simple, affordable, and a great way to show your dog some love. You don’t need fancy tools or hard-to-find ingredients. A can of tuna, an egg, and a bit of flour are enough to get started.
Here’s a quick recap so you can jump back in later:
- Want crunchy and classic? Make the baked tuna biscuits.
- Training a new trick? Whip up a pan of homemade tuna fudge dog treats.
- Hot summer day? Pop out a frozen tuna cube.
- Need something chewy and long-lasting? Try the dehydrated bites.
- Short on time? Roll up the soft scoop-and-bake bites.
Keep portions small, use tuna in water with no added salt, and store your treats properly. When in doubt, ask your vet.
Pick one recipe, make a small batch, and see which one your dog loves most. Chances are you’ll be making it again next week. Happy baking, and enjoy those wagging tails!

Izzy is an experienced ranch worker who has a passion for exploring nature and getting up close to wildlife. With her connections to various animal organizations, Izzy is well-versed in animal care and rehabilitation.