Peanut Butter Oat Dog Treats: Crunchy Outside, Happy Dog Inside
Few ingredient pairings work as reliably across so many dogs and occasions as peanut butter and oats. The peanut butter brings protein, healthy fats, and that unmistakable flavor dogs gravitate toward. Oats contribute gentle soluble fiber that supports steady digestion and sustained energy without spiking blood sugar. Both ingredients are pantry staples at most homes, which means you can make a batch on short notice without a special grocery run. A single batch of Peanut Butter Oat Dog Treats costs a fraction of comparable store-bought biscuits and gives you full control over every ingredient that goes into them.
Why Peanut Butter and Oats Are the Easiest Win
The nutritional profile of this pairing makes it one of the safest default choices for homemade dog treats. Peanut butter supplies plant-based protein and monounsaturated fats that support healthy skin and a glossy coat. Oats bring beta-glucan, a type of soluble fiber that feeds beneficial gut bacteria and helps regulate bowel movements. Whatever peanut butter you buy, check the label first: it must be xylitol-free, and xylitol is also sold as birch sugar.
Practicality matters just as much as nutrition. Both peanut butter and oats store well in a pantry for months, which means you are never more than a few minutes away from mixing a batch. Peanut butter and oats also pair naturally with other dog-safe add-ins like pumpkin, banana, Greek yogurt, and sweet potato, which is one reason 3-ingredient no-bake peanut butter dog treats works so well as a backup when you are out of time.
The combination is also forgiving for people who do not bake regularly. Over time, most owners find themselves tweaking shapes, adjusting consistency, and building confidence to try more ambitious recipes.
The 3-Method Formula: Bake, Chill, Freeze
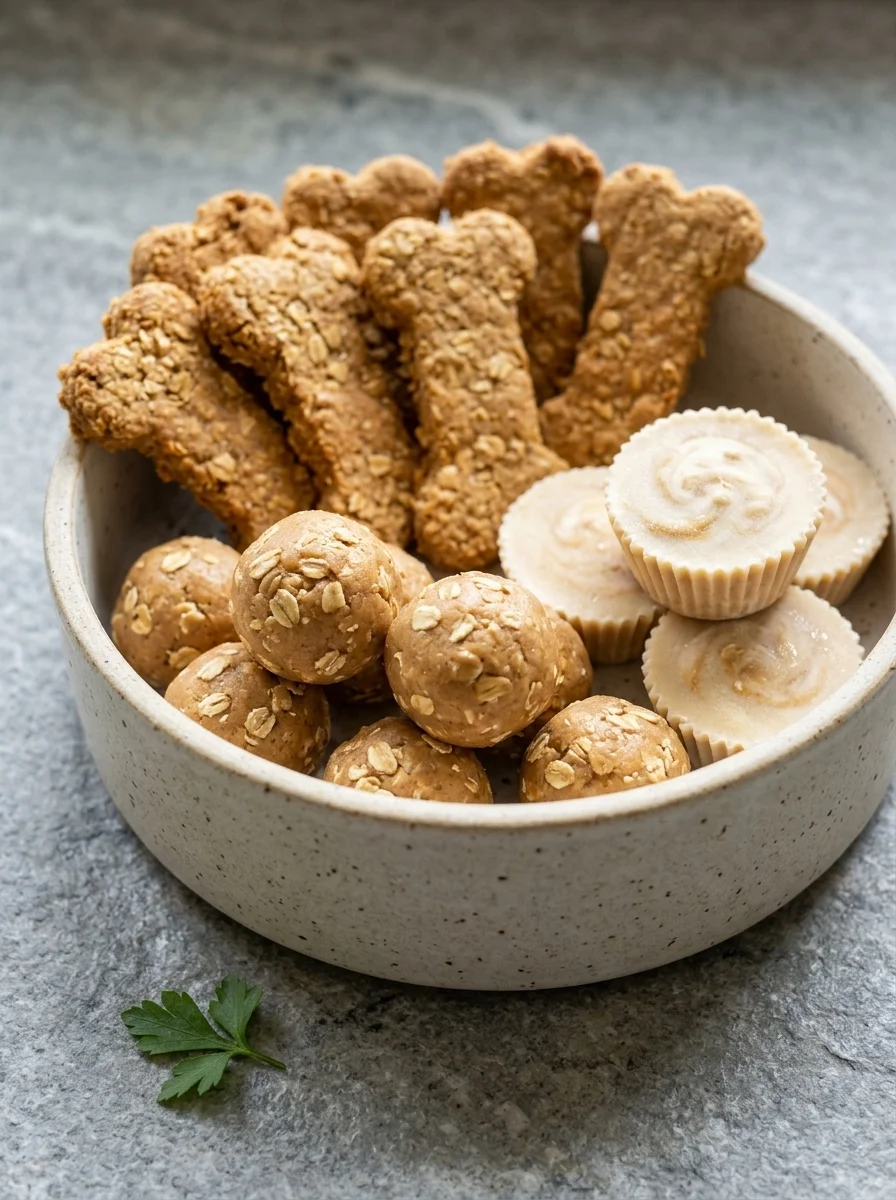
Baking the oat flour dough produces a crisp, firm biscuit that holds up in a treat pouch and delivers a satisfying snap. Chilling rolled oats mixed with peanut butter and pumpkin creates a soft, chewy ball that dissolves quickly in a dog’s mouth. Freezing the same rolled oat mixture with banana and yogurt turns it into a slow-melting cup that works well on warm days.
Oat flour is the right choice when you need a smooth dough you can roll and cut. Quick oats are not a direct substitute for either form. They are milled thinner and cook faster, which means they will not hold their shape in no-bake applications the way rolled oats do. Use plain oats only — never sweetened or flavored instant oats, which can hide xylitol and added sugar.
The three methods also serve different practical needs. Baked biscuits are your everyday workhorse. Chilled no-bake balls are ideal for dogs with dental concerns, puppies still teething, and senior dogs whose jaws do not handle hard biscuits well. Frozen cups serve a different purpose entirely, much like the frozen approach in this guide: they cool and occupy a dog at the same time, which makes them useful for post-walk refreshment, crate settling, or distracting a dog during household activities that trigger anxiety.
Recipe 1: Classic Crunchy Baked Peanut Butter Oat Biscuits
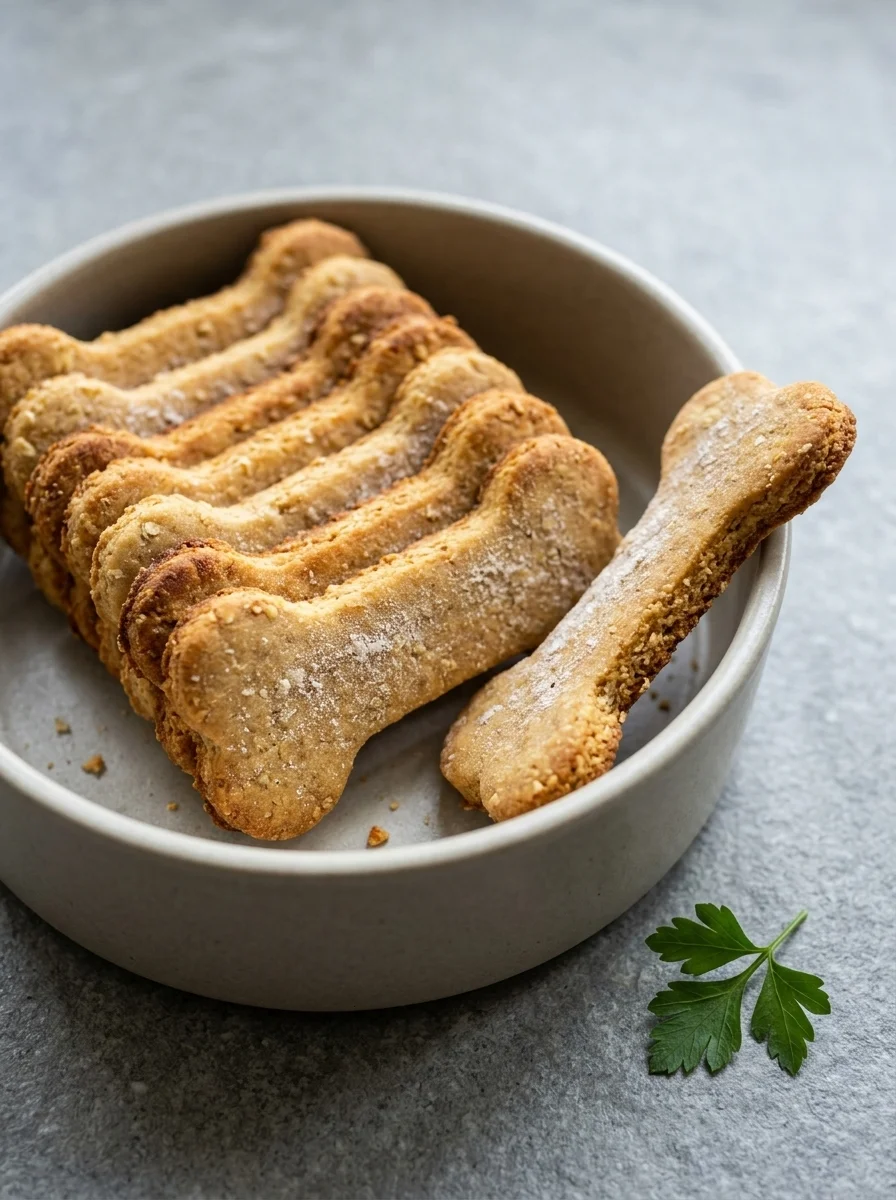
These are the Peanut Butter Oat Dog Treats that most people picture when they think of homemade dog biscuits, and they live up to that expectation. A crisp exterior gives way to a dense, slightly crumbly interior that holds together during training without making a mess in your pocket or bag. This recipe also works well as a base if you want to explore sweeter options like sweet potato dog waffles on mornings when your dog has earned something extra.
Ingredients
- 2 cups oat flour (ground rolled oats)
- 1/2 cup xylitol-free peanut butter
- 1 large egg
- 2-4 tablespoons water, as needed
Step-by-Step Instructions
- Preheat your oven to 350°F and line a large baking sheet with parchment paper or a silicone baking mat.
- Add the oat flour and xylitol-free peanut butter to a mixing bowl and stir until the peanut butter is distributed through the flour in small, crumbly clumps.
- Make a well in the center, crack in the egg, and stir from the center outward until the mixture starts to come together in a shaggy dough.
- Add water one tablespoon at a time, stirring thoroughly after each addition, until the dough pulls away cleanly from the sides of the bowl and can be pressed into a cohesive ball without cracking at the edges.
- Turn the dough out onto a clean surface dusted lightly with oat flour, knead it by hand three or four times into a smooth, firm ball, and flatten it slightly.
- Place the dough between two sheets of parchment paper and roll it to an even quarter-inch thickness, lifting and rotating the paper occasionally so the dough does not stick.
- Use a cookie cutter to cut shapes from the dough, pressing straight down and lifting cleanly, then arrange the cutouts on the prepared baking sheet with a small gap between each one.
- Gather the scraps, press them back into a rough disk, roll again, and cut additional shapes until you have used most of the dough.
- Bake for 20 minutes, then check the center of a biscuit by pressing gently with a fingertip. If it yields at all, continue baking in two-minute increments until the surface is dry and the edges are lightly golden.
- Turn off the oven, leave the door closed, and let the biscuits cool inside for 10 to 15 minutes. This residual heat finishes the drying process and develops the full crunch.
- Transfer the biscuits to a wire rack and let them cool completely to room temperature before moving them to an airtight container.
The dough should feel like firm Play-Doh. If it sticks to your fingers, knead in another spoonful of oat flour. If it cracks at the edges when you roll it, knead in another tablespoon of water. The oven-off rest is not optional if you want the signature crunch these treats are known for.
More Peanut Butter Oat Dog Treats
The same core ingredients expand into two entirely different treats using different methods and small adjustments to the ingredient ratios.
Variation 1: No-Bake Peanut Butter Oat Balls
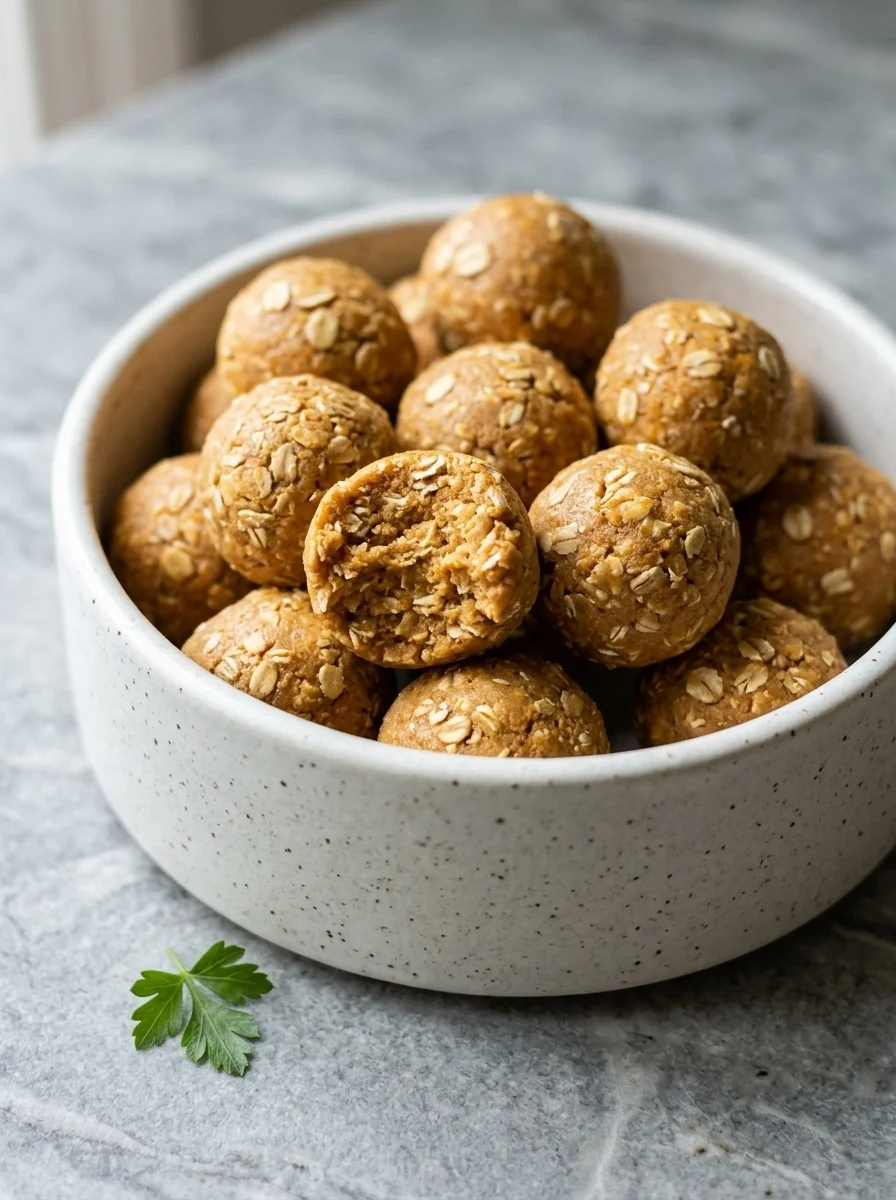
These soft, bite-sized treats solve the problem of what to do when you do not want to turn on the oven or when you need something softer for a dog with dental sensitivity. If your dog has ever done well with homemade cheesecake for dogs, they will likely appreciate the softer, less crumbly profile of these balls as well.
Ingredients
- 1 cup rolled oats
- 1/2 cup xylitol-free peanut butter
- 1/4 cup plain pumpkin purée (never pie filling)
Step-by-Step Instructions
- Add the rolled oats, xylitol-free peanut butter, and plain pumpkin purée to a mixing bowl.
- Stir thoroughly with a sturdy spoon or spatula, scraping the bottom of the bowl frequently, until the peanut butter and pumpkin are evenly distributed through the oats and the mixture clings together when pressed.
- Test the consistency by squeezing a tablespoon of the mixture in your palm. If it falls apart, stir in another tablespoon of peanut butter and test again.
- Cover the bowl and refrigerate for 30 minutes. Chilling firms the peanut butter and makes the mixture easier to handle.
- Scoop the chilled mixture by the heaping teaspoon and roll each portion firmly between clean palms into a tight, smooth ball about the size of a large blueberry.
- Arrange the finished balls on a plate or small tray, cover loosely with plastic wrap, and refrigerate for another 30 minutes until completely firm to the touch.
- Transfer the balls to an airtight container and keep them refrigerated until serving.
Roll the balls tightly. If they feel loose or crumbly in your hand, the mixture is not compressed enough.
Variation 2: Frozen Peanut Butter Oat Cups
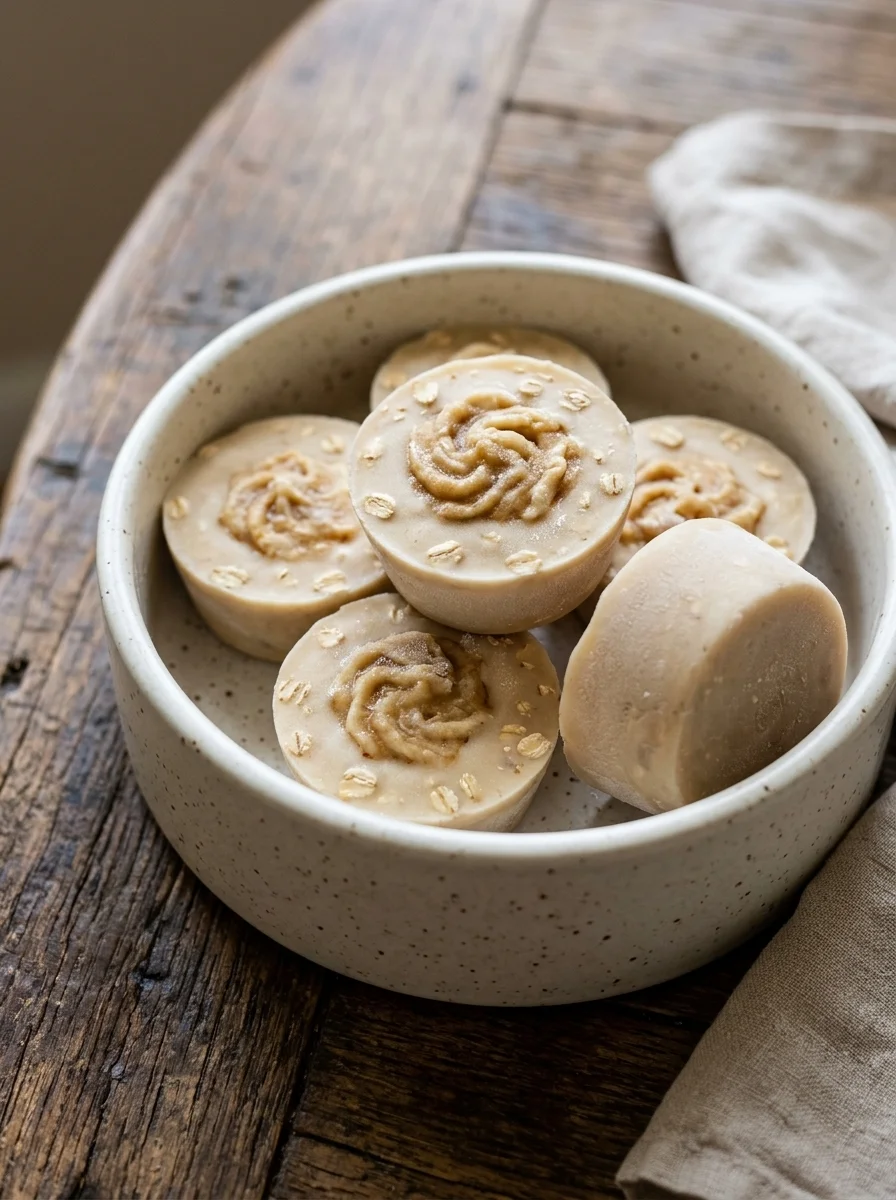
These frozen treats serve a different need than the baked and chilled versions. Muffin tins and rigid cups do not release frozen treats well. Silicone molds flex, which lets you pop the cups out cleanly once they are fully frozen.
Ingredients
- 1/2 cup xylitol-free peanut butter
- 1 ripe banana, mashed
- 1/4 cup plain Greek yogurt
- 1/2 cup rolled oats
Step-by-Step Instructions
- Add the xylitol-free peanut butter, mashed ripe banana, and plain Greek yogurt to a mixing bowl and whisk together until the mixture is smooth and fully combined with no streaks of peanut butter visible.
- Fold in the rolled oats with a spatula, turning the mixture until the oats are distributed evenly throughout. The oats should sit suspended in the creamy base rather than sinking to the bottom.
- If the mixture feels very thick and resists folding, stir in another tablespoon of Greek yogurt until it moves more easily from the bowl into a spoon.
- Set out your silicone molds on a level surface and spoon the mixture into each cavity, filling them nearly to the top.
- Place the filled molds in the freezer and leave them undisturbed for at least 4 hours, or preferably overnight, until completely frozen solid.
- When the cups are frozen solid, flex the sides of each silicone mold away from the cup and lift the treat out. If a cup does not release easily, run the back of the mold under warm water for 10 seconds and try again.
- Serve the frozen cup in a dog bowl. Break it into two or three smaller pieces for dogs under 25 pounds or for any dog that tends to gulp frozen treats. Supervise your dog while they eat it.
These cups work best on warm days, after a long walk, or when your dog needs a longer-lasting distraction — and on cooler days, raspberry dog muffins make a good baked fruity alternative. Never serve frozen treats in a cup or mug. The dog bowl is the right vessel because it sits flat, is easy to clean, and contains any melting mess.
Serving by Dog Size
Treat size and portion count should scale with the dog eating them, not with what is convenient to cut or roll. Oversized treats encourage gulping, which defeats the training purpose and increases choking risk.
For dogs under 10 pounds, cut baked biscuits into quarters or use a small cookie cutter around one inch across. The no-bake balls should be rolled to about the size of a pea. Break frozen cups into small chunks roughly the size of a blueberry before placing them in the dog’s bowl. A single biscuit quarter or one small ball is enough for one reward.
For dogs between 10 and 25 pounds, a half biscuit cut from a standard two-inch cutter works well. No-bake balls rolled to the size of a large blueberry are appropriate.
For dogs between 25 and 50 pounds, a full two-inch biscuit or a standard no-bake ball the size of a golf ball is a good portion.
For dogs over 50 pounds, increase to a full large biscuit or two standard no-bake balls.
Storage and Freezing
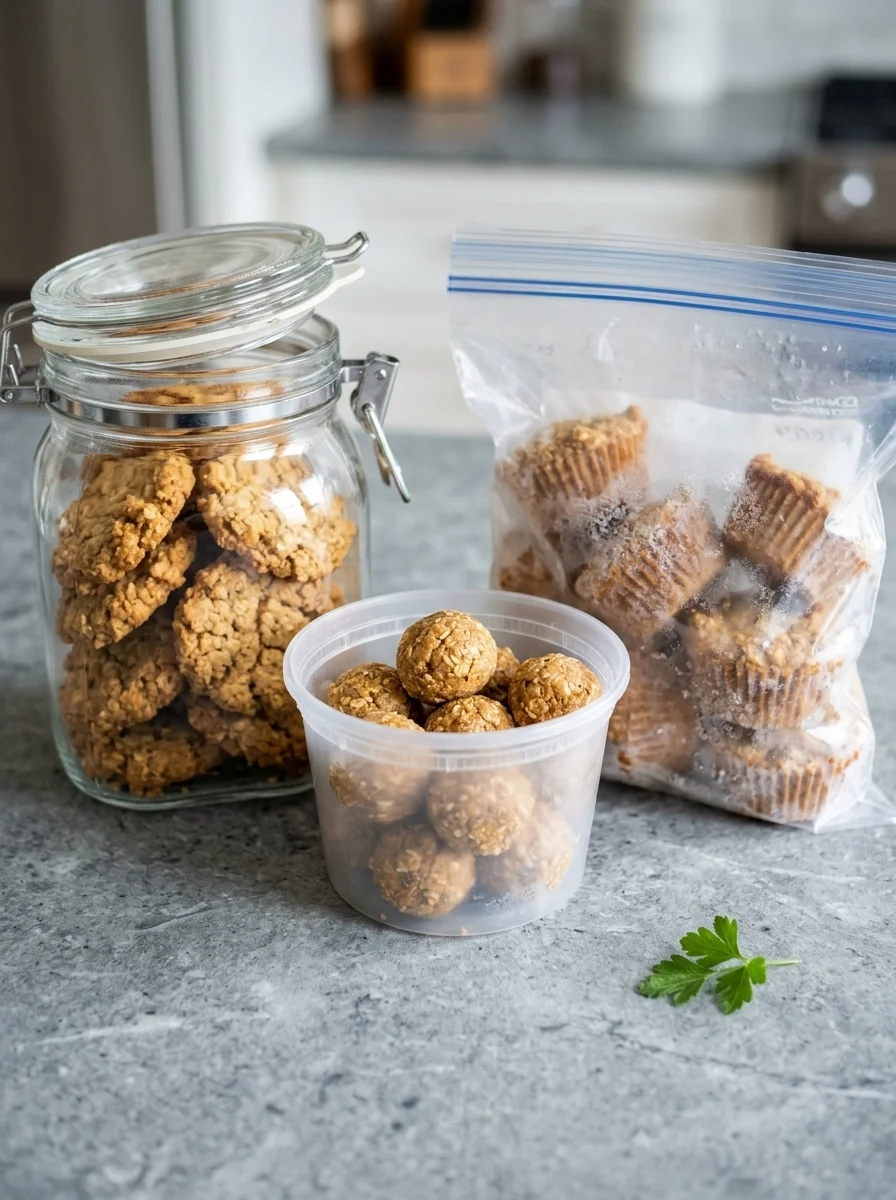
All three versions of Peanut Butter Oat Dog Treats store well, but each has its own conditions and timeline. Baked biscuits are the most forgiving. They stay fresh at room temperature for about one week in an airtight container kept in a cool, dry spot away from direct sunlight. For longer storage, freeze them for up to three months. When you are ready to use them, pull out as many as you need and let them thaw on the counter for 20 to 30 minutes.
No-bake balls must be refrigerated because the peanut butter and pumpkin base is soft at room temperature. Store them in a single layer in an airtight container for up to one week. If you need to keep them longer, freeze them for up to three months.
Frozen cups live in the freezer by design and keep well for up to two months. Keep them in the molds until you are ready to serve, then pop out one cup at a time.
Troubleshooting
Most problems with Peanut Butter Oat Dog Treats come down to dough consistency, oven accuracy, and handling during cooling.
If your baked biscuit dough feels sticky and sticks to your fingers, your hands, and the rolling pin, it has too much moisture relative to the flour. Stop adding water. Instead, knead in oat flour one tablespoon at a time until the dough reaches a smooth, firm consistency that holds its shape when you press it and releases cleanly from your palm.
If your dough feels dry, crumbly, and cracks at the edges when you try to roll it, it needs more moisture. Add water one tablespoon at a time, kneading thoroughly after each addition, until the dough rolls smoothly without splitting.
If your baked biscuits come out soft in the center instead of crisp, they were either underbaked or moved out of the turned-off oven too quickly. If your oven runs cool, check it with an oven thermometer — a cool oven will not crisp the biscuits properly.
If your no-bake balls will not hold together when you roll them, the mixture is too wet. Add another tablespoon of peanut butter and chill the mixture for the full 30 minutes before rolling again. Give them the full hour of refrigeration.
If your frozen cups stick stubbornly to the mold, let them sit at room temperature for 5 to 10 minutes to let the edges soften slightly, then flex the corners of the silicone mold while pressing up gently from underneath. If your frozen cups crack when you unmold them, they have likely been in the freezer too long uncovered, which causes freezer burn and drying at the surface.
Frequently Asked Questions
Final Thoughts
The beauty of these recipes is that one base pair — peanut butter and oats — gives you three textures, so there is something for every dog to enjoy. Bake the trio and set them out side by side, then let your dog pick the favorite — you may be surprised which texture wins. Starting with the baked biscuits is the simplest and most reliable first step, giving you a portable, mess-free treat that travels well and stores easily. From there, branch into the chewy balls and frozen cups at your own pace, always keeping your dog’s preferences and any dietary sensitivities in mind.

Izzy is an experienced ranch worker who has a passion for exploring nature and getting up close to wildlife. With her connections to various animal organizations, Izzy is well-versed in animal care and rehabilitation.