Pumpkin Applesauce Dog Treats: 6 Gentle Recipes From One Soothing Base
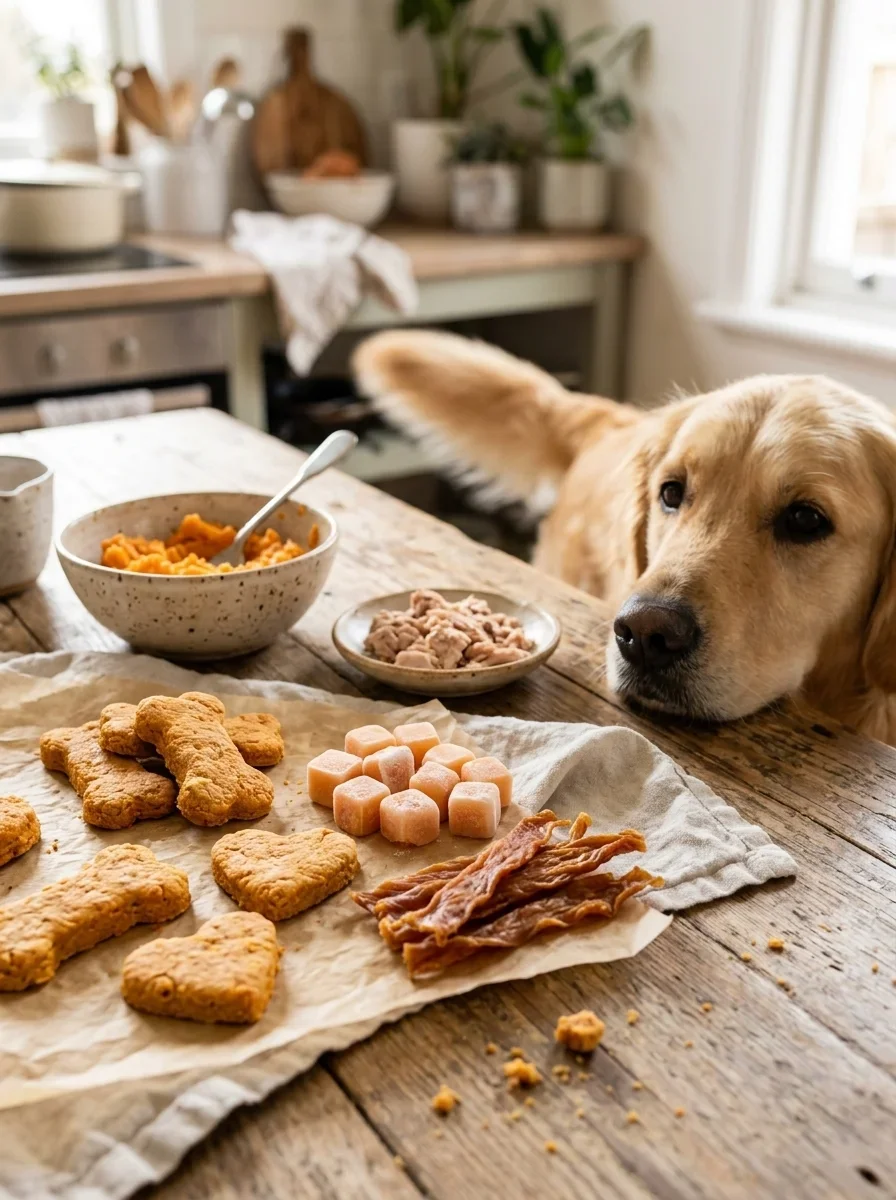
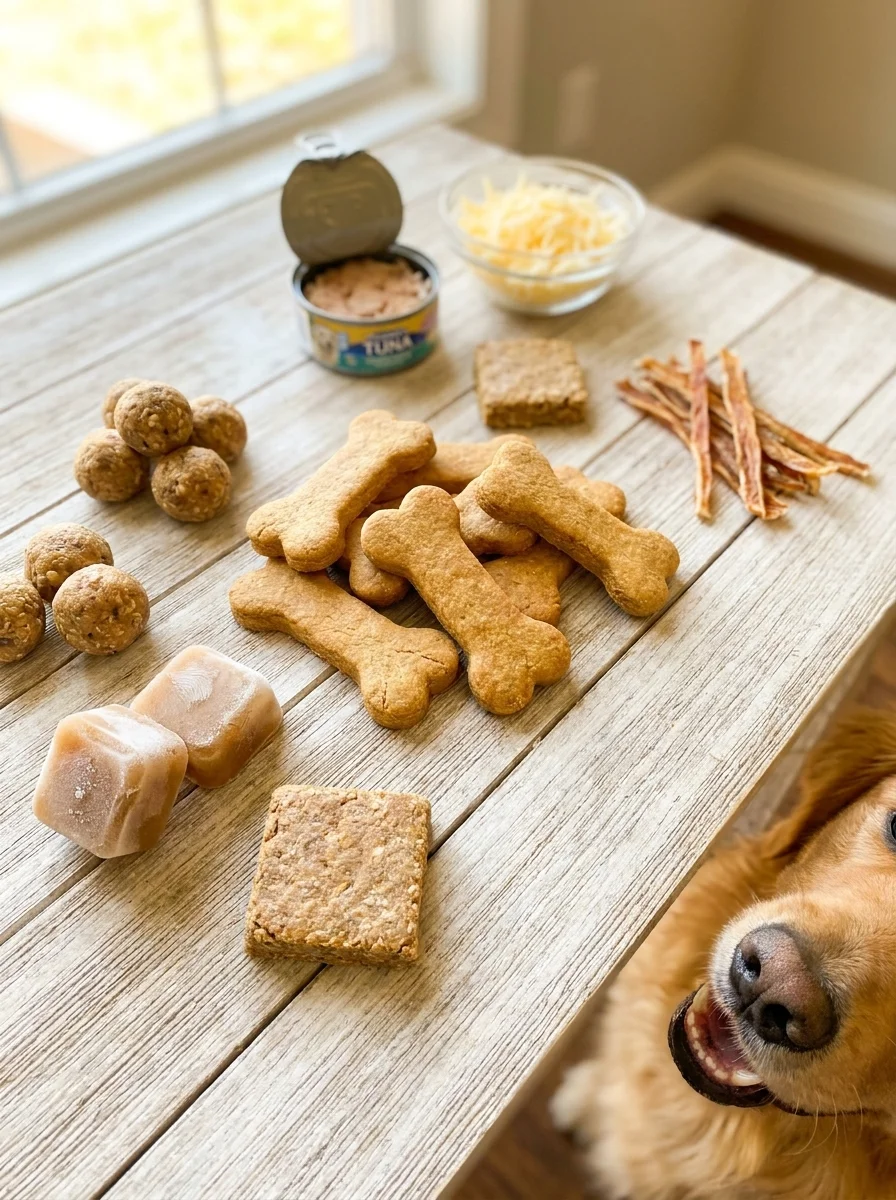
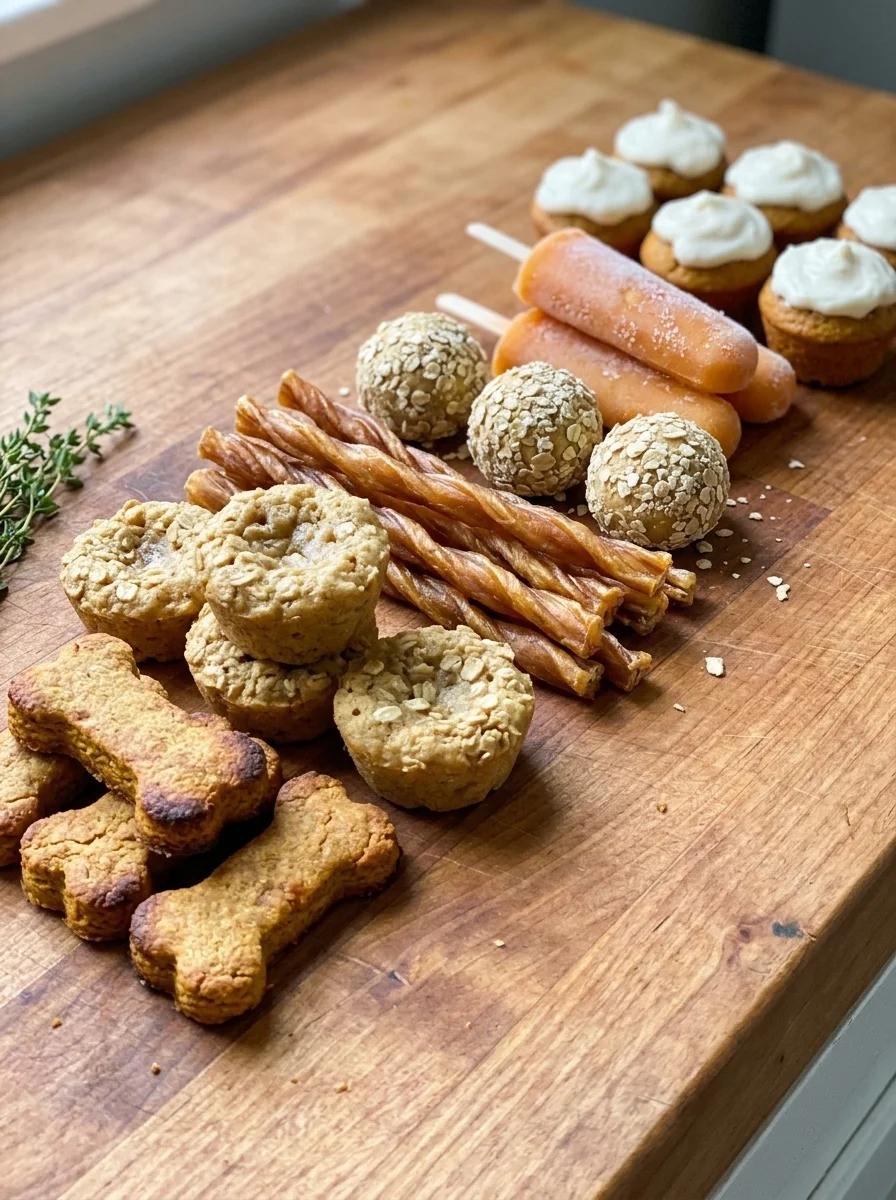
Pumpkin Applesauce Dog Treats combine two of the safest, most dog-friendly ingredients into one recipe family that spans every texture a dog might prefer. Whether your dog likes a crisp biscuit, a soft bite, a chewy stick, or something frozen on a hot afternoon, these recipes start from the same two-ingredient base and branch into six genuinely different treats. You can make them all in an afternoon or pick one recipe and commit to it as a weekly baking ritual. The ingredient list stays short, the technique stays simple, and the results stay safe.
Why Pumpkin and Applesauce Are the Gentlest Pair
Plain pumpkin purée and unsweetened applesauce make this combination work so well because each ingredient brings something the other does not. Pumpkin delivers fiber, which supports healthy digestion, and vitamin A, which contributes to skin and coat condition. It has a naturally mild sweetness that dogs respond to without being cloying or heavy, and its moisture content keeps these treats from drying out completely. Applesauce adds its own gentle sweetness and, more importantly, hydration, which matters for dogs who do not drink enough water throughout the day. The combination stays bland enough for dogs with sensitive stomachs and interesting enough to hold their attention.
That gentleness depends entirely on the quality of the ingredients you choose. Always reach for plain pumpkin purée, never pumpkin pie filling. Pie filling contains added sugar, spices, and frequently nutmeg, which is unsafe for dogs at any quantity. Read the can: the only ingredient should be pumpkin. Applesauce must be unsweetened and free of xylitol, sometimes labeled as birch sugar, which is toxic to dogs even in small amounts. Scan every label before you buy, because brands vary. These recipes call for applesauce, not jam, jelly, or sweetened sauce meant for humans. For a simpler take on the core combination, see 2-ingredient pumpkin dog treats. Cinnamon, used in small amounts, is fine for most dogs, but avoid any spice blends that might contain nutmeg. And never, under any circumstances, use apple seeds or cores: only the flesh, already cooked into applesauce, is safe. These are foundational rules that apply to every recipe in this collection.
The Pumpkin Applesauce Formula: Wet + Binder + Shape
All six recipes in this collection share one exact starting point: one cup plain pumpkin purée and one-half cup unsweetened applesauce. That wet base is the flavor foundation, the moisture source, and the reason these treats suit sensitive stomachs. What changes from recipe to recipe is the binder and the cooking method, and those two decisions alone control the texture entirely. Whole wheat flour and oat flour each produce a different crumb and chew. Baking, slow-drying, chilling, and freezing each lock in a different density and moisture level.
The binder goes in gradually. Flour, oats, or any dry ingredient should be added a cup or a half-cup at a time while you stir, so you can stop the moment the dough reaches the right consistency. If the dough feels wet or sticky, add flour one tablespoon at a time until it firms up. If it feels dry or crumbly, a splash more applesauce brings it back. Dough that is too wet spreads too thin on the sheet and bakes into a cracker. Dough that is too dry bakes into something hard and crumbly that most dogs will ignore.
Cooling matters almost as much as baking. Biscuits and bites should cool completely on a wire rack before you serve them. The residual heat keeps the interior soft even after the edges have set, and the wire rack lets air circulate underneath so the bottoms do not steam and turn gummy. No-bake balls need a full hour in the fridge to set their shape before you touch them. Frosted pupcakes need patience — a warm cake will slide frosting right off the top. For a deeper look at the pumpkin base in a cupcake format, see this guide. Treat every cooling step as part of the recipe, not an afterthought.
Recipe 1: Classic Crunchy Biscuits
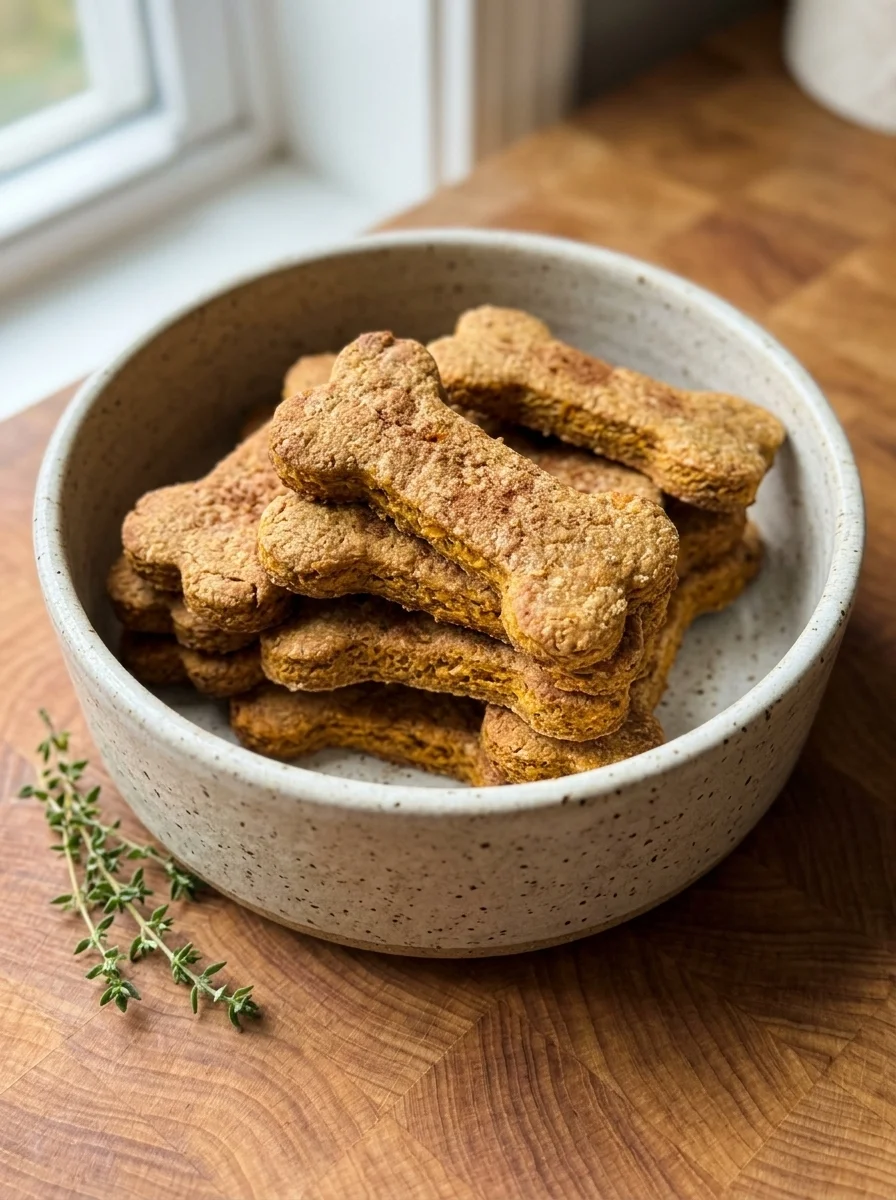
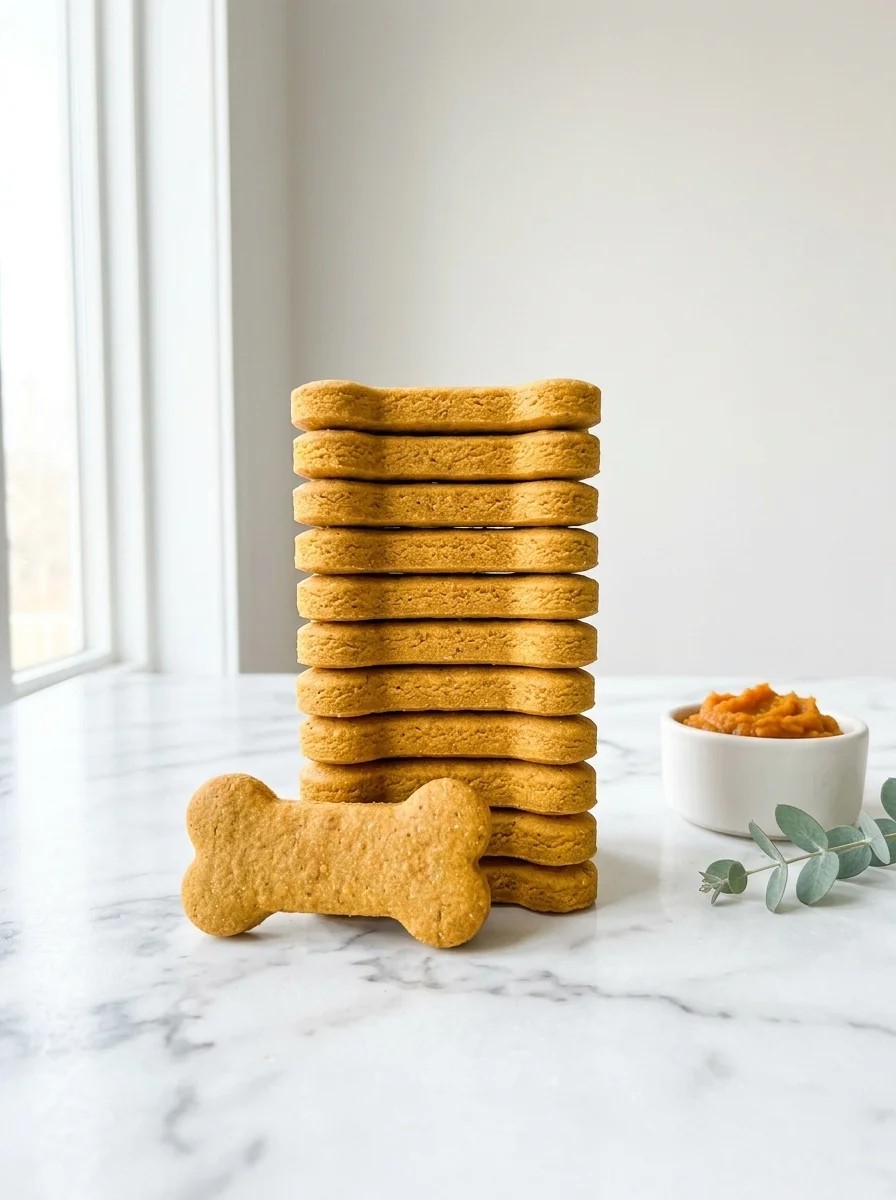
The Classic Crunchy Biscuit is where most people start with this formula, and for good reason. It is the simplest version of the recipe, it bakes quickly, and it produces a crisp, sturdy biscuit that travels well, stores well, and holds up to a busy training schedule. Whole wheat flour gives the biscuit enough structure to snap cleanly without being hard enough to worry about teeth. A light dusting of cinnamon adds warmth without changing the flavor in a way most dogs notice. The result is an everyday biscuit that works as a training reward, a crate-side snack, or a daily topper crumbled over kibble.
For a festive variation that uses the same base with different add-ins, see homemade apple pie for dogs.
Ingredients
- 1 cup plain pumpkin purée
- 1/2 cup unsweetened applesauce
- 1 large egg
- 2 1/2 cups whole wheat flour
- 1/2 teaspoon ground cinnamon (optional)
Step-by-Step Instructions
- Stir the plain pumpkin purée, the unsweetened applesauce, and the egg together in a large bowl until smooth.
- Add the whole wheat flour a cup at a time, along with the cinnamon if you are using it, stirring until a firm, rollable dough forms.
- Turn the dough onto a lightly floured surface and roll it to 1/4 inch thick.
- Cut into bone shapes with a cookie cutter and place on a parchment-lined baking sheet.
- Bake at 350°F for 25 to 30 minutes until firm and lightly golden at the edges.
- Cool completely on a wire rack before serving or storing.
These biscuits are the workhorse of the collection. They keep their shape through a pocket or a training pouch, they hold up to being crumbled over food, and the crisp texture gives most dogs something satisfying to work through. Roll the dough to exactly 1/4 inch for the best balance between crispness and chew. Any thicker and the center stays soft, which some dogs like but which does not store as well. Any thinner and you risk over-baking the edges before the center is done. The optional cinnamon is genuinely optional — dogs do not need the flavor, and a small amount does not change the recipe meaningfully. If you want the purest pumpkin-applesauce taste, leave it out. One final note: always let these cool fully on a rack before stacking them. Warm biscuits trapped in a container steam each other and lose their crunch.
Recipe 2: Soft Chewy Oat Bites
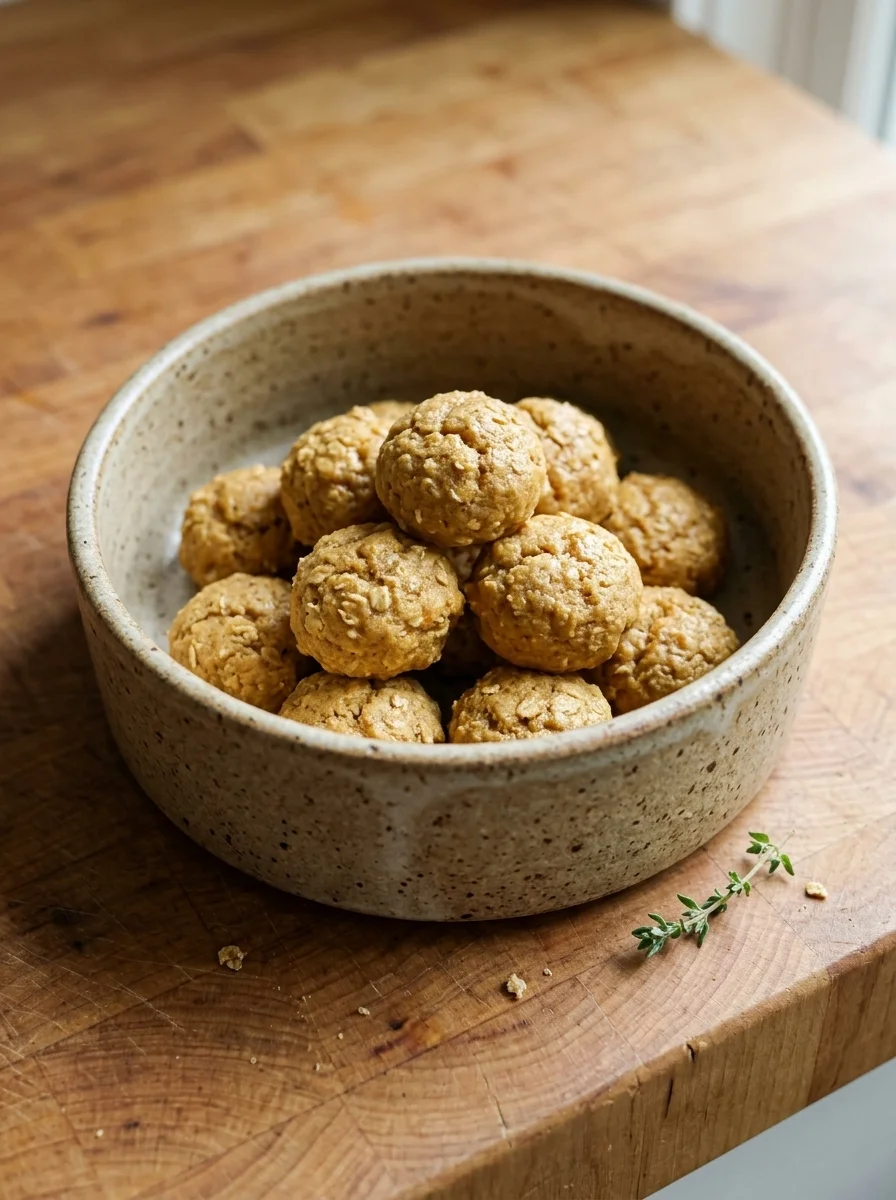
Oat flour changes everything about this recipe without changing the ingredients at all. Where whole wheat flour produces a crisp, snapping biscuit, oat flour produces a soft, slightly chewy bite that yields gently under pressure. That texture is ideal for puppies whose teeth are still coming in and for senior dogs whose teeth have seen better decades. Oat flour is also naturally lower in gluten than whole wheat, which makes these treats easier to digest for dogs with sensitive stomachs. The short bake time keeps the interior moist, and the oat flour absorbs moisture in a way that prevents these bites from becoming gummy or cakey.
Ingredients
- 1 cup plain pumpkin purée
- 1/2 cup unsweetened applesauce
- 1 large egg
- 2 cups oat flour
Step-by-Step Instructions
- Stir the plain pumpkin purée, the unsweetened applesauce, and the egg together in a large bowl until smooth.
- Fold in the oat flour until a soft, scoopable dough forms — it should be moist and sticky, not dry.
- Scoop tablespoon-sized portions onto a parchment-lined baking sheet and gently flatten each one into a round bite about 1/2 inch thick.
- Bake at 350°F for 12 to 14 minutes until the bites are set on the outside but still soft when pressed.
- Cool on the sheet for 10 minutes, then move to a wire rack to cool fully.
The doneness cue on these bites is feel, not color. The outside should look dry and matte, and a light press with a fingertip should leave a gentle impression. If the surface springs back immediately, they are on the edge of over-baking and will lose the soft center that makes them worth making. If the press leaves a sticky indentation, they need another minute. Do not bake these until crisp. The chewiness is the point, and it disappears quickly once the internal moisture cooks out. A small dog or a puppy can handle a whole bite as a training reward. A large dog will likely want two or three. These are the treats I reach for first when the weather turns cold and I want something warm and soft coming out of the oven.
Recipe 3: Slow-Dried Chew Sticks
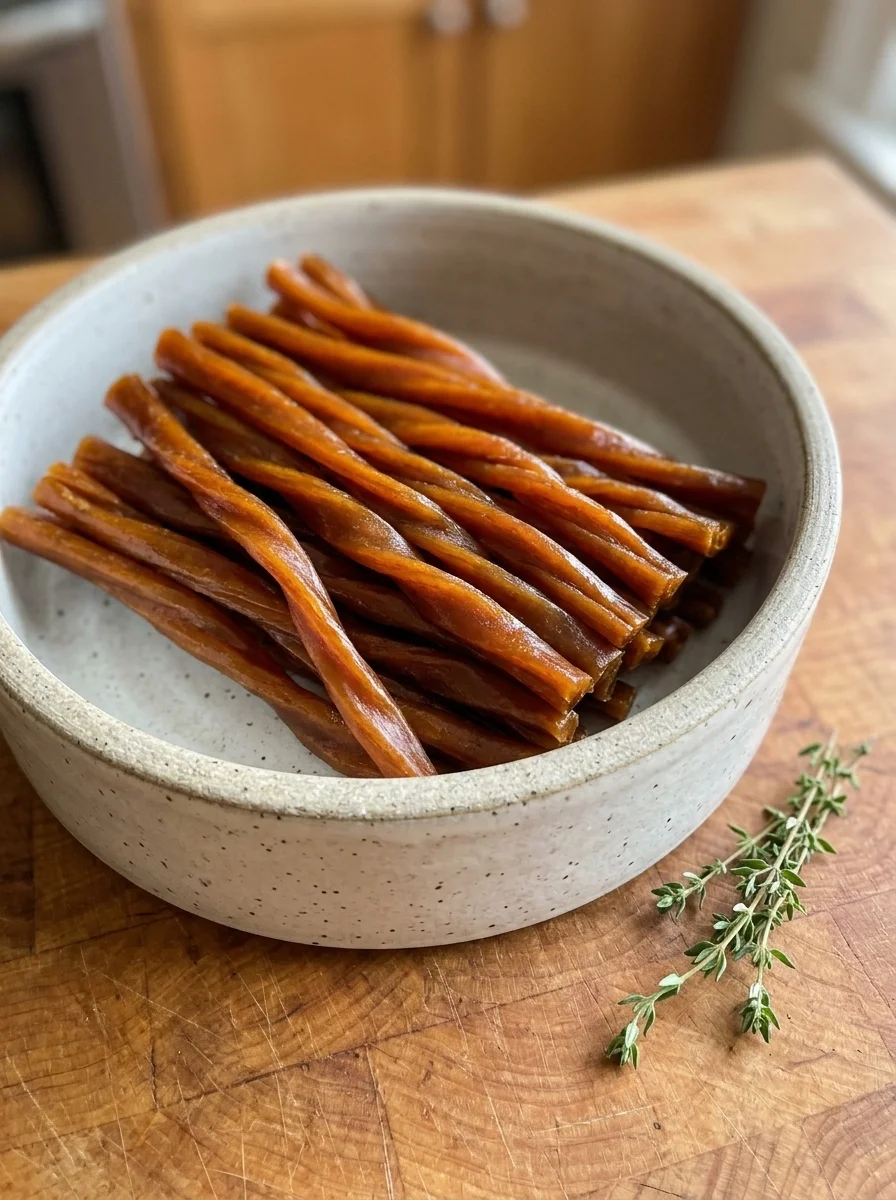
Chew sticks are the longest recipe in this collection, but most of the time is hands-off. The six-hour drying period in a 175°F oven evaporates moisture slowly and evenly, transforming the wet pumpkin-applesauce mixture into a flexible, leathery chew that satisfies dogs who like to work on something. The low oven temperature is important here — anything higher will cook the outside before the inside dries, creating a tough rind around a soft, wet center that eventually goes moldy. The result is a single-ingredient chew, essentially, that keeps for weeks in an airtight container.
Ingredients
- 1 cup plain pumpkin purée
- 1/2 cup unsweetened applesauce
- 1/2 teaspoon ground cinnamon
Step-by-Step Instructions
- Stir the plain pumpkin purée, the unsweetened applesauce, and the cinnamon together in a bowl until completely smooth.
- Spread the mixture in a thin, even layer, about 1/8 inch thick, on a parchment-lined baking sheet.
- Dry in a 175°F oven for 6 to 7 hours, until the sheet is dry to the touch and flexible rather than wet.
- While the sheet is still warm, cut it into strips about 1 inch wide and twist each strip gently into a spiral.
- Let the spirals cool fully before serving or storing.
The 1/8-inch spread is the most important number in this recipe. Any thicker and the center stays damp after six hours, which eventually causes spoilage. Any thinner and the sheet dries into something brittle before the edges are done. Spread the mixture evenly with the back of a spoon or a small offset spatula. While the sheet is still warm from the oven is the only moment when it is pliable enough to cut and twist without cracking. If you let it cool completely before cutting, the sheet shatters rather than bends. Cinnamon in this recipe serves a dual purpose: a tiny amount of flavor and a natural preservative effect that helps the finished chews keep their quality in storage. These spirals are flexible chews, not biscuits. A dog should be able to bend them gently between two hands. If they snap cleanly, they dried too long or too hot.
Recipe 4: No-Bake Peanut Butter Balls
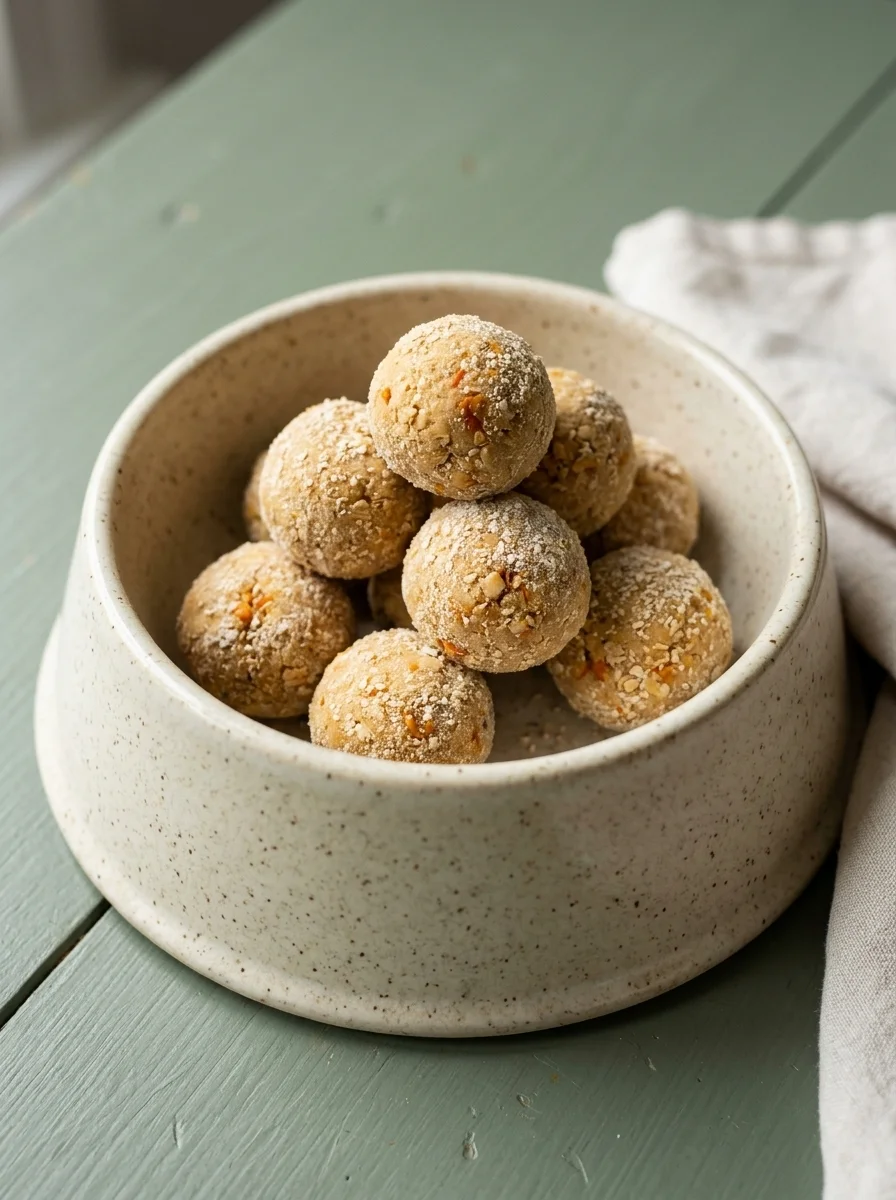
These no-bake balls are the fastest recipe to execute and the most reliable when you need treats on short notice. No oven, no timer, no waiting for anything to cool. The rolled oats absorb moisture and add enough structure that the mixture holds its shape when chilled, and the peanut butter gives these a richness that most dogs find hard to resist. They are a natural fit for training sessions, where you want small, hand-friendly portions that disappear quickly and do not leave crumbs in your pocket. The Greek yogurt contributes protein and a subtle tang that keeps the peanut butter from feeling heavy on the palate. Keep them in the refrigerator and serve them straight from the fridge, because they soften noticeably at room temperature. For another no-bake variation with a similar quick assembly, see no-bake peanut butter dog treats.
Ingredients
- 1/2 cup plain pumpkin purée
- 1/2 cup unsweetened applesauce
- 1/2 cup xylitol-free peanut butter
- 1/2 cup plain Greek yogurt
- 1 cup rolled oats
Step-by-Step Instructions
- Stir the plain pumpkin purée, the unsweetened applesauce, the xylitol-free peanut butter, and the plain Greek yogurt together in a medium bowl until smooth.
- Fold in the rolled oats until the mixture is thick enough to roll — it should hold its shape without sticking to your hands.
- Roll into balls about the size of a marble for small dogs or a walnut for large dogs.
- Place on a parchment-lined tray and chill in the fridge for 1 hour until firm.
The xylitol warning here is not a formality. Check the ingredient list on every peanut butter jar before you open it. If xylitol appears anywhere in that list, put the jar back and choose a different brand. Xylitol is deadly to dogs even in very small quantities, and the danger does not show up until after irreversible damage is done. Plain peanut butter with only peanuts and salt as ingredients is always the safest choice. These balls soften the longer they sit at room temperature, so after the hour of chilling, keep them in the refrigerator until you are ready to serve. Scoop them straight into a dog bowl or hand them over during training. Do not leave them out on a counter. The size of the ball should match the dog: small dogs get marble-sized portions, large dogs can handle a walnut-sized ball. Size is about calorie density, not about whether the dog can physically swallow it.
Recipe 5: Frozen Pumpkin Applesauce Pupsicles
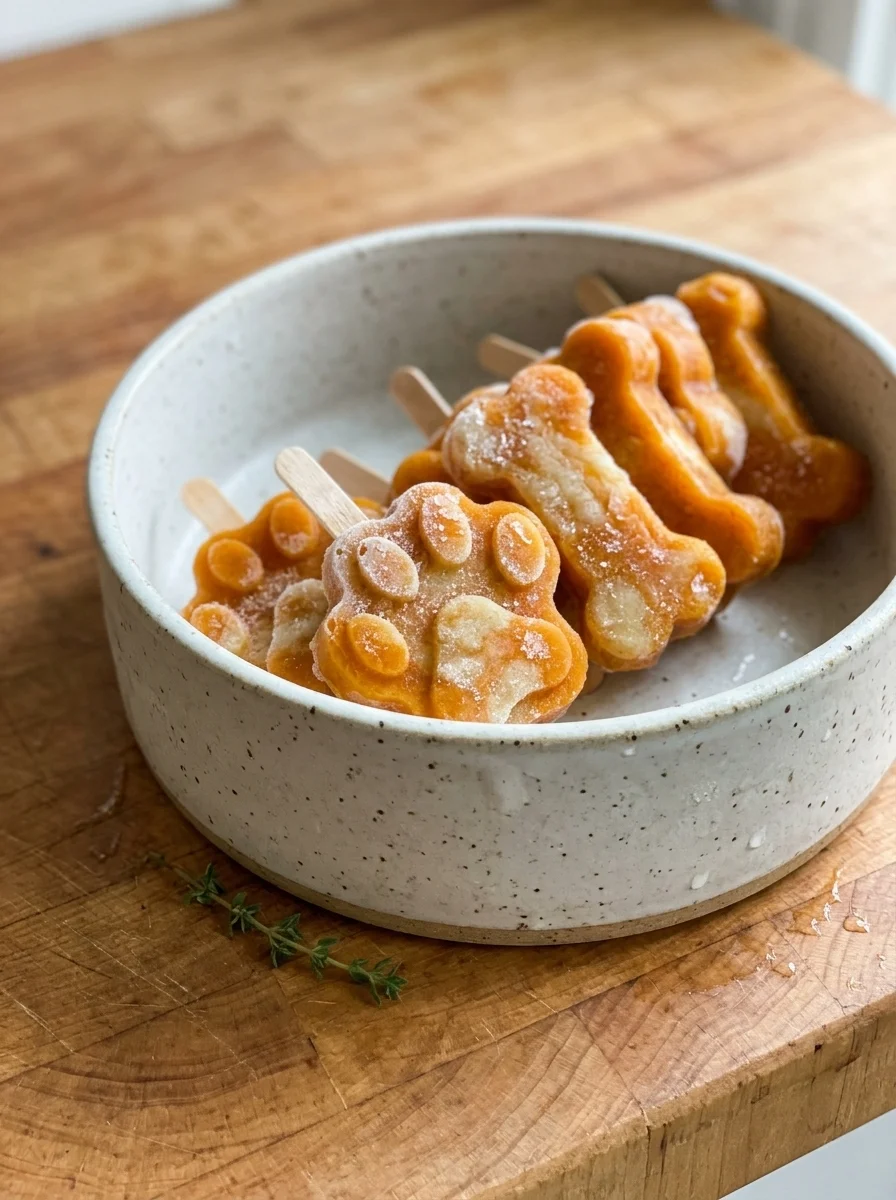
On warm days, after a long walk, or during a bout of tummy trouble, pupsicles are the treat dogs ask for without saying so. The frozen texture slows them down and extends the experience of eating something, which most dogs enjoy, and the cool temperature soothes the throat and the digestive tract. These are completely dairy-free and peanut-free, which makes them safe for dogs with allergies to either ingredient. The recipe uses only water as the liquid component alongside the pumpkin and applesauce, which keeps the calorie count low while delivering real flavor.
Ingredients
- 1 cup plain pumpkin purée
- 1/2 cup unsweetened applesauce
- 1/2 cup water
Step-by-Step Instructions
- Whisk the plain pumpkin purée, the unsweetened applesauce, and the water together in a bowl until smooth and pourable.
- Pour into silicone molds or ice cube trays, filling each cup about three-quarters full.
- Freeze for 3 to 4 hours until completely solid.
- Pop the pupsicles out of the molds and serve one at a time straight from the freezer in a dog bowl.
Water ratio is the only thing that can make these wrong. Too much water and the pupsicles develop large, icy crystals that most dogs reject. Too little and the mixture is thick and slow to freeze. The half-cup of water in this recipe balances the moisture from the pumpkin and applesauce into something that freezes cleanly. Silicone molds work far better than rigid plastic trays for releasing pupsicles intact — flex the mold gently and they pop right out. Ice cube trays work fine for smaller dogs or for portion control. Serve these one at a time. They melt fast on a warm day, and a puddle of pumpkin liquid on the floor is harder to explain to a waiting dog than a second pupicle would have been. These stay good in the freezer for up to three months, which makes them worth making in batches.
Recipe 6: Pumpkin Applesauce Pupcakes
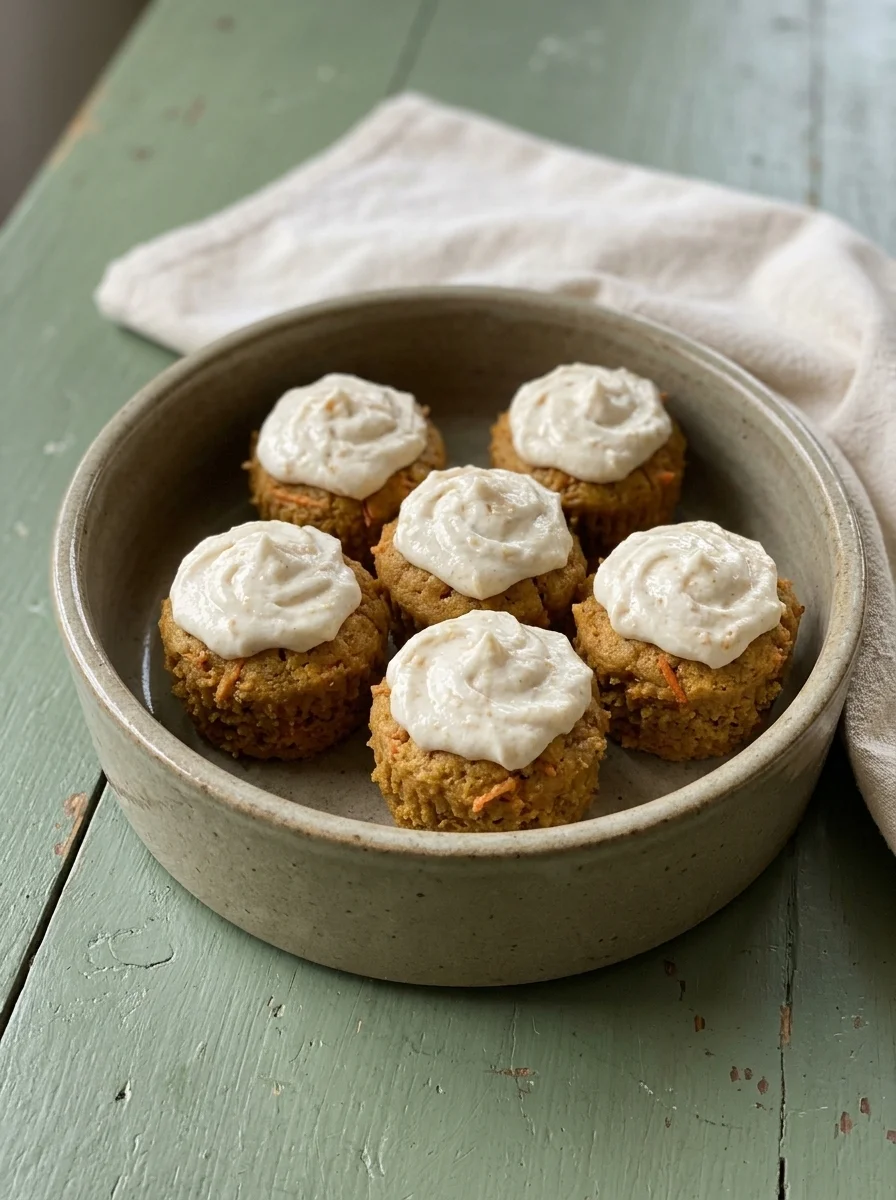
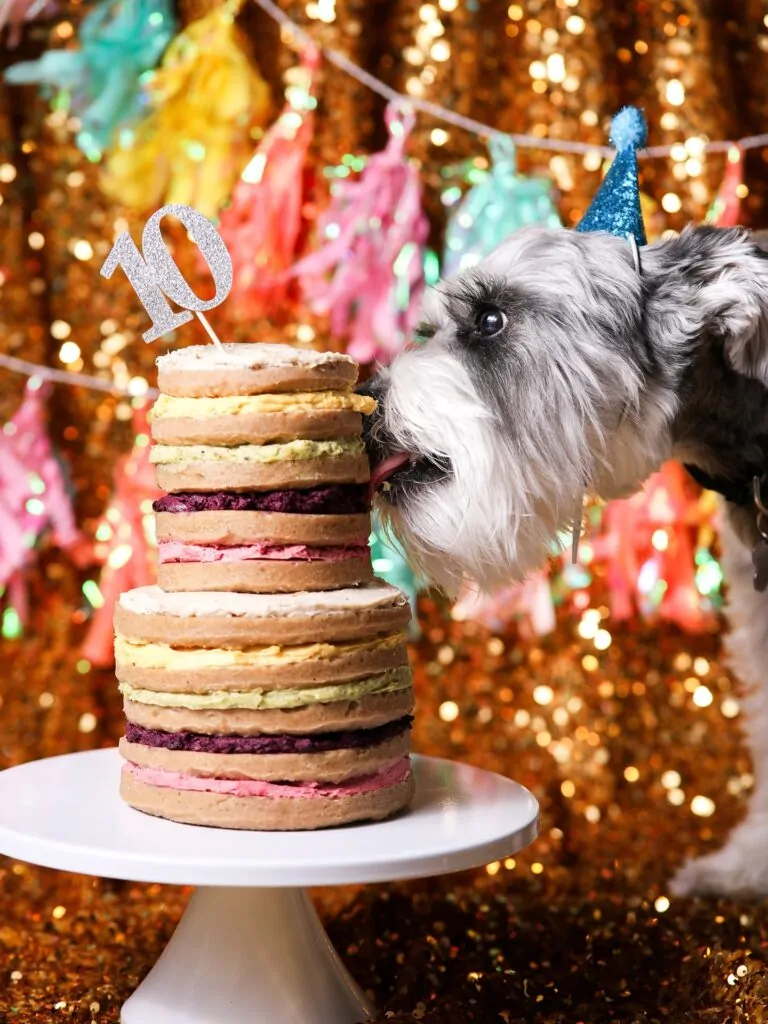
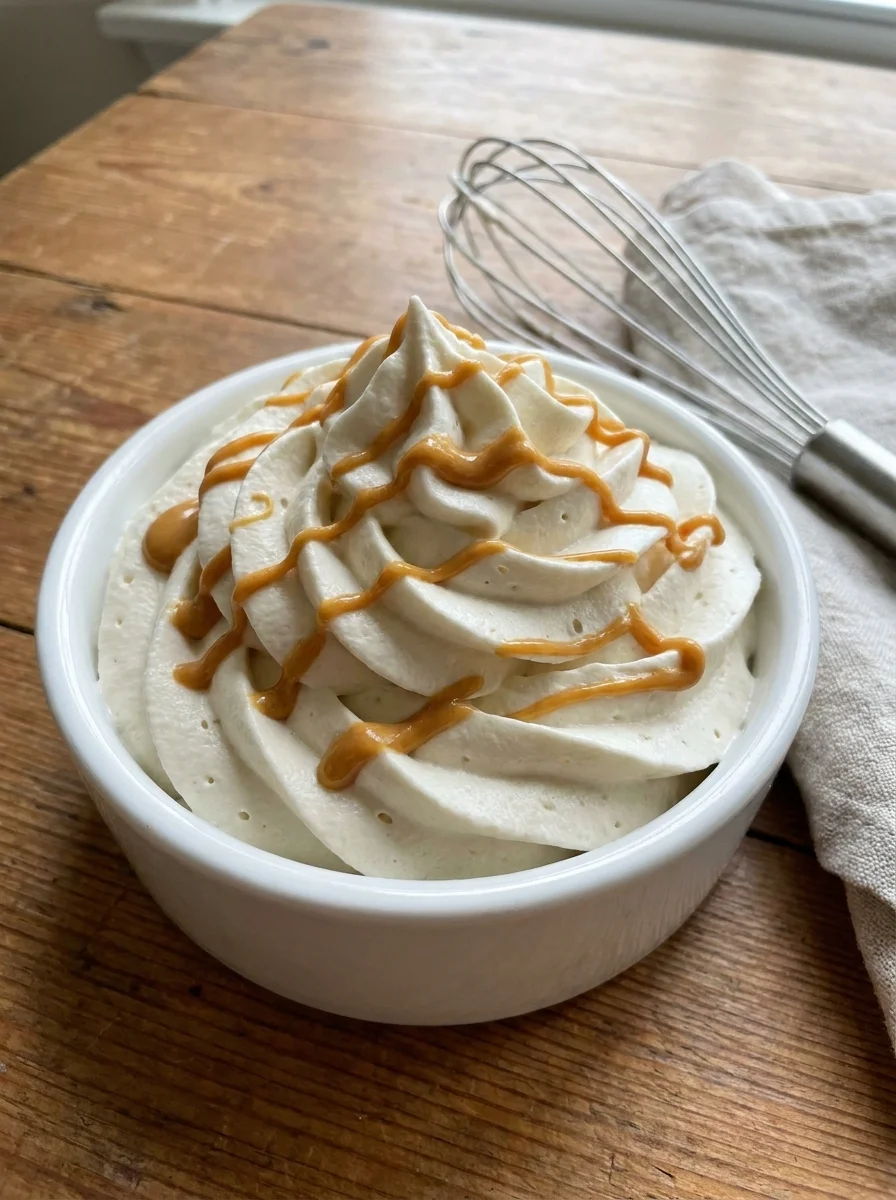
The pupcake is the celebration recipe, and there is no pretending otherwise. It has a cake-like crumb from the flour and egg, a hint of sweetness from the pumpkin and applesauce, and shredded carrot folded into the batter for a subtle texture and color contrast most dogs will not analyze but will notice. The frosting, a blend of plain Greek yogurt and peanut butter, is the part dogs care about most. It is thin enough to spread, thick enough to hold its shape at room temperature for the length of a celebration, and mild enough that the cake underneath still comes through. Serve this at birthday parties, adoption day, or any afternoon that feels like it deserves a cake.
Ingredients
- 1 cup plain pumpkin purée
- 1/2 cup unsweetened applesauce
- 1 large egg
- 1 1/2 cups whole wheat flour
- 1/2 cup finely shredded carrots
- 1/2 cup plain Greek yogurt (for frosting)
- 2 tablespoons xylitol-free peanut butter (for frosting)
Step-by-Step Instructions
- Stir the plain pumpkin purée, the unsweetened applesauce, and the egg together in a large bowl until smooth.
- Fold in the whole wheat flour and the finely shredded carrots until just combined — do not overmix.
- Spoon the batter into a lined muffin tin, filling each cup about two-thirds full.
- Bake at 350°F for 25 to 30 minutes until a toothpick comes out clean. 5. Remove the tin from the oven and let the pupcakes cool completely in the tin before transferring to a wire rack. 6. In a small bowl, whisk together the plain Greek yogurt and xylitol-free peanut butter until smooth and spreadable. 7. Spread a thin layer of frosting on each fully cooled pupcake. This is the birthday treat — reserve it for the occasion, or stash one in the freezer for a random Tuesday that needs celebrating.
Serving by Dog Size
A toy breed like a Chihuahua handles a quarter pupcake, a medium dog like a Beagle gets half, and a large Lab-type dog can manage a full one. Always follow the 10% rule — treats should make up no more than a small slice of your dog’s daily calories. Any pupcake your dog doesn’t finish can be crumbled as a meal topper, or freeze individual pupcakes and thaw one at a time. For a paired breakfast or brunch idea, try these sweet potato dog waffles alongside a pupcake once in a while.
Storage and Freezing
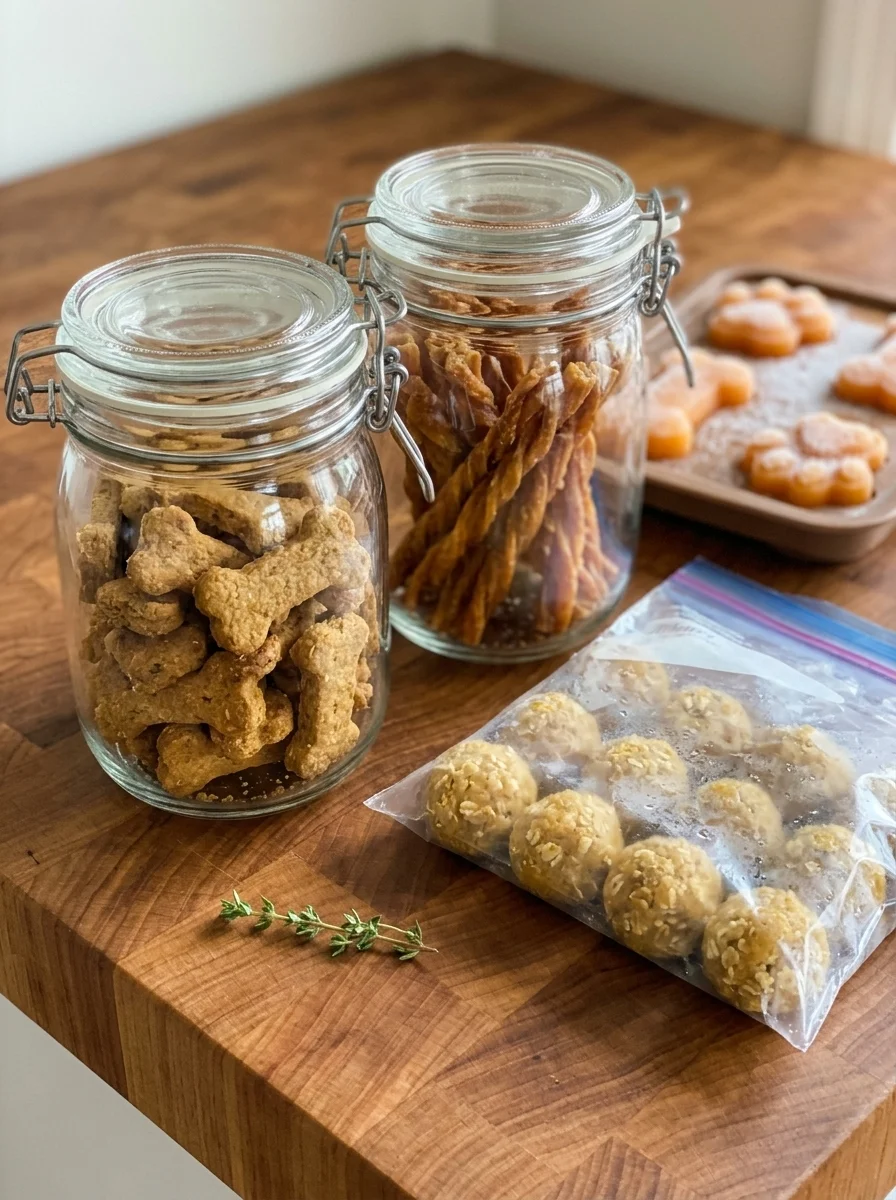
Baked treats keep for two weeks in an airtight container at room temperature, or up to three months in the freezer. No-bake balls belong in the fridge for one week. Pupsicles stay frozen for up to three months. Chew sticks last two weeks airtight.
Troubleshooting
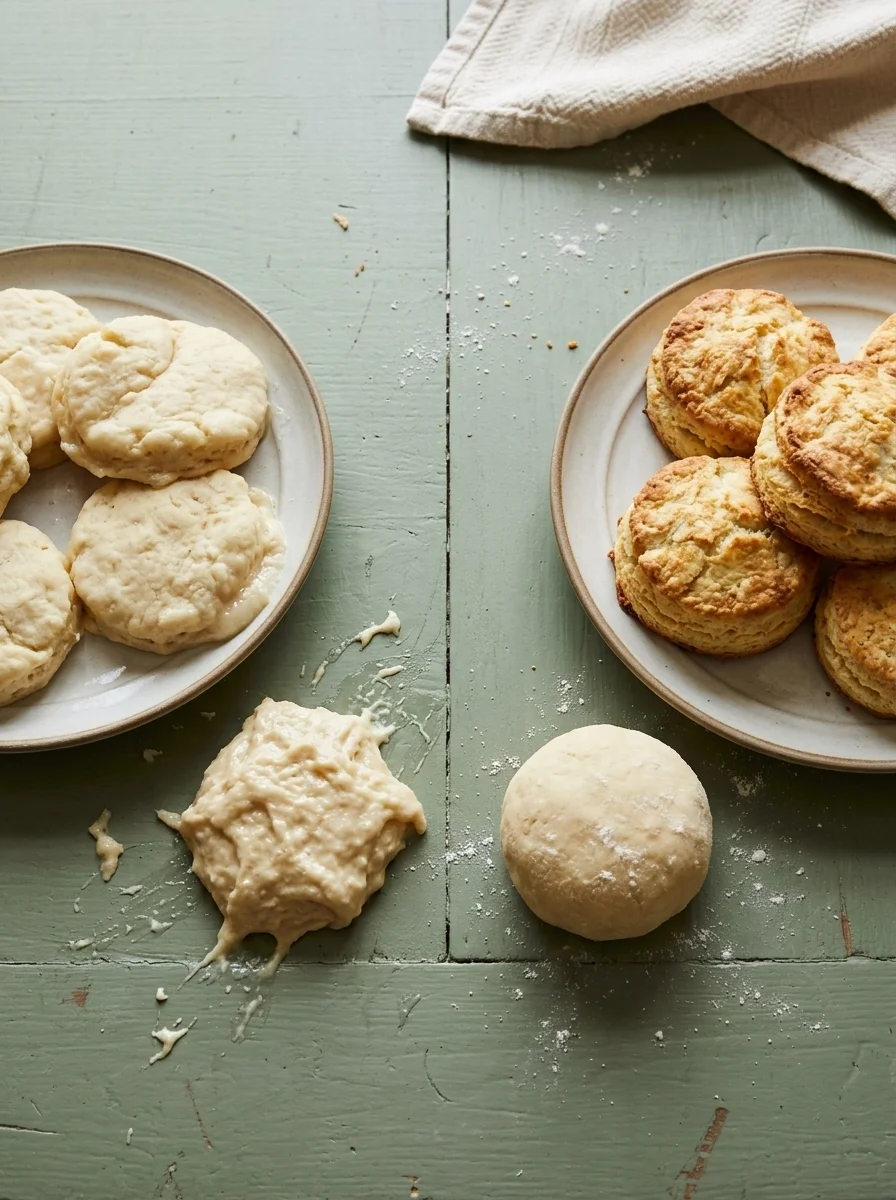
Biscuits too soft — bake a few minutes longer or turn off the oven and leave them inside to crisp as it cools. Balls that won’t hold together — chill the mixture longer or add a handful more oats. Chew sticks too brittle — pulled too early from the oven or sliced too thin; let them rest in the hot oven longer. Pupsicles icy — too much water in the mix; stick to the purée ratio. Frosting slides off — the cake wasn’t fully cool before frosting.
Frequently Asked Questions
Final Thoughts
These pupcakes are the kind of treat that turns an ordinary day into a small celebration. Bake a batch, share one with your dog, and save the rest in the freezer for whenever the occasion calls for it. Your dog will be waiting.
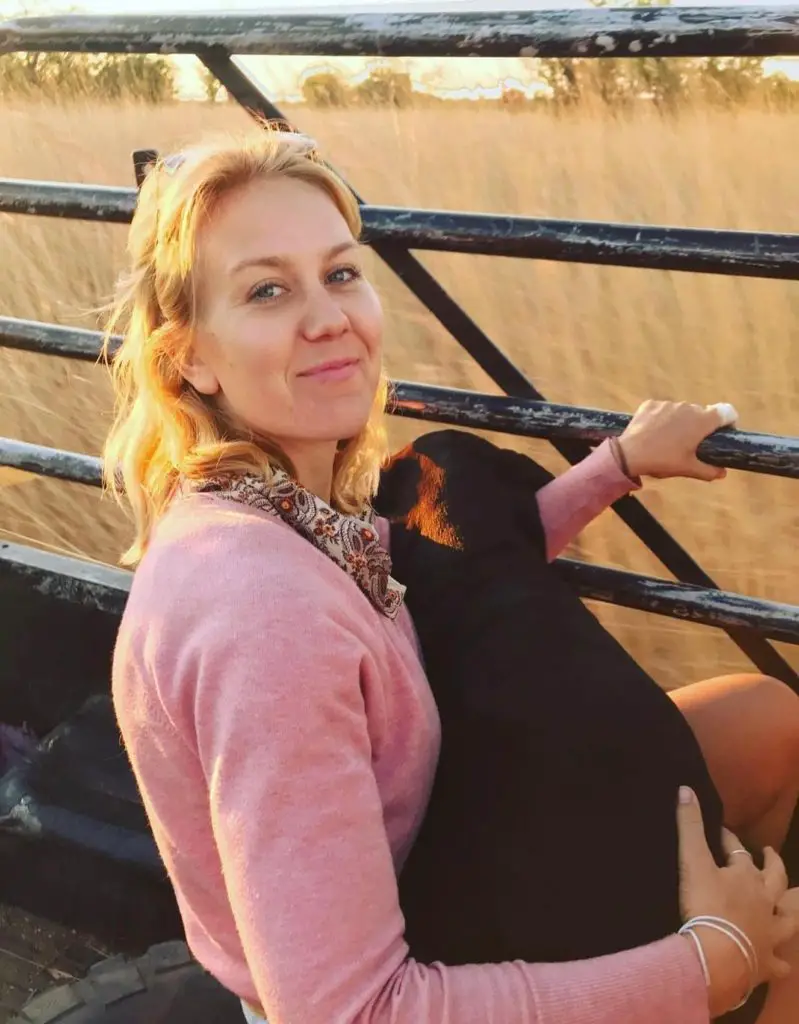
Izzy is an experienced ranch worker who has a passion for exploring nature and getting up close to wildlife. With her connections to various animal organizations, Izzy is well-versed in animal care and rehabilitation.