Homemade Tuna and Cheese Dog Treats in 6 Simple Ways
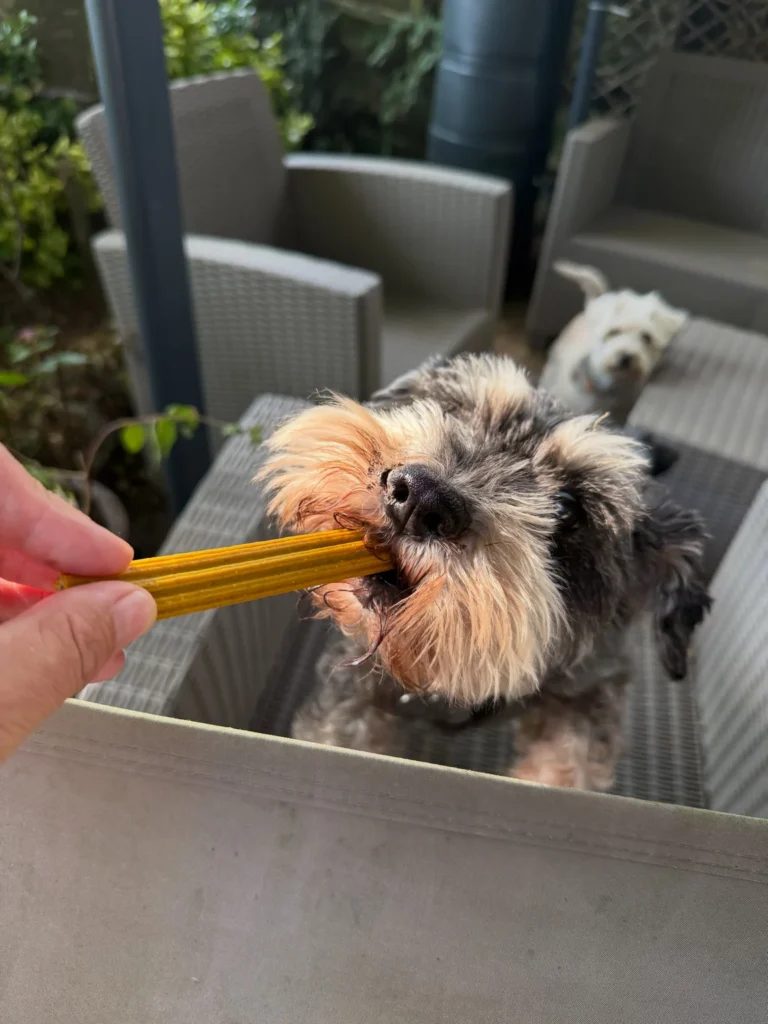
Your dog hears the can opener and shows up in about two seconds. If your dog is anything like most, the smell of fish and the smell of cheese are two of the best things in the world. Put them together and you get a treat that is hard to ignore.
The good news is that tuna and cheese dog treats are simple to make at home. You need a few ingredients, one bowl, and a baking sheet or an ice cube tray. You also control exactly what goes in, so there is no mystery filler and no extra salt.
Below are six different ways to make them, from crunchy baked biscuits to frozen pupsicles. Each recipe has its own copy-ready card, so you can pick one and start right away.
Not sure where to begin? Use this quick guide:
| Treat Style | Best For | Total Time |
|---|---|---|
| Classic baked biscuits | Everyday rewards, gifting | About 45 minutes |
| No-bake soft bites | Puppies, seniors, training | About 40 minutes (mostly chilling) |
| Frozen pupsicles | Hot days, teething pups | About 4 hours (mostly freezing) |
| Grain-free squares | Dogs who avoid wheat | About 40 minutes |
| Dehydrated strips | Long-lasting chewy snacks | About 3 hours (mostly drying) |
| Stuffed treats | Bored or busy dogs | About 10 minutes plus freezing |
Before You Start: Pick the Right Tuna and Cheese
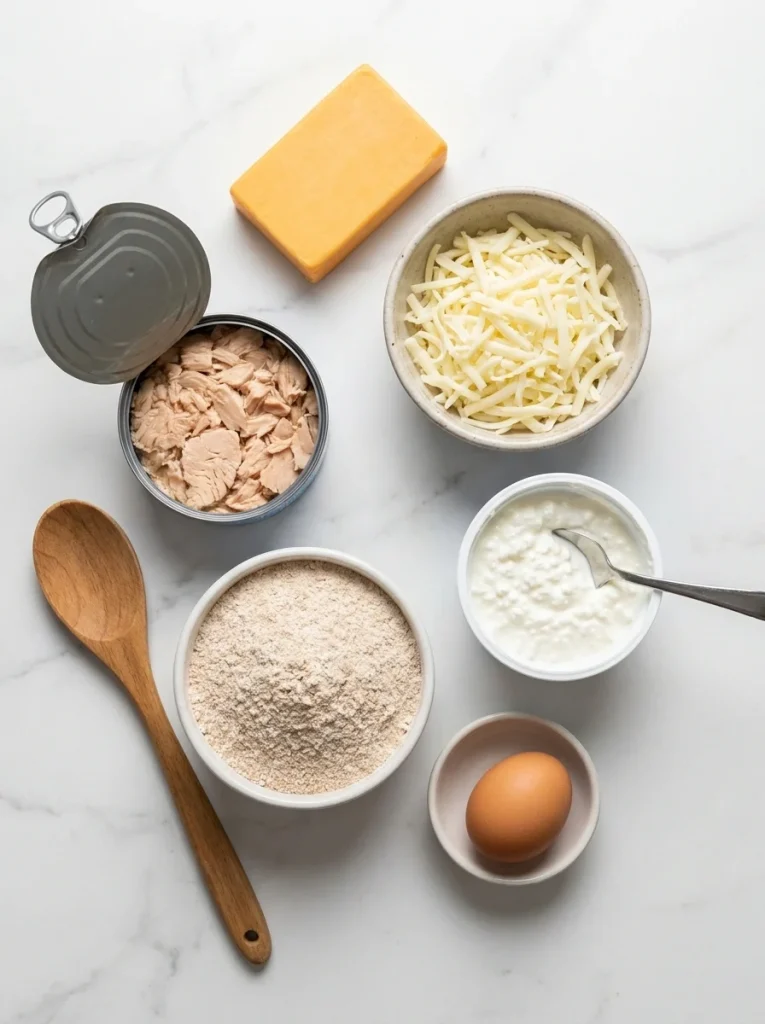
Two choices matter more than anything else in these recipes: the tuna and the cheese. Get them right and every recipe below will be safe and tasty. A little label reading goes a long way.
A. Choosing the Tuna
- Pick tuna packed in water. Oil makes treats greasy and adds fat your dog does not need.
- Look for “no salt added.” Too much sodium is hard on dogs, especially small ones.
- Check the ingredient list. It should say tuna and water, nothing else. Skip anything with garlic, onion, or spices.
- Choose light or skipjack tuna when you can. These usually have less mercury than albacore.
Because tuna can contain mercury, treat these as an occasional snack, not a daily food. A few times a week is plenty for most dogs.
B. Choosing the Cheese
- Go low-fat and low-sodium. Part-skim mozzarella, mild cheddar, and low-fat cottage cheese all work well.
- Skip the fancy cheeses. Blue cheese, brie, and anything with herbs, garlic, or onion should stay in your own fridge.
- Start small if your dog has never had dairy. Some dogs are lactose sensitive and get gassy or loose stools.
If your dog has a sensitive stomach, kidney trouble, or a history of pancreatitis, check with your vet before you bake. If you have a young dog, this is also a good moment to review puppy vet needs and ask which treats are a good fit.
1. Classic Baked Tuna and Cheese Dog Treats
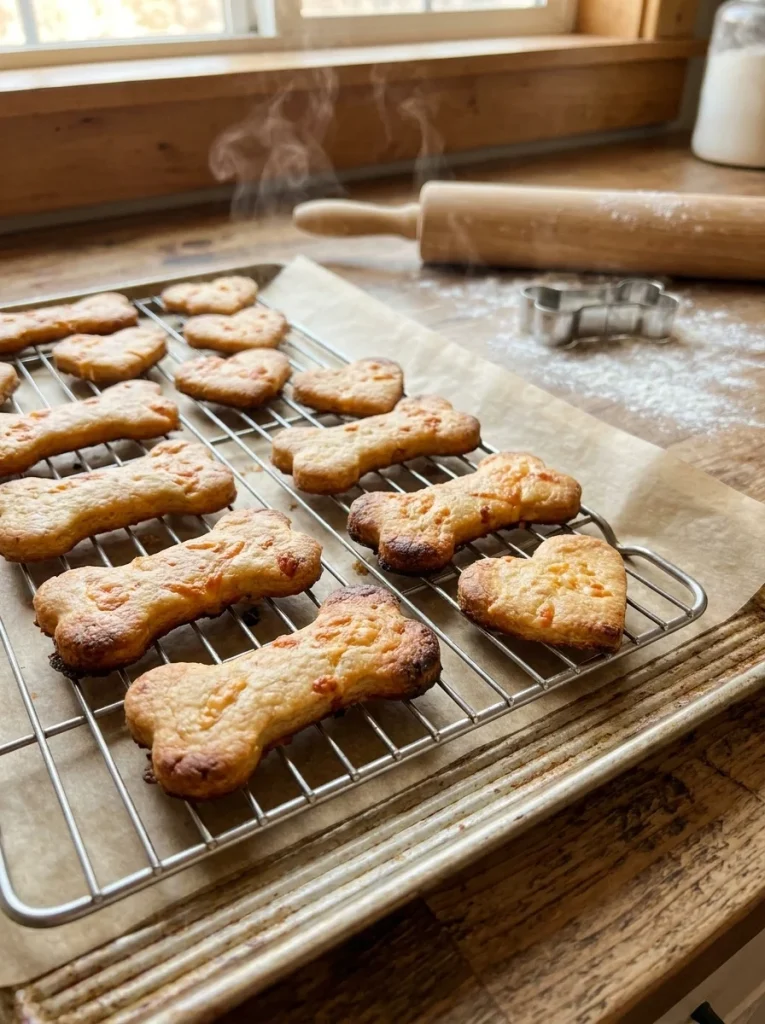
This is the base recipe, and it is the one to learn first. The dough is simple, the treats bake up crunchy, and they keep well in the fridge or freezer. You can cut them into bones, hearts, or tiny squares.
The trick is to keep the dough firm. If it feels sticky, add flour a spoonful at a time until you can roll it out without it clinging to your hands.
🐟🧀 Classic Baked Tuna and Cheese Dog Treats
Prep Time: 15 minutes
Bake Time: 20 minutes (plus 30 minutes drying in the oven)
Freeze Time: Optional, for storage only
Yield: About 40 small treats
Ingredients
- 1 can (5 oz) tuna in water, no salt added, undrained
- 1 cup shredded low-fat cheddar or mozzarella
- 1 large egg
- 1½ cups whole wheat flour, plus extra for rolling
- 2 tablespoons water, only if needed
Instructions
- Heat your oven to 350°F (175°C). Line a baking sheet with parchment paper.
- Add the tuna (with its water), cheese, and egg to a large bowl. Mash with a fork until it looks like a chunky paste.
- Stir in the flour a half cup at a time. The dough should be thick and a little tacky. Add water only if it feels dry and crumbly.
- Turn the dough onto a floured surface. Roll it out to about ¼ inch thick.
- Cut shapes with a cookie cutter, or slice the dough into small squares with a knife.
- Place the treats on the baking sheet. They can sit close together because they do not spread.
- Bake for 18 to 20 minutes, until the edges are golden and the treats feel firm.
- Turn off the oven and leave the treats inside for 30 minutes. This dries them out and makes them crunchier.
- Cool completely on a rack before serving or storing.
Notes
- Storage: Keep in an airtight container in the fridge for up to 7 days, or freeze for up to 3 months.
- Size tip: Cut tiny ½-inch squares for training rewards and larger shapes for special treats.
- Texture tip: For chewier treats, skip the 30-minute oven drying step and bake 3 to 4 minutes less.
- Smell warning: Your kitchen will smell like fish. Open a window.
2. Soft and Chewy No-Bake Tuna Cheese Bites
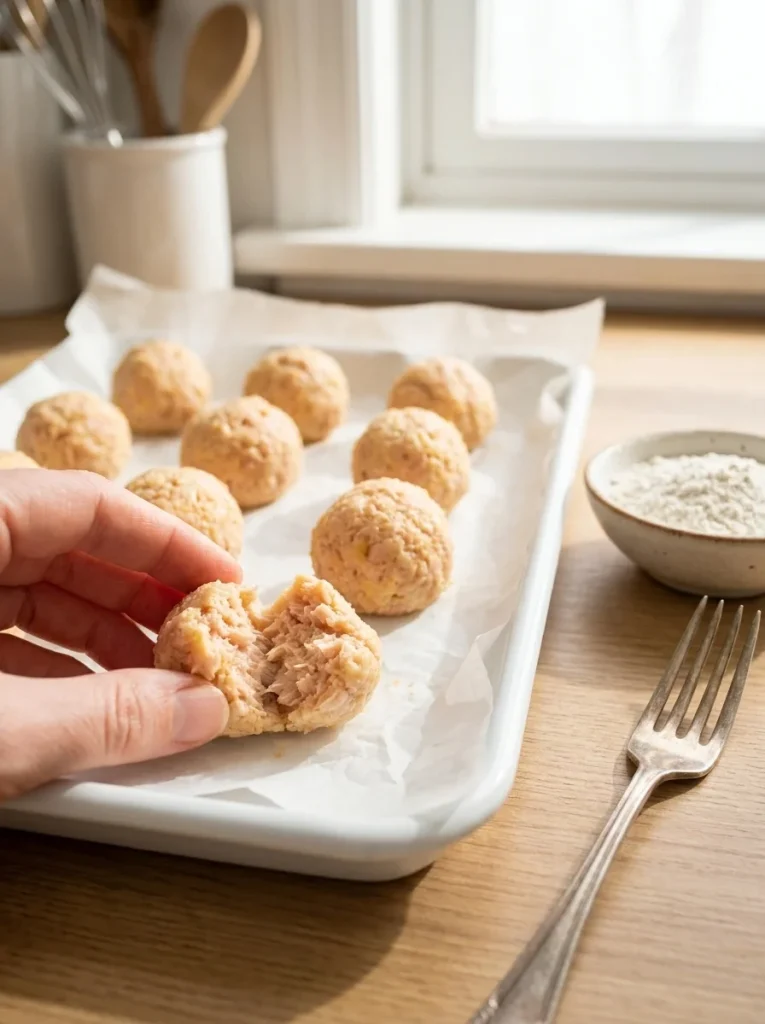
No oven? No problem. These bites come together in one bowl, and the only “cooking” is a short stay in the fridge. They are soft, easy to chew, and very smelly in the best way, which is exactly what makes them great for training.
Soft treats are a smart pick for puppies with tiny teeth and for older dogs with sore mouths. They also break apart easily, so you can turn one bite into three or four rewards. If you are working on basics, pair these with some puppy training tips and watch how fast your pup learns.
🐟🧀 No-Bake Tuna and Cheese Bites
Prep Time: 10 minutes
Chill Time: 30 minutes
Freeze Time: Optional, for storage only
Yield: About 20 bites
Ingredients
- 1 can (5 oz) tuna in water, no salt added, well drained
- ½ cup low-fat cottage cheese
- ¼ cup finely shredded low-fat mozzarella
- ½ cup oat flour (plus more as needed)
- 1 tablespoon plain canned pumpkin (optional, helps hold the bites together)
Instructions
- Drain the tuna well. Press it with a fork against the side of the bowl to squeeze out extra water.
- Add the tuna, cottage cheese, mozzarella, and pumpkin (if using) to a bowl. Mash until mostly smooth.
- Stir in the oat flour. The mixture should feel like thick cookie dough.
- If it is too wet, add oat flour one tablespoon at a time. If it is too dry, add a teaspoon of the cottage cheese.
- Scoop out small amounts and roll them into balls about the size of a grape.
- Place the bites on a plate or tray lined with parchment paper.
- Chill in the fridge for at least 30 minutes so they firm up.
Notes
- Storage: Keep in the fridge for up to 4 days. Freeze for up to 2 months and thaw in the fridge.
- Make oat flour fast: Blend plain rolled oats in a blender until powdery.
- Training tip: Pinch each bite into smaller pieces. A pea-sized reward works just as well as a big one.
- No-bake caution: These contain no baked egg, so do not leave them out at room temperature for more than an hour.
3. Frozen Tuna and Cheese Pupsicles
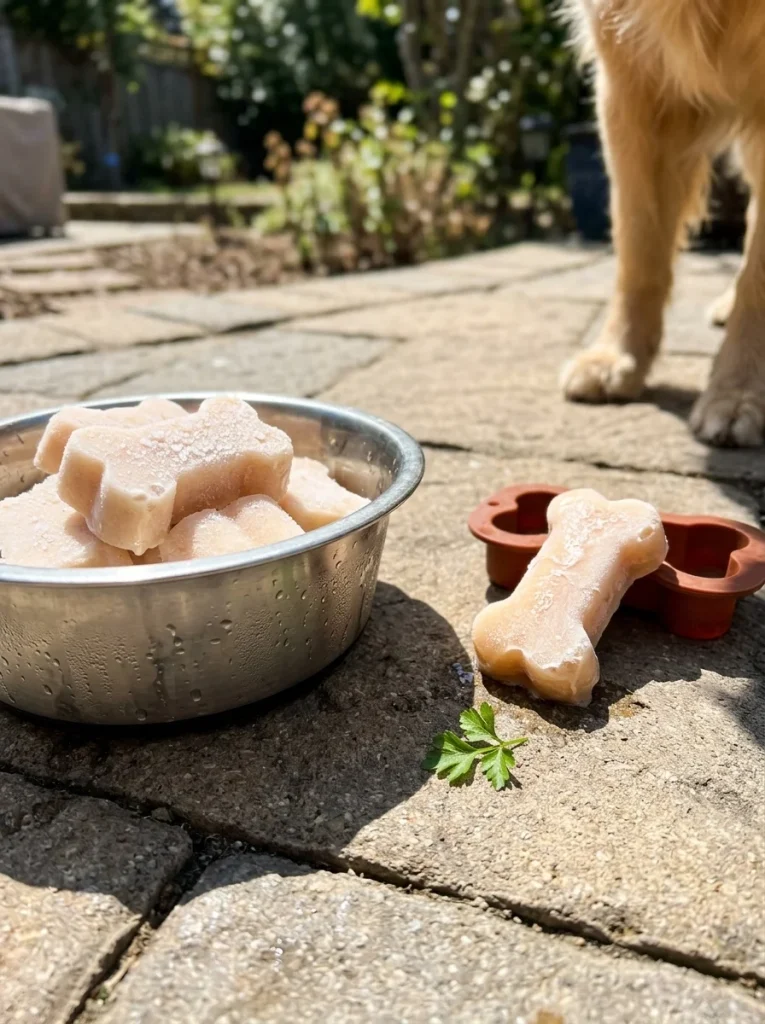
When the weather heats up, a frozen treat is a big hit. These pupsicles blend tuna and cottage cheese into a creamy mix, then freeze it into bite-sized cubes. They are cool, savory, and last a lot longer than a biscuit.
You can freeze the mix two ways. Ice cube trays make small cubes that are perfect for most dogs. Silicone molds (like bone or paw shapes) look cute and work well for bigger dogs. Either way, the recipe is the same.
🐟🧀 Frozen Tuna and Cheese Pupsicles
Prep Time: 10 minutes
Freeze Time: 4 hours
Yield: 12 to 16 cubes
Ingredients
- 1 can (5 oz) tuna in water, no salt added, undrained
- ½ cup low-fat cottage cheese
- 1 cup water or low-sodium, onion-free and garlic-free bone broth
- 1 tablespoon finely chopped fresh parsley (optional)
Instructions
- Add the tuna (with its water), cottage cheese, and water or broth to a blender or food processor.
- Blend until smooth. If you do not have a blender, mash the tuna very well and whisk everything together.
- Stir in the parsley if you are using it.
- Pour the mixture into an ice cube tray or silicone mold. Fill each space about three-quarters full.
- Freeze for at least 4 hours, or overnight.
- Pop one out and let it sit for a minute before serving, so it is not too hard on your dog’s teeth.
Notes
- Storage: Move the frozen cubes to a freezer bag once solid. They keep for up to 2 months.
- Mess control: Serve outdoors or on a washable mat. Melting tuna water gets everywhere.
- Safety tip: Always watch your dog while they enjoy a frozen treat, and skip it if your dog gulps food without chewing.
- Dog size: Use mini cube trays for small dogs and larger molds for big dogs.
4. Grain-Free Tuna Cheese Squares
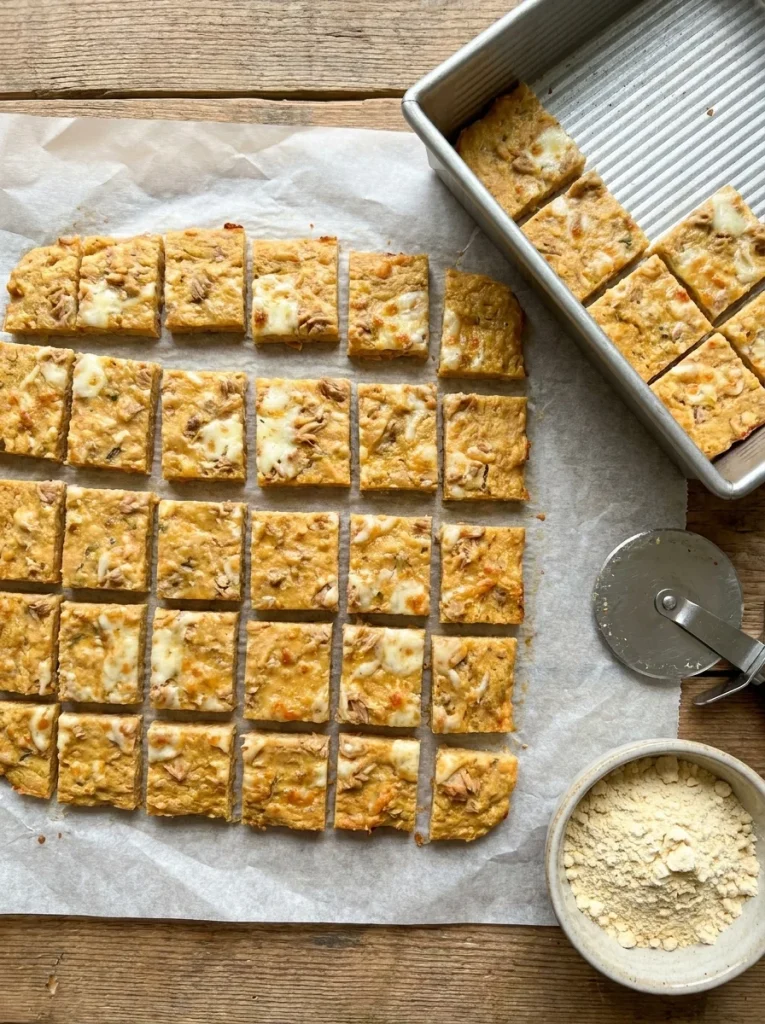
Some dogs do better without wheat, and some owners just like to keep the flour out. These squares use chickpea flour and eggs instead. You bake everything in one pan, then cut it into squares like brownies.
The batter is thinner than the biscuit dough, so there is no rolling and no cookie cutters. That makes this one of the easiest recipes in the whole article. Note that grain-free is not automatically healthier. It is simply a good option if your vet has suggested avoiding grains or your dog has a known sensitivity.
🐟🧀 Grain-Free Tuna and Cheese Squares
Prep Time: 10 minutes
Bake Time: 25 minutes
Freeze Time: Optional, for storage only
Yield: About 36 small squares
Ingredients
- 1 can (5 oz) tuna in water, no salt added, drained
- 2 large eggs
- ¾ cup chickpea flour
- 1 cup shredded part-skim mozzarella
- ¼ cup water
Instructions
- Heat your oven to 350°F (175°C). Line an 8×8-inch baking pan with parchment paper.
- In a bowl, whisk the eggs and water together.
- Add the tuna and break it up with a fork until it is flaky.
- Stir in the chickpea flour until no dry spots remain.
- Fold in the mozzarella.
- Spread the batter evenly into the pan. Use the back of a spoon to smooth the top.
- Bake for 22 to 25 minutes, until the center is set and the top is lightly golden.
- Let the pan cool for 15 minutes. Lift out the parchment and cut into small squares.
Notes
- Storage: Keep in the fridge for up to 5 days, or freeze for up to 3 months.
- Cutting tip: A pizza cutter makes clean, even squares.
- Texture: These come out soft and slightly spongy, like a firm egg bite.
- Flour swap: Use other dog-safe flours only if you know how they behave, since each one absorbs liquid differently.
5. Dehydrated Tuna and Cheese Strips
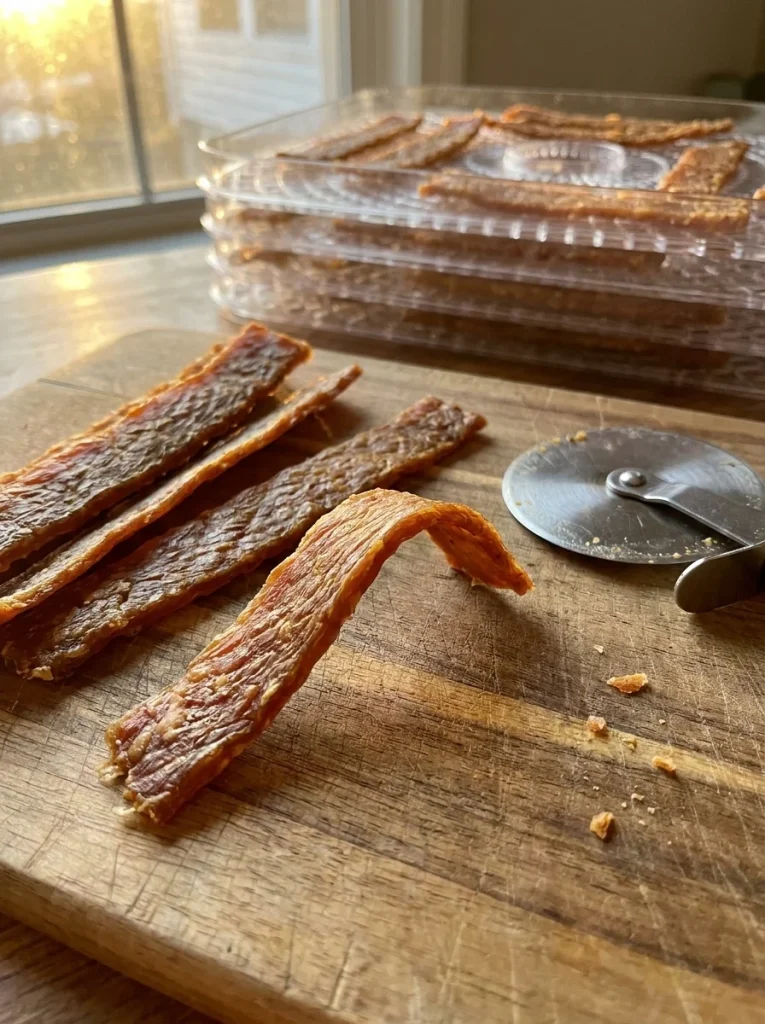
If your dog loves a chewy snack, these strips are a great pick. They are made by spreading a thin tuna and cheese paste onto a sheet and drying it slowly. The result is a chewy, jerky-style strip that lasts longer than a soft bite and gives your dog something to work on.
You can dry them in a regular oven or in a food dehydrator. They are not meant to be as rock-hard as store-bought bone treats. If your dog loves to gnaw, you may also like these chew-style bone treats.
🐟🧀 Dehydrated Tuna and Cheese Strips
Prep Time: 15 minutes
Dry Time: 2 to 3 hours (oven) or 4 to 6 hours (dehydrator)
Freeze Time: Optional, for storage only
Yield: About 25 strips
Ingredients
- 1 can (5 oz) tuna in water, no salt added, very well drained
- ½ cup finely shredded low-fat mozzarella
- ¼ cup oat flour
- 1 egg white
Instructions
- Heat your oven to 300°F (150°C). Line a baking sheet with parchment paper.
- Add all ingredients to a food processor and blend into a smooth, thick paste.
- Spread the paste on the parchment in a thin, even layer, about ⅛ inch thick. A damp spatula helps.
- Bake at 300°F for 15 minutes to cook the egg through.
- Oven method: Lower the heat to 200°F (95°C). Bake for 2 to 3 hours, flipping the sheet once halfway.
- Dehydrator method: Move the sheet to the dehydrator at 145°F (63°C) and dry for 4 to 6 hours.
- When the surface feels dry and leathery, cut into thin strips with a pizza cutter.
- Return the strips to the oven or dehydrator for 30 more minutes to dry the cut edges.
- Cool completely before storing.
Notes
- Storage: Because they are still a little moist inside, keep in the fridge for up to 1 week or freeze for up to 2 months.
- Doneness check: The strips should bend without snapping. If they snap, they are over-dried but still safe.
- Prop the door: Prop the oven door open slightly with a wooden spoon to let moisture escape.
- Smell warning: These smell strong while drying. Your dog will find the kitchen very interesting.
6. Stuffed and Layered Tuna and Cheese Dog Treats
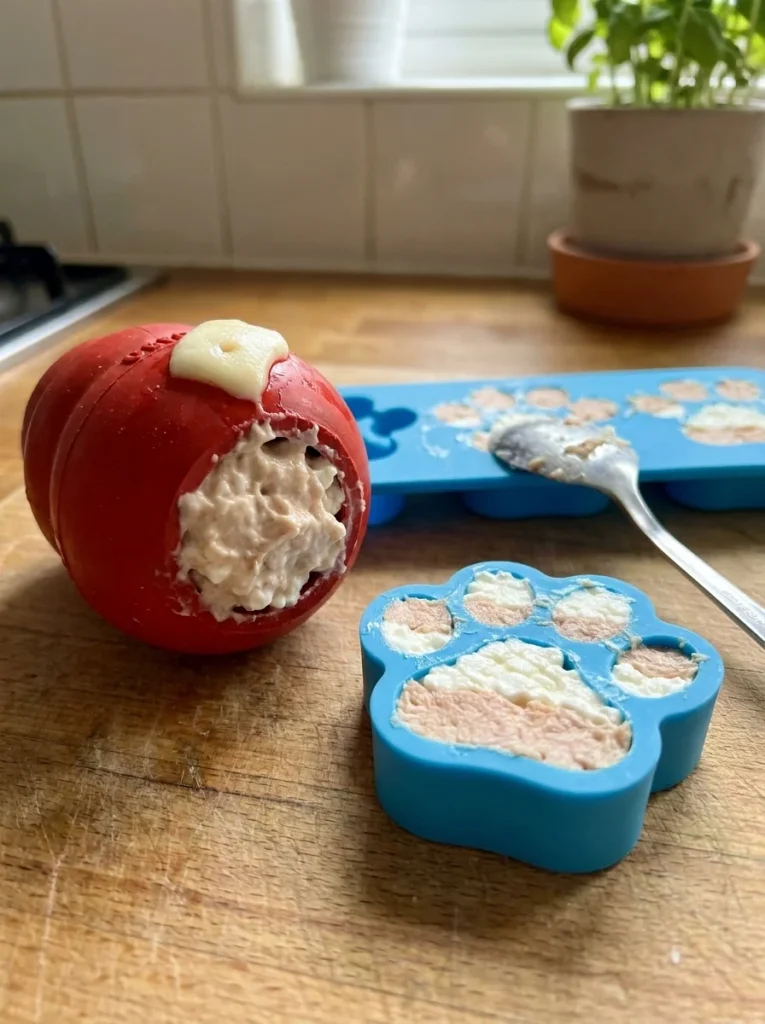
Not every treat needs a bake time. These two quick options use the same basic flavors and take about ten minutes of hands-on work. They are great for keeping a busy dog occupied.
A. Kong Stuffing
Mash half a can of tuna (in water, well drained) with ¼ cup of low-fat cottage cheese. Spoon the mix into a rubber chew toy, packing it in firmly. Top with a small piece of mozzarella to plug the hole, then freeze overnight.
The frozen filling takes a long time to lick out, which is perfect for a rainy day or when you need a few quiet minutes. Start with a half-stuffed toy the first time, so your dog does not get frustrated.
B. Layered Molds
Use a silicone mold with small cavities. Add a spoonful of mashed tuna, press it flat, then add a layer of plain cottage cheese. Repeat until the mold is full, then freeze for 3 to 4 hours.
The layers look neat and give your dog two flavors in one bite. These make nice party treats, too. If you like to keep treats ready to go, a small shelf or dog treat station makes it easy to grab the right one at the right time.
3 Ingredient Variations for the Base Recipe
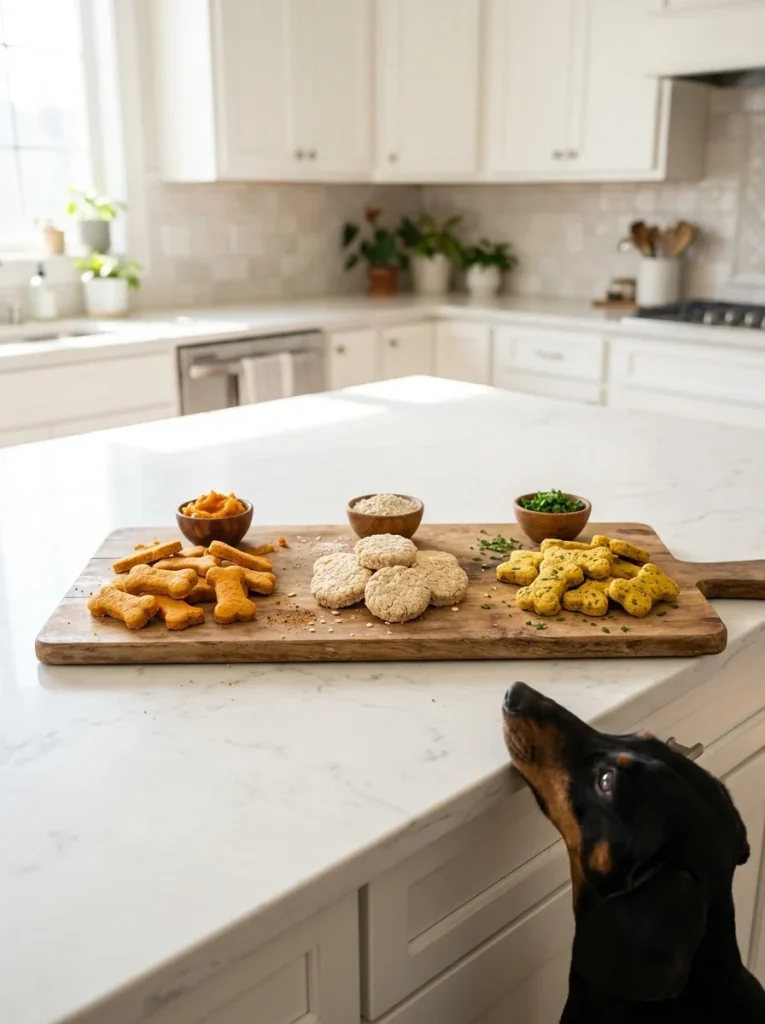
Once you have made the classic baked treats a few times, you can switch things up. These three changes work with the Classic Baked Tuna and Cheese Dog Treats from Section 2. Change only one thing at a time so you can tell what your dog likes.
A. Sweet Potato or Pumpkin Add-In
Mix in ½ cup of cooked, mashed sweet potato or plain canned pumpkin (not pie filling). It adds a mild sweetness and a soft, moist texture. Because it adds moisture, you will likely need an extra ¼ cup of flour. Make sure the pumpkin is 100 percent pumpkin with no sugar or spices.
B. Oat Flour or Coconut Flour Swap
Swap the whole wheat flour for 1¾ cups of oat flour for a gentler, lighter treat. For coconut flour, use only ½ cup and add one extra egg and ¼ cup more water, since it soaks up liquid like a sponge. The dough will be thicker and stickier, so press it flat with your hands instead of rolling.
C. Parsley or Turmeric Boost
Stir in 1 tablespoon of finely chopped fresh parsley for a fresh smell. You can also add ¼ teaspoon of turmeric for color. Keep these amounts small. A little goes a long way, and dogs do not need much. Skip these add-ins if your dog has a very sensitive stomach.
Troubleshooting: Crumbly, Dry, or Too Fishy?
Even simple recipes go sideways sometimes. Here are the most common problems and quick fixes.
- The dough is too crumbly. Add one tablespoon of water at a time and knead gently until it holds together.
- The dough is too sticky. Add flour one tablespoon at a time. Chill the dough for 15 minutes before rolling.
- The treats came out too hard. Next time, roll the dough thicker, bake a few minutes less, or skip the oven-drying step.
- The treats are soft in the middle. Cut them smaller or bake them a little longer, then let them dry in the turned-off oven.
- The smell is too strong for you. Use less tuna, add a spoonful of pumpkin, or switch to the pupsicle recipe, which you can make outside the kitchen.
- The treats went moldy. They were stored while still damp. Cool them completely, store in a sealed container, and use the fridge or freezer for anything with moisture.
- Your dog will not eat them. Try a smaller piece first. Some dogs need a few tries before they trust a new treat.
How Many Treats Per Day? Serving Sizes by Dog Weight
Treats are a bonus, not a meal. A good rule is that treats should make up no more than about 10 percent of your dog’s daily calories. Because tuna is also a mercury concern, keep these as an occasional treat.
Here is a simple guide using small, ½-inch to 1-inch treats:
| Dog Weight | Treats Per Day |
|---|---|
| Under 10 lbs | 1 to 2 |
| 10 to 30 lbs | 2 to 4 |
| 30 to 60 lbs | 4 to 6 |
| Over 60 lbs | 6 to 8 |
Remember that these numbers are a starting point. If you use the treats for training, cut them into pea-sized pieces so you can reward many times without overfeeding. This is also where positive reinforcement shines, since small, quick rewards keep your dog focused and happy.
Introduce any new treat slowly. Offer a tiny piece first and wait a day to see how your dog’s stomach reacts. If you see vomiting, loose stools, or itching, stop and call your vet.
Final Thoughts
Making tuna and cheese dog treats at home is easier than most people expect. With one can of tuna and a handful of cheese, you can bake crunchy biscuits, roll soft bites, freeze cool pupsicles, or dry chewy strips. Each recipe in this guide takes only a few minutes of real work.
Here is the short version to remember:
- Start with the classic baked recipe. It is the simplest, and every other recipe builds on the same skills.
- Always use tuna in water with no added salt, and low-fat, low-sodium cheese.
- Keep portions small. A few tiny treats go a long way.
- Store smart. Anything soft or frozen belongs in the fridge or freezer.
Pick one recipe this weekend and give it a try. Your dog will let you know how it went, probably by sitting next to the oven the whole time. When you are ready for more ideas, browse these other homemade dog treat recipes and keep your treat jar full.

Izzy is an experienced ranch worker who has a passion for exploring nature and getting up close to wildlife. With her connections to various animal organizations, Izzy is well-versed in animal care and rehabilitation.