7 Easy Pumpkin Dog Treats Recipes Your Dog Will Beg For
If your dog goes wild for anything orange and mushy the moment you open a can of pumpkin, you’re not alone. Pumpkin is one of the most popular ingredients in homemade dog treats, and for good reason. It’s cheap, easy to find, gentle on the tummy, and dogs genuinely seem to love the taste. That’s exactly why pumpkin dog treats recipes have become such a favorite among dog owners who want to bake something healthy at home instead of buying store-bought snacks full of preservatives.
In this article, you’ll find seven different pumpkin dog treats recipe ideas, ranging from simple three-ingredient bakes to no-bake bites and even frozen summer treats. Some are quick and beginner-friendly, others are slow-baked for a longer-lasting chew. Whether you’re looking for pumpkin dog treats easy enough to whip up in twenty minutes, or pumpkin dog treats healthy enough to feel good about giving your pup every day, this list has something for you.
Let’s dig in.
Contents
- Why Pumpkin Is Great for Dogs
- Easy Pumpkin Dog Treats Recipes to Try at Home
- 1. Classic Baked Pumpkin and Oat Bones
- 2. Pumpkin Peanut Butter Treats (Quick 3-Ingredient Recipe)
- 3. No-Bake Pumpkin Peanut Butter Oat Bites
- 4. Pumpkin Blueberry Oat Bones
- 5. Chickpea Pumpkin Chew Bones (Slow-Baked for Extra Crunch)
- 6. Frozen Pumpkin Blueberry Yogurt Bites
- 7. Single-Ingredient Protein Pumpkin Chews (Great for Sensitive Dogs)
- Tips for Storing Homemade Pumpkin Dog Treats
- Variations and Add-In Ideas
- Safety Tips When Making Pumpkin Dog Treats
- Final Thoughts
Why Pumpkin Is Great for Dogs
Before jumping into the recipes, it helps to understand why pumpkin shows up in so many dog treat recipes in the first place.
Plain pumpkin is packed with fiber, which supports healthy digestion. Many dog owners actually give their pups a spoonful of plain pumpkin when they’re dealing with an upset stomach, constipation, or mild diarrhea. It’s also low in calories compared to many other treat ingredients, and it contains vitamins like vitamin A, along with potassium and iron.
One important thing to keep in mind: always use plain canned pumpkin purée, not pumpkin pie filling. Pumpkin pie filling contains added sugar and spices like nutmeg, which isn’t safe for dogs in large amounts. Every recipe in this article uses plain, unsweetened pumpkin purée for that reason.
If you want to explore more about safe chews and treats beyond pumpkin, this guide on choosing the right dog bones and treats is a helpful place to start.
Now, let’s get into the recipes.
Easy Pumpkin Dog Treats Recipes to Try at Home
Each of the recipes below has been tested by real dog parents and adapted here into a clear, step-by-step format. They’re grouped from simplest to more advanced, so pick whichever fits your schedule and your pup’s preferences.
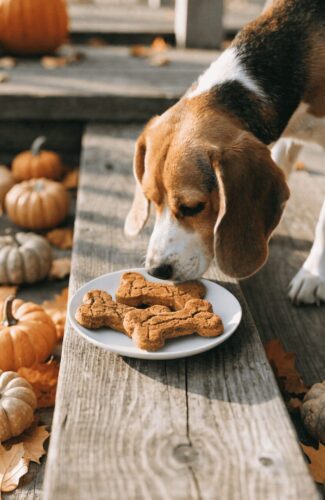
1. Classic Baked Pumpkin and Oat Bones
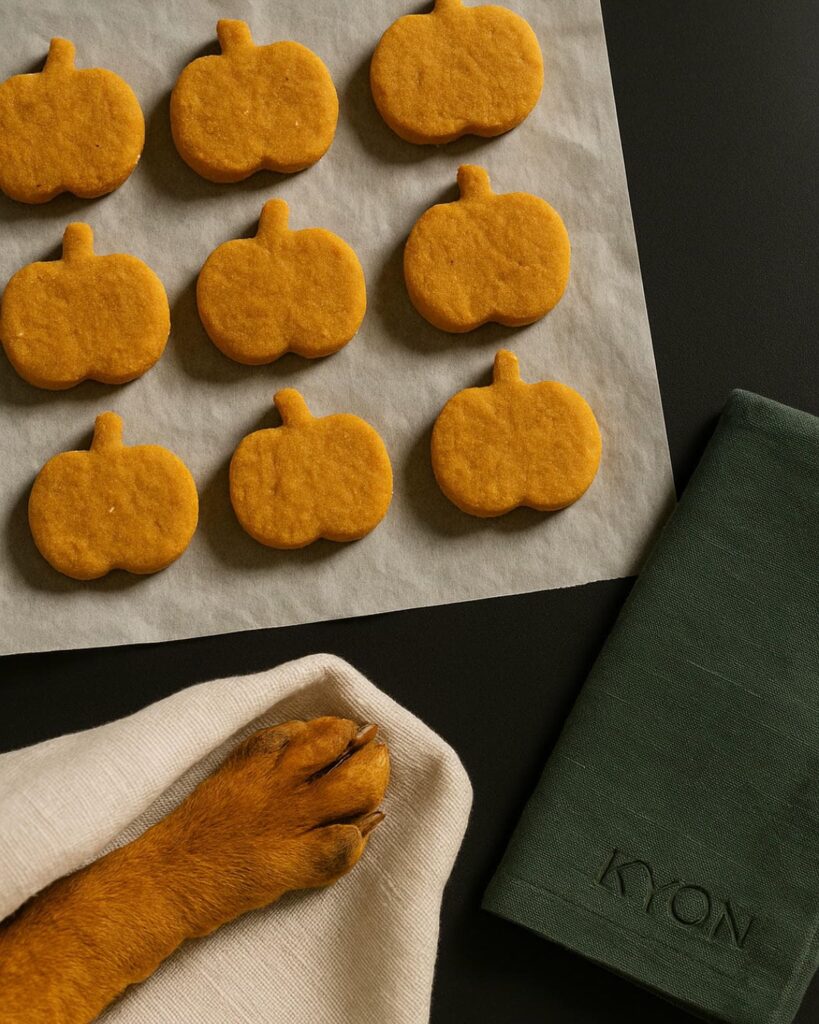
This is about as simple as homemade dog treats get. With just three pantry staples, you can have a full batch of crunchy, wholesome bones ready in under thirty minutes. It’s a great starting point if you’ve never baked dog treats before.
Why this recipe works: Oat flour is naturally gentle on digestion and doesn’t contain gluten, which makes it a good option for dogs with sensitive stomachs. Combined with pumpkin and egg, this dough comes together quickly without needing any specialty ingredients.
Ingredients:
- 1 cup plain pumpkin purée (no added sugar)
- 2 eggs
- 2½ cups oat flour
Step-by-step instructions:
- Preheat your oven to 350°F (175°C) and line a baking sheet with parchment paper.
- In a large mixing bowl, whisk the eggs and pumpkin purée together until smooth.
- Slowly add the oat flour, mixing as you go, until a firm, workable dough forms. If the dough feels too sticky, sprinkle in a little extra oat flour a tablespoon at a time.
- Turn the dough out onto a lightly floured surface and roll it out to about ¼-inch thickness.
- Use a bone-shaped cookie cutter (or any shape you like) to cut out the treats, then transfer them to your prepared baking sheet.
- Bake for 20 minutes, or until the edges are lightly golden.
- Let the treats cool completely on a wire rack before serving. This helps them firm up and become crunchier.
Storage tip: Keep the cooled treats in an airtight container for up to a week, or freeze them in a sealed bag for longer storage. Freezing is especially handy if you like to batch-bake once a month.
Serving idea: These bones are sturdy enough to use as training rewards since they don’t crumble much. Break larger bones into smaller pieces for training sessions with small dogs.
📸 Photo credit: Instagram @kyondogdaycare
2. Pumpkin Peanut Butter Treats (Quick 3-Ingredient Recipe)
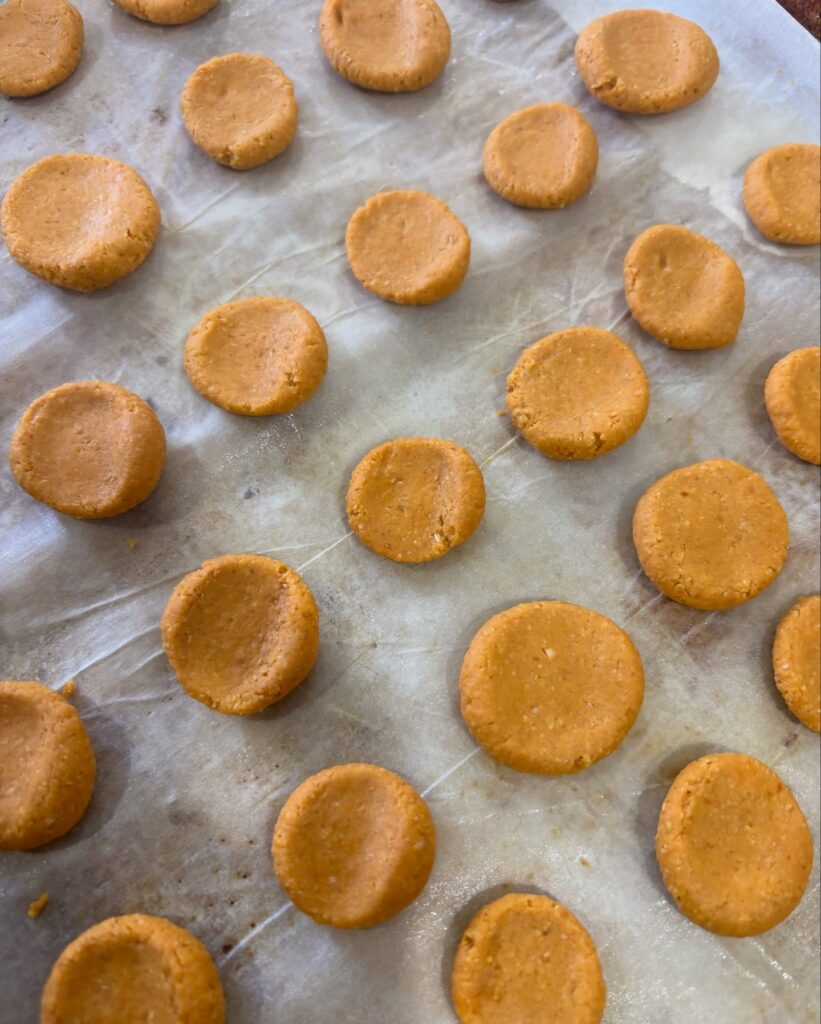
If your dog is more of a peanut butter fan than an oat fan, this recipe combines both flavors your pup already loves. It’s another short ingredient list, which makes it one of the more approachable pumpkin dog treats easy options on this list, even for a first-time baker.
A quick safety note before you start: Always double-check your peanut butter label. Some brands add xylitol (sometimes labeled as “birch sugar”) as a sweetener, and this ingredient is toxic to dogs even in small amounts. Stick to plain, xylitol-free peanut butter, or make your own by blending roasted peanuts.
Ingredients:
- 1 cup whole wheat or all-purpose flour
- ½ cup plain pumpkin purée (not pumpkin pie filling)
- ⅓ cup xylitol-free peanut butter
Step-by-step instructions:
- Preheat your oven to 350°F and line a baking sheet with parchment paper.
- In a mixing bowl, combine the flour, pumpkin purée, and peanut butter until everything is well blended into a dough.
- Knead the dough gently a few times on a floured surface, then roll it out to about ¼-inch thickness.
- Cut into fun shapes using a dog treat cutter, then arrange the cut pieces on your prepared baking sheet, leaving a little space between each one.
- Bake for 20 to 25 minutes, until the treats turn golden brown and feel crisp to the touch.
- Allow the treats to cool fully before serving. Store in an airtight container in the fridge or freezer.
Why dogs love this one: The combination of pumpkin’s mild sweetness with the richness of peanut butter makes this a treat most dogs will pick over almost anything else. It’s a good “high value” option if you’re working on training a picky pup.
📸 Photo credit: Instagram @kerrylynnechristopher
3. No-Bake Pumpkin Peanut Butter Oat Bites
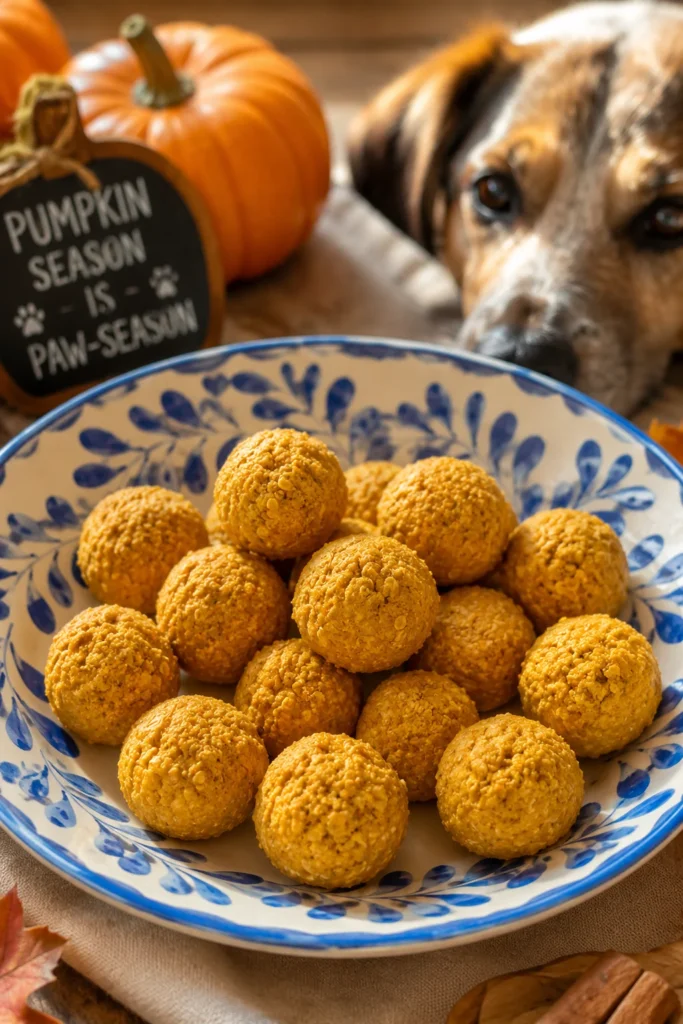
Not every dog owner wants to turn on the oven, especially in warmer months. This no-bake option skips baking altogether and instead relies on a quick chill in the fridge to firm everything up. It’s one of the fastest recipes on this list, and a nice option if you’re short on time but still want to make pumpkin dog treats healthy enough to feel good about.
Ingredients:
- Plain pumpkin purée
- Xylitol-free peanut butter
- Rolled oats
- A small amount of honey
Step-by-step instructions:
- In a mixing bowl, combine the pumpkin purée, peanut butter, oats, and a drizzle of honey.
- Stir everything together until it forms a thick, moldable dough. If it feels too wet, add a bit more oats; if it’s too dry, add a touch more pumpkin.
- Scoop out small portions, roughly 1½ inches each, and roll them into balls between your palms.
- Place the shaped bites on a parchment-lined tray or plate.
- Refrigerate for about an hour, or until the bites firm up and hold their shape well.
Why this method works so well: Because there’s no baking involved, the oats and pumpkin stay soft, giving these treats a chewier, more cookie-dough-like texture that many dogs find irresistible. It’s also a great recipe to make with kids since there’s no oven involved.
Storage tip: Keep these in the fridge in a sealed container for about a week. They don’t freeze quite as well as baked treats since the texture can turn a little grainy once thawed, so it’s best to make smaller batches more often.
4. Pumpkin Blueberry Oat Bones
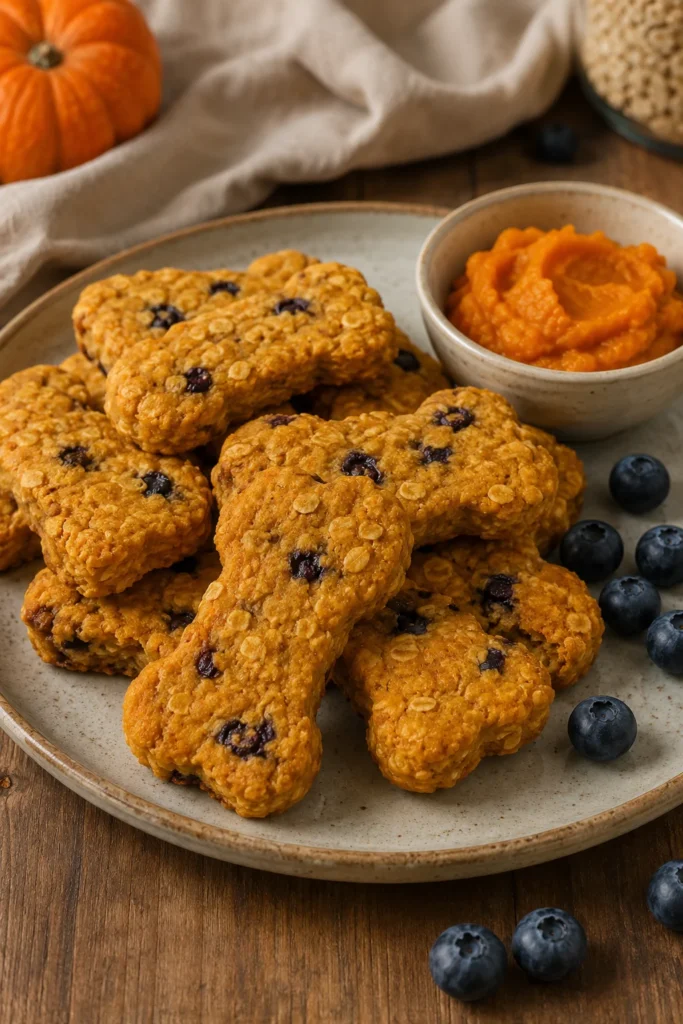
This recipe adds a fruity twist by folding blueberries into a classic pumpkin and oat dough. Blueberries bring natural antioxidants along with a slightly sweet, tart flavor that pairs nicely with pumpkin. It’s a colorful, wholesome option that also happens to look great on a plate if you’re baking for a dog birthday or a fall-themed pet gathering.
Ingredients:
- 1 cup rolled oats
- 1 cup whole wheat flour
- ½ cup plain pumpkin purée (unsweetened, not pie filling)
- ¼ cup mashed blueberries
- 1 egg
Step-by-step instructions:
- Preheat your oven to 350°F and line a baking sheet with parchment paper.
- In a bowl, whisk the pumpkin purée and egg together until smooth and fully combined.
- Add the mashed blueberries, oats, and flour to the bowl, stirring until a thick dough comes together.
- Turn the dough out onto a floured surface and roll it to about ¼-inch thickness.
- Cut into shapes using a cookie cutter and place them on the prepared baking sheet.
- Bake for 30 to 35 minutes, until the treats feel firm to the touch.
- Let cool completely before serving to your pup.
A tip on the blueberries: Mash the blueberries roughly rather than puréeing them smooth. This keeps small flecks of fruit visible throughout the dough, which not only looks appealing but also gives a slightly different texture in every bite.
Who this recipe is good for: Because this bake uses whole wheat flour and oats together, the treats end up a bit denser and more filling than the three-ingredient versions. They’re a solid choice if you want a treat that also works as a light snack between meals, not just a tiny training reward.
5. Chickpea Pumpkin Chew Bones (Slow-Baked for Extra Crunch)
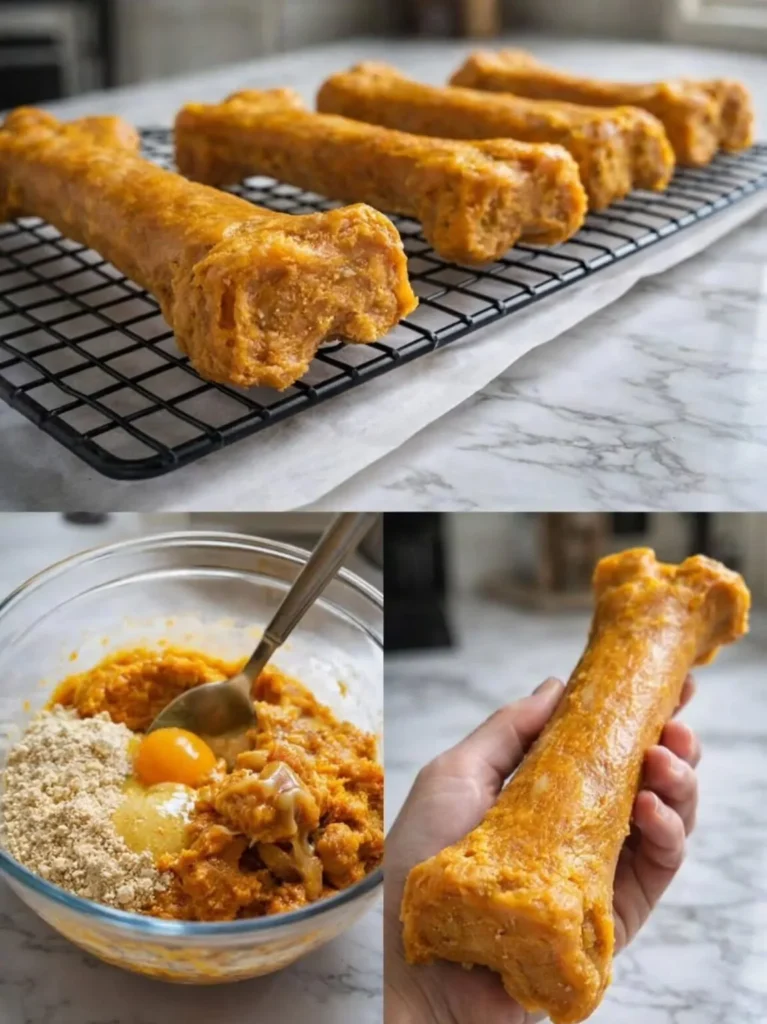
If your dog is a heavy chewer who destroys treats in two bites, this recipe is worth trying. It uses a two-stage baking process, first at a higher temperature and then a long, slow bake at a lower temperature, to dry the dough out fully. The result is a dense, long-lasting chew rather than a soft cookie.
Ingredients:
- 1 cup (120g) chickpea flour, sifted
- ½ cup (120g) plain pumpkin purée, unsweetened
- ¼ cup (60ml) warm water
- 1 tablespoon (15ml) extra virgin olive oil
- 2 tablespoons (32g) natural peanut butter, xylitol-free and unsalted
- 1 large egg, lightly beaten
Step-by-step instructions:
- Preheat your oven to 350°F (175°C) and line a baking tray with parchment paper.
- In a mixing bowl, combine the chickpea flour and pumpkin purée.
- Add the egg, peanut butter, olive oil, and water. Stir until a firm dough forms that holds together well.
- Divide the dough into equal portions and roll each piece into a thick rope shape. You can shape these into bones by hand or press the dough into bone-shaped molds. Keep the shapes fairly thick and dense so they hold up well to chewing.
- Bake the shaped chews for 30 minutes on the prepared tray.
- Lower the oven temperature to 250°F (120°C) and continue baking for another 45 to 60 minutes. This second, slower bake is what dries the chew out and gives it that hard, long-lasting texture.
- Turn the oven off completely and let the chews cool inside with the door slightly cracked open. This final resting period helps them finish drying and hardening properly.
Why chickpea flour? Chickpea flour is a good alternative for dogs who may have sensitivities to wheat or grain-heavy flours. It also has a slightly nutty flavor that holds up well through the long, slow bake.
A note on chew size: These are meant to be long-lasting chews rather than quick training snacks, so they work best for dogs who enjoy taking their time with a treat. Always supervise your dog with any dense chew, and offer age- and size-appropriate portions.
📸 Photo credit: Instagram @annescollections1
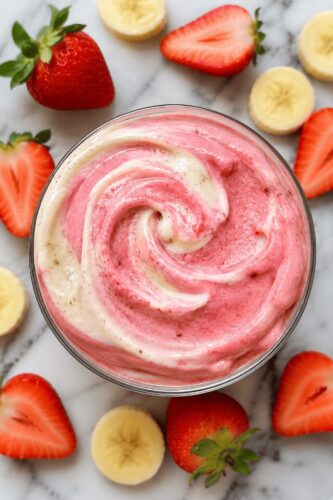
6. Frozen Pumpkin Blueberry Yogurt Bites
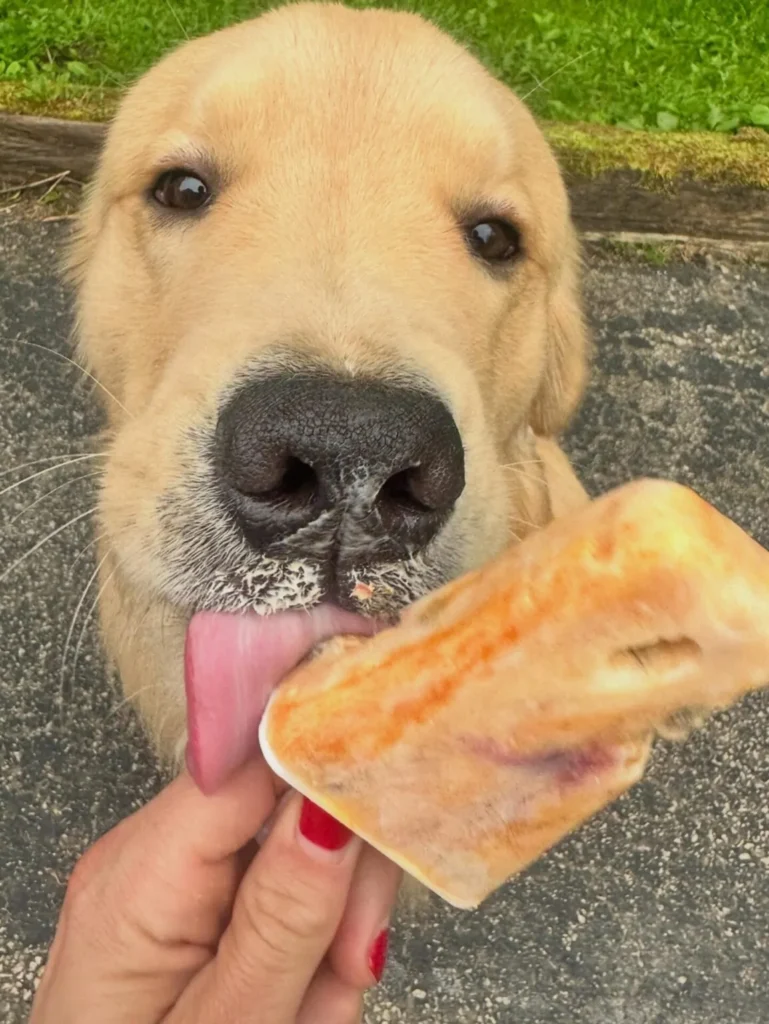
Not every pumpkin treat needs to go in the oven. This frozen version is perfect for hot summer days, teething puppies, or dogs who just enjoy a cold, creamy snack. It comes together in minutes and needs nothing more than a freezer to set.
Ingredients:
- Plain canned pumpkin (not pumpkin pie filling)
- Blueberries, fresh or frozen
- Dog-safe peanut butter (always double-check for xylitol or birch sugar on the label)
- Plain Greek yogurt
Step-by-step instructions:
- In a mixing bowl, combine the pumpkin purée, a spoonful of peanut butter, and a scoop of plain Greek yogurt. Stir until smooth and well blended.
- Fold in the blueberries, either left whole or lightly mashed, depending on how chunky you’d like the finished bites to be.
- Pour the mixture into silicone molds, tapping the mold gently on the counter to release any trapped air pockets.
- Freeze for at least 4 hours. For the firmest texture, leave them in the freezer overnight.
- Pop the bites out of the mold once fully frozen and serve straight away.
Why Greek yogurt works so well here: Plain Greek yogurt adds a creamy texture and a bit of protein, while also helping the mixture set up nicely in the freezer without turning icy and hard. Look for a plain, unsweetened variety without any added flavors.
Serving tip: These frozen bites are especially handy for puppies who are teething, since the cold texture can help soothe sore gums. They also make a nice hot-weather alternative to the baked recipes on this list. Keep portions small, since a little goes a long way as a cooling treat.
📸 Photo credit: Instagram @pawlywally
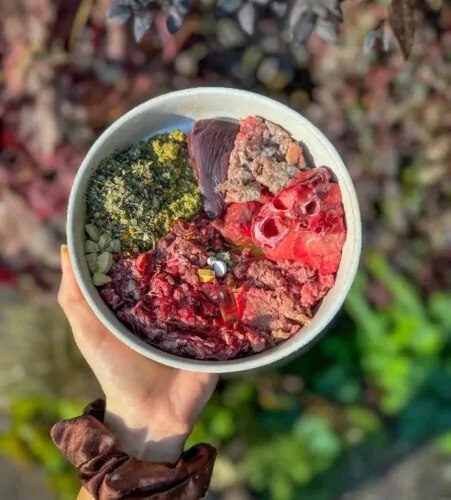
7. Single-Ingredient Protein Pumpkin Chews (Great for Sensitive Dogs)
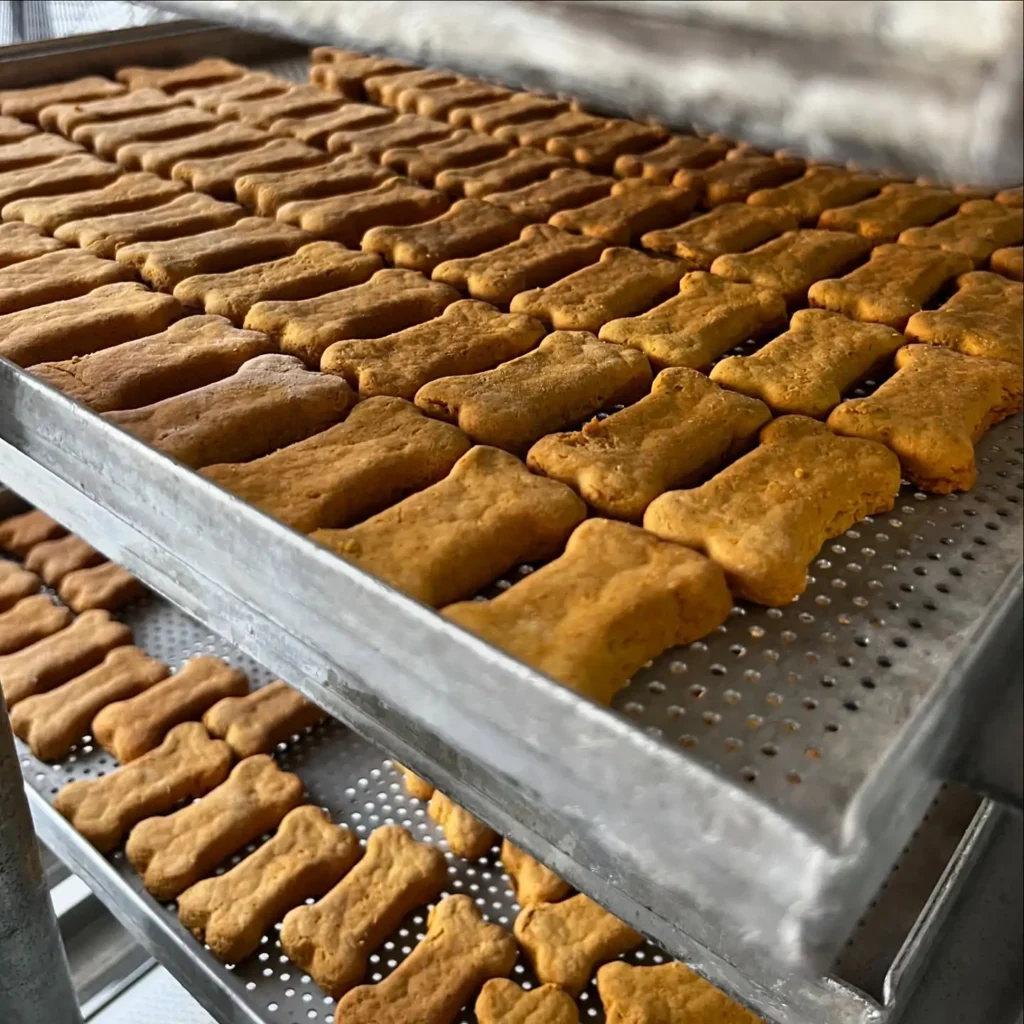
This last recipe is built with dogs who have food sensitivities in mind. By using a single source of protein and a single source of flour, it’s easier to identify what your dog reacts to if you’re testing new ingredients, and easier to avoid known triggers if you already know what to steer clear of.
Ingredients:
- 1 cup puréed single-source protein (plain pumpkin, sweet potato, or a lean novel protein such as turkey or rabbit, fully cooked and puréed)
- 1½ cups single-source flour, such as oat flour or chickpea flour (pick one your dog has done well with before)
- ¼ cup water, added as needed
Step-by-step instructions:
- In a mixing bowl, combine the puréed protein with the flour, stirring until a crumbly dough starts to come together.
- Add water a tablespoon at a time, mixing between additions, until the dough forms a firm ball. It should hold together without feeling sticky.
- Roll the dough out on a lightly floured surface to about ¼-inch thickness.
- Cut into small bone or circle shapes using a cookie cutter, or simply slice the dough into strips with a knife.
- Arrange the shapes on a parchment-lined baking sheet, leaving a little space between each piece so air can circulate.
- Bake at 300°F for 35 to 45 minutes, flipping the treats halfway through, until they’re firm and golden with no soft spots left in the center.
- Turn the oven off and let the treats rest inside with the door slightly cracked for another 20 to 30 minutes. This extra resting time helps them dry out fully for a crunchy, dehydrated texture rather than a soft-baked one.
Why this recipe stands out: Because it only uses two main ingredients, this recipe is easy to adapt. If your pup does well with sweet potato but reacts to pumpkin, or vice versa, you can swap the protein without changing anything else about the method. It’s a flexible base recipe more than a single fixed formula.
Who should try this one: This is a great option for dog owners working with a vet or nutritionist on an elimination diet, or for dogs who tend to react to treats with lots of mixed ingredients.
📸 Photo credit: Instagram @alles.pet
Tips for Storing Homemade Pumpkin Dog Treats
No matter which recipe you choose, storage plays a big role in keeping your treats fresh and safe.
- Room temperature: Baked, hard treats can typically sit in an airtight container at room temperature for a few days.
- Refrigerator: Softer treats, like the no-bake oat bites, should be kept in the fridge and used within about a week.
- Freezer: Most baked treats freeze well for up to two to three months. This makes batch-baking a smart move, since you can portion treats out and pull them from the freezer as needed.
- Frozen bites: Anything made with yogurt, like the pumpkin blueberry bites, should always stay in the freezer and only be pulled out right before serving.
A simple habit that helps: after baking a batch, split the treats into smaller freezer bags labeled with the date. That way you always know how fresh your stash is.
Variations and Add-In Ideas
Once you’re comfortable with the basic recipes above, it’s easy to start customizing them. Here are a few simple swaps to try:
- Swap pumpkin for sweet potato purée in any of the baked recipes for a slightly sweeter flavor.
- Add a pinch of cinnamon (never nutmeg) for extra aroma, since cinnamon is safe for dogs in small amounts.
- Mix in shredded carrot or apple (seeds removed) for added texture and nutrients.
- Try different flours, like coconut flour or brown rice flour, depending on what works best for your dog’s digestion.
- Change the shape for special occasions. Pumpkin-shaped cutters are perfect for fall, while bone shapes work well year-round for birthday treats or everyday snacking.
If you’re looking to build out a bigger rotation of homemade snacks beyond pumpkin, this collection of homemade dog treats recipes is worth browsing for more ideas.
Safety Tips When Making Pumpkin Dog Treats
A few reminders to keep in mind every time you bake:
- Always use plain pumpkin purée, never pumpkin pie filling, which contains added sugar and spices unsafe for dogs.
- Check peanut butter labels carefully for xylitol or birch sugar, both of which are toxic to dogs even in tiny amounts.
- Treats should stay treats. Even healthy homemade snacks shouldn’t replace a balanced diet. If you’re exploring more complete meal options, this guide to homemade dog food recipes is a good next step.
- Watch portion sizes, especially for small breeds or dogs on a weight management plan.
- Talk to your vet before introducing new ingredients if your dog has allergies, a sensitive stomach, or an existing health condition.
Final Thoughts
Whether you’re baking bone-shaped biscuits for a training session, freezing yogurt bites for a hot afternoon, or slow-baking a long-lasting chew for a determined chewer, there’s a pumpkin dog treats recipe here for nearly every situation. Pumpkin’s mild flavor and gentle effect on digestion make it a reliable base ingredient no matter which direction you take it.
Try starting with one of the simpler three-ingredient recipes if you’re new to baking for your dog, then work your way up to the slow-baked chews or frozen bites as you get more comfortable. And once you’ve found a favorite, it’s worth setting up a proper dog treat station at home to keep everything organized and easy to grab.
Which recipe are you trying first? Your pup is probably already waiting by the kitchen.

Izzy is an experienced ranch worker who has a passion for exploring nature and getting up close to wildlife. With her connections to various animal organizations, Izzy is well-versed in animal care and rehabilitation.