Dog Hoodie Crochet Pattern: The Snuggle Hoodie Your Pup Will Love
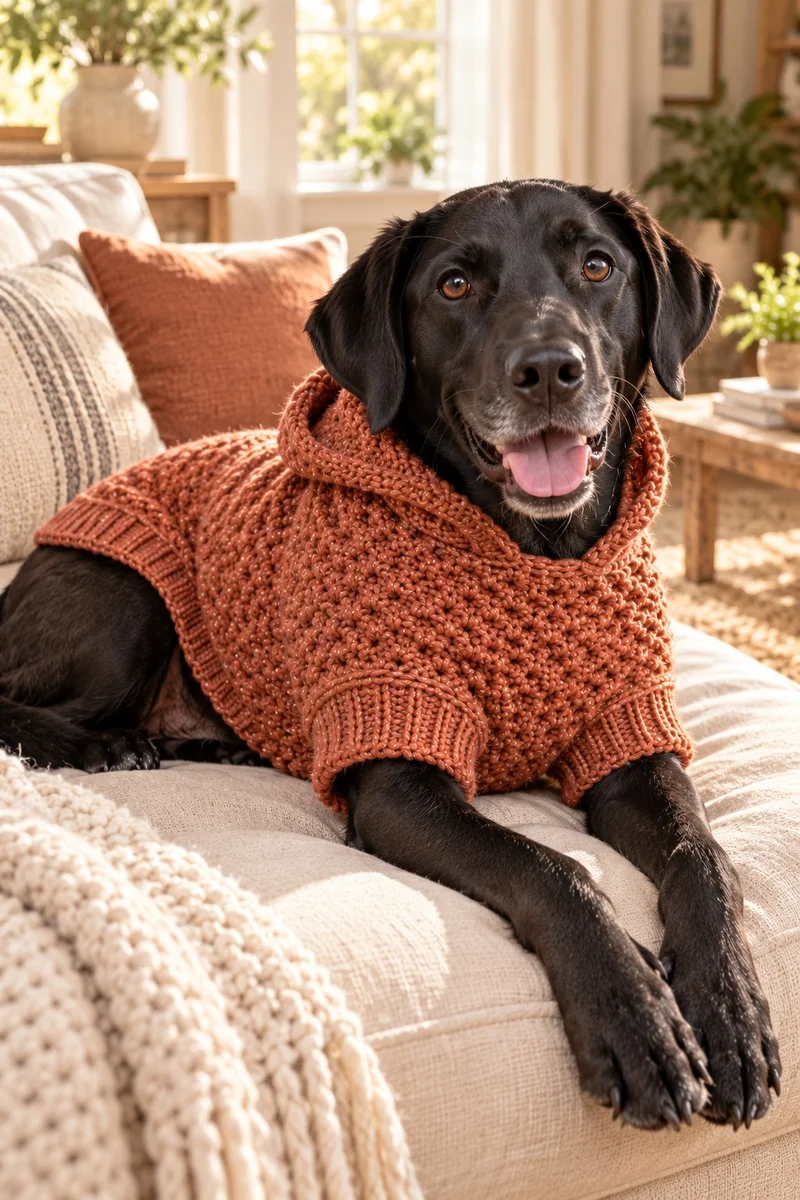
Some dogs tolerate sweaters. Other dogs — the dramatic ones, the ones who sigh heavily when the temperature drops below 60 — need something better. They need a hoodie. This Dog Hoodie Crochet Pattern (meet the Snuggle Hoodie) is a pullover with a real, working hood: wear it up over their ears on blustery walks, or fold it down behind the neck when the sun comes out. The body is worked in soft moss stitch, the hem and leg cuffs are stretchy ribbing, and the whole thing is made in one piece from the top down — no seams to sew, ever.
It is written for an adventurous beginner. If you can single crochet, chain, and work front-post stitches (I will walk you through those), you can make this hoodie. It comes in four sizes, XS through L, so it fits everyone from a chilly Chihuahua to a windswept Labrador. Grab your hook — your dog’s new favorite garment is about six cozy evenings away.
Before You Get Started

The Snuggle Hoodie is worked top-down in one piece. You will start with a simple neckband, increase for the yoke, divide for the front-leg openings, then work the body straight down. The back is shaped a little longer than the belly (dogs are not tubes — their undersides need less coverage), and the whole lower edge finishes with stretchy ribbing. The hood is picked up directly from the neckline and worked in rows, folded, and seamed at the top — then a ribbed edge frames your dog’s face.
Skills you need: chaining, single crochet, working in the round, and front/back post double crochet for the ribbing (there is a two-row learning curve and then it clicks). Everything else — the moss stitch texture, the leg openings, the hood pickup — is explained row by row.
Yarn substitution: the pattern calls for worsted-weight (#4) acrylic or an acrylic blend. Wool is warm but can felt in the wash and some dogs find it itchy; cotton is sturdy but heavy when wet. A soft, machine-washable acrylic is the sweet spot for dog garments — it survives muddy paws and weekly washing. If you substitute, match the gauge below, not just the label: a “worsted” that crochets up at 12 stitches per 4 inches will give you a bigger, drapier hoodie than intended.
🐾 Fit & comfort check: you should be able to slide two fingers comfortably between the hoodie and your dog at the neck and chest. Never leave a dog unsupervised in any garment — hoods and leg openings can snag on crates, fences, and furniture. Check the leg cuffs regularly for rubbing, especially on short-coated breeds, and skip any buttons, beads, or drawstrings (chewing hazards).
Tools & Materials Needed

Yarn
- Worsted-weight (#4) acrylic or acrylic-blend yarn, soft and machine-washable
- XS: approx. 250 yds • S: approx. 350 yds • M: approx. 450 yds • L: approx. 600 yds
- A variegated colorway looks spectacular in moss stitch and hides muddy paw prints; a solid shows off the texture
Hook & Notions
- US I-9 (5.5 mm) crochet hook, or size needed to obtain gauge
- Stitch markers (at least 4)
- Yarn needle for weaving in ends
- Scissors and a flexible tape measure
Size Info and Gauge
XS
Chest: 14″
Back length: 10″
Fits neck: 8–10″
Chihuahuas, Yorkies, tiny terriers
S
Chest: 17″
Back length: 13″
Fits neck: 10–12″
Mini poodles, Shih Tzus, small spaniels
M
Chest: 20.5″
Back length: 16″
Fits neck: 12–14″
Beagles, French bulldogs, spaniels
L
Chest: 24″
Back length: 19″
Fits neck: 14–16″
Labradors, pointers, large mutts
Gauge: 14 sts × 14 rows = 4″ in moss stitch (unblocked), US I-9 (5.5 mm) hook. Take the time to swatch — moss stitch varies a lot between crocheters, and two inches of difference at this gauge is a whole size.
Abbreviations (US Terms)
ch – chain • sc – single crochet • dc – double crochet • sl st – slip stitch • fpdc – front post double crochet • bpdc – back post double crochet • inc – increase (2 sts in same st) • sp – space • st(s) – stitch(es) • RS – right side
Pattern Notes
- Sizes are written as XS (S, M, L) throughout. Circle your size before you begin.
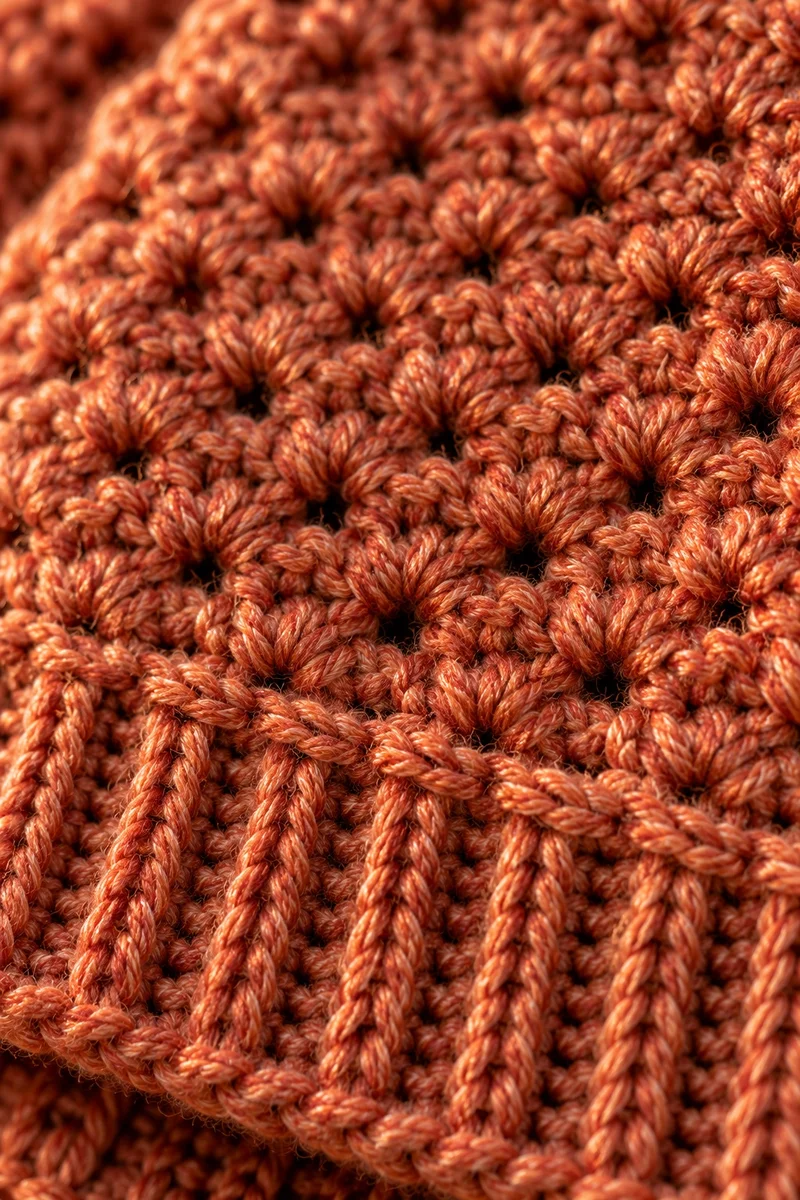
- The body is worked in moss stitch: *sc in the ch-1 sp, ch 1, skip 1 st; repeat from *. In the round it flows continuously; in rows (the hood) you turn at the end of each row.
- The yoke, body, and hood all need even stitch counts — every size here has one, so the moss stitch lands correctly.
- Leg openings are made with chain spaces: you chain across a gap, skip the same number of stitches, and keep going. The cuffs are added at the end.
- The back is worked longer than the belly with short shaped rows, then the ribbed hem follows the shaped edge.
- Stitch counts appear in (parentheses) at the end of increase and division rounds — check yours before moving on.
Pattern Instructions
Neckband
The neckband is a simple single-crochet band the hood will be picked up from later. It should fit snugly but not tightly — remember the two-finger rule.
- Ch 40 (48, 56, 64). Join with a sl st to the first ch, taking care not to twist. (40 (48, 56, 64) sts)
- Rounds 1–3: Sc in each st around. Join with a sl st to the first sc. Do not turn. (40 (48, 56, 64) sts)
Yoke
Now we increase to the full chest circumference and switch to moss stitch for the textured body.
- Increase round: XS: *sc 4, inc* around. S: *sc 3, inc* around. M: *sc 2, inc, sc 3, inc* around. L: *sc 3, inc* around. Join. (48 (60, 72, 80) sts)
- Moss stitch rounds: *Sc in the ch-1 sp, ch 1, skip 1 st; repeat from * around. (In the first moss round, work the sc into stitches and the ch-1s between them — it evens out by round 2.) Continue in moss stitch until the yoke measures 3 (3.5, 4, 4.5)″ from the neckband.
Leg Openings
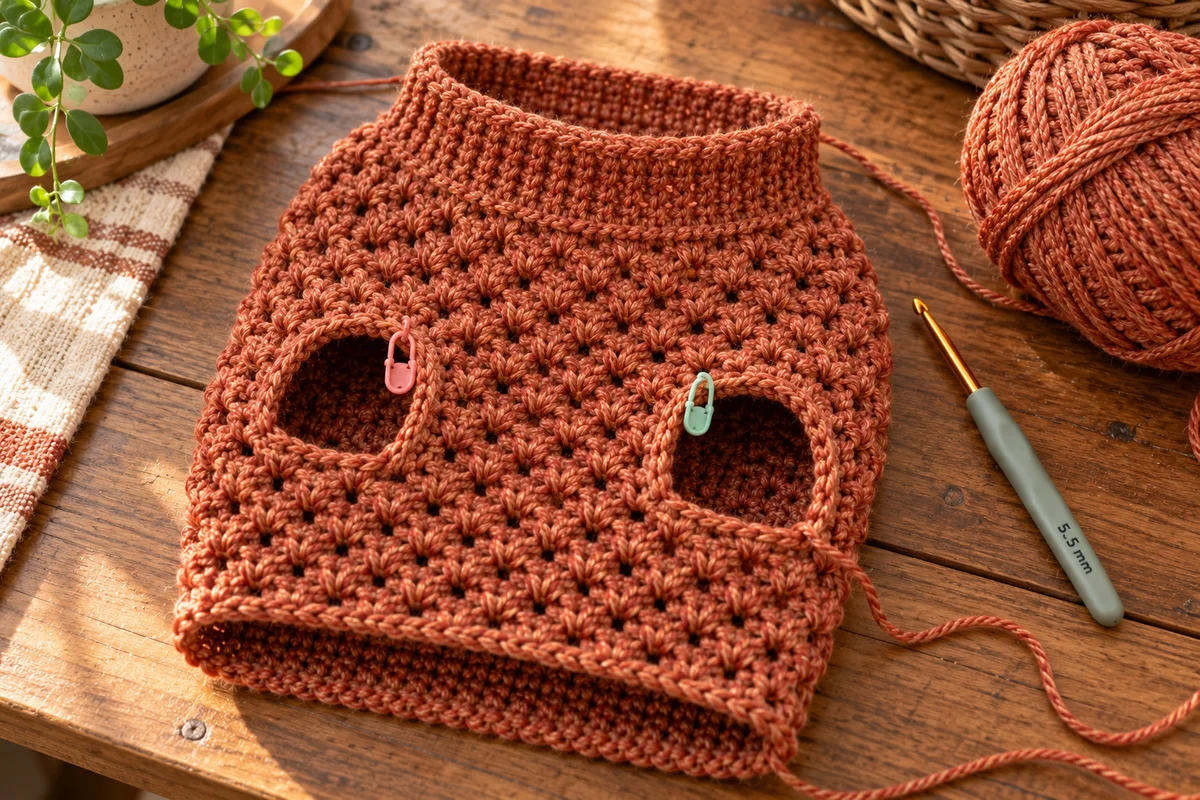
We divide the round into a back panel, two chain-space leg gaps, and a chest panel. Place a marker at the start of the round — the back panel begins here.
- Division round: Work in moss stitch across 16 (20, 24, 26) sts (back), ch 8 (10, 12, 14), skip 8 (10, 12, 14) sts (first leg), work 16 (20, 24, 26) sts (chest), ch 8 (10, 12, 14), skip 8 (10, 12, 14) sts (second leg), join. (48 (60, 72, 80) sts counting chains)
- Next round: Work in moss stitch around, treating each chain as a stitch (sc in each ch, ch 1 between). The leg openings are now clean chain spaces. (48 (60, 72, 80) sts)
Body and Shaped Back
- Continue in moss stitch rounds until the body measures 4 (5, 7, 9)″ from the leg-division round.
- Shaped back (turned rows): Starting at the round marker, work in moss stitch across the next 32 (40, 48, 54) sts — this covers the back panel plus both leg-gap sections. Turn. Work 4 (5, 6, 7) rows total in moss stitch, ending with 2 (2.5, 3, 3.5)″ of extra back length. Fasten off. The belly stays shorter so your dog can move (and answer nature’s call) freely.
Ribbed Hem
The stretchy ribbed hem hugs the body and keeps the hoodie from riding up.
- Join yarn at either side “corner” where the shaped back meets the belly. Round 1: Dc evenly around the entire lower edge, working 48 (60, 72, 80) dc distributed to lie flat (about 1 dc per stitch/row-end). Join.
- Rounds 2–3: *Fpdc around next st, bpdc around next st; repeat from * around. Join. Fasten off and weave in the end. (48 (60, 72, 80) sts)
Leg Cuffs
Each leg opening gets a short ribbed cuff so it lies flat against the leg instead of gaping.
- Join yarn anywhere on a leg opening. Round 1: Sc evenly around the opening (about 1 sc per chain and 1 per row-end). Join.
- Rounds 2–3: *Fpdc, bpdc; repeat from * around. Join. Fasten off. Repeat for the second leg opening.
Hood
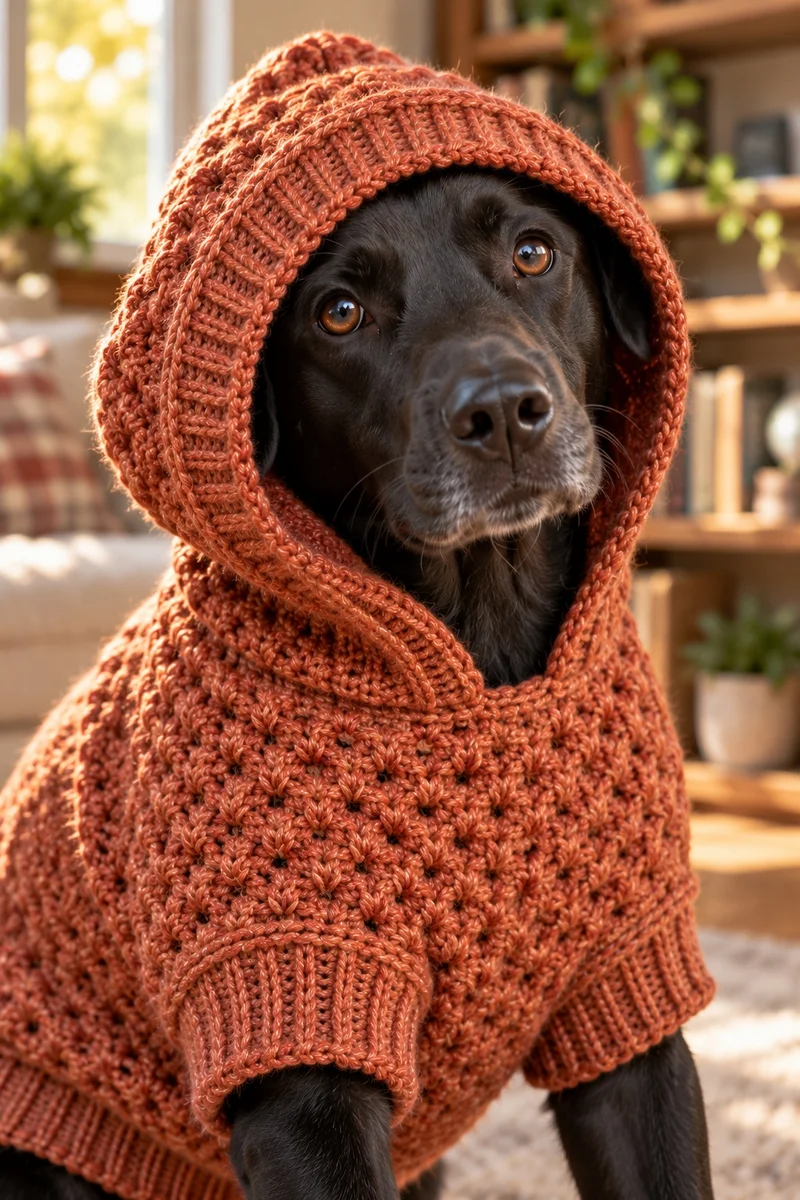
The best part. Stitches are picked up from the neckband and the hood is worked in flat moss-stitch rows, then folded and seamed.
- With RS facing, join yarn at the left front of the neckband (where the chest panel begins). Pick up and sc 28 (32, 36, 40) sts evenly around the back and sides of the neckline, ending at the right front — the front of the neck stays open for the face.
- Rows: Work in moss stitch (turning each row) until the hood measures 7 (8, 9, 10)″ from the pickup row.
- Fold the hood in half (bringing the two top corners together) and seam the top edge with whipstitch or a row of sl sts through both layers. Fasten off.
Hood Ribbing
- Join yarn at the bottom corner of the hood’s face opening. Work 1 row of sc evenly along the entire face edge, then 2 rows of *fpdc, bpdc* ribbing. Fasten off. This ribbed frame is what makes the hood sit up properly — and it looks adorable.
Finishing Touches

Weave in every end with your yarn needle, working the tails through the backs of several stitches so they survive the washing machine. Give the hoodie a gentle steam or a cool wash and lay-flat dry to even out the moss stitch — it blooms beautifully. Try it on your dog and check the two-finger fit at the neck and chest; the ribbed hem should hug without squeezing, and the leg cuffs should sit flat.
Customizing the Fit
Between sizes? Size down — the ribbing is forgiving and a snug hoodie stays put better than a loose one. For a deep-chested breed (greyhounds, pointers), add one extra increase round before the yoke is done. For a long-backed dog (dachshunds, corgis), add 1–2″ to the body before the shaped back. And if your dog truly hates the hood up, the folded-down hood makes a cozy rolled collar — the pattern earns its keep either way. If you enjoyed this construction, you may also like the dog bucket hat crochet pattern or the roundup of crochet dog hat patterns for matching accessories.
Frequently Asked Questions
Final Thoughts
There is something deeply satisfying about watching a dog discover their hoodie — the suspicious sniff, the resigned sigh, and then, ten minutes later, the unmistakable strut of a dog who knows they look good. The Snuggle Hoodie is built for exactly that moment: warm, well-fitted, and handmade by their favorite person.
If you make one, take the hood-up photo. You will not regret it.
And if your pup ends up a hoodie convert, the DIY dog jacket ideas, DIY dog clothes ideas, and no-sew dog sweater ideas roundups will keep your hook busy all winter.
Izzy is an experienced ranch worker who has a passion for exploring nature and getting up close to wildlife. With her connections to various animal organizations, Izzy is well-versed in animal care and rehabilitation.