Homemade Weight Gain Dog Food Recipes That Actually Work
If your dog’s ribs are showing more than they should, or your vet just told you it’s time to add some healthy weight, you’re probably searching for homemade weight gain dog food recipes that are safe, simple, and actually work. The good news is that helping a skinny dog bulk up doesn’t require fancy ingredients, culinary training, or hours in the kitchen every day.
It does require the right combination of protein, healthy fats, and calorie-dense carbs — not just bigger portions of regular kibble. Simply doubling a dog’s normal meal can upset their stomach or lead to loose stools, without actually giving them the nutrients they need to put on muscle and healthy fat. That’s why homemade weight gain recipes are usually built differently than a regular dinner. They lean on ingredients like peanut butter, eggs, oats, and fattier cuts of meat that pack more calories into a smaller amount of food.
Below are seven homemade weight gain dog food recipes, each using a different method — no-cook, oven-baked, slow cooker, and more — so you can pick whichever fits your kitchen, your schedule, and your dog’s taste. Some are meant as quick snacks or toppers, while others are hearty enough to serve as a full meal. We’ll walk through exactly how to make each one, plus a few smart ingredient swaps along the way.
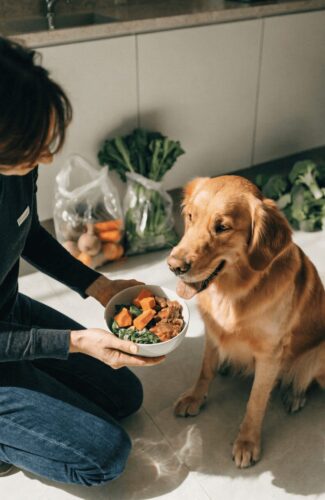
Before we get into the recipes themselves, here are three quick rules to keep things safe.
Before You Start: 3 Quick Rules for Feeding Weight Gain Recipes
1. Check with your vet first. Unplanned or sudden weight loss can be caused by parasites, dental pain, thyroid issues, or underlying illness, not just a lack of food. A quick vet visit rules out medical causes before you start adding calories at home, so you’re not accidentally masking a bigger problem.
2. Introduce new food slowly. Even healthy, calorie-dense ingredients can cause an upset stomach if you switch too fast. Mix a small amount of the new recipe into your dog’s regular meals for the first three to five days, gradually increasing the ratio as their stomach adjusts.
3. Treat these as boosters, not full replacements. Most of the recipes below are meant to be fed alongside your dog’s regular food as a topper or snack, not instead of it — unless a recipe is specifically labeled as a complete meal. Feeding an incomplete recipe as the sole diet for weeks at a time can lead to nutrient gaps, especially in calcium and certain vitamins.
With that out of the way, let’s get into the recipes.
1. No-Cook Satin Balls (Fastest Way to Add Calories)
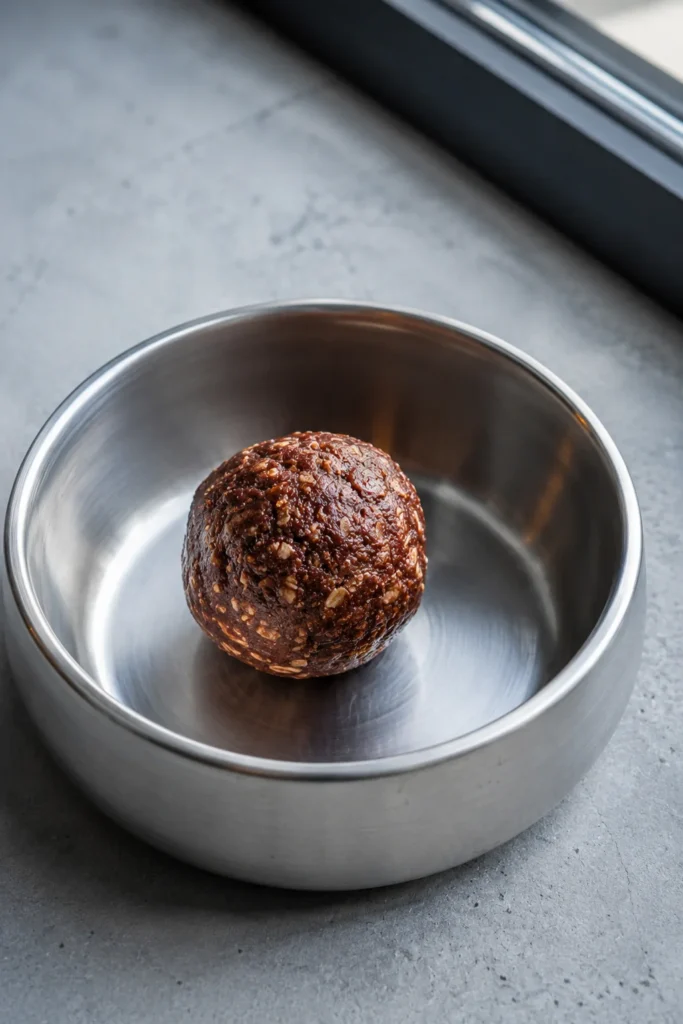
Satin balls are probably the most well-known homemade weight gain recipe for dogs, and for good reason. They’re raw, require zero cooking, and pack a serious calorie punch in every bite. Rescues, shelters, and fosters often use this exact recipe to help emaciated or malnourished dogs recover quickly, sometimes seeing noticeable weight gain within a week.
Because satin balls are served raw and are extremely calorie-dense, they work best as a short-term recovery tool rather than an everyday food. Think of them as the fastest way to reverse a dangerous drop in weight, not a permanent addition to your dog’s diet.
Prep Time: 15 minutes Freeze Time: 1 hour (to firm up before storing) Yield: About 20 balls (golf ball size)
Ingredients:
- 5 lbs ground beef (80/20 fat ratio)
- 1 cup wheat germ
- 1 cup unprocessed bran
- 1 cup uncooked oats
- 6 raw eggs
- 1 cup vegetable oil
- 1/2 cup molasses
- 1 tablespoon unflavored gelatin
- 1 multivitamin tablet, crushed
Instructions:
- Add all ingredients to a large mixing bowl.
- Using clean hands, mix everything together until it forms a texture similar to raw meatloaf.
- Line a baking sheet with parchment paper.
- Roll the mixture into golf ball-sized portions and place them on the parchment paper.
- Freeze the balls for at least 1 hour, then transfer to freezer bags for long-term storage.
- Thaw one portion at a time in the fridge before feeding.
Notes: Because this recipe is served raw, sanitize all surfaces, bowls, and utensils thoroughly before and after preparing it, just as you would with raw meat for human consumption. Start with one ball per 20 pounds of body weight per day, splitting it across two feedings if your dog is small. If you don’t see any weight gain within five to seven days, gradually increase the amount. This recipe should not be fed to puppies or pregnant dogs, since it isn’t nutritionally complete and balanced on its own.
2. Baked Peanut Butter & Beef Energy Bites
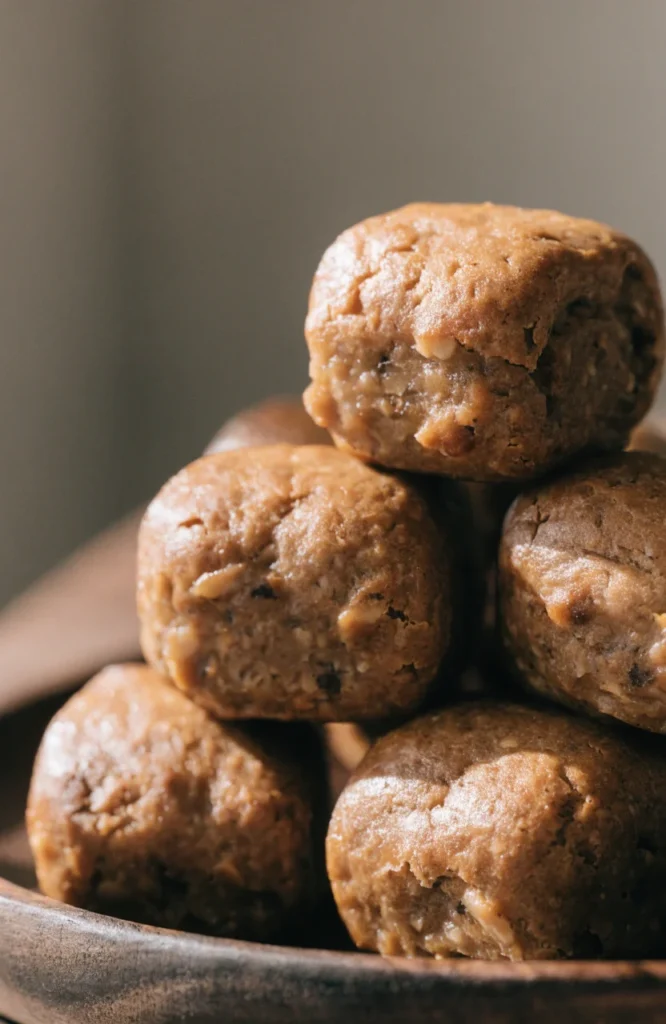
If raw food isn’t your thing, or your dog simply prefers something firmer and more treat-like, this baked version delivers similar calorie density with a texture most dogs go absolutely crazy for. Because it’s baked, it also holds together better for travel, training sessions, or tossing in a bag for later, which makes it a bit more practical for day-to-day use than raw satin balls.
This recipe is a great middle ground between a snack and a meal topper. It’s rich enough to add real calories, but portioned small enough that you can control exactly how much extra your dog is getting each day.
Prep Time: 10 minutes Cook Time: 20 minutes Yield: About 24 bite-sized pieces
Ingredients:
- 1 lb lean ground beef, cooked and drained
- 1/2 cup natural peanut butter (no xylitol, no added salt)
- 1 cup rolled oats
- 2 large eggs
- 1/4 cup coconut oil, melted
- 1/2 cup shredded carrots
Instructions:
- Preheat oven to 350°F (175°C).
- In a large bowl, combine the cooked beef, peanut butter, oats, eggs, coconut oil, and shredded carrots.
- Mix thoroughly until a thick, uniform dough forms.
- Roll into small, bite-sized balls, or press the mixture into a greased baking tray and score into squares before baking.
- Bake for 18-20 minutes, or until firm to the touch and lightly golden at the edges.
- Let cool completely on a wire rack before serving or storing.
Notes: This recipe delivers roughly 90-100 calories per bite depending on size, so it works well as a high-calorie topper sprinkled over your dog’s regular meals, or as a standalone treat between meals. Store in the fridge for up to 5 days, or freeze in a single layer before transferring to a freezer bag for storage up to 3 months. Because this recipe is baked, it also travels well, making it a good option if you’re feeding on the go or bringing treats to a training class.
3. Kibble Dough Log (Easy Slice-and-Serve Topper)
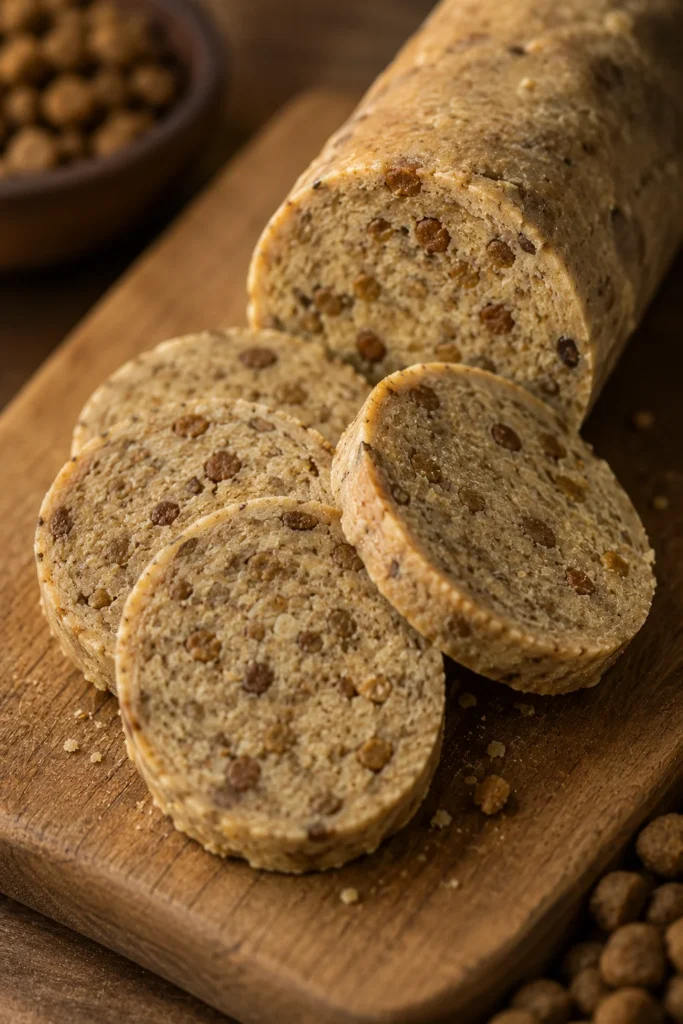
This recipe turns your dog’s existing kibble into a denser, higher-calorie food by binding it together with fat and protein. It’s a great option if your dog already likes their current food and doesn’t need a whole new flavor, but simply needs more calories packed into the same bowl.
One of the biggest advantages of this recipe is how little it changes your dog’s routine. Since it’s built around kibble they already eat, there’s a much lower risk of stomach upset compared to introducing an entirely new protein source, which makes it a good starting point for cautious eaters.
Prep Time: 10 minutes Chill Time: 30 minutes Yield: 1 log, about 12-15 slices
Ingredients:
- 2 cups kibble, crushed into a coarse meal
- 1/2 cup cream cheese, softened
- 1/4 cup peanut butter
- 2 tablespoons olive oil
- 1 egg
Instructions:
- In a medium bowl, combine the crushed kibble, cream cheese, peanut butter, olive oil, and egg.
- Knead the mixture together with your hands until it forms a firm, workable dough. Add more crushed kibble a little at a time if the mixture feels too wet or sticky.
- Place the dough on a sheet of wax paper and roll it into a log shape, roughly two inches in diameter.
- Wrap the log tightly and refrigerate for at least 30 minutes to firm up.
- Slice into rounds and serve as a topper, mixed into meals, or as a between-meal snack.
Notes: This is one of the easiest recipes to make in bulk since it reuses food your dog is already eating, and it’s a good option for households with more than one dog since it can be scaled up easily. Store leftover slices in an airtight container in the fridge for 3-5 days, or freeze individual slices for up to 3 months so you can pull out exactly what you need. If you’d like to build a broader rotation of toppers and base meals beyond this one, browse more homemade dog food recipes for additional ideas that pair well with this log.
4. Slow Cooker Chicken & Sweet Potato Weight-Gain Stew
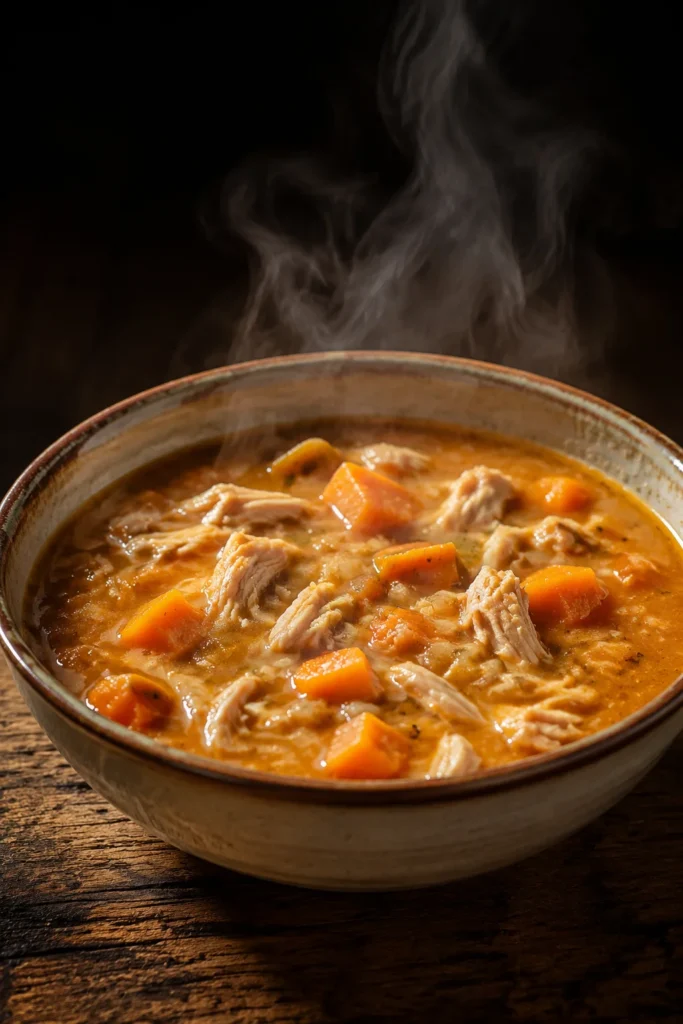
For dogs who need bigger, more complete-feeling meals rather than small snacks, this slow cooker stew is a set-it-and-forget-it option that works well for busy households. It’s calorie-dense thanks to the skin-on chicken and added healthy fats, and the long, slow cooking process makes everything easier to digest, which is especially helpful for dogs recovering from illness or a rough patch of poor appetite.
Because this recipe makes a large batch, it’s also one of the more efficient options on this list if you’re feeding a bigger dog or multiple dogs at once. You can portion it out for the week in a single cooking session.
Prep Time: 15 minutes Cook Time: 6 hours (high) or 8 hours (low) Yield: About 10-12 cups
Ingredients:
- 3 lbs bone-in, skin-on chicken thighs
- 2 large sweet potatoes, peeled and cubed
- 2 cups carrots, chopped
- 1 cup green beans, chopped
- 2 tablespoons fish oil
- 4 cups water or low-sodium chicken broth
Instructions:
- Add the chicken thighs, sweet potatoes, carrots, and green beans to the slow cooker.
- Pour in the water or broth so everything is mostly submerged.
- Cover and cook on low for 8 hours or high for 6 hours, until the chicken falls apart easily with a fork.
- Remove the chicken from the pot, shred it, and discard any large bones. Stir the shredded meat back into the stew.
- Once the stew has cooled slightly, stir in the fish oil so the heat doesn’t degrade its nutrients.
- Let the stew cool fully before portioning into containers for the fridge or freezer.
Notes: This recipe can be fed as a full meal replacement for a few days while your dog recovers weight, but it’s a good idea to check with your vet before using it as the sole diet for longer than a week or two, since it isn’t formulated to meet every long-term nutritional requirement. If your dog does well with slow cooker meals in general, this collection of slow cooker dog food recipes has several more variations worth trying once your dog is back to a healthy weight.
5. Turkey, Oats & Egg Power Bowl (Complete Meal Style)
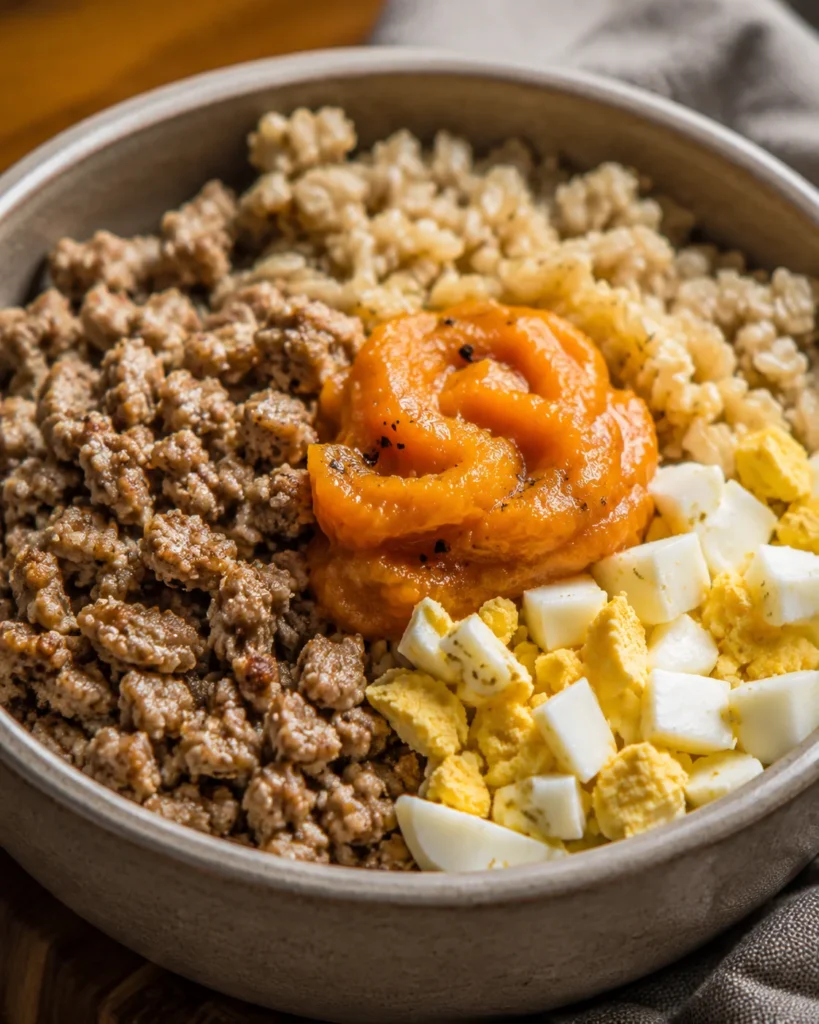
This recipe is built to function as a full, balanced meal rather than a topper, which makes it a good option for dogs who need sustained weight gain over several weeks, not just a quick calorie boost. The combination of lean turkey, slow-digesting oats, and nutrient-dense eggs gives this bowl a more rounded nutritional profile than several of the other recipes on this list.
Because it’s gentler on the stomach than beef-based recipes, this power bowl is also a solid choice for dogs with sensitive digestion who still need to put on weight.
Prep Time: 10 minutes Cook Time: 25 minutes Yield: About 6 cups
Ingredients:
- 2 lbs ground turkey (85/15 fat ratio)
- 1 cup rolled oats, cooked
- 2 hard-boiled eggs, chopped
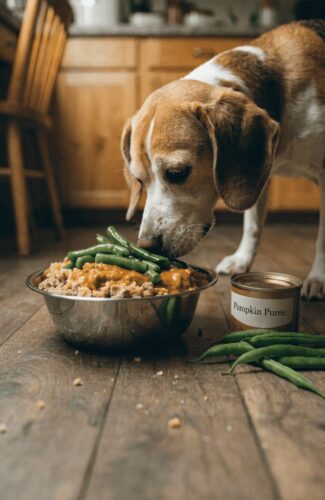
- 1/2 cup pumpkin puree (plain, not pie filling)
- 1 tablespoon salmon oil
- 1/4 teaspoon crushed eggshell (for calcium)
Instructions:
- Cook the ground turkey in a skillet over medium heat until fully browned and no longer pink in the center. Drain excess fat if desired.
- While the turkey cooks, prepare the oats according to the package directions.
- In a large bowl, combine the cooked turkey, oats, chopped eggs, and pumpkin puree.
- Stir in the salmon oil and crushed eggshell once the mixture has cooled slightly, so the heat doesn’t damage the oil’s nutrients.
- Portion into meal-sized containers and refrigerate or freeze.
Notes: This is one of the more nutritionally rounded recipes on this list, but it’s still not a full substitute for a vet-formulated diet if your dog needs long-term homemade feeding rather than a short recovery period. Ingredient variation: swap the turkey for ground lamb if your dog needs a novel protein due to allergies, or stir in a tablespoon of plain yogurt for extra probiotics and a creamier texture.
6. Lick Mat / Kong Stuffing Mix (Great for Picky or Anxious Dogs)
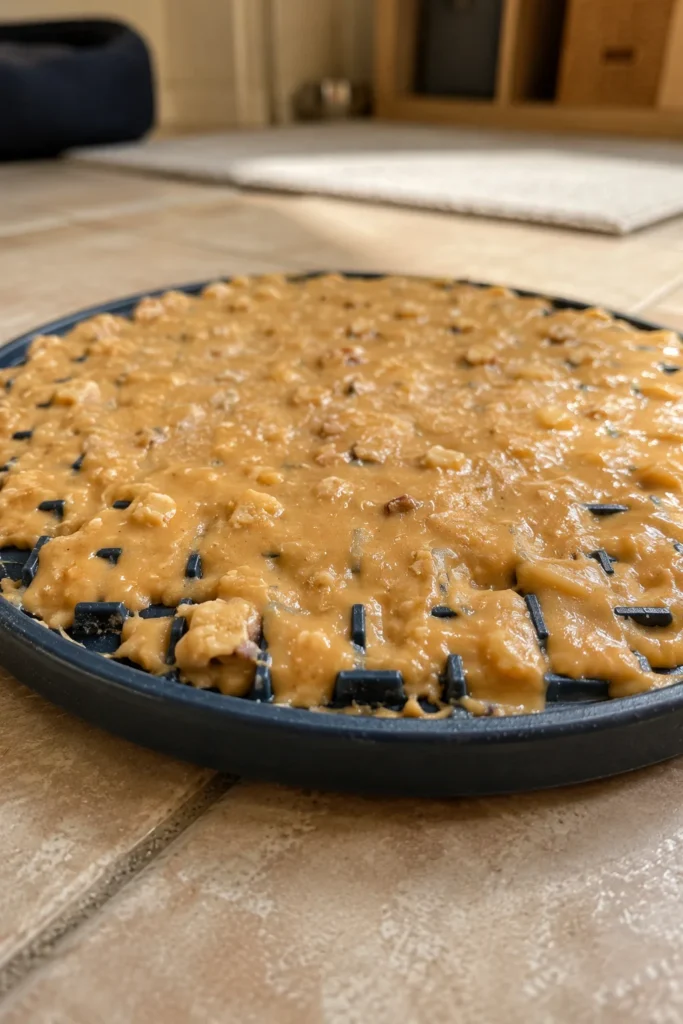
Some dogs lose weight not because of a medical issue, but simply because they’re stressed, bored with their food, or eat too fast and don’t finish full meals. This recipe solves that problem by turning mealtime into a slow, engaging activity while still packing in real calories, which makes it especially useful for anxious dogs or dogs recovering from a stressful event like a move, a new pet in the house, or time spent boarding.
Unlike the other recipes on this list, this one is designed around how your dog eats, not just what they eat, which can make a big difference for dogs who associate mealtime with stress.
Prep Time: 5 minutes Freeze Time: 2 hours Yield: Fills 2-3 standard Kongs or 1 large lick mat
Ingredients:
- 1/2 cup natural peanut butter
- 1/4 cup plain full-fat yogurt
- 1/4 cup mashed banana
- 2 tablespoons coconut oil, melted
- 1 tablespoon honey (optional)
Instructions:
- In a bowl, mix the peanut butter, yogurt, mashed banana, and coconut oil until smooth and well combined.
- Stir in honey if using, for extra flavor and calories.
- Spoon the mixture into Kong toys, or spread it evenly across a lick mat.
- Freeze for at least 2 hours to firm up before serving.
Notes: This is best used as a supplemental treat rather than a full meal, since it’s calorie-dense but not nutritionally balanced on its own. It’s especially useful for anxious dogs, since the repetitive licking motion has a naturally calming effect that can help reduce stress-related appetite loss. Freezing the mixture also makes it last longer during each session, which keeps your dog occupied, eating slowly, and less likely to gulp down calories too fast to properly digest.
7. Fish & Rice High-Fat Meal (Good for Dogs Who Won’t Eat Beef)
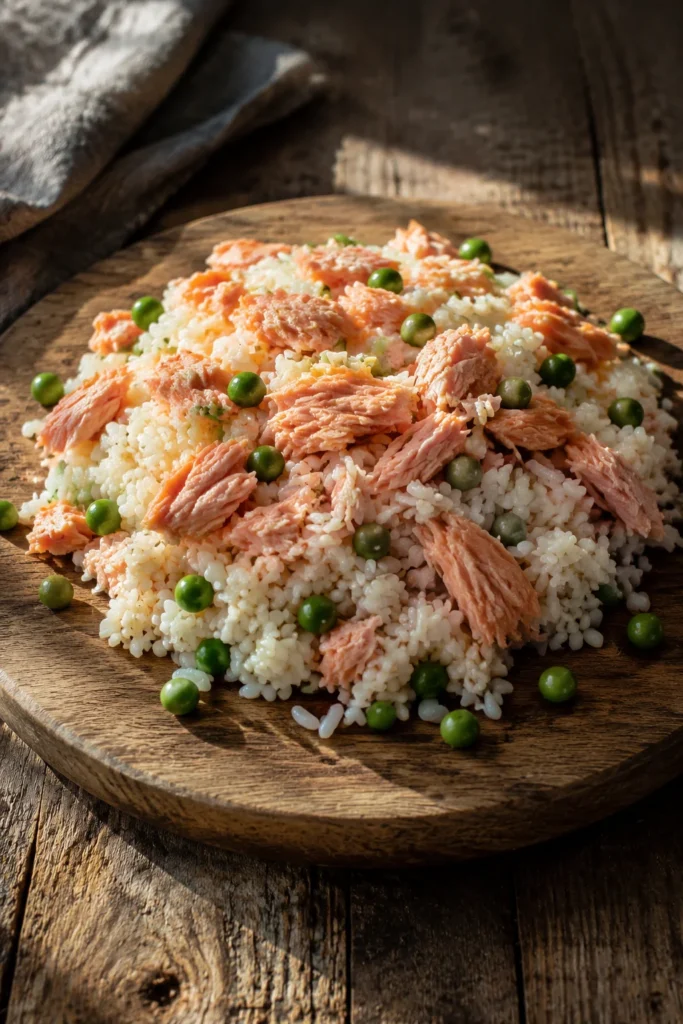
Not every dog tolerates beef or chicken well, and some dogs simply prefer the taste and texture of fish. This recipe uses fatty fish to deliver plenty of calories along with omega-3 fatty acids, which also support skin and coat health during the weight-gain process — a nice bonus, since underweight dogs often have a dull, dry coat alongside their low body condition.
This recipe is also one of the gentler options on the list for dogs with sensitive stomachs, since fish is generally easier to digest than red meat.
Prep Time: 10 minutes Cook Time: 20 minutes Yield: About 5 cups
Ingredients:
- 2 lbs salmon or mackerel fillets, deboned
- 2 cups white rice, cooked
- 1/2 cup peas
- 2 tablespoons olive oil
- 1 tablespoon plain gelatin (optional, for texture)
Instructions:
- Bake or steam the fish until fully cooked and easily flaked with a fork, about 15-20 minutes depending on thickness.
- Flake the fish into small pieces, checking carefully and thoroughly for any remaining bones.
- In a large bowl, combine the flaked fish, cooked rice, and peas.
- Stir in the olive oil while the mixture is still slightly warm, so it coats the rice evenly.
- Cool completely before portioning into containers for storage.
Notes: Ingredient variation: use canned, boneless, skinless salmon packed in water for a faster version if you’re short on time, just be sure to rinse it first to reduce sodium. This recipe also works well for dogs with poultry allergies or sensitivities, since it swaps out the more common chicken and turkey bases entirely. For dog owners who prefer to keep ingredients as close to human-quality as possible across every meal, this guide to human-grade dog food recipes is worth a look for additional inspiration.
How to Store and Serve These Recipes Safely
Storage matters just as much as the recipe itself, especially since homemade food doesn’t contain the preservatives that keep commercial dog food shelf-stable for months at a time.
- Refrigerator: Most recipes above keep well for 3-5 days in an airtight container. Label containers with the date you made them so you’re not guessing later in the week.
- Freezer: Nearly all of these recipes freeze well for up to 3 months. Portion them into daily or single-meal amounts before freezing, so you’re not stuck thawing more than you actually need at one time.
- Thawing: Move portions to the fridge the night before feeding rather than thawing at room temperature on the counter, which can allow bacteria to grow, especially in raw recipes like the satin balls.
- Serving size: As a general starting point, feed 1 tablespoon of treat-style recipes per 10 lbs of body weight, or replace up to half a meal with stew or bowl-style recipes. Adjust the amount up or down based on how your dog responds over the first week, and always keep fresh water available since some of these recipes are quite rich.
If you’re also looking for lower-effort ways to add calories between full recipes, a simple dog bones and treat rotation can help fill the gaps on busy days without requiring extra cooking.
Signs Your Dog Is Gaining Weight the Healthy Way
You should start to notice a few changes within one to two weeks of consistent feeding, and it helps to know what to actually look for so you’re not just guessing.
- Ribs are less visible but still slightly felt under a thin layer of fat when you run your hand along their side. You shouldn’t have to press hard to find them, but you also shouldn’t see them clearly from across the room.
- Waist becomes less pronounced when viewed from above, meaning the hourglass shape behind the ribs starts to fill in slightly rather than tucking in sharply.
- Energy levels improve, especially in dogs who were lethargic or unusually quiet due to low calorie intake. A dog who suddenly wants to play more is often a good early sign.
- Coat starts to look shinier as fat and protein intake increases, since coat health is often one of the first things affected by poor nutrition.
- Stools stay normal, not loose or greasy. If you notice consistent diarrhea, it’s often a sign the recipe was introduced too quickly or that the fat content is too high for your dog right now.
If you don’t see any change after seven to ten days of consistent feeding, it’s worth gradually increasing portion sizes before assuming the recipe isn’t working. Weight gain, especially healthy weight gain, tends to happen slowly rather than overnight.
When to Call Your Vet Instead of Cooking
Homemade recipes are a great short-term tool, but they’re not a fix for every cause of weight loss, and it’s important to recognize when cooking at home isn’t enough. Call your vet if:
- Weight loss happened suddenly or rapidly, without any clear change in diet or activity
- Your dog is refusing food entirely, even calorie-dense or normally irresistible options like peanut butter
- You notice vomiting, diarrhea, or lethargy alongside the weight loss, which could point to an underlying illness
- Your dog is a puppy, since puppies have different and much stricter calcium and nutrient needs than adult dogs, and getting the ratios wrong can cause lasting skeletal problems
- Weight loss is paired with increased thirst, urination, or appetite changes, which can sometimes signal a hormonal or metabolic issue
If you’re raising a puppy and want to understand their broader nutritional and health needs beyond just weight, this overview of puppy veterinary needs is a useful next read before starting any homemade recipe with a young dog.
Final Thoughts
Helping an underweight dog gain healthy weight comes down to picking the right format for your schedule and your dog’s preferences, not just adding more food to the bowl. Whether that’s a no-cook satin ball recipe you can prep in fifteen minutes, or a slow cooker stew that runs while you’re at work, the goal is the same: more calories from quality protein and fat, delivered consistently and safely.
Start with one recipe, watch how your dog responds over a week or two, and adjust portions from there based on what you see. Pay attention not just to the number on the scale, but to energy, coat condition, and how your dog’s body feels under your hands, since those are often the earliest and most reliable signs that things are moving in the right direction.
And if weight loss continues despite consistent, careful feeding, don’t hesitate to loop your vet back into the plan. Homemade recipes work best as one part of a bigger picture, not the whole solution, and having a professional confirm that your dog is on the right track can offer real peace of mind while you watch those healthy pounds come back.

Izzy is an experienced ranch worker who has a passion for exploring nature and getting up close to wildlife. With her connections to various animal organizations, Izzy is well-versed in animal care and rehabilitation.