8 Frozen and Homemade Peach Dog Treats to Try
Peach season means one thing at our house: it’s time to share a little of that sweetness with the dog. Peach dog treats are one of the easiest ways to turn a ripe, juicy peach into something your pup will lick the bowl for — and they’re simple enough to make even if you’ve never baked a dog biscuit in your life.
Below you’ll find eight different ways to turn peaches into safe, tasty treats: frozen pops, baked biscuits, no-bake bites, dehydrated chips, oatmeal cookies, and more. Every recipe uses dog-safe ingredients only, and every recipe card is ready to copy straight into your recipe box. Whether you’re after frozen peach dog treats for a hot afternoon or homemade peach dog treats you can bake ahead and store in the pantry, there’s a version here for you.
A quick safety note before we start: always remove the peach pit, skin, and stem before feeding peaches to your dog. The pit contains a small amount of cyanogenic compounds and is also a choking and intestinal blockage risk. We’ll cover this in more detail near the end of the article, but for now — just know every recipe below already accounts for it.
Let’s get into the recipes.
1. Frozen Peach Dog Treats (Basic Peach Pupsicles)
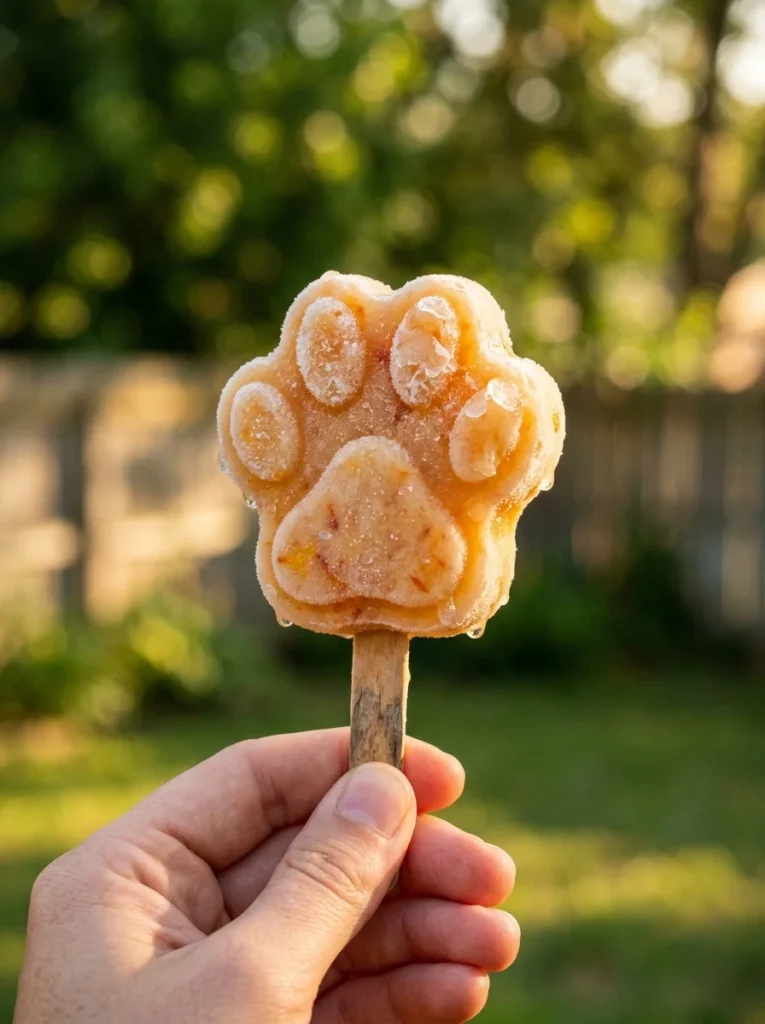
This is the recipe to start with if you’ve never made frozen peach dog treats before. It uses just three ingredients, takes ten minutes of hands-on work, and gives your dog a cold, sweet snack that’s perfect for summer afternoons in the yard. The texture is smooth and easy on the teeth, which also makes it a good pick for senior dogs or puppies who are still losing baby teeth.
Prep Time: 10 minutes
Freeze Time: 4 hours
Yield: 12 small pupsicles (silicone mold) or 6 large paw-print treats
Ingredients:
- 2 ripe peaches, peeled, pitted, and diced
- 1 cup plain unsweetened yogurt (no xylitol)
- 1 tablespoon honey (optional, for extra-ripe or tart peaches)
Instructions:
- Add the diced peaches, yogurt, and honey (if using) to a blender or food processor.
- Blend until completely smooth, scraping down the sides once halfway through.
- Taste-test the texture with a spoon — it should be thick but pourable, similar to a smoothie.
- Pour the mixture into silicone molds, ice cube trays, or small paper cups.
- Tap the mold gently on the counter to release any air bubbles.
- Freeze for at least 4 hours, or until completely solid.
- Pop the treats out of the mold and serve immediately, or transfer to a freezer bag for storage.
Notes: If your dog is new to peaches, start with one small pupsicle to check for any tummy upset before offering more. For dogs with dairy sensitivities, swap the yogurt for unsweetened applesauce instead.
2. Homemade Peach Dog Treats (Baked Peach Biscuits)
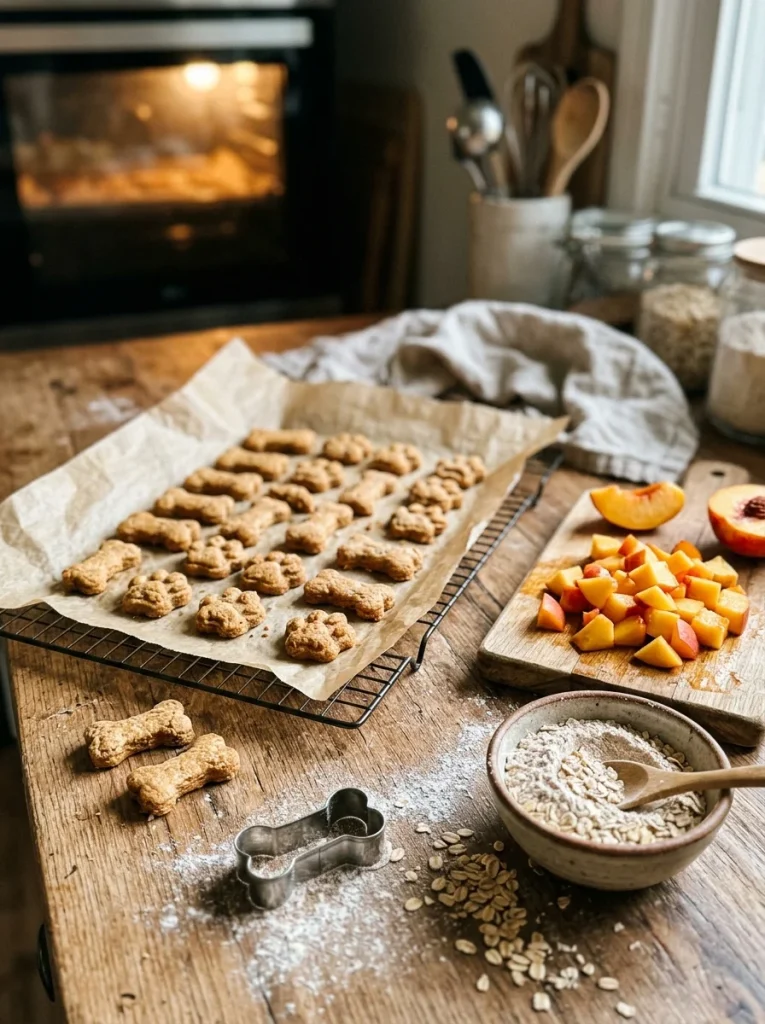
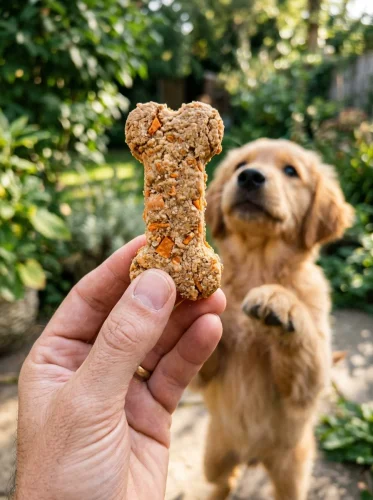
If you want something that keeps well outside the freezer, these baked homemade peach dog treats are the answer. They’re crunchy, portable, and great for stuffing in a treat pouch for walks or training sessions. The whole wheat and oat combination gives them a sturdy, biscuit-like bite that holds up well even after weeks in the pantry.
Prep Time: 15 minutes
Bake Time: 25 minutes
Yield: About 24 small biscuits
Ingredients:
- 1 cup fresh peach, peeled, pitted, and finely diced
- 1 ¾ cups whole wheat flour
- ½ cup rolled oats
- 1 large egg
- 2 tablespoons unsweetened applesauce
- ¼ cup water (add more as needed)
Instructions:
- Preheat your oven to 350°F (175°C) and line a baking sheet with parchment paper.
- In a large mixing bowl, whisk together the egg and applesauce.
- Stir in the diced peach.
- Add the flour and oats, mixing until a thick, slightly sticky dough forms. Add water a tablespoon at a time if the dough feels too dry.
- Turn the dough out onto a lightly floured surface and knead gently for about a minute.
- Roll the dough to roughly ¼-inch thickness.
- Cut into shapes using a small cookie cutter, or simply slice into bite-sized squares with a knife.
- Arrange the biscuits on the prepared baking sheet, leaving a little space between each.
- Bake for 20–25 minutes, until firm and lightly golden.
- Turn off the oven and let the biscuits sit inside for an extra 20–30 minutes to crisp up further.
- Cool completely on a wire rack before serving or storing.
Notes: These biscuits are firm enough to double as a light chew for supervised gnawing. If your dog does well with grains, you can also check out our homemade dog treat recipes for more baked options to rotate into the routine.
3. Peach & Yogurt No-Bake Bites
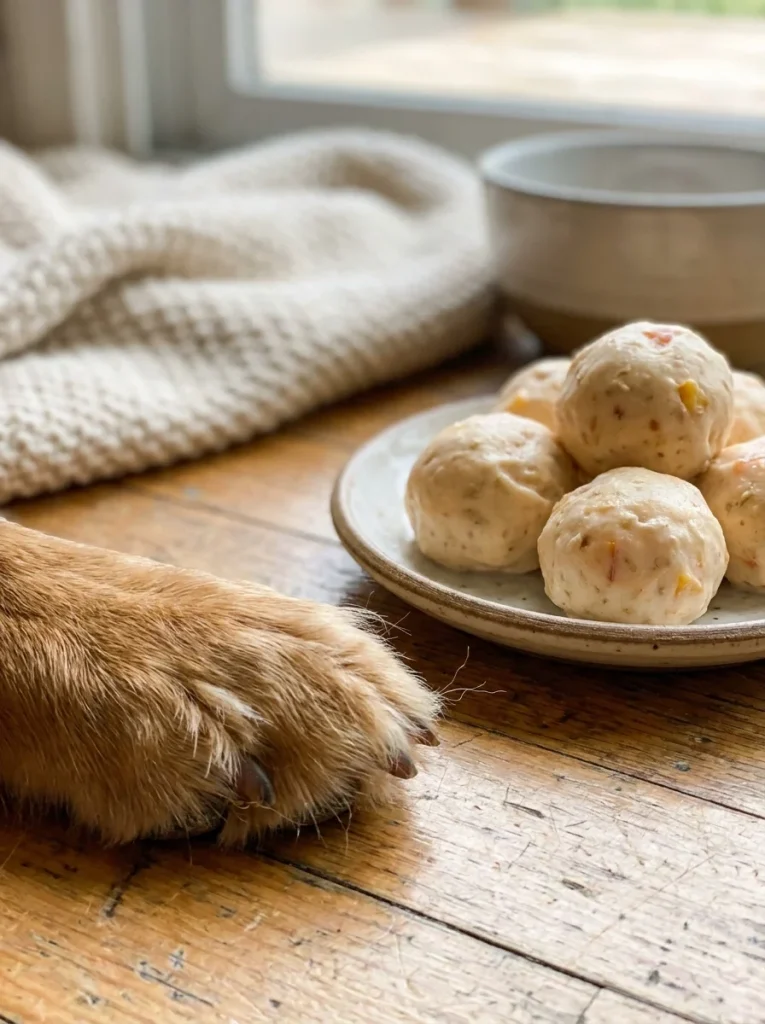
For days when you don’t want to turn the oven on at all, these no-bake bites come together in one bowl and set up in the fridge or freezer. They’re soft, bite-sized, and work especially well as a mid-training reward since they don’t crumble in your pocket the way baked treats sometimes do.
Prep Time: 10 minutes
Chill Time: 2 hours
Yield: About 20 bites
Ingredients:
- 1 cup peach, peeled, pitted, and mashed
- 1 cup plain Greek yogurt
- 1 cup rolled oats
- 1 tablespoon smooth, xylitol-free peanut butter
Instructions:
- In a mixing bowl, stir together the mashed peach, yogurt, and peanut butter until well combined.
- Fold in the rolled oats and mix until the batter thickens into a scoopable consistency.
- Line a baking sheet or plate with parchment paper.
- Using a small spoon or melon baller, scoop out rounded teaspoon-sized portions and place them on the parchment.
- Flatten each bite slightly with the back of the spoon.
- Place the tray in the freezer for 2 hours, or in the refrigerator for at least 4 hours, until firm.
- Transfer the set bites to an airtight container for storage.
Notes: These bites stay soft even after chilling, which makes them a good option for older dogs or dogs with dental issues. Always double-check any peanut butter label to confirm it’s free of xylitol before using it in dog treats.
4. Dehydrated Peach Chips
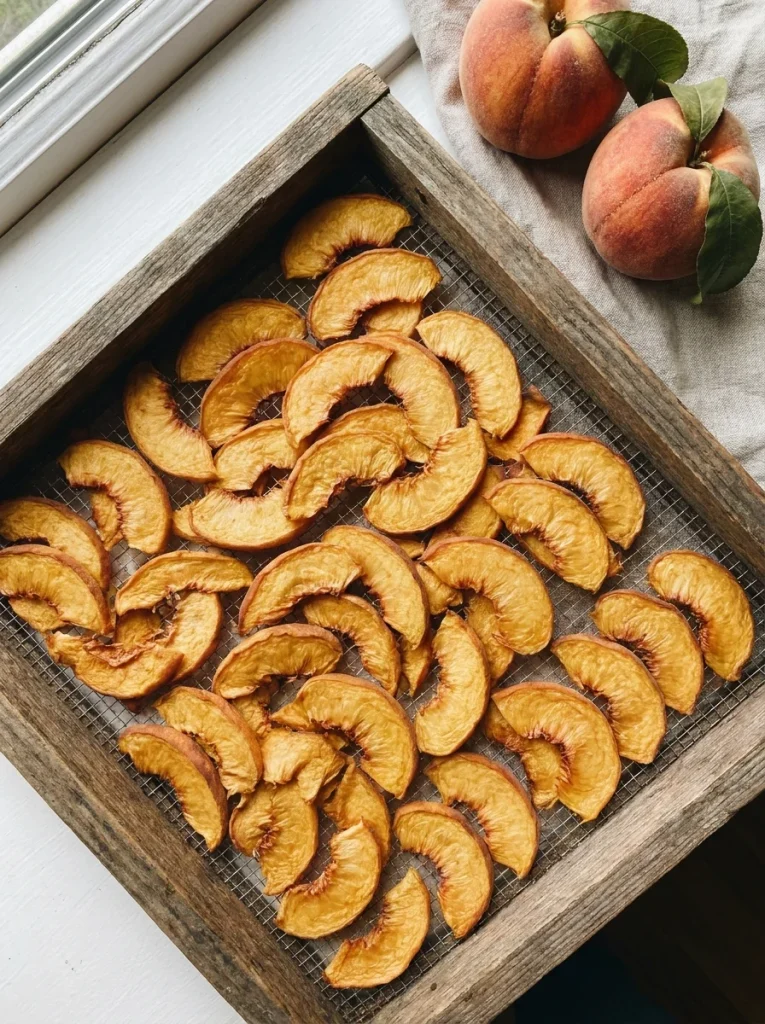
Dehydrated peach chips are one of the simplest peach dog treats you can make, and they’re a great option if you already own a dehydrator or want a shelf-stable snack that isn’t baked or frozen. They have a naturally chewy texture that most dogs find satisfying to work on.
Prep Time: 10 minutes
Dehydrate Time: 6–8 hours
Yield: About 2 cups of chips (yield varies by peach size)
Ingredients:
- 3–4 ripe peaches, peeled, pitted, and sliced thin (about ⅛ inch thick)
- 1 tablespoon lemon juice mixed with 1 cup water (optional, to prevent browning)
Instructions:
- If using the lemon water, briefly dip each peach slice in the mixture before dehydrating — this simply helps keep the slices from browning and is not required.
- Pat the peach slices dry with a paper towel.
- Arrange the slices in a single layer on your dehydrator trays, making sure none of the pieces overlap.
- Set the dehydrator to 135°F (57°C).
- Dehydrate for 6–8 hours, checking every couple of hours after the 5-hour mark.
- The chips are done when they’re leathery and pliable, with no wet or sticky spots remaining.
- Let the chips cool completely on the trays before handling.
- Store in an airtight container.
Notes: No dehydrator? You can use an oven set to its lowest temperature (usually around 170°F) with the door propped open slightly, checking every hour, though this method takes closer supervision. Cut chips into smaller pieces for small dogs to reduce choking risk.
5. Peach Oatmeal Dog Cookies
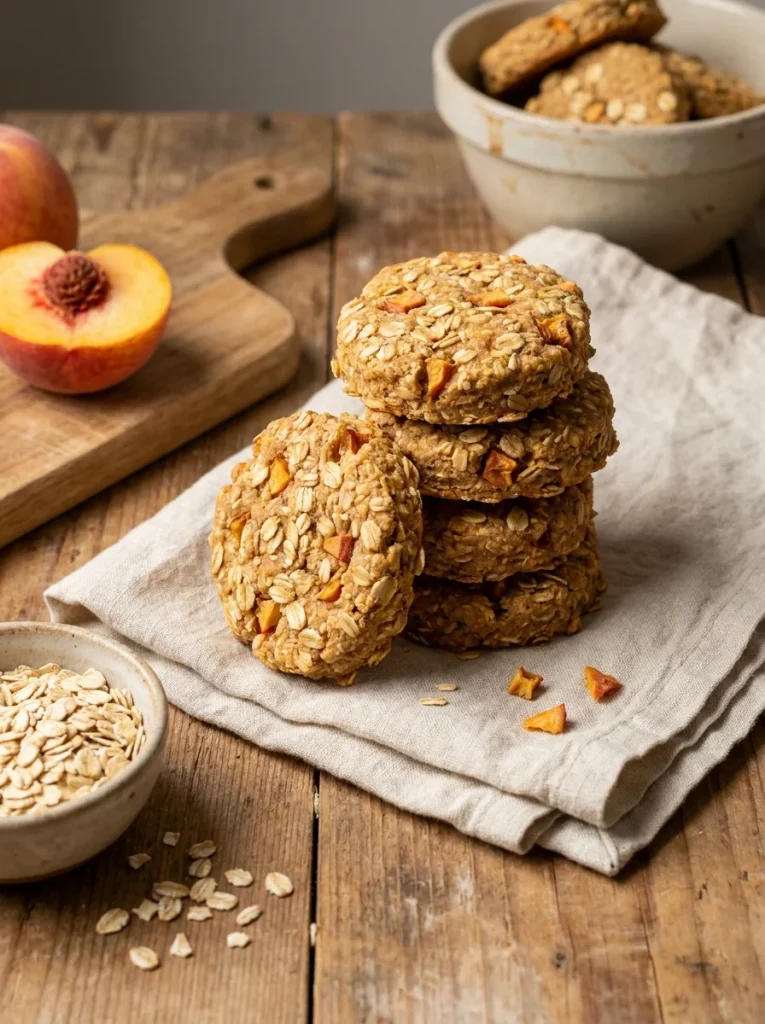
These oatmeal cookies lean a little heartier than the basic biscuit recipe above, thanks to a full cup of oats blended right into the dough. They have a slightly denser, chewier bite that a lot of dogs seem to prefer over a crunchier biscuit.
Prep Time: 15 minutes
Bake Time: 20 minutes
Yield: About 20 cookies
Ingredients:
- 1 cup peach, peeled, pitted, and mashed
- 1 cup rolled oats, ground into a coarse flour (a blender or food processor works fine)
- 1 cup oat flour or whole wheat flour
- 1 large egg
- ¼ teaspoon ground cinnamon (optional)
Instructions:
- Preheat the oven to 350°F (175°C) and line a baking sheet with parchment paper.
- In a large bowl, whisk the egg, then stir in the mashed peach.
- Add the ground oats, flour, and cinnamon if using, stirring until a thick dough forms.
- If the dough feels too wet to handle, add a little extra oat flour, one tablespoon at a time.
- Scoop tablespoon-sized portions of dough onto the baking sheet, spacing them about an inch apart.
- Flatten each cookie slightly with the back of a fork or spoon, since they won’t spread much on their own.
- Bake for 18–20 minutes, until the edges are lightly golden.
- Cool on the baking sheet for 5 minutes, then transfer to a wire rack to finish cooling completely.
Notes: These cookies freeze well, so this recipe is a good one to double if you’re stocking up. Pair them with a rotating stash from our dog treat station ideas to keep homemade snacks organized and easy to grab.
6. Peach & Cottage Cheese Frozen Cups
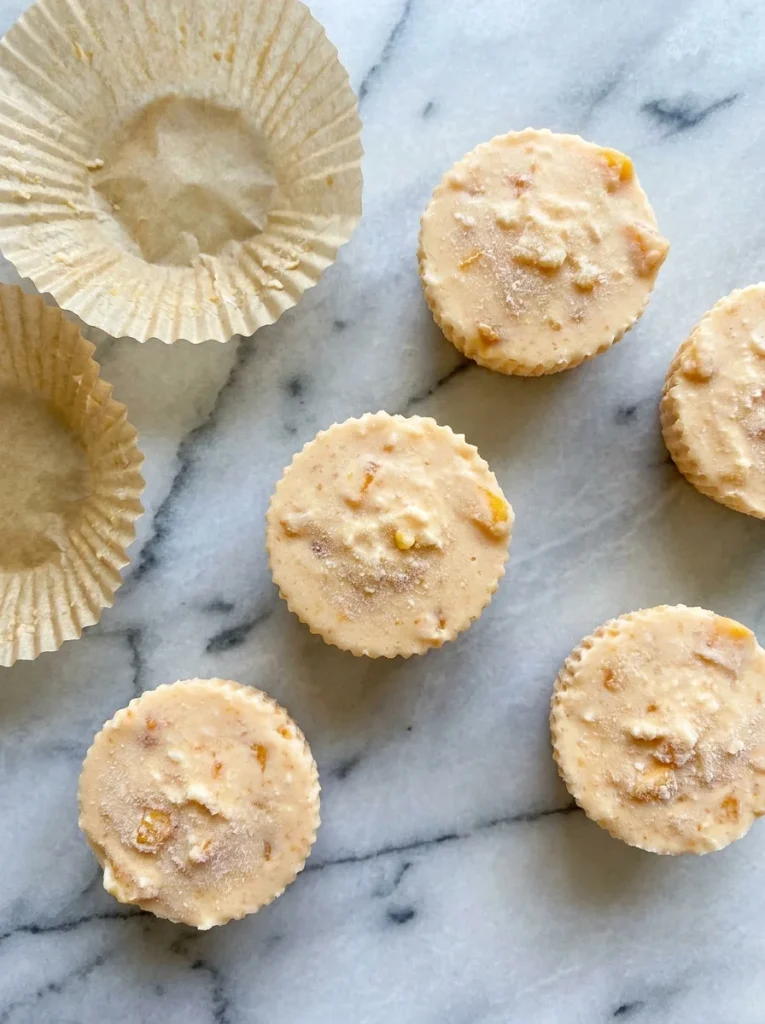
Cottage cheese gives this frozen treat a slightly tangy, protein-rich twist compared to the yogurt-based pupsicles earlier in the list. It’s an easy way to use up small amounts of leftover cottage cheese, and the cups freeze into a firmer, more scoopable texture.
Prep Time: 10 minutes
Freeze Time: 3–4 hours
Yield: 8 small cups (using a standard muffin tin liner or silicone cup mold)
Ingredients:
- 1 cup peach, peeled, pitted, and diced small
- 1 cup low-sodium cottage cheese
- 2 tablespoons water (to thin, if needed)
Instructions:
- In a bowl, mash the cottage cheese lightly with a fork to break up large curds.
- Fold in the diced peach until evenly distributed.
- If the mixture seems too thick to spoon easily, stir in water one tablespoon at a time.
- Spoon the mixture into silicone muffin cups or small paper liners set inside a muffin tin.
- Smooth the tops with the back of a spoon.
- Freeze for 3–4 hours, or until fully firm.
- Pop the cups out of the mold and store in a freezer-safe container or bag.
Notes: Cottage cheese is naturally lower in lactose than many other dairy products, but it’s still smart to offer a small amount first if your dog hasn’t had dairy before. These cups thaw quickly, so serve them straight from the freezer on hot days.
7. Peach Peanut Butter Training Bites
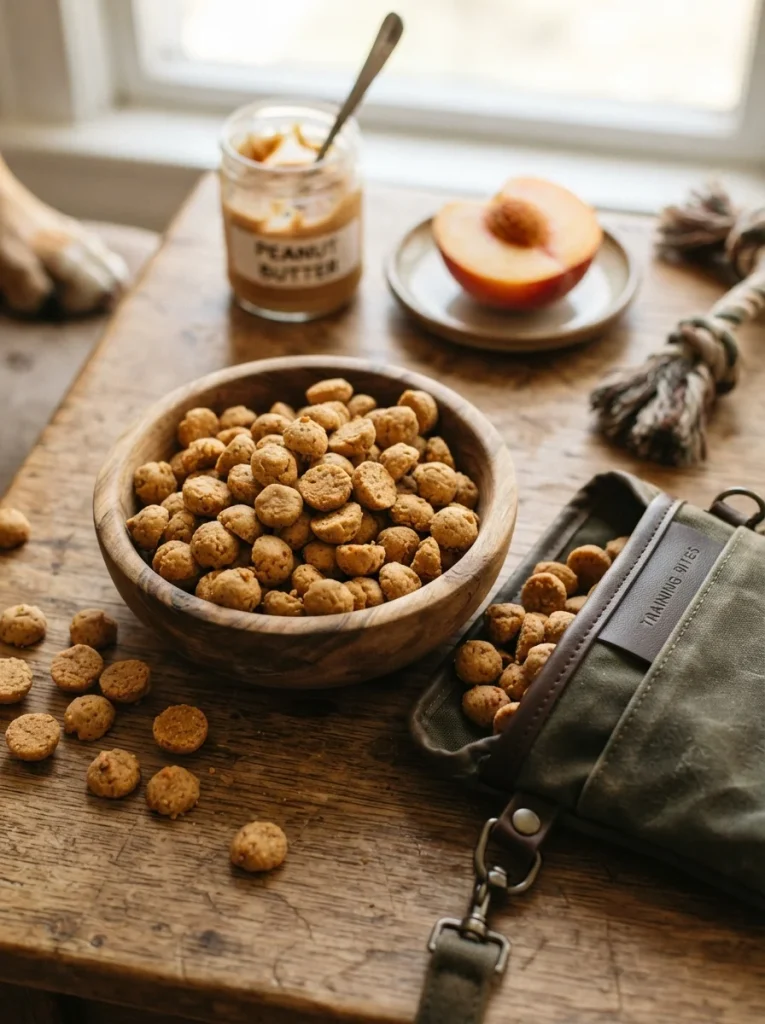
These bite-sized training treats are designed to be small, soft, and low-calorie so you can use plenty of them during a training session without overdoing your dog’s daily treat allowance. They also happen to be some of the fastest treats on this list to put together.
Prep Time: 10 minutes
Bake Time: 12 minutes
Yield: About 60 tiny training bites
Ingredients:
- ½ cup peach, peeled, pitted, and finely mashed
- 2 tablespoons smooth, xylitol-free peanut butter
- 1 cup oat flour
- 1 large egg
Instructions:
- Preheat the oven to 350°F (175°C) and line a baking sheet with parchment paper.
- In a bowl, whisk together the egg and peanut butter until smooth.
- Stir in the mashed peach.
- Add the oat flour and mix until a soft, workable dough forms.
- Roll the dough into a log about ¾ inch thick.
- Slice the log into very small, pea-sized pieces.
- Arrange the pieces on the baking sheet, spaced slightly apart.
- Bake for 10–12 minutes, until just set — they should still feel soft, not crunchy.
- Cool completely before storing.
Notes: Because these are meant for frequent, small rewards, they pair well with structured training sessions — take a look at our puppy training tips if you’re building out a rewards-based routine. Keep portions tiny, especially for small dogs, since even healthy treats add up in calories.
8. Frozen Peach & Coconut Pupsicles
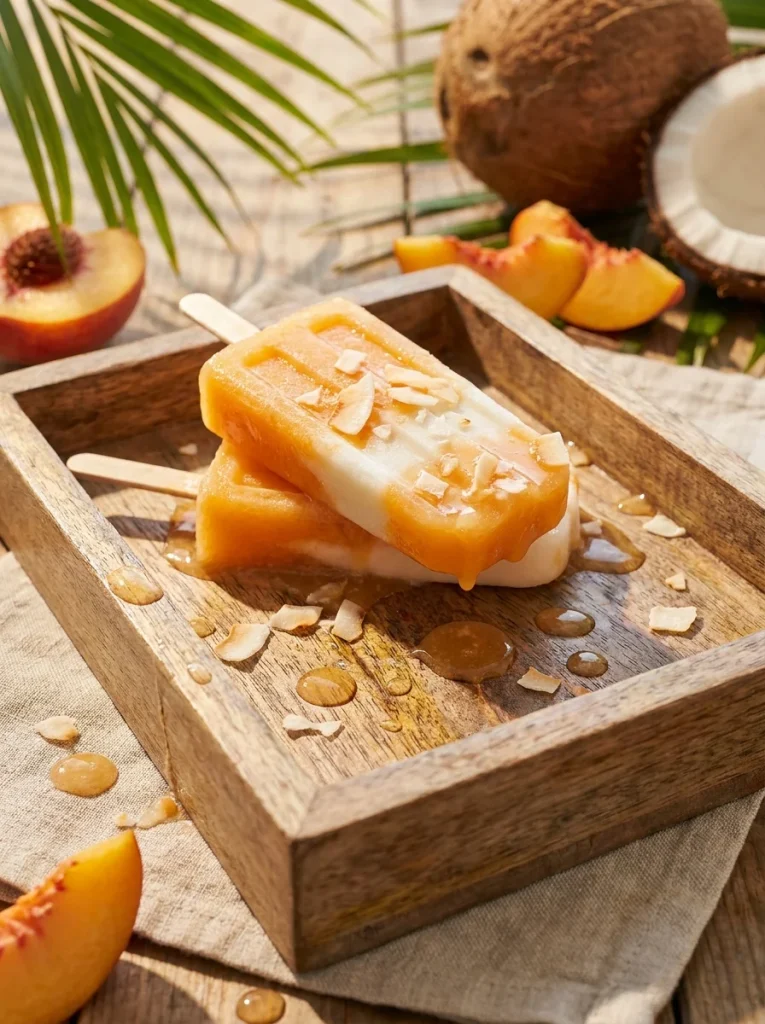
The last recipe on this list adds unsweetened shredded coconut for a little extra texture and a tropical twist on the classic pupsicle. It’s a fun one to rotate in once your dog is already comfortable with the basic frozen peach recipe.
Prep Time: 10 minutes
Freeze Time: 4 hours
Yield: 10–12 small pupsicles
Ingredients:
- 2 ripe peaches, peeled, pitted, and diced
- ½ cup plain unsweetened yogurt
- 2 tablespoons unsweetened shredded coconut, finely chopped
- ¼ cup water (to adjust consistency)
Instructions:
- Blend the peaches and yogurt together until smooth.
- Add water a tablespoon at a time if the mixture is too thick to pour.
- Stir in the shredded coconut by hand so it stays evenly distributed rather than getting pureed.
- Pour the mixture into silicone molds or small cups.
- Freeze for at least 4 hours, until solid.
- Release the pupsicles from the molds and serve, or store in a sealed freezer bag.
Notes: Use unsweetened coconut only — sweetened, shredded coconut typically contains added sugar that isn’t necessary for dogs. If your dog has never had coconut before, offer a small taste on its own first to rule out any sensitivity.
Ingredient Variations to Try
Once you’ve got the basic peach treat recipes down, these three ingredient swaps let you build new flavors off the same base without changing your whole process.
Peach + Banana Version
Swap half the peach in any of the frozen or no-bake recipes above for mashed ripe banana. Banana adds natural sweetness and a creamier texture, which works especially well in the basic pupsicle and cottage cheese cup recipes.
Peach + Pumpkin Version
Replace a quarter of the peach with plain canned pumpkin puree (not pumpkin pie filling) in the baked biscuit or oatmeal cookie recipes. Pumpkin adds fiber and a slightly denser dough, and it’s a popular combination if your dog already tolerates pumpkin well.
Grain-Free Peach Version
For dogs on a grain-free diet, swap the whole wheat or oat flour in any baked recipe for an equal amount of chickpea flour or a 1:1 grain-free baking blend. The dough may need slightly more liquid to come together, so add water one teaspoon at a time until it holds its shape.
Are Peaches Safe for Dogs?
Peaches are safe for most dogs in small amounts, and they’re actually a decent source of vitamins A and C, along with fiber. That’s part of why they work so well as a treat base — you’re not just adding sugar and empty calories.
That said, peaches aren’t risk-free, so it helps to know the basics before you start cooking.
Parts of the Peach to Avoid
The pit is the main concern. It contains small amounts of cyanogenic compounds, and even setting that aside, it’s a serious choking and blockage hazard if swallowed whole or chewed into sharp fragments. Always remove the pit completely, along with the stem and any leaves. The skin isn’t toxic, but it can be tough to digest and is often coated in pesticide residue if the peach isn’t washed well, so peeling it is the safer bet for treats.
How Much Peach Is Too Much
Like any treat, peach-based snacks should stay within the general “10% rule” — treats shouldn’t make up more than about 10% of your dog’s daily calorie intake. Too much fruit at once can also cause loose stool or an upset stomach, simply because of the natural sugar and fiber content. If you’re introducing peach to your dog for the first time, start with a small piece and wait 24 hours to watch for any reaction before working it into a full recipe. If you have any doubts, it’s always worth checking in during your dog’s regular veterinary visits to confirm peaches are a good fit for your dog’s specific health needs.
Storage Tips for Peach Dog Treats
How you store these treats depends on which recipe you made:
- Frozen treats (pupsicles, cottage cheese cups): Keep in an airtight, freezer-safe bag or container for up to 2 months. Press out excess air to prevent freezer burn.
- Baked treats (biscuits, oatmeal cookies, training bites): Store in an airtight container at room temperature for up to 1 week, or in the refrigerator for up to 2 weeks.
- Dehydrated chips: Store in a sealed container in a cool, dry pantry for up to 2 weeks, or in the fridge for up to a month.
- No-bake bites: Keep refrigerated in an airtight container for up to 5 days, since they contain fresh dairy.
If you’re making a big batch across multiple recipes, it helps to have a dedicated spot to keep everything organized — our treat storage setup ideas are worth a look if you want a more permanent system instead of a rotating pile of containers in the freezer.
Final Thoughts
Peaches are one of those fruits that make the jump from “human snack” to “dog treat” surprisingly easily, as long as you keep the pit, skin, and portion size in mind. Whether you go straight for the basic frozen pupsicle or work your way through all eight recipes above, you’ll end up with a rotating stash of peach dog treats that are simple to make, easy to store, and genuinely good for your dog in moderation.
Start with whichever recipe matches the tools you already have — blender, oven, or dehydrator — and build from there. Once your dog gives the first batch a paws-up, the ingredient variations make it easy to keep things interesting without starting from scratch every time.

Izzy is an experienced ranch worker who has a passion for exploring nature and getting up close to wildlife. With her connections to various animal organizations, Izzy is well-versed in animal care and rehabilitation.