Baked Apple Chips for Dogs Recipe (Oven, Air Fryer & More)
If your dog goes wild every time you slice an apple in the kitchen, baked apple chips for dogs might be the easiest treat you’ll ever make. They need just one ingredient, a little time in the oven, and zero fancy equipment. Best of all, you control exactly what goes into them — no mystery preservatives, no added sugar, no fillers, and no guesswork about what your dog is actually eating.
This guide walks you straight into the recipe first, then shows you every method dog owners actually use to make apple chips at home — oven, air fryer, dehydrator, and a clever “oven-off” trick that many people swear by for extra crunch. After that, you’ll find a few tasty ingredient variations worth trying, followed by storage tips, portion guidance, and troubleshooting for common problems. We’ll wrap up with a quick look at why apples make such a solid treat base for dogs in the first place.
Let’s get baking.
1. The Basic Baked Apple Chips for Dogs Recipe
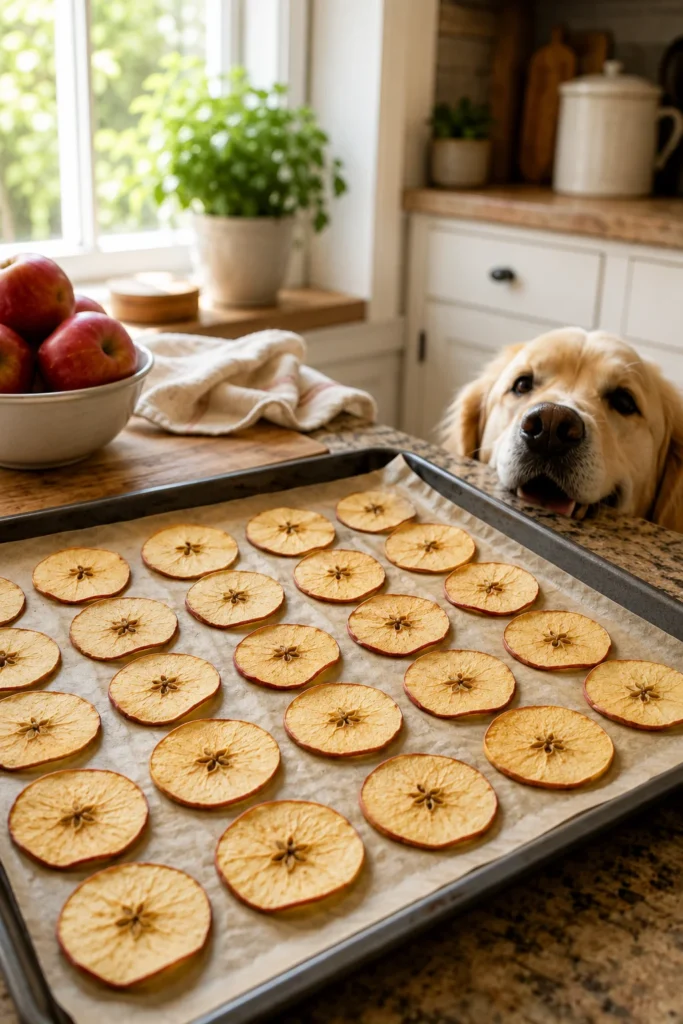
This is the foundation recipe. Once you’ve made it once, every variation below is just a small tweak away from this same base method.
Prep Time: 10 minutes Cook Time: 2 hours Cooling/Finishing Time: 20–30 minutes Total Time: About 2 hours 30 minutes Yield: Roughly 60–70 chips (from 2 large apples)
Ingredients:
- 2 large apples (Honeycrisp, Gala, or Fuji work well)
- Optional: a very light sprinkle of Ceylon cinnamon
Instructions:
- Preheat your oven to 200°F (93°C). This low temperature is the single most important part of the recipe. It slowly dries the apples out over a long bake rather than roasting or browning them the way a higher temperature would. If your oven’s lowest setting is higher than 200°F, prop the door open slightly with a wooden spoon to let some heat escape.
- Wash and dry the apples thoroughly. Rinse under cool water and rub off any wax coating with your hands or a clean towel. Pat completely dry — leftover surface moisture slows down the drying process later, so don’t skip this step.
- Cut the apples in half from top to bottom, then use an apple corer or a small paring knife to remove the core and every seed. Apple seeds contain trace amounts of a cyanide-producing compound, so it’s important that none end up in the slices your dog will eat. Take your time here rather than rushing.
- Slice the apples into thin, even rounds, roughly 1/8 inch thick. A mandoline slicer is the easiest way to get consistent thickness across every piece, but a sharp knife works fine if you go slowly and slice at a steady angle. Try to keep every slice close to the same thickness — this matters more than almost anything else for even baking.
- Arrange the slices in a single layer on a parchment-lined baking sheet. Leave a small gap between each slice rather than letting them touch or overlap. Overlapping slices trap moisture between them and won’t dry out properly, leaving you with soggy spots in the middle of your batch.
- Sprinkle very lightly with cinnamon, if using. A light dusting is all you need — this is a flavor accent, not a coating.
- Bake for 2 hours total, flipping each slice over once at the 1-hour mark. Flipping halfway through helps both sides dry evenly instead of one side staying slightly damp.
- Turn the oven off completely once the 2 hours are up, but don’t take the tray out yet. Leave the chips inside with the oven door cracked open slightly for another 20–30 minutes. This lets the residual heat finish drawing out any remaining moisture, which is often the difference between a chewy chip and a genuinely crisp one.
- Remove the tray and let the chips cool completely on the baking sheet before touching them or moving them to storage. They’ll firm up noticeably as they cool, so don’t judge the final texture until they’ve reached room temperature.
Notes:
- Thicker slices will always need more time in the oven than thinner ones — trust the texture over the clock. Look for a dry, slightly leathery-to-crisp feel rather than assuming 2 hours is a hard rule for every batch.
- These chips work well as a low-calorie training reward or a healthier stand-in for store-bought biscuits, in the same spirit as many homemade treat recipes that skip processed fillers entirely.
- Always introduce any new treat in a small amount first and watch how your dog’s stomach handles it before making it a regular snack.
- If you’re baking for a puppy, start with an even smaller piece, since young dogs can be more sensitive to new foods than adults.
1.1 Best Apples to Use
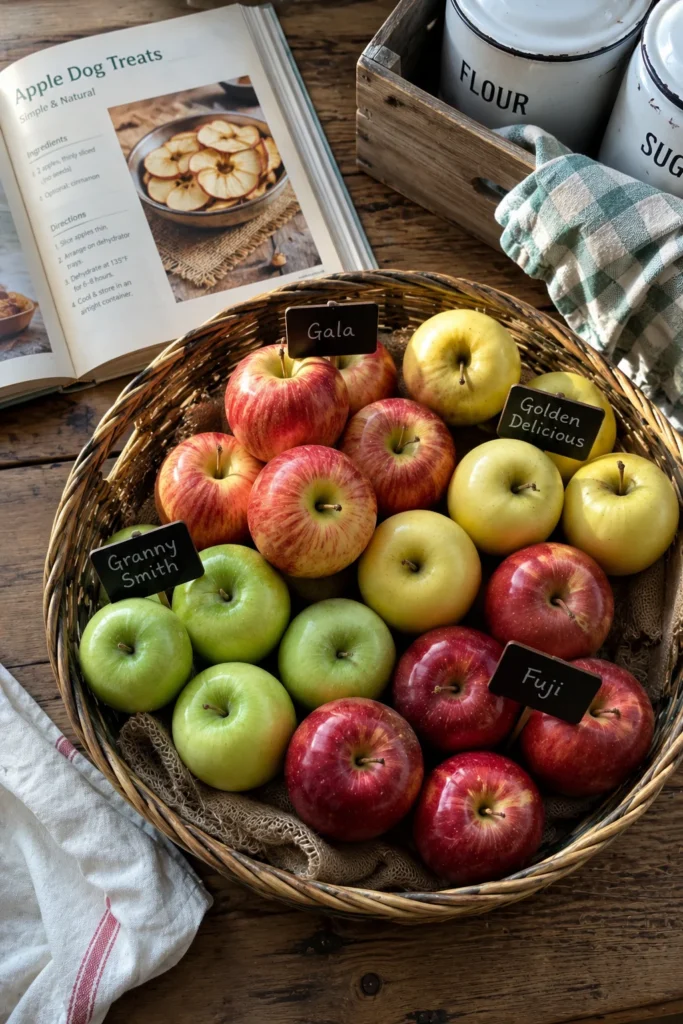
Not all apples behave the same way after two hours in a low oven. Firmer, naturally sweeter varieties tend to hold their shape and dry out evenly, while soft or mealy apples can turn mushy before they ever get crisp.
Great choices:
- Honeycrisp – sweet, firm, and holds its structure well through a long bake
- Fuji – naturally sweet with a dense texture that dries nicely
- Gala – mild flavor most dogs seem to enjoy, and easy to find year-round
- Pink Lady – a good tart-sweet balance that dries into a satisfying crunch
Apples to skip or use with caution:
- Red Delicious – tends to go soft and mealy rather than crisping up
- Any apple with bruises or soft spots – these dry unevenly and are more likely to develop mold once stored, even if the rest of the batch looks fine
Green apples like Granny Smith work fine too, though they’re noticeably more tart than the varieties above. If your dog hasn’t had apple before, start with a sweeter variety first to gauge their reaction before trying a tarter one.
1.2 Slicing Tips for Even Cooking
Uneven slices are the number one reason a batch of apple chips turns out chewy in some spots and overly hard or burnt in others. A few small adjustments fix this almost every time:
- Use a mandoline slicer if you own one. It’s the single easiest way to guarantee every slice is the same thickness, which means every slice finishes baking at roughly the same time.
- Slice in one consistent direction — either all horizontal rounds or all lengthwise pieces — rather than mixing shapes on the same tray, since different shapes dry at different rates.
- Don’t slice too thin. Paper-thin slices can burn before they’ve fully dried out. Aim for about 1/8 inch: thin enough to dry within a couple hours, but thick enough to survive the full bake without scorching.
- Pat each slice dry with a paper towel right before arranging them on the tray. Extra surface moisture is one of the biggest reasons chips take longer than expected to crisp up.
- Leave breathing room between slices. Air needs to circulate around each piece for even drying, so resist the urge to cram more onto one tray.
2. Three Ways to Make Apple Chips (Format Variations)
Baking in a standard oven isn’t the only way dog owners make apple chips. Depending on your kitchen setup and how much time you have on a given day, one of these methods might fit your routine better.
2.1 Oven-Baked Method (Low & Slow)
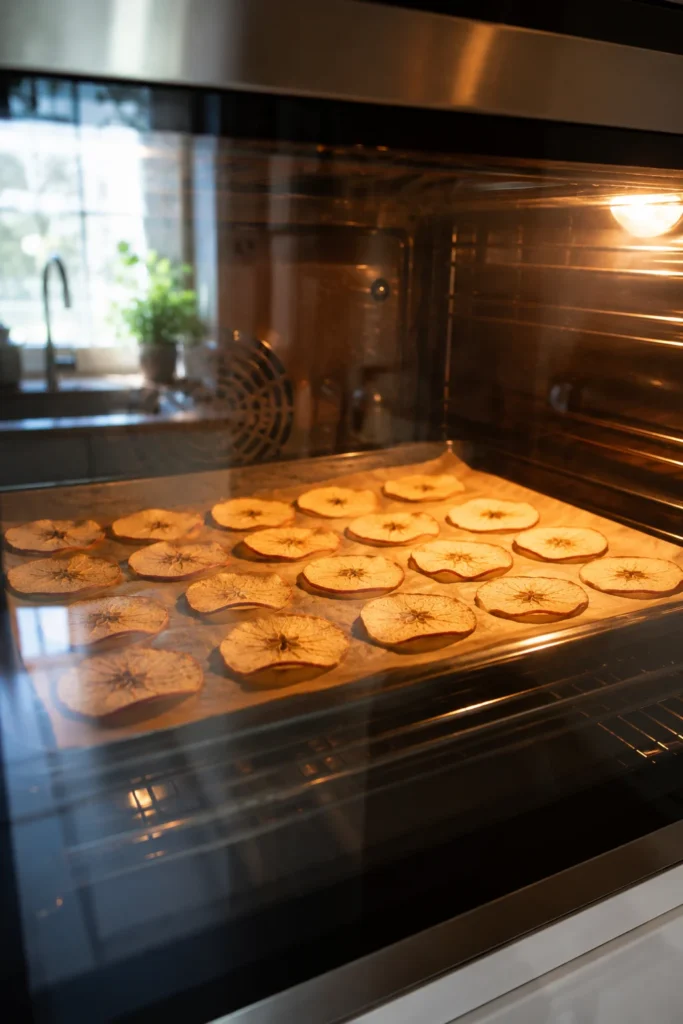
This is the method covered in full detail in the recipe card above — apples sliced thin, then baked at a low, steady 200°F for about two hours, followed by a slow cool-down inside the oven. It’s the most common approach among dog owners because it requires no special equipment beyond a baking sheet and parchment paper, and most kitchens already have everything needed.
Best for: Anyone who wants a mostly hands-off method using equipment they already own, and who doesn’t mind the oven running for a couple hours.
2.2 Air Fryer Method
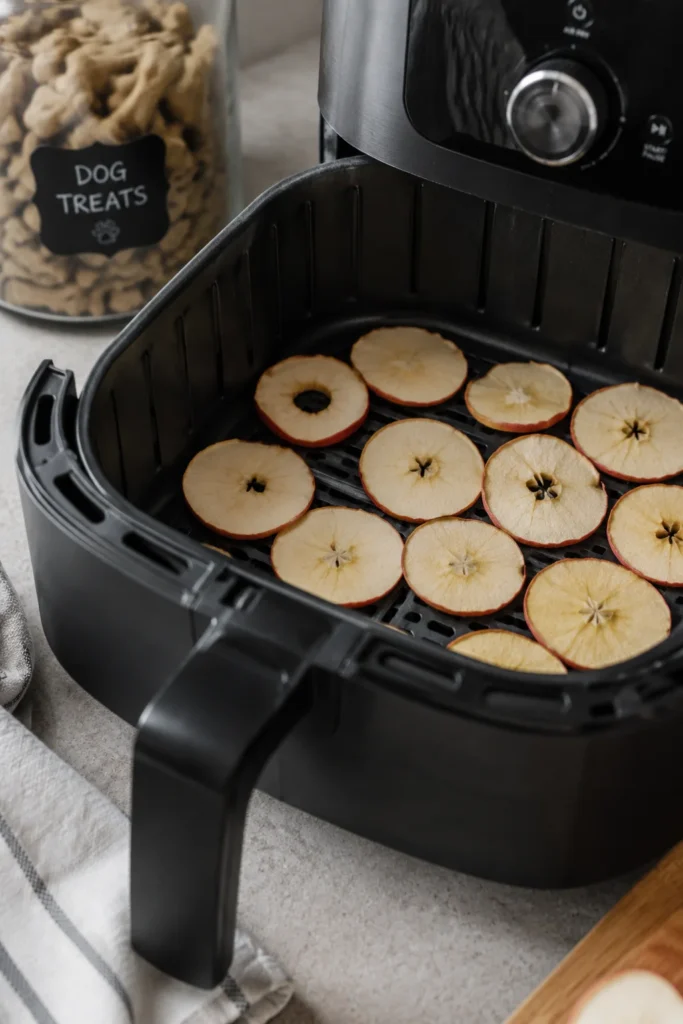
If you own an air fryer, it can shave real time off the process compared to a full-size oven.
How it works:
- Slice the apples the same way as the oven method — thin, even, with the core and all seeds removed.
- Arrange the slices in a single layer inside the air fryer basket. Don’t stack or crowd them, since overcrowding causes the slices to steam instead of crisp.
- Set the air fryer to 200°F, or its lowest “dehydrate” setting if it has one built in.
- Cook for 45–60 minutes, flipping the slices halfway through, and checking every 15 minutes toward the end. Air fryers vary a lot in strength between brands, so the first batch you make is a good time to learn how your specific model behaves.
Best for: Smaller batches and anyone who wants faster results without heating up an entire oven for two hours.
2.3 Dehydrator Method
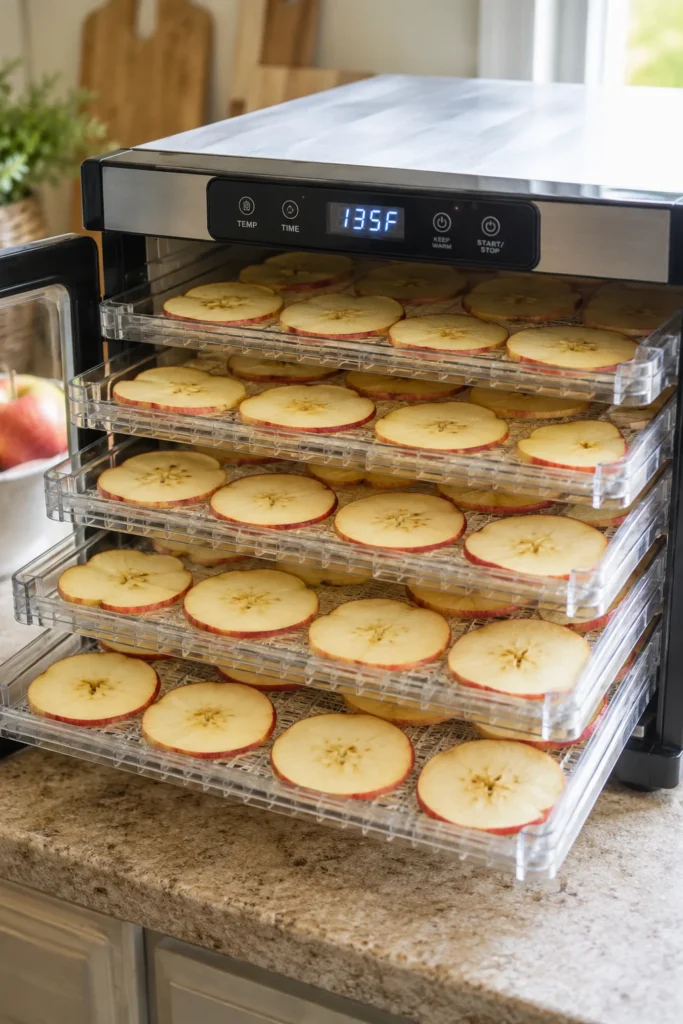
A food dehydrator is the most hands-off option of the three, and it tends to produce the most consistent texture from batch to batch.
How it works:
- Slice the apples thin and evenly, just as you would for the oven method.
- Arrange the slices across the dehydrator trays in a single layer, without letting any pieces overlap.
- Set the dehydrator to 135°F–145°F.
- Dehydrate for 6–8 hours, checking periodically, until the chips are fully dry and somewhere between leathery and crisp depending on your preference.
Best for: Anyone making large batches on a regular basis, since a dehydrator can run several full trays at once without tying up your kitchen oven for hours at a time.
2.4 Oven-Off Finish Method (The Crisping Trick)
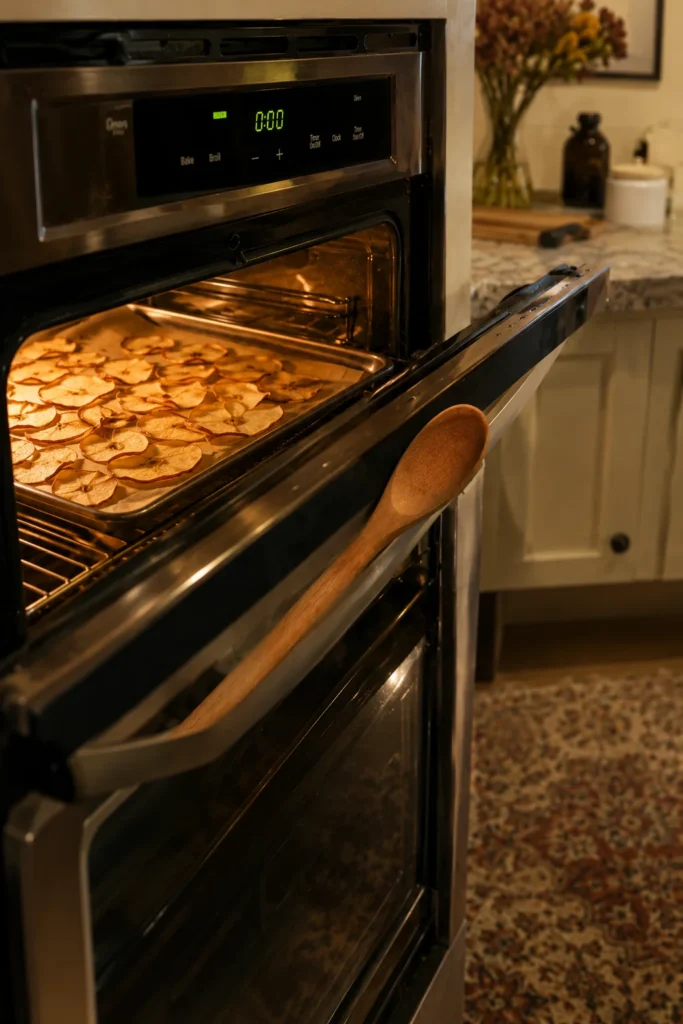
Several dog owners swear by finishing their chips with the oven turned off rather than pulling the tray out the moment the bake timer ends. It’s built into the main recipe above, but it’s worth understanding on its own since it can rescue a batch that came out slightly chewy.
How it works:
- Bake apple slices at 200°F for about 1.5–2 hours, following the standard method.
- Turn the oven off completely, but leave the tray of chips inside rather than removing it.
- Prop the oven door open slightly using a wooden spoon or similar object.
- Let the chips sit in the slowly cooling oven for another 30–60 minutes.
This extra step uses the oven’s leftover residual heat to gently finish drawing out moisture, which often produces a noticeably crunchier final chip compared to pulling the tray straight out at the two-hour mark.
Best for: Anyone who has had trouble getting truly crisp chips using the standard bake time alone, or who wants a bit of insurance against an underdone batch.
3. Ingredient-Based Variations
Once you’ve got the basic recipe down, these three variations add flavor and variety without changing the core method very much at all.
3.1 Cinnamon Apple Chips
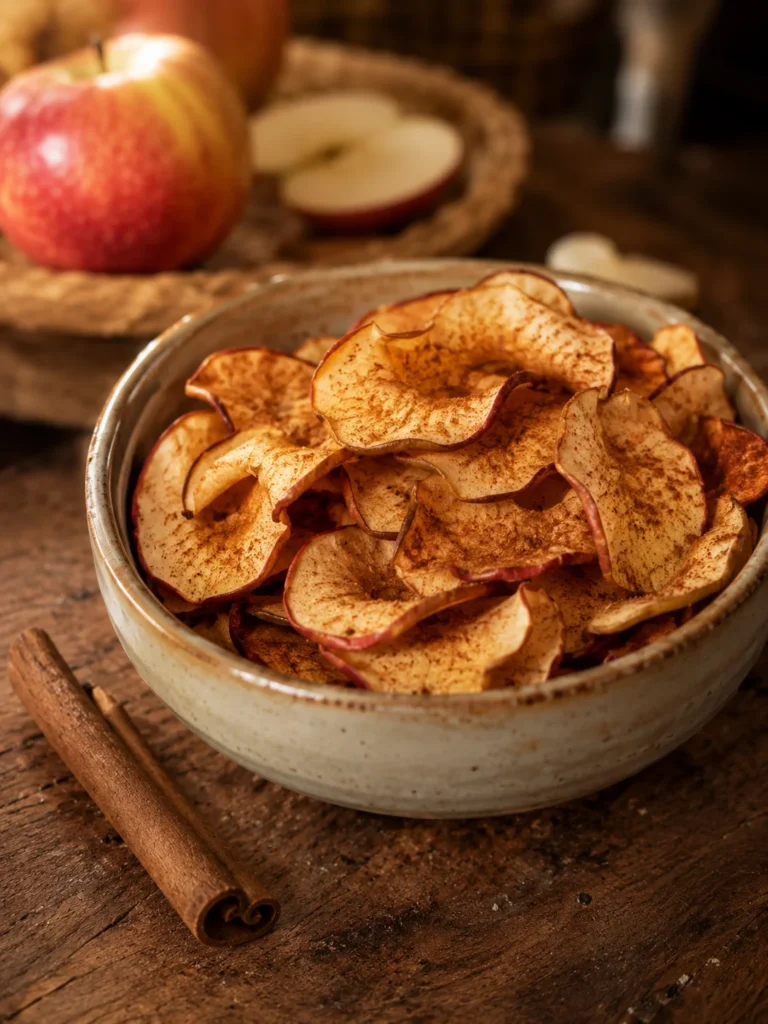
The most popular variation, and for good reason — a light dusting of cinnamon adds warmth and a pleasant smell to the whole batch without any added sugar.
Prep Time: 10 minutes Cook Time: 2 hours Yield: 60–70 chips
Ingredients:
- 2 large apples
- 1/2 teaspoon Ceylon cinnamon (avoid cassia cinnamon in large amounts, since it contains higher levels of coumarin than Ceylon cinnamon)
Instructions:
- Wash, core, and slice the apples exactly as described in the base recipe.
- Lightly dust each slice with cinnamon before arranging them on the tray, making sure the coating stays thin rather than heavy.
- Bake at 200°F for 2 hours, flipping the slices halfway through the bake.
- Let the chips cool completely on the tray before serving or storing them.
Notes:
- Use cinnamon sparingly. A light dusting across the whole tray is plenty — too much cinnamon at once can upset a dog’s stomach.
- This variation pairs nicely if your dog already enjoys other simple dehydrated snacks made from single ingredients, since it keeps the same easy, low-fuss format.
3.2 Peanut Butter Drizzle Apple Chips
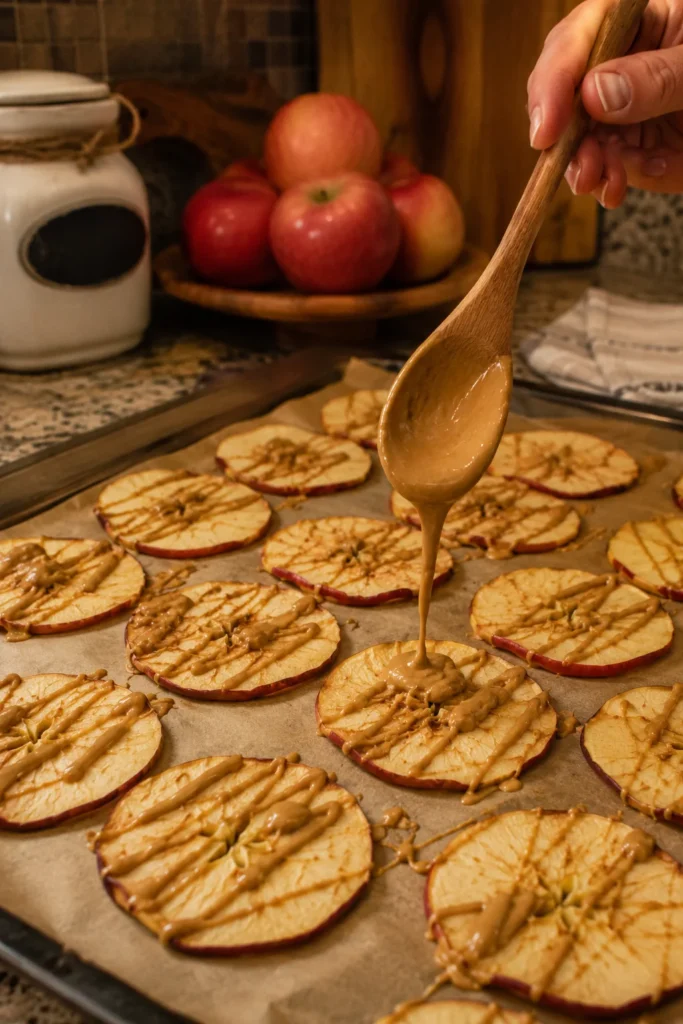
A slightly richer option, best treated as an occasional special treat rather than an everyday snack.
Prep Time: 15 minutes Cook Time: 2 hours Yield: 60–70 chips
Ingredients:
- 2 large apples
- 2 tablespoons plain, xylitol-free peanut butter
Instructions:
- Bake the apple slices using the base recipe method from Section 1, all the way through cooling.
- Once the chips are fully cooled, gently warm the peanut butter in the microwave for a few seconds so it drizzles easily rather than clumping.
- Drizzle a thin line of peanut butter over each chip using a spoon or a small piping bag.
- Let the peanut butter set for about 10 minutes at room temperature before serving.
Notes:
- Always double-check the peanut butter label before using it. Xylitol, a sugar substitute found in some peanut butter brands, is toxic to dogs, so this step should never be skipped.
- Store peanut butter chips separately from plain chips, since the added peanut butter shortens how long the batch stays fresh.
- Keep portions small. This variation works best as a once-in-a-while reward rather than a daily treat.
3.3 Apple-Pear Chips
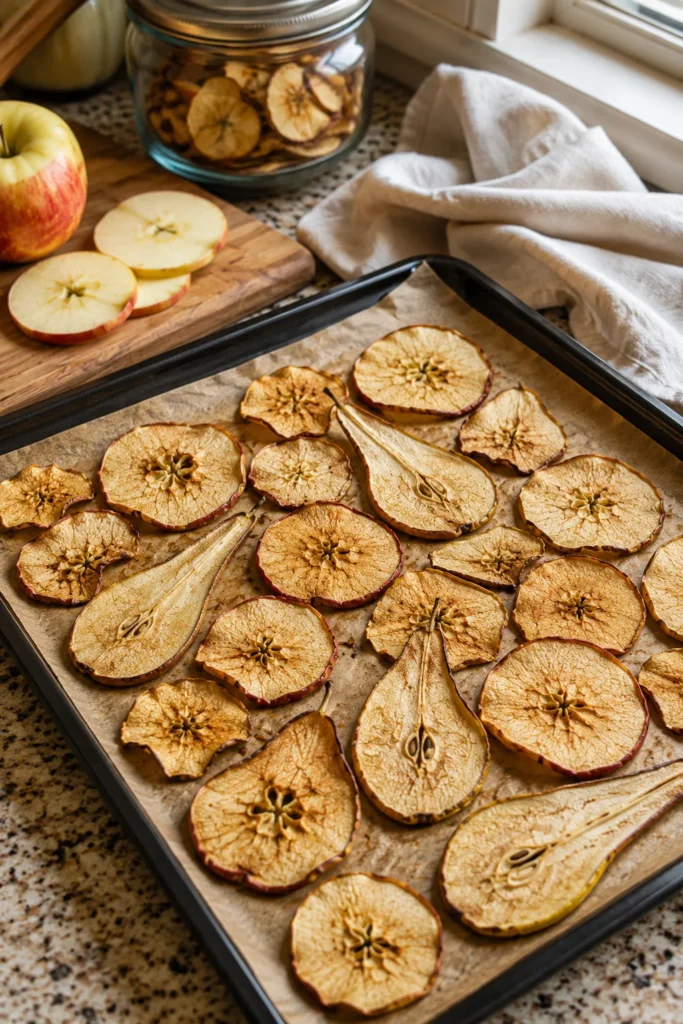
Combining apple with pear adds a slightly different texture and a milder sweetness that some dogs seem to prefer over apple alone.
Prep Time: 10 minutes Cook Time: 2 hours 15 minutes Yield: 60–70 chips
Ingredients:
- 1 large apple
- 1 large ripe pear (cored, with all seeds removed)
Instructions:
- Wash both fruits and slice each into thin, even rounds, following the same slicing method as the base recipe.
- Arrange the slices in a single layer on a parchment-lined tray, keeping apple and pear slices separated slightly so you can track which finishes first.
- Bake at 200°F for about 2 hours 15 minutes, since pear tends to hold slightly more moisture than apple and needs a bit of extra time.
- Flip the slices halfway through, and check doneness a little later than you normally would for an apple-only batch.
Notes:
- Pear is softer than apple, so its slices may need extra time in the oven to fully dry and crisp compared to the apple slices on the same tray.
- This variation works well as a rotating treat if you like giving your dog different homemade food options throughout the week instead of the exact same snack every time.
4. Storage, Serving Size & Troubleshooting
Once your chips are baked and completely cooled, storing them properly is what keeps them crisp and safe to eat for weeks rather than days.
4.1 How to Store Baked Apple Chips
- Airtight container: Store fully cooled chips in a sealed container or a resealable bag at room temperature.
- Shelf life: Properly dried chips typically last about 1–2 weeks at room temperature.
- Refrigeration: If your kitchen tends to be humid, refrigerating the chips can extend freshness to roughly 3–4 weeks.
- Freezing: For longer-term storage, freeze the chips in a sealed bag for up to 2 months. Thaw at room temperature before serving, and let them sit out for a few minutes so they aren’t cold when your dog eats them.
4.2 How Much to Give Your Dog
Apple chips are a treat, not a meal replacement, so keeping portions in check matters just as much as the recipe itself.
- Small dogs: 1–2 chips per serving
- Medium dogs: 2–4 chips per serving
- Large dogs: 4–6 chips per serving
As a general guideline, treats of any kind — including fruit-based ones like these — should make up no more than about 10% of a dog’s total daily calorie intake. If you find yourself baking treats often, it’s worth keeping an eye on overall portions the same way you would with any homemade dog food recipe you make regularly, so treats don’t start crowding out balanced meals.
4.3 Troubleshooting Common Problems
Chips are chewy instead of crisp This usually means they need more time in the oven, or the slices were cut a little too thick to begin with. Try the oven-off finishing trick from Section 2.4 on a batch that’s close but not quite there — it often finishes the job without any extra active baking time.
Chips burned before they finished drying Your oven may run hotter than the dial indicates, or the slices may have been cut too thin for a full two-hour bake. Try lowering the temperature slightly next time and checking on the batch earlier than usual.
Chips turned soft again after storage This is a sign they weren’t fully dried before being sealed away, or that moisture got into the storage container somehow. A quick re-bake at a low temperature for 15–20 minutes will usually re-crisp them — just make sure they’re completely cool again before sealing them back up.
Uneven cooking across the same tray Most ovens have hot spots, especially toward the back or one side. Rotating the tray itself halfway through the bake — not just flipping individual slices — usually solves this more effectively.
Chips smell overly sweet or slightly off after a few days This can be an early sign of spoilage, especially in humid climates. When in doubt, it’s safer to toss a questionable batch and start a fresh one than to risk an upset stomach.
5. Why Apples Are a Good Snack for Dogs
Apples are a popular treat base for a reason. They’re low in fat, contain fiber, and offer a natural dose of vitamins A and C. The fiber can be gentle on digestion in moderate amounts, and the low fat content makes apples a lighter option compared to many store-bought biscuits, which often pack in more fat and calories per piece.
Baking the apples into chips concentrates their natural sweetness slightly as the water evaporates during the long, slow bake. That’s part of why dogs tend to find them so appealing without needing any added sugar or sweeteners mixed in — the flavor is simply more concentrated once most of the moisture is gone.
That said, apples should always be given in moderation, with the core, seeds, and stem removed every single time. Fruit-based treats work best as an occasional addition alongside a balanced main diet rather than a daily staple, similar to how many owners like to rotate in variety through other treat options instead of relying on just one snack week after week.
Final Thoughts
Baked apple chips for dogs are about as simple as homemade treats get. You only need one main ingredient, a low oven, and a bit of patience while they bake and cool. Whether you stick with the classic low-and-slow oven method, speed things up with an air fryer, or set a dehydrator running in the background, the process stays easy and forgiving even if you’ve never made dog treats before.
The ingredient variations — cinnamon, a light peanut butter drizzle, or a mix of apple and pear — give you a little room to experiment once you’re comfortable with the base recipe, without straying far from the same simple, dog-safe formula. And because you’re making these yourself, you always know exactly what went into them, with none of the added sugar, salt, or preservatives that can sneak into store-bought treats.
Start with a small batch the first time around. Once you’ve got the timing and slice thickness dialed in for your own oven, you’ll likely find yourself keeping a steady supply of these on hand — for training sessions, car rides, or just as a healthier way to say “good dog” without reaching for a store-bought bag every time.

Izzy is an experienced ranch worker who has a passion for exploring nature and getting up close to wildlife. With her connections to various animal organizations, Izzy is well-versed in animal care and rehabilitation.