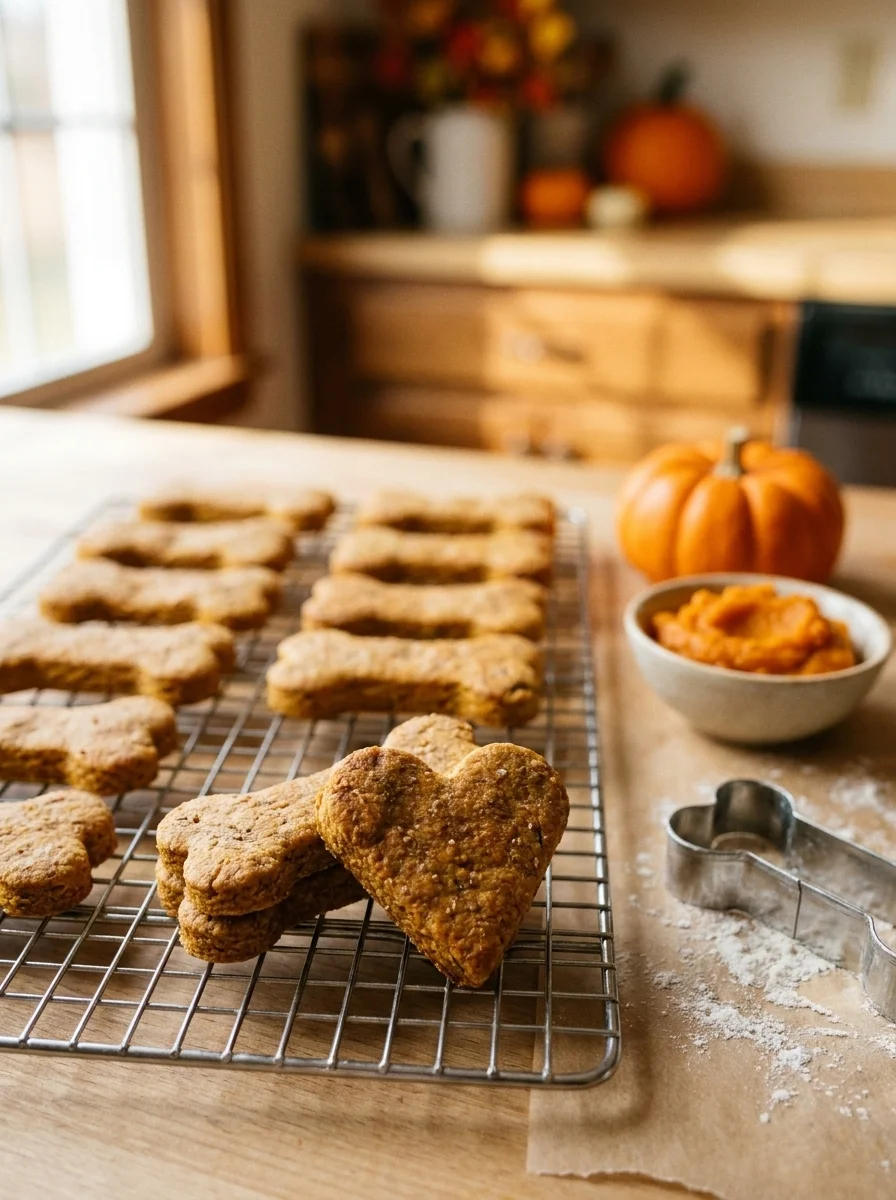
Long Lasting Dog Treats Homemade You Can Bake, Freeze, and Store
Nothing feels worse than baking a batch of treats for your dog, only to watch them go bad in two days. That’s why so many pet parents search for long lasting dog treats homemade recipes. They want something that stays fresh in the pantry, fridge, or freezer without turning into a science experiment.
The good news? Making treats that last a long time isn’t complicated. With the right ingredients and the right storage method, you can make a big batch once and have snacks ready for weeks, sometimes even months.
In this guide, you’ll find eight tested recipes. Some are baked chews that last a long time both on the shelf and in your dog’s mouth. Others are frozen treats that store beautifully in the freezer, perfect for hot days. We’ll cover both angles so you know exactly what to expect from each recipe.
Let’s get into it.
What Does “Long Lasting” Really Mean for Dog Treats?
Before we jump into recipes, it helps to understand that “long lasting” can mean two different things. Knowing the difference will help you pick the right treat for your needs.
1. Long Shelf Life
This refers to how long a treat can sit in your pantry, fridge, or freezer before it spoils. A treat with a long shelf life won’t grow mold or go rancid quickly, which means less waste and less time in the kitchen for you.
2. Long Chew Time
This refers to how long it takes your dog to actually finish the treat. A firm, dense chew might take twenty minutes to get through, while a soft frozen cup might disappear in ten seconds.
Both meanings matter. Some recipes below check both boxes. Others are champions of shelf life but quick snacks in the moment. We’ll point out which is which as we go.
Why Homemade Dog Treats Store Better Than You Think
A lot of pet owners assume homemade treats spoil fast because they lack the preservatives found in store-bought bags. That’s only partly true.
Moisture is the real enemy here, not the absence of chemicals. When you remove moisture from a treat through baking or dehydrating, you naturally slow down bacterial growth. That’s the entire idea behind jerky, biscuits, and dried chews; they’ve been around for centuries because low moisture equals long shelf life.
On the flip side, freezing pauses spoilage almost completely. That’s why frozen treats, even soft, moist ones, can last for months without going bad.
So whether you’re baking a dense chew or freezing a fruity cup, you have two reliable tools working in your favor: dryness and cold. If you want more background on why some chews are safer and more digestible than others, this guide on dog bones and treats is worth a look.
Long-Lasting Baked Chews (Best for Long Shelf Life and Long Chew Time)
These next three recipes are the heavy hitters. Because they’re baked low and slow, they lose most of their moisture. That means they store well and keep your dog occupied for a solid stretch of time.
1. Homemade Busy Bone Chew (Chickpea & Pumpkin)
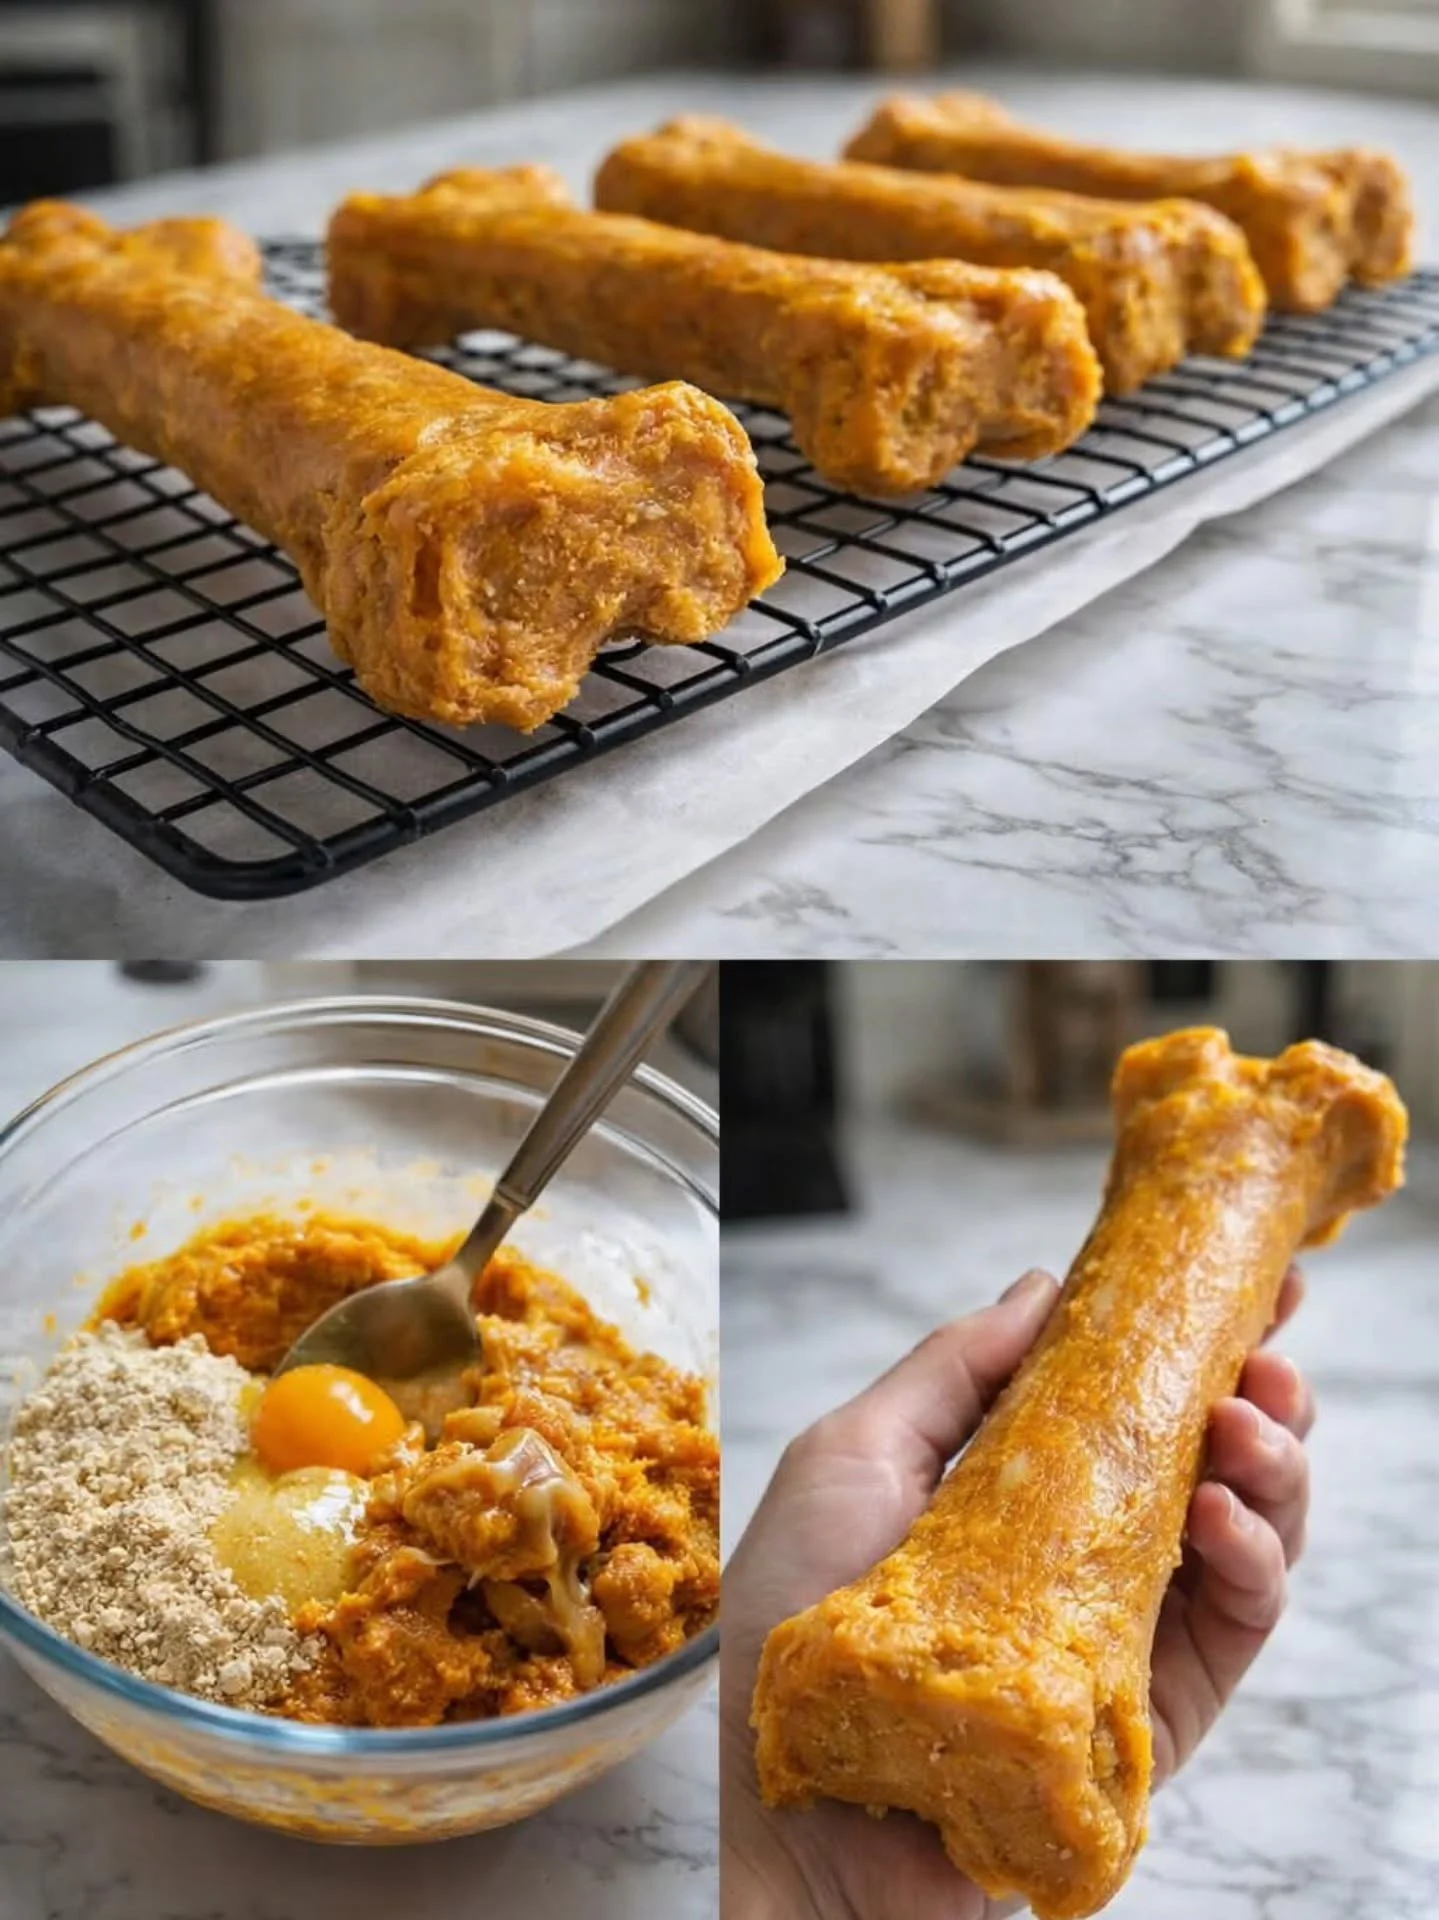
This one is dense, firm, and built to survive some serious gnawing. Chickpea flour gives it structure while pumpkin adds gentle fiber for digestion.
Ingredients:
- 1 cup (120 g) chickpea flour, fine and sifted
- 1/2 cup (120 g) plain pumpkin purée, unsweetened
- 1/4 cup (60 ml) warm water
- 1 tablespoon (15 ml) extra virgin olive oil
- 2 tablespoons (32 g) natural peanut butter, xylitol-free and unsalted
- 1 large egg, lightly beaten
Instructions:
- Preheat your oven to 350°F (175°C). Line a baking tray with parchment paper.
- Mix the chickpea flour and pumpkin purée together in a bowl.
- Add the egg, peanut butter, olive oil, and water. Stir until a firm dough forms.
- Divide the dough and roll each piece into a thick rope. Shape into bones or press into bone-shaped molds. Keep the shapes dense so they hold up to chewing.
- Bake for 30 minutes on the tray.
- Lower the oven to 250°F (120°C) and continue baking for 45 to 60 minutes. This second, slower bake dries out the chew and hardens it.
- Turn the oven off and let the chews cool completely inside, with the door slightly cracked open.
Storage: Keep in an airtight container at room temperature for up to 7 days. In the fridge, they last up to 14 days. In the freezer, up to 3 months. Just thaw at room temperature before giving one to your dog.
Why it works: The low, slow second bake is the real trick here. It pulls out extra moisture without burning the outside, giving you a treat that’s firm enough to last through a long chewing session and stable enough to store for months.
Calories: About 520 kcal per batch, or roughly 65 kcal per chew if you make 8 from one batch. These numbers are estimates based on standard ingredient averages.
📸 Photo credit: Instagram @annescollections1
2. Homemade Sweet Potato Chews
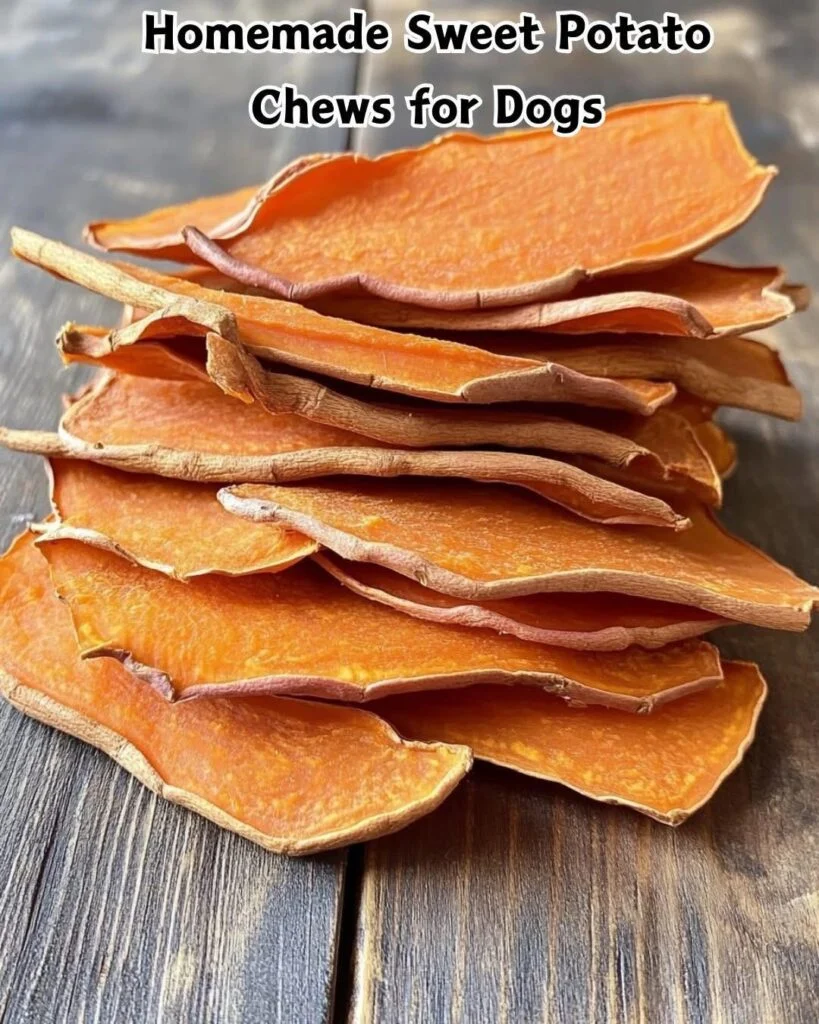
Sweet potato chews are about as simple as homemade dog treats get. Just one main ingredient, some patience, and an oven or dehydrator.
Ingredients:
- 2 to 3 large sweet potatoes
- Optional: a drizzle of olive oil or a light dusting of cinnamon
Instructions:
- Preheat your oven to 400°F (200°C).
- Wash and peel the sweet potatoes. Slice them into thin strips, about 1/4 inch thick.
- Arrange the slices on a parchment-lined baking sheet.
- If you’d like, brush lightly with olive oil or sprinkle with cinnamon.
- Bake for 2 to 3 hours, or until the slices are dry and chewy throughout. Prefer a dehydrator? Set it to 135°F (57°C) and run it for 6 to 8 hours instead.
- Let the chews cool fully before handing them over. Store in an airtight container once cooled.
Tips: Check the texture as you go. If a batch still feels too soft or moist in the middle, give it another 30 minutes in the oven or dehydrator. And as always, run any new treat by your vet before adding it to your dog’s rotation.
Why it works: This is dehydration in its purest form. Removing nearly all the moisture from the sweet potato slice means bacteria have almost nothing to grow on, which is why these chews can sit at room temperature for a good while without spoiling.
📸 Photo credit: Instagram @traci_jeepgirl
3. Peanut Butter Pretzel Chew Sticks
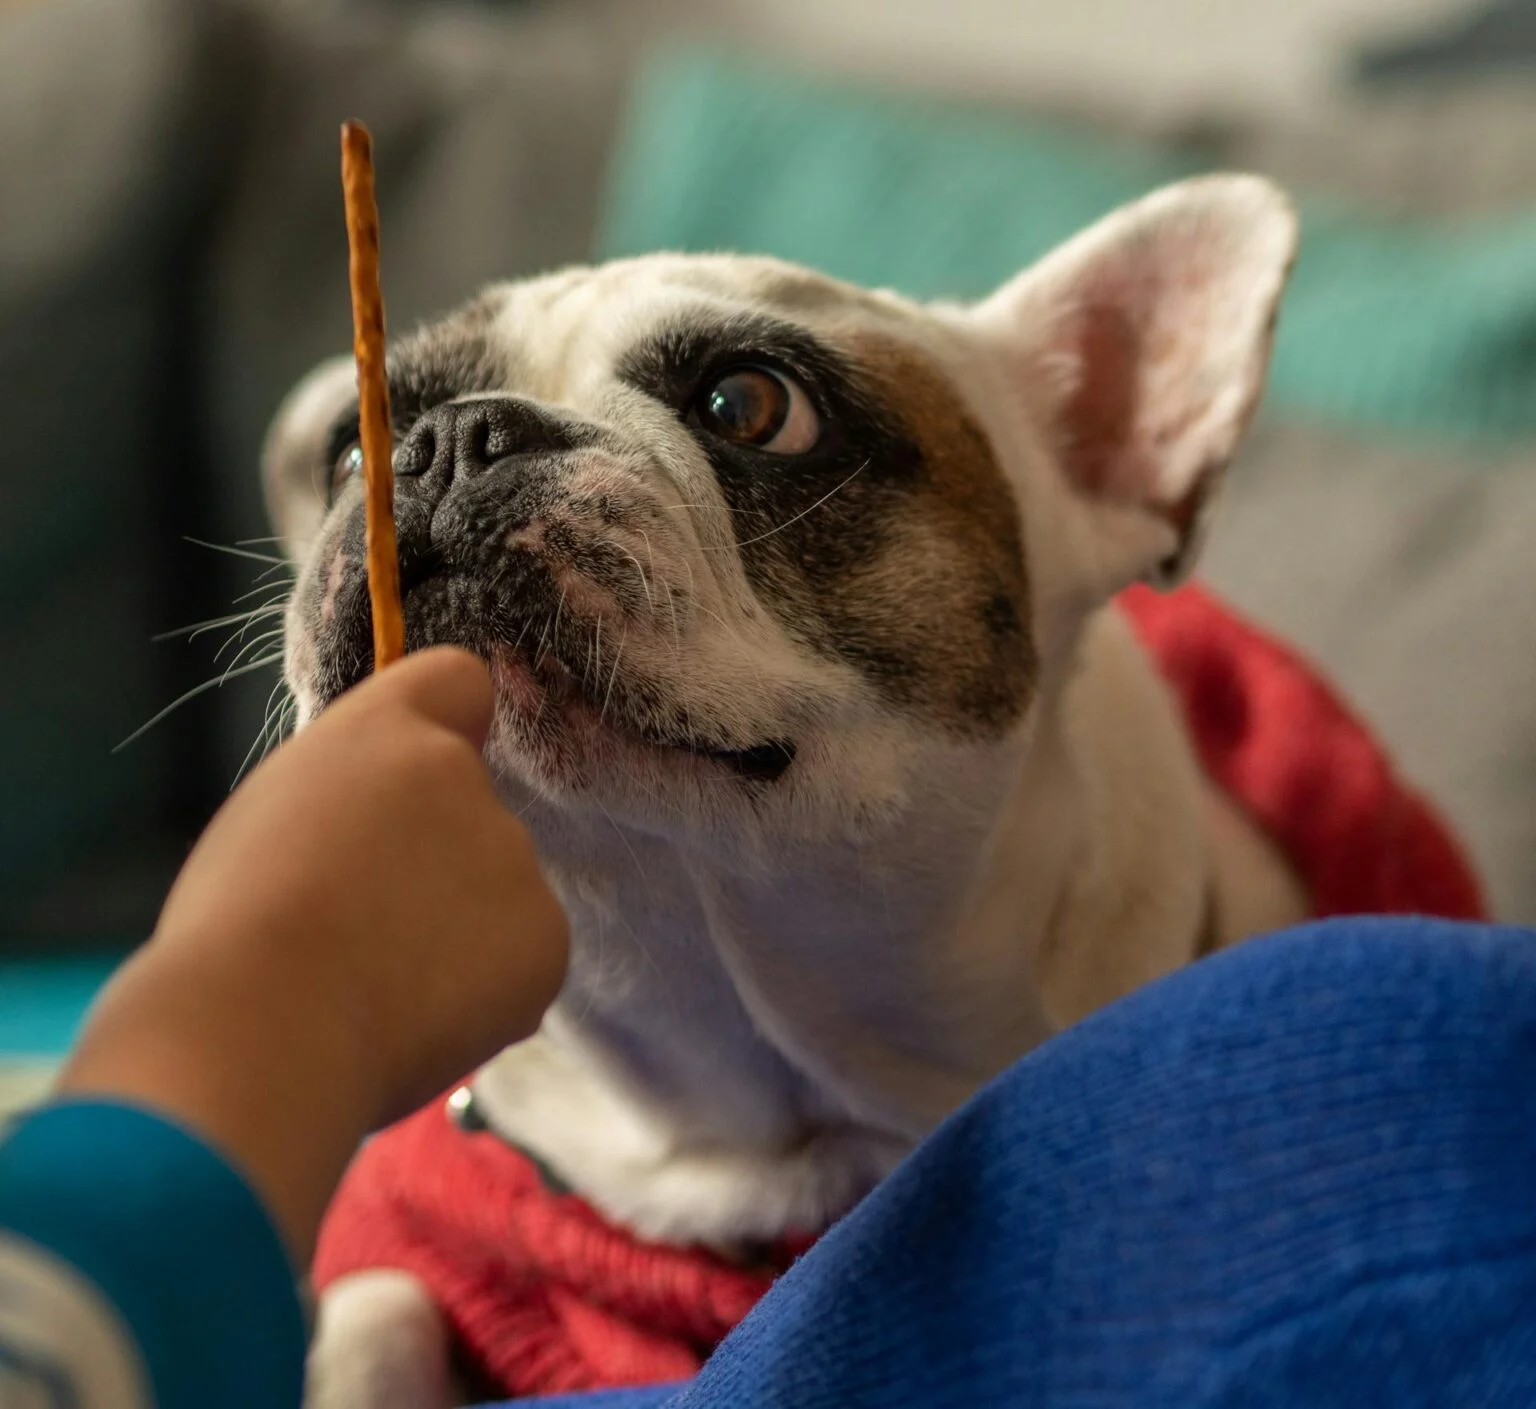
You know the look. Your dog is staring you down, tail wagging, clearly bored out of their mind. This recipe is built to buy you some real, uninterrupted quiet time.
Ingredients:
- 2 cups whole wheat flour
- 1/2 cup unsalted peanut butter, xylitol-free (always double check the label)
- 2 large eggs
- 1/4 cup water, plus more if the dough feels dry
- 1 tablespoon baking powder
- 1 teaspoon coarse sea salt, optional and used very lightly
Instructions:
- Preheat your oven to 350°F (175°C).
- Mix the peanut butter and eggs together until smooth.
- Add the flour and baking powder a bit at a time. Pour in water gradually until the dough holds together without sticking to your hands.
- Roll the dough into long, thin ropes, about 6 inches each. Twist into pretzel shapes, or just leave them as straight sticks; dogs really don’t care either way.
- Place on a parchment-lined baking sheet. Bake for 25 to 30 minutes, until deep golden brown and firm all the way through.
- Cool on a wire rack for at least an hour before serving. They’ll firm up even more as they cool, which is exactly what gives them their long-lasting bite.
Storage: Keep in an airtight glass jar at room temperature for up to two weeks, or freeze in batches for up to three months.
A couple of variations: Skip the salt entirely and these are completely safe for puppies too. Rolling the dough a bit thicker, around 1/2 inch across, gives bigger dogs like Labradors or Goldens a better grip and a longer chewing session. If you want more inspiration along these lines, homemade dog treats recipes has plenty of variations worth exploring, and it also pairs well with the kind of engagement techniques covered in guides on redirecting chewing behavior through positive reinforcement.
Why it works: Firmness is the whole game plan. A soft treat disappears in seconds. A properly baked, fully cooled stick keeps your dog engaged for twenty minutes or more, and that same firmness is what makes it shelf-stable for two full weeks at room temperature.
📸 Photo credit: Pexels
Long-Lasting Fridge Treats: Bone Broth Gummies
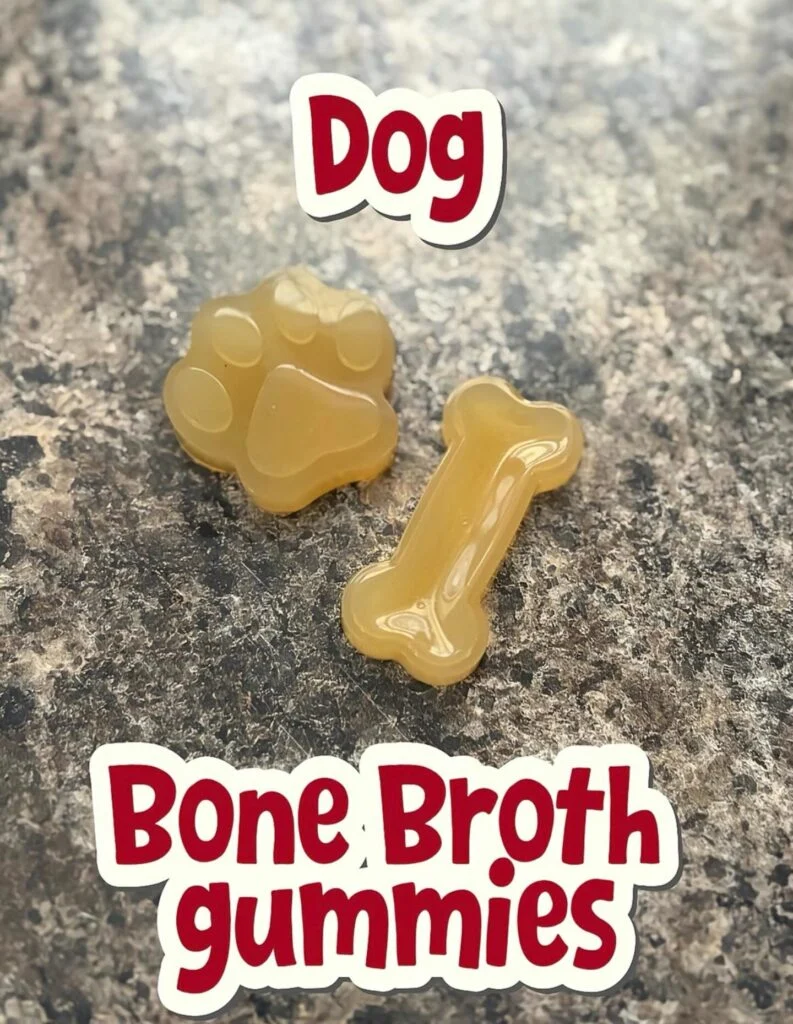
Not every long-lasting treat needs to come out of the oven. These bone broth gummies are soft and quick to eat, but they hold up remarkably well in the fridge and freezer, which makes them a strong pick if shelf life is your priority.
Why bone broth gummies? They’re a great source of collagen, glucosamine, chondroitin, and minerals. That makes them a solid pick for joint support, gut health, and as a low-calorie training treat. Most dogs go a little crazy for them too.
Ingredients:
- 1 cup dog-safe bone broth
- 2 tablespoons unflavored gelatin powder
Optional add-ins:
- 1 tablespoon pure pumpkin purée for fiber and digestion
- 1 tablespoon puréed blueberries or carrots for antioxidants
- 1 teaspoon turmeric powder mixed with a pinch of black pepper for absorption
- 1 tablespoon creamy peanut butter, xylitol-free
- 1 teaspoon soaked chia seeds or fish oil for omega-3s
Equipment: A small saucepan or heat-safe bowl, a whisk or fork, silicone gummy molds or a mini ice cube tray, and measuring cups.
Instructions:
- Bloom the gelatin: Pour half a cup of cold bone broth into the saucepan. Sprinkle the gelatin evenly over the top and let it sit for 5 to 10 minutes until it becomes spongy. This step prevents clumping later.
- Dissolve gently: Warm the mixture over very low heat, whisking constantly, until the gelatin fully dissolves into a smooth liquid. This only takes 2 to 3 minutes. Don’t let it boil, since high heat can break down the gelatin.
- Combine and add extras: Remove from heat. Whisk in the remaining bone broth along with any add-ins you’re using, until everything is smooth.
- Pour into molds: Use a spouted measuring cup or dropper to fill your molds. Tap gently on the counter to release any air bubbles.
- Chill to set: Refrigerate for at least 2 hours, or until completely firm.
- Pop out and store: Once solid, remove the gummies from the molds and store in an airtight container in the fridge for up to two weeks. They also freeze well for up to 3 months and thaw quickly when needed.
The trade-off: These gummies won’t keep your dog busy for long since they’re soft and easy to eat. But if long shelf life and nutrition are what you’re after, they’re one of the best options on this list. If your dog tends to lick or chew obsessively between snacks, it’s worth reading up on excessive licking in dogs to understand what’s normal and what’s worth mentioning to your vet.
📸 Photo credit: Instagram @sitmeanssitsatx_cibolo
Long-Lasting Frozen Treats (Best for Hot Weather, Long Freezer Shelf Life)
Freezing is one of the easiest ways to extend a treat’s shelf life to months, even when the ingredients themselves are soft and moist. These next two recipes are perfect for summer and store beautifully in the freezer.
1. Frozen Yogurt and Peanut Butter Cups
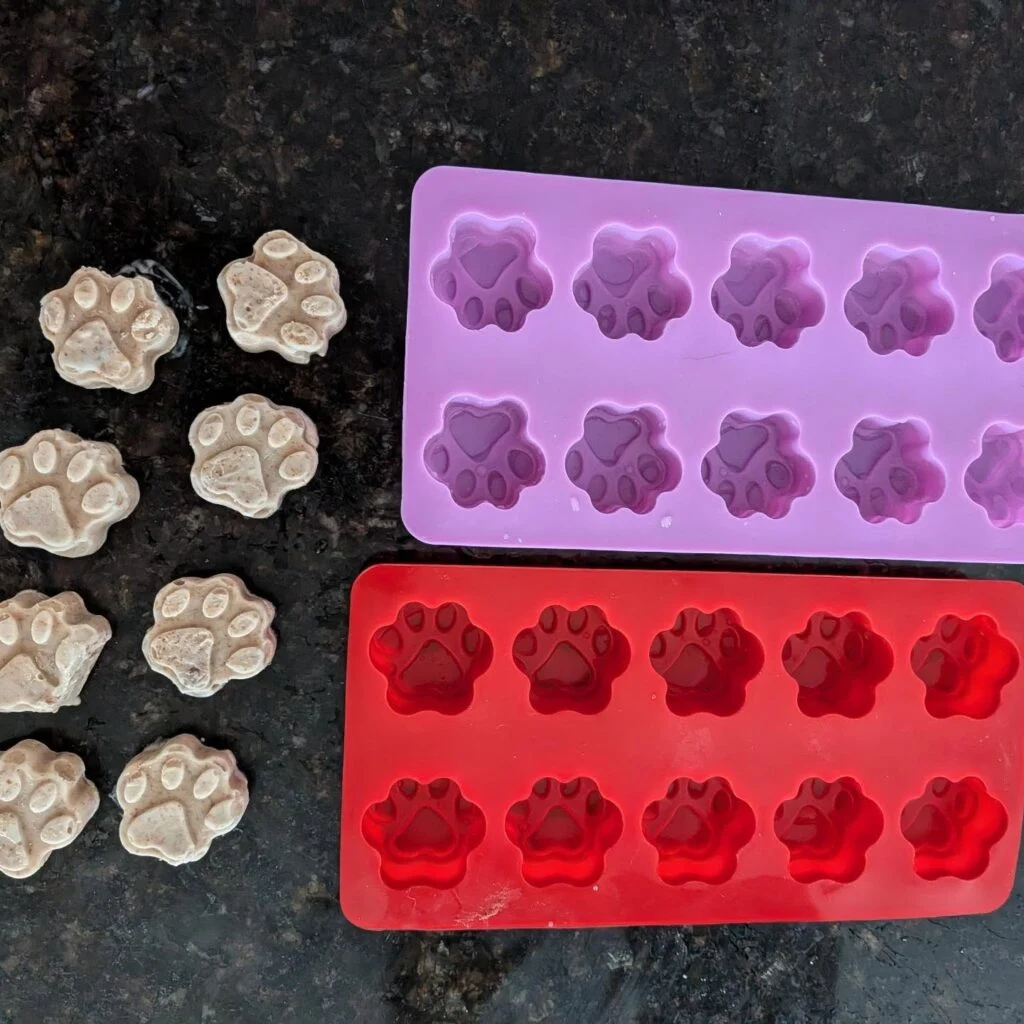
This one couldn’t be simpler, and it’s a lifesaver during a heat wave.
Ingredients:
- Plain yogurt
- A couple of spoonfuls of peanut or almond butter
Instructions:
- Mix the plain yogurt with a couple of spoonfuls of peanut or almond butter.
- Spoon the mixture into silicone molds or mini cupcake trays.
- Freeze until firm.
- Once solid, pop them out and store in a container in the freezer.
A helpful note on peanut butter: Stick to a basic, plain brand rather than the fancy stuff, since many specialty peanut butters contain xylitol, which is toxic for dogs. Always double check the label before buying.
Batch size: You can make roughly six dozen from one round of ingredients, which works out to be far cheaper than a store-bought box of frozen treats.
Why it works: Freezing halts spoilage almost entirely, so even a soft, dairy-based mixture like this one can sit in your freezer for months without any issue. Just remember that once thawed, it needs to be eaten quickly.
📸 Photo credit: Instagram @kimcookhome
2. Frozen Fruit and Kefir Treats
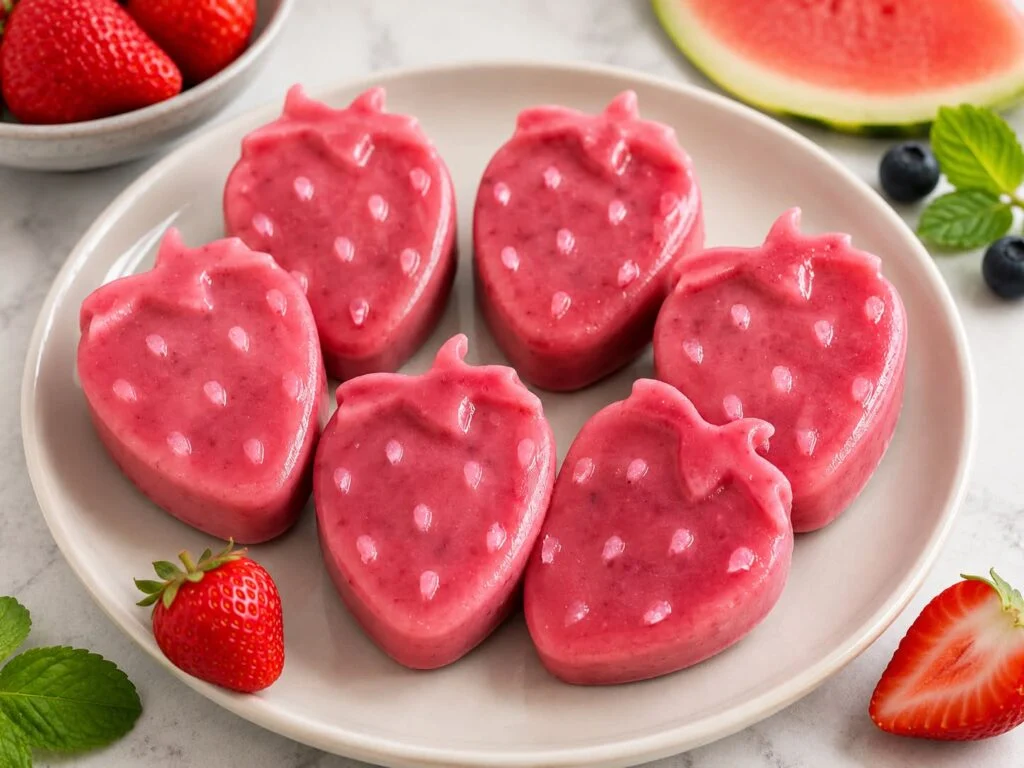
A refreshing, hydrating option for hot summer days, built entirely from wholesome ingredients.
Ingredients:
- Blueberries
- Strawberries
- Seedless watermelon
- Plain, unsweetened kefir
Instructions:
- Blend the blueberries, strawberries, and watermelon with the plain kefir until smooth.
- Pour the mixture into silicone molds, ice cube trays, or small cups.
- Freeze until solid.
- Store the frozen treats in a freezer-safe container or bag.
Serving tip: As with any new treat, introduce it gradually and serve in moderation, especially since fruit adds natural sugars to your dog’s diet.
Why it works: Fruit purées and kefir freeze cleanly and hold their texture well over time, which means a single batch can realistically last you all summer if stored properly. It’s also a great match if you’re setting up a dedicated space for treats and bowls; take a look at these dog feeding station ideas for inspiration on organizing everything in one spot.
📸 Photo credit: Instagram @thisisme.linda
Shelf Life Comparison
Here’s a quick side-by-side so you can decide which recipe fits your storage habits and how often you plan to bake.
| Recipe | Room Temperature | Fridge | Freezer |
|---|---|---|---|
| Busy Bone Chew (Chickpea & Pumpkin) | 7 days | 14 days | 3 months |
| Sweet Potato Chews | 1-2 weeks (fully dried) | Not usually needed | 2-3 months |
| Peanut Butter Pretzel Sticks | 2 weeks | Not usually needed | 3 months |
| Bone Broth Gummies | Not recommended | 2 weeks | 3 months |
| Frozen Yogurt & Peanut Butter Cups | Not recommended | A few days | Several months |
| Frozen Fruit & Kefir Treats | Not recommended | A few days | Several months |
A quick pattern jumps out here: the drier the treat, the better it handles room temperature. The moister the treat, the more it depends on your freezer to stay fresh long term.
Tips to Maximize Shelf Life and Freshness
A few small habits can make a real difference in how long your treats actually stay good, no matter which recipe you’re using.
Always Cool Completely Before Storing
Warm treats release steam inside a sealed container, and that trapped moisture is exactly what invites mold. Give baked chews at least an hour on a wire rack before you pack them away.
Airtight Containers Matter More Than You Think
Air exposure dries treats out unevenly and lets in humidity, both of which shorten shelf life. A good airtight glass jar or container is worth the small investment.
Label Everything With Dates
It’s easy to lose track of when a batch was made, especially once things go into the freezer. A simple piece of tape with the date saves you from guessing later.
Portion Before Freezing
Instead of freezing one giant block or bag, portion your treats into smaller batches first. That way you’re only thawing what you need, and the rest stays fresh without repeated temperature changes. This kind of planning pairs nicely with a proper dog treat station setup, so everything from daily snacks to frozen batches has its place.
8. Final Thoughts
Whether you’re chasing long shelf life, long chew time, or both, there’s a recipe on this list for you. The baked chews, like the busy bone, sweet potato strips, and pretzel sticks, are your best bet if you want something that survives weeks on the counter and keeps your dog busy for a good stretch too.
The bone broth gummies and frozen fruit treats lean more toward shelf life. They store beautifully in the fridge or freezer for weeks or months, even though your dog will finish one in under a minute.
Whichever route you choose, always introduce new treats gradually and keep an eye on your dog’s reaction, especially with ingredients like peanut butter, dairy, or bone broth. When in doubt, a quick check-in with your vet never hurts.
Homemade treats take a little more effort upfront, but the payoff is treats you actually trust, made exactly the way your dog needs them, and ready whenever you reach for the jar or freezer.

Izzy is an experienced ranch worker who has a passion for exploring nature and getting up close to wildlife. With her connections to various animal organizations, Izzy is well-versed in animal care and rehabilitation.