Ground Turkey Jerky for Dogs: Chewy Homemade Dog Treats
Walk down the dog treat aisle and you will see bags of jerky with ingredient lists longer than your arm — salt, sugar, glycerin, “natural flavors,” and preservatives you can’t pronounce. Now imagine handing your dog a chewy, meaty strip of jerky made from exactly one ingredient you chose yourself. That is what this ground turkey jerky for dogs delivers: lean, high-protein, and completely free of junk.
I started making jerky at home after reading one too many recall notices, and it has become the highest-value treat in my house — the one my dogs will do absolutely anything for. Ground turkey is ideal because it is lean, affordable, and easy to shape into perfect strips without a meat grinder. With a little patience and a low oven, you can make a big batch that beats anything in a bag.
Why Dogs Love Turkey Jerky
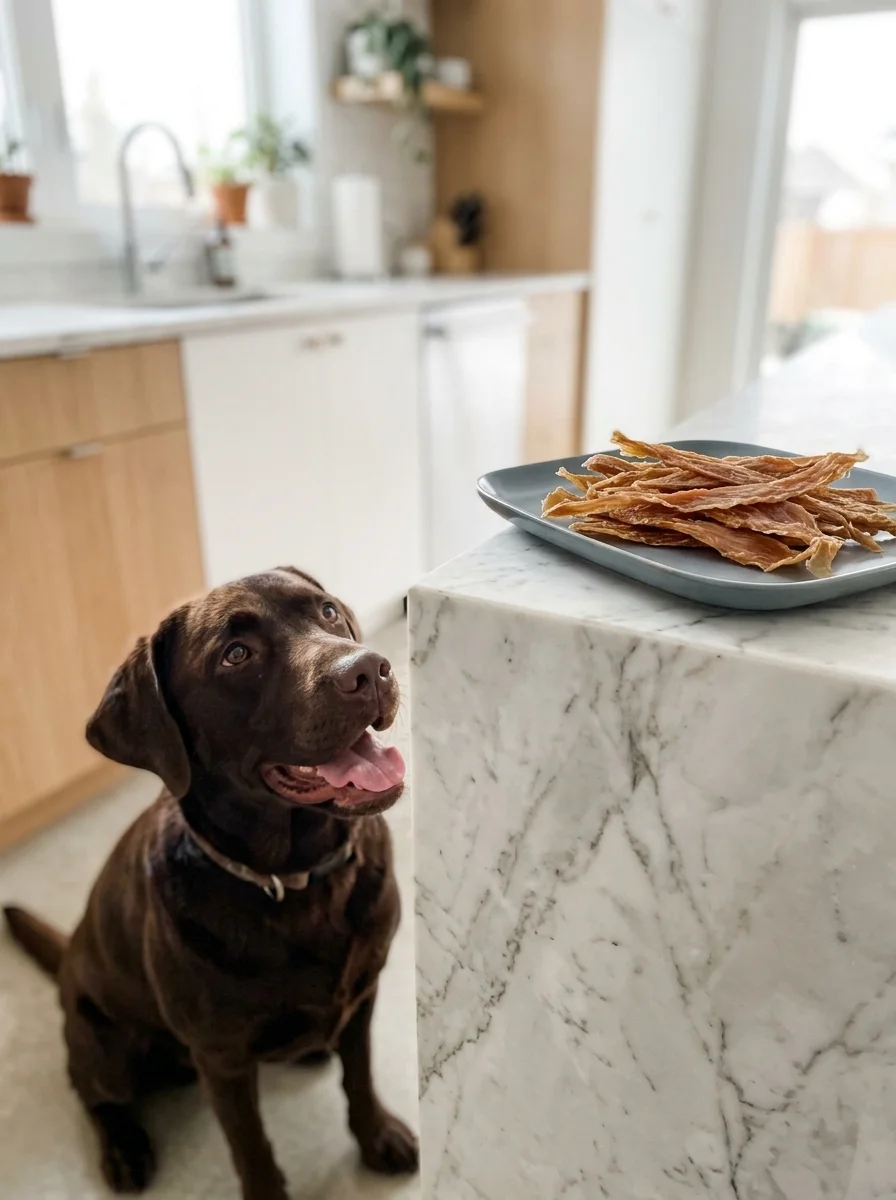
Turkey is one of the best proteins you can offer your dog. It is lean, highly digestible, and packed with the amino acids dogs need for strong muscles and a healthy coat. Compared to fattier meats, turkey gives you all the meaty satisfaction with a fraction of the fat — which means it is a smarter choice for dogs watching their weight or with sensitive stomachs.
Then there is the chew factor. Dogs are hardwired to chew, and a tough, chewy strip of jerky satisfies that urge in a way soft treats never do. Chewing keeps them occupied, relieves boredom and mild anxiety, and the mechanical action helps scrape plaque from teeth. A good piece of homemade jerky can buy you fifteen peaceful minutes — any dog parent knows how precious those are.
Store-bought jerky, by contrast, is a gamble. Many commercial jerky treats are loaded with sodium, sugars, and humectants to keep them soft on the shelf, and the pet jerky recall history is genuinely concerning. When you make homemade dog treats like this jerky, you control everything: the meat, the salt (none), and the drying. One ingredient in, one wholesome treat out.
Ingredients to Use (and Avoid)
The beauty of this recipe is its simplicity, but every ingredient choice matters when you are cooking for dogs.
Use: lean ground turkey (93% lean or higher — less fat means jerky that dries properly and keeps longer), an egg or a couple of tablespoons of oat flour as an optional binder to help the strips hold together, and a tablespoon or two of water if the mixture feels stiff. That is genuinely it for the classic version.
Avoid: onion powder and garlic powder — both are toxic to dogs and hide in many “seasoned” turkey products, so check your ground turkey label and buy plain. Skip added salt entirely; dogs do not need it and too much sodium is dangerous. Avoid sugar, honey glazes, soy sauce, Worcestershire sauce, and any preservatives or nitrates. And as always, never let anything containing xylitol (birch sugar) near your dog — check every label, especially if you use the peanut butter variation below.
Ground Turkey Jerky for Dogs Recipe
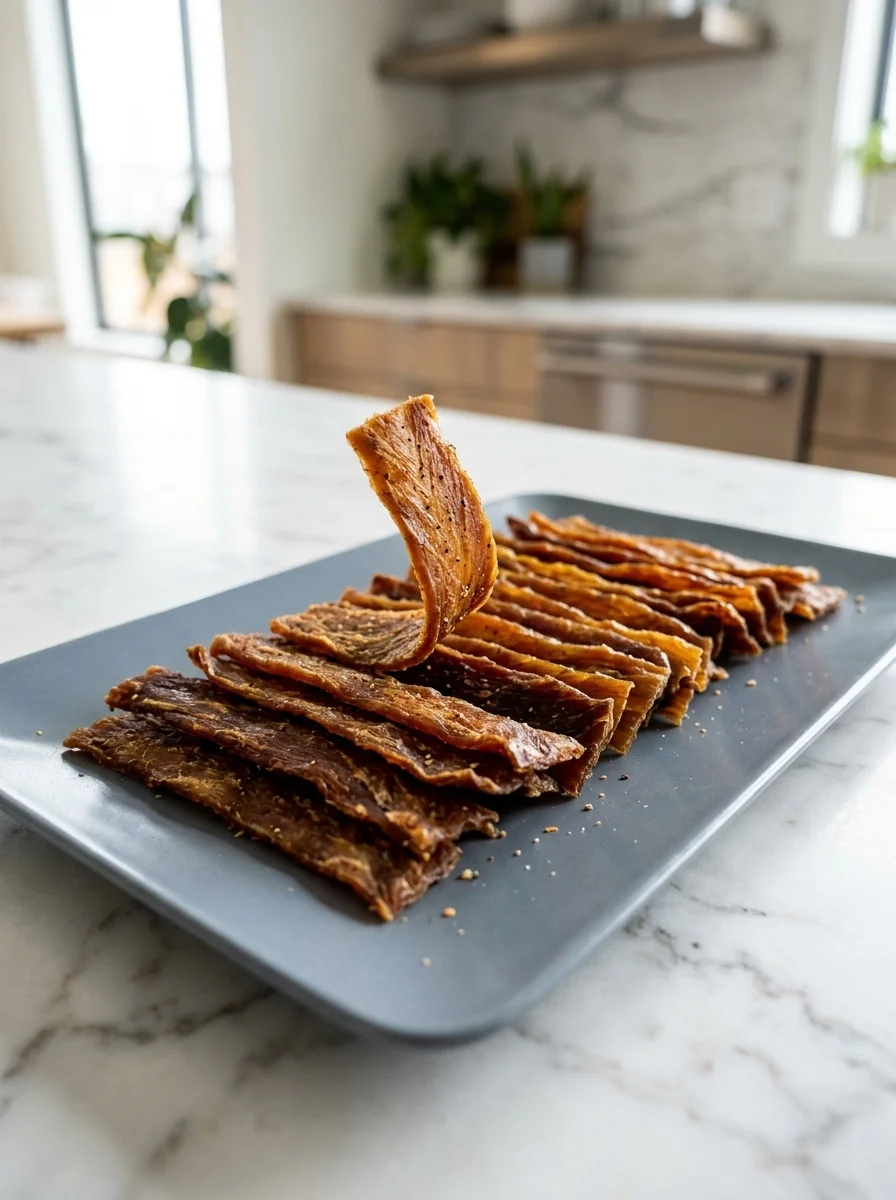
Here is the complete recipe in one place — a short ingredient list and a patient, low-and-slow drying process that turns plain ground turkey into irresistible chewy strips. Read through everything once before you start, because the method matters more than the mixing. You will find the ingredient box and numbered steps below.
Ingredients
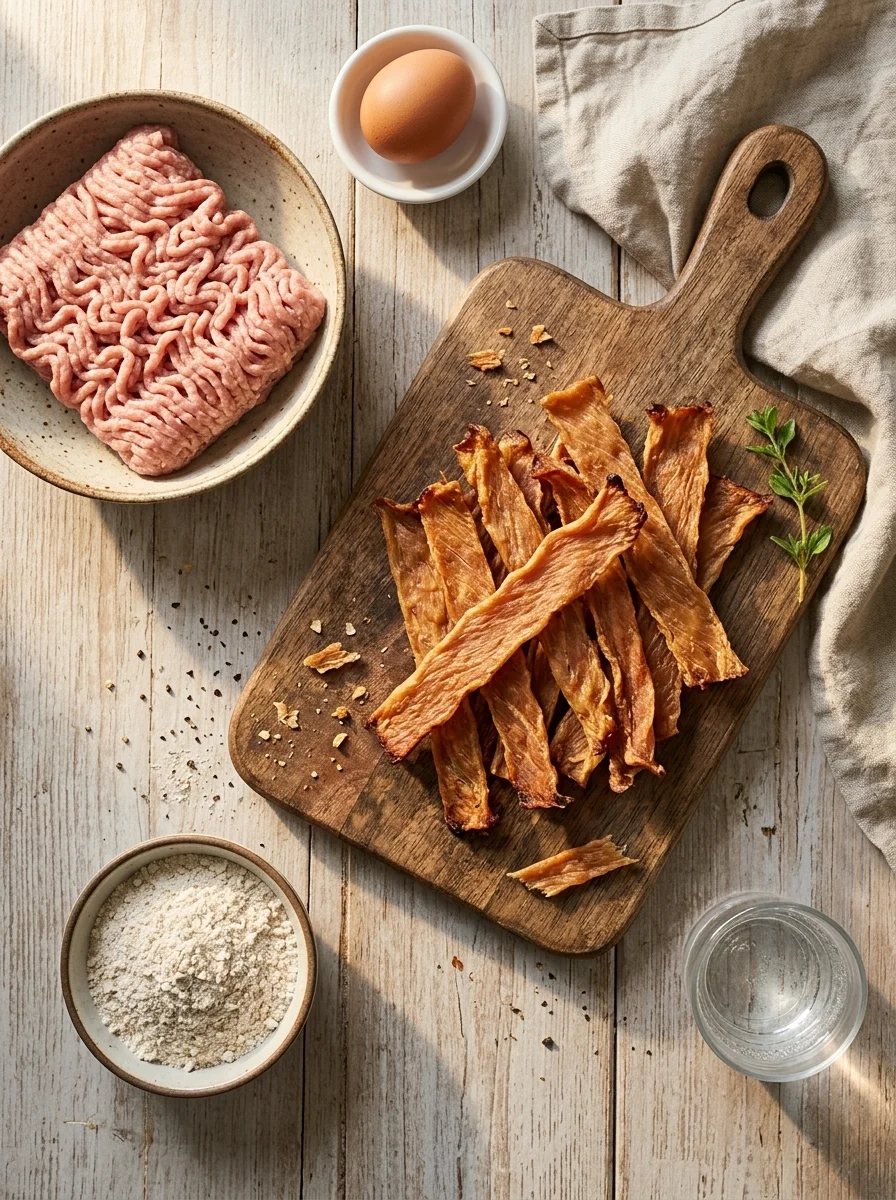
- 1 lb (450g) lean ground turkey — 93% lean or higher. Plain, with no added seasoning, broth, or “flavorings.”
- 1 large egg — optional binder; helps the strips hold their shape. Skip it if your dog has an egg sensitivity.
- 2 tablespoons oat flour — optional second binder; blend rolled oats until fine. Adds a little fiber.
- 1–2 tablespoons cold water — only if the mixture feels stiff and hard to spread.
That is the whole list for the classic version. No salt, no sugar, no spices — dogs prefer it that way, and their kidneys will thank you.
Step-by-Step Instructions
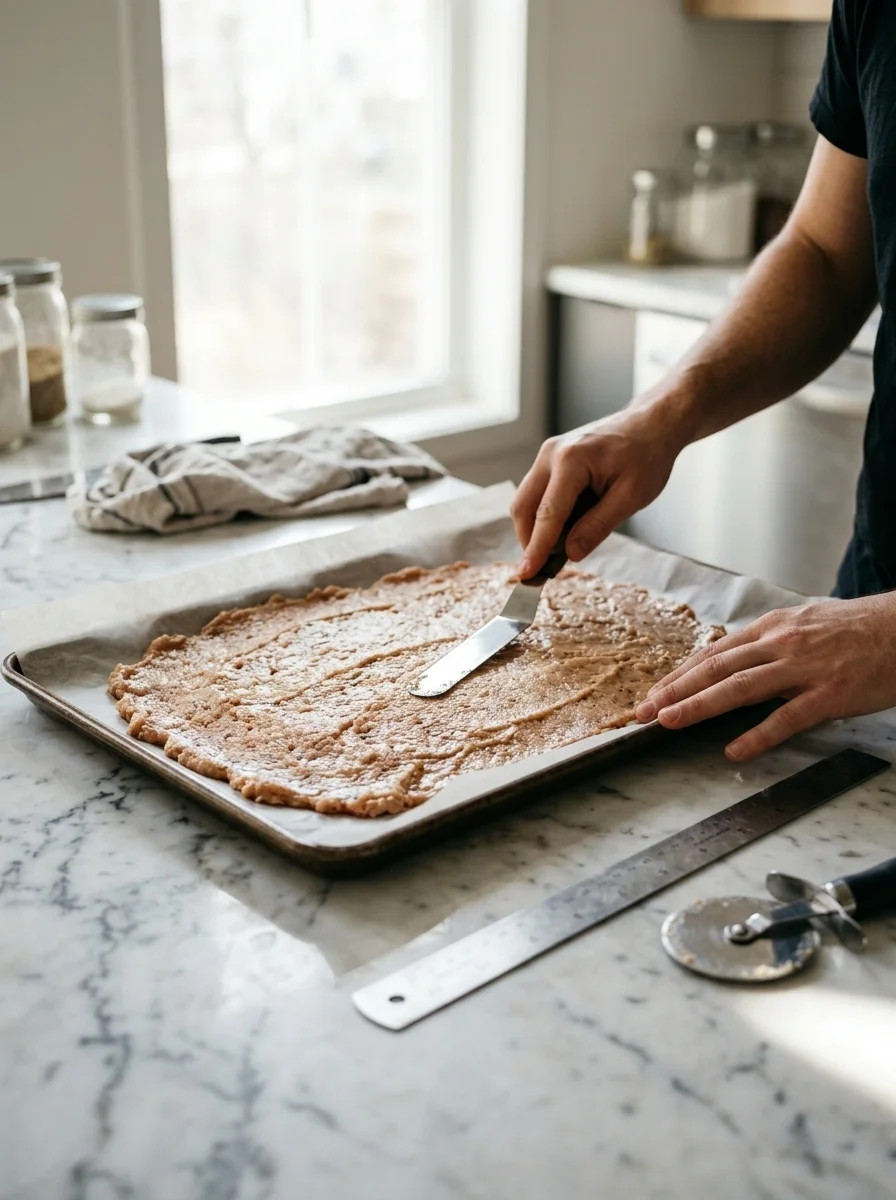
- Preheat low and prepare. Heat your oven to 175°F (80°C) — low and slow is the entire secret of jerky. Line a large rimmed baking sheet with parchment paper and place an oven-safe wire rack on top if you have one; the rack lets air circulate underneath for even drying.
- Mix gently. Put the ground turkey in a bowl and add the egg and oat flour if using. Mix with your hands just until combined — do not overwork it like meatloaf, or the texture turns dense. If the mixture feels stiff, add cold water a tablespoon at a time until it spreads easily.
- Spread thin and even. Transfer the mixture to the prepared sheet and press it into an even layer about 1/4 inch (6mm) thick. Even thickness is critical: thin spots turn brittle while thick spots stay moist and can spoil. A second sheet of parchment on top and a rolling pin make this easy.
- Score into strips. Using a pizza cutter or sharp knife, score the layer into strips about 1 inch wide and 4–5 inches long. Do not separate them yet — scoring now means they break apart cleanly later.
- Dry low and slow. Bake for 3–4 hours, flipping the strips once halfway through, until they are dry to the touch, firm, and bend without snapping. They should feel leathery, not brittle. Thicker strips may need an extra 30–60 minutes.
- Cool completely and test. Let the jerky cool on the rack for at least 30 minutes — it firms up as it cools. Break a strip open: it should be the same color and dryness all the way through, with no moist pink center. If in doubt, give it another 30 minutes in the oven.
This recipe makes roughly 25–30 strips depending on how you cut them. Serve one strip as a high-value reward, or break strips into smaller training pieces.
Drying Methods Compared
You have three good options for drying, and all of them work — pick the one that fits your kitchen.
Oven (easiest). What the recipe above uses. Every kitchen has one, and 175°F with the door cracked open an inch gives excellent airflow. Downsides: it ties up your oven for hours and uses more energy. Prop the door with a wooden spoon to let moisture escape.
Dehydrator (best results). If you make dehydrated dog treats often, this is worth the counter space. Set it to 160°F (70°C) and dry for 4–6 hours. Dehydrators circulate air constantly, so the jerky dries more evenly with zero babysitting — the most consistent chew of the three methods.
Air fryer (fastest). Spread the scored turkey thin in the basket and air fry at 175°F (80°C) for 2–3 hours, flipping once. It works, but most baskets only fit a small batch, so this is best for trial runs rather than stocking up.
Whichever method you choose, the doneness test never changes: cool a strip fully, then bend and break it. Dry and leathery all the way through means done; any moist center means more time.
Recipe Variations
Once you have the classic down, these four variations keep things interesting. Each builds on the same base and method — just mix in the add-in before spreading. Every one is made with dog-safe ingredients.
Classic Plain Turkey Jerky
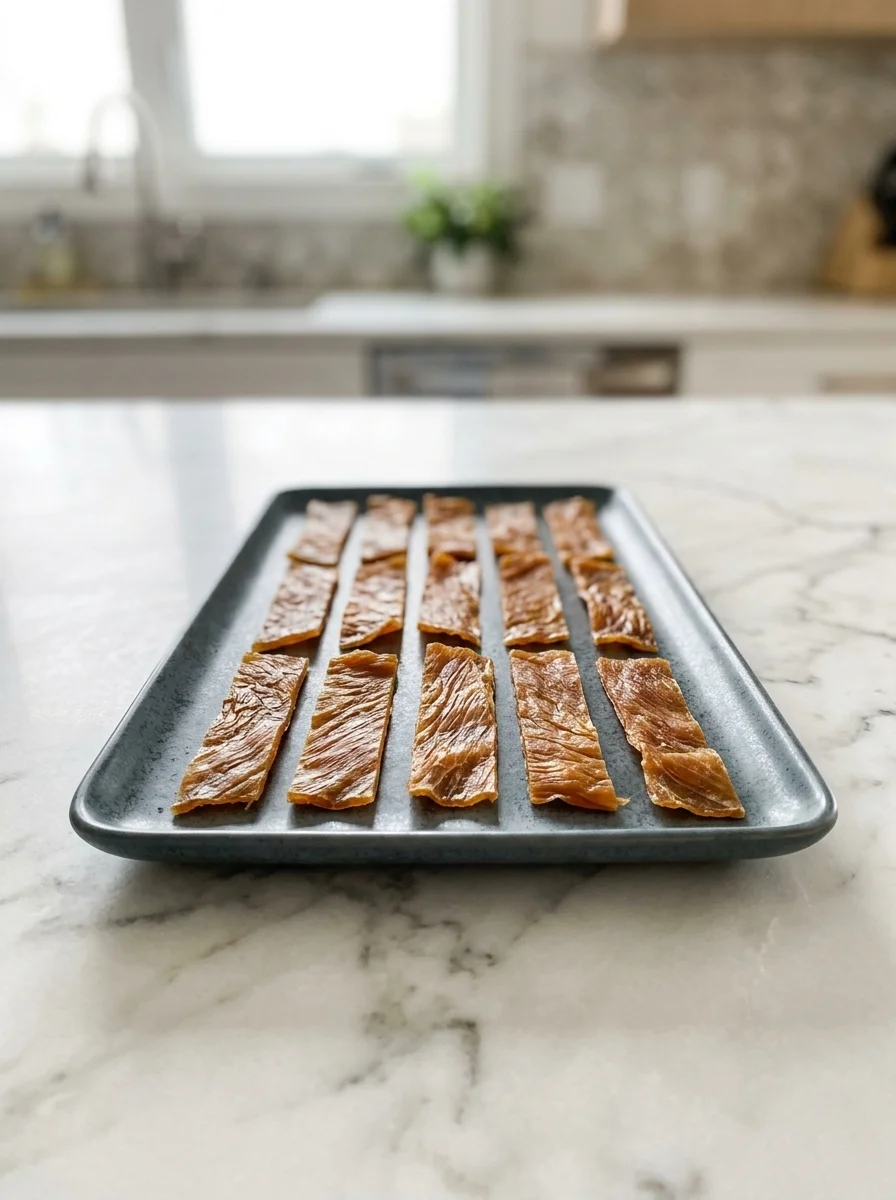
This is the base recipe exactly as written above: just turkey, with the optional egg and oat flour binders. It is the purest version — single-protein, hypoallergenic-friendly, and the best choice for dogs with sensitive stomachs or food trials.
Because there is nothing to hide behind, meat quality matters most here. Buy the leanest plain ground turkey you can find, and do not be tempted to add salt “for flavor” — dogs find plain meat plenty exciting, and their bodies are not built for our seasoning habits.
Sweet Potato Turkey Jerky
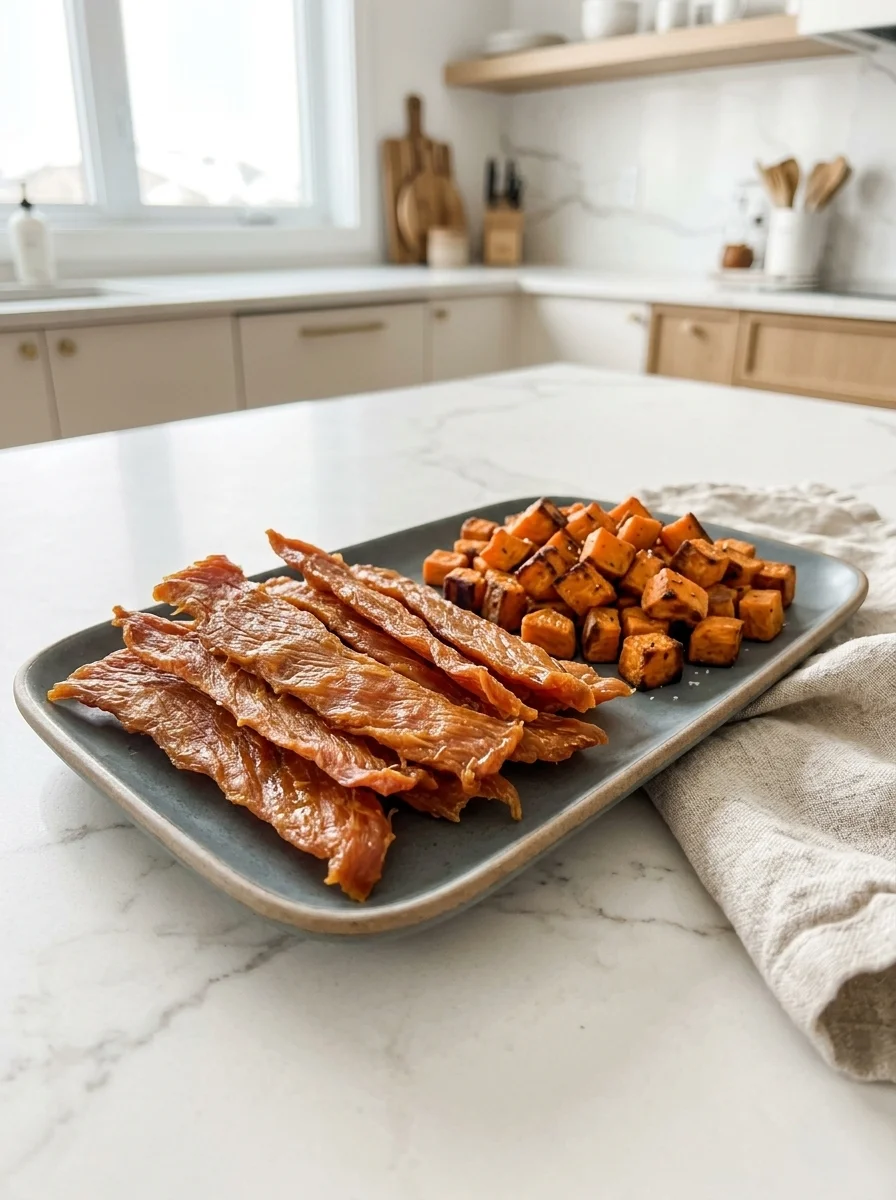
Mix 1/2 cup of plain mashed sweet potato (baked or microwaved, no butter or seasoning) into the turkey before spreading. The sweet potato adds gentle fiber, beta-carotene, and a subtle sweetness dogs love, plus it gives the jerky a beautiful orange-gold color.
The added moisture means a slightly longer dry time — plan on an extra 30–60 minutes and check the centers carefully. For more sweet potato inspiration, these homemade sweet potato dog treats are another great project for the same afternoon.
Pumpkin Turkey Jerky
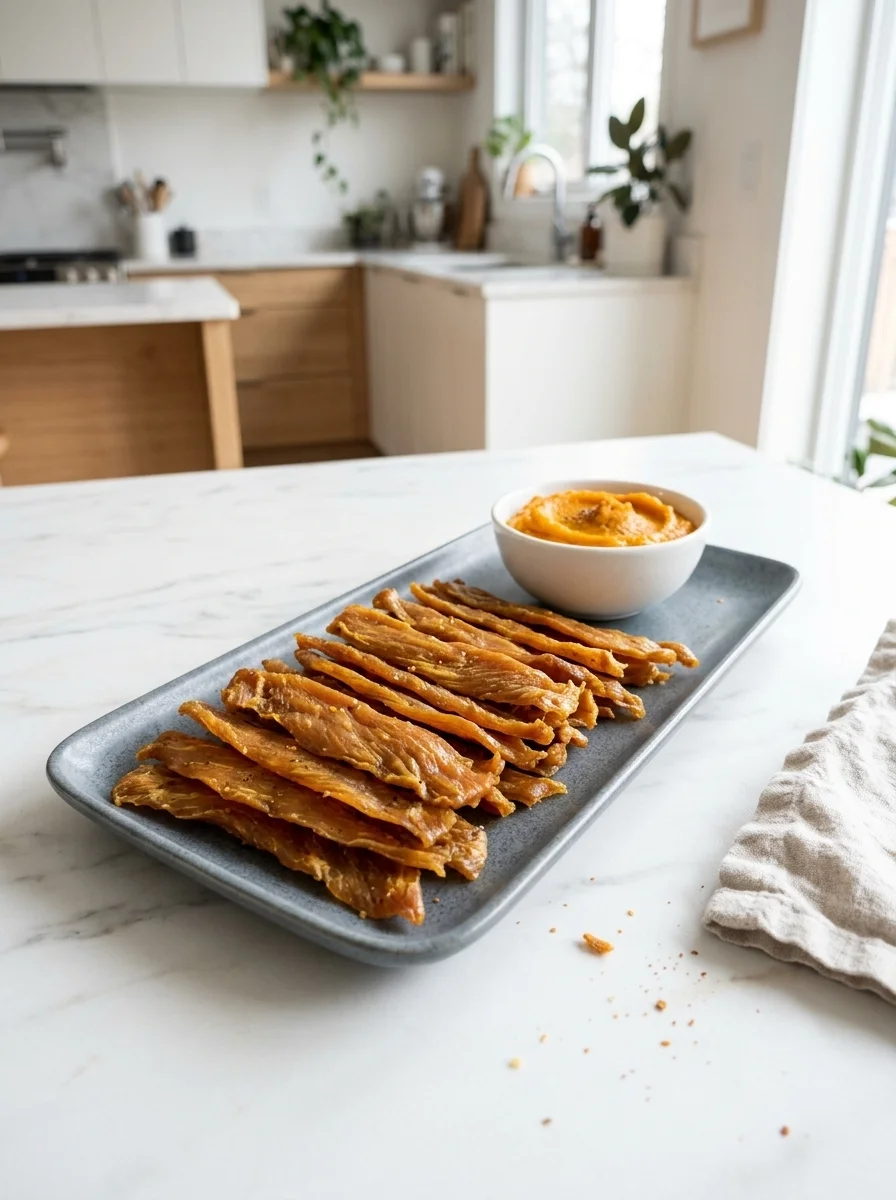
Mix 1/3 cup of plain canned pumpkin (not pumpkin pie filling) into the turkey. Pumpkin’s soluble fiber is famously good for digestion — helpful for both loose stools and constipation — which makes this the gentlest variation of the bunch.
Like the sweet potato version, expect a little extra drying time. The finished jerky has a slightly softer chew that older dogs and small breeds tend to prefer. If pumpkin is a hit in your house, you will also like these pumpkin dog treats.
Peanut Butter Turkey Jerky
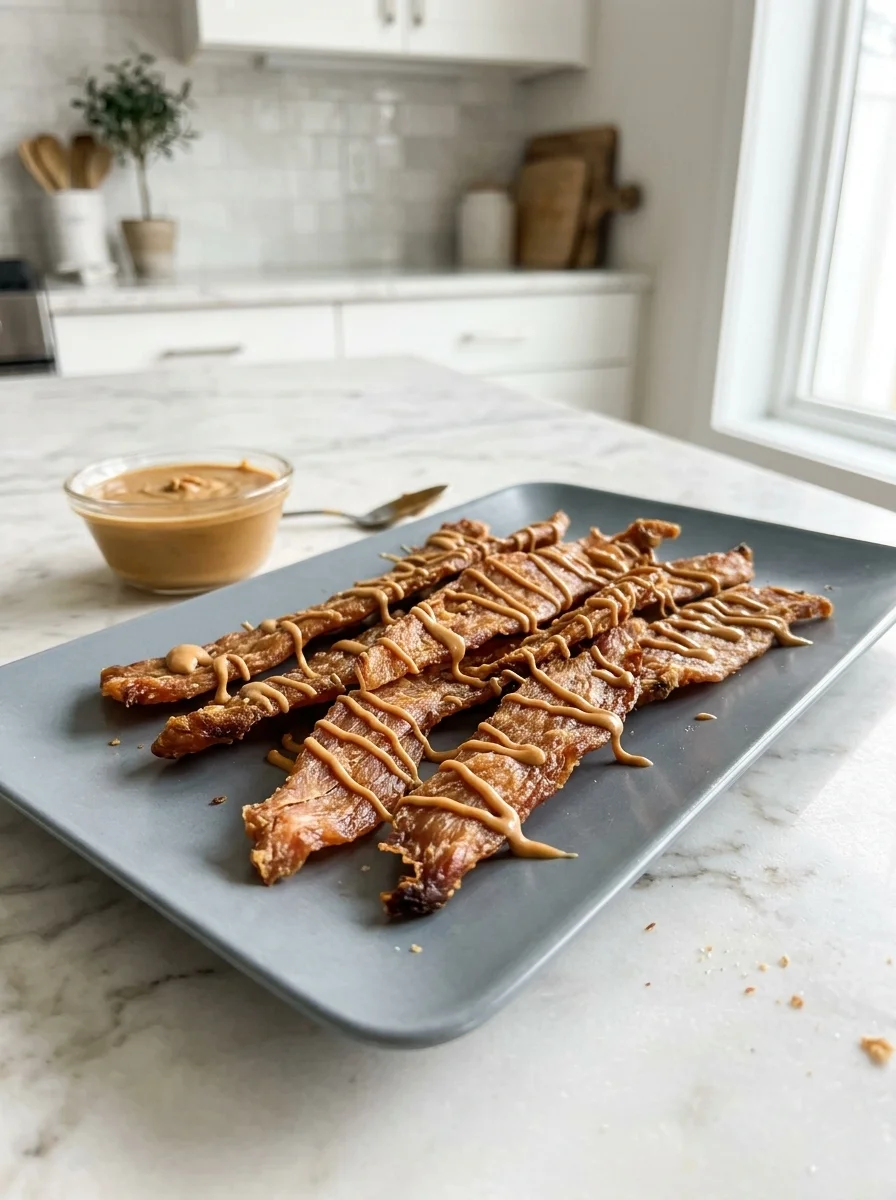
Mix 2 tablespoons of xylitol-free, unsweetened peanut butter into the turkey. This is the highest-value version in my house — the one I save for recall training and vet visits. The peanut butter adds protein and healthy fats along with a flavor most dogs find irresistible.
The non-negotiable rule: read the peanut butter label every single time. Xylitol (also listed as birch sugar) is extremely toxic to dogs even in tiny amounts. Use natural peanut butter with just peanuts and salt, or try these peanut butter dog twists for another peanut-butter fix.
Storage and Serving
Serving: One strip is a generous reward for most dogs — break strips into pea-sized pieces for training. Because this jerky is rich in protein, treat it as a high-value reward rather than an all-day chew, and always supervise chew time. Remember the 10-percent rule: treats should stay under 10 percent of daily calories.
Room temperature: If the jerky is dried until truly crisp-dry, it keeps 3–4 days in an airtight container or zip bag. When in doubt, refrigerate — homemade jerky has no preservatives.
Refrigerator: Store in an airtight container for up to 2 weeks. If you see any moisture beads or off smells, discard the batch — it is never worth the risk.
Freezer: Freeze in portioned bags for up to 3 months. Thaw a day’s worth in the fridge overnight. I freeze half of every batch — it is the easiest way to always have training treats ready.
FAQs
Final Thoughts
Homemade turkey jerky is one of those rare treats that is simultaneously healthier, cheaper, and more exciting to your dog than the store-bought version. The ingredient list is one line long, the method is mostly waiting, and the payoff — a dog who loses their mind with joy at the sight of the treat jar — is enormous.
Start with the classic, find your dog’s favorite variation, and keep a bag in the freezer. Your training sessions are about to get a whole lot more motivating.

Izzy is an experienced ranch worker who has a passion for exploring nature and getting up close to wildlife. With her connections to various animal organizations, Izzy is well-versed in animal care and rehabilitation.