2-Ingredient Pumpkin Dog Treats (Peanut-Free, Oven-Baked)
Some of the best dog treats have the shortest ingredient lists. These 2-ingredient pumpkin dog treats need nothing more than pumpkin purée and oat flour — no peanut butter, no eggs, no fillers — which makes them a lifesaver for dogs with peanut allergies or sensitive stomachs. The dough comes together in five minutes, the biscuits bake up crisp and golden, and the whole batch costs less than a single bag of store-bought treats.
Pumpkin is one of the few human foods veterinarians routinely recommend for dogs: its soluble fiber soothes digestion, and most dogs go wild for the taste. Paired with gentle oat flour, you get a crunchy, wholesome biscuit that works as a training reward, a bedtime snack, or a homemade gift for the dog lovers in your life. And because the ingredient list is so short, you can whip up a batch on a weeknight without a special grocery run — chances are you already have both ingredients in the pantry.
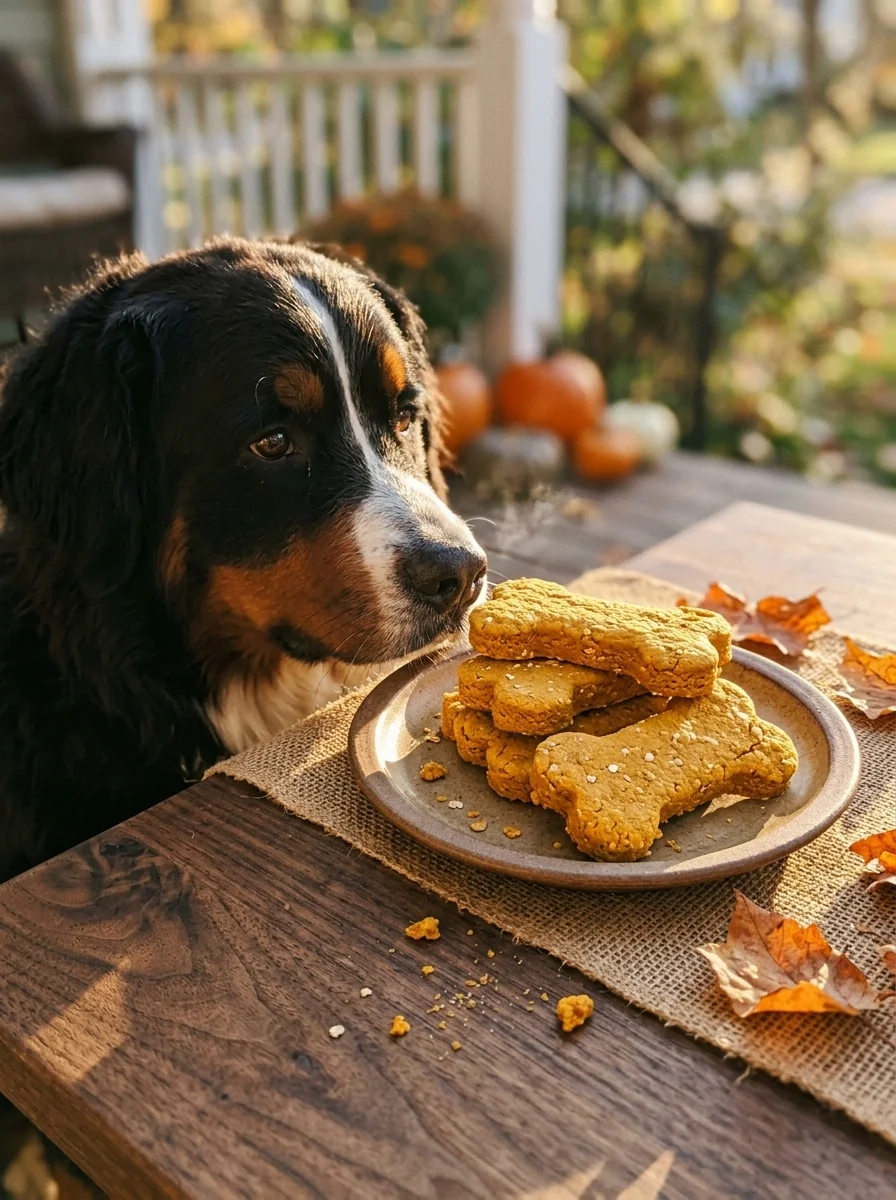
Recipe 1: 2-Ingredient Pumpkin Dog Treats
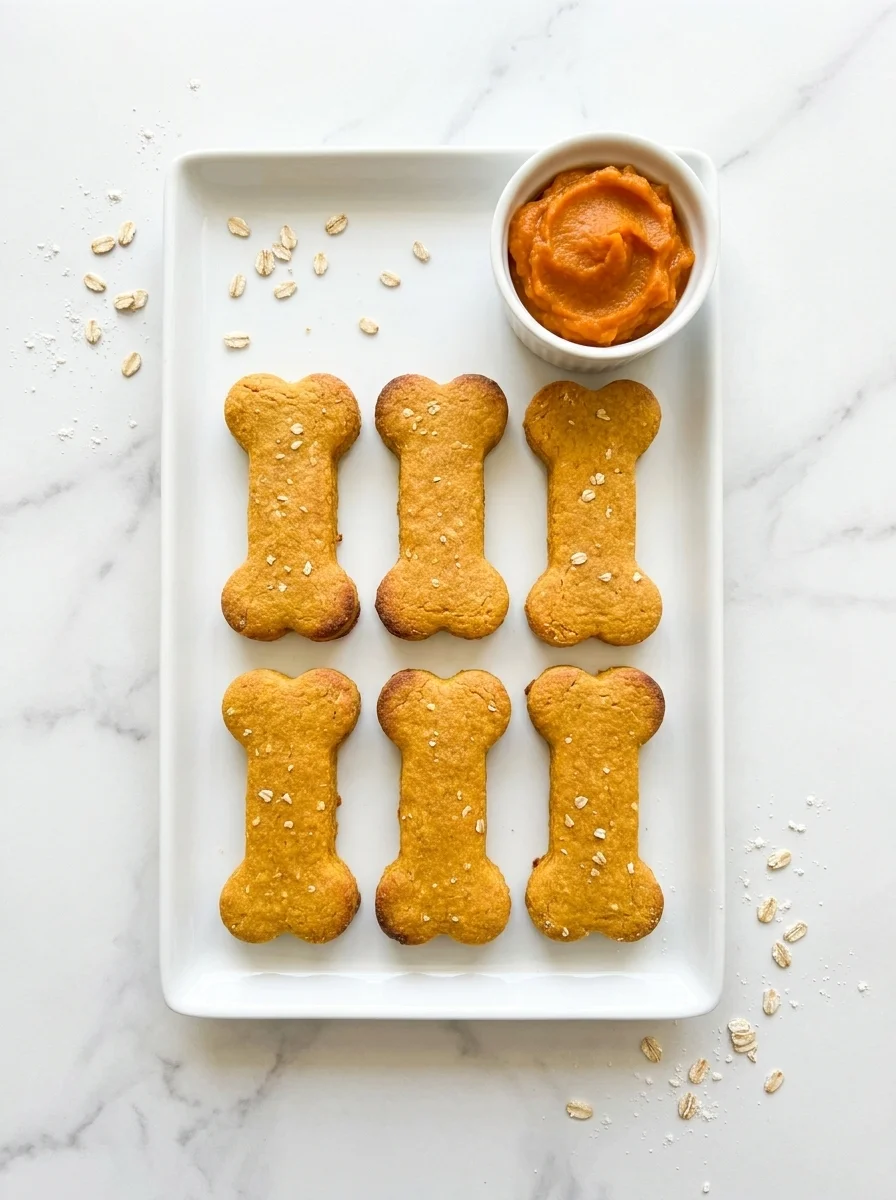
This is the base recipe — the peanut-free, oven-baked biscuit everything else builds on. Two ingredients, one bowl, zero fuss. The key is using plain pumpkin purée, not pumpkin pie filling, which contains sugar and spices dogs don’t need.
Ingredients
- 1 cup plain pumpkin purée (canned or homemade, not pie filling)
- 2 cups oat flour, plus extra for dusting (store-bought or homemade from rolled oats)
Step-by-Step Instructions
- Preheat the oven to 350°F (175°C). Line a baking sheet with parchment paper.
- Stir the pumpkin purée and oat flour together in a large bowl until a soft dough forms. If it feels sticky, add oat flour a tablespoon at a time; if it crumbles, add a teaspoon of water.
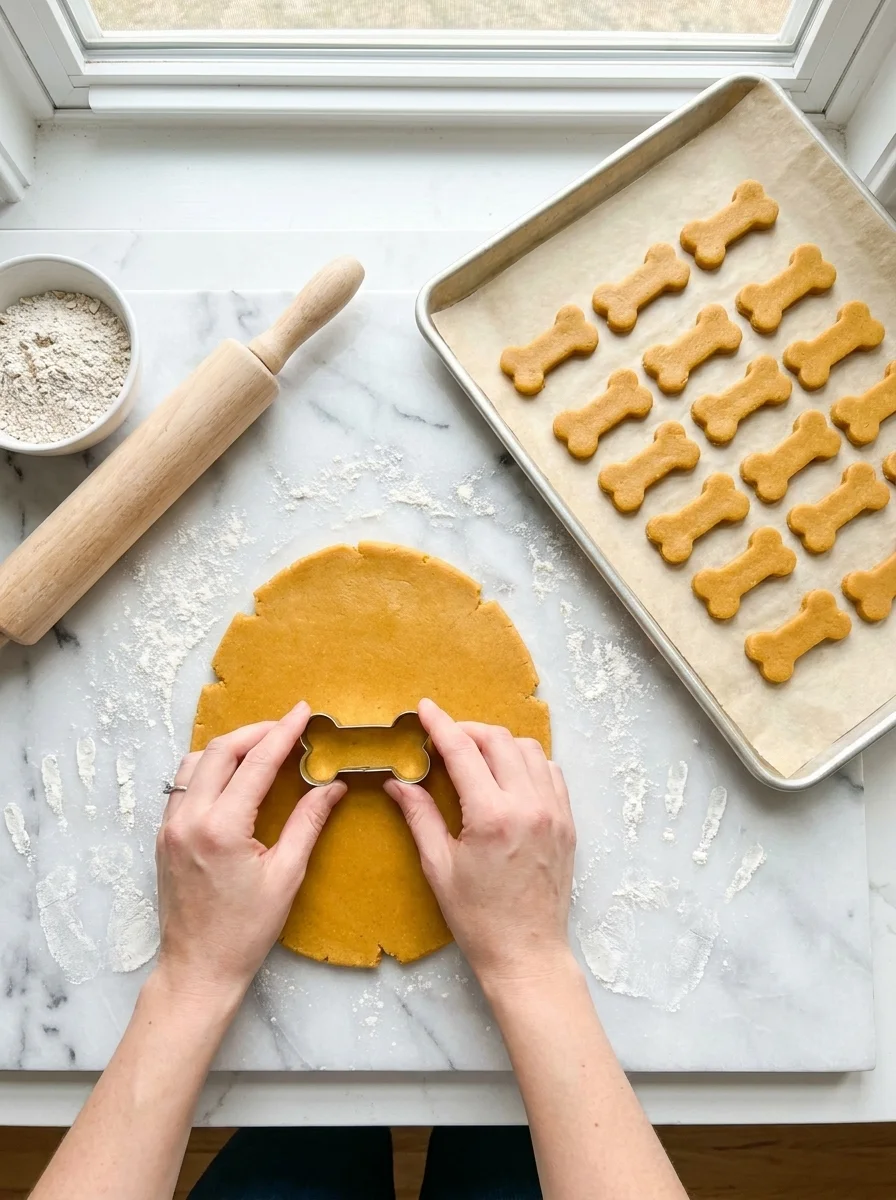
- Turn the dough onto a lightly floured surface and roll it to about 1/4-inch thickness. Thinner biscuits bake crisper; thicker ones stay chewier.
- Cut out shapes with a cookie cutter — bones, circles, or simple squares with a knife all work. Gather and re-roll the scraps once.
- Arrange the treats on the prepared sheet with a little space between them. They don’t spread, so you can fit plenty.
- Bake for 22–25 minutes, until the edges are firm and lightly golden. For extra crunch, turn off the oven and leave the treats inside for another 30 minutes to dry out.
- Cool completely on a wire rack before serving or storing. They crisp up further as they cool.
Choosing the Right Pumpkin Purée
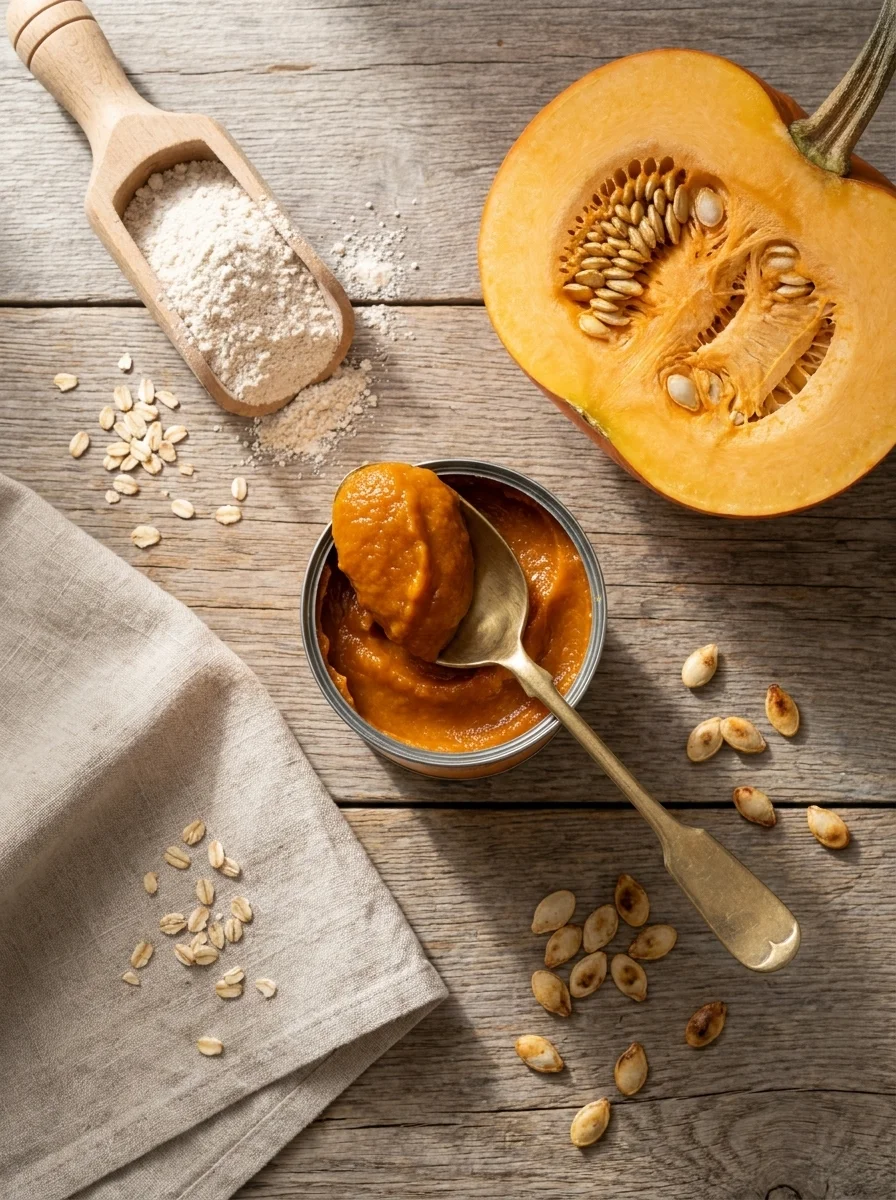
Canned is perfectly fine — and often better: canned pumpkin is consistent in thickness from can to can, which means your dough behaves the same every batch. Look for a label that lists a single ingredient: pumpkin. Libby’s 100% Pure Pumpkin is the classic choice, but any plain canned pumpkin works.
What to avoid: never use pumpkin pie filling. It looks similar on the shelf but contains sugar, cinnamon, nutmeg, and other spices. Nutmeg in particular can cause stomach upset in dogs, and the added sugar turns a healthy treat into junk food. If the label lists anything beyond pumpkin, put it back.
Going fresh: small pie pumpkins (sometimes labeled sugar pumpkins) roast up sweet and smooth. Halve one, scoop out the seeds, roast cut-side down at 375°F for 45–60 minutes, then blend the flesh until silky. Skip the big carving pumpkins — they’re watery and bland. Fresh purée tends to be thinner than canned, so drain it in a strainer for 20 minutes before measuring, or your dough will need extra flour.
Whichever you choose, the purée should be thick enough to mound on a spoon. That thickness is what lets two ingredients do the work of five.
Why Just Two Ingredients Work

Pumpkin does the heavy lifting: its natural moisture binds the dough, its fiber supports healthy digestion, and its mild sweetness means dogs love it without any added sugar. Canned pumpkin is also consistent — the same thickness every time — which makes the recipe nearly foolproof.
Oat flour keeps it gentle: oats are one of the easiest grains for dogs to digest, and oat flour has a mild, slightly sweet flavor that complements pumpkin. It’s naturally gluten-free, so these treats suit dogs with wheat sensitivities too. You can buy it or blitz rolled oats in a blender for 30 seconds — same thing, half the price.
Nothing to hide: with two ingredients, there are no preservatives, no mystery flavors, and no ingredients you can’t pronounce. If your dog has allergies, you know exactly what they’re eating. That simplicity is also why these are a great base for the variations below — pumpkin and oat flour play well with almost any dog-safe add-in.
Recipe 2: Peanut Butter Pumpkin Treats
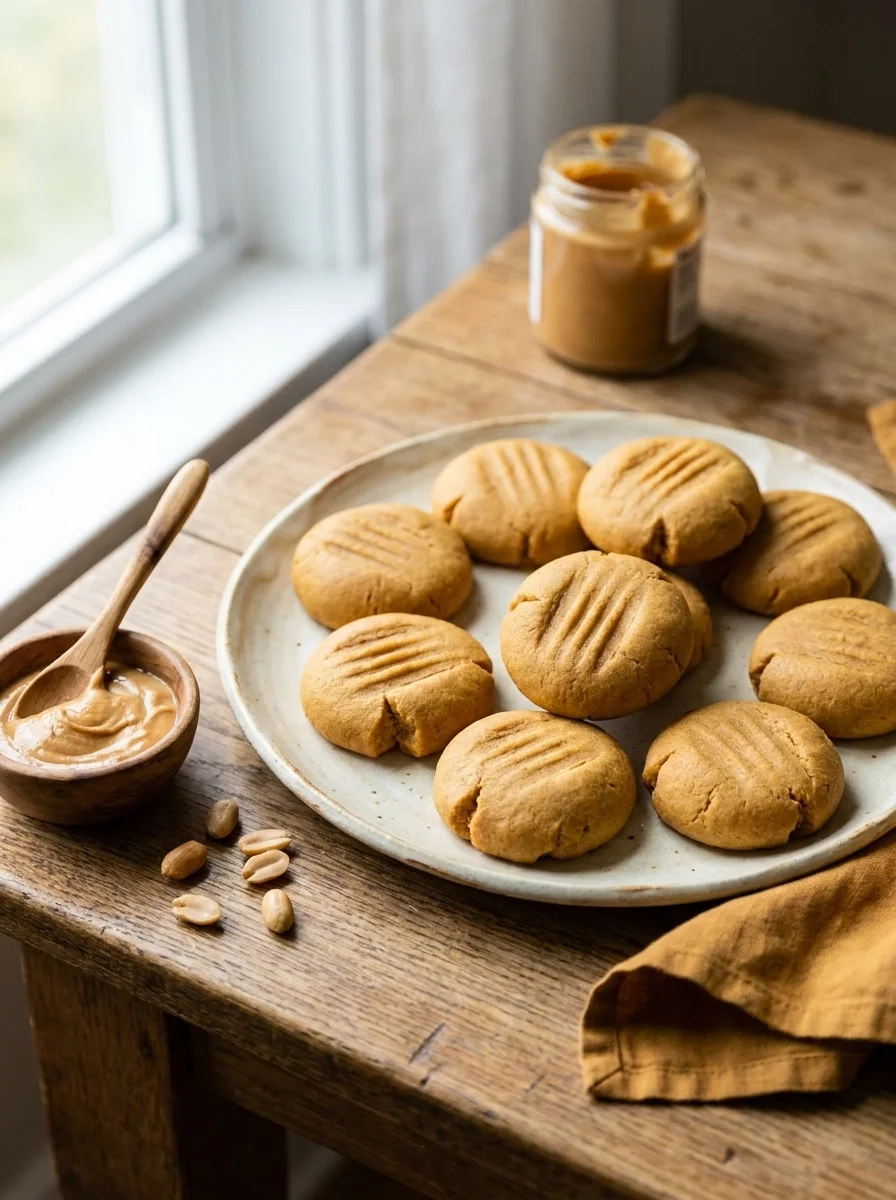
If your dog isn’t allergic to peanuts, this variation trades the oat flour for peanut butter — still just two ingredients, but with a richer flavor and a softer, chewier texture dogs find irresistible. The peanut butter’s natural oils make the dough extra easy to work with.
Safety note: check the peanut butter label before you start. It must contain only peanuts and salt — never xylitol (also listed as birch sugar), which is extremely toxic to dogs even in tiny amounts.
Ingredients
- 1 cup plain pumpkin purée (not pie filling)
- 1/2 cup creamy peanut butter (xylitol-free, peanuts + salt only)
Step-by-Step Instructions
- Preheat the oven to 350°F (175°C) and line a baking sheet with parchment.
- Mix the pumpkin and peanut butter until completely smooth and uniform in color.
- Drop tablespoon-sized mounds onto the sheet and flatten each with the back of a fork — this dough is too soft to roll, and that’s fine.
- Bake for 18–20 minutes, until the edges look set. They’ll feel soft when hot and firm up as they cool.
- Cool completely on the sheet before moving them; they’re delicate while warm.
These stay softer than the oat-flour version, so they’re ideal for senior dogs or puppies. Because of the higher fat content from the peanut butter, keep them refrigerated and use within a week — or freeze for up to 3 months. For a crunchy finishing touch, spread a thin layer of our 4-ingredient icing for dog cookies on top once they’re cool.
Recipe 3: Apple Pumpkin Treats
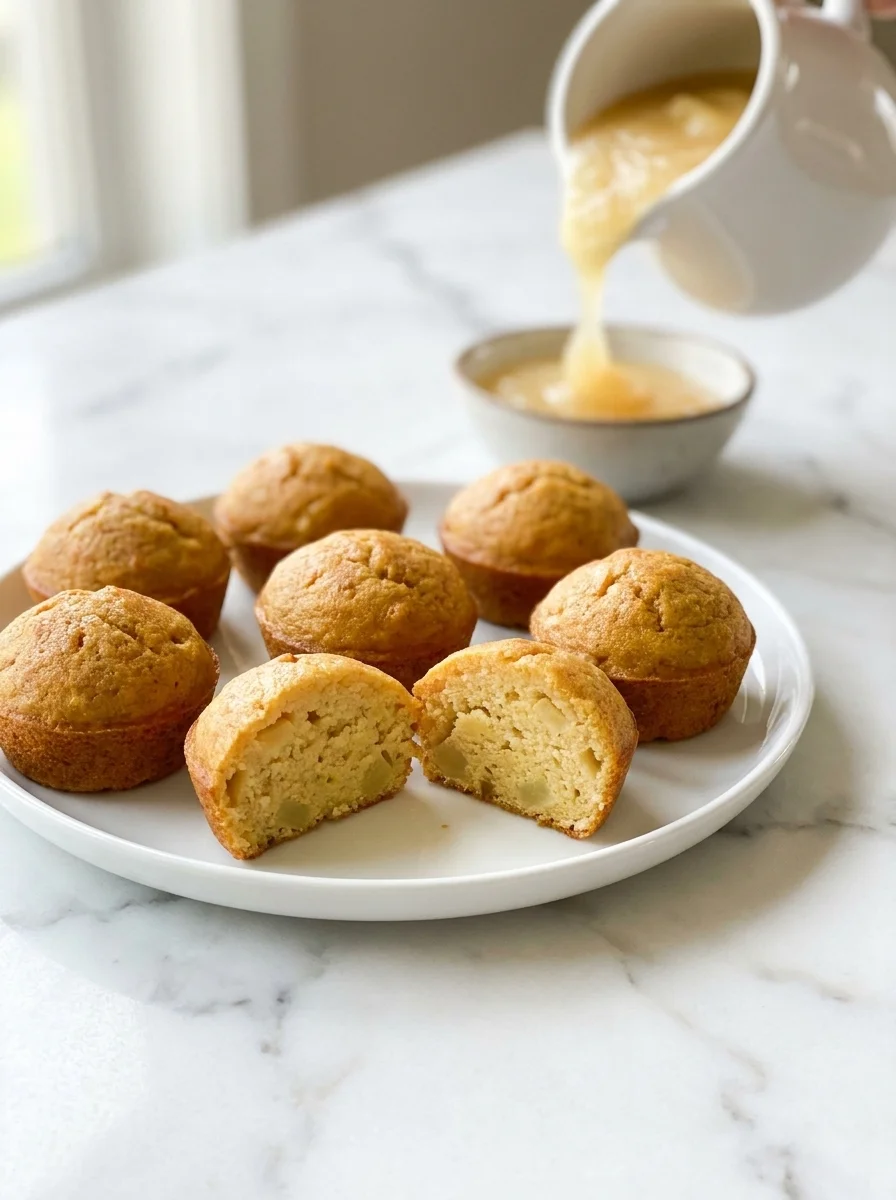
This one swaps the flour for unsweetened applesauce, giving you a soft-baked treat with a hint of fruit sweetness. It’s the quickest of the three — the batter stirs together in two minutes — and the apple-pumpkin combination is a proven crowd-pleaser. Use it when you want something gentler than a crunchy biscuit.
Ingredients
- 1 cup plain pumpkin purée (not pie filling)
- 1/2 cup unsweetened applesauce (no added sugar, no xylitol)
Step-by-Step Instructions
- Preheat the oven to 350°F (175°C). Lightly grease a mini-muffin tin or line a baking sheet with parchment.
- Whisk the pumpkin and applesauce together until smooth.
- Spoon the batter into the mini-muffin cups, filling each about three-quarters full — or drop rounded tablespoons onto the sheet.
- Bake for 18–20 minutes, until the tops spring back lightly when touched.
- Cool in the tin for 5 minutes, then turn out onto a rack to cool completely.
These are cake-like rather than crunchy, so store them in the fridge and use within 5 days. They make an excellent training treat when broken into pea-sized pieces — soft enough to eat quickly so your dog stays focused. If your pup loves fruity flavors, they’ll also go crazy for our 3-ingredient sweet potato dog cookies.
Storage and Shelf Life
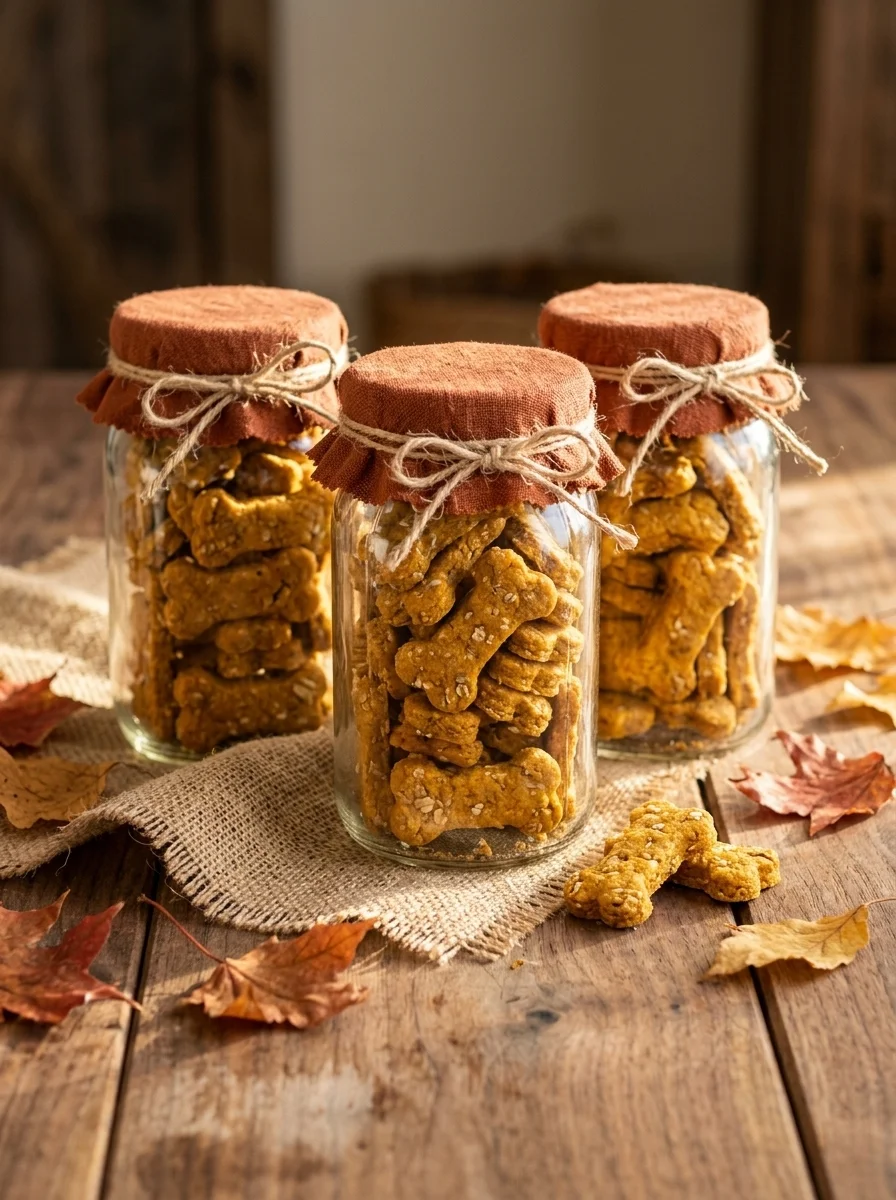
Room temperature: the baked oat-flour biscuits (Recipe 1) keep for up to 5 days in an airtight container. Their low moisture is what gives them shelf life — the crunchier you bake them, the longer they last.
Refrigerator: all three recipes keep for up to 2 weeks chilled. This is the safest default, especially for the softer peanut butter and apple versions.
Freezer: freeze in a zip-top bag for up to 3 months. Thaw at room temperature for 20 minutes before serving — or serve frozen on hot days for a longer-lasting chew.
Because these treats contain no preservatives, trust your nose: if they smell off or show any mold, toss the batch. When in doubt, the freezer is always the safest long-term option. Label your freezer bags with the bake date so you always know how long they’ve been stored.
Troubleshooting Common Problems
Dough too sticky: pumpkin brands vary in moisture. Add oat flour a tablespoon at a time until the dough handles like playdough. Chilling the dough for 15 minutes also firms it up.
Treats too hard: you likely overbaked. Pull them at 22 minutes and let residual heat finish the job — they harden as they cool. For senior dogs, aim for the shorter bake time deliberately.
Treats too soft in the middle: the biscuits were too thick or the oven runs cool. Roll to a true 1/4 inch and give them the extra 30-minute oven-drying step with the heat off.
Dog won’t eat them: rare with pumpkin, but it happens. Try the peanut butter variation — the richer smell wins over most skeptics. You can also brush the baked biscuits lightly with bone broth before serving.
Frequently Asked Questions
Final Thoughts
Two ingredients. One bowl. Thirty-five minutes. That’s all that stands between your dog and a batch of wholesome homemade treats — and once you’ve made them, you’ll wonder why you ever bought the bagged kind. Start with the peanut-free base recipe, then branch into the variations as your dog’s preferences (and your pantry) dictate.
If you enjoyed this kind of simple baking, our 4-ingredient pumpkin dog biscuits add just two more ingredients for an even crunchier biscuit, and the beef and carrot dog muffins make a hearty savory option for variety.

Izzy is an experienced ranch worker who has a passion for exploring nature and getting up close to wildlife. With her connections to various animal organizations, Izzy is well-versed in animal care and rehabilitation.