Rice Krispie Treats for Dogs: Safe Homemade Recipes & Guide
If you have ever caught your dog giving you those big, pleading eyes while you munch on a Rice Krispie treat, you know exactly how hard it is to resist sharing. The good news? You don’t have to say no — you just have to know how to make a version that is actually safe for them. Making rice krispie treats for dogs at home is one of the simplest, most rewarding things you can do in your kitchen. It requires no oven, no complicated equipment, and takes under 15 minutes from start to finish. Whether you are a first-time dog owner or a seasoned pet parent looking for a new healthy snack to add to your rotation, this guide covers everything you need to know — from the basic recipe to safety rules, ingredient variations, storage tips, and even the surprising health benefits of the key ingredients.
Let us dive in.
Rice Krispie Treats for Dogs: Are They Actually Safe?
The short answer is: store-bought ones are not, but homemade ones absolutely can be. The difference lies entirely in the ingredients. Commercial Rice Krispie treats are loaded with marshmallows, butter, and artificial additives that are either harmful or nutritionally empty for dogs. A homemade version, however, lets you swap out every questionable ingredient for something safe, natural, and beneficial to your dog’s health.
Here is the ingredient-by-ingredient breakdown of what makes a store-bought Rice Krispie treat problematic:
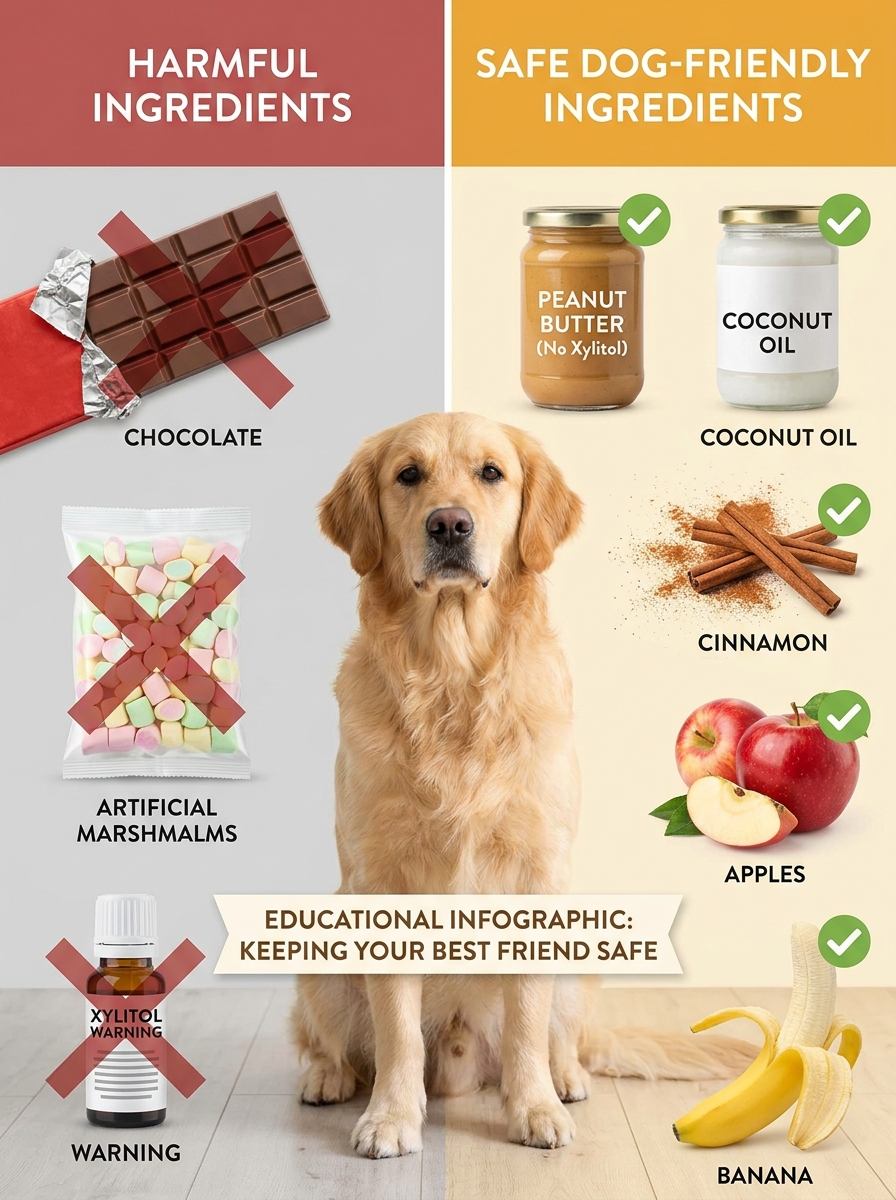
Marshmallows contain high amounts of sugar and artificial flavorings. They also sometimes contain xylitol — a sugar substitute that is extremely toxic to dogs and can cause liver failure even in small amounts. Always read labels carefully.
Butter in large quantities can cause digestive upset in dogs, especially those with sensitive stomachs. It is not inherently toxic, but it offers no nutritional value and can contribute to weight gain over time.
Artificial colors and preservatives — commonly found in commercial treats — have been linked to allergic reactions and hyperactivity in some dogs.
The great news is that swapping all three of these out is remarkably easy. By replacing marshmallows with peanut butter (xylitol-free, always), butter with a small amount of coconut oil, and using plain Rice Krispies (which are just rice and sugar in small quantities), you create a treat that is safe, tasty, and that your dog will absolutely love. If you are curious about how commercial dog treats compare to what you can make at home, check out this guide on dog bones and treats for a broader overview.
The Basic Homemade Rice Krispie Treat Recipe for Dogs
This is the foundational recipe. Master this, and the variations further down will feel effortless.
🍪 Dog-Safe Rice Krispie Treats
Ingredients
- 6 cups plain Rice Krispies cereal (check label — must not contain xylitol)
- ½ cup smooth, unsweetened peanut butter (xylitol-free is non-negotiable)
- ¼ cup coconut oil, melted
- 1 tsp vanilla extract (alcohol-free preferred)
- 1 tbsp honey (optional, for dogs over 1 year old — avoid for puppies)
- ¼ tsp ground cinnamon (optional — great for antioxidants)
Step-by-Step Instructions
- Line a standard 8×8-inch baking pan with parchment paper. This makes cleanup instant and prevents your treats from sticking.
- Pour the Rice Krispies cereal into a large mixing bowl. Set aside.
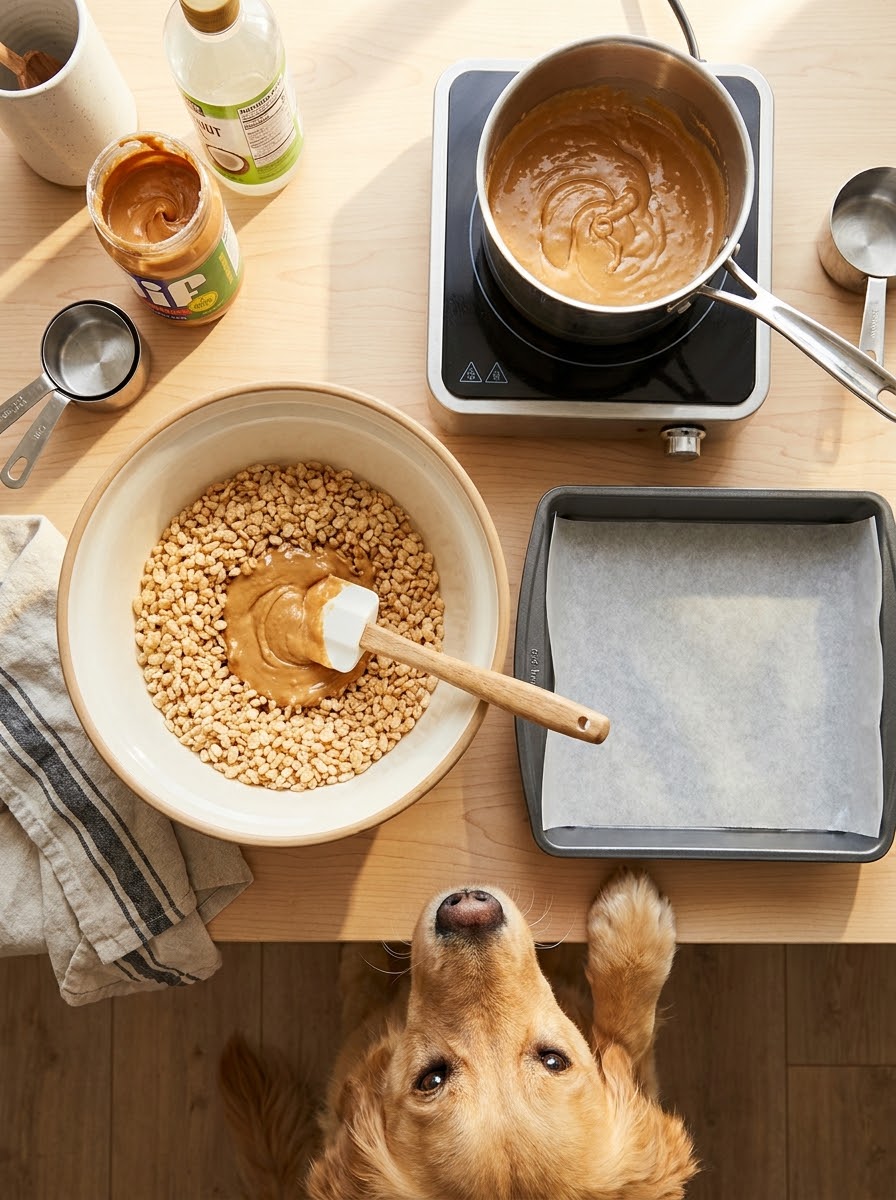
- In a small saucepan over low heat, melt the coconut oil and peanut butter together, stirring constantly. This takes about 2 minutes. Do not let it boil — just warm it enough that it becomes smooth and pourable.
- Remove the pan from the heat. Stir in the vanilla extract, honey (if using), and cinnamon. Mix until completely smooth.
- Pour the warm mixture over the Rice Krispies. Use a spatula to fold everything together gently. Make sure every flake is evenly coated, but do not crush the cereal.
- Transfer the mixture to your prepared pan. Press it down firmly and evenly with the back of a spatula or wax paper. This step matters — a tight press means clean, neat bars later.
- Let the pan sit at room temperature for 20–30 minutes until fully set. For a faster set, pop it in the fridge for 15 minutes.
- Lift the parchment paper out of the pan and cut into squares with a sharp knife. Store in an airtight container.
Recipe Notes
- Never use peanut butter containing xylitol — it is deadly to dogs.
- For dogs with chicken allergies, ensure your Rice Krispies brand doesn’t use fortified additives that could be problematic.
- These treats are a snack, not a meal replacement. Keep portions to 1–2 squares per day depending on your dog’s size.
Format & Method Variations: Three Distinct Ways to Shape Your Treats
Once you have the basic recipe down, the fun part is exploring different formats and serving methods. Each one creates a different texture and eating experience for your dog. Here are the three most distinct and genuinely different approaches.
Classic Pressed Bars
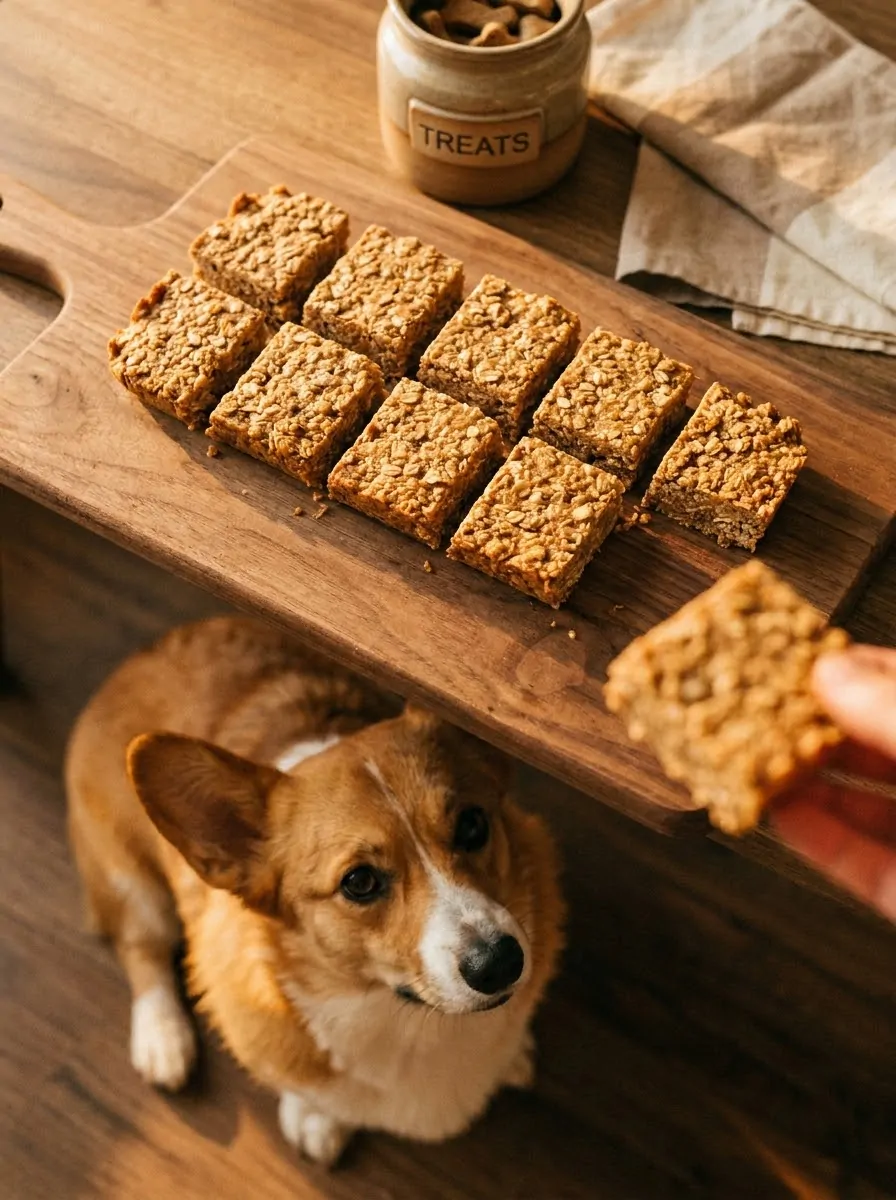
This is what the base recipe produces — firm, portable squares that are easy to grab on a walk or drop into a training pouch. Bars are ideal if you want to use your treats as training rewards, since they hold their shape and do not crumble in your pocket.
How to adapt the base recipe: Follow the base recipe exactly. The key to great bars is the pressing step — use the back of a measuring cup for even, firm pressure across the whole pan. For a thicker bar, use a 7×7-inch pan instead of 8×8. The same quantity of mixture will yield 9 thicker bars.
No-Bake Energy Bites
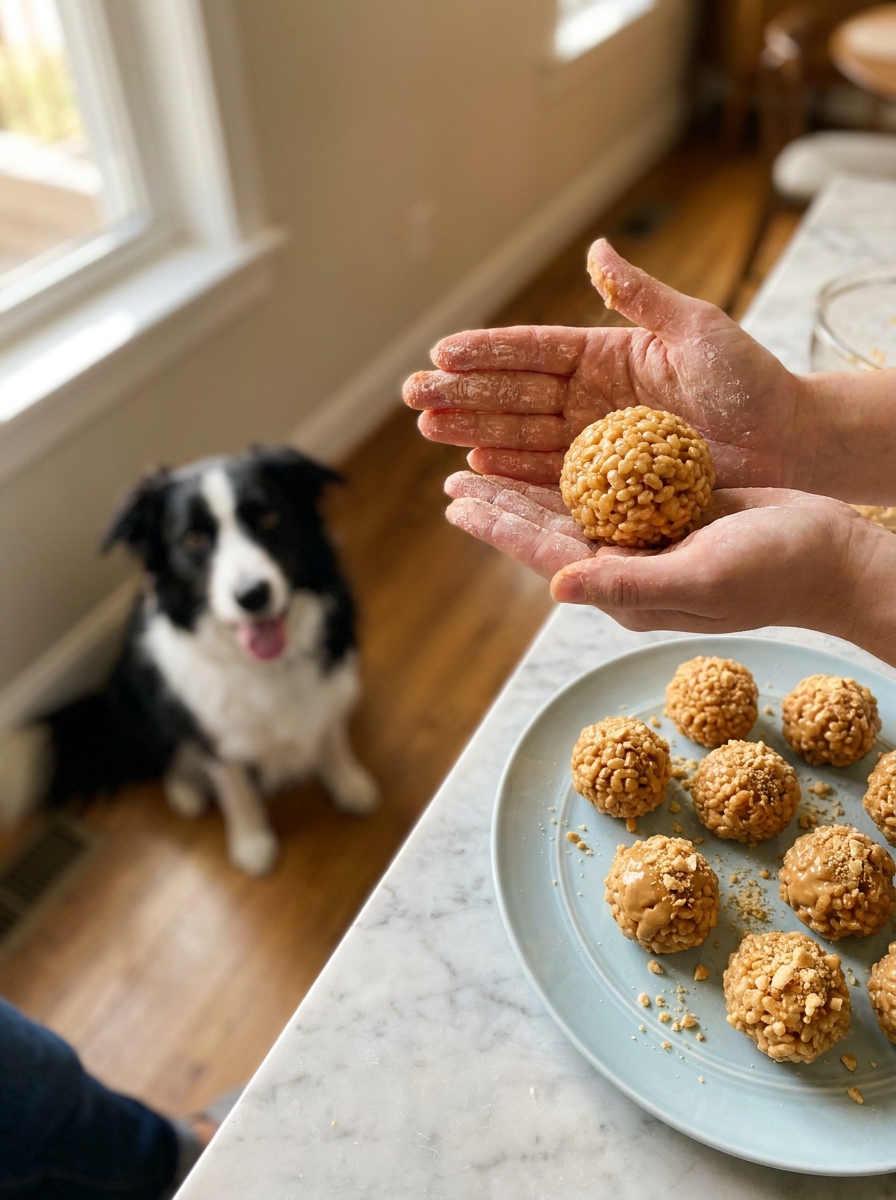
If you want something smaller, softer, and more fun to make, energy bites are the way to go. Instead of pressing the mixture into a pan, you roll it into golf-ball-sized spheres. These are perfect for dogs who love to chase and catch treats mid-air.
How to make them: After combining the Rice Krispies and warm peanut butter mixture (same base recipe), let it cool for 5 minutes so it firms up slightly. Then scoop out tablespoon-sized portions and roll between your palms into balls. If the mixture is too sticky, dust your hands with a tiny bit of Rice Krispies crumbs first. Roll finished balls in extra crushed cereal or unsweetened shredded coconut for a nice outer coating. Set on a plate and refrigerate for 20 minutes to firm up fully.
Yield: approximately 24 bites from one batch.
Frozen Summer Pupsicles
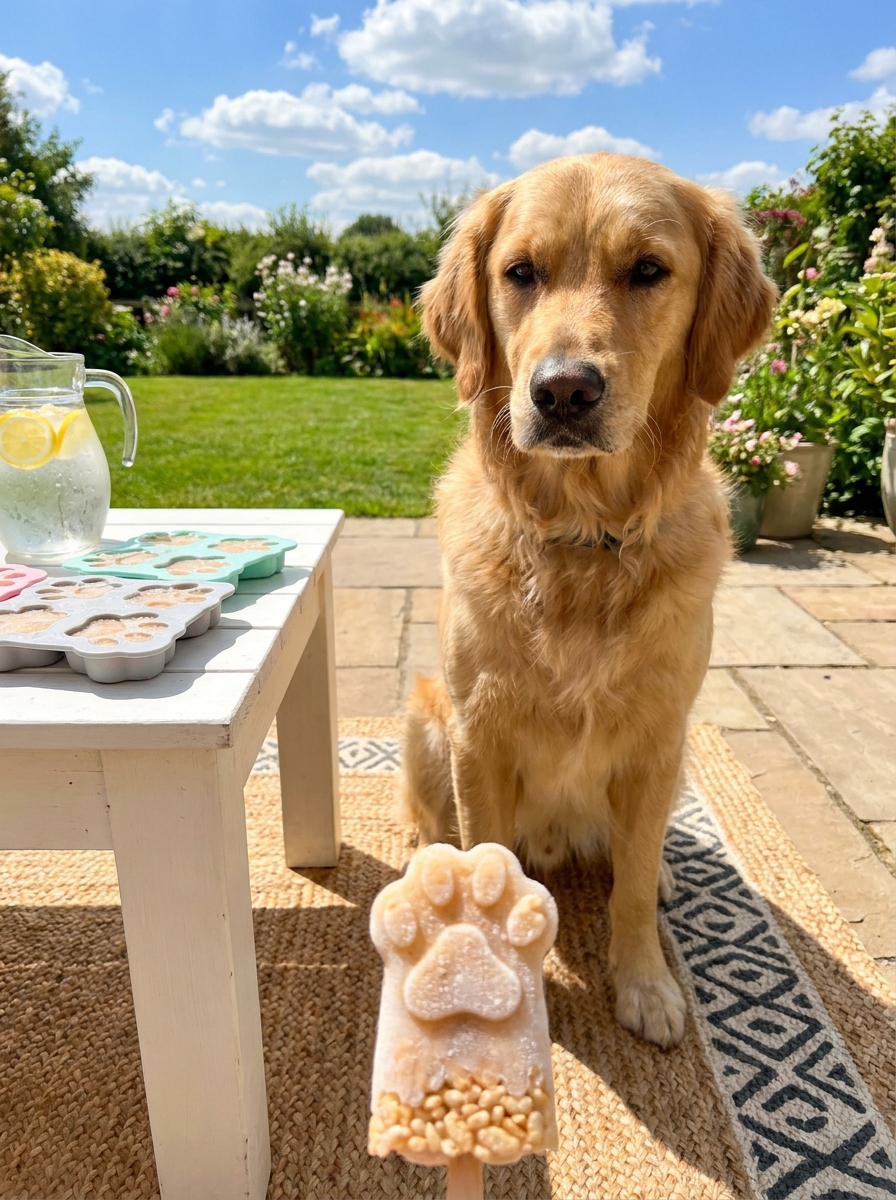
This is the most refreshing variation and a total game-changer for hot summer days. Instead of setting the treats at room temperature, you freeze them in silicone molds for a cold, crunchy popsicle-style snack.
How to make them: Use the same base recipe but slightly increase the coconut oil to ⅓ cup — this helps the treats freeze with a satisfying crunch rather than getting rock-hard. Press the mixture into silicone muffin or paw-print molds. Freeze for 3–4 hours until solid. Pop them out and store in a freezer bag.
These are particularly great for dogs who love cold treats and for teething puppies. If you are looking for more warm-weather ways to keep your dog comfortable, the tips on travel essentials to pack for your dog include great ideas for hot-weather care beyond treats.
Three Ingredient Variations to Mix It Up
Format changes are fun, but swapping ingredients is where you can really tailor these treats to your dog’s preferences and dietary needs. Below are three distinct, fully different variations — each with its own flavor profile and set of benefits.
Ingredient Variation 1: Apple Cinnamon Crunch
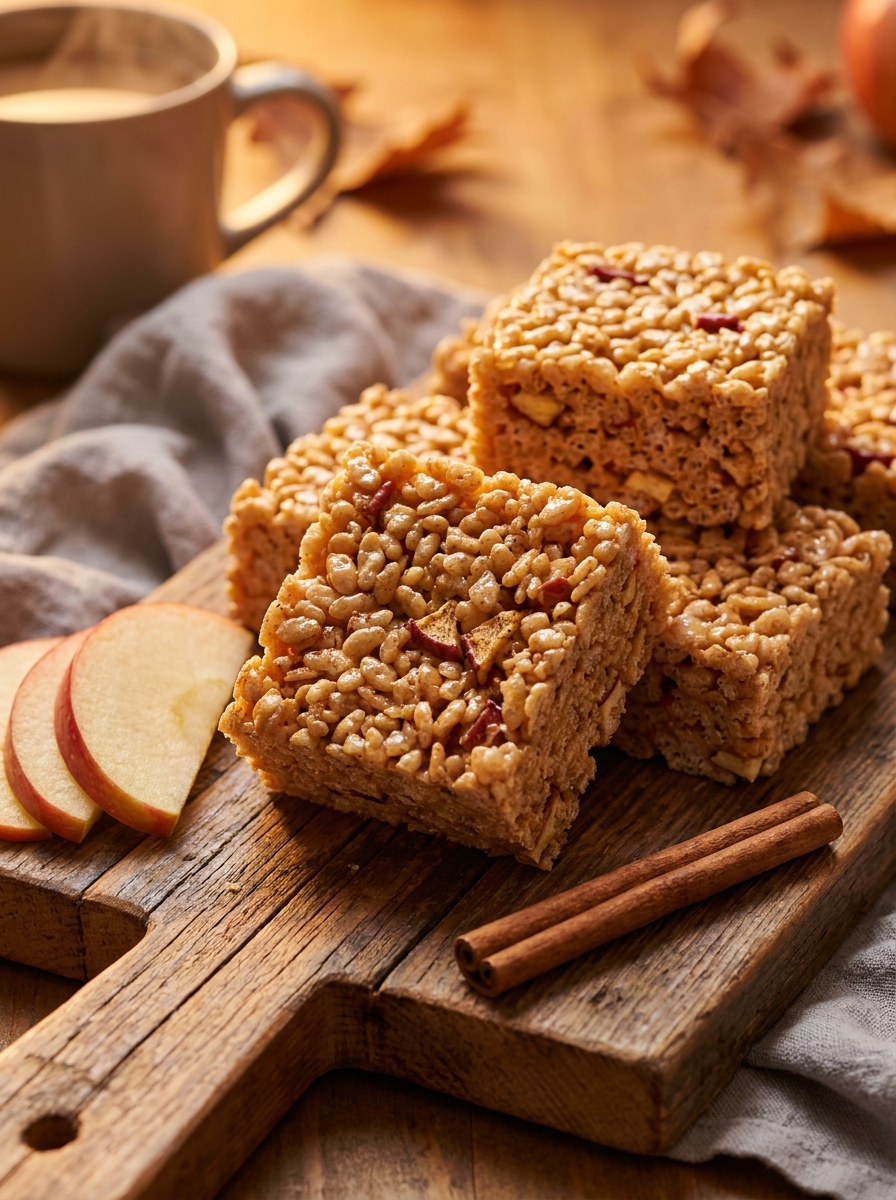
This variation leans into a fall-inspired flavor that most dogs go absolutely crazy for. Apples are a fantastic source of vitamins A and C, plus dietary fiber, while cinnamon has natural anti-inflammatory properties.
Recipe Card: Apple Cinnamon Rice Krispie Treats for Dogs
Ingredients
- 6 cups plain Rice Krispies
- ½ cup smooth, xylitol-free peanut butter
- ¼ cup coconut oil, melted
- ¼ cup unsweetened applesauce (no added sugar)
- 1 tsp ground cinnamon
- 2 tbsp finely diced fresh apple (peeled, seeds removed)
Instructions
- Melt coconut oil and peanut butter together in a saucepan over low heat, stirring for 2 minutes.
- Remove from heat. Stir in applesauce, cinnamon, and diced apple until combined.
- Pour over Rice Krispies in a large bowl. Fold gently.
- Press firmly into an 8×8-inch parchment-lined pan.
- Set at room temperature for 30 minutes, then cut and store.
Important: Always remove apple seeds and the core — apple seeds contain trace amounts of cyanogenic compounds that can be harmful to dogs in large quantities. Stick to the flesh only.
Ingredient Variation 2: Peanut Butter & Banana
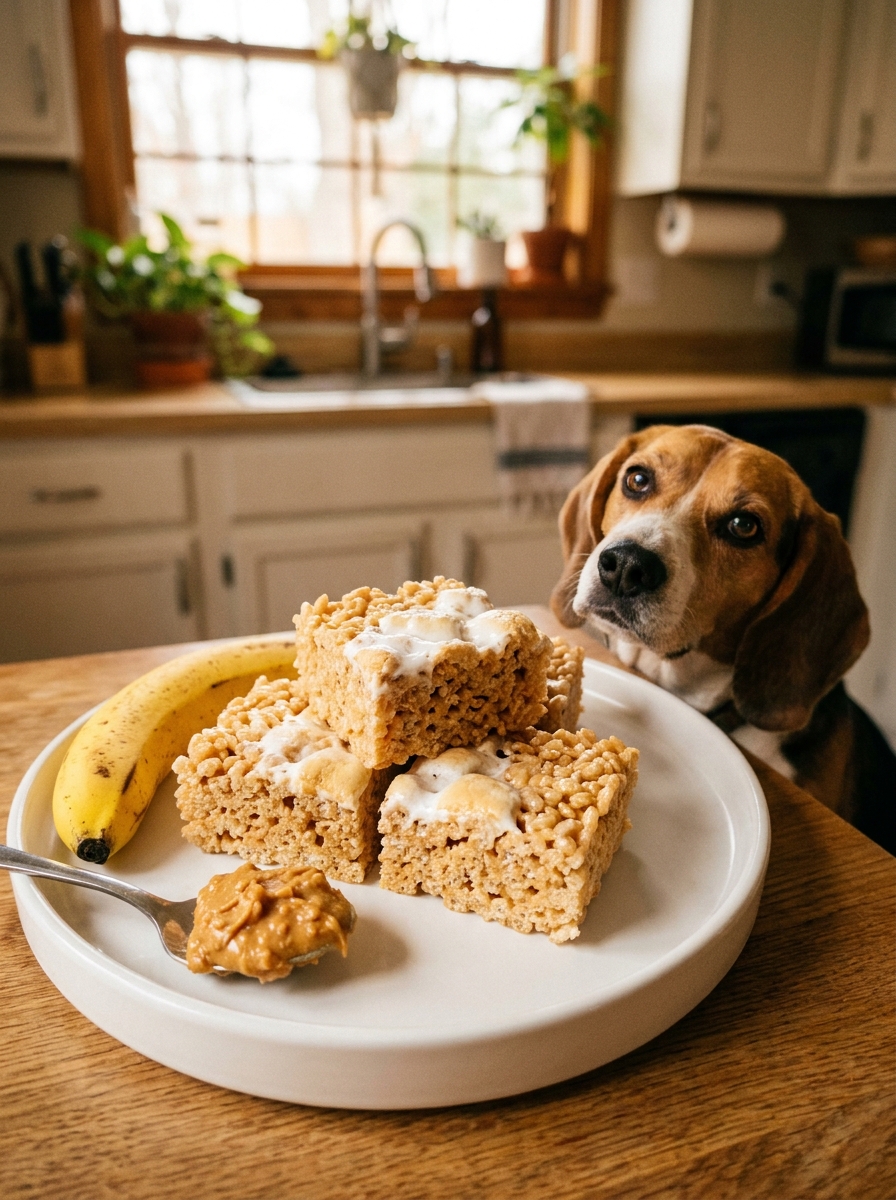
Banana is one of the most dog-friendly superfoods you can add to treats. It is packed with potassium, vitamin B6, and fiber, and its natural sweetness means you barely need any added sweetener at all. This variation produces treats with a softer, chewier texture.
Recipe Card: Peanut Butter & Banana Rice Krispie Treats
Ingredients
- 6 cups plain Rice Krispies
- ½ cup smooth, xylitol-free peanut butter
- ¼ cup coconut oil, melted
- 1 medium ripe banana, mashed (about ½ cup)
- 1 tbsp honey (optional)
- A pinch of sea salt
Instructions
- Mash the banana thoroughly in a bowl until smooth. Set aside.
- In a small saucepan, melt coconut oil and peanut butter together over low heat, stirring constantly for 2 minutes.
- Remove from heat. Stir in mashed banana, honey (if using), and a pinch of sea salt.
- Pour the mixture over Rice Krispies in a large bowl. Fold gently — banana is heavier than applesauce, so stir from the bottom up to ensure even coating.
- Press firmly into an 8×8-inch parchment-lined pan.
- Refrigerate for 45 minutes before cutting. The extra chill time is important here because banana adds moisture that needs time to firm up.
Notes: This version is slightly softer and chewier than the base recipe. Store in the fridge rather than at room temperature, and consume within 3 days.
Ingredient Variation 3: Sweet Potato & Oat
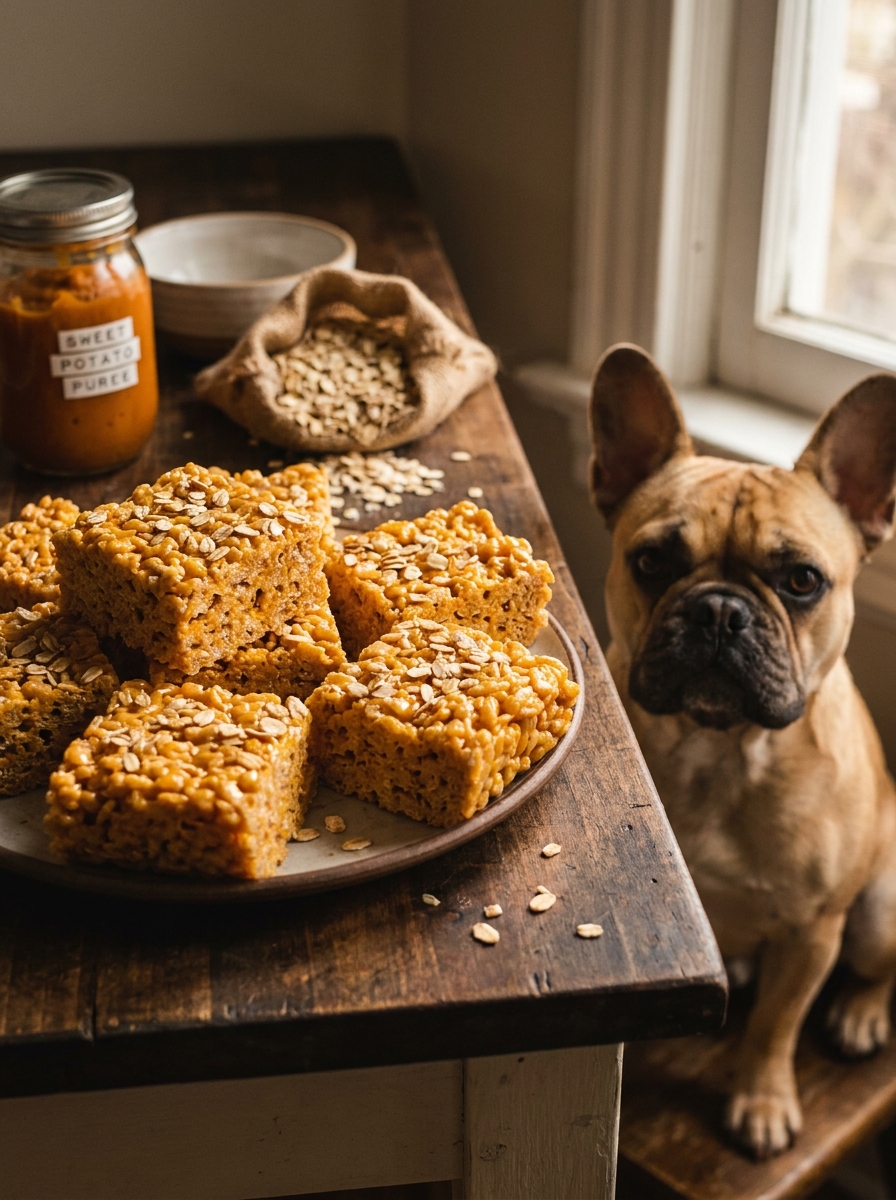
If you want a grain-inclusive, nutrient-dense variation, this is the one. Sweet potatoes are a powerhouse for dogs — rich in beta-carotene, fiber, and vitamins A, B6, and C. Rolled oats add gentle digestive support and a heartier chew. This is the best variation for dogs with sensitive stomachs.
Recipe Card: Sweet Potato & Oat Rice Krispie Treats
Ingredients
- 4 cups plain Rice Krispies
- 1½ cups rolled oats (quick-cook or old-fashioned both work)
- ½ cup smooth, xylitol-free peanut butter
- ⅓ cup coconut oil, melted
- ½ cup plain, unsweetened canned sweet potato puree (or homemade roasted and mashed)
- 1 tsp ground cinnamon
Instructions
- In a dry skillet over medium heat, toast the rolled oats for 3–4 minutes, stirring frequently, until fragrant and lightly golden. This adds a nutty depth of flavor. Remove from heat.
- In a small saucepan, melt coconut oil and peanut butter together over low heat for 2 minutes.
- Remove from heat. Stir in sweet potato puree and cinnamon until smooth.
- In a large bowl, combine the Rice Krispies and toasted oats. Pour the warm peanut butter mixture over top and fold until everything is evenly coated.
- Press firmly into an 8×8-inch parchment-lined pan.
- Refrigerate for 45 minutes until completely set before cutting.
Notes: Sweet potato adds moisture, so this version benefits from refrigeration. It will keep for up to 5 days in the fridge, longer than the other variations.
Are Rice Krispie Treats Safe for Dogs? (A Closer Look)
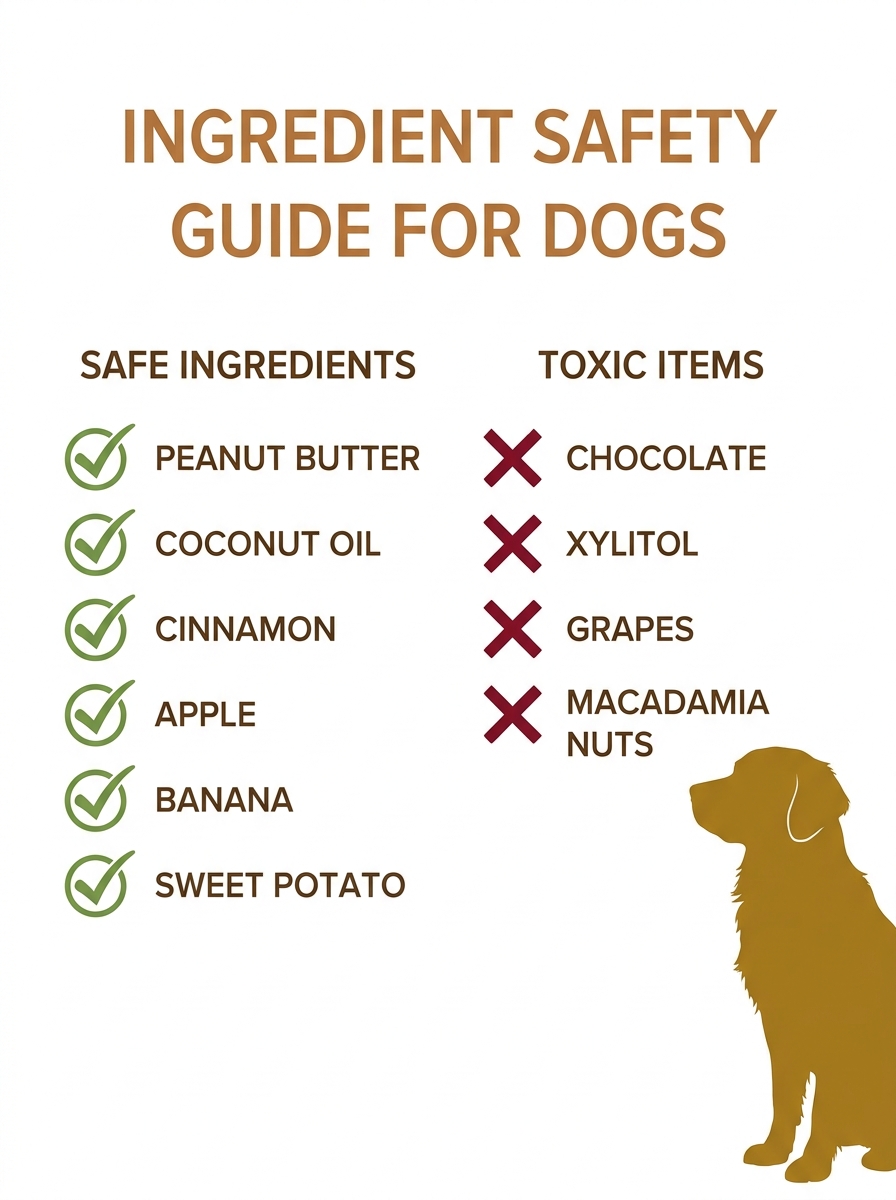
We touched on this earlier, but let us go deeper. Safety is the most important part of making treats for your dog, and understanding exactly which ingredients are fine — and which ones are dangerous — will serve you well every time you step into the kitchen.
Rice Krispies cereal itself is generally safe for dogs in moderation. It is made from milled rice that has been toasted and flavored with a small amount of sugar and salt. It is not a nutritional staple for dogs, but as an occasional treat ingredient, it poses no harm. Just be sure to check the label — some Rice Krispies formulations in different countries may include additives or fortification agents you want to avoid. Stick to the plain, original version.
Peanut butter is a superstar ingredient for homemade dog treats, provided you follow one golden rule: always, always check for xylitol. Xylitol is a sugar substitute found in many low-sugar or diet peanut butter brands. It causes a rapid insulin release in dogs that can lead to hypoglycemia, liver failure, and even death. Stick to brands that use only peanuts, salt, and sometimes sugar. Natural, no-added-sugar peanut butter is ideal as long as xylitol is not listed. If you want to learn more about safe treat choices and which commercial options to avoid, the homemade dog treats recipes guide is an excellent resource to bookmark.
Coconut oil is beneficial for dogs in small amounts. It supports healthy skin and coat, aids digestion, and has mild antibacterial properties. The small quantity used in these recipes (¼ cup spread across 12–16 treats) means each treat contains only about a teaspoon of coconut oil, which is well within safe limits for most dogs.
Cinnamon in the small amounts used in these recipes is safe and even beneficial for dogs. It contains antioxidants and has natural anti-inflammatory properties. However, avoid using cinnamon essential oil or large quantities of cinnamon powder, as these can irritate a dog’s mouth and digestive tract.
Honey is safe for adult dogs in small amounts, but should be avoided for puppies under one year old, as their digestive systems are not yet equipped to handle the bacteria that raw honey can contain.
What Ingredients Are Toxic to Dogs?
Understanding what to avoid is just as important as knowing what to include. Here is a clear breakdown of ingredients that should never appear in your homemade dog treats.
Chocolate is the most well-known toxin for dogs. It contains theobromine and caffeine, both of which dogs metabolize very slowly. Even a small amount of dark chocolate can cause vomiting, diarrhea, rapid breathing, increased heart rate, and in severe cases, seizures or death. Milk chocolate is less concentrated but still dangerous in any meaningful quantity.
Grapes and raisins can cause acute kidney failure in dogs, and the exact toxic compound is still not fully understood. Even a single grape can be dangerous for some dogs. Skip them entirely in any homemade treat recipe.
Macadamia nuts are another surprising toxin. They can cause weakness, depression, vomiting, tremors, and hyperthermia in dogs. Stick to peanut butter and avoid any nut butter blends.
Onions, garlic, and chives damage a dog’s red blood cells and can cause anemia. Avoid them entirely, even in small amounts as flavoring.
Xylitol — mentioned earlier but worth repeating — appears in many sugar-free products, including certain peanut butters, chewing gums, and baked goods. It causes a rapid insulin spike and can be fatal within hours. Always read ingredient labels.
Excessive salt — dogs need some sodium, but too much can lead to excessive thirst, urination, and in severe cases, sodium ion poisoning. The ingredients in the recipes above use naturally low-sodium items, so you are in the clear. If you notice your dog displaying excessive licking or thirst behaviors after eating a treat, it could be a sign of too much sodium or another ingredient sensitivity.
The Health Benefits of Homemade Dog Treats
Making your own treats at home is more than just a fun weekend activity — it is genuinely better for your dog’s health compared to most store-bought options. Here is why.
You control every ingredient. Commercial dog treats are often loaded with fillers, preservatives, artificial colors, and mysterious by-products. When you make treats at home, you know exactly what goes into them. This matters especially for dogs with food allergies, sensitivities, or dietary restrictions. If your dog needs to avoid certain proteins or grains, you can build a recipe around their specific needs.
Fewer additives means better digestion. Many commercial treats use artificial preservatives like BHA, BHT, and ethoxyquin to extend shelf life. These have been linked to digestive upset and, in some studies, to longer-term health concerns. Fresh, whole ingredients like the ones in these recipes are far gentler on your dog’s digestive system. If you are exploring a broader shift toward homemade nutrition, you will find more great recipes and guidance in the homemade dog treats recipes collection.
Nutritional value actually matters. The ingredients in these recipes — peanut butter, apples, bananas, sweet potatoes, oats — are not just filler. They contain protein, fiber, vitamins, and minerals that contribute to your dog’s overall health. A treat that doubles as a small nutritional boost is a win for everyone.
Fresh treats support healthier weight. Store-bought treats are often calorie-dense with low nutritional value. Because homemade treats use recognizable, nutrient-rich ingredients, you are less likely to overfeed empty calories. This matters for maintaining a healthy weight, especially for breeds prone to obesity.
Bonding through positive reinforcement. The act of making treats and then using them during training or as an everyday reward strengthens the relationship between you and your dog. Dogs thrive on consistency and positive interaction, and there is something special about your dog knowing that a particular treat came from your hands, specifically for them. Training philosophies that emphasize this kind of positive bonding — like the approaches discussed in positive reinforcement vs. traditional dog training — have been shown to produce better long-term behavioral outcomes than correction-based methods.
Peace of mind. There is a quiet comfort in knowing that the snack you are giving your dog is made with care, from ingredients you trust, in a kitchen you control. No recalls, no mystery by-products, no wondering what is really in that bag.
How to Store & Serve Your Dog’s Rice Krispie Treats
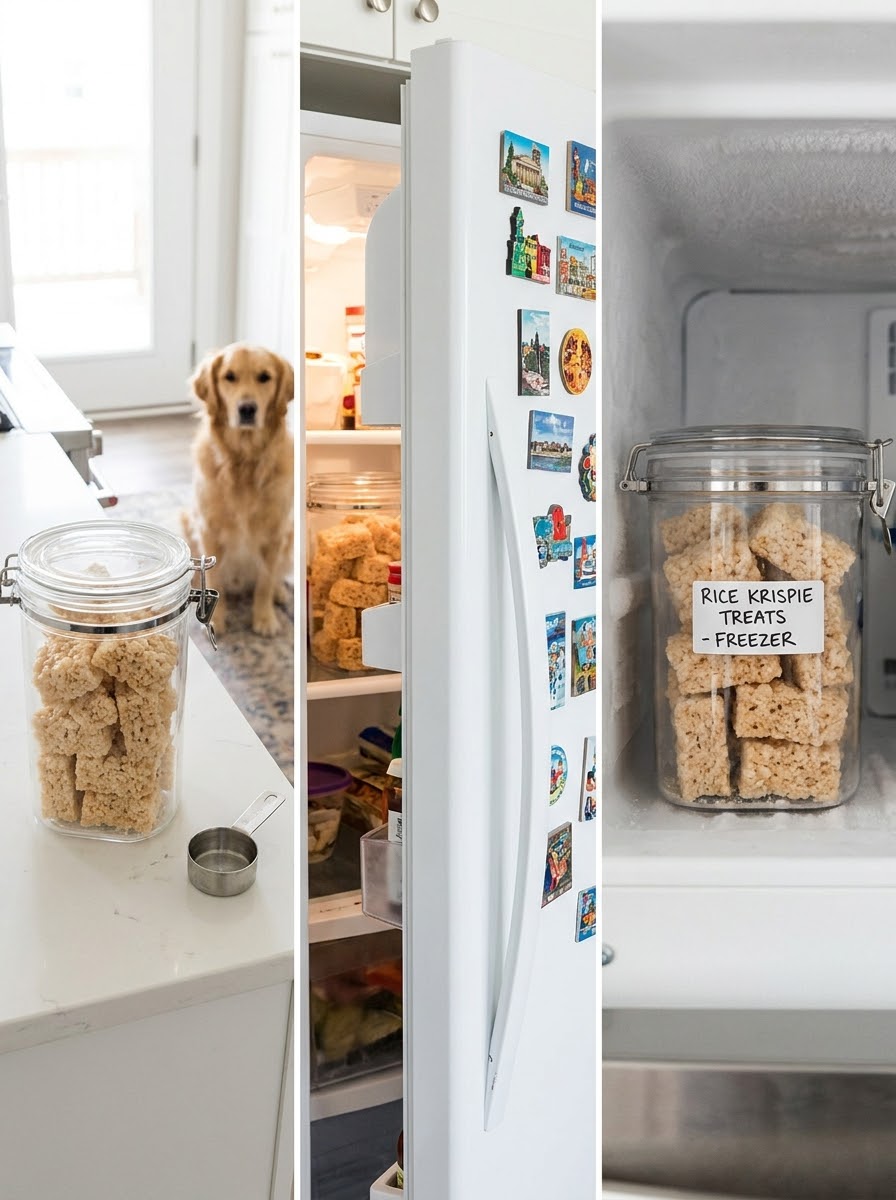
Proper storage keeps your treats fresh, safe, and tasty for as long as possible. Here is a complete guide.
Airtight containers are essential. Whether you are storing at room temperature or in the fridge, always use an airtight container. Rice Krispie-based treats are hygroscopic — they absorb moisture from the air and can go stale quickly. A simple Tupperware or glass jar with a tight-sealing lid works perfectly.
Room temperature storage is fine for the base recipe and the Apple Cinnamon variation. These will stay fresh for 3–4 days in a sealed container at typical room temperature (68–72°F or 20–22°C). In hot or humid climates, keep them in the fridge regardless of the recipe.
Refrigerator storage is best for the Peanut Butter & Banana and Sweet Potato & Oat variations, which contain added moisture from fruit or puree. These will keep for 4–5 days in the fridge. The base recipe also extends to 5–5 days when refrigerated.
Freezer storage works for all three recipes. Wrap individual treats in wax paper and place them in a freezer bag. They will keep for up to 2 months. Thaw at room temperature for 15 minutes before serving.
Portion control matters. Even healthy treats should be given in moderation. A good rule of thumb is that treats should make up no more than 10% of your dog’s daily calorie intake. For a 50-pound dog, that typically means 1–2 squares per day. For smaller dogs under 20 pounds, half a square is usually plenty. Adjust based on your dog’s weight, activity level, and any dietary restrictions your vet has discussed.
Serving tips: Cut treats into sizes appropriate for your dog’s mouth. Small dogs benefit from bite-sized pieces, while large breeds can handle full squares. Treats make excellent training rewards — small enough to reward frequently without overfeeding. They also work well stuffed inside interactive treat toys for mental enrichment. If you are looking for treat-storage and organization solutions, there are some great ideas in the dog treat station ideas guide.
Adjusting Recipes for Puppies and Dogs With Special Needs

Not all dogs are the same, and your recipe might need a small tweak depending on your dog’s age, size, and health.
For puppies under one year old, skip the honey. Their digestive systems are still developing and they cannot safely process raw honey. You can compensate by adding an extra splash of applesauce or a bit more banana for natural sweetness. Puppies also benefit from smaller treat sizes — cut squares into quarters so they are easy to chew and digest.
For dogs with grain sensitivities, swap the Rice Krispies for a puffed rice cereal made from 100% rice with no added wheat or barley. Some dogs react to the small amount of malt flavoring in standard Rice Krispies, so a plain puffed rice alternative is a safer choice.
For dogs with peanut allergies, substitute the peanut butter with sunflower seed butter (xylitol-free). It has a similar texture and consistency but is made from sunflower seeds instead of peanuts. Almond butter is another option, provided your dog does not have a tree nut allergy.
For senior dogs who may have dental issues or sensitive digestion, make the treats softer by increasing the coconut oil slightly and pressing the mixture less firmly. Let it set in the fridge and cut into smaller, softer pieces. Senior dogs also benefit from the Sweet Potato & Oat variation, as sweet potato is gentle on the digestive system and provides nutrients that support joint health.
Why Homemade Treats Are Worth the Small Effort
If you have read this far, you have already invested a few minutes learning about dog treat safety, recipe variations, and storage. The actual time commitment for making these treats is minimal — 10 minutes of prep, 30 minutes of setting time (most of which is passive), and you have a batch of fresh, healthy treats that your dog will recognize as something special.
Store-bought treats have their place, especially for convenience. But there is something irreplaceable about the connection that comes from making something by hand for your dog. It is not just the nutritional benefits or the cost savings — though those are real. It is the quiet moment in the kitchen, mixing ingredients, pressing the pan, and knowing that something good is coming out of it. For dog owners who treat their pets like family, homemade treats are one of the simplest ways to show that.
If you are exploring more ways to spoil your dog at home — from treat recipes to room setups, grooming routines, and beyond — there are plenty of ideas in the dog grooming styles and dog bedroom ideas guides that pair well with a fresh batch of homemade treats.
Final Thoughts
Making rice krispie treats for dogs at home is one of those rare kitchen projects that is genuinely easy, genuinely healthy, and genuinely loved by your dog — all at the same time. The base recipe takes 10 minutes, requires no baking, and uses ingredients you can find in almost any grocery store. From there, the variations open up a world of flavors and textures your dog will never get bored of. Apple cinnamon for fall, peanut butter and banana for everyday, sweet potato and oat for sensitive tummies, and frozen pupsicles for summer — there is a version for every season and every dog.
The most important rule is simple: always use xylitol-free peanut butter, avoid chocolate and artificial additives, and keep treats to a reasonable portion size. Everything else is just a matter of what your dog likes best.
So next time your dog gives you that look while you are eating a snack, do not feel guilty. Grab a bowl, some Rice Krispies, and a jar of peanut butter. In 10 minutes, you can have a tray of fresh, homemade treats ready to share — the right way.
Your dog will thank you.

Izzy is an experienced ranch worker who has a passion for exploring nature and getting up close to wildlife. With her connections to various animal organizations, Izzy is well-versed in animal care and rehabilitation.