
Sweet Potato Dog Treats Homemade [Baked No-Bake and Dehydrated]
If you’ve been searching for sweet potato dog treats homemade recipes that actually work, you’re in the right place. Sweet potatoes are one of the safest, most affordable ingredients you can use to make treats your dog will beg for. They’re easy to find at any grocery store, gentle on most dogs’ stomachs, and hold their shape well whether you bake them, freeze them, or dehydrate them.
This guide skips the long-winded backstory and gets straight to what you actually came here for: real, tested recipes. You’ll find a baked biscuit recipe, no-bake freezer bites, dehydrated chews, and three tasty variations — all laid out in clean, copy-and-bake recipe cards you can follow step by step.
Whether you’re a first-time treat-maker or someone who’s tired of paying for store-bought bags full of fillers, this article will walk you through everything from mixing the dough to storing the finished treats properly. Let’s get your dog’s tail wagging.
1. The Basic Sweet Potato Dog Treats Recipe (Baked Biscuits)
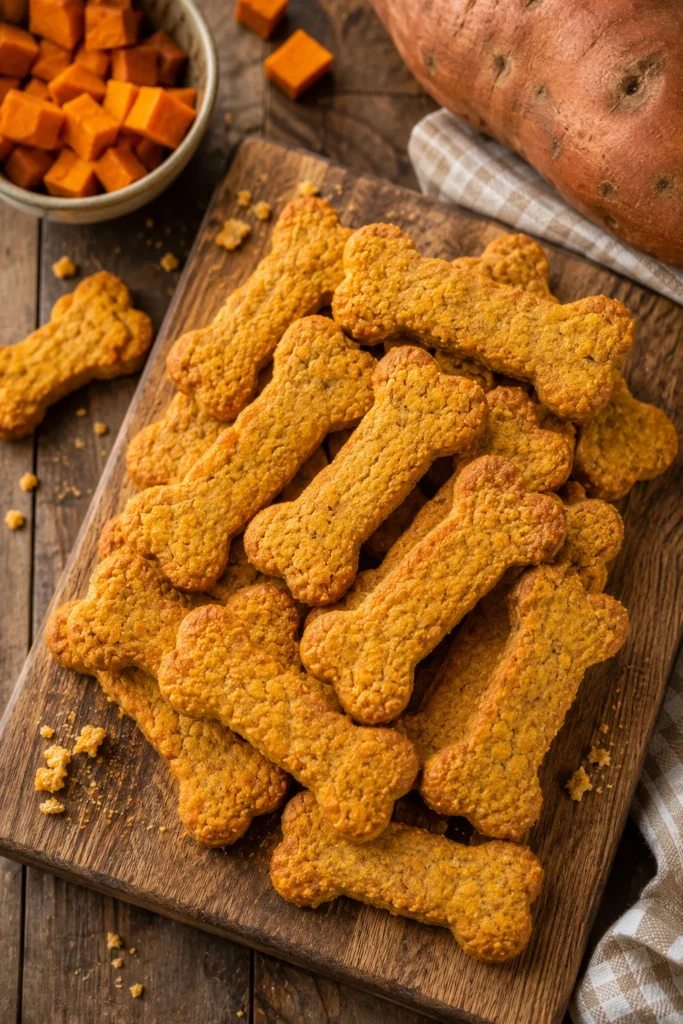
This is the treat to start with if you’ve never made homemade sweet potato dog treats before. It uses just a handful of pantry staples, bakes into a firm, crunchy biscuit, and holds its shape well enough to use dog-bone cookie cutters if you want a cute presentation for gifting or sharing on social media.
Baked biscuits are the most popular format for a reason — they store well, they’re easy to portion, and most dogs love the crunchy texture. This version is beginner-friendly, meaning you don’t need any special equipment beyond a mixing bowl, a rolling pin, and a baking sheet.
1.1 Ingredients You’ll Need
Before you start, gather these simple ingredients. Nearly everything here is something you likely already have in your kitchen.
- 1 medium sweet potato, cooked and mashed (about 1 cup)
- 1 ¾ cups whole wheat flour (or oat flour for a gentler option)
- 1 large egg
- 2 tablespoons peanut butter (xylitol-free, unsalted)
- ¼ cup water (add more as needed)
A quick note on ingredient quality: always use plain, unsweetened, unsalted ingredients. Dogs don’t need the added sugar, salt, or spices that human recipes often include, and some seasonings — like garlic or onion powder — can actually be harmful.
1.2 Step-by-Step Instructions
Follow these steps exactly, and you’ll have a full batch of treats ready in under an hour, most of which is hands-off baking time.
Recipe Card: Baked Sweet Potato Dog Biscuits
- Prep time: 15 minutes
- Cook time: 25 minutes
- Yield: About 24-30 small biscuits
- Ingredients:
- 1 cup mashed sweet potato (cooked)
- 1 ¾ cups whole wheat flour
- 1 large egg
- 2 tbsp natural peanut butter
- ¼ cup water (as needed)
- Instructions:
- Preheat your oven to 350°F (175°C). Line a baking sheet with parchment paper so the biscuits don’t stick.
- In a large bowl, mix the mashed sweet potato, egg, and peanut butter until smooth and well combined.
- Slowly add the flour, a half cup at a time, stirring after each addition until a thick dough starts to form.
- If the dough feels too dry or crumbly to hold together, add water a tablespoon at a time until it comes together into a workable ball.
- Turn the dough onto a lightly floured surface and knead it a few times, just until smooth.
- Roll the dough out to about ¼-inch thickness. Thinner dough bakes crunchier; thicker dough stays softer in the middle.
- Cut into shapes using a cookie cutter, or simply cut into small squares with a knife if you don’t have one on hand.
- Place the biscuits on the prepared baking sheet, leaving a little space between each one so they bake evenly.
- Bake for 20-25 minutes, or until firm and lightly golden around the edges.
- For extra-crunchy treats, turn off the oven once baking is done and let the biscuits sit inside for another 30 minutes as the oven cools.
- Remove and let cool completely on a wire rack before serving or storing.
- Notes:
- Whole wheat flour can be swapped for oat flour if your dog is sensitive to wheat.
- Always double-check your peanut butter label — xylitol is toxic to dogs, even in small amounts, so only use brands that list peanuts as the only ingredient.
- Store in an airtight container at room temperature for up to a week, or freeze for longer storage.
- Leftover dough scraps can be re-rolled and cut again, so very little goes to waste.
If your dog already loves crunchy snacks, you may also want to check out this guide on choosing between dental chews and dog bones, since texture preferences often carry over between treat types, and it can help you decide what to bake next.
1.3 Quick Recipe Notes
A few simple tips to keep in mind before you move on to the next recipe:
- Bake time depends heavily on biscuit thickness — thinner biscuits cook faster and get crunchier, while thicker ones stay softer in the center.
- If your dough feels sticky while rolling, dust your hands and rolling pin with a little extra flour rather than adding more liquid.
- This dough freezes well raw, so you can portion it into logs ahead of time, freeze it, and slice off what you need to bake fresh batches later without starting from scratch.
- If you’re baking for a dog with a sensitive stomach, start with just one biscuit to see how they react before offering more.
- Biscuits that come out too soft after cooling can usually be fixed by popping them back in a 300°F oven for 10 more minutes to dry them out further.
2. No-Bake Sweet Potato Dog Treats (Freezer Bites)
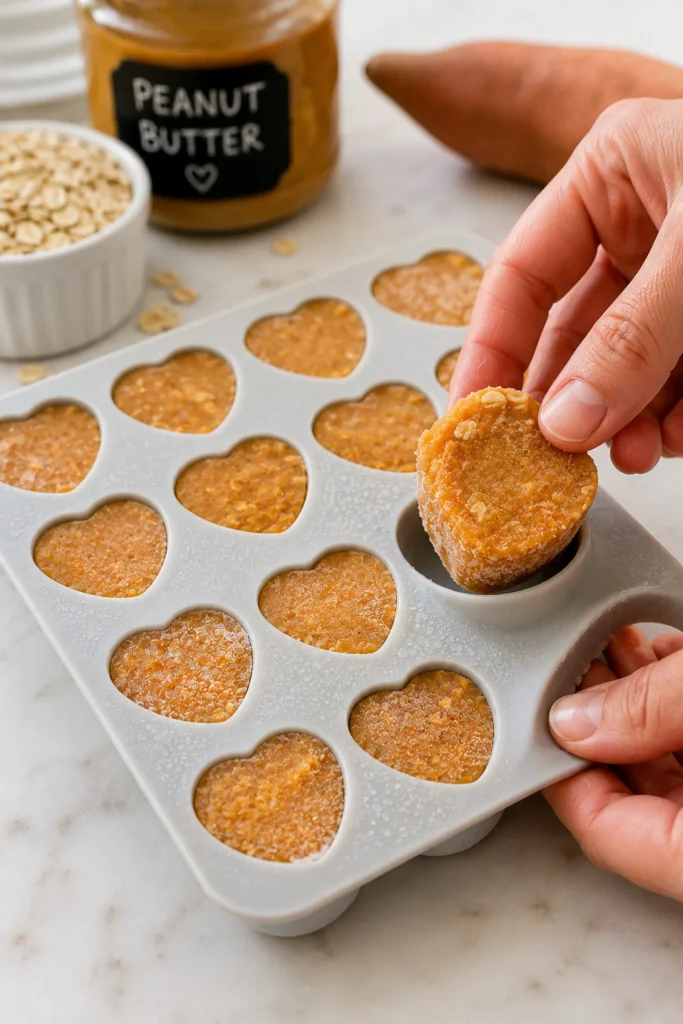
No oven? No problem. This format skips baking completely and instead uses the freezer to set the treats. It’s the fastest of all the methods in this guide, and it’s especially handy during hot summer months when you don’t want to turn on the oven and heat up the kitchen.
No-bake treats also tend to have a softer texture than baked biscuits, which makes them a good option for puppies, senior dogs, or any dog that struggles with harder, crunchier treats.
Recipe Card: No-Bake Sweet Potato Freezer Bites
- Prep time: 10 minutes
- Freeze time: 30-45 minutes
- Yield: About 20 small bites
- Ingredients:
- ¾ cup mashed sweet potato (cooked and cooled completely)
- ¼ cup natural peanut butter
- ½ cup rolled oats (or oat flour)
- Instructions:
- In a mixing bowl, combine the mashed sweet potato, peanut butter, and oats until a thick, dough-like mixture forms.
- Stir thoroughly to make sure the peanut butter is evenly distributed — this helps the mixture hold together once frozen.
- Spoon the mixture into a silicone mold, an ice cube tray, or simply roll it into small balls using your hands.
- If using a mold, gently press the mixture into each cavity with the back of a spoon to remove any air pockets.
- Place the mold or tray in the freezer for 30-45 minutes, or until firm to the touch.
- Pop the treats out of the mold once fully set, and transfer them into a freezer-safe bag or container.
- Keep the treats frozen until ready to serve, or move a small portion to the fridge for softer, ready-to-eat treats within a day or two.
- Notes:
- These treats stay soft, so they’re a good pick for senior dogs or puppies with smaller teeth.
- Keep them frozen or refrigerated at all times since there’s no baking process to remove excess moisture.
- Best eaten within 1-2 weeks when refrigerated, or up to 3 months when kept frozen.
- If your dog tends to eat quickly, the frozen version can naturally slow them down a bit, since it takes longer to chew through.
This no-bake format is especially popular with pet parents who like to prep treats ahead of time in bulk. If you’re setting up a dedicated spot in your kitchen for treats like this, take a look at these treat station layout ideas for keeping everything organized and easy to grab on the go.
3. Dehydrated Sweet Potato Chews (Oven, Dehydrator, or Air Fryer)
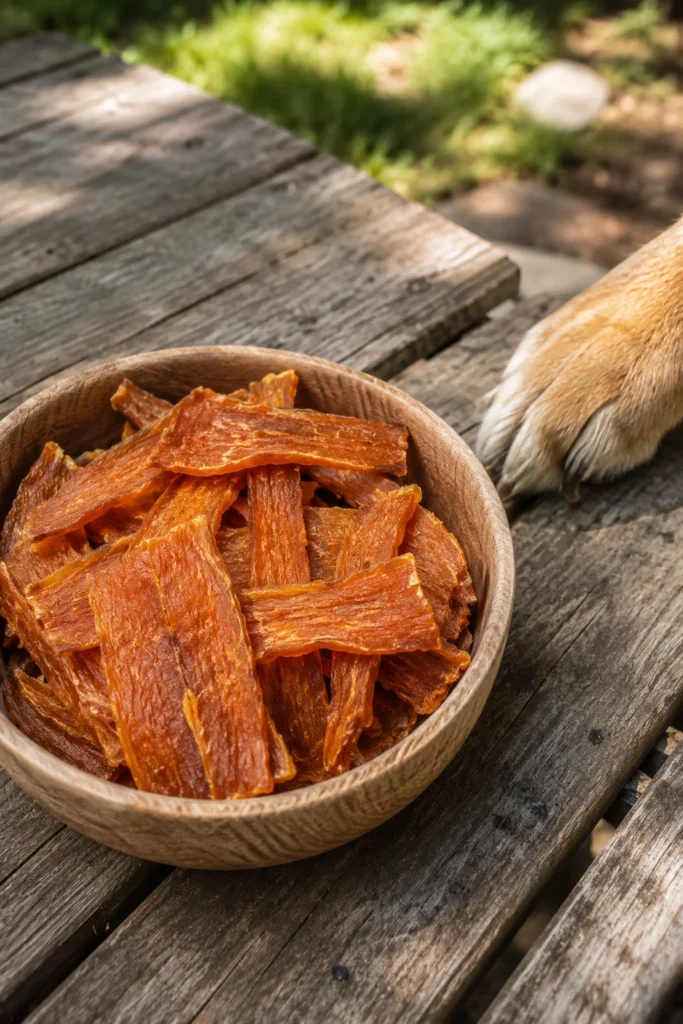
This is the simplest recipe on this list — just one ingredient. Dehydrated chews take longer to make than the other recipes here, but they’re almost entirely hands-off once the slices are in the oven, dehydrator, or air fryer. This makes them a great “set it and forget it” option, especially if you’re making a large batch to last for weeks.
Because nearly all the moisture is removed, dehydrated chews also tend to last the longest of any format on this list without needing refrigeration.
Recipe Card: Dehydrated Sweet Potato Chews
- Prep time: 10 minutes
- Cook time: 2.5-7 hours (depends on method)
- Yield: Varies by potato size, usually 20-30 chews per potato
- Ingredients:
- 1-2 medium sweet potatoes, washed (peeling optional)
- Instructions:
- Slice the sweet potato lengthwise or into rounds, about ¼-inch thick. Thinner slices make crunchier chews; thicker slices stay chewier in the middle.
- Oven method: Preheat to 250°F (120°C). Arrange the slices in a single layer on a lined baking sheet, making sure none overlap. Bake for 2.5-3 hours, flipping halfway through to dry evenly.
- Dehydrator method: Set the dehydrator to 135°F and dehydrate for 6-7 hours, checking the texture starting around hour 5 since dehydrator times vary by machine.
- Air fryer method: Use the dehydrate setting at 250°F (120°C) for 2-3 hours, flipping the slices halfway through for even drying.
- Let the chews cool completely before serving — they’ll firm up noticeably more as they cool, so don’t judge the final texture while they’re still warm.
- Store cooled chews in a sealed container, checking occasionally for any excess moisture buildup.
- Notes:
- Leaving the skin on adds extra fiber, but peeling can make the chews easier to digest for dogs with sensitive stomachs.
- These treats have very little moisture left, so they store well at room temperature in a sealed container for several days, and even longer in the fridge.
- Great option for dogs who need a longer-lasting chew rather than a quick bite, since the drying process creates a tougher, more fibrous texture.
- If you notice any treats that still feel soft or moist after cooling, return them to the oven or dehydrator for an additional hour to avoid mold risk during storage.
4. Sweet Potato Dog Treat Variations
Once you’ve got the base recipes down, these ingredient swaps let you customize the flavor and nutrition profile without changing the actual method. Think of these as add-ons you can apply to any of the three recipes above.
4.1 Sweet Potato & Peanut Butter
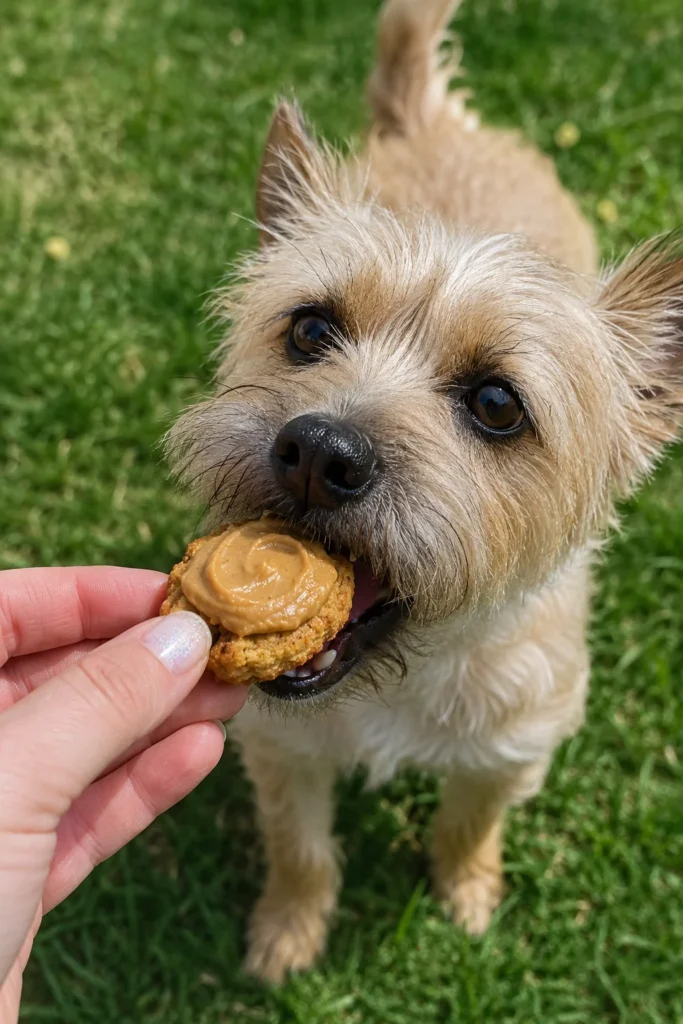
Add an extra tablespoon of peanut butter to any of the recipes above for a richer, more aromatic treat. This variation is a favorite for picky eaters, since the peanut butter scent makes the treats more appealing right out of the oven or freezer. It also adds a bit of extra protein and healthy fat, though it does increase the calorie count slightly, so keep portions in check if your dog is watching their weight.
4.2 Sweet Potato & Pumpkin
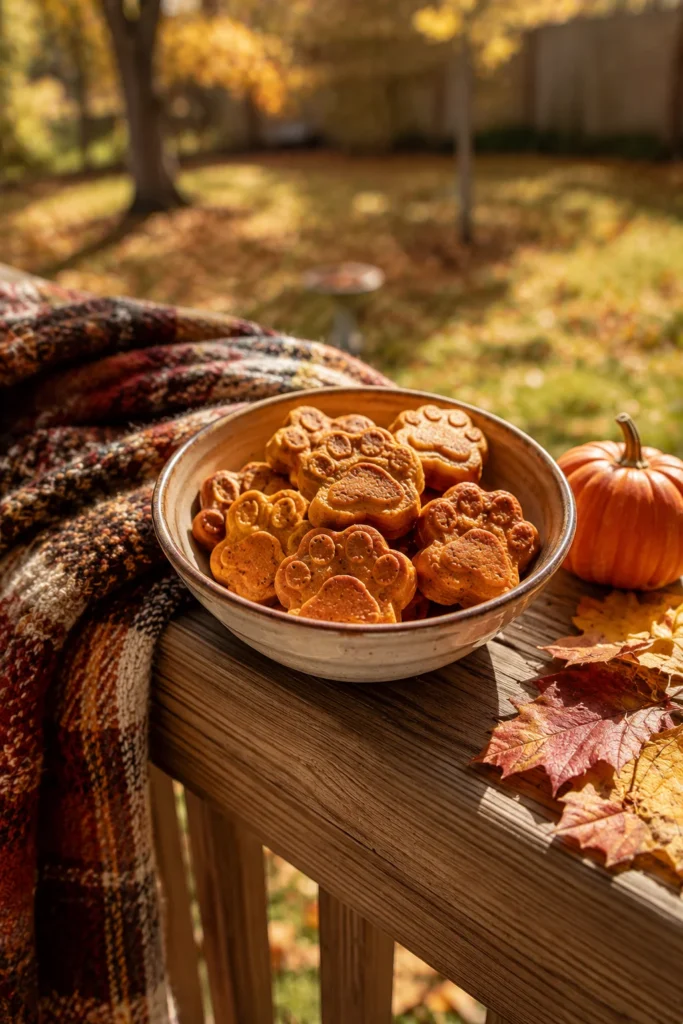
Swap half the mashed sweet potato for canned pumpkin puree (unsweetened, not pie filling — this distinction matters, since pie filling contains added sugar and spices). This variation lowers the calorie density slightly and adds extra fiber, which can be helpful for dogs with sensitive digestion or occasional stomach upset. Many pet parents keep a batch of these on hand specifically for days when their dog’s stomach seems a little off.
4.3 Sweet Potato & Oat Flour (Grain-Gentle Option)
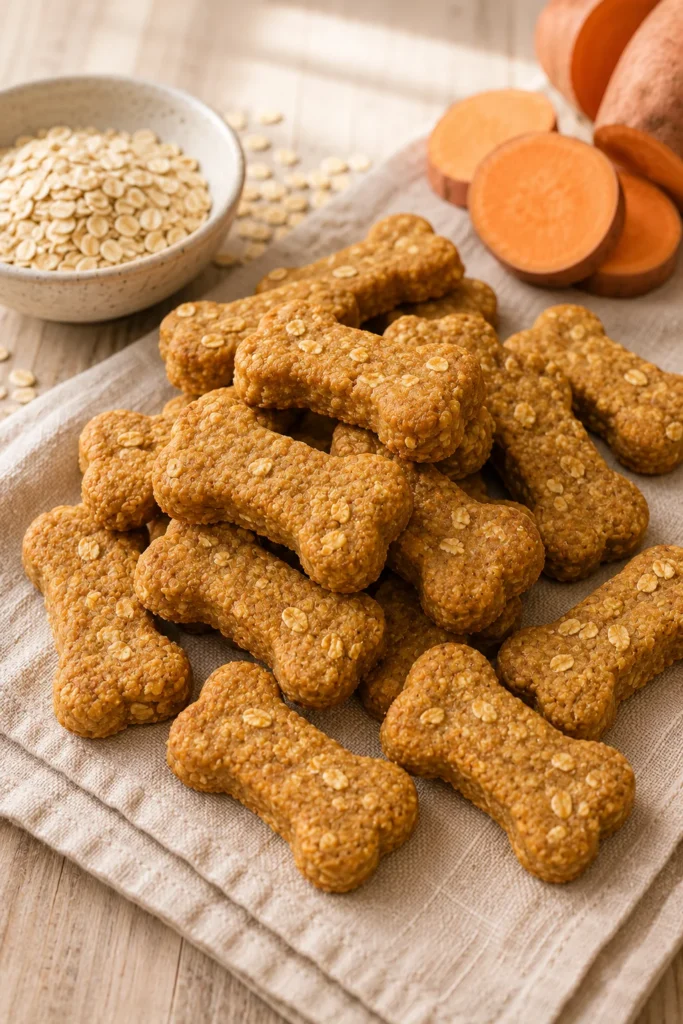
Replace whole wheat flour with oat flour in the baked biscuit recipe. This keeps the treats free of wheat gluten while still giving the dough enough structure to roll and cut cleanly. It’s a solid choice if your dog has shown sensitivity to traditional flour-based treats before, and oat flour also tends to give the finished biscuits a slightly nuttier flavor that many dogs enjoy.
If you’re building out a broader rotation of homemade snacks beyond sweet potato, this roundup of go-to treat recipes is worth bookmarking for extra variety throughout the week.
5. Tips for Getting the Texture Right
Getting the texture right is often the difference between a treat your dog loves and one that ends up ignored in the bottom of the treat jar. Here’s how to troubleshoot the most common texture problems across all three recipes.
- Too crumbly? Your dough needs more moisture — add water or a bit more mashed sweet potato a tablespoon at a time until it holds together without cracking.
- Too sticky to roll? Add a small amount of flour or oats, a tablespoon at a time, until the dough holds together without sticking to your hands or the rolling pin.
- Not crunchy enough? Bake a few minutes longer, or leave the biscuits in the turned-off oven to continue drying out as it cools.
- Chews too tough? Slice your sweet potato thinner next time, or shorten the cook time slightly and check texture earlier.
- Freezer bites falling apart? Add a bit more peanut butter or oats to help bind the mixture together before freezing.
- Treats sticking to the baking sheet? Always use parchment paper or a silicone baking mat — this single step prevents most sticking issues entirely.
- Dough too thin to hold shape when cut? Chill the dough in the fridge for 15-20 minutes before rolling; cold dough is much easier to cut into clean shapes.
Texture preferences can vary a lot between dogs, especially puppies versus seniors, and even between different breeds. If you’re treat-making for a new puppy, it’s worth reviewing general early-stage veterinary care needs to make sure any homemade treats fit safely into their diet and don’t conflict with anything your vet has already recommended.
6. Storing and Freezing Your Treats
Proper storage keeps your treats fresh, safe, and free of mold for as long as possible. Since each format has a different moisture level, storage guidelines differ slightly between them. Here’s a quick breakdown by treat type.
- Baked biscuits: Store in an airtight container at room temperature for up to 1 week. For longer storage, freeze in a sealed freezer bag for up to 2-3 months.
- No-bake freezer bites: Keep refrigerated for up to 2 weeks, or frozen for up to 3 months. These should never be left out at room temperature for extended periods since they contain more moisture.
- Dehydrated chews: Store at room temperature in a sealed container for several days, or refrigerate for longer freshness — often a month or more, thanks to the low moisture content.
A few general storage rules apply across all three formats, no matter which recipe you choose:
- Always let treats cool completely before storing, since trapped heat creates condensation, and condensation leads to mold.
- Label containers with the date made so you know when to toss older batches — a simple piece of tape and a marker works fine.
- When in doubt, the fridge or freezer is always the safer choice, especially in warm or humid climates where treats can spoil faster than expected.
- Portion treats into smaller bags before freezing a large batch, so you only thaw what you need at a time instead of refreezing and rethawing the whole batch repeatedly.
- Check treats periodically for any signs of mold, unusual smell, or texture changes, and toss anything questionable rather than risk it.
7. Why Sweet Potatoes Are Good for Dogs
Sweet potatoes are a naturally nutritious ingredient for dogs, which is part of why they’re such a popular treat base across so many recipes. They’re a good source of dietary fiber, which supports healthy digestion and can help regulate a dog’s bowel movements. They also contain vitamins like vitamin A and vitamin C, along with potassium, all of which play a role in overall canine health.
Sweet potatoes are naturally low in fat and free of common allergens like wheat and dairy, making them a gentle option for dogs with sensitive stomachs or known food sensitivities. They’re also easy to prepare in bulk — a single large sweet potato can produce enough puree for several batches of treats — which is part of why so many homemade recipes use them as a base ingredient instead of processed fillers or artificial flavorings.
Compared to many store-bought treats, homemade sweet potato treats also give you full control over exactly what goes into your dog’s snack. There’s no hidden salt, no preservatives, and no mystery ingredients — just what you put in the bowl yourself.
As with any treat, moderation still matters. Treats of any kind, including sweet potato treats, should make up a small portion of your dog’s daily diet, with the majority of their nutrition coming from a complete and balanced dog food formulated for their size and life stage.
8. Frequently Asked Questions
Final Thoughts
Making sweet potato dog treats homemade doesn’t require fancy equipment or hard-to-find ingredients. Whether you bake a batch of crunchy biscuits, freeze a few no-bake bites, or dehydrate slow-cooked chews, you’re giving your dog a treat made with real, simple, and fully controllable ingredients. Pick the recipe that fits your schedule today, and rotate through the others as you go — your dog certainly won’t mind the variety, and you’ll always know exactly what’s in their treat jar.
If you’re looking to expand into full homemade meals next, this collection of balanced homemade dog food recipes is a natural next step for pet parents ready to take their kitchen skills even further for their four-legged family member.

Izzy is an experienced ranch worker who has a passion for exploring nature and getting up close to wildlife. With her connections to various animal organizations, Izzy is well-versed in animal care and rehabilitation.


