Peanut Butter Dog Twists Recipes for Baked, Frozen, and No-Bake Treats
If your dog loses their mind every time the peanut butter jar comes out, you already know why peanut butter dog twists recipes are so popular. They’re simple, they smell amazing, and most dogs will do just about anything for one.
This guide skips the long backstory and gets straight to the point. Below you’ll find six different ways to make peanut butter dog twists, starting with the classic version, then moving through baked, frozen, braided, pumpkin, and banana styles. Each one comes with a clean, printable recipe card, plus extra tips for shaping, troubleshooting, and storing so your first batch turns out right the first time.
Let’s get into it.
1. The Classic Peanut Butter Dog Twists Recipe (Start Here)
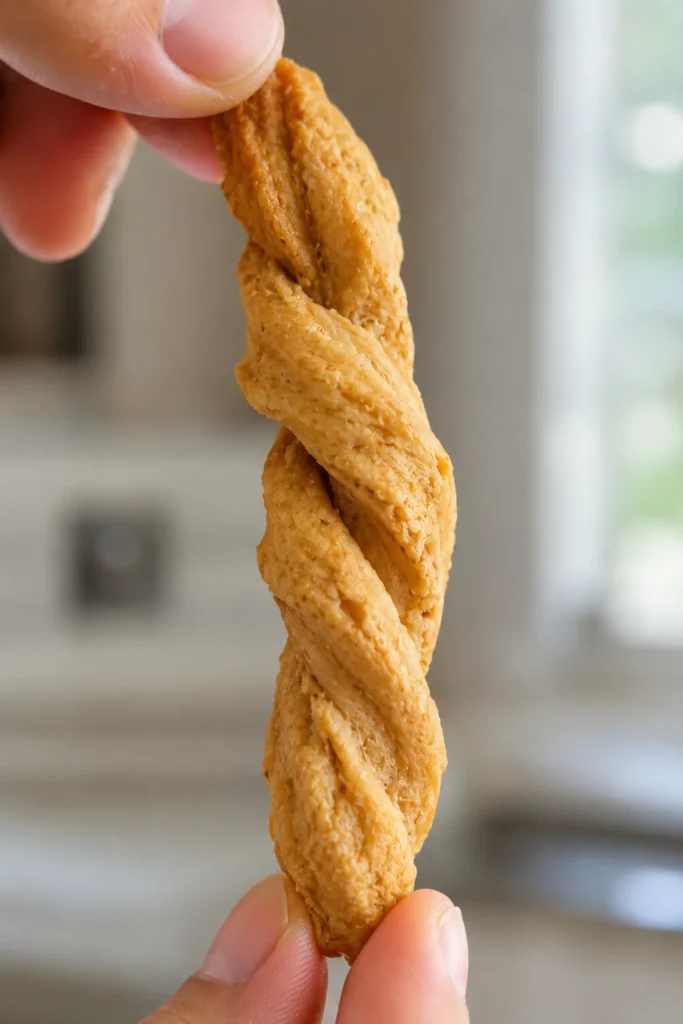
This is the base recipe. Once you understand this one, every other version on this list is just a small twist on the same idea (pun intended).
The dough is soft, easy to roll, and forgiving if you’re new to baking for your dog. It uses ingredients most people already have in the kitchen, and it doesn’t require any special equipment beyond a mixing bowl and a baking sheet.
Why This Recipe Works
Peanut butter gives the dough its flavor and holds everything together, acting almost like a natural glue. Whole wheat flour adds structure without being hard on your dog’s stomach, and it also gives the dough enough body to roll and twist without tearing. There’s no sugar, no chocolate, and no artificial sweeteners in this recipe — just simple, dog-safe ingredients you can feel good about.
The egg is optional in a technical sense, but it helps bind the dough more evenly and gives the finished twists a slightly firmer bite. If you skip it, add a splash more water to compensate for the lost moisture.
Recipe Card
Peanut Butter Dog Twists (Classic Recipe)
Prep Time: 15 minutes Bake Time: 20 minutes Cool Time: 10 minutes Yield: About 20 twists
Ingredients:
- 2 ½ cups whole wheat flour
- 1 cup natural, xylitol-free peanut butter
- 1 large egg
- ¾ cup water (add more 1 tablespoon at a time if needed)
- 1 tablespoon honey (optional)
Instructions:
- Preheat your oven to 350°F (175°C). Line a baking sheet with parchment paper so the twists don’t stick.
- In a large bowl, mix the peanut butter, egg, and honey until smooth and fully combined. If your peanut butter is very thick, warm it for 10 seconds in the microwave first to make mixing easier.
- Slowly add the flour, stirring as you go, then add water a little at a time until a firm dough forms. The dough should feel slightly tacky but not sticky enough to cling heavily to your hands.
- Turn the dough onto a floured surface and knead for about 1 minute, just until it holds together smoothly.
- Divide the dough into small, even sections so your twists bake at the same rate. Roll each section into long, thin ropes about ½ inch thick and 6 inches long.
- Fold each rope in half and twist the two halves together, like braiding two strands. Pinch the ends lightly so they don’t unravel in the oven.
- Place the twists on the baking sheet, spaced about 1 inch apart to allow for slight spreading.
- Bake for 18–20 minutes, until firm and lightly golden on the edges.
- Turn off the oven and let the twists sit inside for an extra 5–10 minutes with the door slightly open. This helps them firm up further and reduces the chance of a soggy center.
- Let cool completely on a wire rack before serving or storing.
Notes:
- If the dough feels too sticky, add flour 1 tablespoon at a time rather than all at once, so you don’t overcorrect and dry it out.
- If the dough cracks while twisting, it’s usually too dry — knead in a small amount of water until it becomes pliable again.
- Store in an airtight container for up to 1 week, or freeze for up to 3 months in a sealed freezer bag with the air pressed out.
- Let frozen twists thaw at room temperature for about 15 minutes before serving.
- These pair well with a proper reward routine — check out this guide on positive reinforcement dog training if you’re using these as training treats, especially if you plan to break them into smaller pieces for repeated rewards.
2. Baked Pretzel-Style Peanut Butter Twists
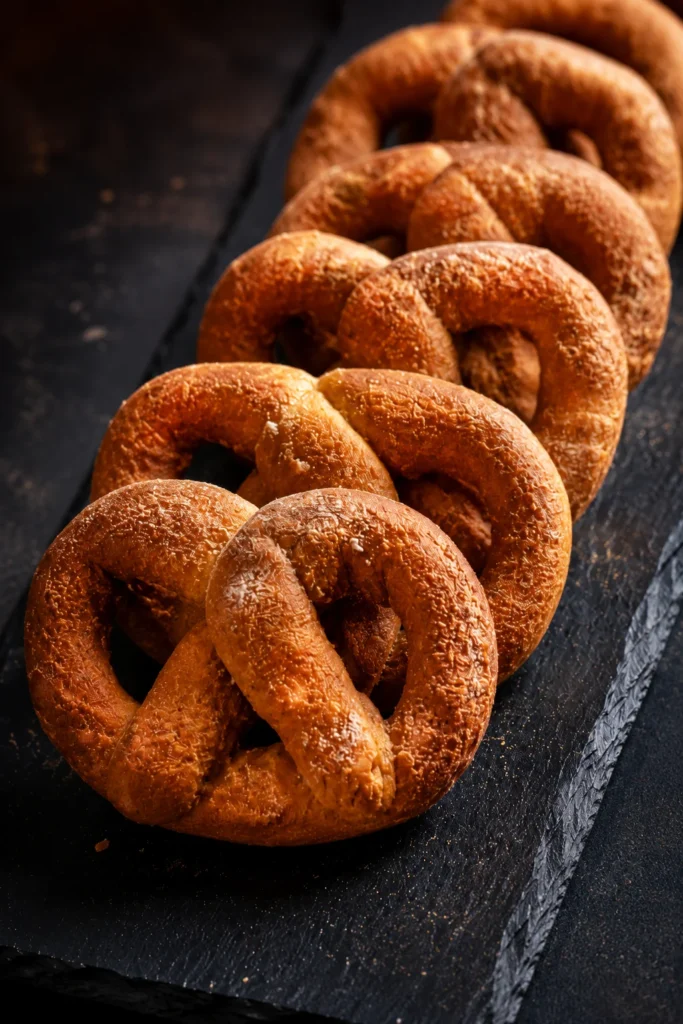
This version borrows from the classic soft pretzel shape. Instead of a simple two-strand twist, you form a “U” shape and twist it into a loop, giving it that recognizable pretzel look.
It’s a fun format if you like giving your treats a bit more visual flair, and it bakes up firmer and crunchier than the classic version, which makes it satisfying for dogs who like a longer chew.
What Makes This Different
The dough itself is nearly identical to the classic recipe, but the shaping and slightly longer, lower-temperature bake time create a snappier, crunchier bite. The lower oven temperature draws moisture out more slowly, so the inside dries out fully instead of staying doughy under a golden crust.
This style holds up well in treat jars and doesn’t crumble easily, which makes it a good option if you’re setting up a dog treat station at home where treats need to survive being scooped in and out often.
Recipe Card
Baked Pretzel-Style Peanut Butter Twists
Prep Time: 20 minutes Bake Time: 25 minutes Cool Time: 15 minutes Yield: About 16 twists
Ingredients:
- 2 cups oat flour or whole wheat flour
- ¾ cup natural peanut butter
- 1 large egg
- ½ cup water
- 1 teaspoon baking powder
Instructions:
- Preheat the oven to 325°F (163°C). Line a baking sheet with parchment paper.
- Whisk together the peanut butter and egg until smooth and lump-free.
- Add the baking powder and flour, then slowly mix in the water until a firm dough comes together. The dough should feel a bit stiffer than the classic recipe, since a firmer dough holds the pretzel shape better.
- Let the dough rest for 5 minutes. This short rest makes it easier to roll without springing back.
- Roll the dough into thin ropes, about 6–8 inches long and roughly the thickness of a pencil.
- Shape each rope into a “U,” then cross the two ends over each other and twist, similar to shaping a soft pretzel. Press the ends gently into the top curve of the “U” to help them hold their shape while baking.
- Place on the prepared baking sheet, leaving space between each twist since this dough spreads slightly more than the classic version.
- Bake for 25 minutes, until firm and slightly golden brown around the edges.
- Cool completely on a wire rack before serving — this style needs the full cooling time to reach its final crunchy texture.
Notes:
- For an even crunchier texture, bake an additional 5 minutes and let the twists cool with the oven door cracked open.
- If the twisted ends unravel during baking, try pressing them down slightly with a fork before they go in the oven.
- These freeze well; store frozen twists in a sealed bag for up to 3 months, and they thaw quickly at room temperature.
- Great for slower chewers who enjoy working on a treat a bit longer, and sturdy enough to survive being tossed into a bag for a walk or car ride.
3. No-Bake Frozen Peanut Butter Twists
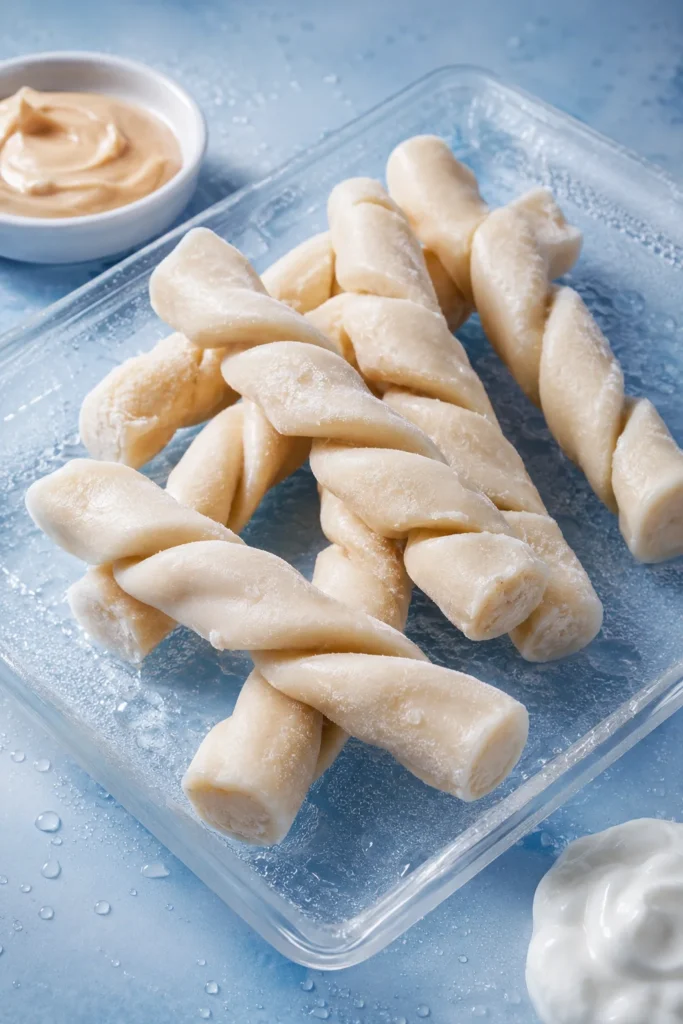
Not every peanut butter twist needs an oven. This frozen version is perfect for hot days, teething puppies, or anyone who wants a quick treat without turning on the oven at all.
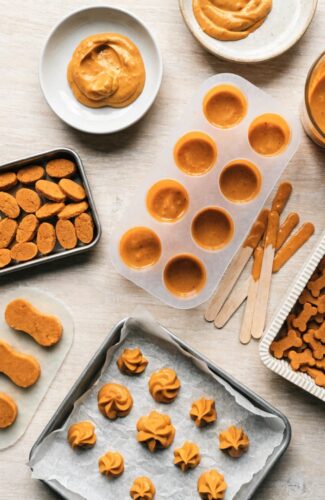
Instead of baking, you twist strips of a thicker peanut butter mixture and freeze them solid. The result is a firm, cold, chewy treat that dogs tend to love in warm weather, and it takes only a few minutes of actual hands-on prep.
Why Try the No-Bake Method
This method is ideal on busy days, since there’s no waiting on an oven and no risk of overbaking. It’s also a good option if your dog has dental sensitivity, since frozen twists are softer to bite into than fully baked ones once they start to thaw slightly at the edges.
Because there’s no baking involved, this is also one of the more forgiving recipes for beginners — there’s very little that can go wrong beyond getting the dough consistency right.
Recipe Card
No-Bake Frozen Peanut Butter Twists
Prep Time: 15 minutes Freeze Time: 3 hours Yield: About 10 twists
Ingredients:
- 1 cup natural peanut butter
- ½ cup plain yogurt (unsweetened, xylitol-free)
- 1 cup oat flour (add more if needed to thicken)
Instructions:
- In a bowl, mix the peanut butter and yogurt until smooth and fully blended.
- Slowly stir in the oat flour until the mixture becomes a thick, moldable dough. Add more flour a tablespoon at a time if it’s too sticky to handle — you’re aiming for a texture similar to stiff cookie dough.
- Let the mixture sit for 2–3 minutes so the oat flour can absorb some of the moisture, which makes shaping easier.
- Divide the dough into small sections and roll into thin ropes about 5 inches long, using a light dusting of oat flour on your hands if the dough sticks.
- Fold each rope in half and twist gently, then place on a parchment-lined tray. Keep the twists loosely spaced so they don’t stick together in the freezer.
- Freeze for at least 3 hours, or until fully firm all the way through.
- Once frozen solid, transfer to a sealed container or freezer bag for longer storage.
Notes:
- Serve straight from the freezer for the best texture, or let sit for 2–3 minutes if you prefer a slightly softer bite.
- Great as a warm-weather alternative to baked treats, and a nice option to keep on hand for hot afternoons or after outdoor play.
- Not recommended for dogs prone to eating too quickly, since frozen treats should always be given in a supervised setting to avoid choking risks.
- If the dough won’t hold its twist shape, it likely needs a bit more oat flour — mix in small amounts until it firms up.
- These don’t freeze for as long as baked versions; plan to use them within about 6–8 weeks for the best texture.
4. Soft Braided Peanut Butter Twists
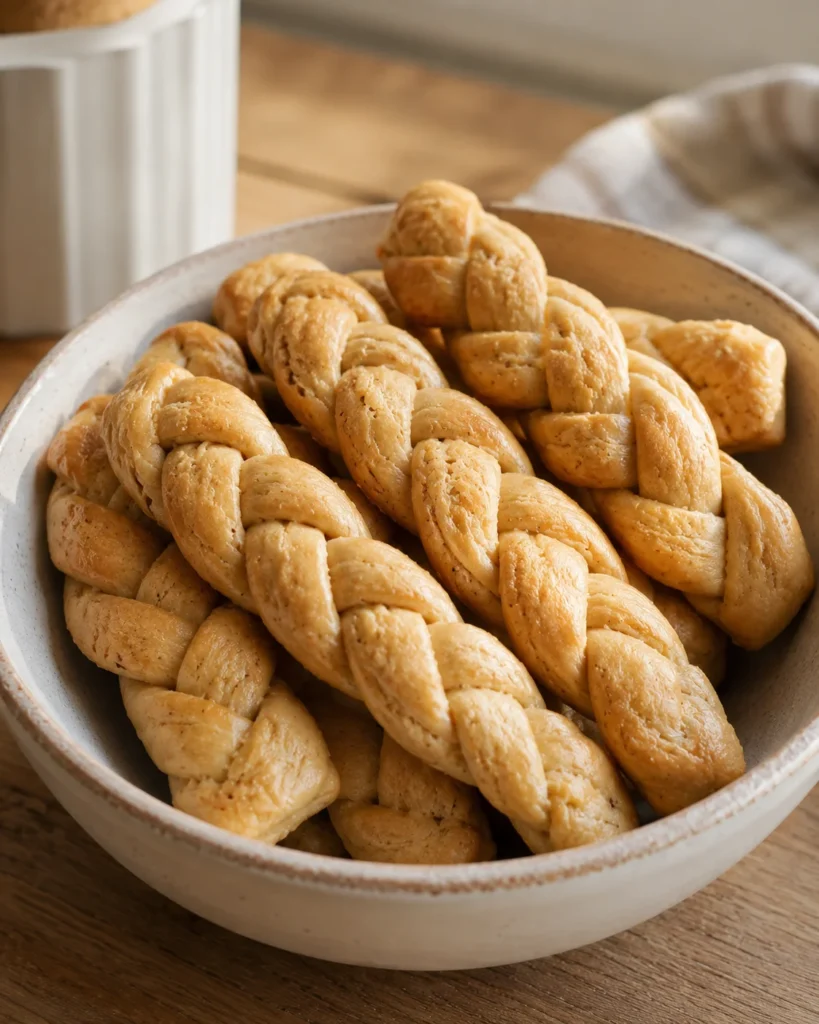
This format skips the crunch entirely and focuses on a soft, chewy bite — closer to a breadstick than a biscuit. It’s a good pick for senior dogs, smaller breeds, or any pup that prefers something gentler on their teeth.
Instead of a simple twist, you braid three thin ropes of dough together, similar to braiding hair, before a shorter, lower-temperature bake locks in the soft texture.
What Sets This Apart
The shorter, lower-temperature bake keeps moisture inside the dough, so the final treat stays soft rather than crisping up like the other baked versions. Because this dough stays moist, it also has a shorter shelf life, so portion control and quick storage matter more here than with the crunchier recipes.
It’s a nice option to rotate in alongside your regular homemade dog treats if you like giving your dog some variety in texture as well as flavor.
Recipe Card
Soft Braided Peanut Butter Twists
Prep Time: 20 minutes Bake Time: 15 minutes Cool Time: 10 minutes Yield: About 12 twists
Ingredients:
- 2 cups whole wheat flour
- ¾ cup natural peanut butter
- 1 large egg
- ½ cup milk (or unsweetened almond milk)
- 1 tablespoon olive oil
Instructions:
- Preheat the oven to 300°F (150°C). Line a baking sheet with parchment paper.
- Mix the peanut butter, egg, milk, and olive oil until smooth and well combined.
- Gradually add the flour until a soft, slightly sticky dough forms. This dough should feel noticeably softer than the other recipes on this list — that’s exactly what keeps the finished twists chewy.
- Divide the dough into small pieces, then roll each piece into three thin ropes, each about 4–5 inches long.
- Braid the three ropes together gently, pinching the ends to seal so they don’t come apart while baking.
- Place the braided twists on the baking sheet, spaced slightly apart.
- Bake for 12–15 minutes, until just set but still soft to the touch — you’re not looking for any golden color here.
- Cool for 10 minutes before serving, since the inside will still be quite warm right out of the oven.
Notes:
- Do not overbake; this recipe is meant to stay soft, not crunchy, so pull it from the oven as soon as the surface looks set.
- Store in the refrigerator for up to 5 days, since the higher moisture content shortens shelf life compared to the crunchier recipes above.
- These don’t freeze quite as well due to their soft texture, but if you do freeze them, thaw slowly in the fridge rather than at room temperature.
- A good gentle option if your dog is recovering from dental work, missing teeth, or generally prefers a softer chew.
5. Pumpkin Peanut Butter Twist Variation
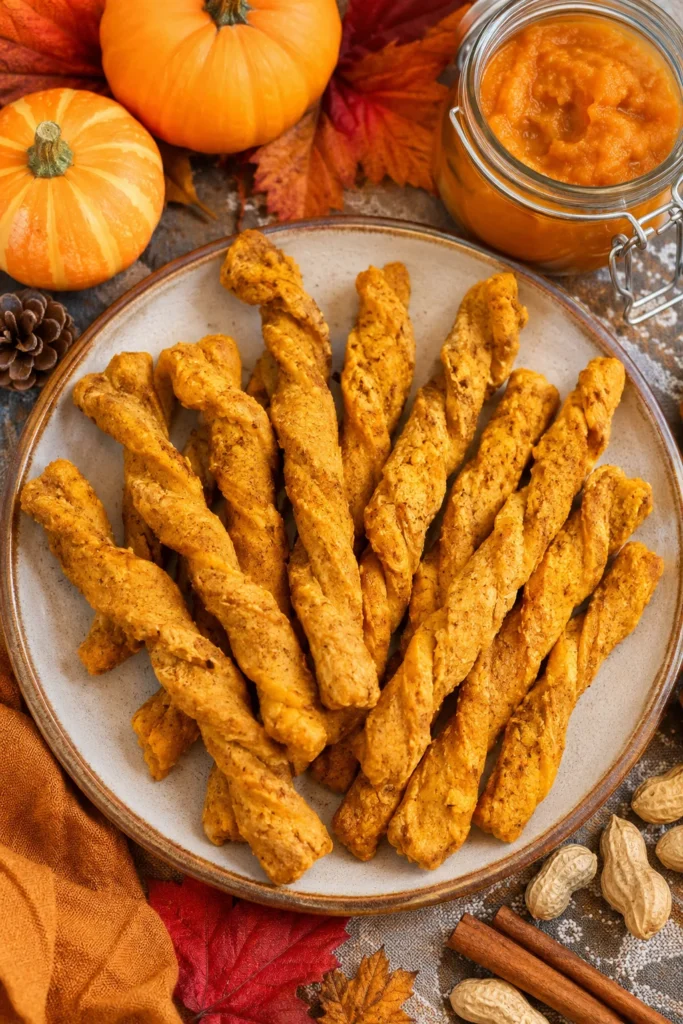
This is where we move from formats to ingredient-based variations. The base recipe stays mostly the same, but swapping in pumpkin changes the flavor, texture, and nutrition profile in a noticeable way.
Pumpkin adds natural moisture and a mild sweetness dogs tend to enjoy, especially in the fall months, and it also makes the dough slightly easier to work with since pumpkin puree adds body without making things sticky.
How the Swap Works
You’re simply replacing part of the wet ingredients with pumpkin puree, which keeps the dough workable while adding fiber. Because pumpkin brings its own moisture to the dough, you may need slightly less added water than in the classic recipe — keep an eye on the texture as you mix.
Recipe Card
Pumpkin Peanut Butter Dog Twists
Prep Time: 15 minutes Bake Time: 20 minutes Cool Time: 10 minutes Yield: About 18 twists
Ingredients:
- 2 ½ cups whole wheat flour
- ¾ cup natural peanut butter
- ½ cup canned pumpkin puree (plain, not pie filling)
- 1 large egg
- ½ teaspoon cinnamon (optional)
Instructions:
- Preheat the oven to 325°F (163°C). Line a baking sheet with parchment paper.
- Mix the peanut butter, pumpkin puree, egg, and cinnamon until smooth and evenly colored throughout.
- Gradually add the flour until a firm dough forms. Because pumpkin adds extra moisture, add the flour slowly and stop once the dough holds together without being wet.
- Roll into ropes about ½ inch thick, fold in half, and twist gently, pinching the ends closed.
- Place on the baking sheet, spaced about 1 inch apart.
- Bake for 20 minutes, until firm to the touch and lightly golden at the edges.
- Cool completely on a wire rack before serving — pumpkin dough tends to stay warm a bit longer than plain dough, so don’t rush this step.
Notes:
- Always use plain canned pumpkin, never pumpkin pie filling, which contains added sugar and spices that aren’t dog-safe.
- If your dough feels too wet even after adding all the flour, let it rest for 5 minutes; pumpkin puree sometimes needs a moment to fully absorb into the flour.
- These freeze well and make a good seasonal treat, especially around fall holidays when pumpkin is easy to find.
- A great way to introduce a small amount of fiber into your dog’s diet in treat form, though it shouldn’t replace a balanced meal.
6. Banana Peanut Butter Twist Variation
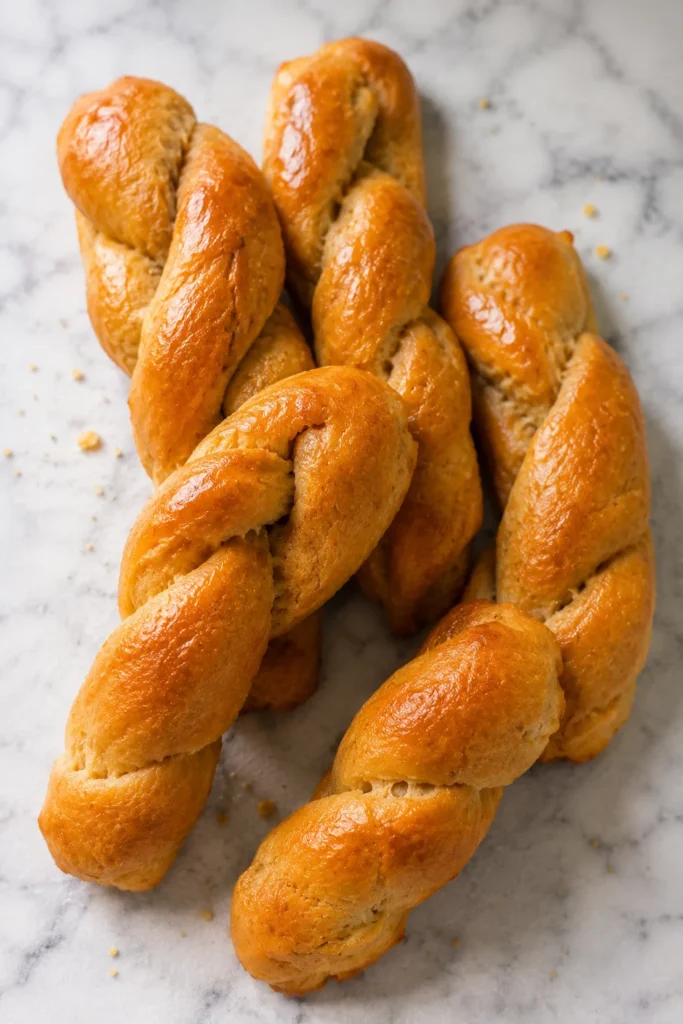
Bananas bring natural sweetness and a soft texture to the classic recipe. This variation tends to be a favorite with dogs that have a sweet tooth, and it’s an easy way to use up a ripe banana sitting on the counter instead of letting it go to waste.
How the Swap Works
Mashed banana replaces part of the liquid in the dough, adding natural sugar and potassium without needing any added sweeteners. The riper the banana, the sweeter and more fragrant the finished twists will be, so don’t be afraid to use one that’s starting to brown.
Recipe Card
Banana Peanut Butter Dog Twists
Prep Time: 15 minutes Bake Time: 18 minutes Cool Time: 10 minutes Yield: About 16 twists
Ingredients:
- 2 ¼ cups whole wheat flour
- ¾ cup natural peanut butter
- 1 ripe banana, mashed
- 1 large egg
Instructions:
- Preheat the oven to 325°F (163°C). Line a baking sheet with parchment paper.
- Mix the peanut butter, mashed banana, and egg until smooth. Make sure the banana is mashed thoroughly, since larger chunks can make the dough uneven.
- Gradually add the flour until a firm dough forms, stopping as soon as the dough holds together without sticking heavily to your hands.
- Roll into ropes about ½ inch thick, fold in half, and twist, pinching the ends to seal.
- Bake for 16–18 minutes, until lightly golden and firm to the touch.
- Cool completely on a wire rack before serving, since banana dough tends to stay soft in the center a little longer than plain dough.
Notes:
- Use a very ripe banana for the best natural sweetness and easiest mixing.
- If the dough feels too wet, add flour a tablespoon at a time rather than adjusting the banana amount.
- Great as a reward treat during puppy training sessions, since the smaller twists can be broken into training-bite sizes for repeated rewards throughout a session.
- Freezes well for up to 3 months; thaw at room temperature for about 15 minutes before serving.
Bonus Ingredient Swap: Carrot & Oat Peanut Butter Twists
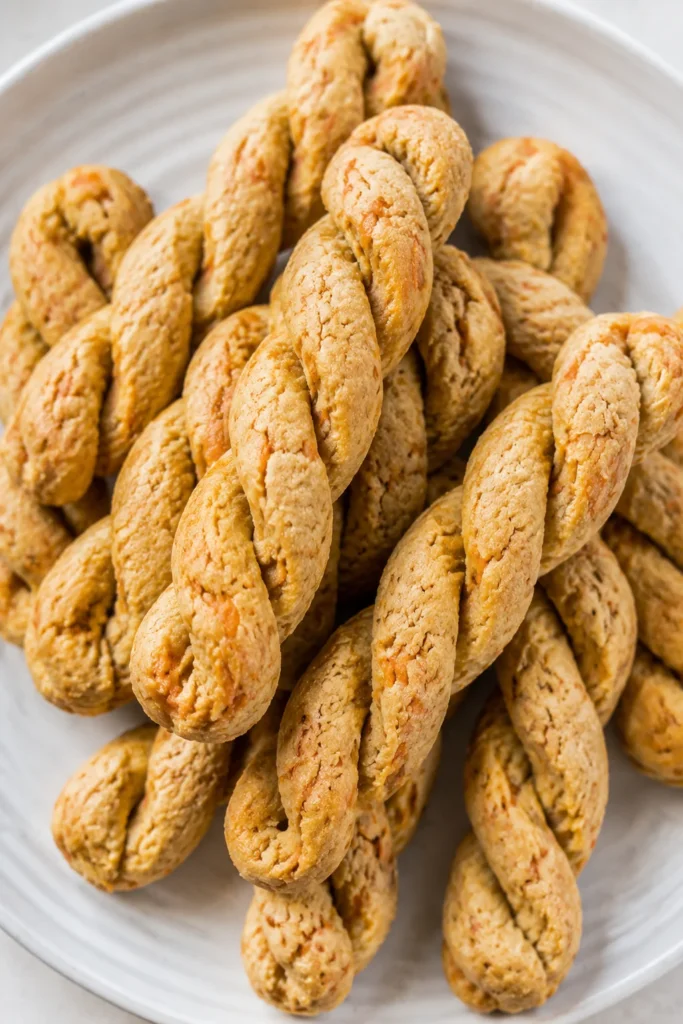
If you want a third ingredient variation without a full separate recipe, this swap works with any of the baked versions above.
Simply replace ¼ cup of the flour with ⅓ cup finely shredded carrot and use oat flour instead of whole wheat flour. The carrot adds a bit of crunch and natural sweetness, while the oat flour makes the dough slightly softer and easier to roll.
This swap is popular with owners looking for a grain-light option, and it pairs especially well with the classic or pretzel-style shaping methods above. Keep in mind that shredded carrot adds a small amount of extra moisture, so you may need a touch more flour than the original recipe calls for to keep the dough firm enough to twist cleanly.
If you’re testing this swap for the first time, start with a half batch so you can adjust the flour-to-moisture ratio without wasting ingredients.
How to Store and Freeze Peanut Butter Dog Twists
Storage depends on which version you made, so here’s a quick skimmable breakdown:
- Baked, crunchy twists (classic, pretzel-style, pumpkin, banana): Store in an airtight container at room temperature for up to 1 week. Keep them away from direct sunlight or heat, which can make peanut butter treats go soft or slightly oily.
- Soft braided twists: Refrigerate and use within 5 days due to higher moisture content. A sealed container works better than a bag here, since it helps prevent the twists from drying out at the edges.
- No-bake frozen twists: Keep frozen and serve straight from the freezer. Try to use these within 6–8 weeks for the best texture.
- Any baked version: Freezes well for up to 3 months in a sealed freezer bag. Press out as much air as possible before sealing to avoid freezer burn.
A simple trick that helps a lot of owners stay organized: label your freezer bags with the date and recipe type, since it’s easy to forget which batch is which after a few weeks, especially if you’re rotating through several of the variations above.
If you’re batch-cooking multiple recipes at once, consider freezing them in smaller portions rather than one large bag. This way you only thaw what you need for the week, and the rest stays fresher longer without repeated exposure to air.
Quick Ingredient Safety Notes
Before you start mixing, a few quick safety reminders:
- Always check that your peanut butter is xylitol-free. Xylitol is toxic to dogs, even in small amounts, and it’s increasingly common in “natural” or reduced-sugar peanut butter brands, so read the label every time.
- Avoid pumpkin pie filling — only use plain canned pumpkin, since pie filling contains added sugar and spices that aren’t safe for dogs.
- Skip added sugar, chocolate, and artificial sweeteners entirely in every version of this recipe.
- If your dog has allergies or a sensitive stomach, introduce any new treat slowly, starting with a small piece, and watch for signs of an upset stomach over the next day.
- If your dog is a fast eater, break larger twists into smaller pieces before handing them over to reduce the risk of choking, especially with the crunchier baked versions.
- If you’re unsure about a specific ingredient, it’s worth checking with your vet, especially for puppies who have different veterinary needs than adult dogs, since portion sizes and ingredient tolerance can vary quite a bit by age.
Final Thoughts
Peanut butter dog twists are one of the easiest homemade treats to customize once you know the base recipe. Whether you prefer the classic soft-baked twist, a crunchy pretzel shape, a no-bake frozen version, a soft braided treat, or a fruit and veggie swap, the same simple dough works as your starting point every time.
Start with the classic recipe, get comfortable with the twisting technique, and then experiment with the format and ingredient variations above one at a time. Small changes — a different flour, a swapped-in fruit, a lower bake temperature — can completely change the texture without requiring a whole new recipe or extra equipment.
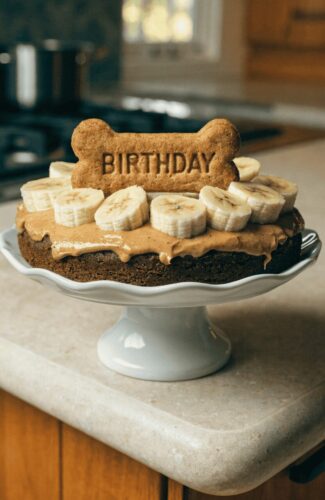
Your dog almost certainly won’t mind which one you pick first. And if you’re looking for another way to spoil them, these twists also make a fun addition to a dog birthday cake recipe spread for a special occasion, or a rotating lineup of treats to keep things interesting in their weekly routine.

Izzy is an experienced ranch worker who has a passion for exploring nature and getting up close to wildlife. With her connections to various animal organizations, Izzy is well-versed in animal care and rehabilitation.