
Plant Based Dog Treats Made Simple With 15 Easy Recipes
Your dog does not need meat in every treat to be excited about snack time. Plant based dog treats can be crunchy, chewy, creamy, or frozen, and most of them are made from ingredients already in your kitchen. Pumpkin, oats, bananas, and peanut butter are all safe, cheap, and loved by most dogs.
This guide gives you 15 independent recipes. Each one has its own ingredients, steps, and storage notes, so you can jump to any recipe without reading the others. They are sorted by method: baked, no-bake, frozen, dehydrated, and stuffable. If you enjoy making snacks at home, you may also like our collection of homemade dog treats recipes.
Before you start, remember three rules:
- Check your peanut butter label. It must not contain xylitol, which is toxic to dogs.
- Introduce one new treat at a time so you can spot any tummy upset.
- Treats should make up no more than 10% of your dog’s daily calories.
1. Baked Plant Based Dog Treats
Baking gives you the classic crunchy biscuit. These treats keep well, travel well, and help clean teeth a little as your dog chews. Set your oven to the temperature in each recipe and use parchment paper so nothing sticks.
a. Peanut Butter Banana Oat Biscuits (Featured Recipe)
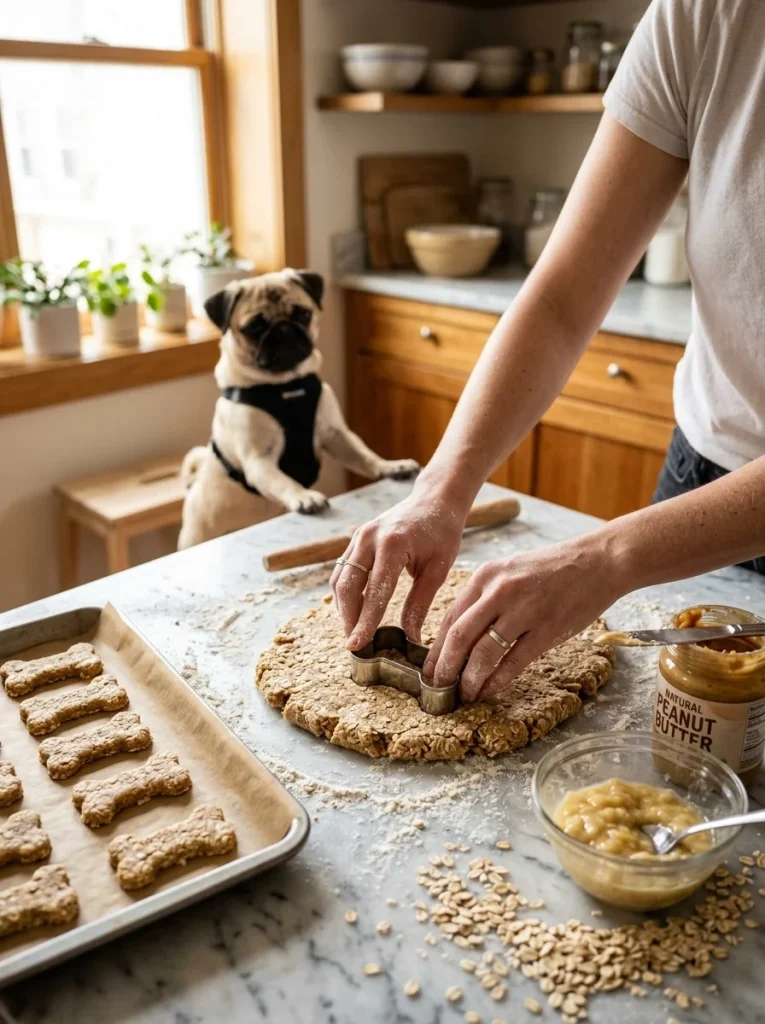
This is the recipe to start with. It uses only four main ingredients, the dough is easy to roll, and most dogs go crazy for the smell while it bakes. Banana adds natural sweetness, so you do not need any sugar.
RECIPE CARD: Peanut Butter Banana Oat Biscuits
- Prep Time: 15 minutes
- Bake Time: 25 minutes
- Cooling Time: 30 minutes
- Yield: About 30 small biscuits (2-inch size)
- Difficulty: Easy
Ingredients
- 1 ripe banana, mashed until smooth
- 1/2 cup xylitol-free peanut butter
- 2 cups oat flour (blend rolled oats in a blender until powdery)
- 1/4 cup water, plus more as needed
Instructions
- Heat your oven to 350°F (175°C). Line a baking sheet with parchment paper.
- In a large bowl, mash the banana with a fork until no big lumps remain. The smoother it is, the more evenly the dough will mix.
- Stir in the peanut butter until the mixture looks creamy and combined.
- Add the oat flour one cup at a time, stirring after each. Pour in the water and mix until a soft dough forms. If it feels sticky, add 1 tablespoon of oat flour at a time. If it crumbles, add 1 teaspoon of water at a time.
- Dust your counter with oat flour. Roll the dough to about 1/4 inch thick.
- Cut shapes with a cookie cutter, or slice the dough into small squares with a knife. Place them on the tray, about 1/2 inch apart.
- Bake for 22-25 minutes, until the edges look golden and feel firm.
- Turn the oven off and leave the biscuits inside for 30 minutes. This makes them crunchier.
Notes
- Storage: Keep in an airtight container for 7 days at room temperature, or freeze for up to 3 months.
- Pro Tip: Use a very ripe banana with brown spots. It mashes easier and tastes sweeter.
Ingredient variations for this recipe:
- Apple-Cinnamon: Swap the banana for 1/2 cup unsweetened applesauce and add 1/2 teaspoon Ceylon cinnamon.
- Blueberry-Flax: Mash 1/4 cup blueberries into the dough and add 1 tablespoon ground flaxseed.
- Coconut-Oat: Add 2 tablespoons unsweetened shredded coconut and reduce the peanut butter to 1/4 cup.
b. Carrot and Parsley Biscuits
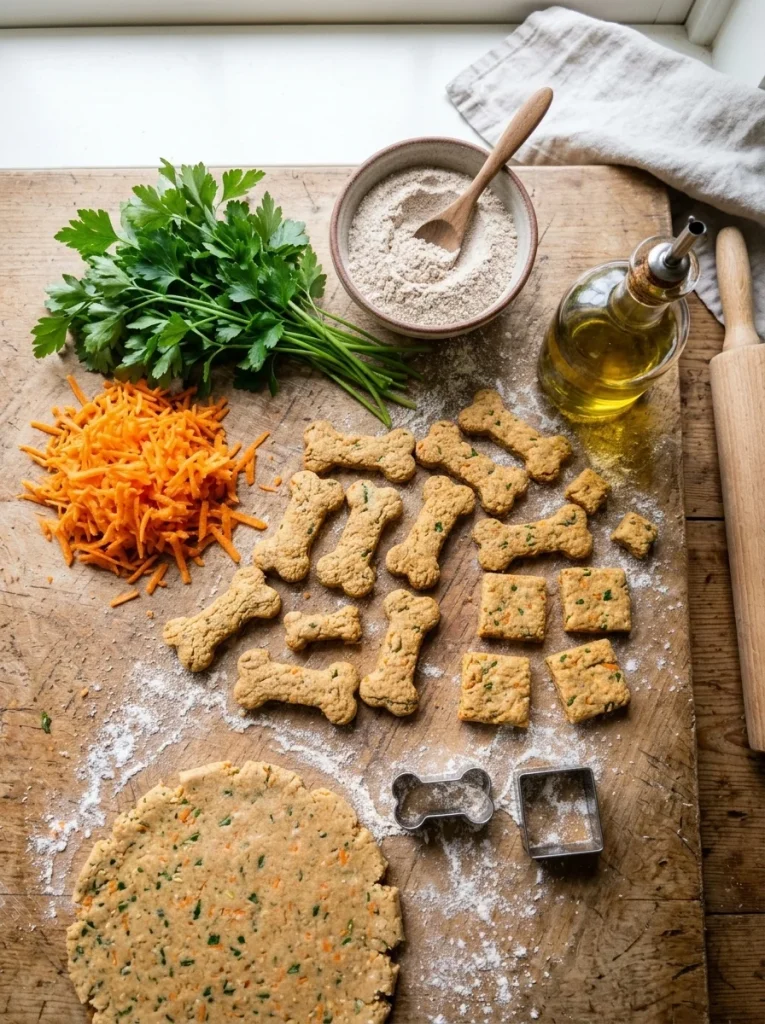
Carrots are crunchy, sweet, and full of fiber. Parsley adds a fresh flavor that helps with doggy breath. These biscuits are a great choice for dogs who like a firm, crunchy bite.
RECIPE CARD: Carrot and Parsley Biscuits
- Prep Time: 15 minutes
- Bake Time: 30 minutes
- Yield: About 24 biscuits
- Difficulty: Easy
Ingredients
- 1 cup finely grated carrots (about 2 medium carrots)
- 2 tablespoons fresh flat-leaf parsley, finely chopped
- 2 cups whole wheat flour (or oat flour)
- 1/2 cup unsweetened applesauce
- 1/4 cup water
- 1 tablespoon olive oil
Instructions
- Heat your oven to 350°F (175°C) and line a baking sheet with parchment.
- Grate the carrots on the small holes of a grater. Small pieces bake evenly and blend into the dough.
- Mix the carrots, parsley, applesauce, water, and olive oil in a large bowl.
- Add the flour slowly, stirring until the dough comes together. It should feel like play dough. Knead it with your hands for about 1 minute.
- Roll the dough to 1/4 inch thick and cut it into bite-sized pieces.
- Bake for 28-30 minutes, until firm and lightly brown at the edges.
- Cool completely on a wire rack before serving.
Notes
- Storage: Airtight container for 5-7 days, or freeze for 2 months.
- Pro Tip: Squeeze extra moisture out of the grated carrots with a paper towel. Wet carrots make the dough sticky.
c. Chickpea Crunchies
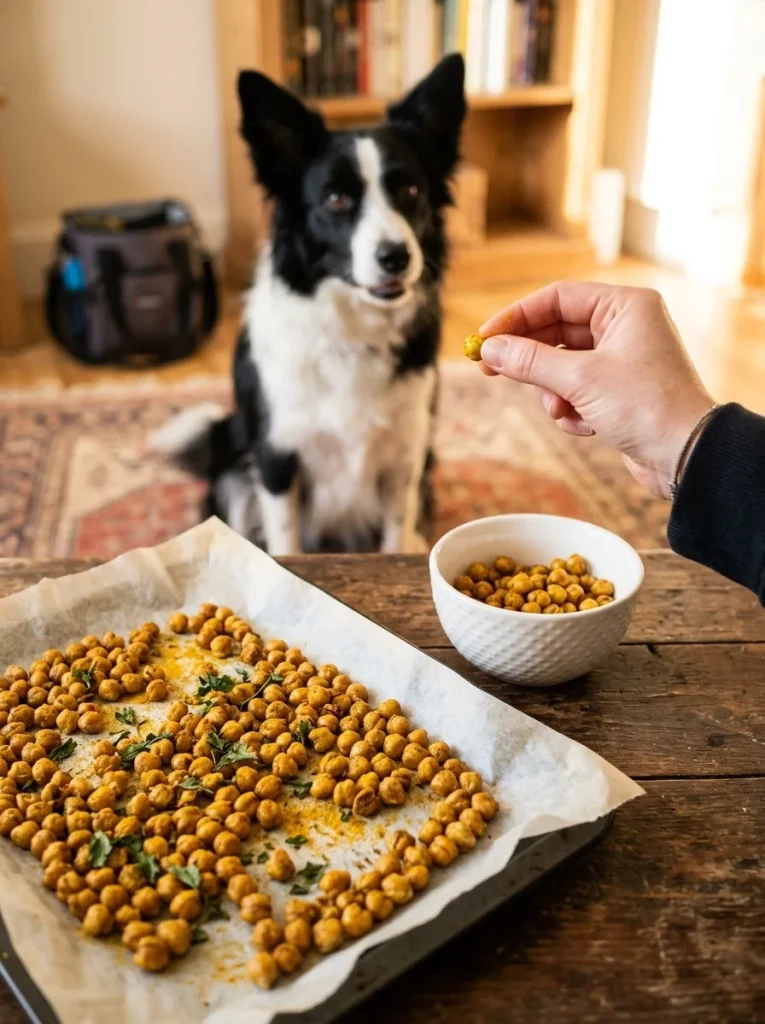
Chickpeas are a good plant protein source, and this recipe turns them into a crispy snack. These are more like crunchy bites than soft biscuits, so they are great for training sessions. If you are working on obedience, they pair well with the tips in our guide to positive reinforcement dog training.
RECIPE CARD: Chickpea Crunchies
- Prep Time: 10 minutes
- Bake Time: 40 minutes
- Yield: About 1.5 cups
- Difficulty: Very easy
Ingredients
- 1 can (15 oz) plain chickpeas, drained and rinsed (no salt added, if possible)
- 1 tablespoon olive oil
- 1/2 teaspoon turmeric (optional, for color)
- 1/4 teaspoon dried parsley
Instructions
- Heat your oven to 375°F (190°C).
- Rinse the chickpeas well under cold water. This removes extra salt.
- Pat them completely dry with a clean kitchen towel. Dry chickpeas crisp up. Wet ones turn chewy.
- Toss them with the olive oil, turmeric, and parsley in a bowl.
- Spread them in a single layer on a baking tray.
- Bake for 35-40 minutes, shaking the tray every 10 minutes so they cook evenly.
- Turn off the oven and let them cool inside with the door slightly open. They will get crunchier as they cool.
Notes
- Storage: Store in a container that is not fully airtight for 4-5 days. Sealing them tight while warm traps steam and makes them soft.
- Pro Tip: For small dogs, crush each chickpea slightly before serving so it is easier to chew.
d. Pumpkin Pupcakes with Sweet Potato Frosting
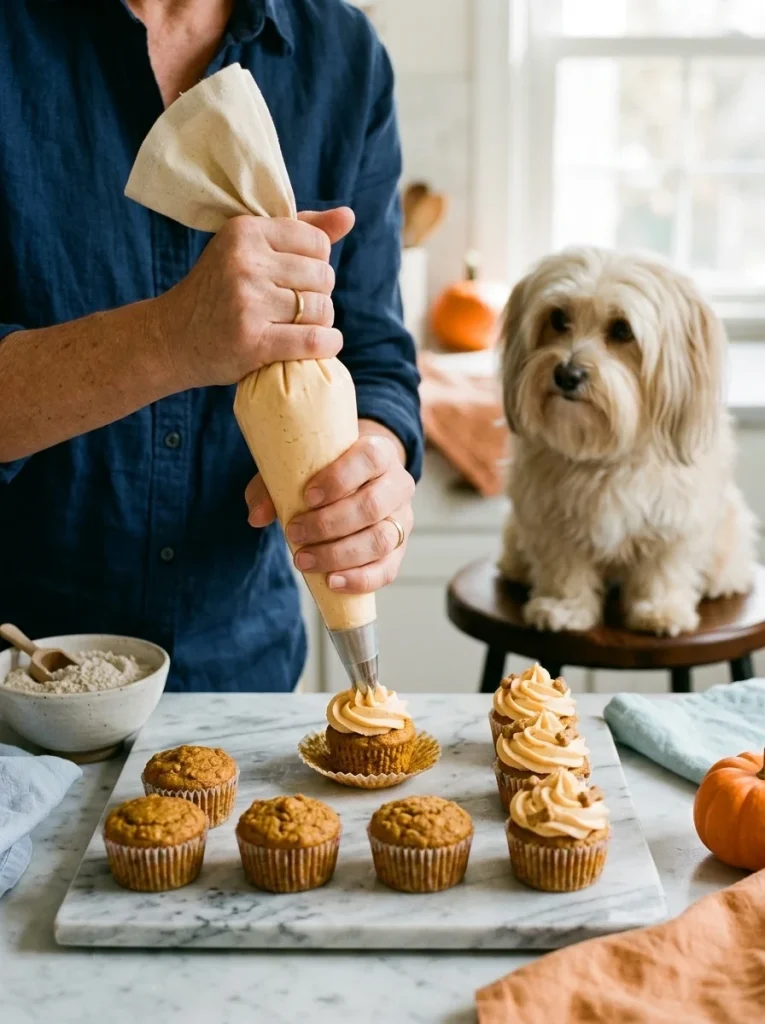
Pupcakes are perfect for a birthday or a special day. Pumpkin is gentle on the tummy, and the sweet potato frosting is dairy-free. If you want more party ideas, check our dog birthday cake recipes.
RECIPE CARD: Pumpkin Pupcakes
- Prep Time: 20 minutes
- Bake Time: 20 minutes
- Cooling Time: 30 minutes
- Yield: 12 mini pupcakes
- Difficulty: Medium
Ingredients (pupcakes)
- 1 cup plain pumpkin puree (not pumpkin pie filling)
- 1 1/2 cups oat flour
- 1/4 cup unsweetened applesauce
- 2 tablespoons xylitol-free peanut butter
- 1 teaspoon baking powder
- 1/4 cup water
Ingredients (frosting)
- 1/2 cup cooked, mashed sweet potato (cooled)
- 1 tablespoon coconut cream or plain unsweetened oat milk
Instructions
- Heat your oven to 350°F (175°C). Line a mini muffin tin with paper liners.
- Mix the pumpkin, applesauce, peanut butter, and water until smooth.
- Add the oat flour and baking powder. Stir until just combined. Do not over-mix.
- Spoon the batter into the liners, filling each about 3/4 full.
- Bake for 18-20 minutes. A toothpick pushed into the center should come out clean.
- Cool the pupcakes fully. Frosting on warm cakes will melt.
- Blend the sweet potato and coconut cream until fluffy. Spread or pipe onto each pupcake.
Notes
- Storage: Keep frosted pupcakes in the fridge for 3 days. Unfrosted ones last 5 days.
- Pro Tip: Check the pumpkin can label. Pure pumpkin should be the only ingredient.
2. No-Bake Vegetarian Dog Treat Recipes
No oven? No problem. These treats come together in a bowl in about 10 minutes. They are soft, chewy, and ideal for older dogs or puppies with sensitive teeth. Check with your vet about diet for young dogs in our puppy veterinary needs guide.
a. Peanut Butter Oat Bites
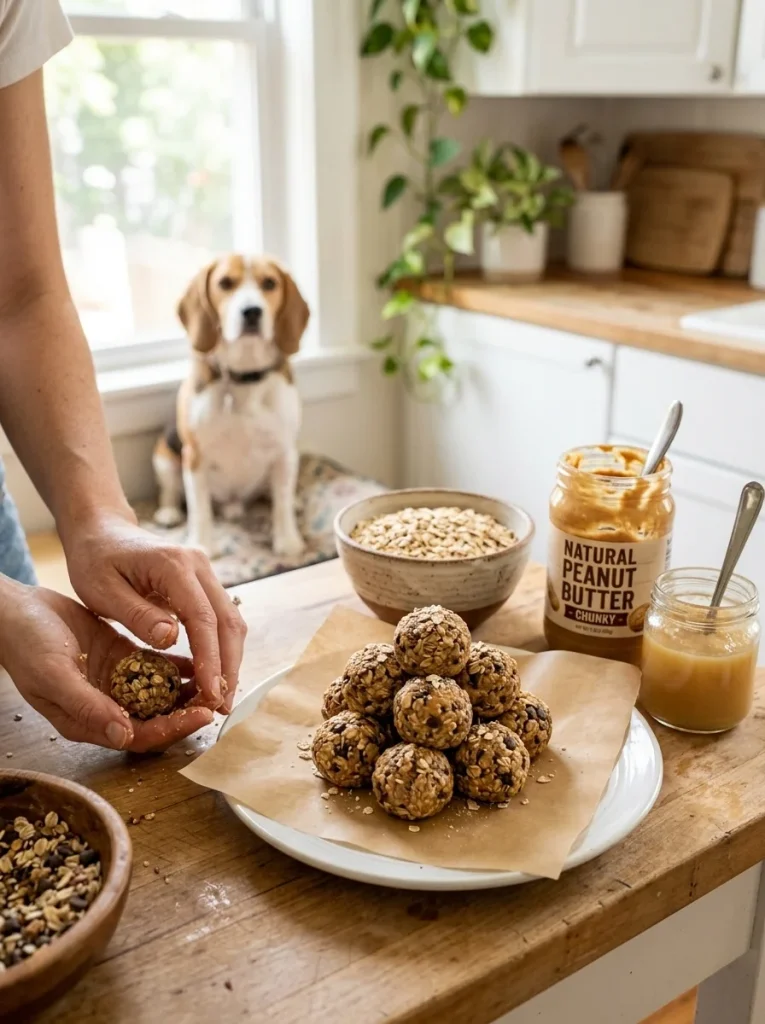
These are the fastest treats in the whole article. You need only three ingredients and no cooking skills at all.
RECIPE CARD: Peanut Butter Oat Bites
- Prep Time: 10 minutes
- Chill Time: 30 minutes
- Yield: About 20 bites
- Difficulty: Very easy
Ingredients
- 1 cup rolled oats
- 1/2 cup xylitol-free peanut butter
- 1/4 cup unsweetened applesauce
Instructions
- Pour the oats into a bowl. If your dog is small, pulse the oats in a blender for a few seconds first for a finer texture.
- Add the peanut butter and applesauce.
- Mix with a spoon, then with your hands, until the mixture sticks together when squeezed.
- Roll it into small balls about the size of a marble for small dogs, or a walnut for large dogs.
- Place the balls on a plate lined with parchment and chill for 30 minutes.
Notes
- Storage: Fridge for 7 days, freezer for 2 months.
- Pro Tip: If the mixture is too sticky, add 1 tablespoon of oats. If it is too dry, add 1 teaspoon of applesauce.
b. Banana Coconut Energy Balls
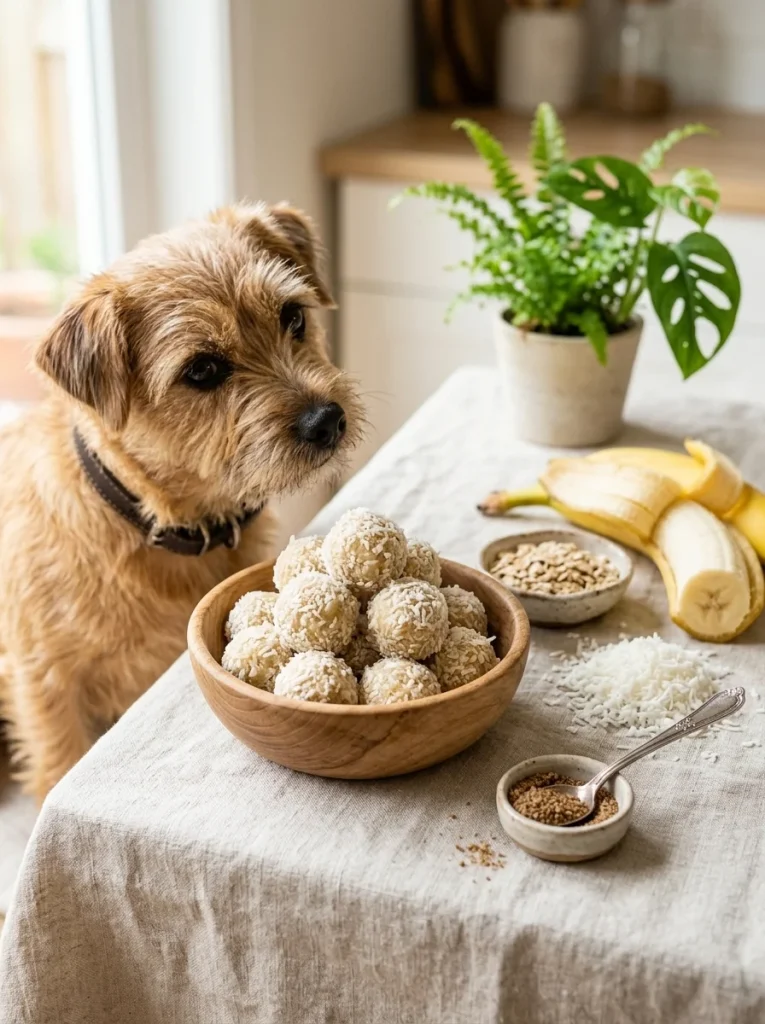
These bites are soft and lightly sweet. Coconut adds a tropical flavor that many dogs enjoy. Keep the portions small, because coconut is rich.
RECIPE CARD: Banana Coconut Energy Balls
- Prep Time: 10 minutes
- Chill Time: 20 minutes
- Yield: About 18 balls
- Difficulty: Very easy
Ingredients
- 1 ripe banana
- 3/4 cup rolled oats
- 3 tablespoons unsweetened shredded coconut, plus 2 tablespoons for rolling
- 1 tablespoon ground flaxseed
Instructions
- Mash the banana in a bowl until it looks like a thick puree.
- Stir in the oats, 3 tablespoons of coconut, and the flaxseed.
- Let the mixture rest for 5 minutes. The oats will soak up moisture and thicken it.
- Scoop small spoonfuls and roll them into balls.
- Roll each ball in the extra coconut for a fun finish.
- Chill for 20 minutes to firm up.
Notes
- Storage: Fridge for 5 days. Freeze for up to 2 months.
- Pro Tip: Wet your hands with a little water before rolling. The mixture will not stick to your fingers.
c. Pumpkin Oat Truffles
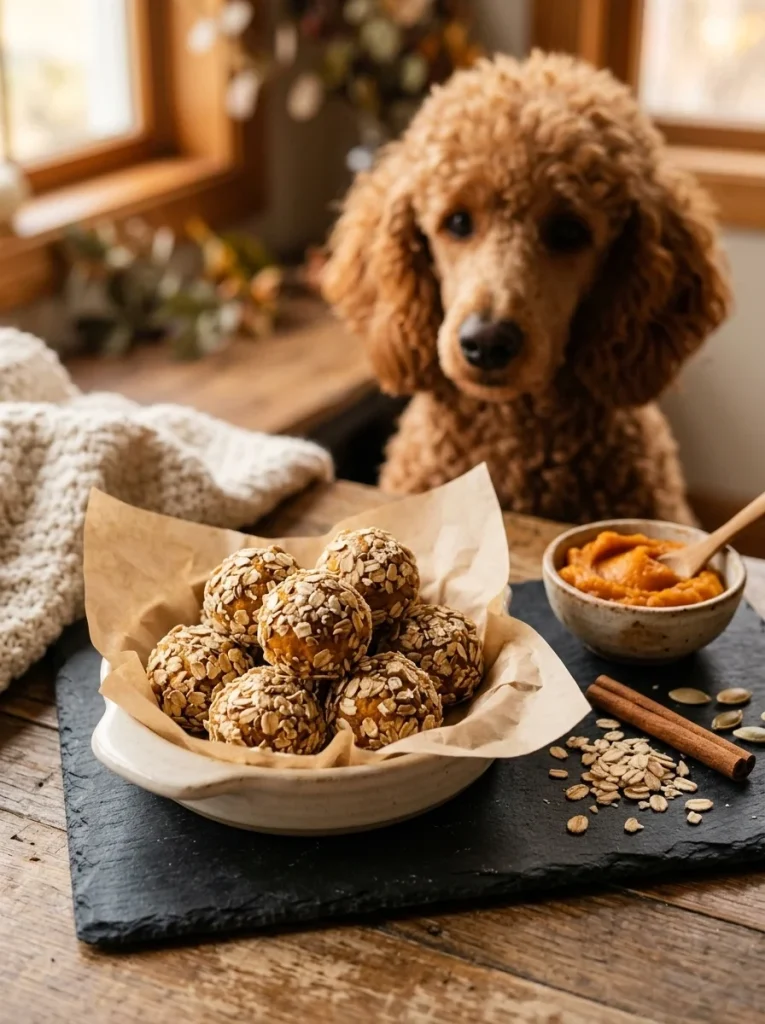
These treats feel fancy, but they are very simple. The pumpkin gives them a smooth, creamy center. They are a good choice for dogs that need extra fiber in their diet.
RECIPE CARD: Pumpkin Oat Truffles
- Prep Time: 12 minutes
- Chill Time: 45 minutes
- Yield: About 16 truffles
- Difficulty: Easy
Ingredients
- 1/2 cup plain pumpkin puree
- 1 cup oat flour
- 2 tablespoons xylitol-free peanut butter
- 1/4 teaspoon Ceylon cinnamon
- 2 tablespoons finely crushed oats, for coating
Instructions
- In a bowl, mix the pumpkin, peanut butter, and cinnamon until smooth.
- Add the oat flour a little at a time. Stop when the dough holds its shape but is still soft.
- Chill the dough for 15 minutes. Cold dough is much easier to roll.
- Roll into small balls.
- Coat each truffle in the crushed oats.
- Chill for another 30 minutes before serving.
Notes
- Storage: Fridge for 5 days. Not ideal for the freezer, as the texture can turn mushy.
- Pro Tip: Use only a small pinch of cinnamon. Never use nutmeg, which is unsafe for dogs.
3. Frozen Vegan Dog Treats
Frozen treats are perfect for summer, teething puppies, and dogs who like to chew slowly. They also keep your dog busy for a while. Here are three easy ones. Serve them outdoors or on a tile floor to keep cleanup simple.
a. Banana Peanut Butter Pupsicles
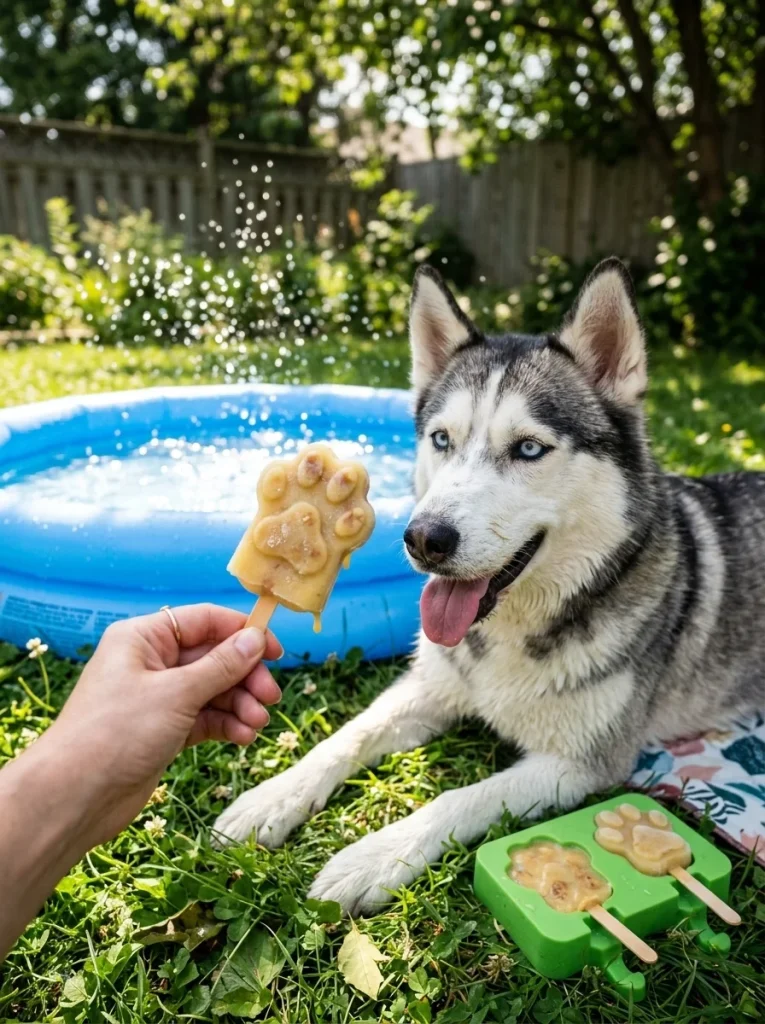
Creamy, cold, and full of flavor. These are the dog version of a smoothie pop.
RECIPE CARD: Banana Peanut Butter Pupsicles
- Prep Time: 10 minutes
- Freeze Time: 4 hours
- Yield: 8 small pupsicles (using an ice cube tray or silicone mold)
- Difficulty: Very easy
Ingredients
- 2 ripe bananas
- 1/4 cup xylitol-free peanut butter
- 1/2 cup water or unsweetened oat milk
Instructions
- Warm the peanut butter for 10-15 seconds in the microwave so it stirs more easily.
- Blend the bananas, peanut butter, and water until smooth. A fork works too if you mash well.
- Pour the mixture into molds or an ice cube tray.
- Freeze for at least 4 hours, or overnight.
- Pop one out and serve right away.
Notes
- Storage: Freezer for up to 2 months in a zip bag.
- Pro Tip: Dip the mold in warm water for a few seconds to release the treats easily.
b. Watermelon Ice Cubes
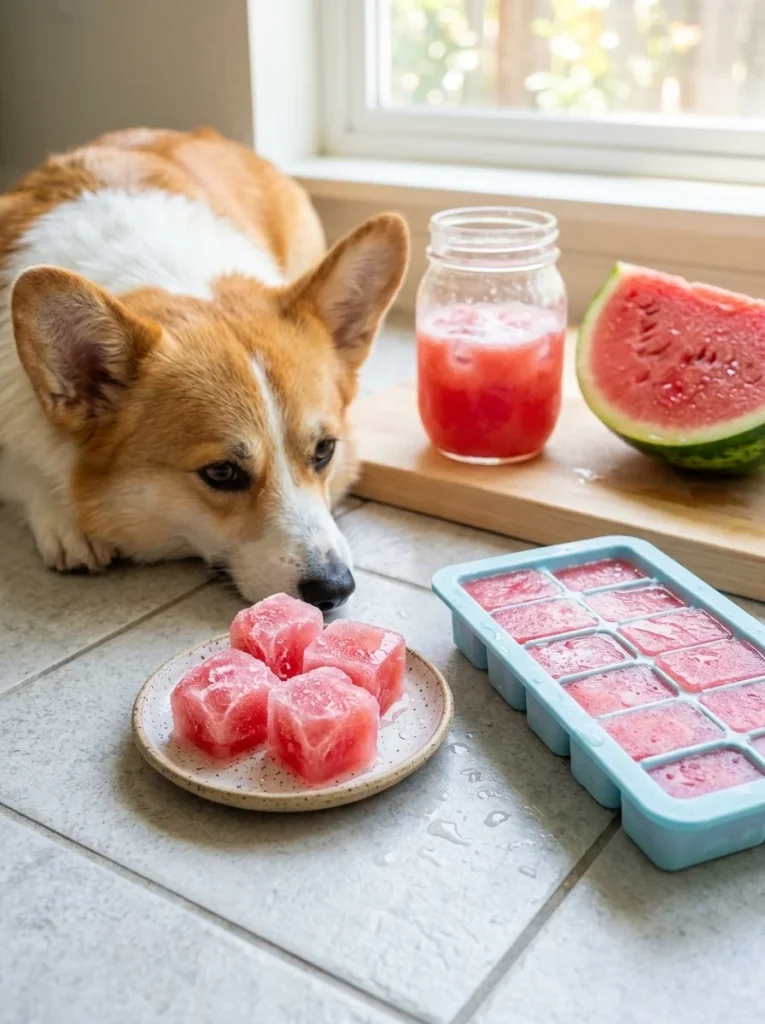
Watermelon is about 90% water, so this is a light, refreshing treat. It is very low in calories, which makes it great for dogs on a diet.
RECIPE CARD: Watermelon Ice Cubes
- Prep Time: 8 minutes
- Freeze Time: 3 hours
- Yield: About 12 cubes
- Difficulty: Very easy
Ingredients
- 2 cups seedless watermelon chunks (rind removed)
- 1/4 cup water
Instructions
- Cut the watermelon and remove any seeds you see. Seeds and rind can upset a dog’s stomach.
- Blend the watermelon with the water until it is a smooth juice.
- Pour into an ice cube tray.
- Freeze for at least 3 hours.
- Serve one or two cubes on a hot day.
Notes
- Storage: Freezer for up to 2 months.
- Pro Tip: Drop a single blueberry into each cube before freezing for a fun surprise.
c. Blueberry Coconut Freezer Bites
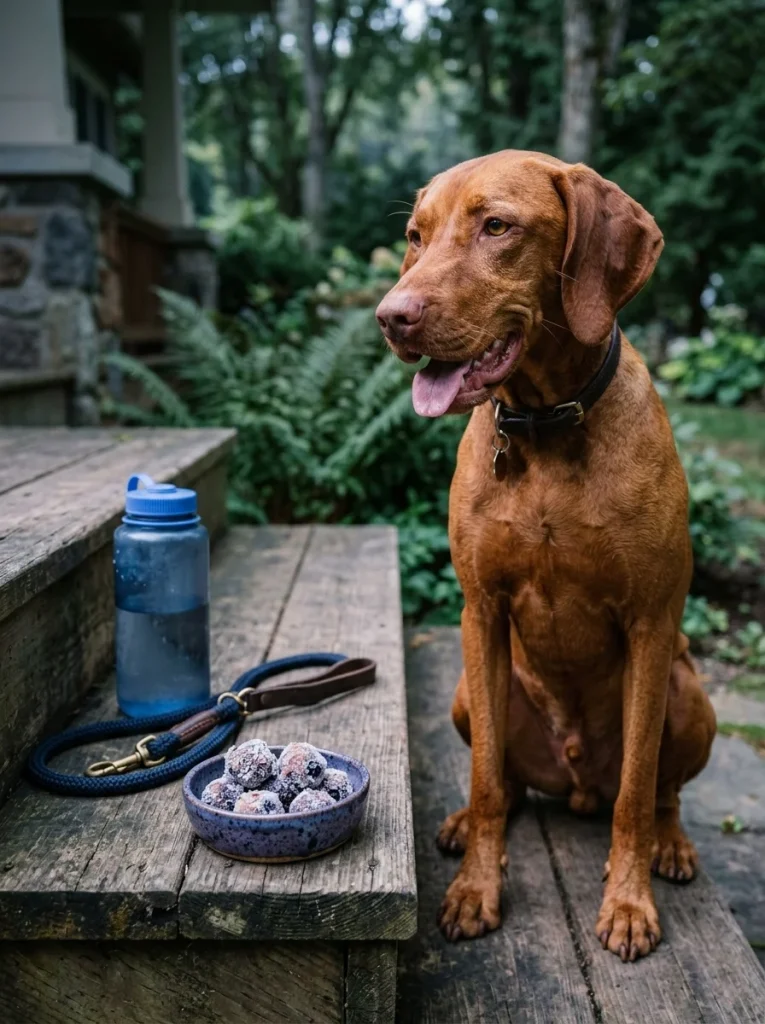
Blueberries are packed with antioxidants, and the coconut makes these bites smooth and creamy. They are perfect as a small reward after a walk.
RECIPE CARD: Blueberry Coconut Freezer Bites
- Prep Time: 10 minutes
- Freeze Time: 3 hours
- Yield: About 15 bites
- Difficulty: Easy
Ingredients
- 1 cup blueberries (fresh or thawed frozen)
- 1/2 cup unsweetened coconut milk (from a carton, no added sugar)
- 1 tablespoon unsweetened shredded coconut
Instructions
- Blend the blueberries and coconut milk until smooth.
- Stir in the shredded coconut.
- Spoon the mixture into a silicone mini mold or ice cube tray.
- Freeze for 3 hours, or until solid.
- Pop out a bite and serve right away.
Notes
- Storage: Freezer for 2 months.
- Pro Tip: These can stain fabric, so serve on a hard floor or outdoors.
4. Dehydrated and Chewy Treats
Dehydrated treats last a long time and have a satisfying chew. You can use a dehydrator, or just your oven on its lowest setting. Slow drying removes moisture without adding anything artificial. They also make a nice alternative to store-bought chews, and you can find more chew ideas in our post on dog bones treat options.
a. Sweet Potato Chews
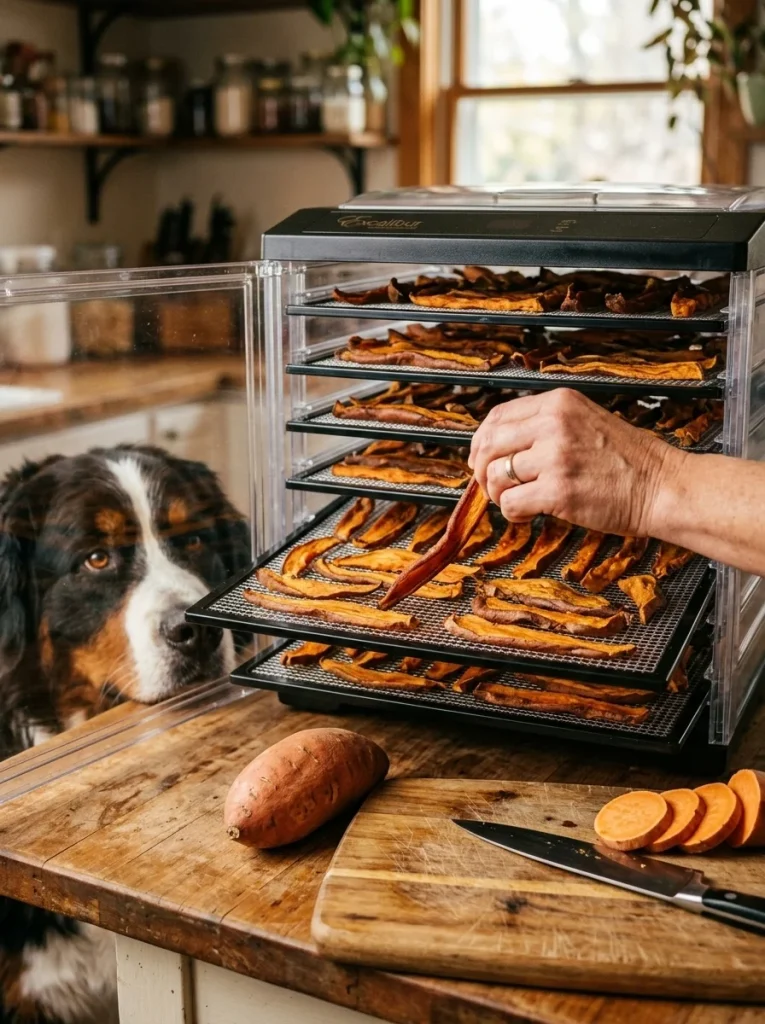
These are chewy, sweet, and long-lasting. Sweet potato is a favorite for dogs because it tastes great and is full of fiber and vitamins.
RECIPE CARD: Sweet Potato Chews
- Prep Time: 10 minutes
- Dehydrate Time: 3-4 hours (oven or dehydrator)
- Yield: About 20 chews
- Difficulty: Easy
Ingredients
- 2 medium sweet potatoes, washed (no need to peel)
Instructions
- Heat your oven to 250°F (120°C), or set your dehydrator to 135°F.
- Slice the sweet potatoes lengthwise into strips about 1/4 inch thick. For a chewier treat, cut them 1/2 inch thick.
- Lay the strips on a baking tray lined with parchment, without overlapping.
- Bake for 3 hours, flipping halfway. Thicker slices may need up to 4 hours.
- The chews are done when they bend without snapping and have no wet spots.
- Cool completely before serving.
Notes
- Storage: Airtight container for 2 weeks in the fridge, or freeze for 3 months.
- Pro Tip: Prop the oven door open a crack with a wooden spoon so moisture can escape.
b. Apple Chips
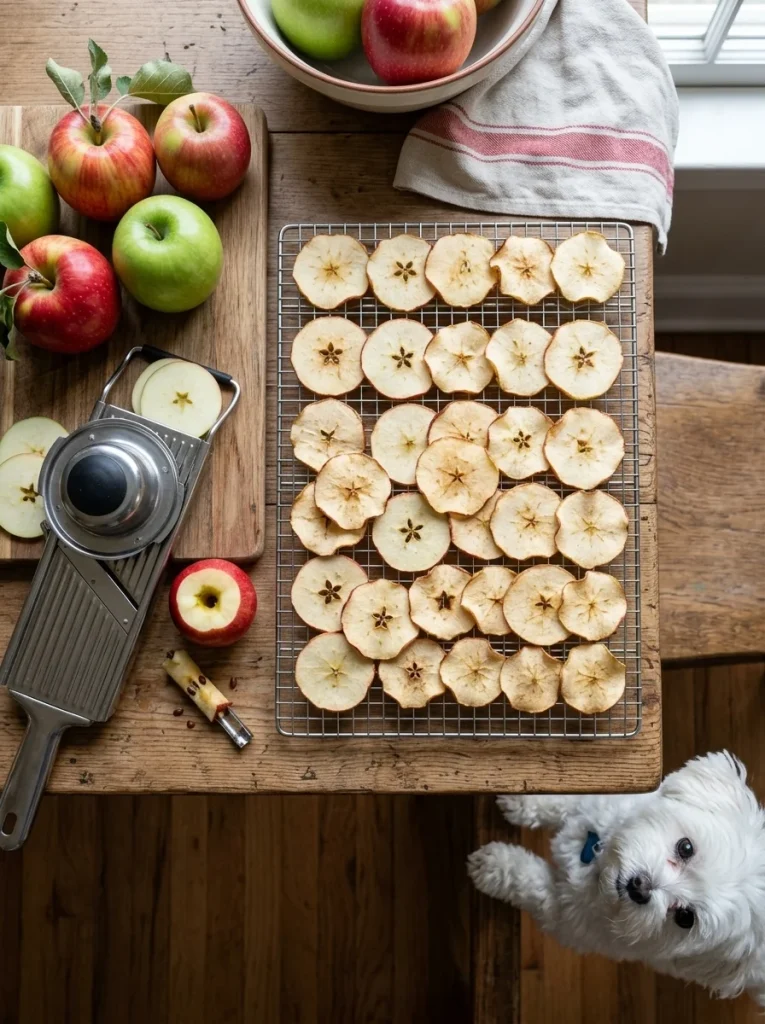
Apples make a crisp, light snack that dogs love. They are a nice option when you want something small and low in fat.
RECIPE CARD: Apple Chips
- Prep Time: 10 minutes
- Dehydrate Time: 2-3 hours
- Yield: About 30 chips
- Difficulty: Very easy
Ingredients
- 3 medium apples (any variety)
Instructions
- Heat your oven to 200°F (95°C), or set your dehydrator to 135°F.
- Wash the apples. Remove the core and every seed. Apple seeds contain a small amount of a harmful compound.
- Slice the apples into thin rounds, about 1/8 inch thick.
- Arrange the slices on a lined baking tray in a single layer.
- Bake for 2-3 hours, flipping once halfway.
- Let them cool on the tray. They will crisp up as they cool.
Notes
- Storage: Airtight container for 1 week.
- Pro Tip: A mandoline slicer makes the slices even, so they all dry at the same rate.
c. Zucchini Chews
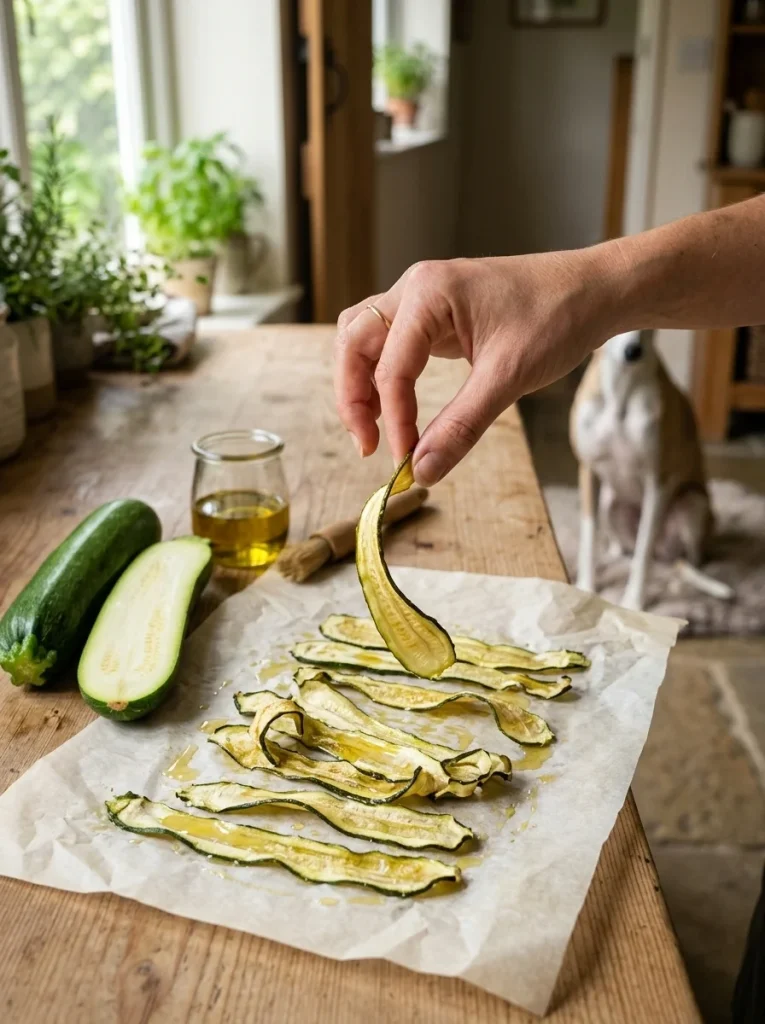
Zucchini is mild and low in calories. Once dried, it turns into a soft, chewy strip that works well for dogs who need lighter snacks.
RECIPE CARD: Zucchini Chews
- Prep Time: 10 minutes
- Dehydrate Time: 3 hours
- Yield: About 25 strips
- Difficulty: Easy
Ingredients
- 2 medium zucchini
- 1 teaspoon olive oil (optional)
Instructions
- Heat your oven to 225°F (110°C), or set your dehydrator to 135°F.
- Cut the zucchini into 1/4-inch strips or rounds.
- Pat the pieces dry with a paper towel. Zucchini holds a lot of water.
- Brush lightly with olive oil if you want a slightly softer chew.
- Lay them out on parchment and bake for about 3 hours, flipping once.
- Test one after cooling. It should be leathery and flexible.
Notes
- Storage: Airtight container in the fridge for 10 days.
- Pro Tip: Salt is not needed, and it is not good for dogs. Skip it completely.
5. Stuffable and Lickable Treats
Not every treat has to be eaten in two bites. Lickable and stuffable snacks keep dogs busy, help with boredom, and calm anxious pets. They are ideal for crate time or when you have to leave the house. You can also set them up at a dog treat station so they are always ready.
a. Lick Mat Veggie Spread
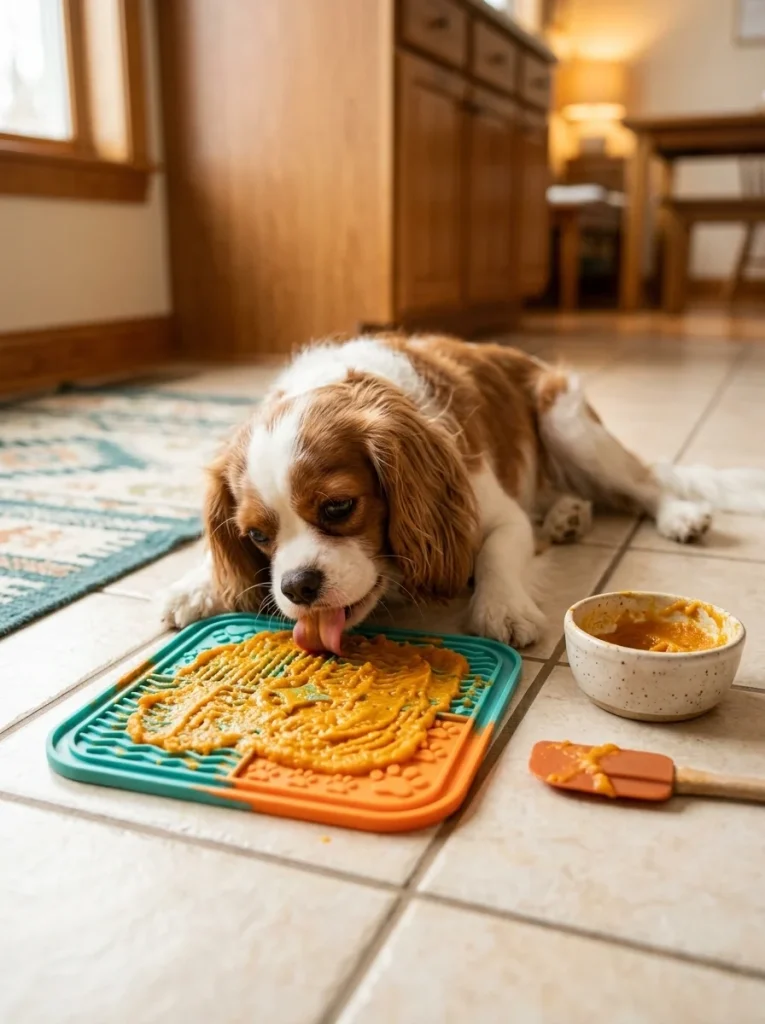
Spread this on a lick mat, and your dog will happily work on it for 10-20 minutes. Licking is a soothing activity for many dogs.
RECIPE CARD: Lick Mat Veggie Spread
- Prep Time: 10 minutes
- Freeze Time: 2 hours (optional)
- Yield: Enough for 2-3 lick mats
- Difficulty: Very easy
Ingredients
- 1/2 cup plain pumpkin puree
- 1/4 cup mashed banana
- 2 tablespoons finely grated carrot
- 1 tablespoon xylitol-free peanut butter
Instructions
- Mix all the ingredients in a bowl until smooth and spreadable.
- Use a spatula to spread a thin, even layer on a lick mat.
- Serve as it is, or freeze the mat for 2 hours for a longer-lasting treat.
- Supervise your dog while they lick.
Notes
- Storage: Store leftover spread in a jar in the fridge for up to 4 days.
- Pro Tip: A thinner layer lasts longer than a thick one because the dog must work at it.
b. Frozen Toy Filler
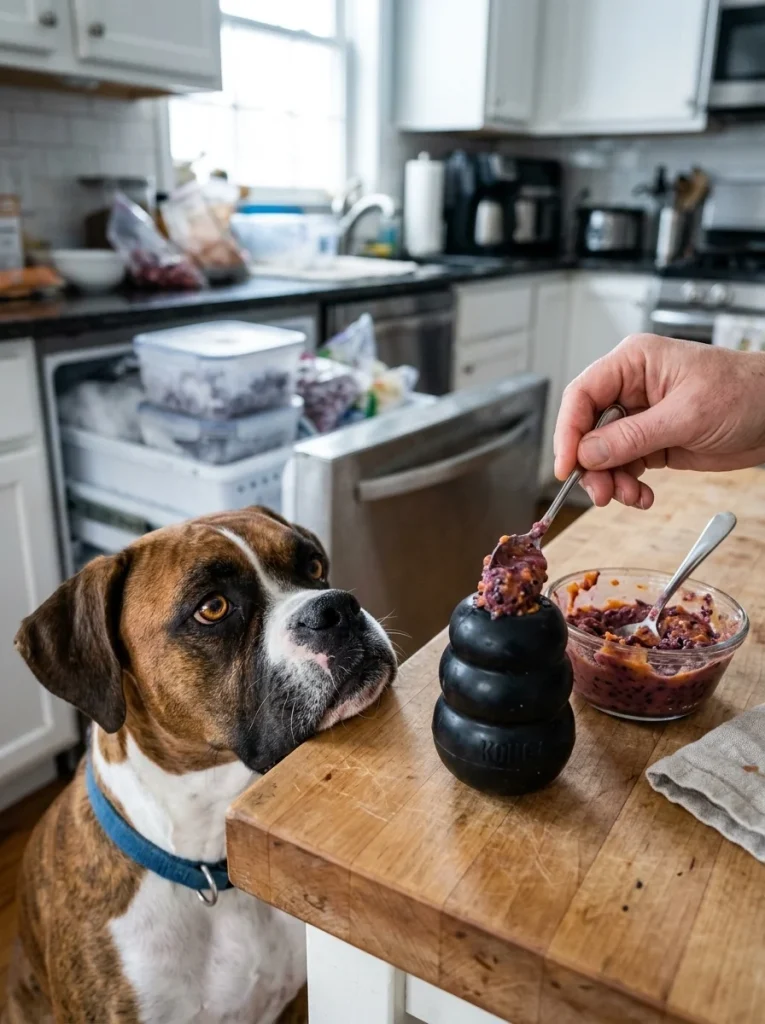
Stuff a rubber toy with this mix, freeze it, and you have a treat that can last more than 30 minutes. It is great for hot days and for chewers who need a challenge.
RECIPE CARD: Frozen Toy Filler
- Prep Time: 10 minutes
- Freeze Time: 6 hours or overnight
- Yield: Fills 1 large or 2 small rubber toys
- Difficulty: Easy
Ingredients
- 1/2 cup cooked, mashed sweet potato
- 1/4 cup blueberries
- 2 tablespoons oat flour
- 1/4 cup water or unsweetened oat milk
Instructions
- Mix the sweet potato, oat flour, and water into a thick paste.
- Fold in the blueberries.
- Stand the rubber toy upright in a cup, with the small hole facing down. Plug the hole with a small piece of banana or a dab of peanut butter.
- Spoon the mixture into the toy, pressing it down to remove air pockets.
- Freeze for at least 6 hours.
- Give it to your dog on an easy-to-clean surface.
Notes
- Storage: Filled toys stay good in the freezer for 1 month.
- Pro Tip: For beginners, do not freeze the toy solid at first. Start with a soft-filled toy so your dog learns how to get the food out.
6. Storage and Portion Tips
Homemade treats have no preservatives, so storage matters. Use the guide below to keep your treats fresh and safe.
How long each type lasts:
- Baked biscuits: 5-7 days in an airtight container, 3 months in the freezer.
- No-bake bites: 5-7 days in the fridge, up to 2 months in the freezer.
- Frozen treats: Up to 2 months in the freezer.
- Dehydrated chews: 1-2 weeks in the fridge, 3 months in the freezer.
- Lick mat spread: 4 days in the fridge.
Simple portion rules:
- Small dogs (under 20 lbs): 1-2 small treats a day.
- Medium dogs (20-50 lbs): 2-4 small treats a day.
- Large dogs (over 50 lbs): 4-6 small treats a day.
These are general guidelines. Adjust for your dog’s weight and activity level. If you are already making your dog’s meals at home, take a look at our homemade dog food recipes so you can balance treats with meals.
Quick storage tricks:
- Label each container with the date you made it.
- Freeze treats in small batches so you only thaw what you need.
- Throw away any treat with mold, a sour smell, or a slimy texture.
7. Ingredients Dogs Should Never Eat
Even a healthy recipe can go wrong if one ingredient is unsafe. Always read labels and double-check anything new.
Never use these in dog treats:
- Xylitol: A sweetener found in some peanut butters and baked goods. It is highly toxic to dogs.
- Grapes and raisins: Can cause kidney failure.
- Onions and garlic: Can damage red blood cells.
- Chocolate and cocoa: Toxic to dogs.
- Macadamia nuts: Can cause weakness and vomiting.
- Nutmeg: Harmful in larger amounts.
- Salt and added sugar: Not toxic in small doses, but unhealthy over time.
If your dog eats something on this list, call your vet or an animal poison hotline right away. Do not wait for symptoms.
8. Why Choose Plant Based Treats?
Plant based dog treats are not just a trend. They offer real benefits for many pets and their owners.
- Simple ingredients: You know exactly what goes into every treat.
- Good for sensitive dogs: Many dogs with meat allergies do better on treats made from vegetables and grains.
- Fiber-friendly: Pumpkin, sweet potato, and oats support healthy digestion.
- Budget-friendly: Most recipes cost just a few dollars per batch.
- Lower in fat: Fruits and vegetables help keep treat calories down.
Keep in mind that treats are extras. Your dog’s main meals should stay balanced and complete. If you plan a big diet change, talk to your vet first.
Final Thoughts
Making vegan dog treats at home is easier than most people think. Start with the peanut butter banana oat biscuits, since they are simple and almost impossible to mess up. Then try a frozen treat on a hot day and a lick mat when you need your dog to stay calm and busy.
Every recipe in this guide stands on its own, so you can mix and match based on your time, tools, and your dog’s taste. Save your favorites, and tell us which ones your dog loved most. Happy baking!

Izzy is an experienced ranch worker who has a passion for exploring nature and getting up close to wildlife. With her connections to various animal organizations, Izzy is well-versed in animal care and rehabilitation.


