Oreo Style Carob Sandwich Dog Cookies Your Pup Will Think Are the Real Thing
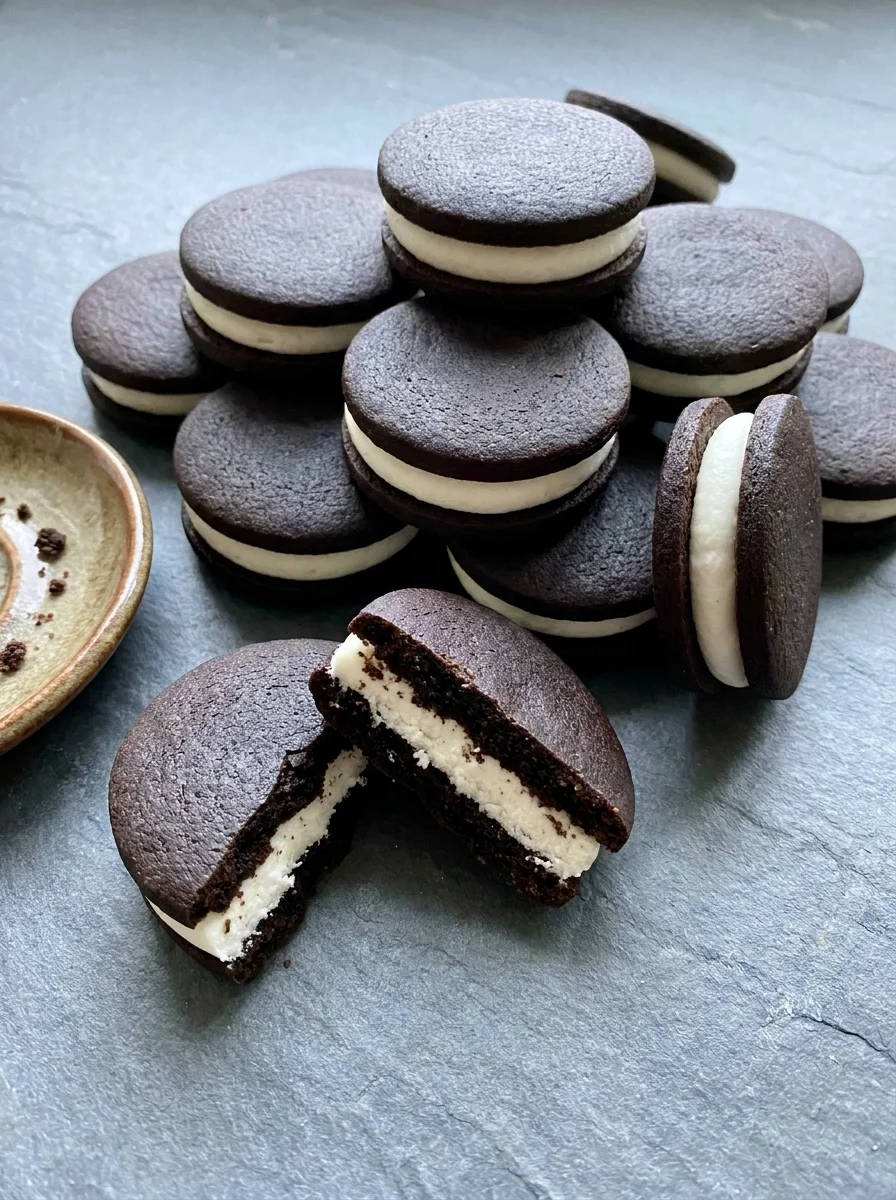
If you have ever watched a dog light up at the scent of chocolate, you know how much that craving matters to them. For years, dog owners had to look away from that classic sandwich cookie look because chocolate contains theobromine, a compound that is genuinely toxic to dogs. The good news is that you can make Carob Sandwich Dog Cookies that look like the real thing and are completely safe for your pup. This recipe gives you the visual payoff of those iconic black-and-white sandwich cookies without any of the danger. If you are still building out your pantry of safe options, you can also try baking a batch of homemade pumpkin dog cupcakes for a completely different texture that dogs love to chase into the bowl.
Why Carob Works Like Chocolate (But Isn’t)
However, because the carob tree is in an entirely different botanical family, its seeds contain zero theobromine.
When you are looking for other safe ways to mimic that “special treat” feel, you can check out a peanut butter dog cake with bacon, which pairs well with the savory-sweet profile of carob. The key warning here is absolute: never substitute cocoa powder, real chocolate, or chocolate-flavored anything into these recipes. Even a tablespoon of cocoa can make a medium-sized dog sick, and the risk scales with dog size. Theobromine accumulates in the body, and a small puppy eating a handful of treats is at a higher risk than a large adult, so keep the swap out of your baking entirely.
The 3-Part Formula: Wafer + Filling + Chill
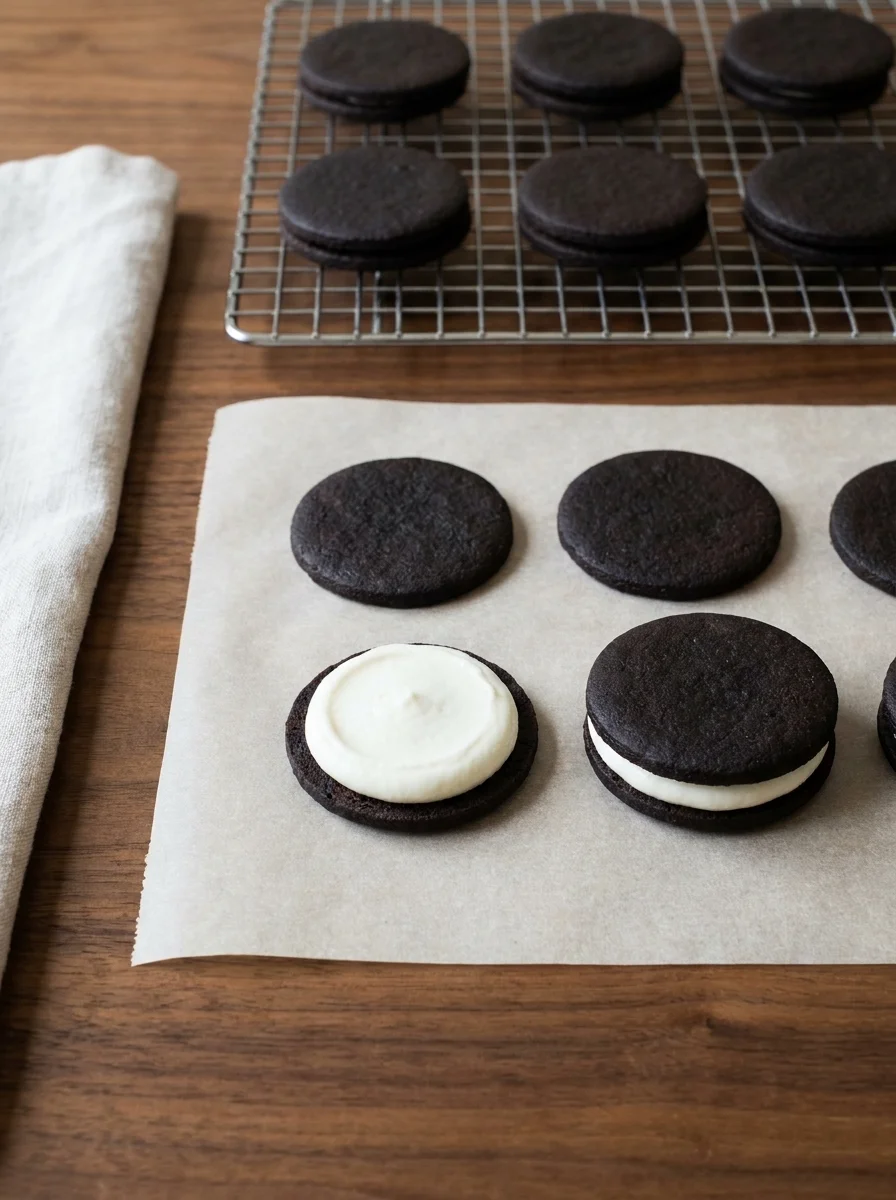
The structure of these Carob Sandwich Dog Cookies mirrors how a human Oreo is built: two crunchy wafers sandwiching a soft, creamy filling, then chilled until the filling sets. The wafer must be sturdy enough to support the filling without collapsing, so we lean on oat flour for structure, an egg for binding, and a small amount of coconut oil to keep the crumb tender. The filling needs to be thick enough to hold its shape when you press the top wafer down, which is why low-fat cream cheese is the backbone of the classic version.
The formula is:
Wafer: Oat flour plus carob plus applesauce plus egg plus coconut oil.
Filling: Cream cheese (or a variant filling).
Chill: At least 20 minutes in the fridge before serving or storing.
Recipe 1: Classic Carob Sandwich Cookies
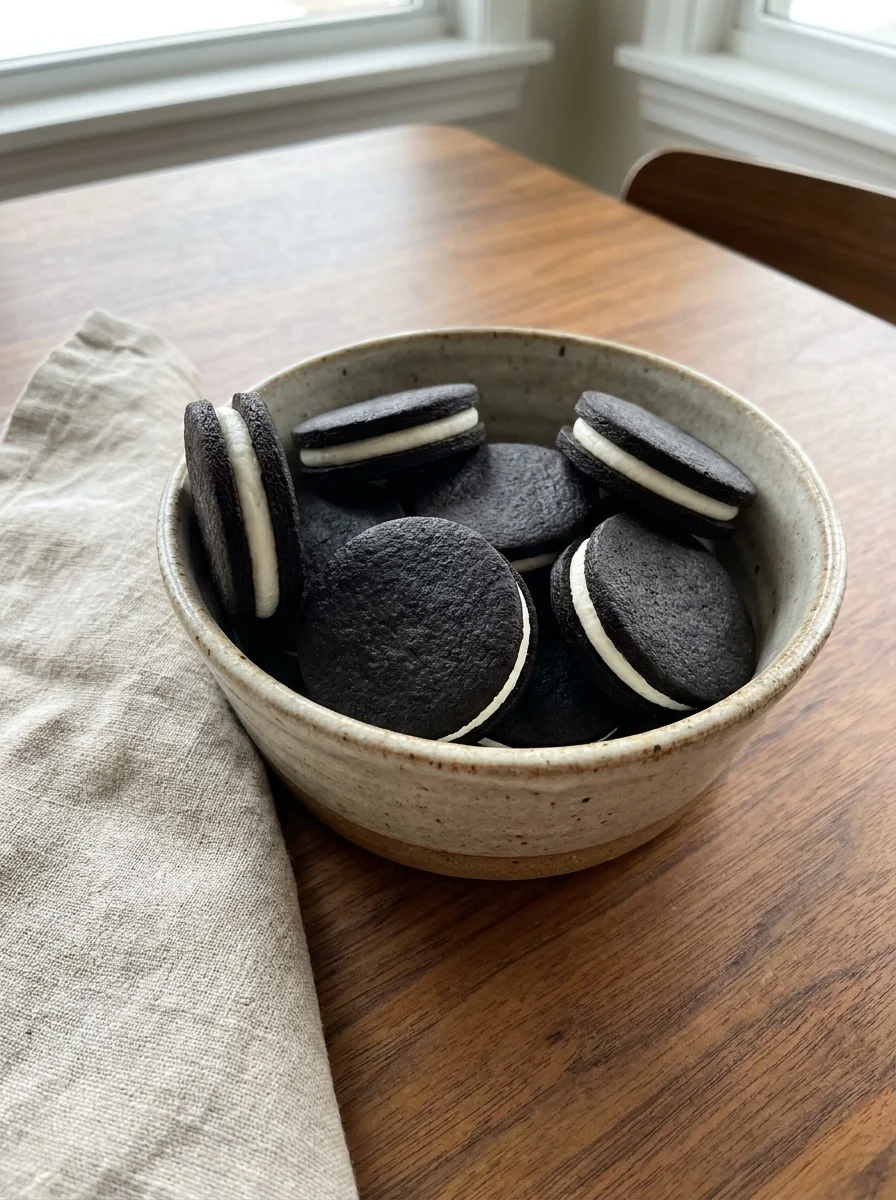
If you have made homemade cheese dog treats before, you know that the texture of these is denser and sturdier than a standard biscuit, which is exactly what you want for a sandwich.
Ingredients
- 2 cups oat flour
- 2 tablespoons carob powder
- 1/2 cup unsweetened applesauce
- 1 large egg
- 1 tablespoon melted coconut oil
- 4 ounces low-fat cream cheese
Step-by-Step Instructions
- Preheat your oven to 350 degrees Fahrenheit and line two baking sheets with parchment paper.
- In a medium bowl, whisk together the oat flour and carob powder until the color is even and the powder is fully distributed.
- In a separate bowl, mix the unsweetened applesauce, egg, and melted coconut oil until smooth and uniform.
- Pour the wet mixture into the dry mixture and stir with a spoon until a thick, slightly sticky dough forms.
- Transfer the dough to a lightly floured surface and roll it out to about one-quarter inch thick. This thickness is important; a thinner wafer will crack when you press the filling, and a thicker one will not set cleanly.
- Use a 2-inch round cookie cutter to stamp out about 30 circles. You want an even number so every cookie has a pair.
- Place the circles on the prepared baking sheets, leaving about one inch between them so they do not merge.
- Bake for 13 to 15 minutes, or until the tops are firm to the touch and the edges have just begun to turn a deeper brown. Watch the last three minutes closely; these wafers go from done to slightly overbaked fast.
- Let the wafers cool on the baking sheet for five minutes, then transfer them to a wire rack. The wafers should feel firm but still slightly pliable when you pick them up.
- Soften the low-fat cream cheese at room temperature for about 10 minutes until it spreads easily without breaking.
- Place one wafer on a clean, flat surface. Spoon about one teaspoon of the cream cheese filling into the center and spread it in a small circle, leaving about a quarter-inch border of bare wafer around the edge.
- Top with a second wafer and press down gently but firmly with your palm for about five seconds. Do not twist; a straight press keeps the filling centered.
- Line a plate with parchment paper and place the assembled sandwiches on top, wafers facing up.
- Refrigerate for at least 20 minutes, or until the filling feels firm to the touch.
- Serve one sandwich per dog. For small dogs under 20 pounds, break the sandwich in half along the seam.
More Carob Sandwich Cookies
The wafer in these Carob Sandwich Dog Cookies is a blank canvas, so the filling is where you can dial in the flavor your dog responds to most. The two variations below keep the same wafer base so you can batch-bake the wafers once and swap out the filling in the same 20-minute assembly window.
Variation 1: Peanut Butter Cream Sandwiches
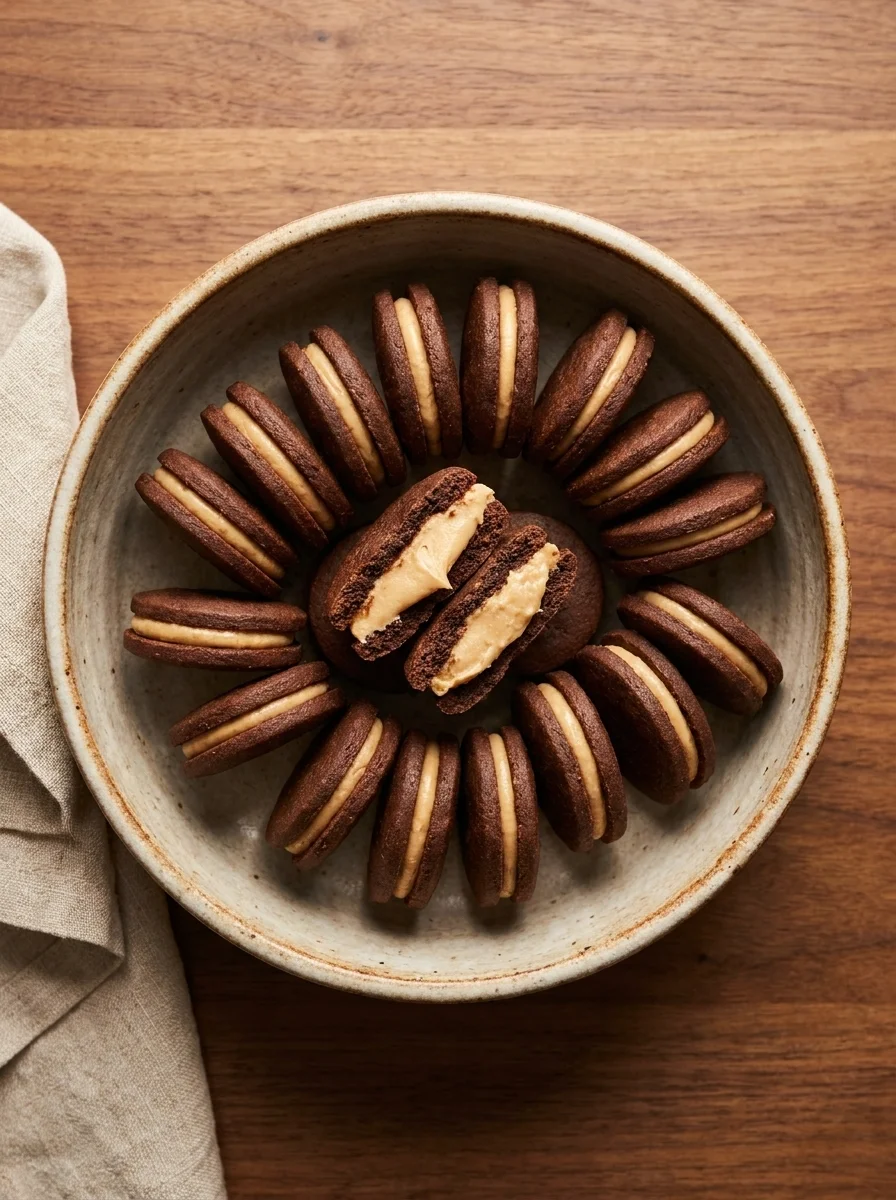
The peanut butter must be xylitol-free, so check the label before you open the jar. Xylitol is also sold as birch sugar, and it is highly toxic to dogs, even in small amounts. You can find a full, step-by-step version of this idea at this recipe if you want to see how the filling comes together before you commit to the sandwich build.
Ingredients
- 2 cups oat flour
- 2 tablespoons carob powder
- 1/2 cup unsweetened applesauce
- 1 large egg
- 1 tablespoon melted coconut oil
- 3 tablespoons xylitol-free peanut butter
- 2 tablespoons plain Greek yogurt
Step-by-Step Instructions
- Preheat your oven to 350 degrees Fahrenheit and line two baking sheets with parchment paper.
- Whisk the oat flour and carob powder in a medium bowl until the color is even.
- In a separate bowl, mix the applesauce, egg, and melted coconut oil until smooth.
- Combine the wet and dry mixtures and stir until a thick dough forms.
- Roll the dough to about one-quarter inch thick on a lightly floured surface.
- Stamp out about 30 two-inch circles with a round cutter.
- Bake the circles on the prepared sheets for 13 to 15 minutes, or until firm to the touch and lightly browned at the edges.
- Cool the wafers on the sheet for five minutes, then move them to a wire rack.
- Stir the xylitol-free peanut butter and plain Greek yogurt in a small bowl until smooth and spreadable.
- Soften the filling for one to two minutes if it has thickened, then spread about one teaspoon per wafer, leaving a quarter-inch border.
- Top with a second wafer and press gently for five seconds.
- Chill the assembled sandwiches for at least 20 minutes, or until the filling holds its shape when you lift a cookie.
- Serve one sandwich per dog, halved for small dogs.
Variation 2: Yogurt Chip Sandwiches
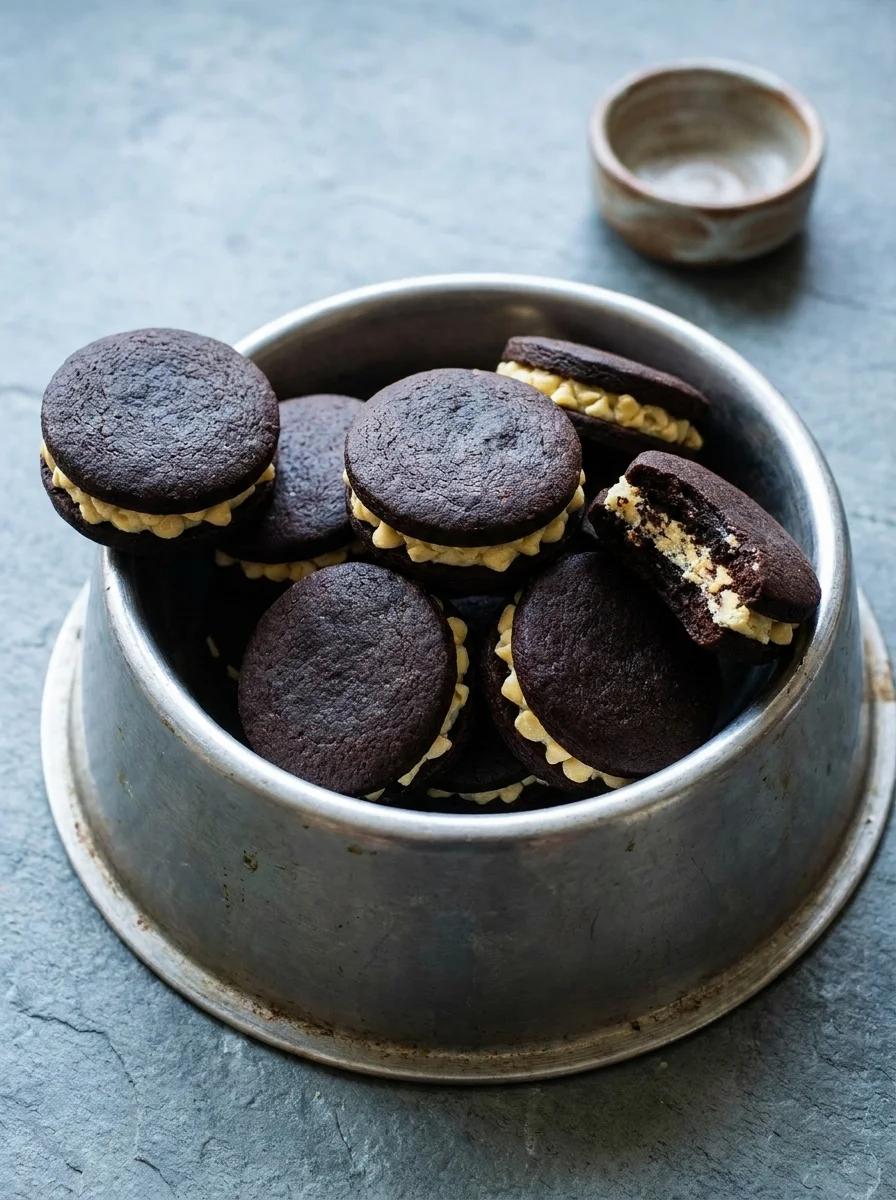
This version uses a spoonful of yogurt chips made specifically for dogs pressed into a thin layer, giving the filling a crunchy, textured bite instead of a smooth cream. The chips are designed to be dog-safe, so they contain no white chocolate or theobromine, which is critical.
Ingredients
- 2 cups oat flour
- 2 tablespoons carob powder
- 1/2 cup unsweetened applesauce
- 1 large egg
- 1 tablespoon melted coconut oil
- 1/4 cup yogurt chips made for dogs
- 1 tablespoon coconut oil
Step-by-Step Instructions
- Preheat your oven to 350 degrees Fahrenheit and line two baking sheets with parchment paper.
- Whisk the oat flour and carob powder until even.
- Mix the applesauce, egg, and one tablespoon of the coconut oil in a bowl until smooth.
- Combine wet and dry and stir into a thick dough.
- Roll to about one-quarter inch and stamp out 30 two-inch circles.
- Bake for 13 to 15 minutes until firm and lightly browned.
- Cool the wafers on the sheet for five minutes, then transfer to a wire rack.
- Melt the remaining tablespoon of coconut oil in a small microwave-safe bowl for about 15 seconds.
- Place the yogurt chips in a bowl and drizzle the melted coconut oil over them. The oil acts as a binder so the chips hold together in a spoonful.
- Press about one tablespoon of the chip-and-oil mixture into a thin, even layer on each wafer, leaving a quarter-inch border.
- Top with a second wafer and press gently for five seconds.
- Refrigerate for at least 30 minutes, or until the chip layer feels solid and does not shift when you lift the cookie.
- Serve one sandwich per dog, halved for small dogs.
Getting the Oreo Look: Stamps, Cutters, and Even Rounds
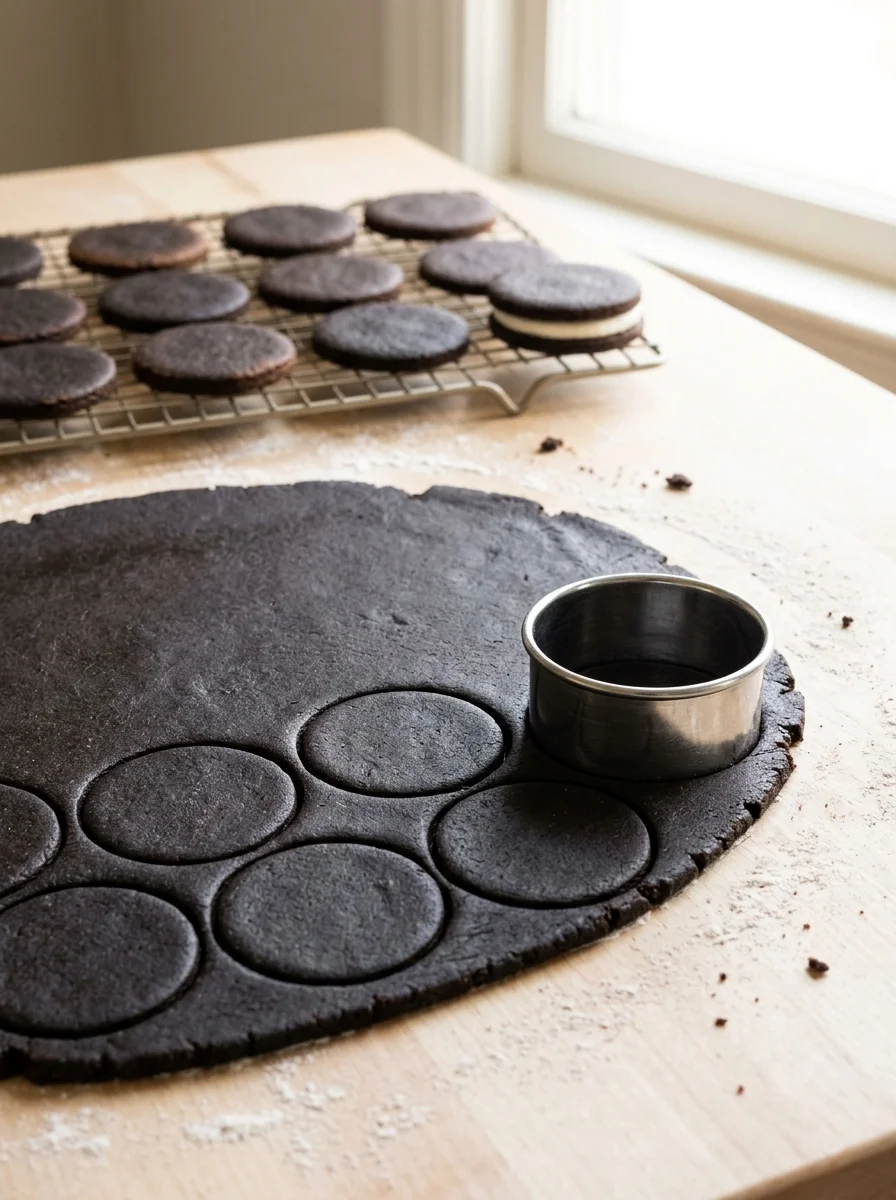
The visual payoff of these cookies comes from keeping every wafer the same size and the same shape. A 2-inch round cutter gives you the classic Oreo silhouette, but any round cutter from 1.5 inches to 3 inches works as long as you are consistent. The key is to cut the wafers before they bake so they set into that shape in the oven; cutting baked wafers tends to crack them.
For a truly clean sandwich, the filling must be centered. If you spoon the filling off-center, the press will push one side of the wafer up, and the cookie will look lopsided. Use a small, rounded spoon to drop the filling into the center, then a back of the spoon to smooth it into a circle. The quarter-inch border of bare wafer around the filling is what seals the sandwich, so if you go all the way to the edge, the filling will ooze out the sides when you press, and the cookie will lose its shape.
Serving: Birthdays, Photo Moments, and Everyday Rewards
These Carob Sandwich Dog Cookies are built for the moments when you want to give your dog something that feels like a celebration. For a birthday, set the dog down in front of a small dog bowl on the floor, place one or two sandwiches in the bowl, and let your pup work for it.
For a photo moment, the round shape and the clean white filling (or the light brown of the peanut butter filling) hold up well in a quick portrait. If you are expanding the party spread, you can also make a batch of cottage cheese dog treats, which pair well with the sandwich cookies because the flavor profile is mild and the texture is soft enough to contrast the crunch.
For everyday rewards, keep two to three sandwiches in a sealed container in the fridge and pull one out after a long walk, after the nail trim, or after a vet visit.
Storage and Freezing
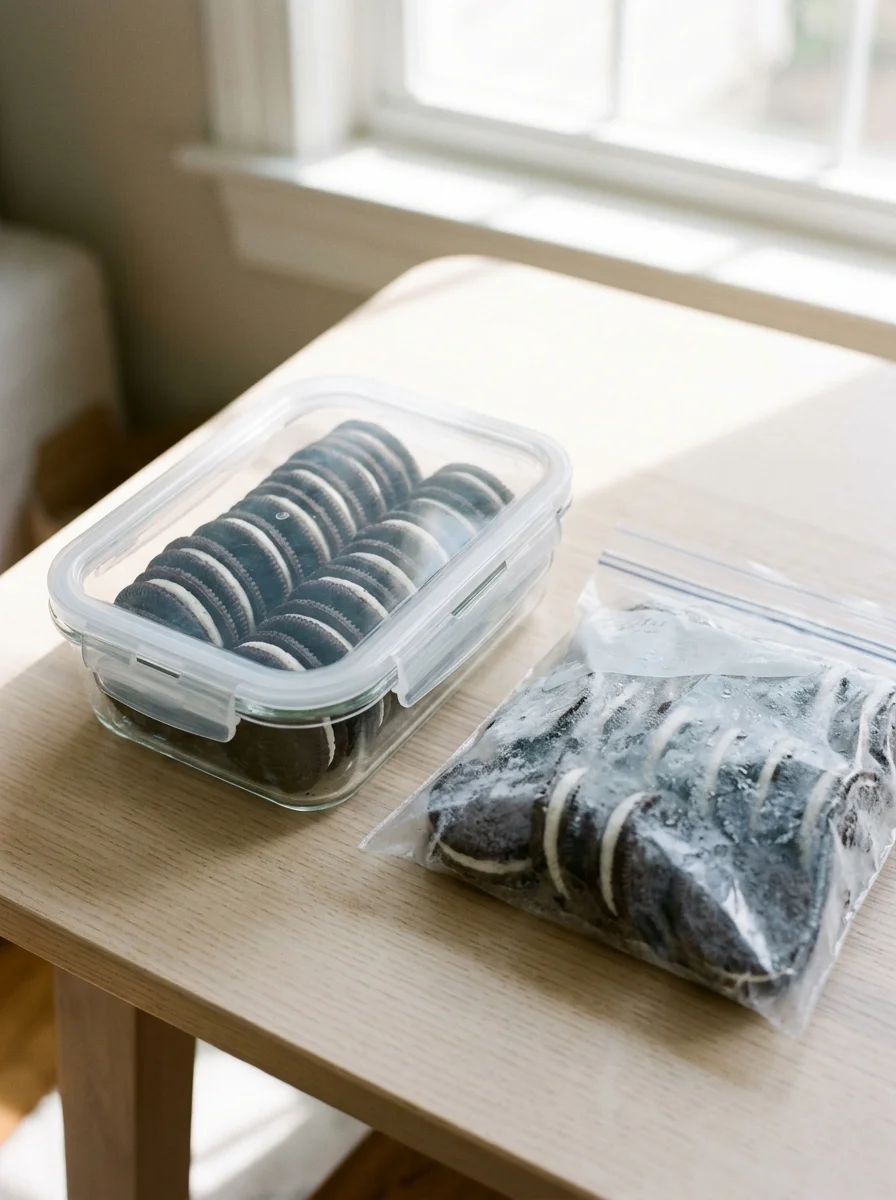
The wafers bake up sturdy, so they store well, but the assembled sandwiches are best eaten within a few days. Keep them in an airtight container in the refrigerator for up to seven days. If you are not going to serve all 15 sandwiches in a week, freeze the rest. Line a baking sheet with parchment, place the sandwiches in a single layer, and freeze for about two hours until the filling is solid. Transfer them to a zip-top bag or a sealed container, and they will keep for up to three months.
Troubleshooting
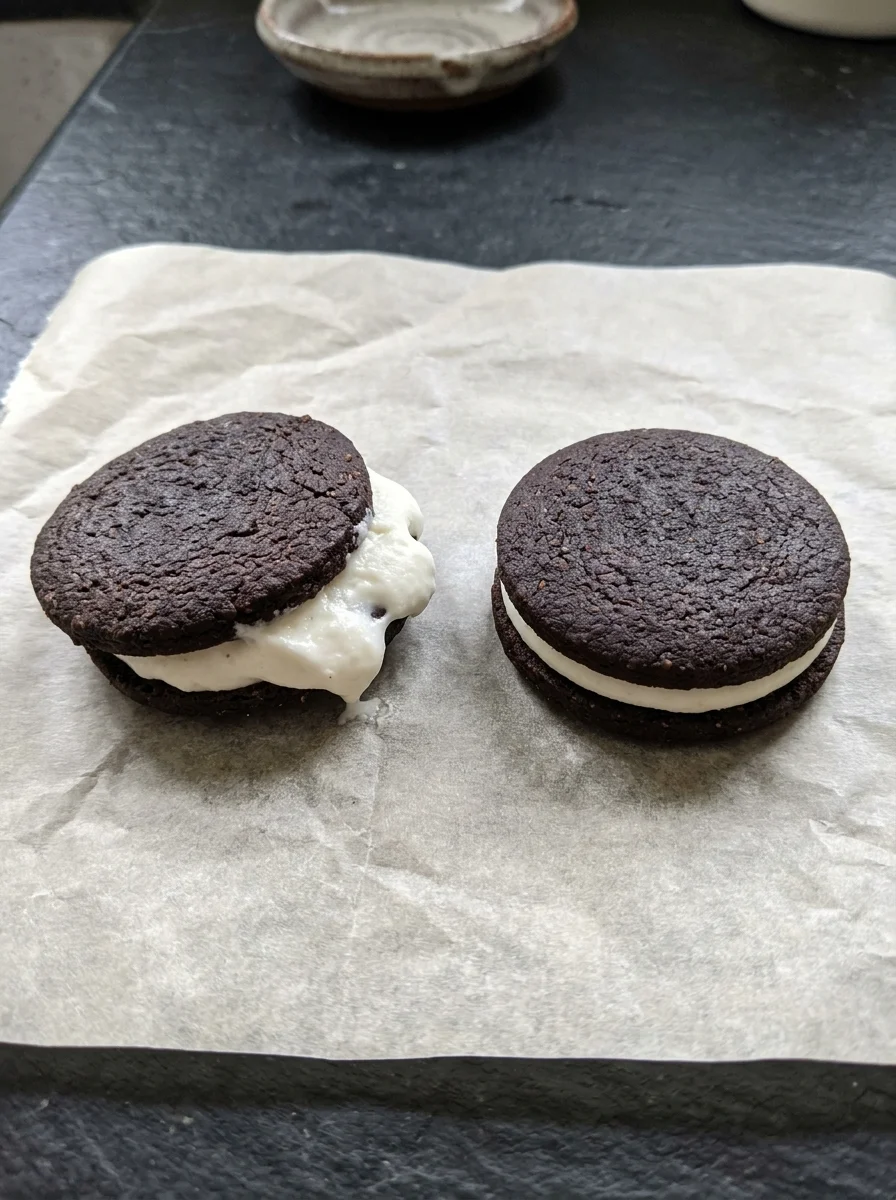
If the wafer is too hard to press, the dough was likely underbaked. Bake for another two to three minutes next time. If the wafer is too brittle and shatters when you press the filling, it was overbaked; pull it out two minutes earlier.
Chill the filling ingredients for 10 minutes before assembly, and extend the final chill by 10 minutes. If the filling spreads out the sides of the cookie when you press, your border of bare wafer was too small; leave at least a quarter-inch of empty space around the filling next time.
If the cookie looks lighter in color than expected, the carob powder did not distribute evenly. Whisk the carob into the oat flour in small batches so the powder does not clump, and check the color of the flour as you mix.
Frequently Asked Questions
Final Thoughts
Carob Sandwich Dog Cookies give you the shape and the satisfaction of a classic sandwich cookie without the theobromine risk, and the three-part formula makes the process easy to repeat. The carob, the applesauce, the cream cheese, and the peanut butter are all dog-safe, so you can batch these up and keep a stash in the fridge for the next photo moment, the next nail trim, or just a quiet afternoon where your dog deserves a treat that looks like the real thing and is completely safe for it.

Izzy is an experienced ranch worker who has a passion for exploring nature and getting up close to wildlife. With her connections to various animal organizations, Izzy is well-versed in animal care and rehabilitation.