3-Ingredient Pumpkin Dog Treats You Can Make in 30 Minutes
Your dog gets excited about treat time. You probably want treats that are simple, safe, and cheap, and that don’t require a pile of confusing ingredients. That’s why 3-ingredient pumpkin dog treats are so popular with dog owners.
Pumpkin is soft, mild, and easy to mix with other dog-safe foods. It also works in almost any format: baked biscuits, frozen bites, no-bake balls, and more. You don’t need fancy tools or cooking skills. If you can stir and scoop, you can make every recipe below.
In this guide, you’ll get six master recipes. Each one uses only three main ingredients and follows the same layout, so it’s easy to skim. Each recipe has a copy-ready recipe card with prep time, cook or freeze time, yield, ingredients, instructions, and notes. After the recipes, you’ll find three flavor variations, storage tips, and a short safety section.
Ready to bake, scoop, and freeze? Let’s start.
Before You Start: Quick Pumpkin Prep Rules
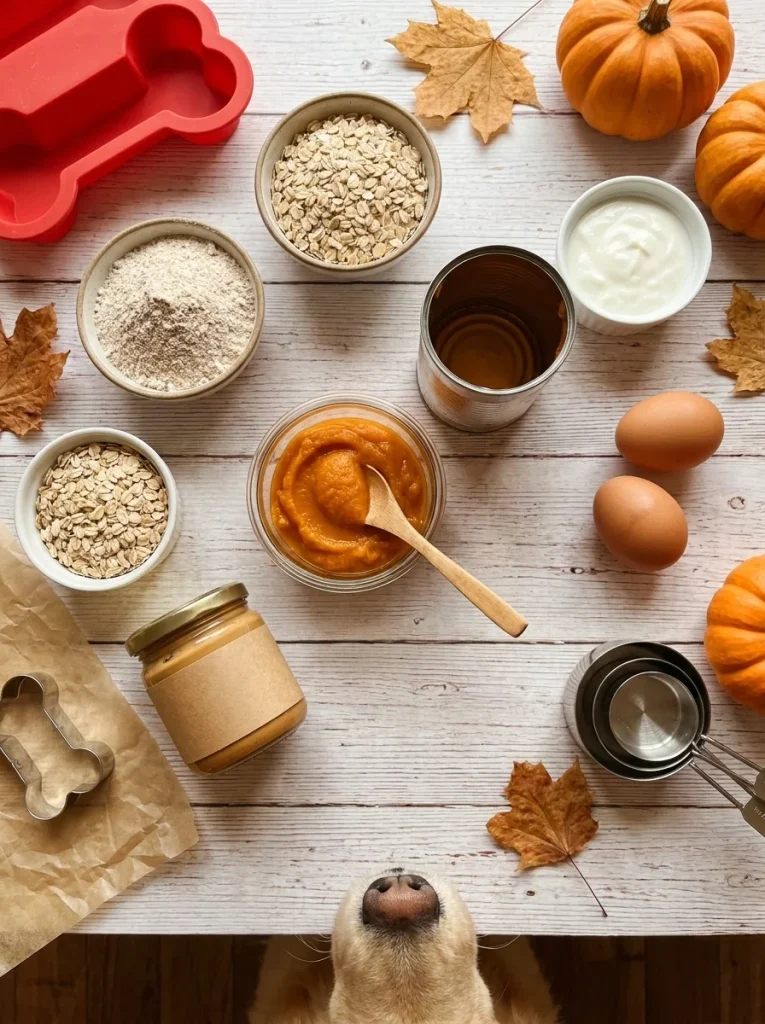
A few small choices make the difference between a great treat and a bad one. Read this short section first.
A) Pick the Right Pumpkin
Use 100% plain pumpkin puree. Check the label. It should list one ingredient: pumpkin.
Never use pumpkin pie filling. It contains sugar and spices, and some spice blends include nutmeg, which can be harmful to dogs.
You can also make your own puree. Roast plain pumpkin until soft, scoop out the flesh, and mash or blend it until smooth. Skip the salt, butter, and oil.
B) Grab a Few Basic Tools
You don’t need much:
- Mixing bowl and spoon
- Measuring cups and spoons
- Baking sheet and parchment paper
- Silicone mold or ice cube tray (for frozen treats)
- Small cookie cutters or a knife (for shapes)
- Airtight container for storage
C) Check Every Label
- Peanut butter: Make sure it has no xylitol (sometimes listed as “birch sugar”). Xylitol is very dangerous for dogs.
- Yogurt: Choose plain, unsweetened yogurt with no artificial sweeteners.
- Broth: Pick low-sodium broth with no onion or garlic.
- Flour: Whole wheat or oat flour works well for most dogs. If your dog has a grain allergy, use the swaps in each recipe card.
D) Keep Portions Small
Treats should make up only a small part of your dog’s daily food, usually no more than 10% of daily calories. Cut treats small, especially for little dogs.
Making your own treats is a great habit. If you like it, you’ll enjoy our roundup of homemade dog treat recipes for even more ideas.
1. Baked Pumpkin Biscuits
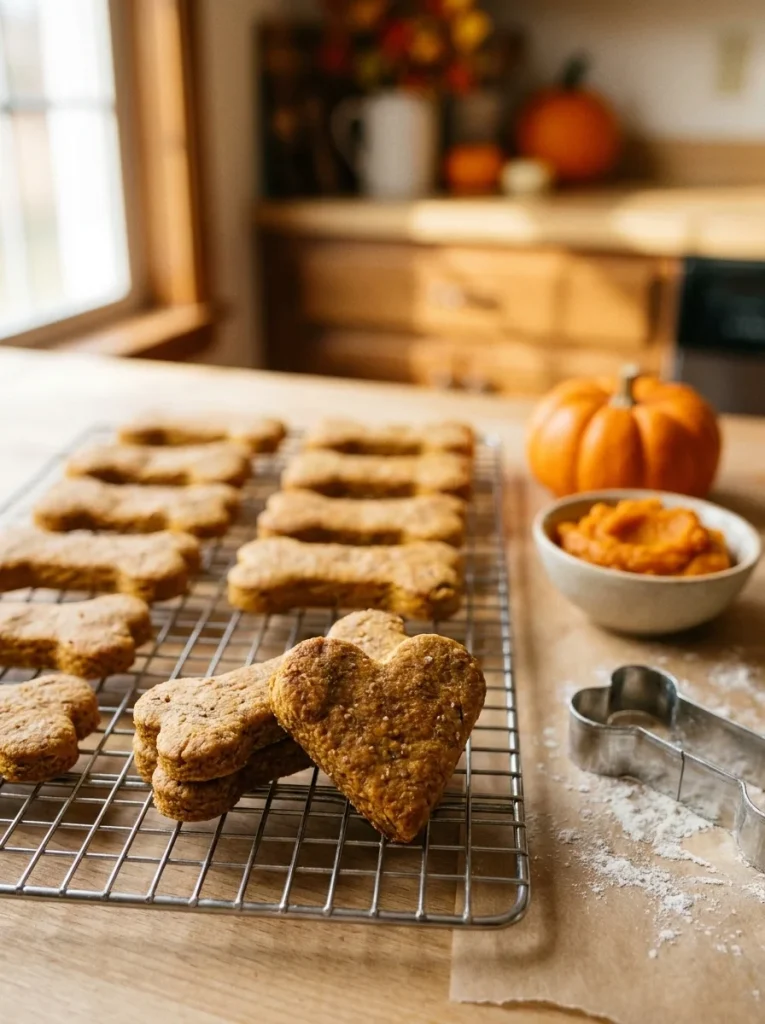
This is the classic. It’s the recipe most people picture when they think of 3-ingredient pumpkin dog treats, and it’s the best place to begin. The dough is easy to roll, cut, and bake, and the biscuits keep well.
A) Why This Recipe Works
- Sturdy texture: These biscuits hold together well in a treat jar or pocket.
- Fun shapes: Bones, hearts, and paw prints make them feel special.
- Easy to scale: Double the batch for gifts or dog park friends.
- Beginner-friendly: The dough is forgiving and hard to ruin.
B) Recipe Card
Baked Pumpkin Biscuits
Prep Time: 15 minutes
Bake Time: 30–35 minutes
Freeze Time: None
Yield: About 30 small biscuitsIngredients
- 2½ cups whole wheat flour (plus extra for dusting)
- ½ cup 100% plain pumpkin puree
- 2 large eggs
Instructions
- Preheat your oven to 350°F (175°C). Line a baking sheet with parchment paper.
- In a large bowl, whisk the eggs and pumpkin puree until smooth.
- Add the flour a little at a time, stirring after each addition, until a stiff dough forms.
- If the dough feels too crumbly, add 1–2 tablespoons of water. If it feels sticky, add a spoonful of flour.
- Dust your counter with flour. Roll the dough to about ¼ inch thick.
- Cut into shapes and place them on the baking sheet, about ½ inch apart.
- Bake for 30–35 minutes, until firm and lightly golden on the edges.
- Turn off the oven and leave the biscuits inside for 1 hour with the door closed. This makes them extra crunchy.
- Cool completely before serving.
Notes
- Grain-free option: Swap the flour for chickpea flour (start with 2 cups and add more as needed).
- Smaller cutters make smaller treats, which are better for tiny dogs and training.
- Store in an airtight container for up to 1 week at room temperature, 2 weeks in the fridge, or 3 months in the freezer.
C) Pro Tips for Better Biscuits
Roll evenly. Thick and thin spots bake unevenly, so some biscuits end up soft while others burn.
Don’t skip the cooling step. Biscuits get crunchier as they cool, and warm treats can trap moisture in the container and turn moldy faster.
Not sure about crunchy treats for your dog? Pull the biscuits out at 25 minutes for a softer bite. Just store them in the fridge.
2. Frozen Pumpkin Yogurt Drops
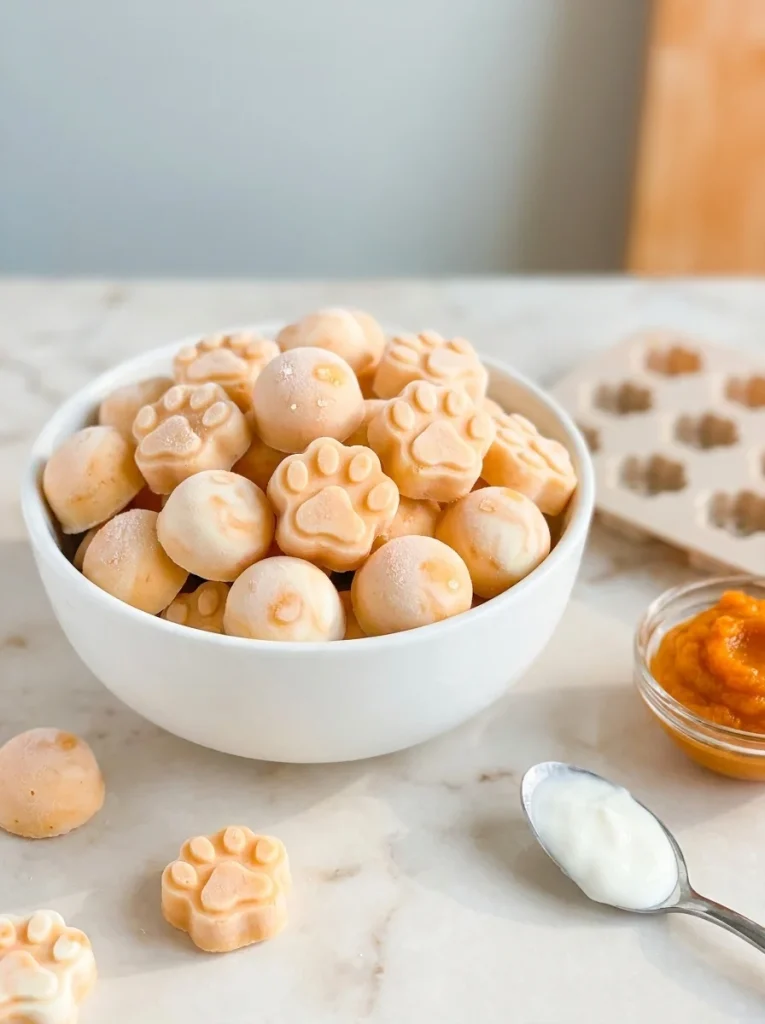
Need a treat for a hot day? These frozen bites take about ten minutes of work, and there’s no oven involved. They’re smooth, creamy, and perfect after a walk.
A) Why This Recipe Works
- No baking: Great for summer or small kitchens.
- Cooling: Dogs love a cold snack when it’s warm out.
- Bite-sized: Silicone molds make perfect portions.
- Quick prep: Mix, pour, freeze, done.
B) Recipe Card
Frozen Pumpkin Yogurt Drops
Prep Time: 10 minutes
Bake Time: None
Freeze Time: 3–4 hours
Yield: About 24 mini dropsIngredients
- 1 cup 100% plain pumpkin puree
- 1 cup plain, unsweetened yogurt (no xylitol or artificial sweeteners)
- 2 tablespoons xylitol-free peanut butter
Instructions
- Warm the peanut butter in a microwave-safe bowl for 10–15 seconds until it’s soft and stirrable.
- Add the pumpkin puree and yogurt to the bowl.
- Stir until the mixture is completely smooth and evenly colored.
- Spoon the mixture into a silicone mold or ice cube tray. A small piping bag or zip-top bag with the corner snipped makes this neater.
- Tap the mold gently on the counter to remove air bubbles.
- Freeze for 3–4 hours, or until completely solid.
- Pop the drops out and serve one at a time.
Notes
- Peanut-butter-free option: Use mashed banana (2 tablespoons) or extra pumpkin.
- Dairy-free option: Use unsweetened, xylitol-free coconut yogurt or skip the yogurt and use a little water.
- Store frozen in a sealed container or freezer bag for up to 2 months.
C) Pro Tips for Better Frozen Drops
Use a silicone mold. The drops pop out easily, so you don’t fight with them.
Freeze them on a tray first. Once they’re solid, transfer them to a bag. Otherwise they may freeze into one big lump.
Watch for tummy troubles. Some dogs don’t handle dairy well. Start with a single drop and see how your dog does.
3. No-Bake Pumpkin Oat Balls
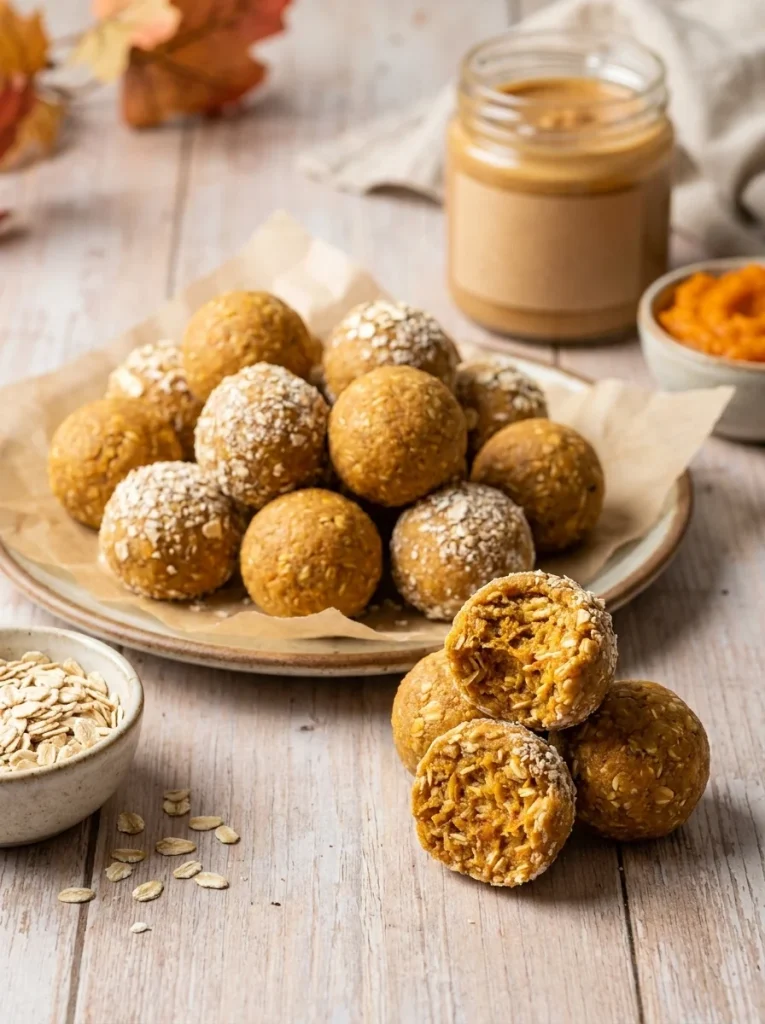
When you want a treat right now, this is the one. No oven, no rolling pin, and no waiting around for the freezer. You mix, roll, and chill.
A) Why This Recipe Works
- Fastest recipe on the list: Ready in about 30 minutes.
- Chewy and hearty: Oats make these filling and satisfying.
- Easy for kids to help: Rolling balls is a fun family task.
- Great for travel: They hold their shape in a bag.
B) Recipe Card
No-Bake Pumpkin Oat Balls
Prep Time: 15 minutes
Bake Time: None
Chill Time: 30 minutes
Yield: About 18 small ballsIngredients
- 1 cup old-fashioned rolled oats
- ½ cup 100% plain pumpkin puree
- ½ cup xylitol-free peanut butter
Instructions
- Add the oats to a bowl. For a smoother texture, pulse them in a blender a few times first.
- Add the pumpkin puree and peanut butter.
- Stir well until a thick, sticky dough forms.
- If the mixture is too wet, add 1–2 tablespoons more oats. If it’s too dry, add a teaspoon of pumpkin.
- Scoop small amounts and roll them into balls about the size of a marble (or a large grape for big dogs).
- Place the balls on a plate lined with parchment paper.
- Chill in the fridge for 30 minutes to help them firm up.
Notes
- Sunflower seed butter works well if your dog can’t have peanut butter. Check that the label has no added sugar or xylitol.
- Roll the finished balls in a little extra ground oats to keep them from sticking.
- Store in the fridge for up to 1 week, or freeze for up to 2 months.
C) Pro Tips for Better Oat Balls
Wet your hands. Slightly damp hands keep the dough from sticking to your fingers.
Chill before you shape. If the dough is too sticky, put the bowl in the fridge for 10 minutes first.
Make them extra small for training. Tiny balls give your dog a reward without adding many calories. If you’re just starting out with training, our essential puppy training tips explain how to use treats the right way.
4. Soft and Chewy Pumpkin Bites
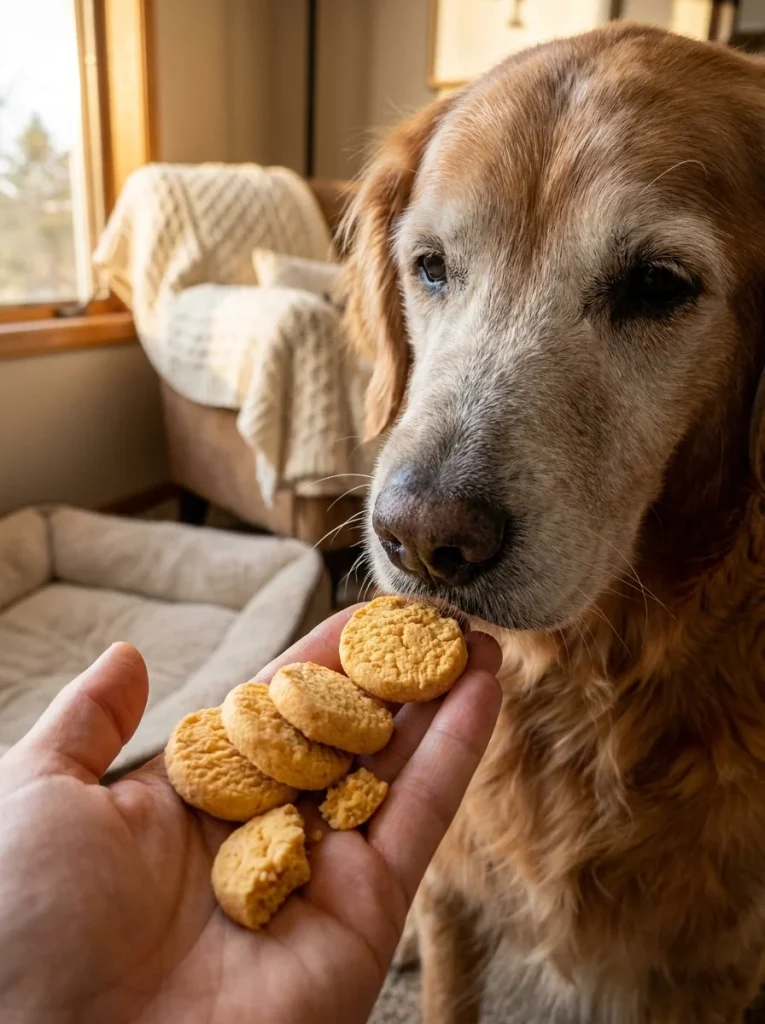
Some dogs can’t handle hard biscuits. Puppies, seniors, and dogs with sensitive teeth often do better with something softer. These bites are tender and mild, and they smell great while baking.
A) Why This Recipe Works
- Gentle on teeth: Perfect for older dogs and puppies.
- Naturally sweet: Unsweetened applesauce adds flavor without sugar.
- No egg needed: A good option for dogs sensitive to eggs.
- Scoop and bake: No rolling or cutting at all.
B) Recipe Card
Soft and Chewy Pumpkin Bites
Prep Time: 10 minutes
Bake Time: 15–18 minutes
Freeze Time: None
Yield: About 20 soft bitesIngredients
- 1 cup oat flour (blend rolled oats until fine powder)
- ½ cup 100% plain pumpkin puree
- ¼ cup unsweetened applesauce (no added sugar)
Instructions
- Preheat your oven to 325°F (165°C). Line a baking sheet with parchment paper.
- In a bowl, mix the pumpkin puree and applesauce until smooth.
- Add the oat flour and stir until a thick, soft dough forms.
- Scoop rounded teaspoons of dough onto the baking sheet.
- Flatten each one slightly with the back of a spoon or your fingers.
- Bake for 15–18 minutes, until set and lightly firm on top.
- Cool completely on the pan.
Notes
- Keep the oven temperature low so the bites stay soft.
- Don’t overbake. If they feel hard right out of the oven, they’ll be too hard later.
- Store in the fridge for up to 5 days, or freeze for up to 2 months. Because they’re soft, they don’t last as long at room temperature.
C) Pro Tips for Better Soft Bites
Make your own oat flour. Blend plain rolled oats in a blender until powdery. It’s cheaper than store-bought flour.
Check the applesauce label. It should say “unsweetened” and list only apples (and maybe vitamin C).
Break them in half for seniors. Older dogs may prefer smaller pieces that are easy to chew.
5. Pumpkin Pupsicles
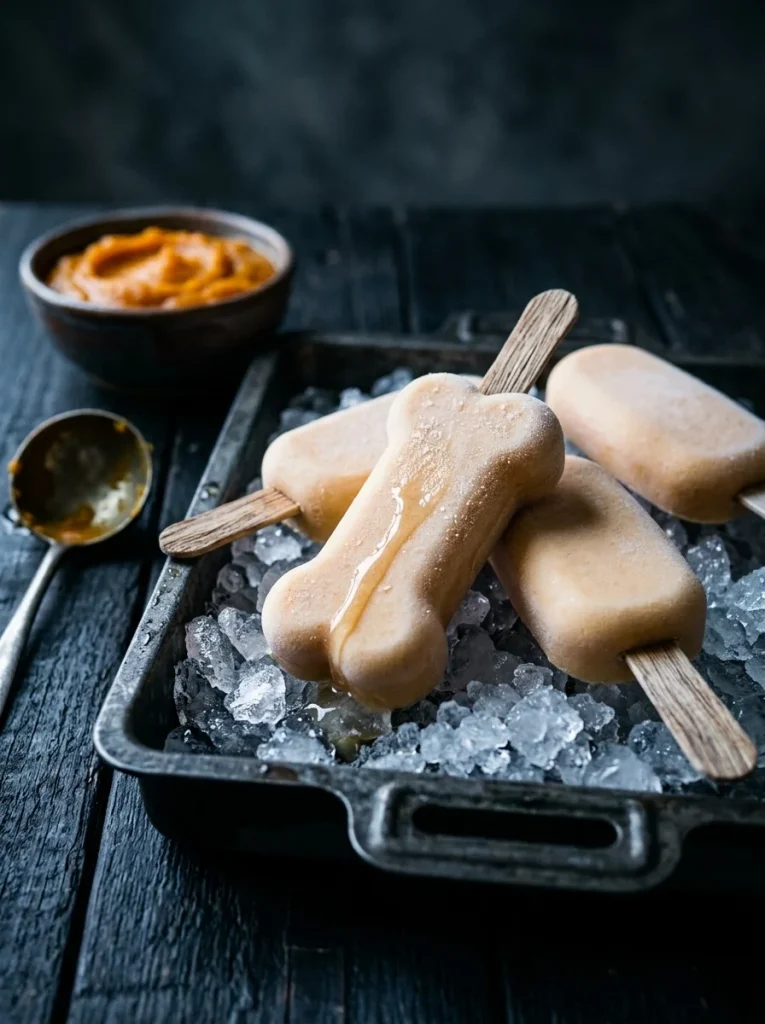
Pupsicles are frozen treats on a bigger scale. They take longer to enjoy, which makes them great for keeping your dog busy. They’re also fun to serve outside on a summer afternoon.
A) Why This Recipe Works
- Long-lasting: Dogs have to lick, not gulp.
- Hydrating: The broth adds extra moisture.
- Mess-friendly: Serve outside or in a crate tray.
- Endlessly customizable: Any mold shape works.
B) Recipe Card
Pumpkin Pupsicles
Prep Time: 10 minutes
Bake Time: None
Freeze Time: 4–6 hours
Yield: 8–10 small pupsiclesIngredients
- 1 cup 100% plain pumpkin puree
- 1 cup low-sodium chicken or beef broth (no onion, no garlic)
- ½ cup plain, unsweetened yogurt (no xylitol)
Instructions
- Make sure the broth is cool. Warm broth will melt the yogurt and make the mixture watery.
- In a bowl, whisk the pumpkin puree and yogurt until smooth.
- Slowly pour in the broth while stirring.
- Pour the mixture into popsicle molds, silicone cups, or paper cups.
- If using cups, freeze for 1 hour first, then push a stick or a dog-safe chew into the center.
- Freeze for 4–6 hours, until solid.
- To release, run warm water over the outside of the mold for a few seconds.
Notes
- Always serve pupsicles outdoors or on a washable surface.
- Supervise your dog while eating to make sure they don’t swallow big chunks.
- Store in the freezer for up to 2 months. Use a freezer bag once they’re solid.
C) Pro Tips for Better Pupsicles
Read the broth label twice. Many store-bought broths contain onion or garlic powder, which is toxic to dogs. Look for pet-safe broth or make your own from plain, unsalted meat.
Use small molds for small dogs. A big pupsicle can be too much for a tiny pup.
Serve on a mat or tray. They melt as they get licked, and cleaning up orange drips from a light carpet is no fun.
Looking for more ways to make treat time special? Check out these dog treat station ideas to organize your treats at home.
6. Crunchy Pumpkin Training Crisps
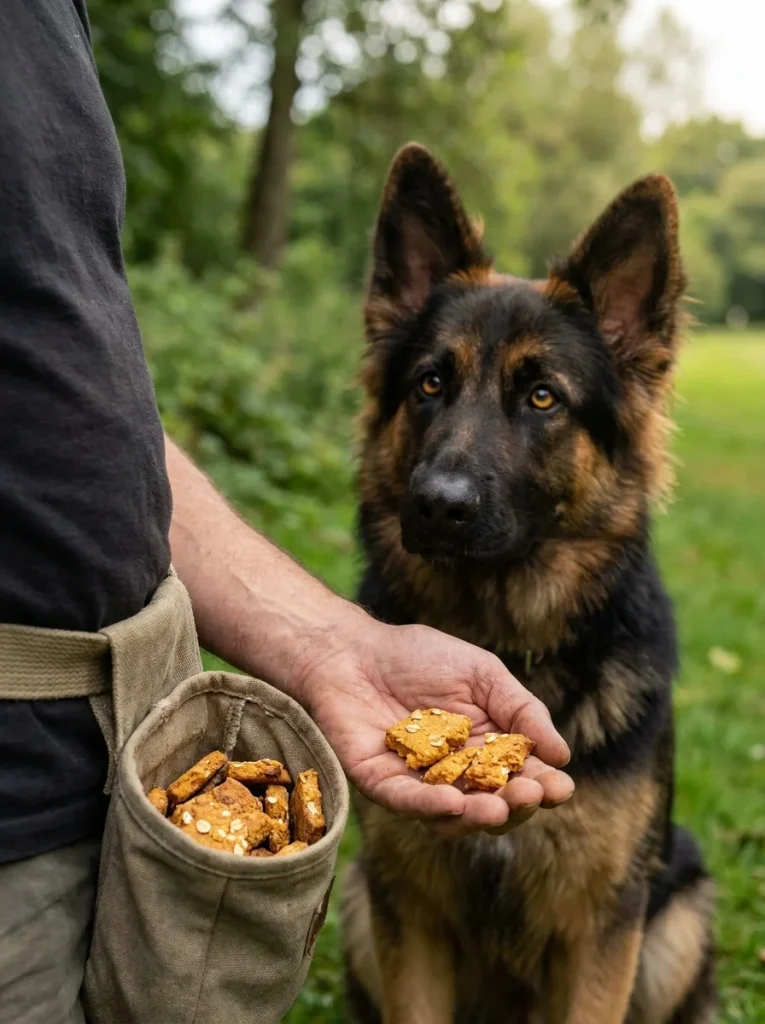
Training works best when rewards are small, quick, and smelly. These thin crisps break into tiny pieces, and they have a strong pumpkin-and-oat aroma dogs love. They’re perfect for training sessions, recall practice, and treat pouches.
A) Why This Recipe Works
- Easy to break apart: One crisp can become five rewards.
- Long shelf life: Crispy treats last longer than soft ones.
- Low waste: The recipe makes a big batch from little ingredients.
- Pocket-friendly: They don’t crumble into dust.
B) Recipe Card
Crunchy Pumpkin Training Crisps
Prep Time: 15 minutes
Bake Time: 55–65 minutes
Freeze Time: None
Yield: About 40 small crispsIngredients
- 1½ cups old-fashioned rolled oats
- 1 cup 100% plain pumpkin puree
- 1 large egg
Instructions
- Preheat your oven to 300°F (150°C). Line a baking sheet with parchment paper.
- Pulse the oats in a blender 3–4 times until they’re coarse, like crumbs.
- In a bowl, whisk the egg and pumpkin puree until smooth.
- Stir in the ground oats until a thick, sticky dough forms.
- Place the dough on the parchment. Cover with another sheet of parchment and roll or press it flat, about ⅛ inch thick.
- Remove the top sheet. Use a knife or pizza cutter to score the dough into small squares.
- Bake for 40–45 minutes. Flip the whole sheet carefully (or flip the squares individually) and bake another 15–20 minutes.
- Turn off the oven. Leave the crisps inside for 1 hour so they dry out completely.
- Break apart along the score lines and cool fully.
Notes
- Thinner dough means crunchier crisps. If the middle stays soft, bake a little longer.
- Store in an airtight container for up to 2 weeks at room temperature. Freeze for up to 3 months.
- Break into pea-sized bits for small dogs or puppies in training.
C) Pro Tips for Better Crisps
Go thin. Thick dough stays soft in the middle, and soft treats spoil faster.
Dry them out fully. The final rest in the turned-off oven is what makes these truly crunchy.
Match the size to the dog. A tiny reward works just as well as a big one, as long as it’s exciting and comes quickly. For more on this, see how positive reinforcement vs. traditional dog training compare.
Three Easy Flavor Variations
Once you’ve made a few of the recipes above, try a small twist. These variations work with several of the base recipes and don’t add any complicated steps.
A) Cinnamon Pumpkin (Just a Pinch)
Add ⅛ teaspoon of ceylon cinnamon to any baked recipe (Recipes 1, 4, or 6). Ceylon cinnamon is a gentler variety than the common cassia type. Use only a tiny pinch, and never use more, since large amounts can upset your dog’s stomach.
Best with: Baked Pumpkin Biscuits, Soft and Chewy Pumpkin Bites
B) Pumpkin-Banana
Swap the applesauce in Recipe 4 for ¼ cup mashed ripe banana. You can also add 2 tablespoons of mashed banana to the Frozen Pumpkin Yogurt Drops (Recipe 2). Bananas add natural sweetness and a soft texture. Feed in moderation because of the sugar.
Best with: Soft and Chewy Pumpkin Bites, Frozen Pumpkin Yogurt Drops
C) Pumpkin-Sweet Potato
Replace half the pumpkin puree with plain cooked and mashed sweet potato. Bake or steam the sweet potato with no salt, butter, or seasoning, and let it cool first. This gives treats a deeper color and a slightly sweeter taste.
Best with: Baked Pumpkin Biscuits, No-Bake Pumpkin Oat Balls
Tip: Change only one ingredient at a time. If your dog has an upset stomach, you’ll know exactly what caused it.
How to Store and Serve Treats Safely
Good storage keeps your treats fresh and your dog healthy. Homemade treats have no preservatives, so they don’t last as long as store-bought ones.
A) Storage at a Glance
| Treat | Room Temp | Fridge | Freezer |
|---|---|---|---|
| Baked Pumpkin Biscuits | Up to 1 week | Up to 2 weeks | Up to 3 months |
| Frozen Pumpkin Yogurt Drops | Not safe | Not recommended | Up to 2 months |
| No-Bake Pumpkin Oat Balls | Not safe | Up to 1 week | Up to 2 months |
| Soft and Chewy Pumpkin Bites | Not recommended | Up to 5 days | Up to 2 months |
| Pumpkin Pupsicles | Not safe | Not recommended | Up to 2 months |
| Crunchy Pumpkin Training Crisps | Up to 2 weeks | Up to 3 weeks | Up to 3 months |
B) Serving Size by Dog Weight
Use this as a rough starting point. Ask your vet for advice that fits your dog.
- Under 10 lbs: 1–2 small treats a day
- 10–30 lbs: 2–4 small treats a day
- 30–60 lbs: 3–6 small treats a day
- Over 60 lbs: 4–8 small treats a day
Treats add up quickly. On days you do a lot of training, cut the treat size instead of giving more.
C) Simple Safety Habits
- Label your containers with the recipe name and date.
- Throw out treats that smell odd, look fuzzy, or feel slimy.
- Thaw frozen treats in the fridge, not on the counter.
- Introduce new foods slowly. Give one new treat at a time and watch for signs of upset stomach.
Baking for a special day? Try turning these ideas into dog birthday cake recipes for your pup’s next big celebration.
Why Pumpkin Is Good for Dogs
You don’t need to be a nutrition expert to make these treats, but it helps to know why pumpkin is such a popular choice.
A) The Simple Benefits
- Fiber: Pumpkin has fiber, which can help support healthy digestion.
- Moisture: Pumpkin is full of water, which helps keep treats soft and hydrating.
- Vitamins: It contains vitamin A and some other nutrients.
- Low in calories: A small amount goes a long way.
- Mild flavor: Most dogs like it, even picky ones.
B) A Quick Reality Check
Pumpkin is a nice addition, but it’s not a cure-all. A little bit can help with mild stomach upsets for some dogs, but ongoing digestive problems need a vet visit. Too much pumpkin can also cause loose stools.
If you enjoy cooking for your dog, you might also like our homemade dog food recipes. Just remember that full meals need to be balanced, so talk with your vet before switching your dog’s diet.
Quick Safety Notes
Keep these rules in mind every time you cook for your dog.
A) Ingredients to Avoid
- Xylitol: Found in some peanut butters, yogurts, and baked goods. It’s extremely dangerous for dogs.
- Nutmeg and spice blends: Nutmeg can be toxic. This is why pumpkin pie filling is off limits.
- Onion and garlic: Often hidden in broths and seasonings.
- Chocolate, grapes, raisins, and macadamia nuts: Never add these to dog treats.
- Too much salt or sugar: Stick to plain, unsalted, and unsweetened ingredients.
B) Allergy and Sensitivity Signs
Watch your dog after trying a new treat. Signs of a problem can include:
- Itchy skin or ear scratching
- Vomiting or diarrhea
- Swelling around the face or mouth
- Unusual tiredness
If your dog shows any of these, stop the treat and call your vet. If your pup seems constantly itchy or licks a lot, read about excessive licking in dogs to learn what might be behind it.
C) When to Call the Vet
Call your vet right away if your dog eats something toxic, such as a product containing xylitol. Don’t wait for symptoms to appear. Also check with your vet before adding treats if your dog has diabetes, pancreatitis, a food allergy, or any ongoing health condition.
Final Words
Making your own 3-ingredient pumpkin dog treats is one of the easiest ways to show your dog some love. You know every ingredient that goes in, and you can shape each recipe to fit your dog’s age, size, and taste.
Here’s a quick way to choose where to begin:
- Want the classic? Make the Baked Pumpkin Biscuits.
- Need something cool? Try the Frozen Pumpkin Yogurt Drops or Pumpkin Pupsicles.
- In a rush? Go with the No-Bake Pumpkin Oat Balls.
- Have a senior dog or puppy? The Soft and Chewy Pumpkin Bites are your best bet.
- Training today? Grab the Crunchy Pumpkin Training Crisps.
Start with one recipe, watch how your dog reacts, and then try another. Keep portions small, read every label, and store your treats safely. Soon you’ll have a whole rotation of favorites, and your dog will be waiting by the kitchen every time you pull out the pumpkin.
Happy baking, and enjoy every wag.

Izzy is an experienced ranch worker who has a passion for exploring nature and getting up close to wildlife. With her connections to various animal organizations, Izzy is well-versed in animal care and rehabilitation.