Microwave Dog Treats: 6 Quick Recipes in Minutes, No Oven Needed
There are always dogs who need a fresh, simple treat between grooming sessions, long walks, or quiet at-home training. A microwave makes that possible without dragging out the oven, preheating coils, or leaving a hot countertop unattended for twenty minutes. These six recipes work because microwave energy penetrates dense dough and batter quickly, but only when you respect the power setting, the spacing, and the cooling time. Each treat below is built for dogs, not humans: the portions scale to dog size, the ingredients are strictly dog-safe, and the textures reward a chew or a sniff before the swallow. The most important shift in mindset is that the microwave is not a speed oven. It is a fast, uneven heating tool that rewards patience. If you follow the time ranges, check for firmness, and let every treat cool fully, you will make treats that hold their shape, taste good to a dog, and stay safe for the mouth that eats them.
The Method: Power Levels, Timing, and Doneness
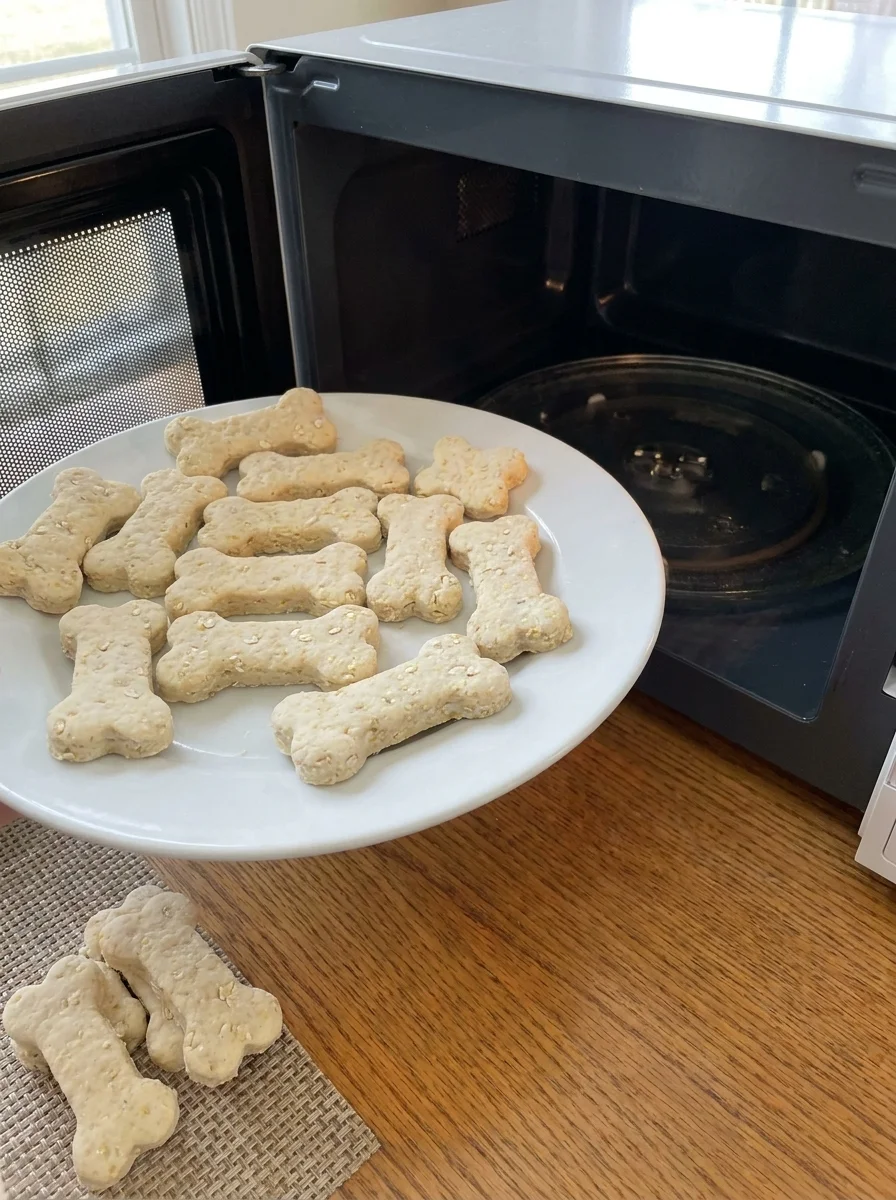
Microwaves cook by agitating water molecules inside food. Dry, dense dough absorbs that energy unevenly, so the edges can firm up while the center stays soft. This is why every biscuit-style recipe in this article uses 50% power for a short range of minutes, then requires a cooling period. Mug cakes and pupcakes use HIGH power for roughly 90 seconds because their batter is wetter and needs a rapid set. The single most important cue is texture. A treat is done when it is firm to the touch, the center is set, and the top is no longer sticky. Never rely on a single minute as a promise. Every microwave differs in wattage, and even the same model changes output over time.
If you are looking for a quicker base, 5 minute dog treats give you the same low-effort structure with different textures. For these six recipes, the method breaks down into three layers: power, time range, and doneness. Biscuits and oat balls sit at 50% power so the heat moves through the dough slowly enough to avoid raw pockets. Mug cakes, sweet potato bites, and pupcakes use HIGH because the batter or puree already contains enough moisture to steam evenly. In every case, the final step is cooling. The inside stays hot long after the outside feels fine. That cooling step is part of the recipe, not an afterthought.
Getting Microwave Treats Right: Why 50% Power Matters
The 50% power rule exists because dog biscuits are dense. At full power, the outside sets into a hard shell while the center remains uncooked. Cutting one of those open reveals a raw, doughy core that is impossible for a dog to digest safely. Half power turns the microwave into a gentle dehydrator, letting the biscuit dry through evenly. Rotate the plate at the halfway point. This matters because microwaves have hot spots, and a single layer with space between pieces prevents one biscuit from shadowing another.
Spacing is just as important. Treats need room for the waves to reach them from multiple angles. Crowding a plate creates uneven doneness and can leave a soft center even after the timer ends. Before serving, press the top of each piece gently. If it springs back, it is done. If it dents or feels damp, it needs another 30 seconds at 50% power.
One critical safety note: the classic microwave dog biscuit recipe that circulates online uses garlic salt, onion salt, and bouillon containing onion or garlic. All three are unsafe for dogs. Garlic and onion damage a dog’s red blood cells, and even small amounts matter. The broth biscuits in this article use only low-sodium dog-safe chicken broth with no onion and no garlic. Do not substitute the old recipe.
If you want a quick savory drink-style treat for a hot day, try the 4-ingredient puppuccino recipe for dogs after the biscuits are cooling. It complements the dry texture without adding risky seasonings.
Recipe 1: Classic Microwave Broth Biscuits
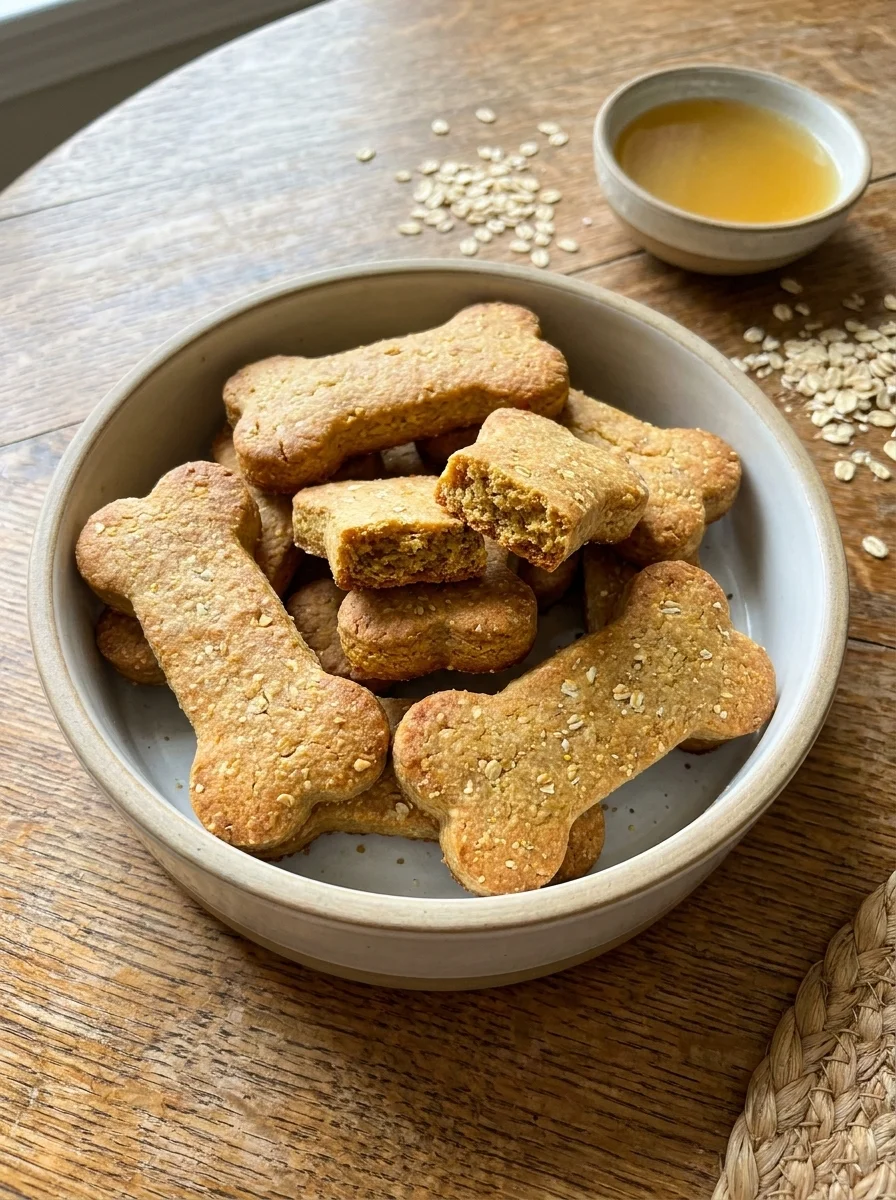
These are the most traditional of the six treats. The broth adds savory flavor that dogs respond to strongly, while the oats and cornmeal give the biscuit a satisfying chew. The dough is easy to roll and cut, and the 50% power method keeps the center fully set. They dry out beautifully as they cool, which is why the total time includes that rest.
Ingredients
- 2 cups whole wheat flour
- 1/2 cup quick-cooking oats
- 1/2 cup nonfat dry milk powder
- 1/4 cup cornmeal
- 1 egg, slightly beaten
- 1/2 cup low-sodium dog-safe chicken broth (no onion or garlic)
- 2 tablespoons olive oil
Step-by-Step Instructions
- In a large bowl, whisk together the whole wheat flour, oats, dry milk powder, and cornmeal.
- Add the slightly beaten egg, the dog-safe chicken broth, and the olive oil, and stir until a dough forms.
- Knead briefly on a floured surface, then roll the dough out to about 1/2 inch thick and cut into shapes with a cookie cutter.
- Arrange the biscuits in a single layer on a microwave-safe plate, leaving space between them so they cook evenly.
- Microwave at 50% power for 5 to 10 minutes, rotating the plate halfway through, until the biscuits are firm to the touch.
- Cooking time varies with microwave power, so start checking at 5 minutes.
- Cool completely on a rack before serving — the biscuits firm up as they cool.
The 30-minute total includes the cooling period. These biscuits are not ready to hand to a dog straight from the microwave. Once they have cooled, they hold their shape well and can be stored in a jar. If you are feeding a picky eater, try crumbling a biscuit over a bowl of kibble. For more variations on low-fat bases, see this recipe for additional dog-safe ingredient swaps.
Recipe 2: Banana Oat Mug Cake
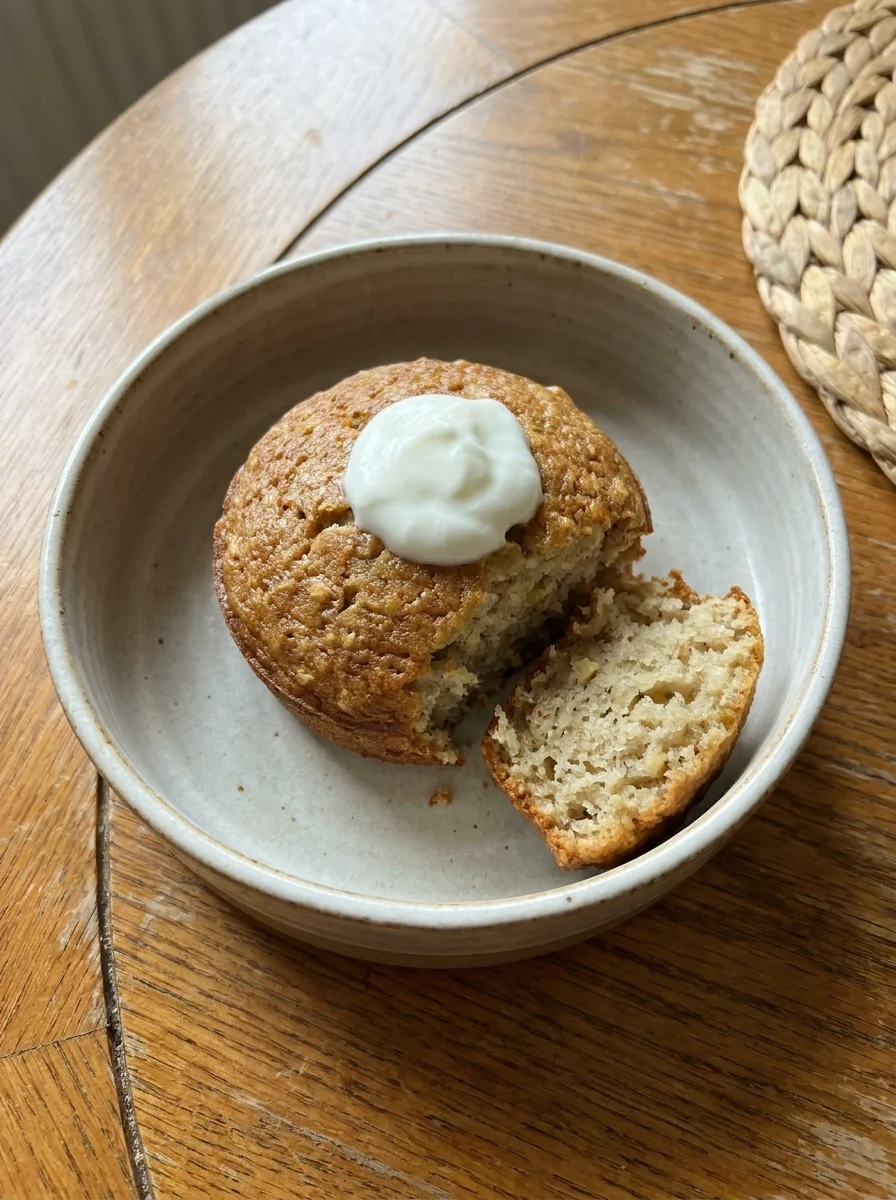
This is a single-dog serving. The banana adds natural sweetness, the peanut butter adds rich aroma, and the oat flour gives a tender crumb. It is a reward treat, not a full meal. The 90-second cook time is short, but the cooling step is essential because the center stays hot. Serve it tipped into a dog bowl, never in a mug for the dog to drink from.
Ingredients
- 1 ripe banana, mashed
- 4 tablespoons oat flour (or finely ground rolled oats)
- 2 tablespoons natural peanut butter (xylitol-free)
- 1 large egg
- 1/2 teaspoon baking powder
- 1 tablespoon plain Greek yogurt (for topping)
Step-by-Step Instructions
- Mash the banana in a microwave-safe mug until smooth.
- Stir in the peanut butter and the egg until well blended.
- Add the oat flour and baking powder and stir until just combined — do not overmix.
- Microwave on HIGH for 90 seconds; check at 60 seconds because microwaves vary, and give it another 15 to 30 seconds only if the center is still wet.
- Let the mug cake cool for 5 minutes before serving — the center stays hot long after the outside feels fine.
- Top with a dollop of plain Greek yogurt.
The 10-minute total includes the 5-minute cooling time. The yogurt adds a cool, creamy contrast that dogs often lick off the bowl. If your dog is small, break the cake into four pieces and offer one per sitting. The texture is moist, not dry, so it pairs well with a chewy dental stick on the side.
Recipe 3: Molasses Oat Balls
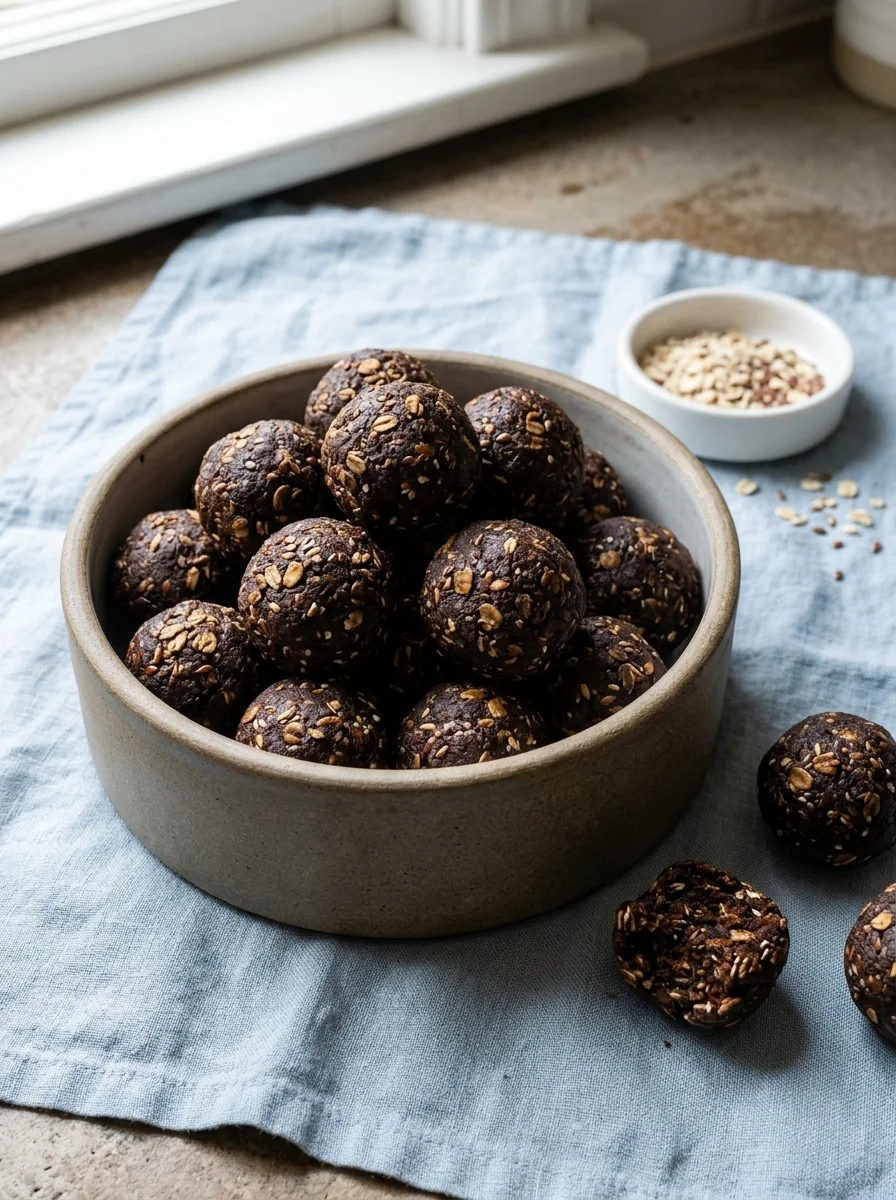
These balls are dense, slightly sweet, and hold together well enough for fetch-style rewards. The blackstrap molasses binds the mixture without adding refined sugar, and the flaxseed adds a nutty depth that dogs find appealing. The 4-minute cook at 50% power is the key step; it dries the balls through without browning the outside.
Ingredients
- 1 1/4 cups rolled oats
- 3/4 cup nonfat dry milk powder
- 1/2 cup whole wheat flour
- 2 tablespoons ground flaxseed
- 2 tablespoons wheat bran
- 2 tablespoons blackstrap molasses
- 1/4 cup water (as needed)
Step-by-Step Instructions
- In a large bowl, whisk together the rolled oats, dry milk powder, whole wheat flour, ground flaxseed, and wheat bran.
- Stir in the blackstrap molasses and just enough water, one tablespoon at a time, until the mixture holds together when squeezed.
- Using a 1/2-inch cookie scoop, scoop balls onto a microwave-safe plate, leaving space between them.
- For training-size bites, use a teaspoon and microwave for 2 minutes at 50% power instead.
- Microwave the regular balls at 50% power for 4 minutes.
- Cool completely before serving.
The 20-minute total includes the cooling time. These balls are perfect for training sessions because they can be broken into pea-sized pieces for quick rewards. If the mixture feels too dry before scooping, add one more tablespoon of water. If it is too wet, mix in a spoonful of extra oats. The flavor is mild, which makes them a good base for dogs who are sensitive to strong tastes.
Recipe 4: Sweet Potato Baby-Food Bites
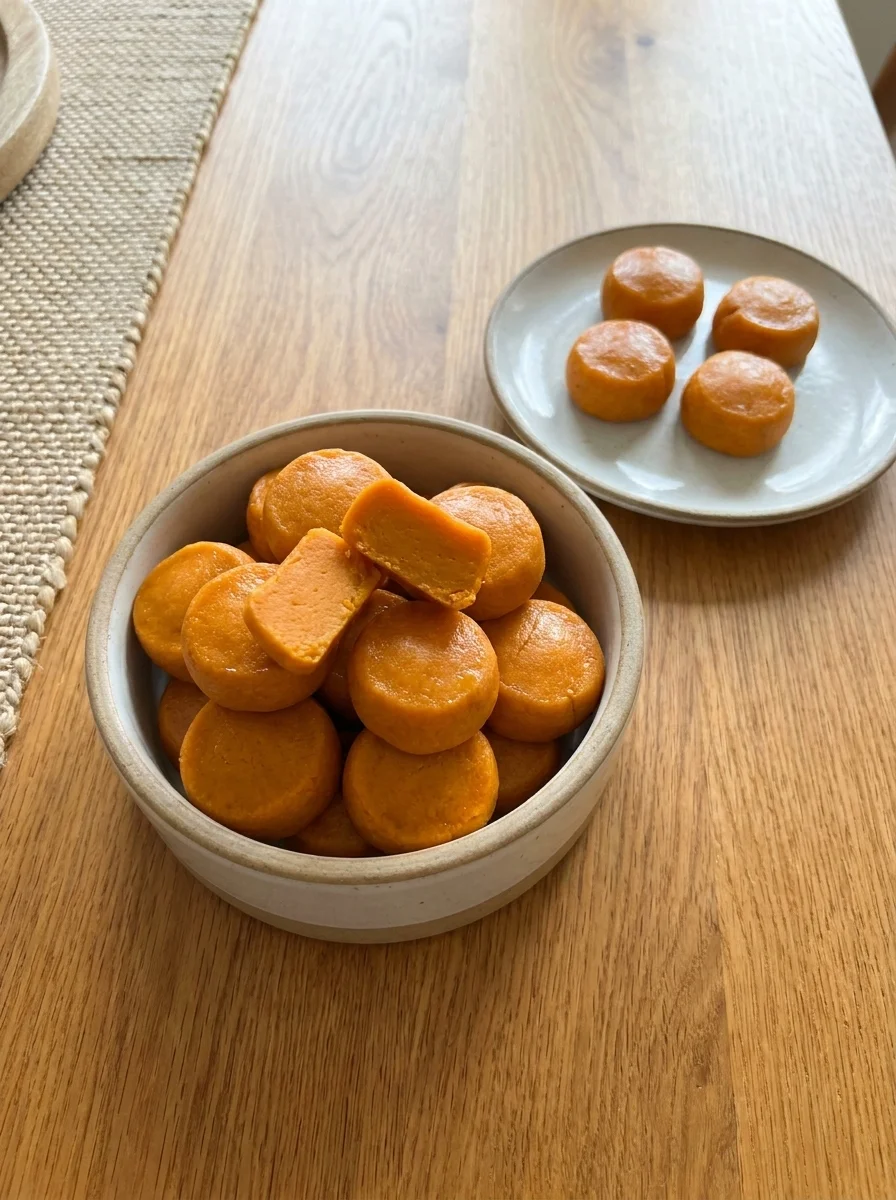
This is the fastest recipe in the set. The sweet potato baby food already contains pureed root vegetable and moisture, so the cream of wheat binds quickly. The 3-minute HIGH cook sets the bites without drying them out. They are excellent for puppies or senior dogs because the texture is soft after cooling. If you want a different texture from the same root, try the sweet potato dog waffles for a weekend batch.
Ingredients
- 2 jars (4 oz each) sweet potato baby food (no onion, no garlic, no added sugar)
- 1/2 cup uncooked cream of wheat
- 1 tablespoon ground flaxseed (optional)
Step-by-Step Instructions
- Stir the sweet potato baby food, cream of wheat, and ground flaxseed together in a bowl until evenly mixed.
- Drop the mixture in bite-sized bits onto a microwave-safe plate — make them teeny-tiny for training treats, or a little larger for bigger dogs.
- Microwave on HIGH for 3 minutes.
- They should be firm to the touch; since microwaves vary, add 30 seconds at a time if they are still soft.
- Cool completely, then refrigerate until firm before serving.
The 15-minute total includes cooling and firming time. The bites are small enough for pocket-size training rewards. The optional flaxseed adds a gentle nutritional boost, but it is not required. The texture is slightly chewy after refrigeration, which helps with dental health during regular snacking.
Recipe 5: Applesauce Oat Pupcakes
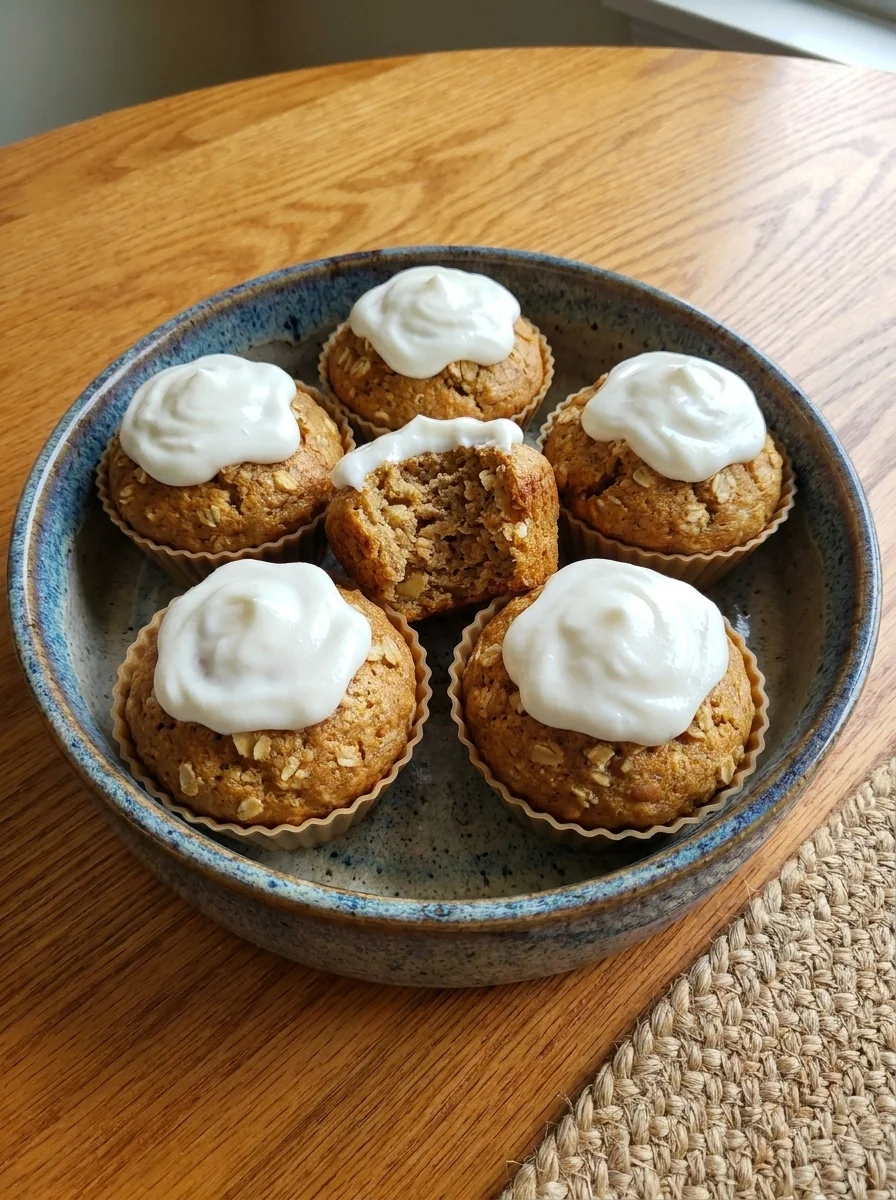
These pupcakes are the most forgiving of the six. The applesauce keeps the batter moist, the peanut butter adds protein and aroma, and the oats give structure. They cook fast on HIGH, but the frosting step requires patience. The yogurt frosting will slide off if the pupcake is warm, so the 10-to-15-minute cool is non-negotiable. The result is a tender, slightly sweet treat that dogs often beg for.
Ingredients
- 4 tablespoons rolled oats
- 3 to 4 tablespoons unsweetened applesauce
- 2 tablespoons natural peanut butter (xylitol-free)
- 1 large egg
- 2 tablespoons plain Greek yogurt (for frosting)
Step-by-Step Instructions
- In a medium bowl, combine the oats, peanut butter, applesauce, and egg and stir until smooth — it does not need to be perfect.
- Spoon the mixture into microwave-safe silicone cupcake molds, filling each about 3/4 full so they do not overflow.
- Microwave on HIGH for 1 minute.
- Check doneness by gently pressing the top; if it is still sticky, give it another 15 to 30 seconds.
- Let the pupcakes cool for 10 to 15 minutes — do not frost them warm or the yogurt slides off.
- Meanwhile, stir the plain Greek yogurt until smooth and spread it over the cooled pupcakes as frosting.
The 25-minute total includes the full cooling time before frosting. The pupcakes are single-dog servings. For a small dog, one pupcake is a treat. For a large dog, two is a good reward. The applesauce gives a subtle sweetness that most dogs accept, even if they are picky about human-flavored foods. The yogurt frosting can be swapped for a thin layer of natural pumpkin puree if you want a fall-themed batch.
Recipe 6: Peanut Butter Mug Pupcake
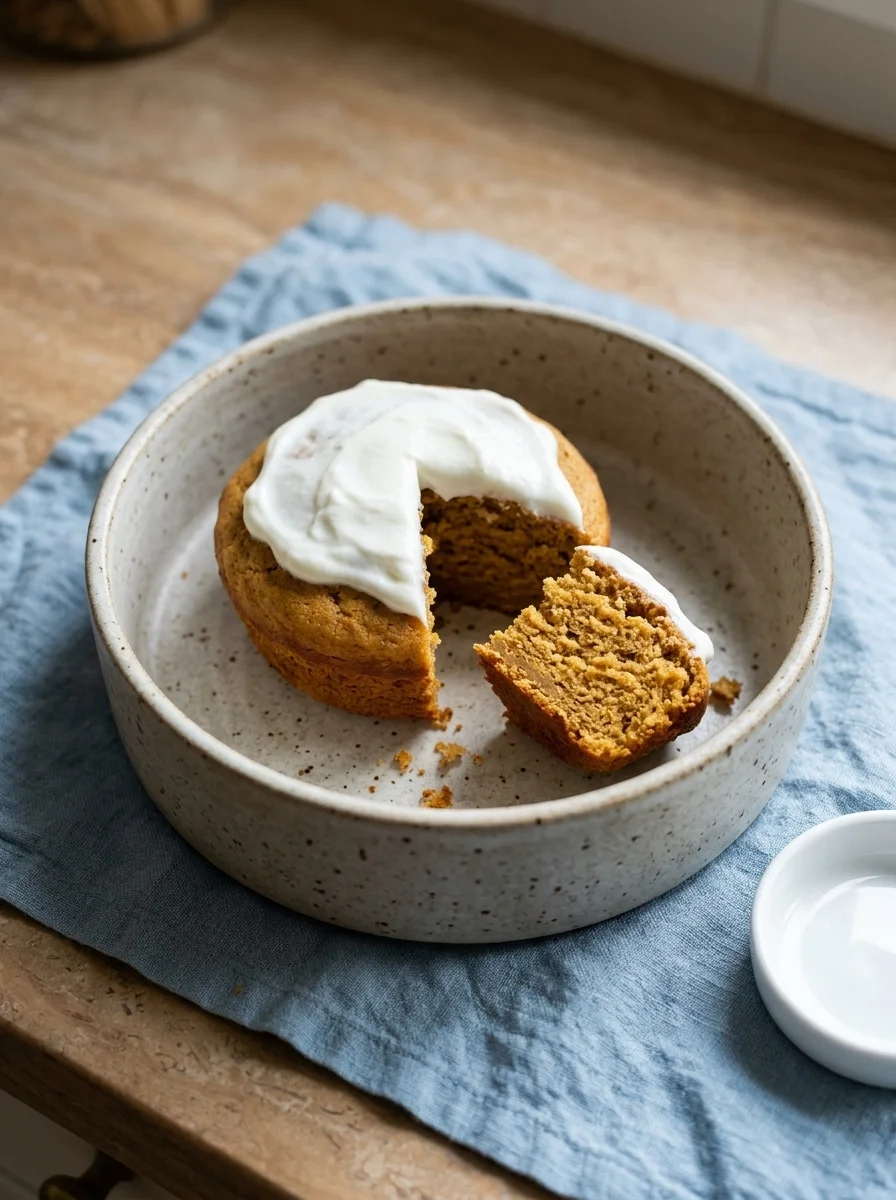
This is the richest of the six. The melted peanut butter infuses the batter with a deep, nutty flavor that dogs find irresistible. The flour and egg give it structure, and the baking powder helps it rise slightly in the mug. Like the banana mug cake, it is a single-dog serving and must be cooled before the yogurt frosting is added. For a more elaborate peanut butter treat, see the peanut butter dog cake with bacon for a celebratory occasion.
Ingredients
- 2 tablespoons natural peanut butter (xylitol-free)
- 4 tablespoons whole wheat flour
- 1 large egg
- 2 tablespoons milk (or water)
- 1/2 teaspoon baking powder
- 2 tablespoons plain Greek yogurt (for frosting)
Step-by-Step Instructions
- Heat the peanut butter in a microwave-safe mug for 30 seconds or until it starts to melt.
- Stir in the egg, then the flour, milk, and baking powder until just combined.
- Microwave on HIGH for 90 seconds; check at 60 seconds because microwaves vary, and add 15 to 30 seconds only if the center is still wet.
- Let the pupcake cool for 5 minutes before frosting — the center stays hot long after the outside feels fine.
- Top with plain Greek yogurt frosting.
The 10-minute total includes the 5-minute cooling time. The pupcake has a soft, cake-like interior and a slightly crisper edge. It is best served in a dog bowl, tipped out of the mug. The yogurt frosting adds a cooling contrast that makes the treat feel more substantial without adding calories.
Sizing Treats by Dog and Session
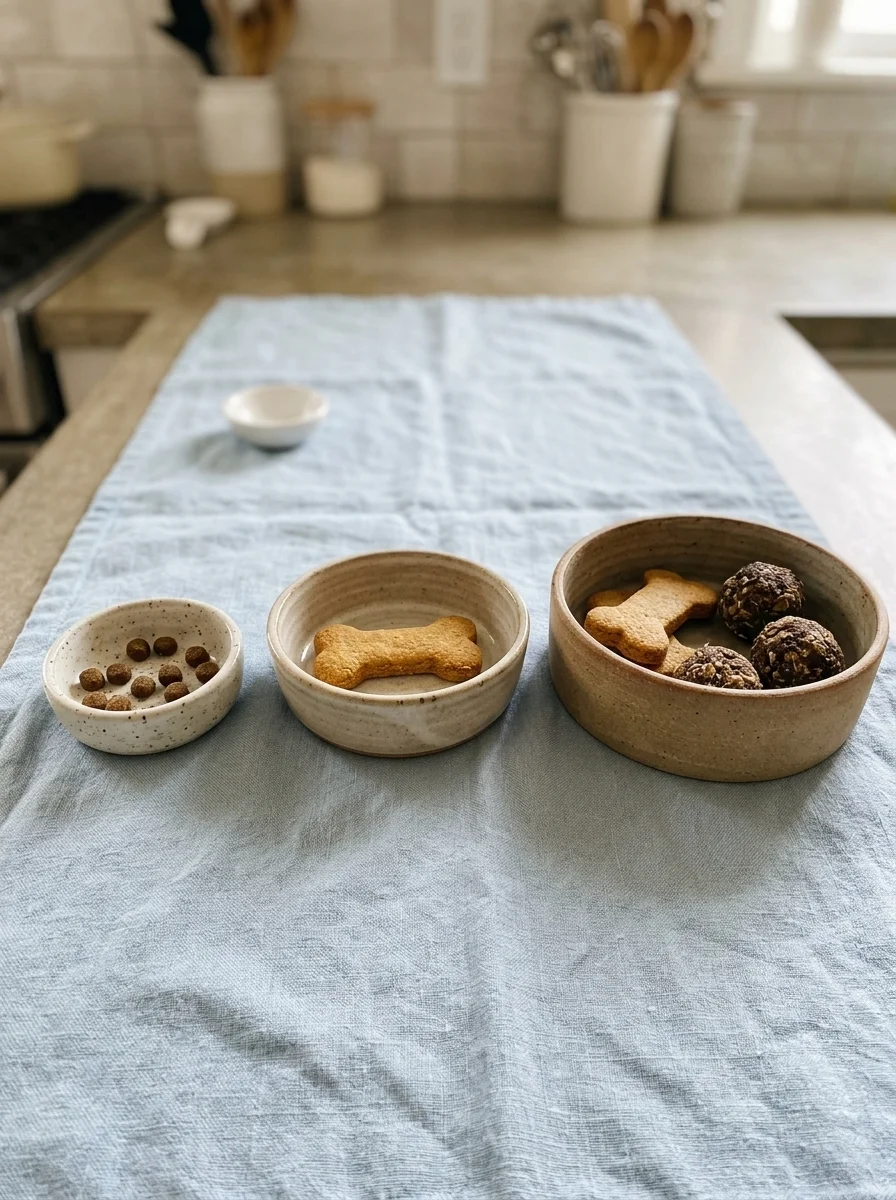
Treat size should match the dog’s body and the purpose of the session. A small dog, under 20 pounds, does well with pea-sized training pieces or half a regular biscuit per sitting. A medium dog, 20 to 50 pounds, can take a whole biscuit or one molasses ball per session. A large dog, over 50 pounds, may take two biscuits or two balls, but only if the rest of the day’s food is adjusted. Treats should never exceed 10% of the dog’s daily caloric intake. For training sessions, aim for 10 to 15 rewards total, spaced through the session, not all at once. If you are working on recall or long-lead behavior, break a single biscuit into four pieces and use them as one marker, two markers, and a final reward. This keeps the dog focused without overeating.
Mug cakes and pupcakes are single-dog servings. For a large dog, you can make two mugs at once and serve them a day apart. For a small dog, quarter the cake and offer one quarter per day. The goal is to keep the treat exciting without turning it into a meal replacement.
Storage and Freezing
Most of these treats store well at room temperature for up to five days when kept in an airtight container. The broth biscuits and molasses balls are the most shelf-stable because they are dry. The mug cakes and pupcakes are moist, so they keep best in the refrigerator for up to three days. Freeze the moist treats in a single layer on a parchment-lined tray, then transfer to a freezer bag. Frozen treats stay good for two months. Thaw them at room temperature before serving. Never refreeze a treat that has thawed. If you freeze the sweet potato bites, they unfreeze quickly because of their small size. The applesauce pupcakes hold their frosting best when frozen before the yogurt is added; frost them after thawing.
Troubleshooting
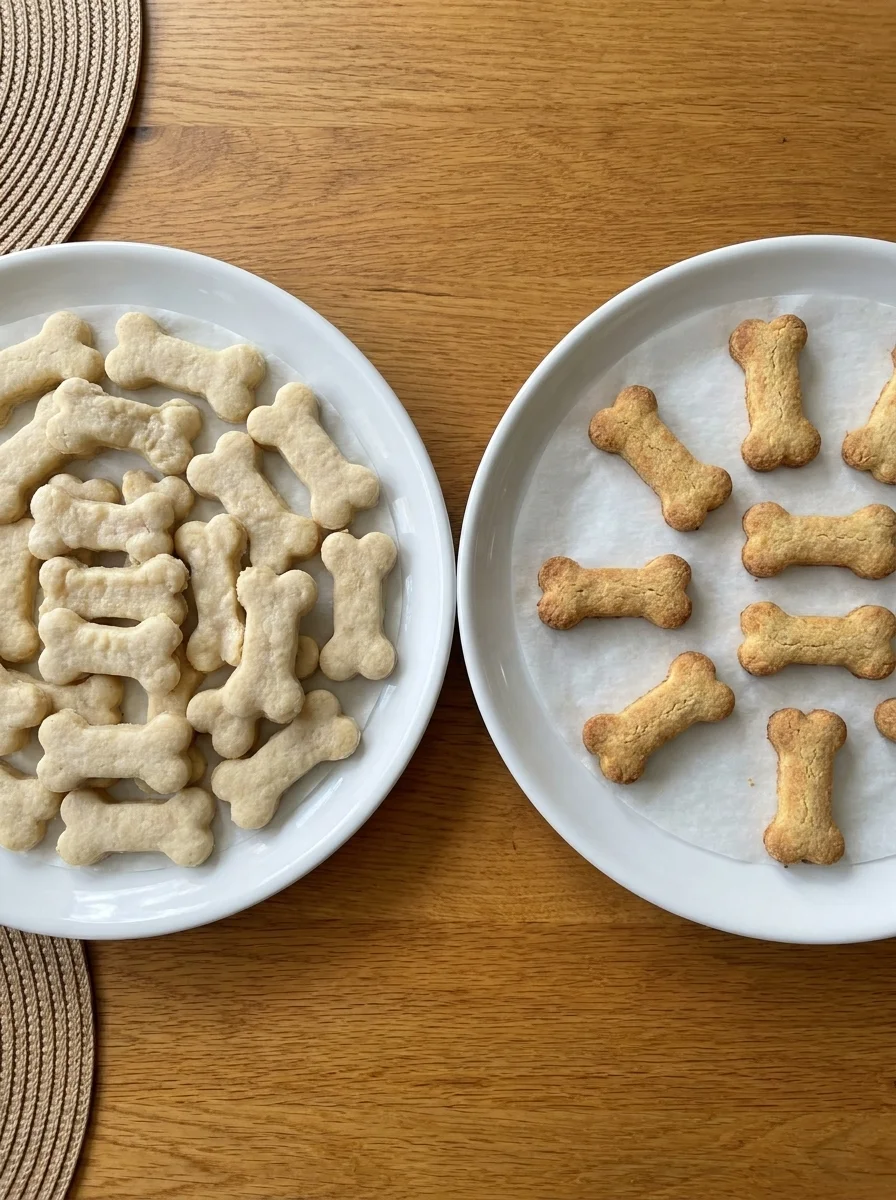
Biscuits that stay soft in the middle usually mean the microwave ran at full power or the biscuits were crowded. Move to 50% power, add more space between pieces, and extend the time in 30-second increments. Mug cakes that overflow the mug are filled too high. Next time, fill the mug only half to two-thirds full. Oat balls that crumble and will not hold need a little more liquid. Add water one teaspoon at a time before scooping. Baby-food bites that stay sticky need another 30 seconds on HIGH. Pupcakes that sink in the middle were undercooked; add 15 seconds and press the top again. Edges that burn while the center stays raw are a sign of hot spots. Rotate the plate early and use 50% power instead of HIGH for dense batters.
Frequently Asked Questions
Final Thoughts
The microwave is not a magic box. It is a tool that rewards observation. The recipes in this article are built around power ranges, doneness cues, and full cooling times. Follow the spacing, check the texture, and let the treat rest before it reaches a dog’s mouth. Done that way, six different treats become part of a regular, safe, and genuinely useful routine for any dog, from a small senior who needs soft bites to a large working dog who needs dense rewards on the trail.
Izzy is an experienced ranch worker who has a passion for exploring nature and getting up close to wildlife. With her connections to various animal organizations, Izzy is well-versed in animal care and rehabilitation.