6 DIY High Value Dog Treats for Training: From Beef Cubes to Liver Bites
Some treats get a polite tail wag. High-value treats get a dog’s full attention in a park full of squirrels. The difference is smell, softness, and size: a treat that stinks a little, swallows in a second, and fits in a pea-sized piece. This guide builds six of them from scratch, from liver jackpot bites to single-ingredient seared beef cubes, so you can match the reward to the moment instead of reaching for the same dry biscuit every time. Every recipe here is made for training sessions, portioned by dog size, and stored in the fridge or freezer until the next session. No chocolate, no xylitol, no onion, no garlic — just real food your dog will actually work for.
What Makes a Treat High-Value
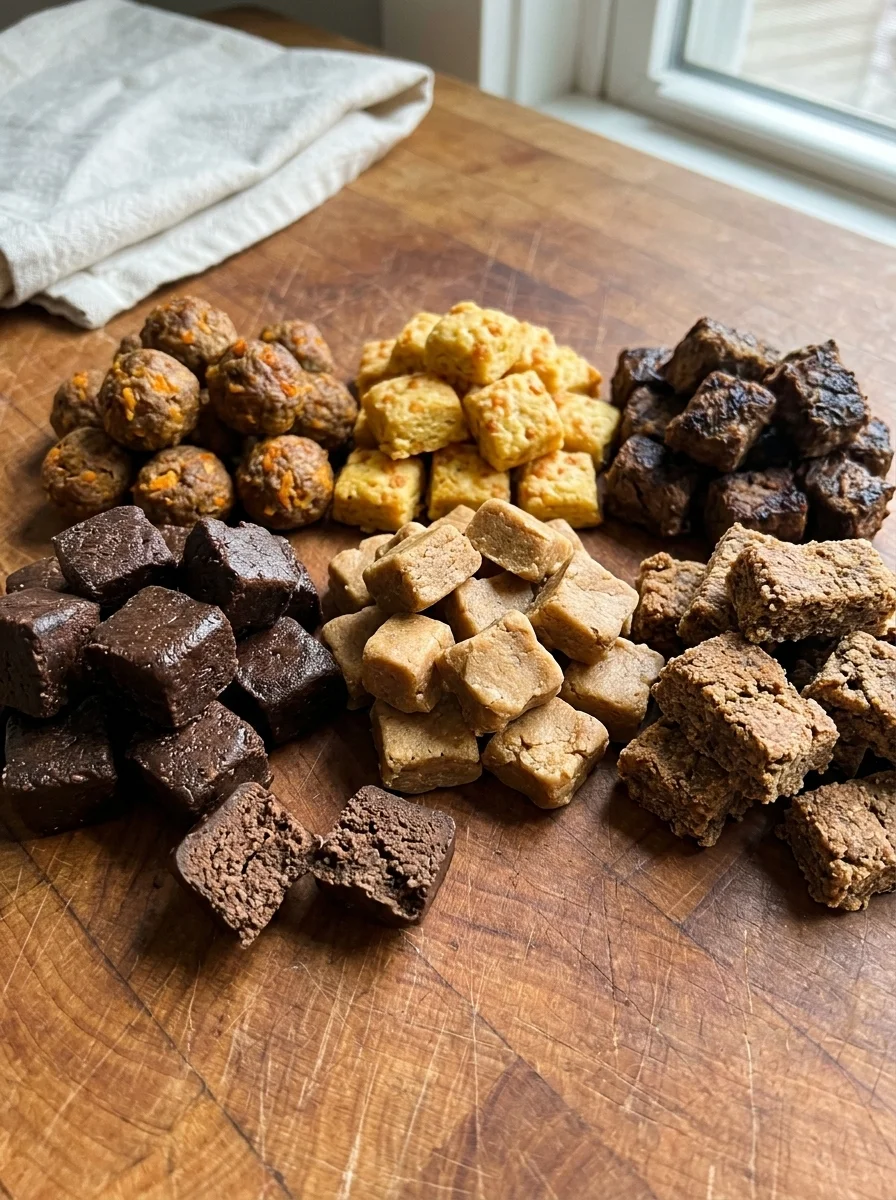
When you’re training a dog that’s easily distracted or pushing back against new behaviors, a low-reward kibble crumb rarely cuts it. The dog’s brain calculates: “Is this worth stopping my sniffing, tail wagging, or ignoring my human for?” If the reward feels boring, the behavior feels boring, and you stall. A high-value dog treat flips that calculus. It’s something the dog cannot stop moving for — a strong scent, a dense flavor, a texture that’s easy to swallow while still being rewarding enough to keep focus sharp. For example, a smelly, warm piece of cooked liver will often beat a dry kibble by a wide margin, which is why the 2-ingredient peanut butter yogurt dog treats and other bold-flavor options work so well in the pocket.
The ingredients also matter. A great high-value treat isn’t just flavorful; it’s safe. That means using dog-safe foods only: cooked meats, plain pumpkin, bananas, oats, plain peanut butter (no xylitol), parmesan in small amounts, and tapioca or white flour as a binder. It also means avoiding anything dangerous — no chocolate, no grapes, no raisins, no onion, no garlic, and no xylitol in any form.
The Training Ladder: Low, Medium, Jackpot
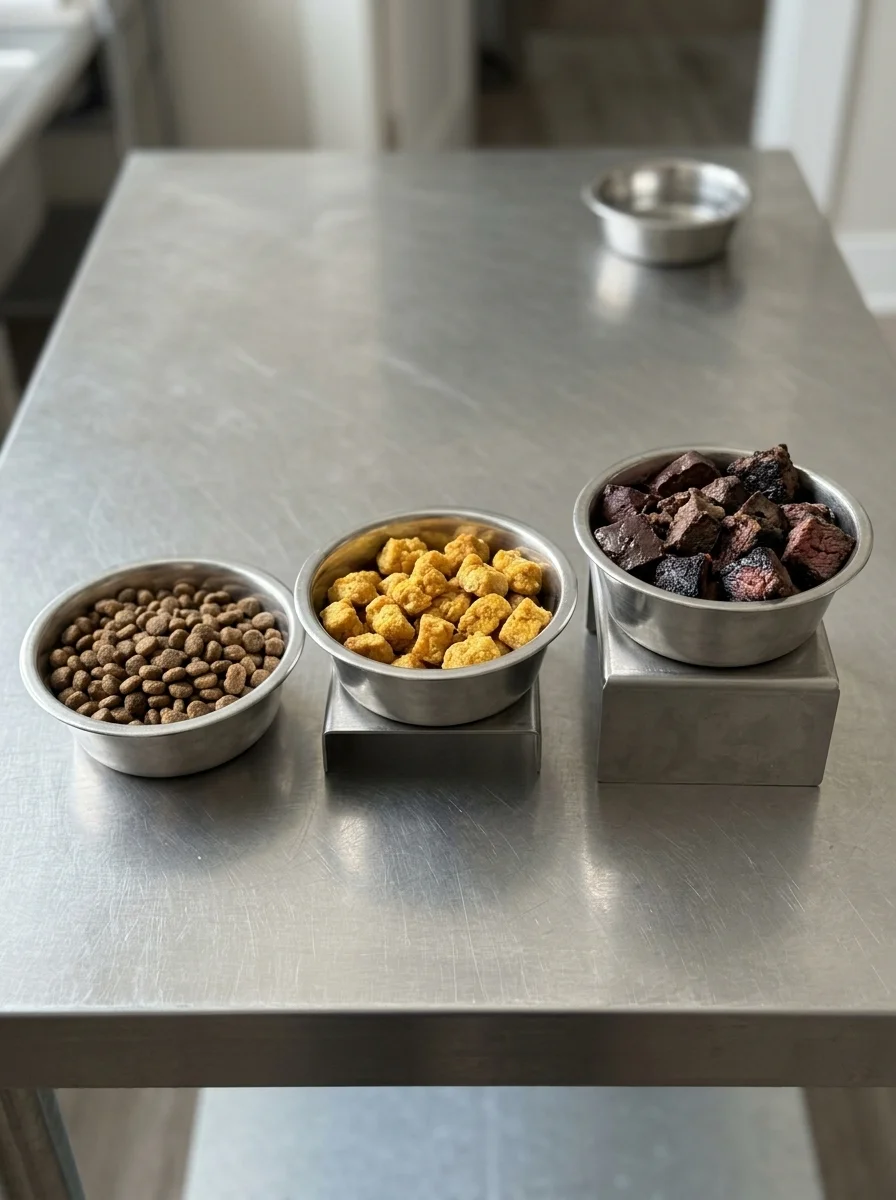
Using the biggest treat for every click burns calories too fast and makes ordinary behaviors feel under-rewarded, so smart trainers think in tiers.
Low-value treats are the baseline: small kibble pieces, dry training biscuits, or a plain 5 minute dog treats style snack that the dog already knows is “okay.”
Medium-value treats are a step up — something more interesting, like a small piece of cooked chicken, a soft baked oat piece, or a thin slice of sweet potato. These work when the dog is a little distracted or the behavior is newer.
Jackpot treats are the top of the ladder: strong-smelling, rich, rare. Cooked liver, a hot seared beef cube, a fresh piece of cheese with meat, or a chunk of peanut butter with banana fall here. You use jackpots for difficult new behaviors, high-distractor environments, or when the dog is emotionally wobbly. The rule of thumb: save jackpots for the moments that most need them, or they stop being special.
Start with low-value rewards to confirm the baseline, step up to medium-value when difficulty increases, and deploy jackpot treats strategically. This pacing keeps the dog motivated without devaluing the most powerful reward.
Recipe 1: Liver Jackpot Bites
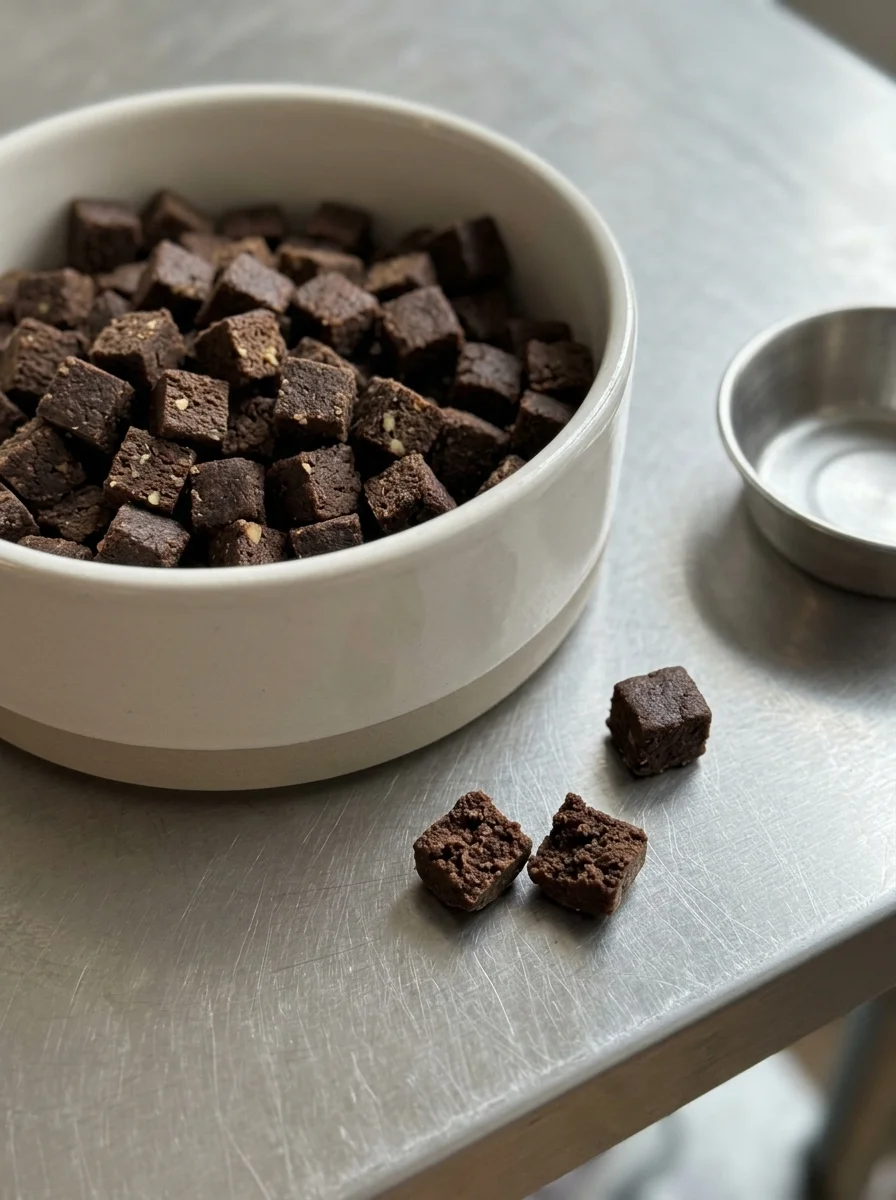
These are the heavyweights of the high-value lineup. Liver is one of the most scent-potent, flavor-dense training rewards you can make at home. For a dog that struggles to look at you in a park full of squirrels, a small warm liver bite paired with banana and peanut butter can rewire attention in seconds.
Note on liver: it’s rich in vitamin A, which stores in the body, so these are training treats only. Feed them sparingly, never as a meal, and keep all treats combined under 10 percent of the dog’s daily calories.
Ingredients
- 1/2 pound beef liver, cooked and diced
- 1 medium banana
- 1 tablespoon xylitol-free peanut butter
- 1/2 cup unbleached white flour
Step-by-Step Instructions
- Preheat the oven to 350 degrees Fahrenheit.
- Pan-sear the beef liver until no longer pink; dice into small pieces; pat dry and set aside to cool slightly.
- In a food processor, blend the banana and xylitol-free peanut butter into a smooth paste.
- Add the cooked liver and process until the mixture is uniform and soft, like thick muffin batter.
- Stir in the unbleached white flour until the dough holds together when squeezed; it should feel soft and pliable, not sticky.
- Line a 9×9-inch pan with parchment paper or a silicone mat.
- Pat the dough into an even layer about 1/4 inch thick; the edges should look clean, not crumbly.
- Bake for 18 to 20 minutes, until the top is set and the edges pull away cleanly; press gently: it should feel springy but firm.
- Cool on the pan for 10 minutes; run a knife around the edges; cut into pea-sized cubes; let cool completely before storing.
Recipe 2: Beef & Pumpkin Training Balls
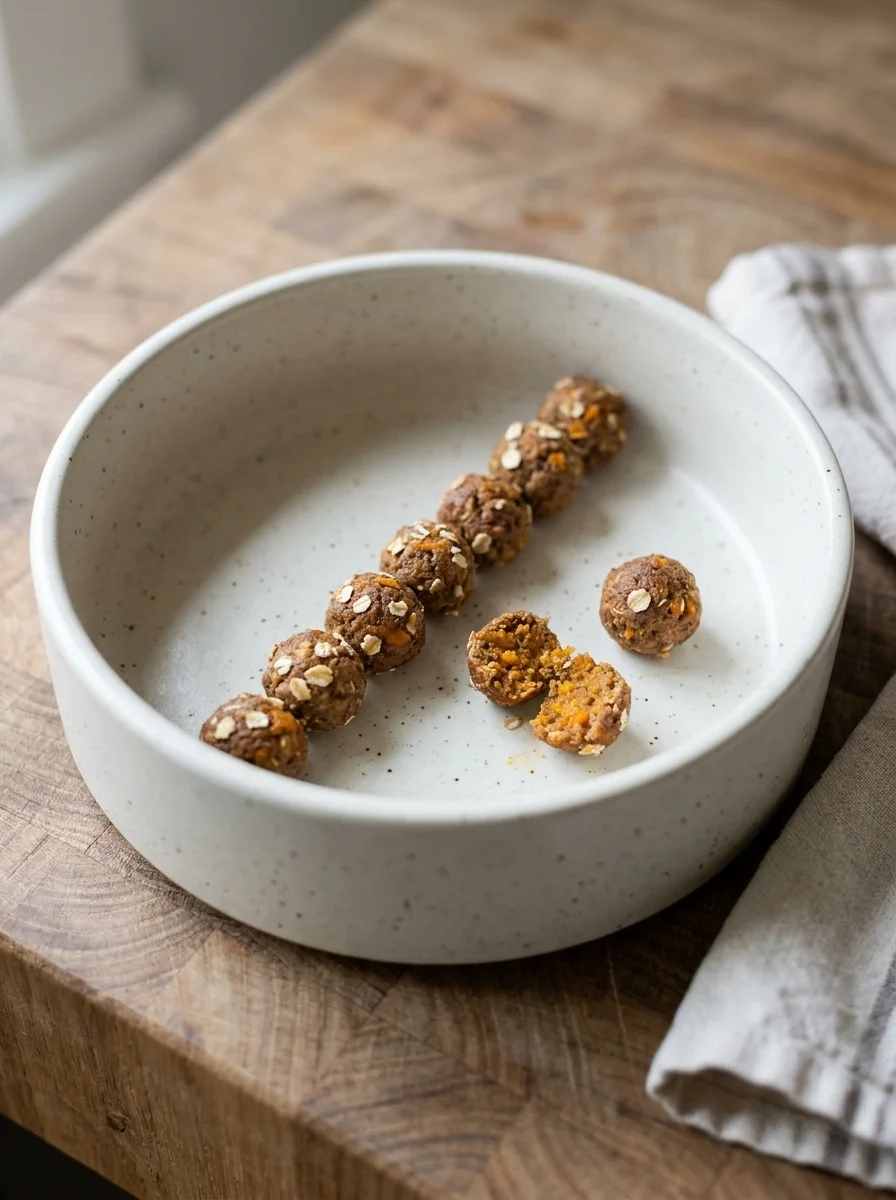
These soft, protein-rich balls are the backbone of a practical training pantry. The ground beef provides strong flavor and a savory scent that holds attention; the oats and egg bind the mixture into firm, easy-to-roll pieces; and the plain pumpkin purée adds a touch of moisture and fiber without altering the protein profile. They cook quickly in a pan and stay soft enough to swallow fast.
If you want another solid beef-based option, check out this recipe for a beef and apple dog meal to compare texture and flavor.
Ingredients
- 1 pound lean ground beef
- 1/2 cup old-fashioned rolled oats
- 1/4 cup plain pumpkin purée
- 1 large egg
Step-by-Step Instructions
- In a large bowl, mix the ground beef, oats, plain pumpkin purée, and egg until uniform; the mixture should hold a shape when pressed.
- On a lightly oiled baking sheet, roll the mixture into pea-sized balls (about the size of a large pea or a small olive); space them 1 inch apart.
- Bake at 350 degrees Fahrenheit for 18 to 20 minutes, until the outside is set and the inside reaches 165 degrees Fahrenheit on a probe thermometer.
- Let the balls rest on the pan for 5 minutes so they firm up.
- Cool completely on a wire rack; store in an airtight container in the fridge for up to 5 days, or freeze for up to 3 months.
Recipe 3: Chicken & Cheese Training Bites
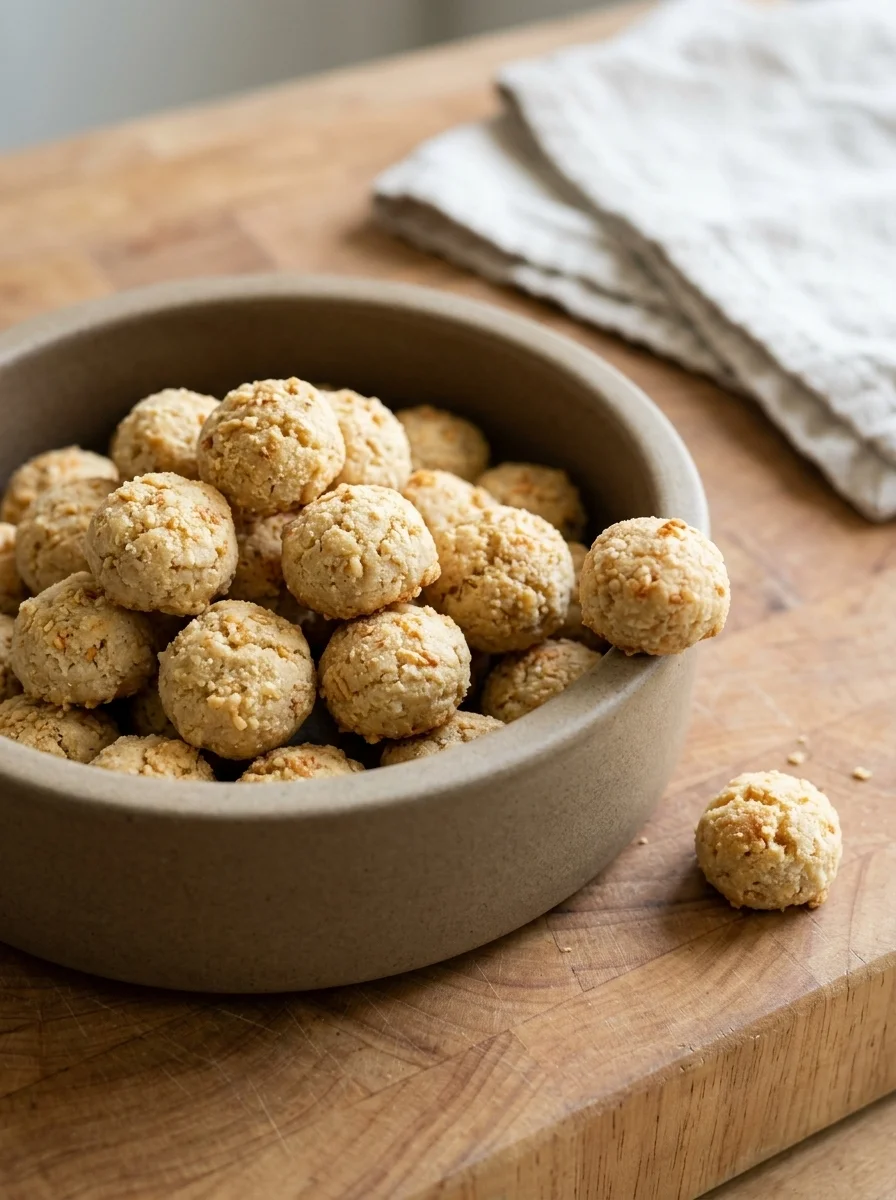
This recipe leans on the umami punch of ground chicken and parmesan, with tapioca flour as the binder. The result is a firm, crumbly treat that’s easy to portion and long-lasting in the freezer.
Ingredients
- 1 pound ground chicken
- 2 cups tapioca flour
- 2 tablespoons parmesan cheese
- 1 large egg
Step-by-Step Instructions
- In a large bowl, combine the ground chicken, tapioca flour, parmesan cheese, and egg; mix until the texture is cohesive and slightly crumbly; if it’s too wet, add a tablespoon of tapioca flour at a time.
- Preheat the oven to 375 degrees Fahrenheit; line a baking sheet with parchment paper.
- Using damp hands, roll the mixture into pea-sized balls; place them on the pan with a half inch of space between each.
- Bake for 28 to 30 minutes, until the balls are golden-brown on the bottom and the internal temperature reaches 165 degrees Fahrenheit on a probe thermometer.
- Let them cool on the pan for 10 minutes; the balls will firm up as they cool.
- Store in an airtight container in the fridge for up to 5 days, or freeze for up to 3 months.
Recipe 4: Seared Beef Cubes
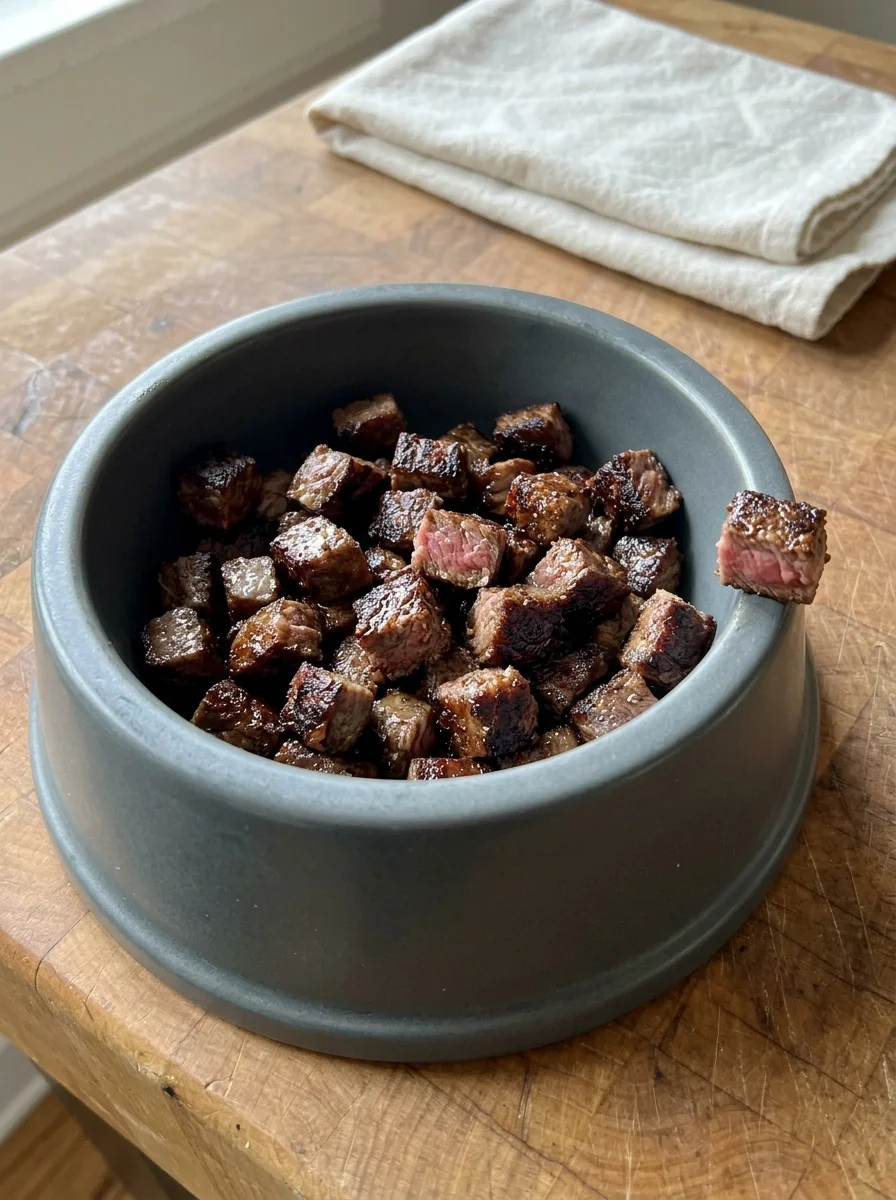
This is the fastest, most intense jackpot on the list. A single ingredient, cooked in under three minutes, and stored in the freezer. The sear creates a Maillard reaction on the surface, which makes the cubes deeply savory and aromatic; the beef stays soft enough to swallow in a couple of seconds.
If you’re already using commercial soft treats, you can compare this to a nom nom dog food copycat recipe to see the texture and flavor differences.
Ingredients
- 1 pound top round roast, trimmed of all fat
Step-by-Step Instructions
- Trim all visible fat from the top round roast; cut the meat into 1/3-inch cubes; aim for uniform size so they cook evenly.
- Heat a large dry skillet over medium-high heat until a drop of water skitters immediately; the pan should be hot, not smoking.
- Add the cubes in a single layer; do not stir for 45 seconds; the cubes should develop a browned, slightly crisp edge on the bottom.
- Turn the cubes with tongs; sear for another 45 seconds to 1 minute on the other side; the total searing time is about 1 to 1.5 minutes per side.
- Remove the cubes from the pan; place them on a plate lined with paper towels; let them sit for 5 minutes so the paper towels wick away surface moisture.
- Once cool enough to touch, place the cubes in a large freezer bag; spread them into a single layer; freeze until firm; label with the date.
Recipe 5: Peanut Butter Banana Training Bites
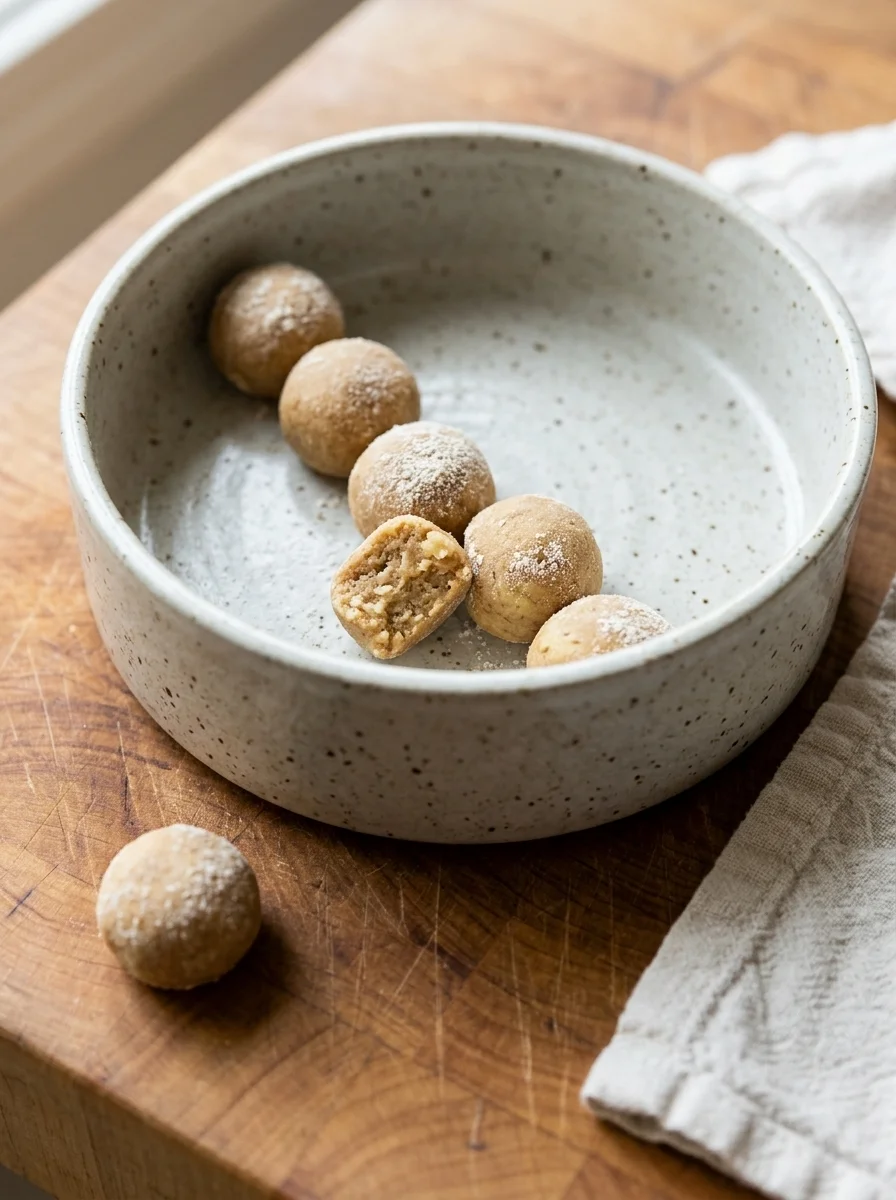
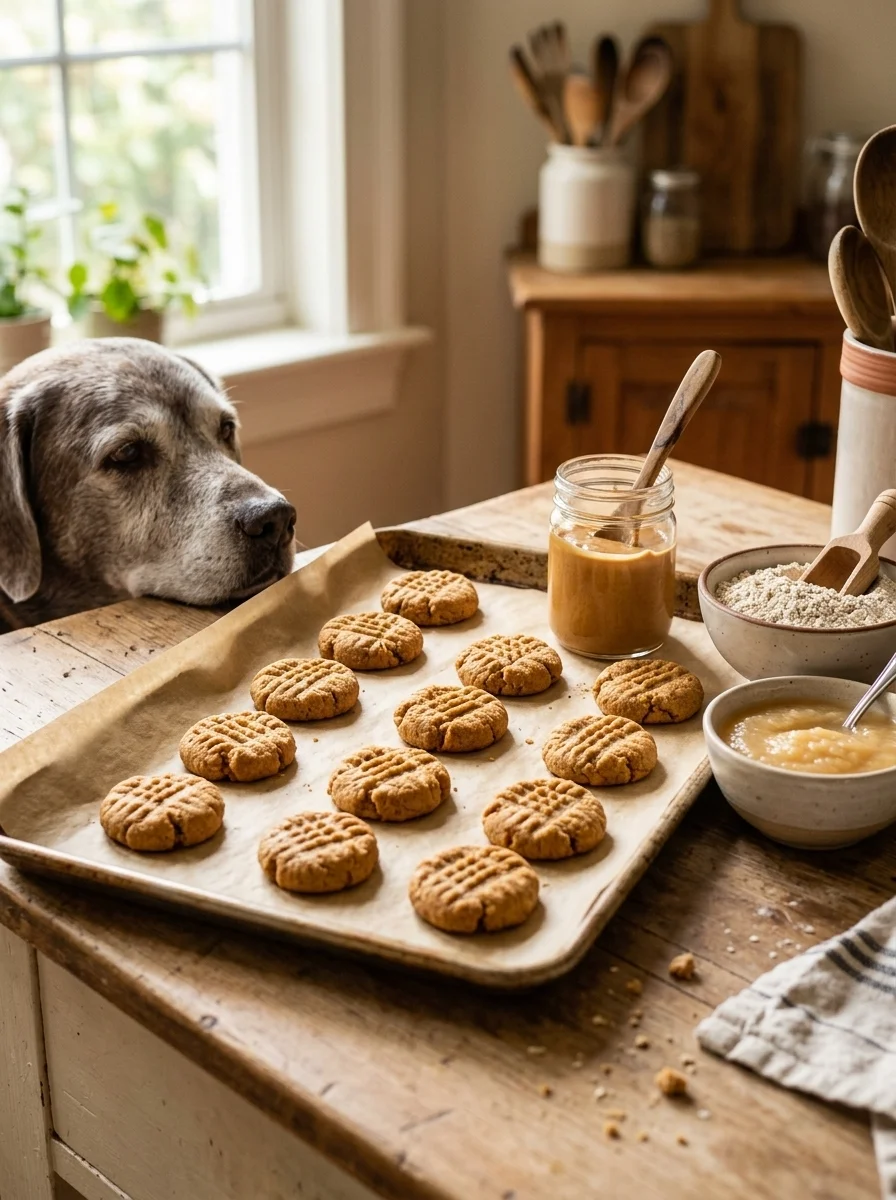
These are soft, sweet, and highly motivating for many dogs, especially those that are food-motivated but easily bored. The oat flour and banana create a dense, chewy batter that bakes into a firm but still-soft treat; the xylitol-free peanut butter adds richness and scent.
Ingredients
- 1 cup oat flour
- 1/2 cup xylitol-free peanut butter
- 1 ripe banana
- 1 tablespoon water (only if the dough is too dry)
Step-by-Step Instructions
- In a large bowl, mash the banana with a fork until smooth; add the xylitol-free peanut butter; stir until evenly combined.
- Add the oat flour; mix until a thick, soft dough forms; the dough should hold together when squeezed, like a soft playdough.
- If the dough is too sticky to roll, add 1 tablespoon of water; mix until the texture is workable; do not add more than 1 tablespoon.
- Preheat the oven to 350 degrees Fahrenheit; line a baking sheet with parchment paper.
- Using damp hands, roll the dough into pea-sized balls; place them on the pan with a half inch of space between each.
- Bake for 13 to 15 minutes, until the edges are set and the center is just firm to the touch; press gently: the center should not collapse.
- 8. Store in an airtight container in the fridge for up to 5 days, or freeze for up to 3 months.
Before you start, double-check the peanut butter label: it must be xylitol-free.
Recipe 6: Turkey & Liver Tapioca Bars
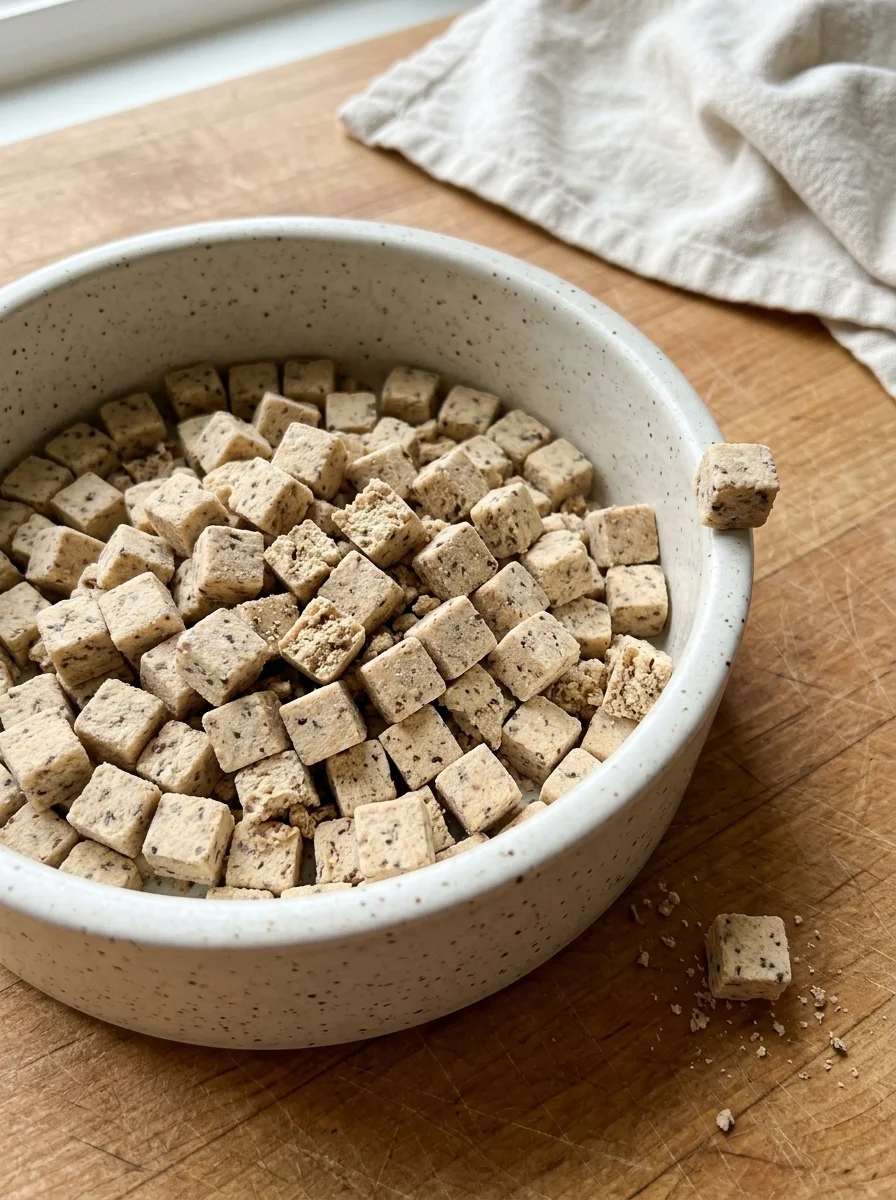
These bars combine the mild flavor of ground turkey with the intense scent of raw chicken liver, bound together with tapioca flour and a small amount of oil for moisture. The result is a firm, crumbly bar that’s easy to break into pea-sized pieces and store in the freezer.
Ingredients
- 1 pound ground turkey
- 1/2 pound raw chicken livers
- 2 cups tapioca flour
- 2 tablespoons oil
Step-by-Step Instructions
- Preheat the oven to 350 degrees Fahrenheit; line a 9×9-inch pan with parchment paper; lightly oil the parchment.
- In a large bowl, combine the ground turkey, raw chicken livers, tapioca flour, and oil; mix until the mixture is uniform and holds together when pressed; the texture should be crumbly but cohesive.
- Press the mixture into the prepared pan; use the back of a spoon to smooth the top; the layer should be about 1/4 inch thick.
- Bake for 28 to 30 minutes, until the top is set and the internal temperature reaches 165 degrees Fahrenheit on a probe thermometer; insert the thermometer into the center of the pan.
- Let the bars cool in the pan for 15 minutes; run a knife around the edges; cut into pea-sized cubes; let cool completely before storing.
- Store in an airtight container in the fridge for up to 5 days, or freeze for up to 3 months.
The strong scent of the liver makes these a top-tier jackpot for high-distractor environments.
Sizing Treats by Dog and Session
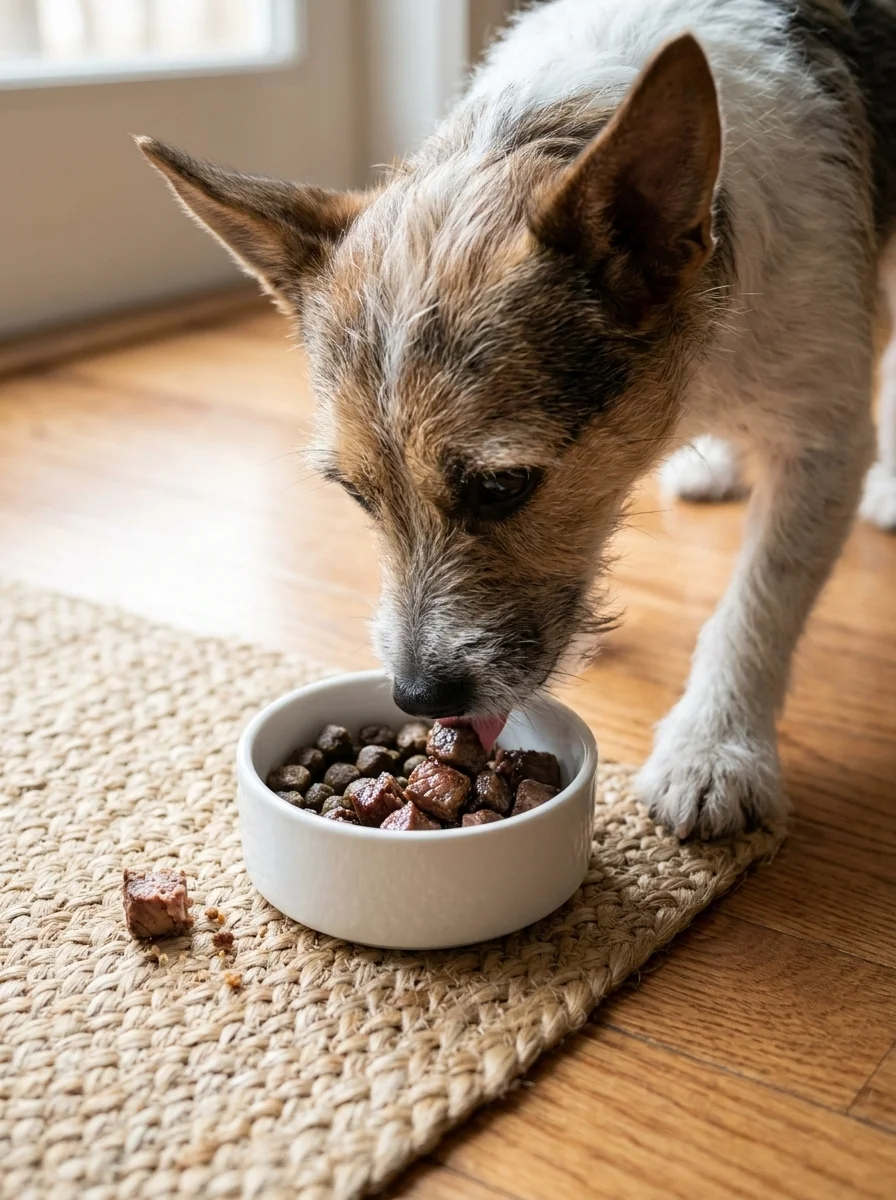
Portion size changes the entire training experience. A treat that’s too large slows the pace of the session; the dog spends 10 seconds chewing when it should be 2 seconds, and the behavior you’re reinforcing gets diluted by the time it’s swallowed. A treat that’s too small gets lost in the mouth or ignored. The sweet spot is a piece the dog can swallow in one to two seconds, with a scent strong enough to hold attention from three to five feet away.
For small dogs under 25 pounds, pea-sized pieces (about 1/2 inch) are ideal; they’re easy to swallow and quick to eat. For medium dogs (25 to 50 pounds), pea-sized to slightly larger pieces (about 3/4 inch) work well.
The best dog foods for picky eaters often share a trait: strong flavor. If your dog is a picky eater, lean into the high-value options in this guide, especially the liver and seared beef cubes. For a session, portion out the treats into a treat pouch or a small bowl on the floor; the dog should not have to wait for you to find the next piece.
Storage: Fridge, Freezer, and the Treat Pouch
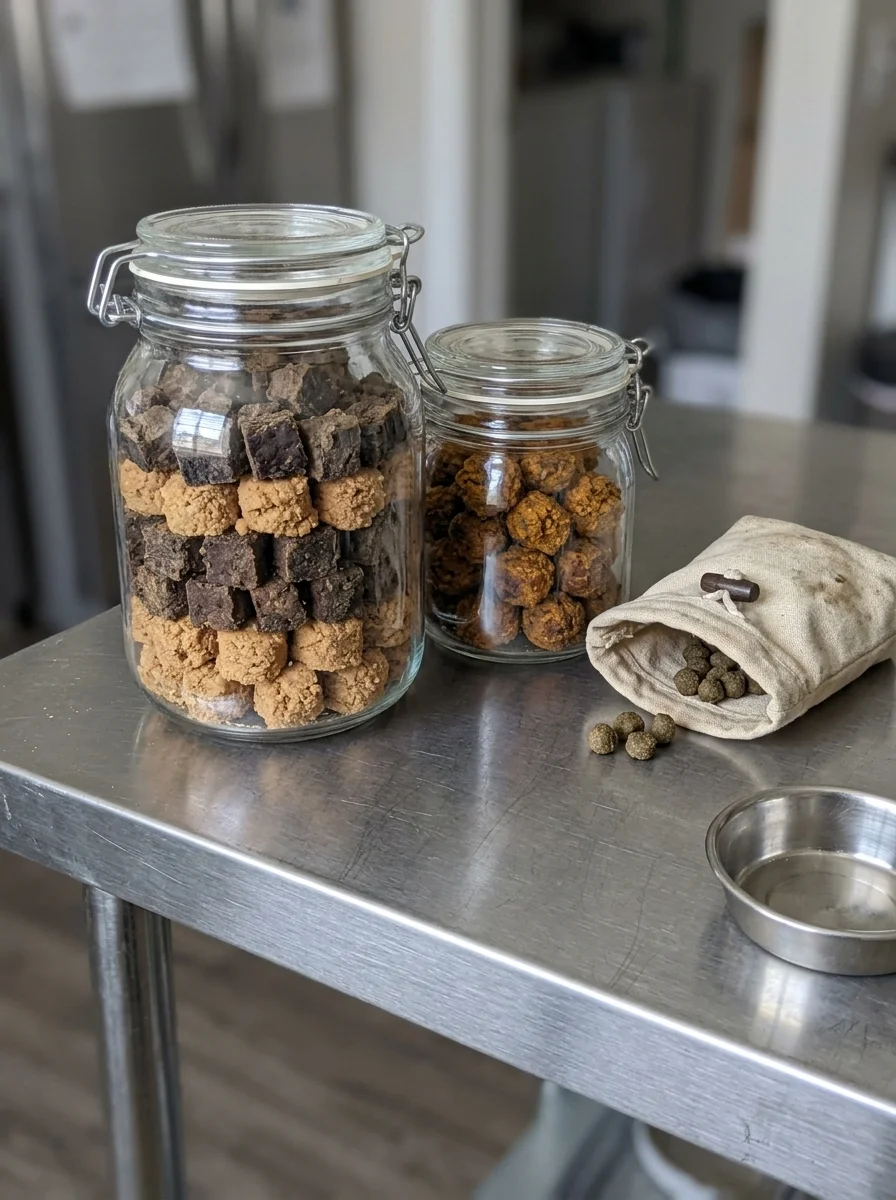
Proper storage keeps the treats fresh and the workflow fast. Fridge storage is best for the next 3 to 5 days; place the treats in an airtight container and label the date. Freezer storage is for longer-term planning: freeze the treats in a single layer on a parchment-lined tray, then transfer to a freezer bag once firm; label with the recipe and date; they’ll keep for up to 3 months. The treat pouch is for the session itself: keep a small pouch in your pocket or on your belt, filled with the day’s portion; the pouch should be easy to open with one hand while your other hand is on the leash or the dog’s collar.
If you’re using the seared beef cubes, thaw them in the fridge overnight; they hold their texture well. If you’re using the baked recipes, they thaw quickly at room temperature.
Troubleshooting
Treats too dry or crumbly: add a tablespoon of oil, plain pumpkin purée, or water to the next batch; the goal is a texture that holds together but breaks easily in the dog’s mouth.
Treats too soft or sticky: increase the flour (oat, tapioca, or white, depending on the recipe) by 2 tablespoons; the dough should hold a shape when squeezed. If the sticky problem persists, chill the dough for 10 minutes in the fridge before rolling; the cold firming makes rolling easier.
The dog ignores the treat: switch to a stronger-scent option, like the liver bites or seared beef cubes; position the treat closer to the dog’s nose; make sure the treat is at room temperature, not cold; and check that the treat is small enough to swallow quickly. If the dog is still unresponsive, the environment may be too distracting; move to a quieter location or increase the reward rate (offer two treats per correct response).
Frequently Asked Questions
Final Thoughts
These six recipes cover the full range of high-value dog treats: from the quick-sear seared beef cubes to the dense, sweet peanut butter banana bites, and from the smoky liver jackpots to the mild, crumbly turkey and liver bars. Each one is built to be fast to make, easy to portion, and motivating enough to hold a dog’s attention when it matters most. Use them as part of a training ladder: save the jackpots for the hard days, rely on the medium-value options for steady reinforcement, and keep the low-value kibble for behaviors that are already reliable.
Done right, these treats will make the training session faster, more focused, and more fun for both of you.

Izzy is an experienced ranch worker who has a passion for exploring nature and getting up close to wildlife. With her connections to various animal organizations, Izzy is well-versed in animal care and rehabilitation.