Homemade Peanut Butter Dog Donuts: 3 Bakery-Style Recipes
There is something quietly satisfying about pulling a tray of peanut butter dog donuts recipe treats out of the oven. The kitchen smells warm and toasty, and your dog is probably already standing at the counter, tail thumping. They are soft, chewy, dog-scale bakes built from ingredients that are actually safe: whole grains, natural peanut butter, ripe fruit, and a little healthy fat. No frying, no refined sugar, no xylitol, no chocolate. Just a donut pan, a thick batter, and about forty-five minutes of hands-on time.
These donuts are one of those edge treats. One whole donut is a lot for a small dog, so think of them as portions to divide, not a single snack to hand over.
The Method: Mix, Fill the Pan, Bake
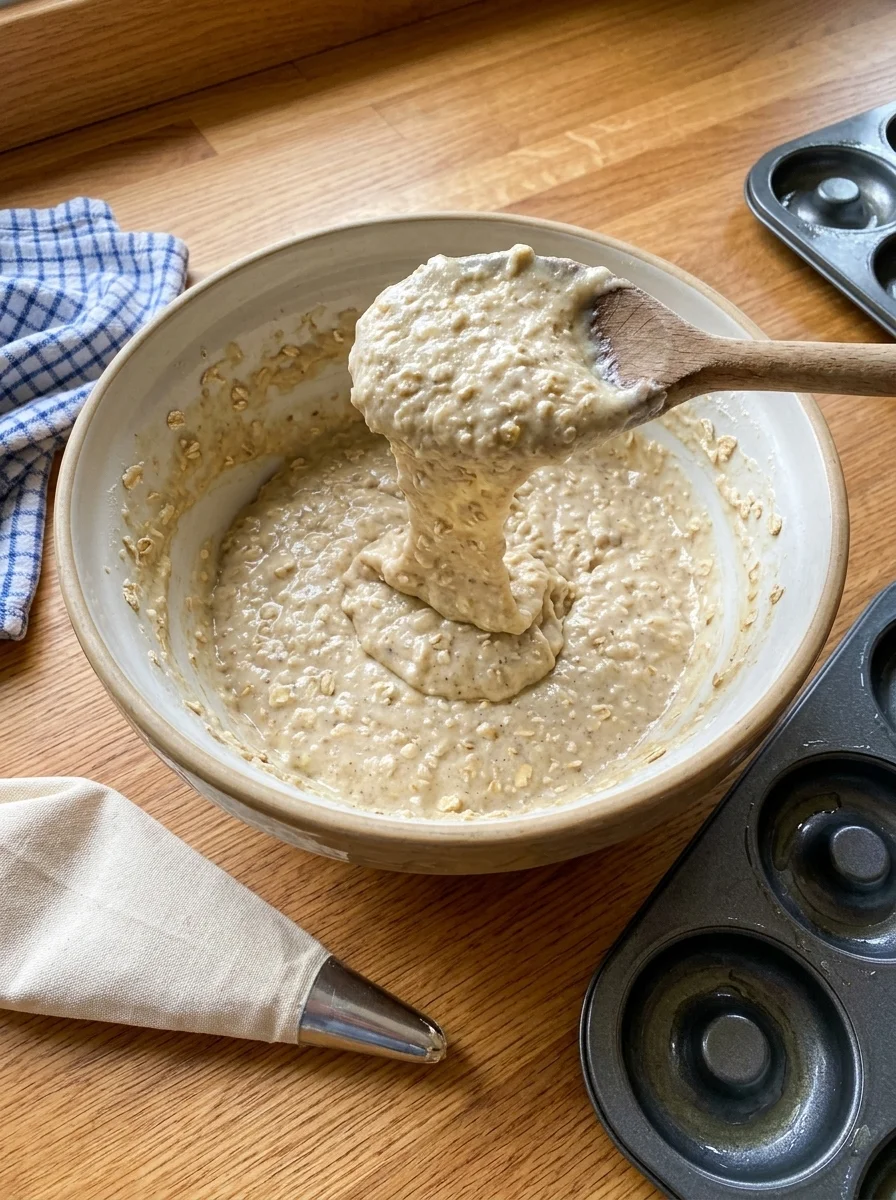
Every recipe in this article follows the same three-step build because that build is what makes the batter behave like donut batter instead of pancake batter.
Step one is mixing the wet. You start with the fruit or puree base, then beat in the peanut butter, the egg, and any melted fat until the mixture is smooth and uniform. Smooth matters here.
Step two is folding in the dry. Flour, oats, or baking powder go in by hand with a spoon or a sturdy spatula. Overmixing develops too much gluten and is the number one cause of dense, tough donuts. The batter should hold its shape on a spoon but still be spoonable.
Step three is filling the pan. You spoon or pipe the batter into the greased donut pan, level the tops, and bake.
This method also keeps the fat content controlled. Unlike fried dough, which soaks up oil, baked donuts get their moisture and richness from the peanut butter and egg in the batter, not from a deep fryer. That is a big part of why this approach is right for dogs. If you want to stretch the peanut butter flavor into something simpler, the same ingredients power a 2-ingredient peanut butter yogurt dog treats that skips the oven entirely.
Getting the Donut Shape Right: Pans, Nozzles, and No-Fry Baking
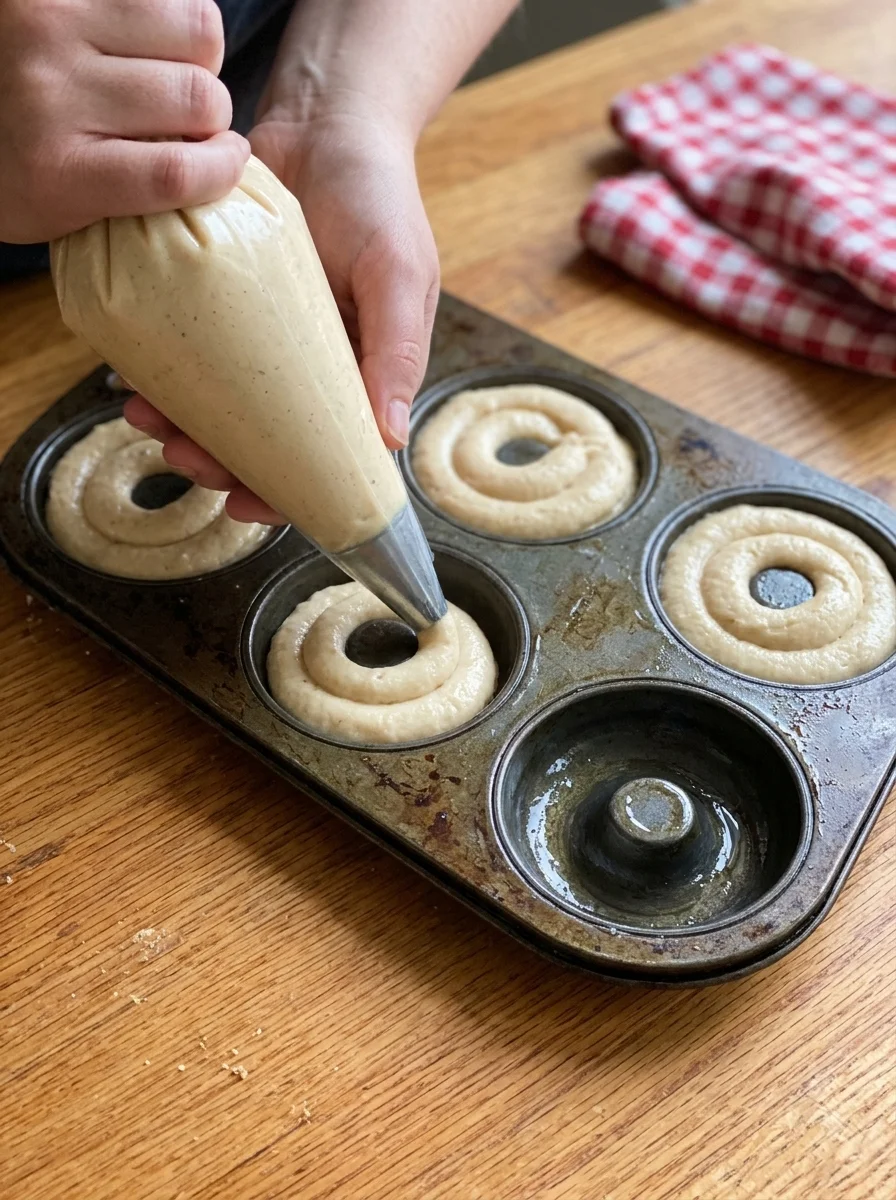
Preheat the oven before you start, then grease every cavity with a thin film of coconut oil or a silicone brush.
Fill each cavity about 3/4 full. Less than that and the pieces are thin and crumbly. The 3/4 line is the reliable middle.
Two ways to get the batter into the pan. For thinner batters, a piping bag with a large round tip or a zip-top bag with the corner snipped makes for neater, more even fills.
The bigger question is why baking beats frying for dogs. Fried dough for dogs is not just about the calories, though that is a lot. Baked donuts have a controlled, known fat level, a firm exterior that is easy to break into pieces, and no residual frying oil to digest. If you have already baked for your dog, you have likely made homemade pumpkin dog cupcakes, and the same no-fry, low-ingredient philosophy applies here.
Recipe 1: Classic Peanut Butter Banana Donuts
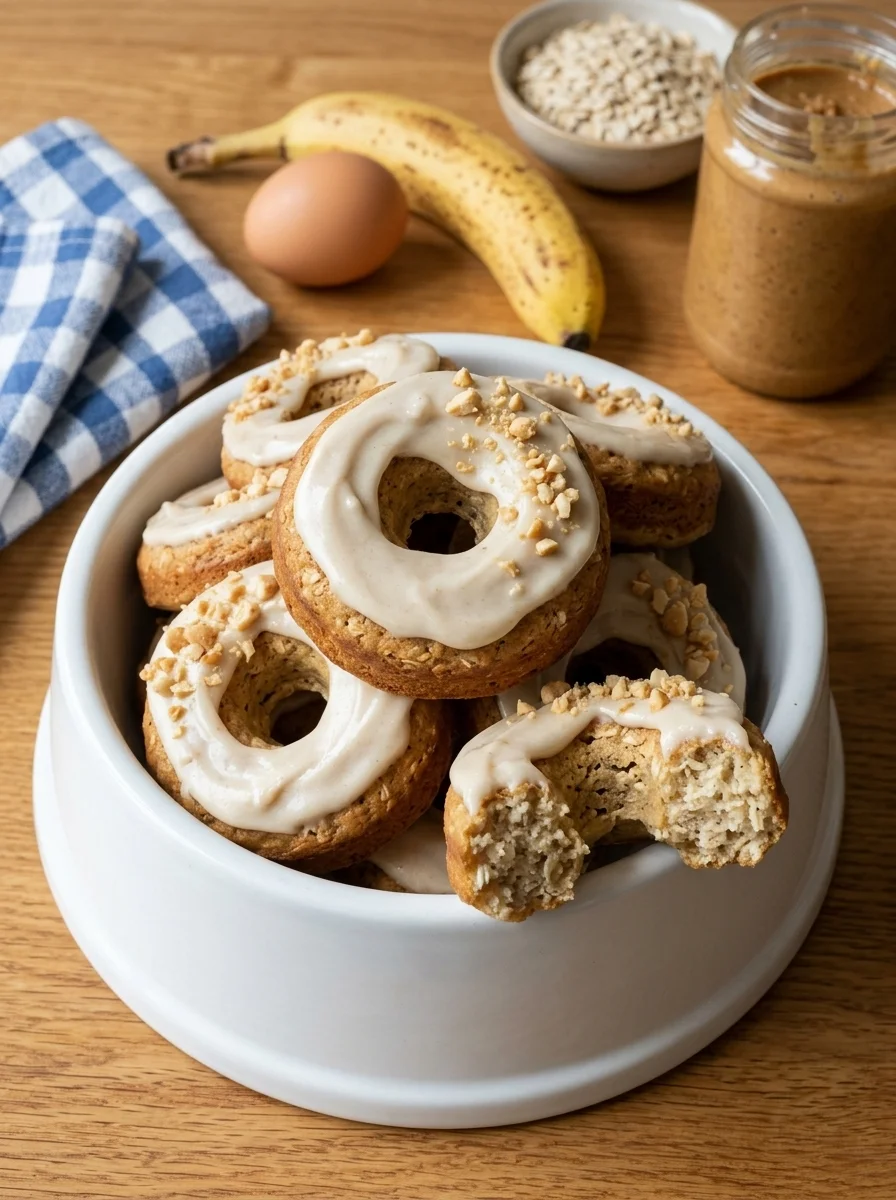
This is the recipe I reach for first. The banana sweetens the batter without any added sugar, the oats add a gentle chew, and the peanut butter carries the whole thing. Read the label on your peanut butter before you start: it must be natural, unsweetened, and xylitol-free. If you are already comfortable with quick dog treats, the batter technique here overlaps with this recipe, just swapped for an oven bake.
Ingredients
- 1 cup whole wheat flour
- 1/2 cup rolled oats
- 2/3 cup natural unsweetened peanut butter (xylitol-free)
- 1 ripe banana, mashed
- 2 large eggs
- 1/4 cup coconut oil, melted
Step-by-Step Instructions
- Preheat the oven to 375°F and grease a donut pan with a little coconut oil.
- Mash the banana in a large bowl, then beat in the peanut butter, eggs, and melted coconut oil until smooth.
- Stir in the whole wheat flour and rolled oats until a thick batter forms.
- Spoon the batter into the donut pan, filling each cavity about 3/4 full, and smooth the tops.
- Bake for 14 to 16 minutes until the donuts are firm and lightly golden and a toothpick comes out clean.
- Cool in the pan for 10 minutes, then turn out onto a wire rack and cool completely before frosting.
- Serve in a dog bowl.
The 45-minute total includes the 10-minute rest in the pan and the full cooling time on the rack before any frosting is applied. Do not skip the cooling. These donuts are dense enough that they keep holding heat in the center, and frosting on a warm donut will slide off before you get it back to the counter. Remember that all treats stay under 10% of the daily food amount.
More Peanut Butter Dog Donuts
The classic is the backbone, but the batter structure adapts cleanly to other safe fruits and seasonal ingredients. Two variations follow, both built to keep the donut pan method intact while swapping the wet base.
Variation 1: Peanut Butter Apple Donuts
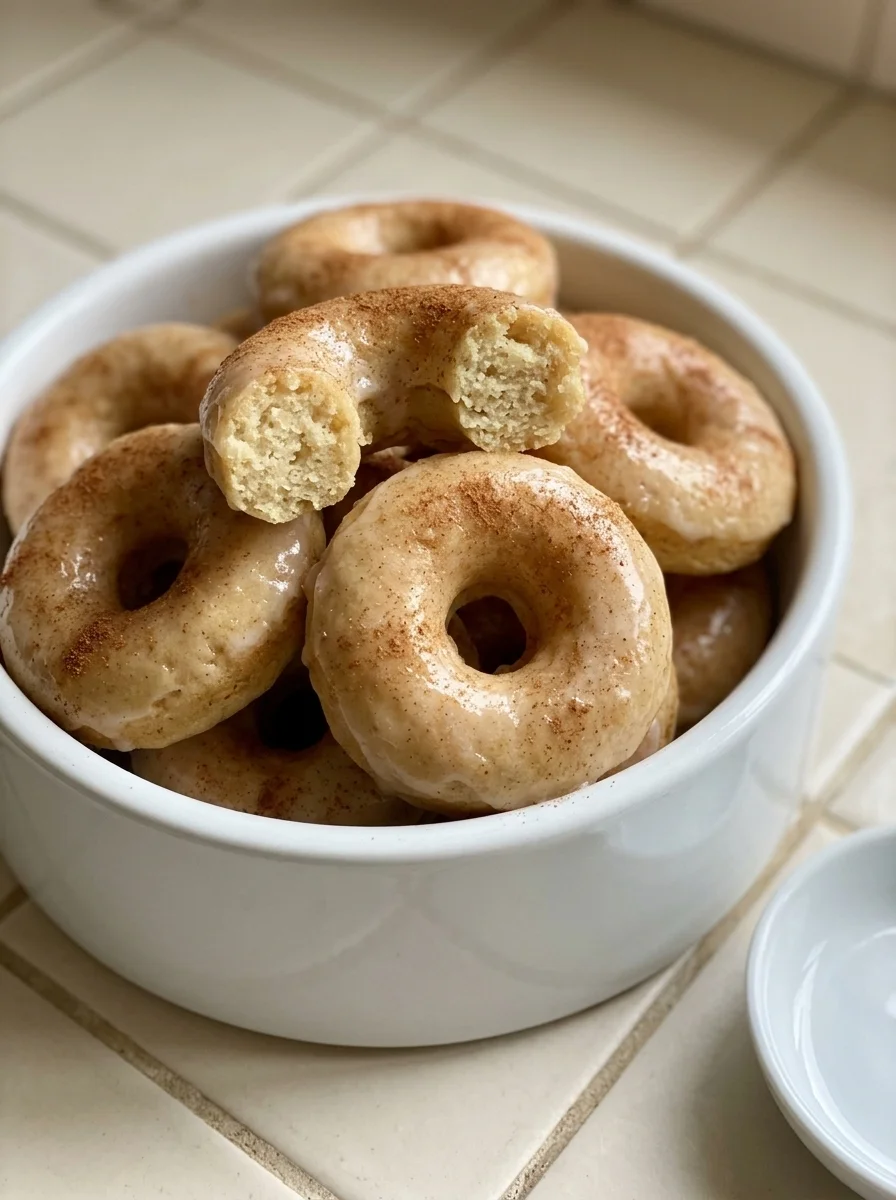
Apple is a dog-safe fruit when you use it as smooth applesauce, never as seeds or core. The cinnamon here is a touch of dog-friendly warmth, and the baking powder gives the donut a lift that the apple version does not get from fruit sugars alone. Check the peanut butter label again before you pour it in — natural, unsweetened, xylitol-free. If you want to round out an apple-focused spread, pair this with an apple dog cake recipe on a rainy afternoon.
Ingredients
- 1 cup whole wheat flour
- 1/2 cup unsweetened applesauce
- 1/2 cup natural peanut butter (xylitol-free)
- 1 large egg
- 1 teaspoon baking powder
- 1/2 teaspoon ground cinnamon
Step-by-Step Instructions
- Preheat the oven to 350°F and grease a donut pan with a little coconut oil.
- Whisk the peanut butter, applesauce, and egg together in a large bowl until smooth.
- Stir in the whole wheat flour, baking powder, and cinnamon until a thick batter forms — it should hold its shape on a spoon.
- Spoon the batter into the donut pan, filling each cavity about 3/4 full.
- Bake for 12 to 15 minutes until firm and lightly golden.
- Cool in the pan for 10 minutes, then turn out onto a wire rack and cool completely before frosting.
- Serve in a dog bowl.
These bake at 350°F rather than 375°F because the applesauce adds moisture and the baking powder handles the lift, so a hotter oven would set the outside before the center finishes. The 40-minute total includes cooling in the pan and on the rack. Break into small pieces and hand out on the mat, not scattered on the floor, so you can track the count.
Variation 2: Peanut Butter Pumpkin Donuts
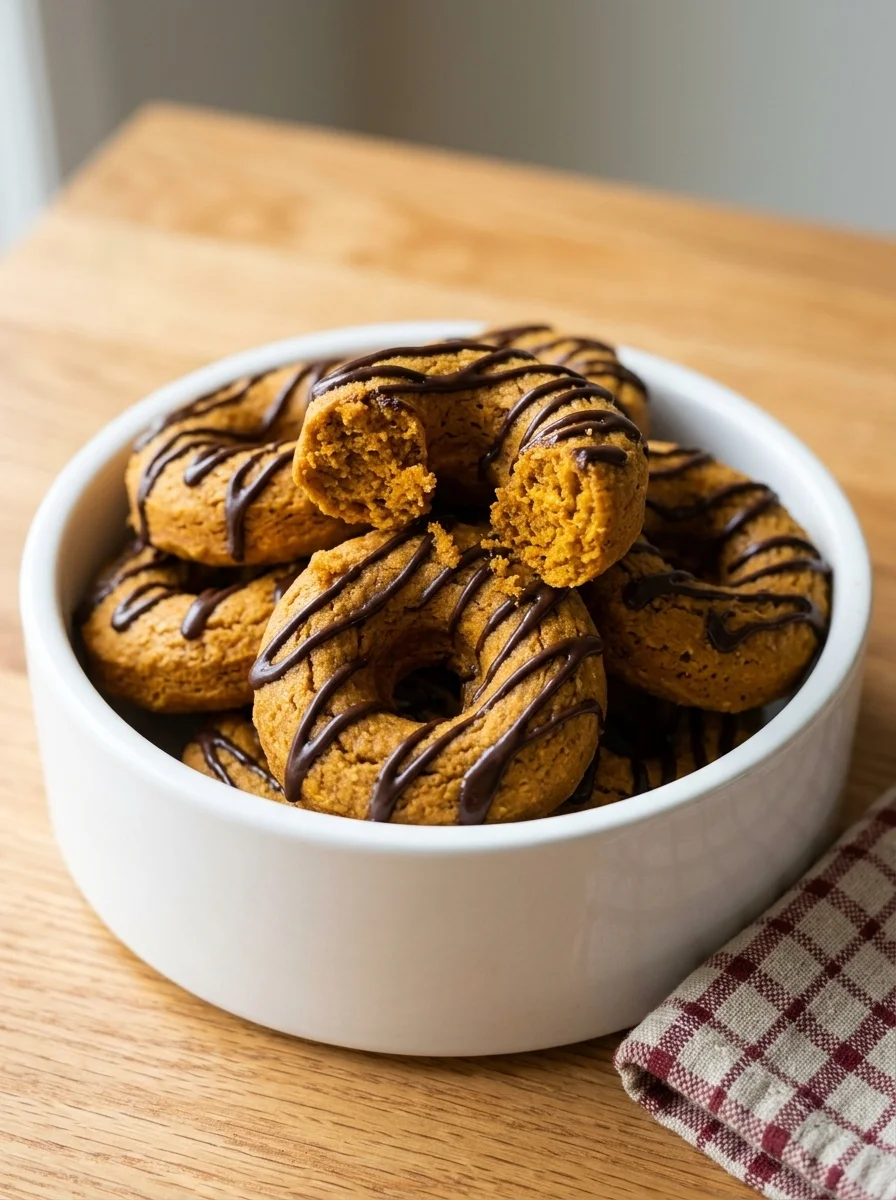
This is the autumn version, and it leans on plain pumpkin puree, not pumpkin pie filling. The oat flour keeps the crumb soft, and the carob drizzle in the frosting section below gives it a bakery look without any chocolate, because chocolate is toxic to dogs and has no place in a dog treat. If your dog loves the cinnamon note, build on it later with a cinnamon roll dog treats recipe for a different texture.
Ingredients
- 1 cup oat flour
- 1/2 cup pumpkin puree (not pie filling)
- 1/2 cup natural peanut butter (xylitol-free)
- 1 large egg
- 1 teaspoon baking powder
- 1/2 teaspoon ground cinnamon
Step-by-Step Instructions
- Preheat the oven to 350°F and grease a donut pan with a little coconut oil.
- Stir the pumpkin puree, peanut butter, and egg together in a large bowl until smooth.
- Fold in the oat flour, baking powder, and cinnamon until just combined — do not overmix or the donuts turn tough.
- Spoon the batter into the donut pan, filling each cavity about 3/4 full.
- Bake for 12 to 15 minutes until firm and a toothpick comes out clean.
- Cool in the pan for 10 minutes, then turn out onto a wire rack and cool completely before drizzling with carob.
- Serve in a dog bowl.
The “do not overmix” step is the real make-or-break here. Oat flour has less gluten structure than wheat, so the batter needs to come together in a few folds, not a long stir. If you overwork it, the donuts bake up dense and chewy in the wrong way. The 40-minute total again includes the full cooling time before any drizzle goes on. The point is a soft, pumpkin-scented donut that a dog will take one bite of and lick the bowl clean.
Frosting and Topping
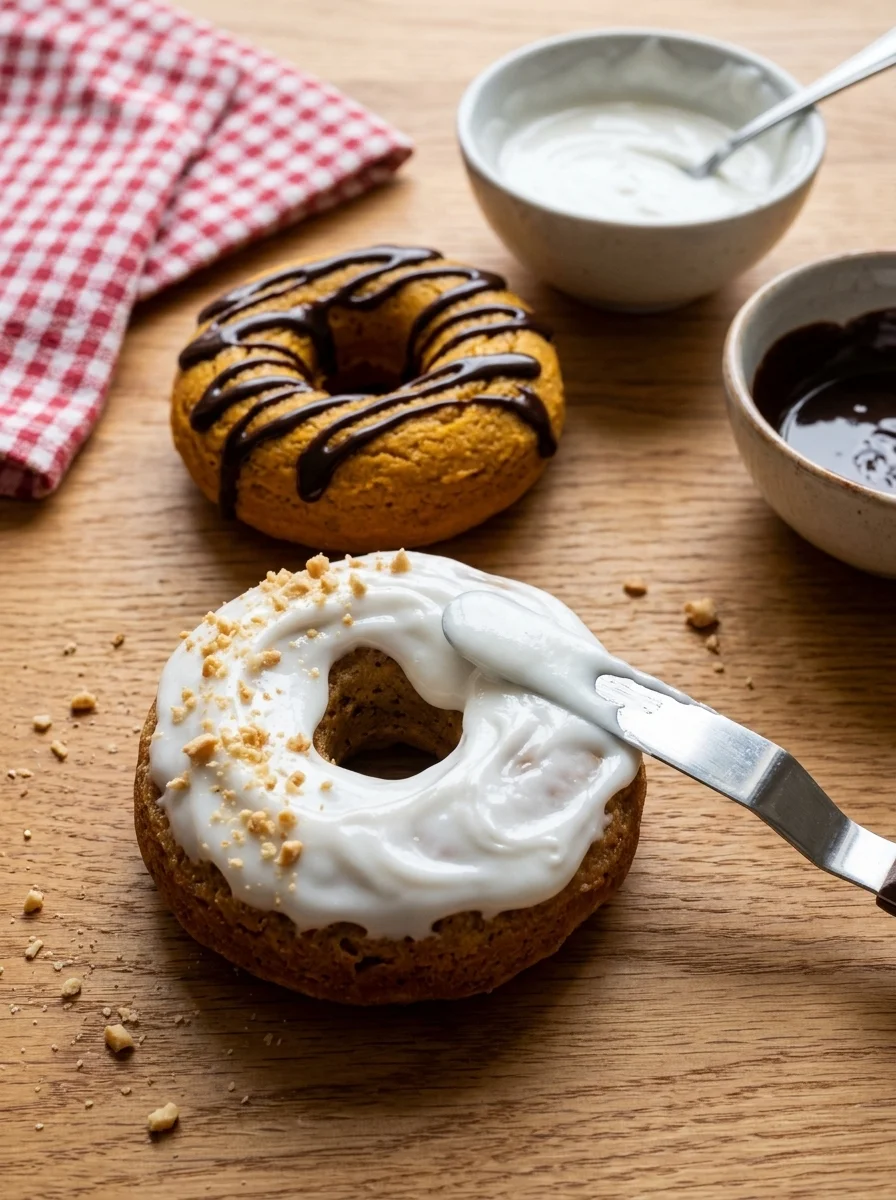
Frosting on dog treats is about a thin, controlled layer, not a heavy human-style coat.
Yogurt glaze for the banana and apple donuts: combine 3 tablespoons plain full-fat Greek yogurt with 1 tablespoon natural peanut butter until the mixture is smooth and glossy. Spread the glaze over donuts that are fully cooled. An optional topping of crushed unsalted peanuts adds crunch, but keep it light — a pinch per donut is plenty, and some dogs choke on small whole bits, so crush them fine.
Carob drizzle for the pumpkin donuts: stir 1/4 cup carob powder into 1/4 cup boiling water until smooth, or melt carob chips and thin them with a drop of boiling water. Carob is the safe look-alike for chocolate. Never, under any circumstance, use chocolate as a substitute. Theobromine is toxic to dogs, and even a small amount of dark chocolate in a drizzle is not a risk worth taking. Drizzle the carob over fully cooled donuts only, same as the yogurt glaze.
The fully-cooled rule is not a suggestion. A warm donut steams the frosting, and it slides off before it sets.
Serving by Dog Size
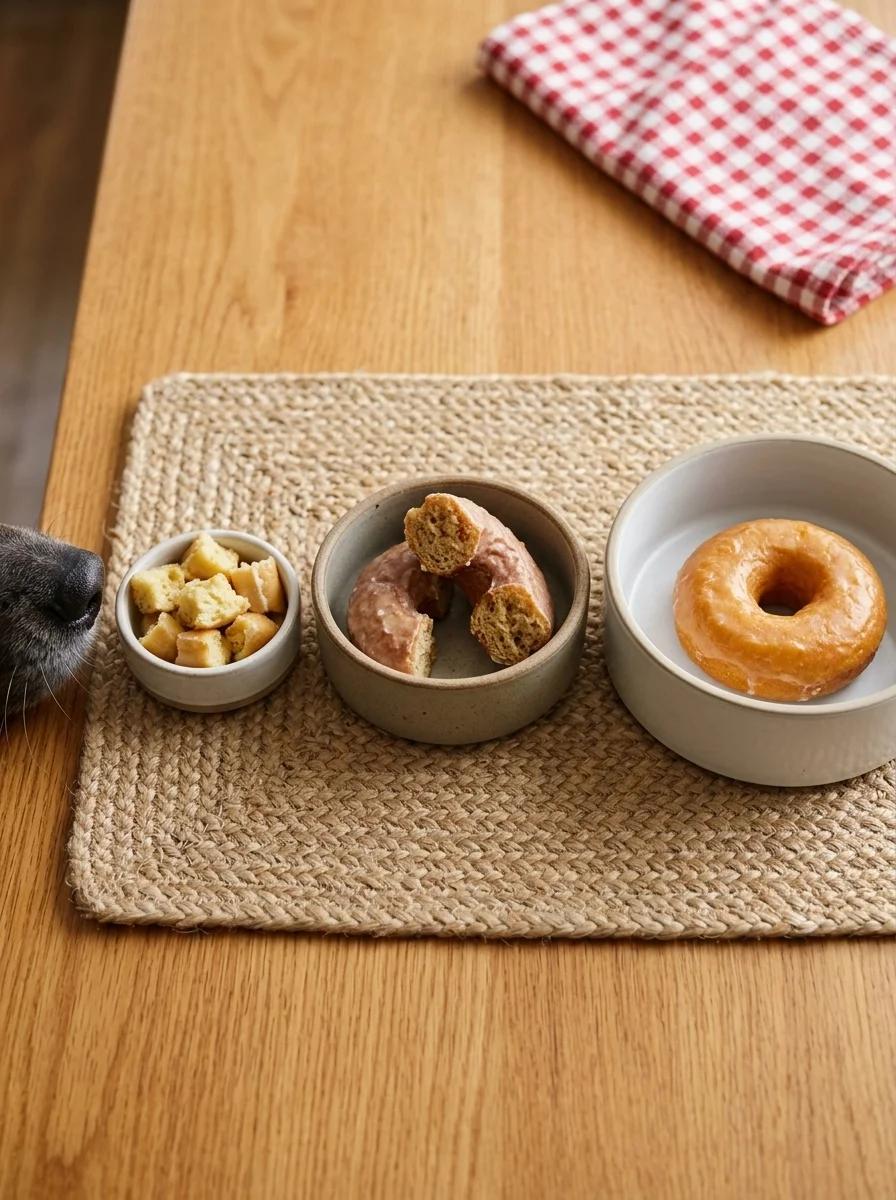
One whole donut is a large treat by any dog’s standards.
Small dogs, under 25 pounds: break a donut into four to six pieces and offer one or two pieces at a time, spaced out on a mat so the dog chews slowly.
Medium dogs, 25 to 60 pounds: halves of a donut are the working unit.
Large dogs, 60+ pounds: a whole donut is acceptable as an occasional treat, still counted against the 10% rule.
Serve all of them in a bowl or on a slow feeder mat, not tossed on the floor. A floor scatter invites gulping and masks how many pieces the dog actually takes, and gulping a dense donut is the setup for a vet-visit indigestion story.
Storage and Freezing
Store cooled, unfrosted donuts in an airtight container in the fridge for up to 5 days. Frosted donuts do not keep as well, so frost only the number you will serve that day and freeze the rest unfrosted.
Freezing works cleanly. Cool donuts fully, lay them in a single layer on a parchment-lined tray, freeze until solid, then transfer to a labeled bag. They hold for 2 to 3 months. Do not reheat in a microwave with the frosting on, because the heat will melt it and the donut will re-warm unevenly. Freeze the unfrosted donut, thaw, then apply the glaze or drizzle right before serving.
Troubleshooting
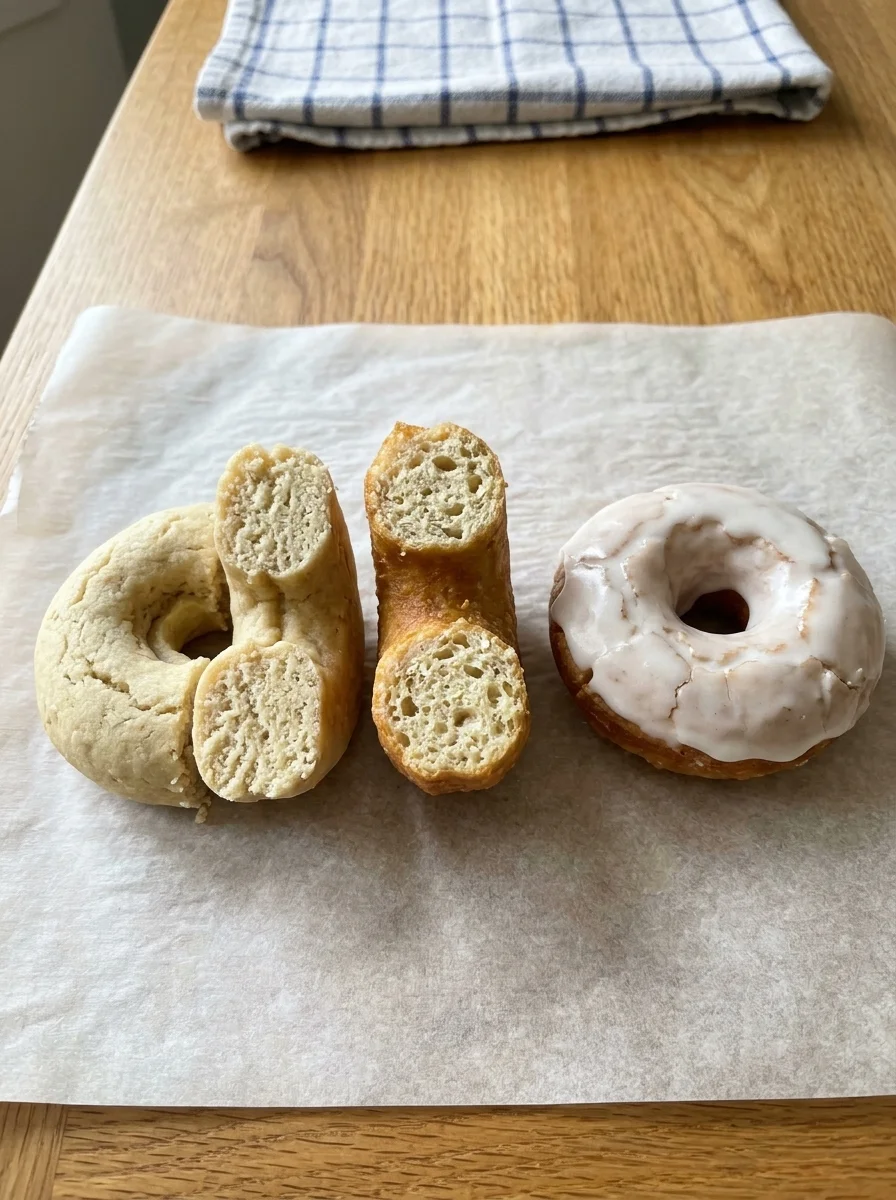
Sticking to the pan: This almost always means the greasing layer was too thin or the donuts were turned out hot. Grease every cavity with a visible film of oil, not a whisper. If a donut is still clinging, run a thin knife around the edge and the center hole, then tap the pan bottom against the counter.
Dense or tough texture: Overmixing the dry ingredients is the usual cause. Mix until the batter just comes together and stop.
Frosting slides off: The donut was not fully cooled. Frosting needs a cold, dry surface to grip. If you applied it early, scrape the slid glaze off, let the donut cool longer, and reapply a fresh layer. A little extra Greek yogurt or carob paste goes a long way.
Cracks on top: Cracking is a heat-speed problem. The top sets before the center rises, and the stress splits the surface. A thin layer of yogurt glaze will mask the cracks anyway.
Frequently Asked Questions
Final Thoughts
The method is forgiving: mix the wet, fold in the dry, fill the pan 3/4 full, bake, cool, frost, and serve by the fraction. If you keep the xylitol check on the peanut butter, stick with carob instead of chocolate, use plain pumpkin puree instead of pie filling, and serve the donuts broken into dog-scale pieces, these bakes fit neatly into a healthy, controlled treat routine. Your dog will take them slowly, which is the whole point.
Izzy is an experienced ranch worker who has a passion for exploring nature and getting up close to wildlife. With her connections to various animal organizations, Izzy is well-versed in animal care and rehabilitation.