8 Homemade Dog Ice Cream Recipes for Hot Summer Days
Summer heat is tough on dogs, especially breeds with thick coats or short snouts that don’t handle warm weather well. Store-bought frozen treats promise relief, but many are loaded with added sugar, fillers, and preservatives that dogs don’t actually need. That’s why so many pet parents are searching for dog ice cream recipes they can make at home, using ingredients that are already sitting in the fridge.
The good news is that you don’t need any fancy equipment, culinary training, or hours of prep time. Most of these homemade dog ice cream recipes come together in five to ten minutes, using dog-safe staples like plain yogurt, ripe banana, and peanut butter — the kind of things most households already have on hand.
Below you’ll find 8 genuinely different recipes, not just the same base mix poured into slightly different shapes and renamed. Each one uses a distinct method or texture, so you can pick whichever fits the tools you already own, whether that’s a blender, a few silicone molds, a muffin tin, or nothing more than paper cups and a freezer. Ready? Let’s get scooping.
Quick Basics Before You Start
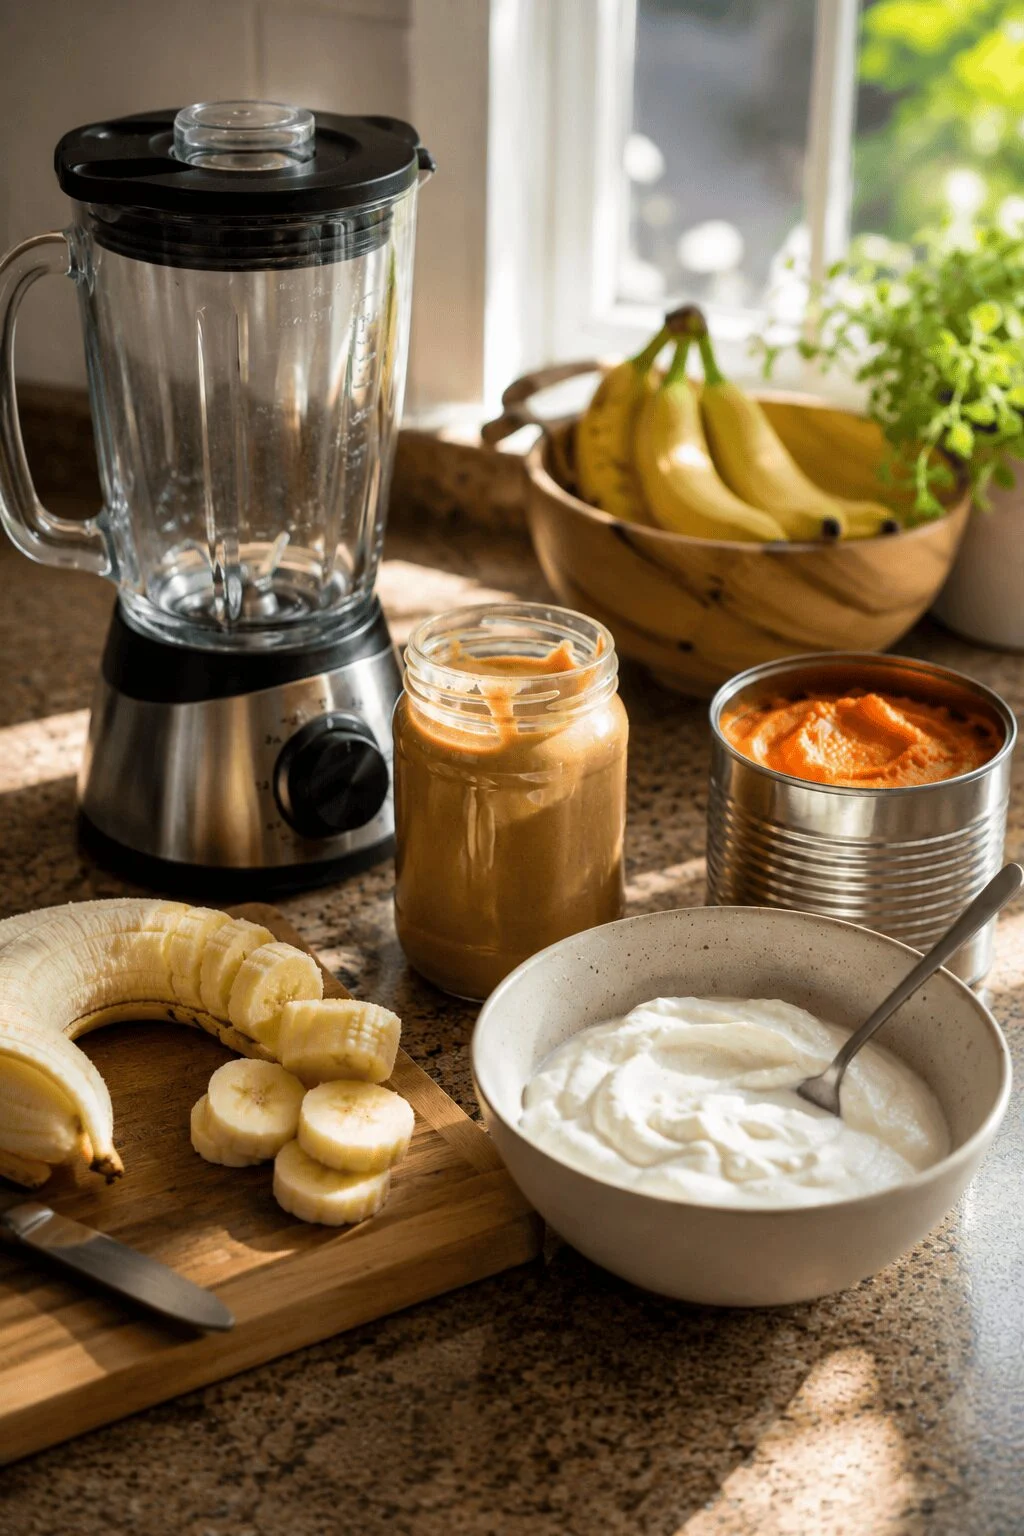
Before jumping into the recipes, it helps to understand what makes a good base for dog ice cream, since almost every recipe on this list builds on the same handful of safe ingredients.
Safe base ingredients: Plain, unsweetened yogurt is the most common starting point because it’s rich in protein and calcium, and plain Greek yogurt in particular has less lactose than regular yogurt, which makes it easier on a dog’s stomach. Mashed ripe banana adds natural sweetness and a creamy texture without needing any added sugar. Natural peanut butter (the kind with just peanuts, and maybe a little salt) adds flavor dogs go crazy for. Plain canned pumpkin — not pumpkin pie filling, which contains added sugar and spices — is another popular base because it’s gentle on digestion and adds fiber. Unsalted, onion-free bone broth is the go-to option for dogs who can’t tolerate dairy at all.
Tools you’ll want on hand: A blender or food processor makes quick work of any recipe that calls for a smooth, blended texture. A basic mixing bowl and spoon work fine for the simpler recipes that don’t need much blending. For freezing, you have options: a standard or mini muffin tin lined with paper liners, a loaf pan for slicing into squares, silicone candy or ice cube molds for fun shapes, or even paper cups and popsicle molds for a more portable treat. None of these tools are required across the board — each recipe below tells you exactly what works best for that particular format.
One safety rule that matters more than any other: always check peanut butter labels for xylitol before using it in any recipe. Xylitol is an artificial sweetener that’s increasingly used in “sugar-free” products, and it’s highly toxic to dogs even in very small amounts. It can cause a dangerous drop in blood sugar and, in severe cases, liver failure. Most natural, no-sugar-added peanut butters don’t contain it, but it only takes a few seconds to flip the jar over and check the ingredient list. If you see xylitol anywhere on the label, don’t use that jar for your dog, no matter how small the amount would be.
With the basics covered, let’s get into the recipes themselves.
8 Dog Ice Cream Recipes Your Pup Will Beg For
1. Classic Peanut Butter Banana Dog Ice Cream
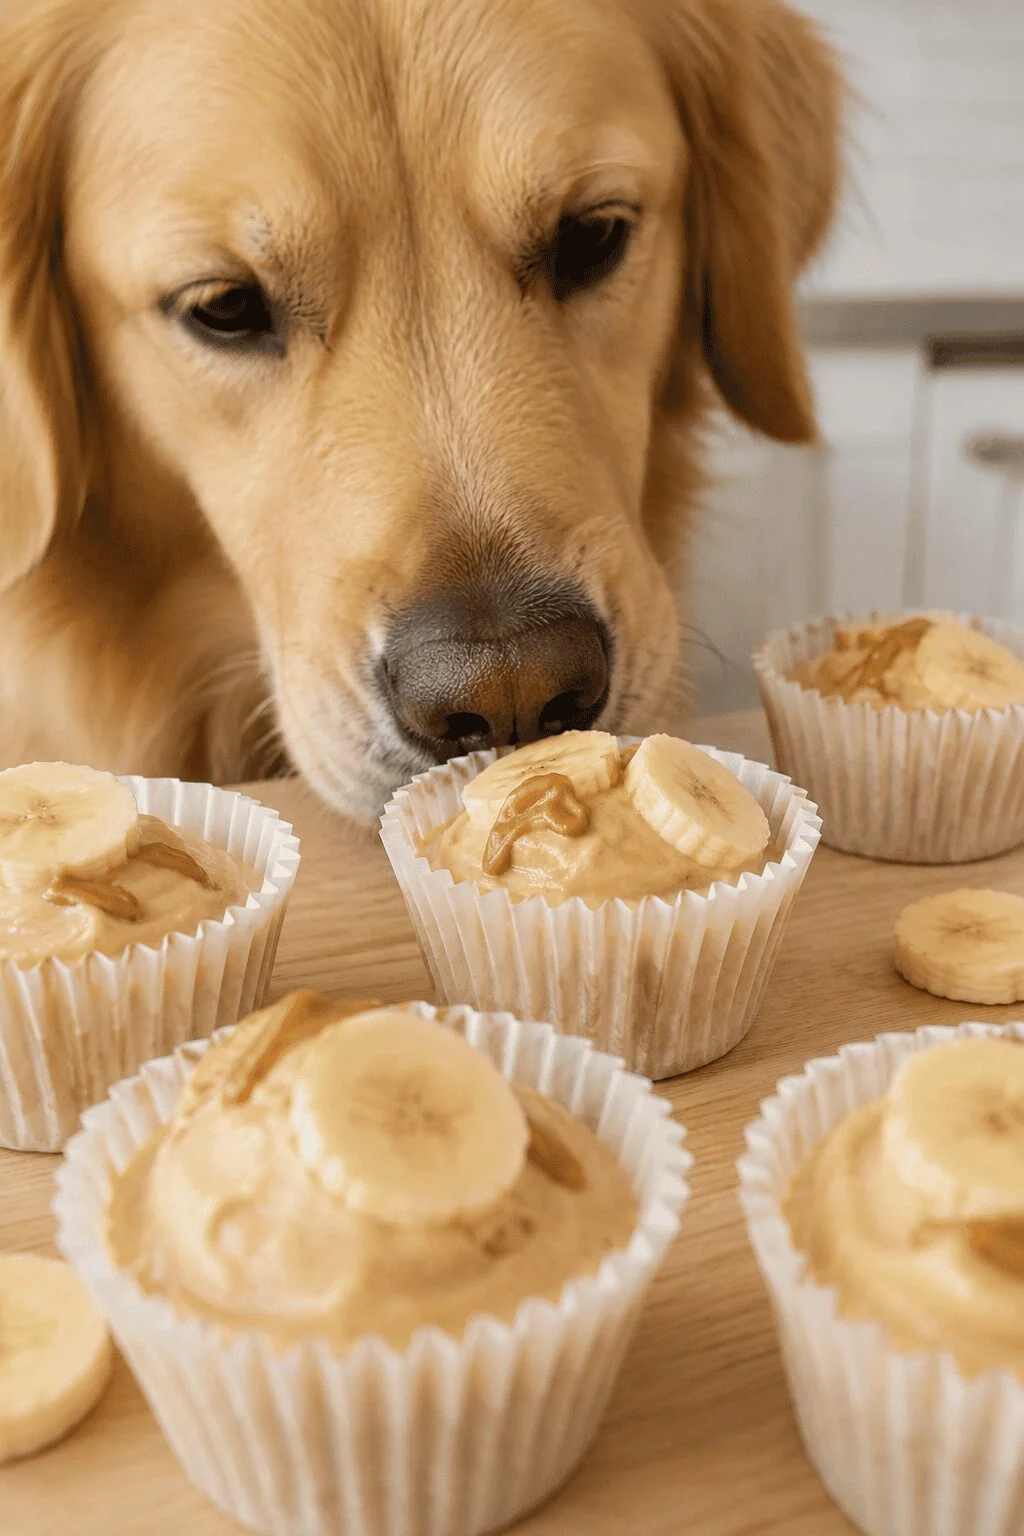
This is the recipe most homemade dog ice cream is based on, and it’s a great one to start with if you’ve never made a frozen treat for your dog before. It tastes remarkably similar to store-bought “Frosty Paws” cups, but it uses only three ingredients you can actually pronounce, with no fillers or preservatives.
Prep Time: 5 minutes Freeze Time: 3-4 hours Yield: 8-10 small servings Ingredients:
- 2 cups plain yogurt (unsweetened)
- 1 ripe banana
- 2 tablespoons natural peanut butter (no xylitol)
Instructions:
- Peel the banana and break it into a few chunks so it blends more easily.
- Add the banana, yogurt, and peanut butter to a blender or food processor.
- Blend on medium speed until the mixture is completely smooth, about 30 to 45 seconds. Stop and scrape down the sides once if needed to make sure no banana chunks are left behind.
- Line a standard or mini muffin tin with paper liners, or lightly grease a small loaf pan if you’d rather slice the treats into squares afterward.
- Pour the mixture evenly into the liners, filling each about three-quarters full, or spread it evenly into the loaf pan.
- Place the tin or pan in the freezer on a flat surface so the mixture doesn’t shift while it sets.
- Freeze for at least 3 hours, or until completely solid all the way through. If you’re using a loaf pan, this may take closer to 4 hours since the layer is thicker.
- Once frozen, pop the treats out of the liners, or lift the loaf out and slice it into small squares using a warm knife.
Notes: Greek yogurt works especially well here because it’s thicker and holds its shape better once frozen, plus it packs in more protein. If your dog is on the smaller side, use the mini muffin tin option so the portions are easier to manage in one sitting. Store finished treats in an airtight container or freezer bag for up to 3 weeks, and always let a treat sit for a minute or two at room temperature before giving it to very small dogs, so it isn’t rock hard.
2. Pumpkin Peanut Butter Dog Ice Cream
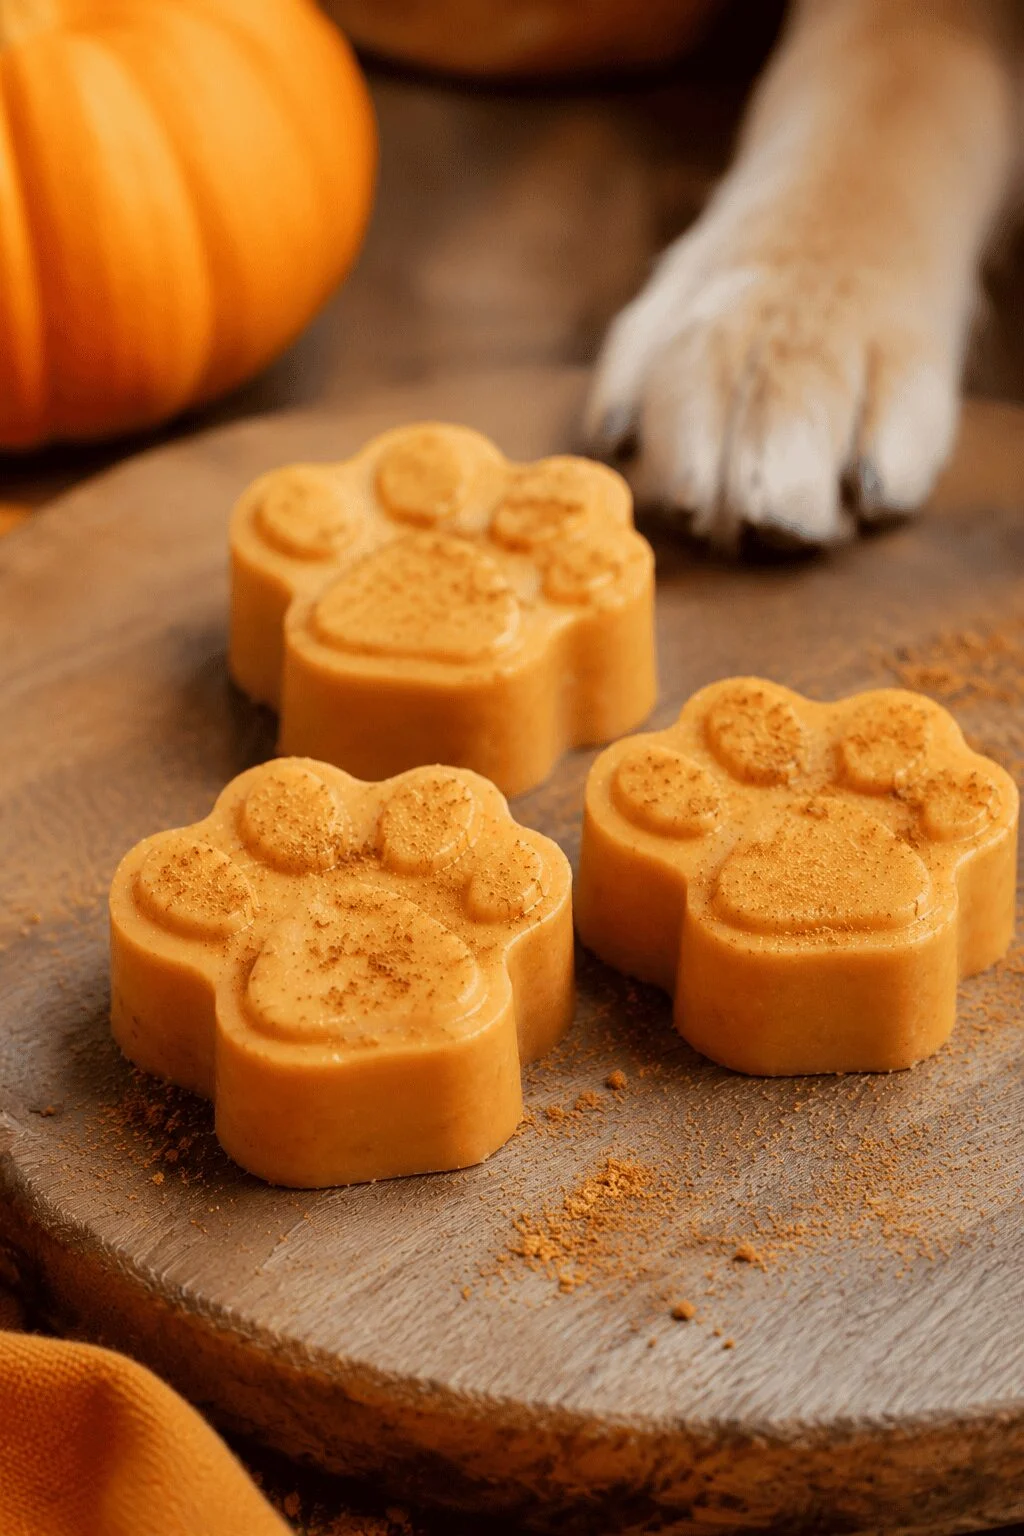
Pumpkin is one of the most vet-recommended additions to a dog’s diet because it’s high in fiber and gentle on digestion, and it pairs beautifully with peanut butter’s rich flavor. This version has a slightly firmer, creamier texture than the classic recipe, almost like a frozen custard.
Prep Time: 5 minutes Freeze Time: 4 hours Yield: 8 servings Ingredients:
- 1 cup plain canned pumpkin (not pumpkin pie filling)
- 1 cup plain yogurt
- 2 tablespoons natural peanut butter
- 1/8 teaspoon cinnamon (optional)
Instructions:
- In a mixing bowl, combine the pumpkin, yogurt, and peanut butter.
- Whisk everything together vigorously until the mixture is smooth and no streaks of pumpkin remain. This can be done by hand with a whisk, or in a blender if you prefer an ultra-smooth texture.
- If using cinnamon, stir it in at this point. Use only a small pinch, since too much can upset a dog’s stomach.
- Spoon the mixture into silicone molds or a muffin tin lined with paper liners, filling each cavity almost to the top.
- Gently tap the tin or mold on the counter a couple of times to release any trapped air bubbles, which helps the treats freeze more evenly.
- Transfer to the freezer and freeze for a minimum of 4 hours, or until the centers are completely firm.
- Release the treats from the molds by flexing the silicone gently, or let the muffin tin sit for a couple of minutes before popping the liners out.
Notes: Canned pumpkin also helps settle a dog’s stomach if they’ve had mild digestive upset, which makes this a good recipe to keep in rotation even outside of hot summer days. Because this version is a bit denser than the classic recipe, it holds its shape well even after a few minutes out of the freezer, making it a good pick for outdoor serving. This is also a great treat to rotate alongside other homemade treat recipes you already make, so your dog gets some variety throughout the week.
3. Strawberry Banana Swirl Dog Ice Cream
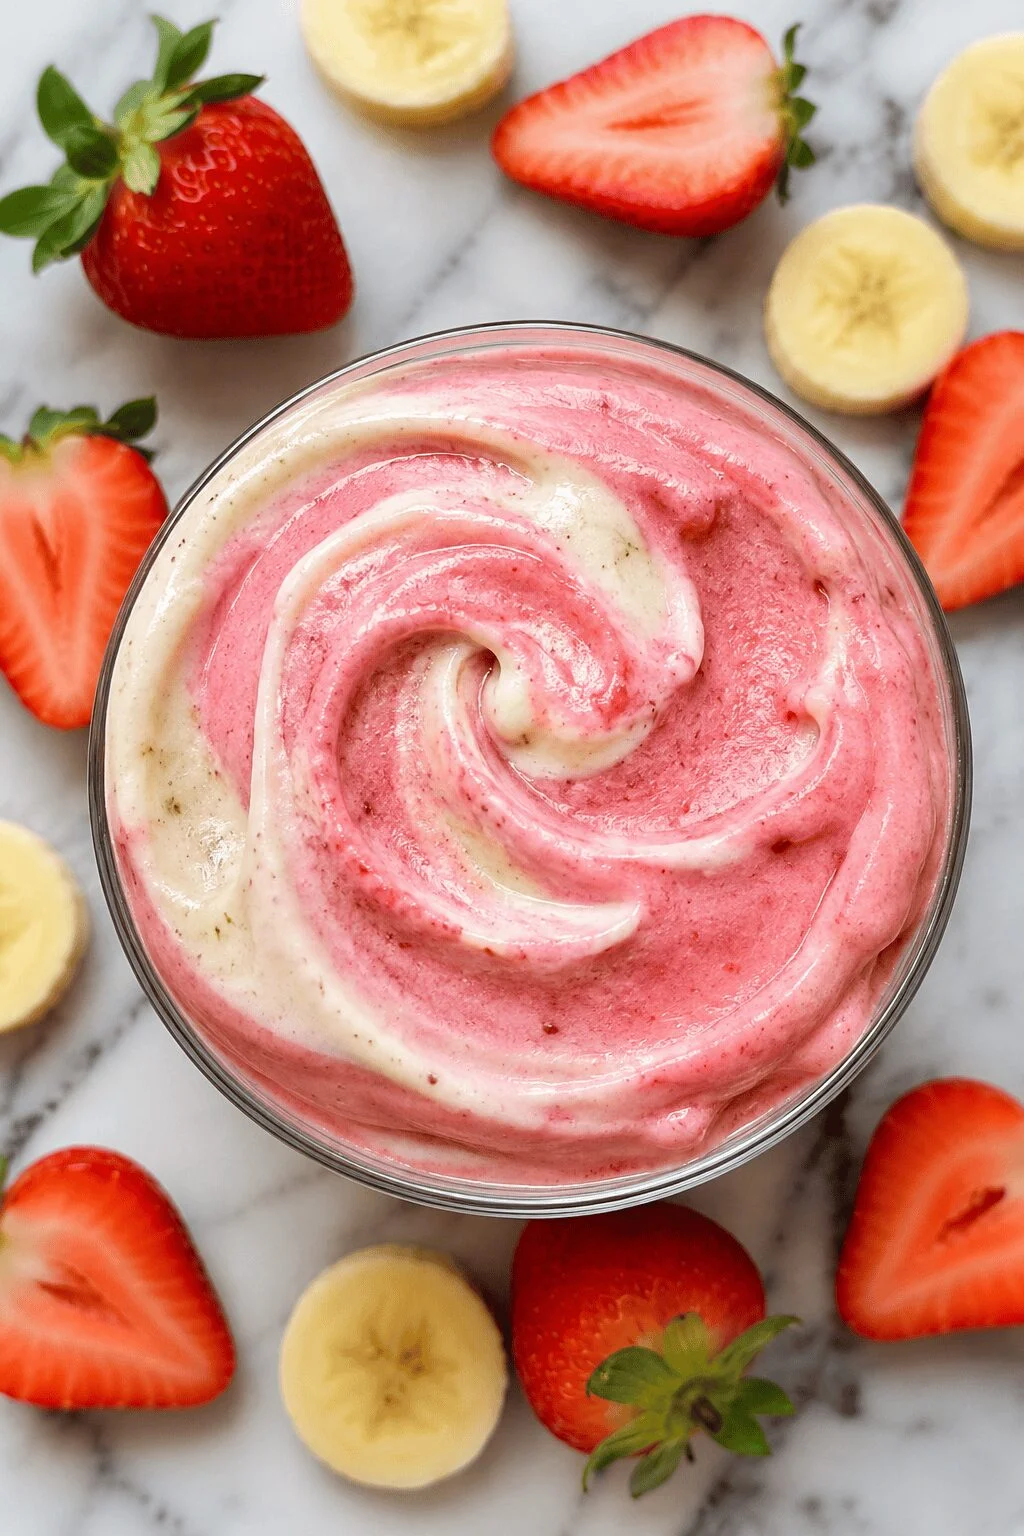
This recipe swaps the “blend everything together” method for a swirl technique, which means you get two distinct flavors and colors in every bite rather than one uniform mixture. It’s a great option if you want something that looks a little more special, whether that’s for a dog’s birthday or just because you feel like getting a little fancy.
Prep Time: 10 minutes Freeze Time: 4-6 hours Yield: 8-10 servings Ingredients:
- 1 ripe banana, mashed
- 1 cup plain yogurt
- 1/2 cup fresh strawberries, pureed or mashed
Instructions:
- In one bowl, mash the banana thoroughly with a fork until there are no large lumps left.
- Stir the mashed banana into the yogurt until fully combined and smooth.
- In a separate bowl, puree the strawberries using a blender, or mash them by hand with a fork or potato masher until mostly smooth, with just a few small chunks remaining for texture.
- Spoon about half of the banana-yogurt mixture into a freezer-safe container or lined muffin tin.
- Drop small spoonfuls of the strawberry puree on top, then add the remaining banana-yogurt mixture, followed by the rest of the strawberry puree.
- Use a butter knife, skewer, or chopstick to gently drag through the mixture in a swirling motion. Do this just a few times — overmixing will blend the two flavors together completely and you’ll lose the marbled look.
- Freeze for at least 4 hours, or up to 6 hours if you used a deeper container, until the center is completely solid.
- Serve straight from the container, or pop out of individual liners if you used a muffin tin.
Notes: This swirl method works with almost any two dog-safe purees, so don’t feel limited to strawberry and banana. Blueberry, pumpkin, or even mashed sweet potato can be swapped in for a different color and flavor combination. Keep in mind that strawberries are safe for dogs in moderation, but should always be given in small amounts since they do contain natural sugar.
4. Frozen Yogurt Muffin Cups with a Hidden Biscuit
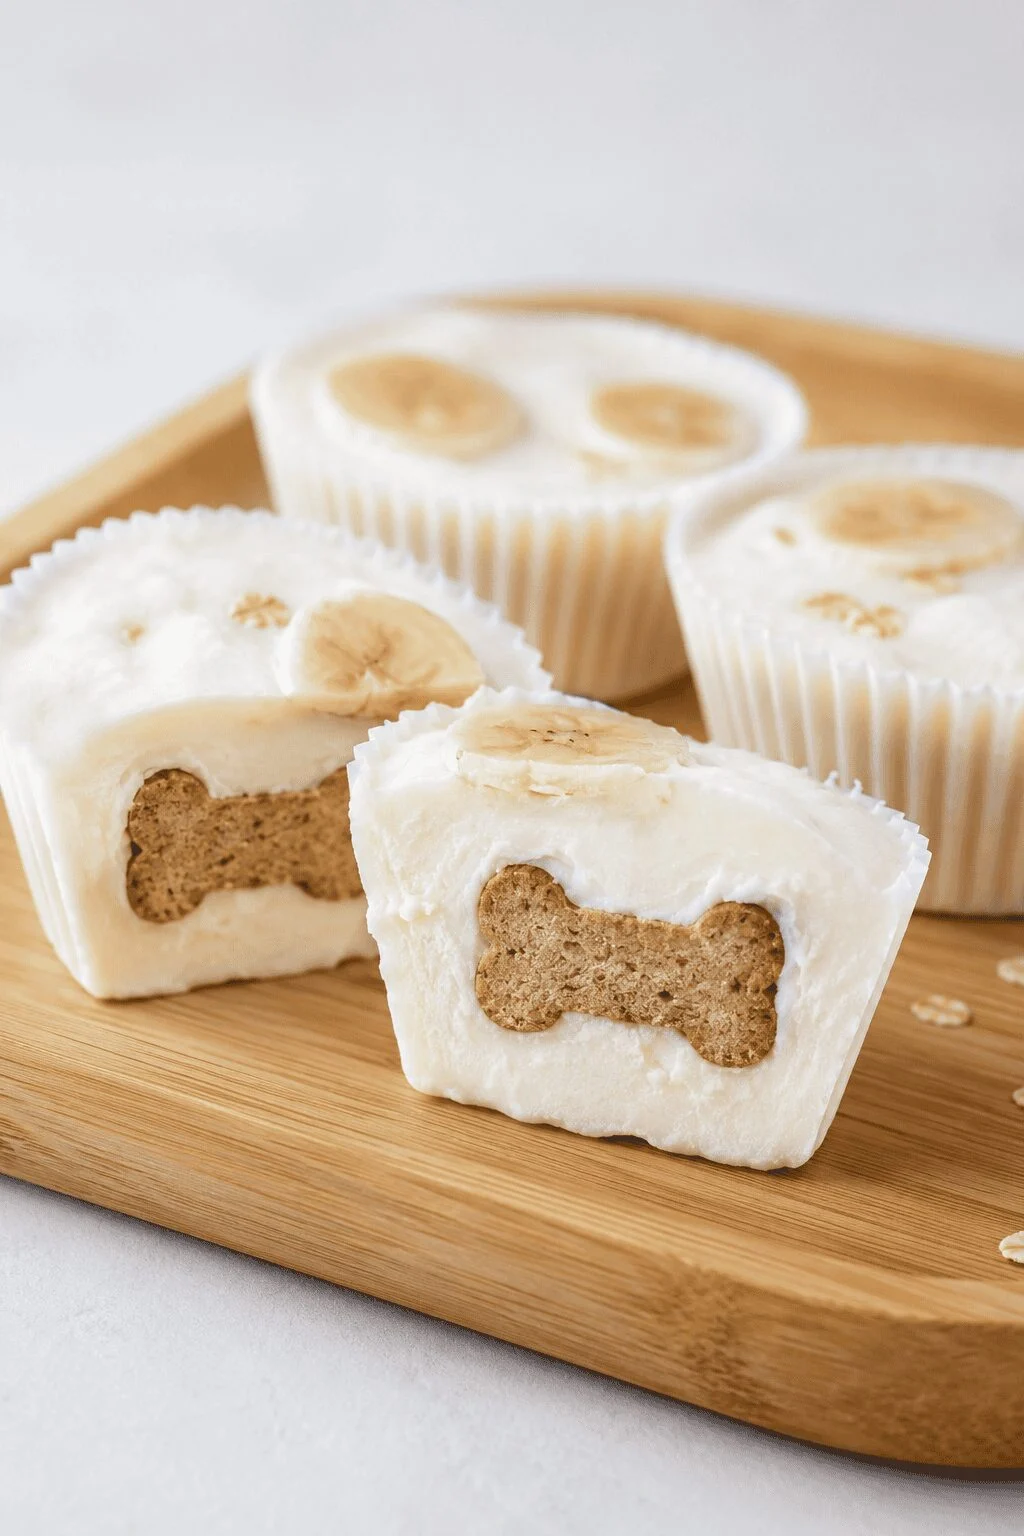
This format turns a simple frozen treat into a two-textures-in-one experience. A crunchy biscuit sits buried in the creamy center, which gives dogs a fun surprise to work toward as they lick and chew their way through the treat. It’s also a great way to use up biscuits you already have on hand.
Prep Time: 5 minutes Freeze Time: 3 hours Yield: 12 mini cups Ingredients:
- 1 cup plain yogurt
- 1 ripe banana
- 2 tablespoons natural peanut butter
- 12 small dog biscuits
Instructions:
- Add the yogurt, banana, and peanut butter to a blender or food processor.
- Blend until completely smooth, scraping down the sides once if needed.
- Line a mini muffin tin with paper liners, making sure each cavity has a liner so the treats release cleanly later.
- Spoon the yogurt mixture into each liner, filling them about two-thirds of the way full. Leave enough room for the biscuit to be pressed in without overflowing.
- Press one small biscuit into the center of each cup, pushing it down just until it’s mostly submerged in the mixture. A little bit of the biscuit peeking out the top is fine and adds a nice visual.
- Carefully transfer the muffin tin to the freezer, keeping it as level as possible.
- Freeze for at least 3 hours, or until the mixture is completely firm around the biscuit.
- Let the tin sit at room temperature for about 5 minutes before removing the liners. This allows the cups to loosen slightly from the sides of the tin, making them much easier to pop out without cracking.
Notes: Any small, dog-safe biscuit works well here, so this is a good spot to use up extras from a batch of bone-shaped treats you’ve made before. If your dog tends to gulp treats down quickly, this recipe is worth watching closely the first time, since the added biscuit means there’s a bit more to chew through than the smoother recipes on this list.
5. Molded Bone & Paw Bars
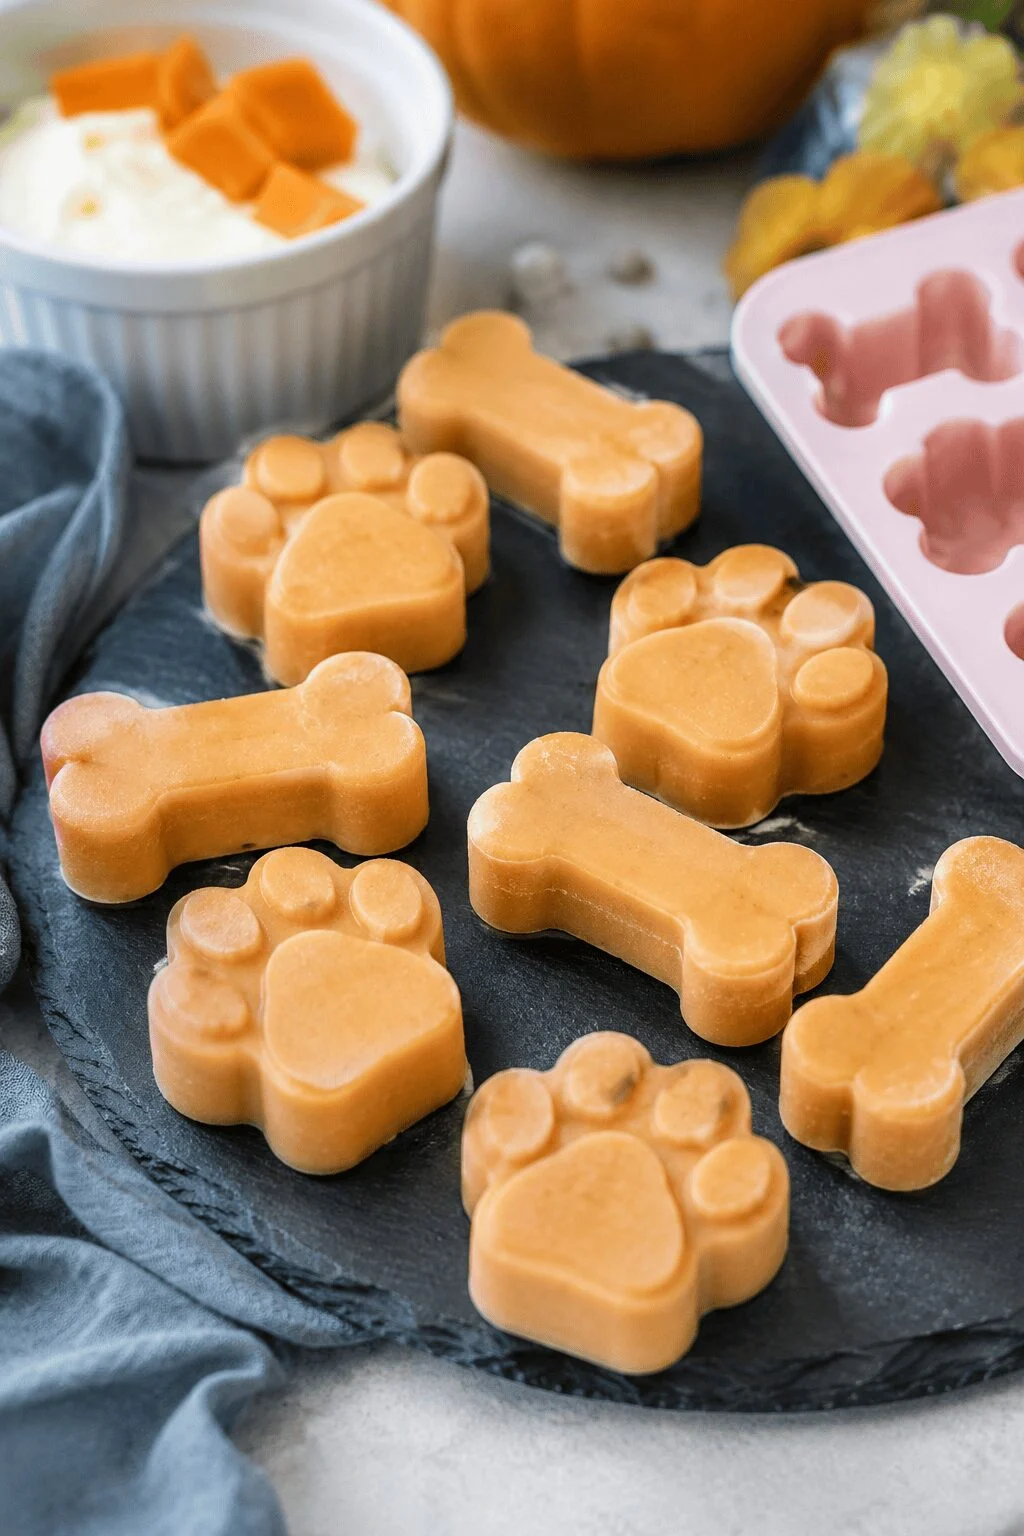
Instead of muffin cups, this recipe uses silicone candy or ice cube molds shaped like bones, paws, or other fun designs. It’s the most visually fun option on this list and works especially well for parties, holidays, or just adding a little more excitement to treat time.
Prep Time: 5 minutes Freeze Time: 3-4 hours Yield: Depends on mold size, typically 10-14 pieces Ingredients:
- 1 1/2 cups plain yogurt
- 1/2 cup plain canned pumpkin
- 1 tablespoon honey (optional, use sparingly)
Instructions:
- In a mixing bowl, combine the yogurt and pumpkin thoroughly until no streaks remain.
- If using honey, stir it in now. Honey is optional here since the pumpkin and yogurt already provide plenty of natural sweetness, so only add it if your dog has a serious sweet tooth.
- Spoon or pipe the mixture into silicone bone- or paw-shaped molds. A piping bag or a zip-top bag with the corner snipped off makes it much easier to fill small, detailed mold shapes without air pockets.
- Tap the filled mold gently on the counter a few times to help release any trapped air bubbles, which can otherwise leave gaps in the shape once frozen.
- Carefully place the mold in the freezer on a flat, stable surface.
- Freeze for 3 to 4 hours, or until completely firm all the way through.
- To release the bars, flex the silicone mold gently from the back, rather than pulling directly on the frozen treat, to avoid breaking off any thin details like paw toes.
Notes: Because these bars use a firmer mixture, they hold their shape longer at room temperature than the softer recipes on this list, which makes them a great choice for outdoor gatherings. These shaped bars are also perfect for a dog’s birthday celebration — pair them with a slice of one of these dog birthday cake recipes for a complete party spread that both looks and feels special.
6. Piped Soft-Serve Dog Ice Cream
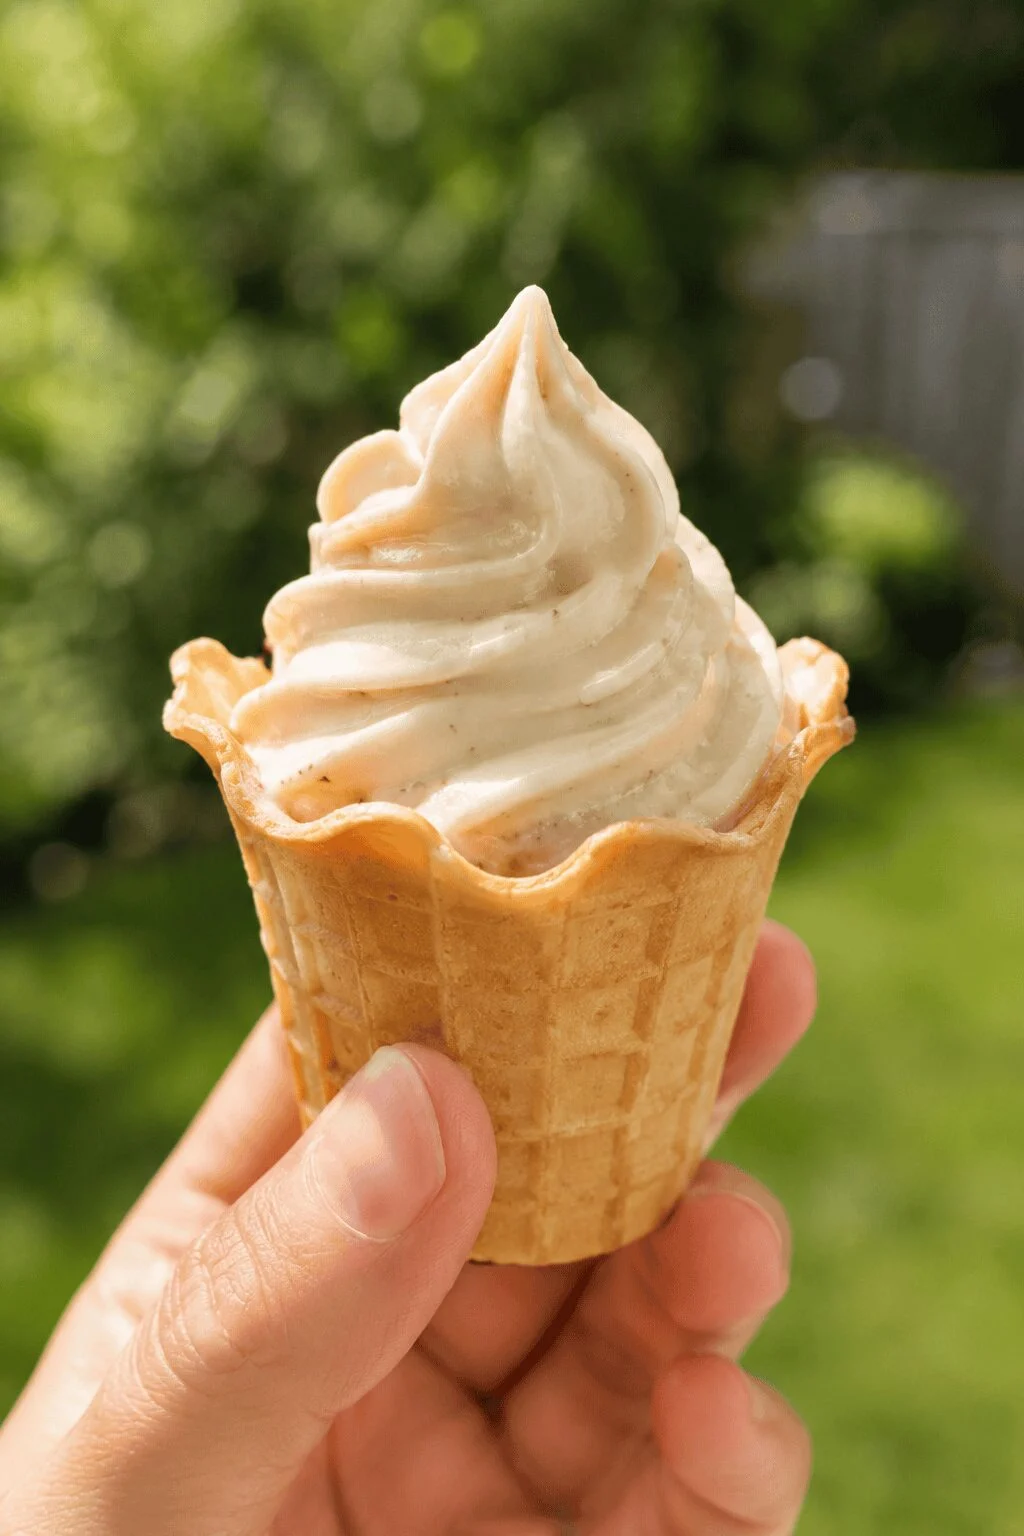
This method mimics real soft-serve ice cream by using a piping bag, so you get that classic swirled shape on top without needing any molds at all. It’s a fun format for dogs who enjoy licking their treats slowly, since the swirled surface takes a little longer to work through than a flat block.
Prep Time: 8 minutes Freeze Time: 1 hour for soft-serve texture, or 2+ hours for a firmer treat Yield: 8 servings Ingredients:
- 2 cups plain Greek yogurt
- 1 ripe banana
- 1 tablespoon natural peanut butter
Instructions:
- Add the Greek yogurt, banana, and peanut butter to a blender or food processor.
- Blend until very smooth and noticeably thick, stopping to scrape down the sides once or twice to make sure everything incorporates evenly. Greek yogurt’s thicker texture is what allows this mixture to hold its piped shape.
- Transfer the mixture into a piping bag fitted with a star tip, or simply use a sturdy zip-top bag with one corner snipped off if you don’t have a piping tip on hand.
- Line a baking sheet with parchment paper so the swirls don’t stick.
- Pipe small swirl shapes onto the parchment, working in a circular motion from the outside in, similar to how you’d pipe a soft-serve ice cream cone.
- Place the entire baking sheet in the freezer, keeping it flat so the swirls hold their shape as they set.
- Freeze for about 1 hour if you want a soft, slightly chewy texture, or 2 or more hours for a firmer, more scoopable treat.
- Once frozen to your preference, transfer the swirls to a freezer bag or airtight container for longer storage.
Notes: This is one of the easiest formats to portion precisely for small dogs, since you control the exact size of each swirl as you pipe it, rather than relying on a mold or tin cavity size. If the mixture feels too thin to hold its shape when piped, place the bowl in the freezer for 10 minutes before transferring it to the piping bag.
7. Bacon & Cottage Cheese Dog Ice Cream
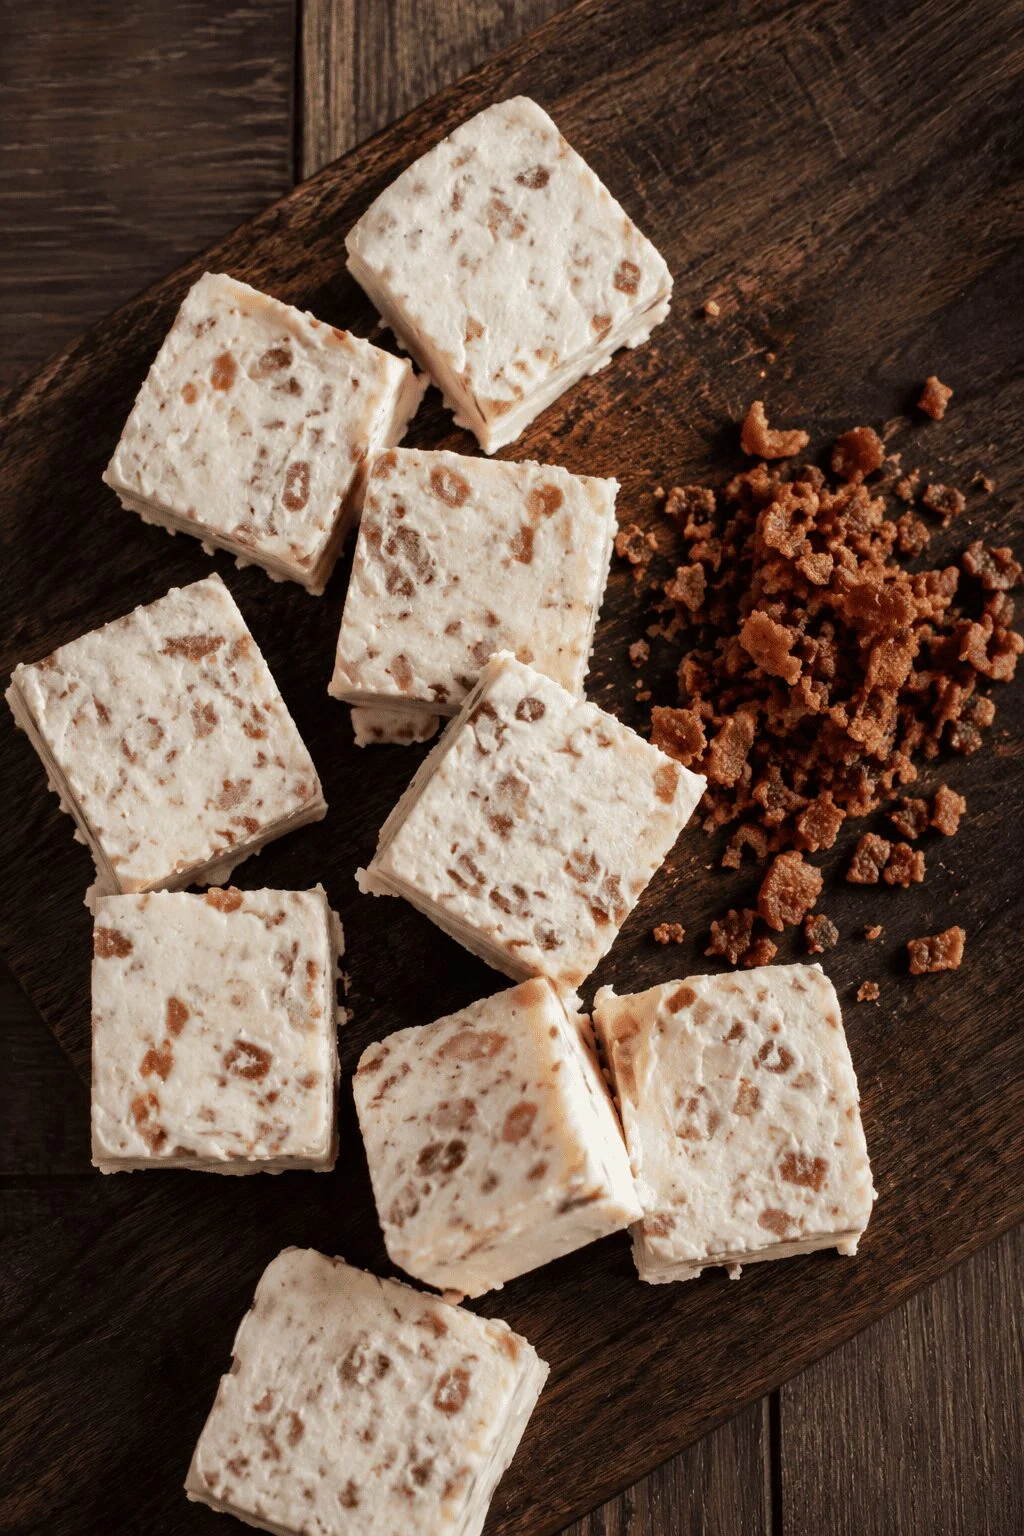
For dogs who aren’t especially interested in fruity flavors, this savory version swaps out banana for cottage cheese and adds a bit of crumbled bacon for extra flavor. It has a slightly chunkier texture than the smoother recipes on this list, which some dogs find more satisfying to eat slowly.
Prep Time: 5 minutes Freeze Time: 3-4 hours Yield: 8-10 servings Ingredients:
- 1 1/2 cups low-fat cottage cheese
- 1/2 cup plain yogurt
- 2 tablespoons crumbled cooked bacon (unsalted or low-sodium)
Instructions:
- Add the cottage cheese and yogurt to a blender or food processor.
- Blend until mostly smooth, but don’t worry about achieving a perfectly uniform texture. A little bit of curd texture from the cottage cheese is completely fine, and even adds some interest.
- Transfer the mixture to a mixing bowl, then fold in the crumbled bacon by hand using a spoon, distributing it evenly throughout.
- Pour the mixture into a lined muffin tin, or a small freezer-safe container if you’d rather slice it into pieces later.
- Smooth the top with the back of a spoon so it freezes evenly.
- Freeze for at least 3 hours, or until completely firm.
- Serve straight from the freezer, broken or sliced into bite-sized pieces appropriate for your dog’s size.
Notes: Use fully cooked, plain bacon with no added seasoning, glaze, or spice rub, since seasoned bacon often contains ingredients like garlic or excessive salt that aren’t good for dogs. Because bacon is higher in fat and sodium than the other ingredients on this list, keep portions on the smaller side and treat this recipe as an occasional indulgence rather than a regular one.
8. Bone Broth Frozen Pupsicles (Dairy-Free)
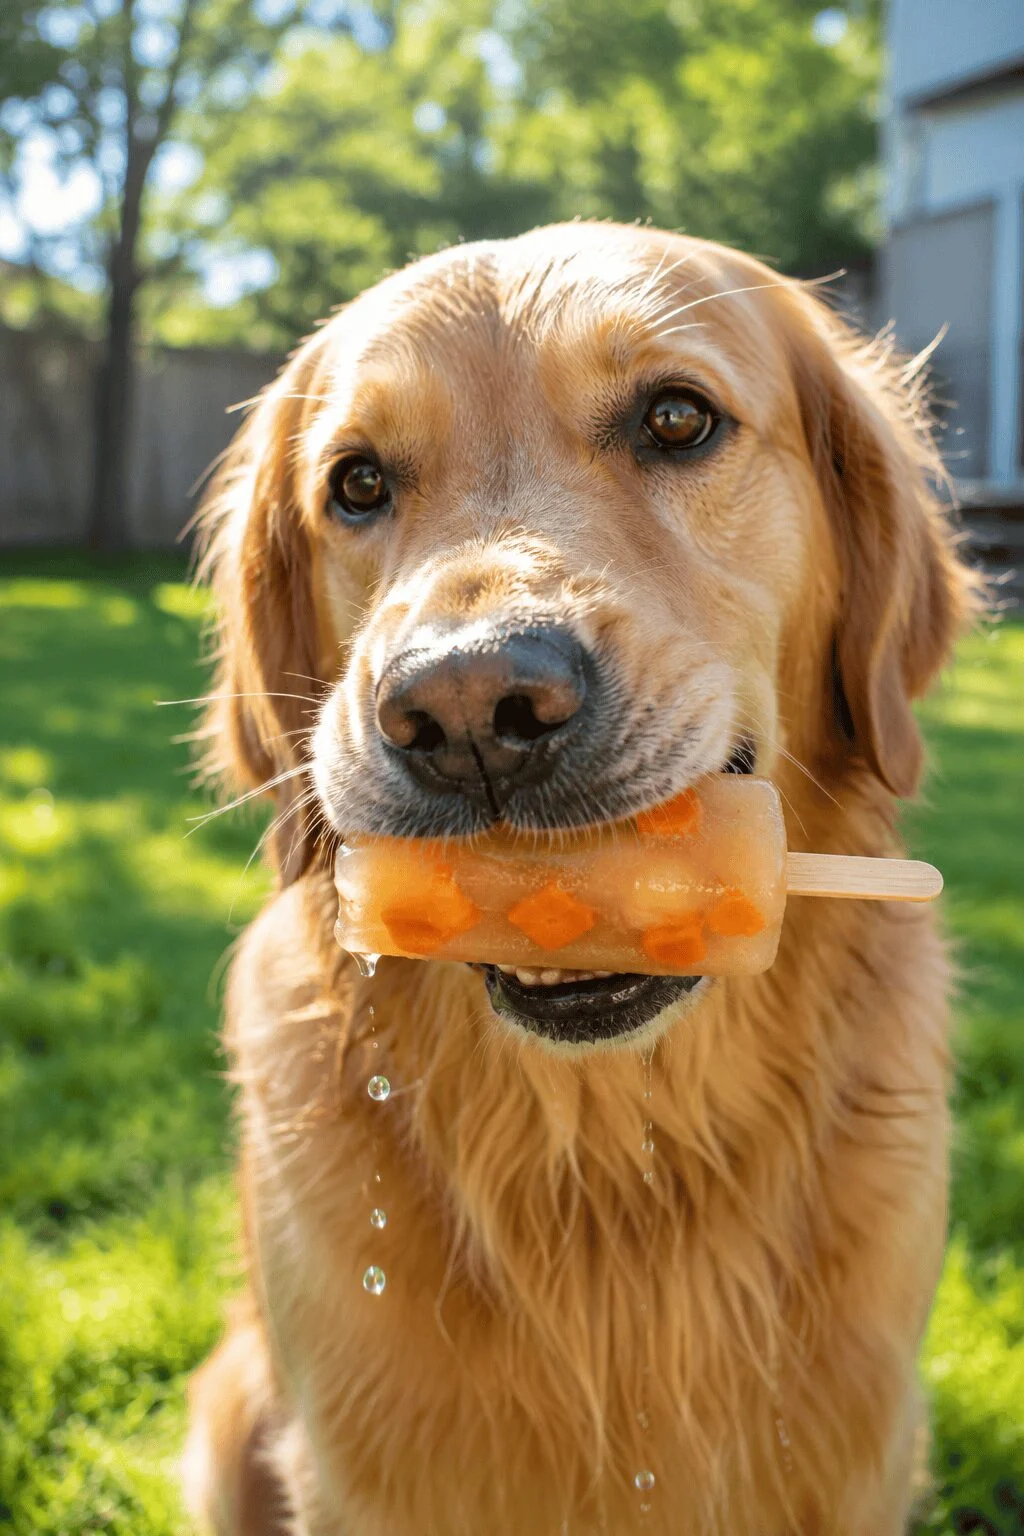
If your dog is lactose sensitive or you simply want a lighter option, this recipe skips dairy completely and uses bone broth as its base instead. It’s the lightest treat on this list, both in texture and richness, and works especially well as a hot-day hydration treat since broth has a higher water content than the yogurt-based recipes.
Prep Time: 5 minutes Freeze Time: 4 hours Yield: 8-10 popsicles Ingredients:
- 2 cups low-sodium bone broth (unsalted, onion-free)
- 1/2 cup pureed pumpkin or mashed banana
- A few small chunks of carrot or blueberry (optional, for texture)
Instructions:
- Pour the bone broth into a mixing bowl or large measuring cup.
- Stir in the pureed pumpkin or mashed banana until fully combined and no streaks remain. This step adds a bit of body to the otherwise thin broth, so the finished popsicles don’t feel too watery.
- Pour the mixture into small paper cups, dedicated popsicle molds, or even a standard ice cube tray if you want bite-sized pieces instead.
- If using carrot or blueberry chunks, drop a few pieces into each mold or cup, distributing them evenly so each popsicle gets some texture.
- If using popsicle molds with built-in sticks, insert the sticks now, before freezing.
- Freeze for at least 4 hours, or until completely solid.
- To release the popsicles, run the outside of the mold under warm water for a few seconds, which loosens the edges without melting the whole treat.
Notes: Always double-check the broth label for onion or garlic, since both are toxic to dogs even in small amounts, and they’re common ingredients in commercial broths meant for human cooking. This dairy-free format works particularly well alongside other homemade dog food ideas if your dog already has a sensitive stomach or a dairy intolerance.
3 Easy Ingredient Swaps to Customize Any Recipe
Once you’ve tried a few of the base recipes above, these three ingredient variations let you mix things up without changing the method or technique at all. Each one can be added to almost any recipe on this list.
Coconut Oil Boost
Add 1 teaspoon of melted coconut oil to any blended recipe before freezing. It gives the finished ice cream a slightly richer, smoother texture and a subtle coconut flavor that most dogs seem to enjoy. Coconut oil also tends to soften the texture just slightly, which some pet parents prefer for smaller or older dogs with sensitive teeth.
Apple Cinnamon Twist
Swap the banana in any recipe for 1/2 cup of unsweetened applesauce, and add a small pinch of cinnamon. This works especially well in the classic peanut butter recipe or the molded bars, giving them a warmer, slightly spiced flavor that feels a bit more seasonal. Make sure the applesauce is completely unsweetened and doesn’t contain any added cinnamon blends that might include nutmeg, which isn’t safe for dogs in larger amounts.
Blueberry Antioxidant Mix
Blend a handful of fresh or frozen blueberries into any yogurt-based recipe before freezing. Blueberries add natural sweetness along with antioxidants, and they create a nice light purple tint that kids often enjoy seeing in the finished treat. This swap works particularly well in the strawberry swirl recipe as a substitute or addition to the strawberries.
Storage, Serving Size & Safety Tips
Most of the recipes above keep well in the freezer for 2 to 4 weeks when stored in an airtight container or a sealed freezer bag. The bone broth popsicles are the exception, since they don’t contain dairy to help preserve texture, so it’s best to use those within about 2 weeks for the best quality.
Serving size depends heavily on your dog’s size and how often they get treats otherwise. A small dog should generally get about 1 to 2 tablespoons per serving, while a medium or large dog can typically handle a 1/4 cup portion. These treats should stay occasional rather than becoming part of a daily routine, since even dog-safe ingredients can add up in calories over time.
If your dog has never had a particular ingredient before, whether that’s cottage cheese, pumpkin, bone broth, or even a new brand of peanut butter, it’s smart to introduce it in a small amount first and watch for any reaction over the next day or so. This is especially worth keeping in mind with young puppies, whose digestive systems are still developing, so it’s a good idea to review a vet checklist for puppies before trying any new treat with a young dog for the first time.
It’s also worth paying attention to how your dog eats these treats. Dogs who tend to gulp food down quickly should have treats broken into smaller pieces, and colder treats in general should be given time to soften slightly at room temperature before serving, especially for very small or very young dogs whose teeth are more sensitive to extreme cold.
Why Homemade Dog Ice Cream Recipes Beat Store-Bought
Store-bought frozen dog treats often include fillers, added sugars, sorbitol, and preservatives that simply aren’t necessary for a treat that’s meant to be given occasionally. When you make your own dog ice cream recipes at home, you have full control over exactly what goes into each batch, and you can easily adjust ingredients to work around allergies, sensitivities, or a picky eater.
Homemade versions are also significantly more cost-effective over time. A small box of store-bought frozen dog treats can run several dollars for just a handful of cups, while a single batch made at home using pantry staples stretches much further for roughly the same cost, especially if you have multiple dogs at home.
There’s also something to be said for the freshness and variety homemade treats offer. Since most of these recipes use ingredients you likely already have on hand, there’s rarely a need for a special shopping trip, and you can easily rotate between different recipes throughout the week to keep things interesting for your dog. With eight different formats to choose from, there’s a dog ice cream recipe here for nearly any kitchen setup, whether you’ve got a full set of silicone molds, a basic muffin tin, or nothing more than a few paper cups and a working freezer. Pick one that matches what you already have, keep a batch stocked for hot days, and your dog will always have a cool, safe treat ready whenever they need one.

Izzy is an experienced ranch worker who has a passion for exploring nature and getting up close to wildlife. With her connections to various animal organizations, Izzy is well-versed in animal care and rehabilitation.