3-Ingredient Dog Treats: Simple Recipes for Happy, Healthy Pups
If your dog does the “treat dance” every time you open the pantry, you already know how much joy a simple snack can bring. The good news? You don’t need a long grocery list or fancy baking skills to make your pup happy. 3-ingredient dog treats are proof that simple can still be special — just a few pantry staples, one bowl, and a hot oven, and you’ve got a batch of treats your dog will love.
This guide walks you through seven easy 3-ingredient dog treats that use ingredients you probably already have at home: pumpkin, peanut butter, oats, eggs, bananas, and a few fruits dogs can safely enjoy. Every recipe below is beginner-friendly, budget-friendly, and quick enough to make on a weeknight. Whether you’re baking for the first time or looking for new ideas to add to your rotation, you’ll find something here your dog will race to the kitchen for.
These homemade 3-ingredient dog treats also double as great training rewards — small, soft, or crunchy pieces that are easy to break apart during a training session. If you’re working on commands or leash manners, pairing these treats with consistent training habits can make a big difference. Check out these puppy training tips if you want to make the most of treat time.
Let’s get into what makes these treats worth baking — and then the recipes themselves.
What Makes 3-Ingredient Dog Treats So Great
Store-bought dog treats can rack up a surprising grocery bill, and a lot of them are padded with fillers, artificial preservatives, or ingredients that don’t actually add much nutritional value. When you make your own 3-ingredient dog treats, you know exactly what’s going into your dog’s mouth — nothing more, nothing less.
Here’s why so many dog parents are switching to homemade:
You control every ingredient. No mystery preservatives, no artificial flavors, no fillers your dog doesn’t need. Just real, whole ingredients you recognize.
They’re easy on the wallet. A bag of oats, a can of pumpkin, and a jar of peanut butter cost a fraction of a premium treat bag — and make far more treats per batch.
They’re gentle on sensitive stomachs. Dogs with food sensitivities often do better with treats made from just a few ingredients, since there’s less chance of a hidden trigger ingredient causing an upset stomach.
Baking together is a bonding moment. Dogs are curious creatures, and many will sit in the kitchen sniffing the air the entire time these treats bake. It’s a small, simple way to spend quality time together.
Before you start mixing, there are a couple of safety basics worth keeping in mind. Always check peanut butter labels for xylitol — this sugar substitute is highly toxic to dogs, even in small amounts, so choose a natural, xylitol-free peanut butter every time. When a recipe calls for pumpkin, make sure it’s plain pumpkin puree, not pumpkin pie filling, which contains added sugar and spices that aren’t dog-friendly.
Treats should also stay treats — a small addition to your dog’s regular diet, not a replacement for balanced dog food. If you want to explore what a well-rounded diet looks like for your pup, this guide on homemade dog food recipes is a great place to start. And if you’re ever curious about which chews and bones are safe to give alongside treats, this article on dog bones as treats breaks it down.
With that out of the way, let’s get baking.
7 Easy 3-Ingredient Dog Treats You Can Make Today
Each of these recipes uses just three main ingredients, comes together in one bowl, and bakes in under 30 minutes. Pick one, or try a few — your dog won’t complain either way.
1. Peanut Butter Pumpkin Dog Biscuits
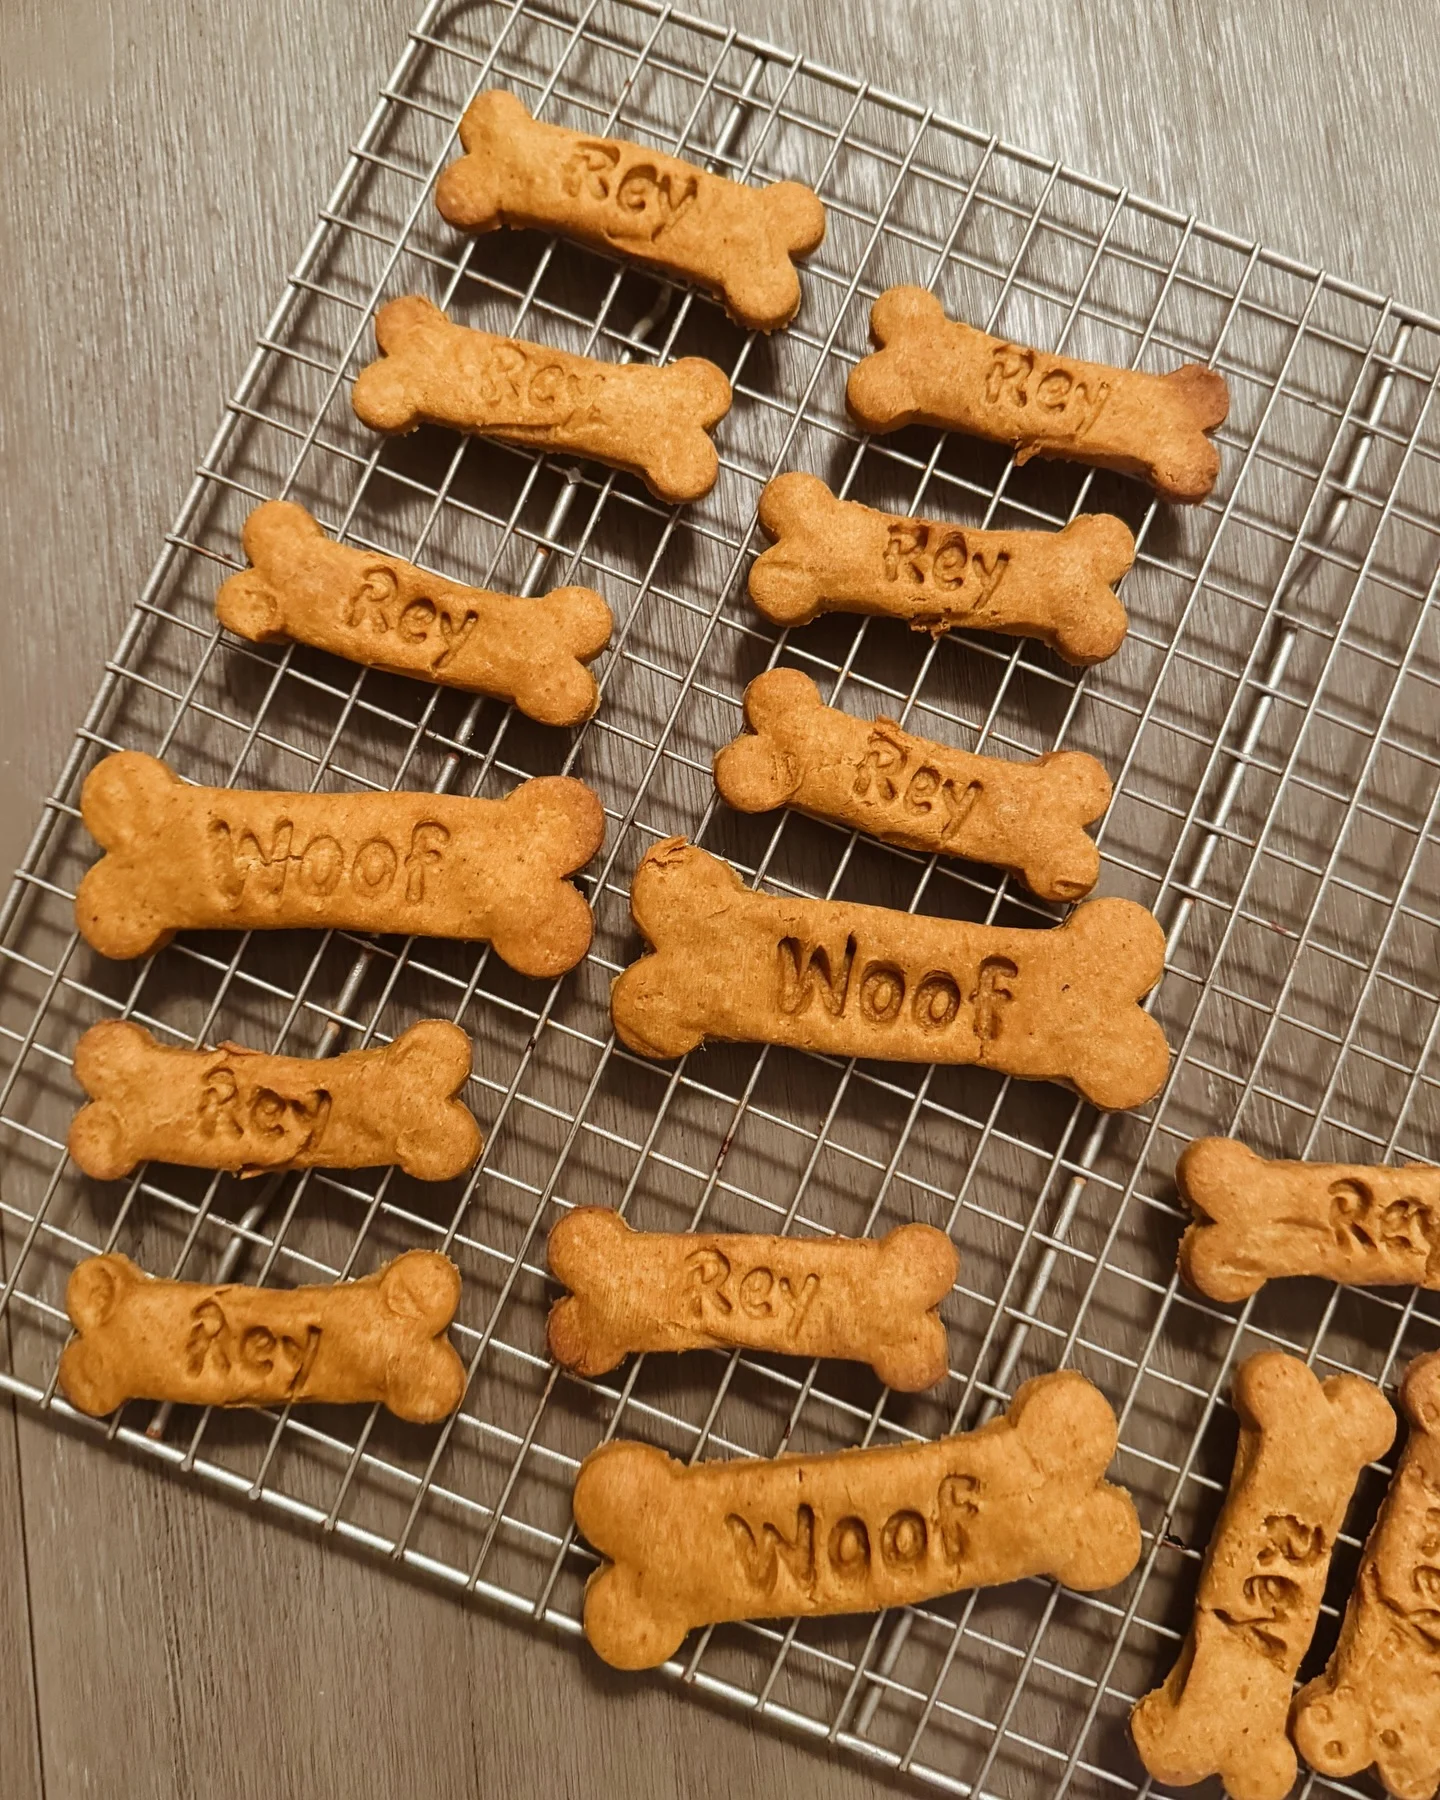
This is the treat that started it all for a lot of home bakers, and it’s easy to see why. Soft, warm pumpkin puree and creamy peanut butter combine with whole wheat flour to create a firm dough that holds its shape beautifully — perfect for cookie cutters, dog bone molds, or even a custom stamp with your pup’s name.
Ingredients:
- 1 cup whole wheat flour
- ½ cup pumpkin puree (not pumpkin pie filling)
- ⅓ cup peanut butter (xylitol-free)
How to make it:
- Preheat your oven to 350°F.
- In a mixing bowl, whisk the pumpkin puree and peanut butter together until smooth.
- Fold in the flour a little at a time until a thick dough forms.
- Turn the dough out onto a lightly floured counter or a sheet of parchment paper. Knead a few times until smooth, then roll it out to about ¼ inch thick.
- Cut into shapes using a dog bone cutter, or get creative with any cookie cutter you have on hand.
- Place the shapes on a parchment-lined baking sheet and bake for 30 minutes, or until firm and lightly golden.
- Let the treats cool completely on a wire rack before serving. Store in an airtight container.
These treats hold their shape well, which makes them fun to personalize — some dog parents even use letter stamps to spell out their pup’s name or a simple “Woof” before baking.
📸 Photo credit: Instagram @girlwiththeironcast
2. Peanut Butter Pumpkin Bones (Crispier Variation)
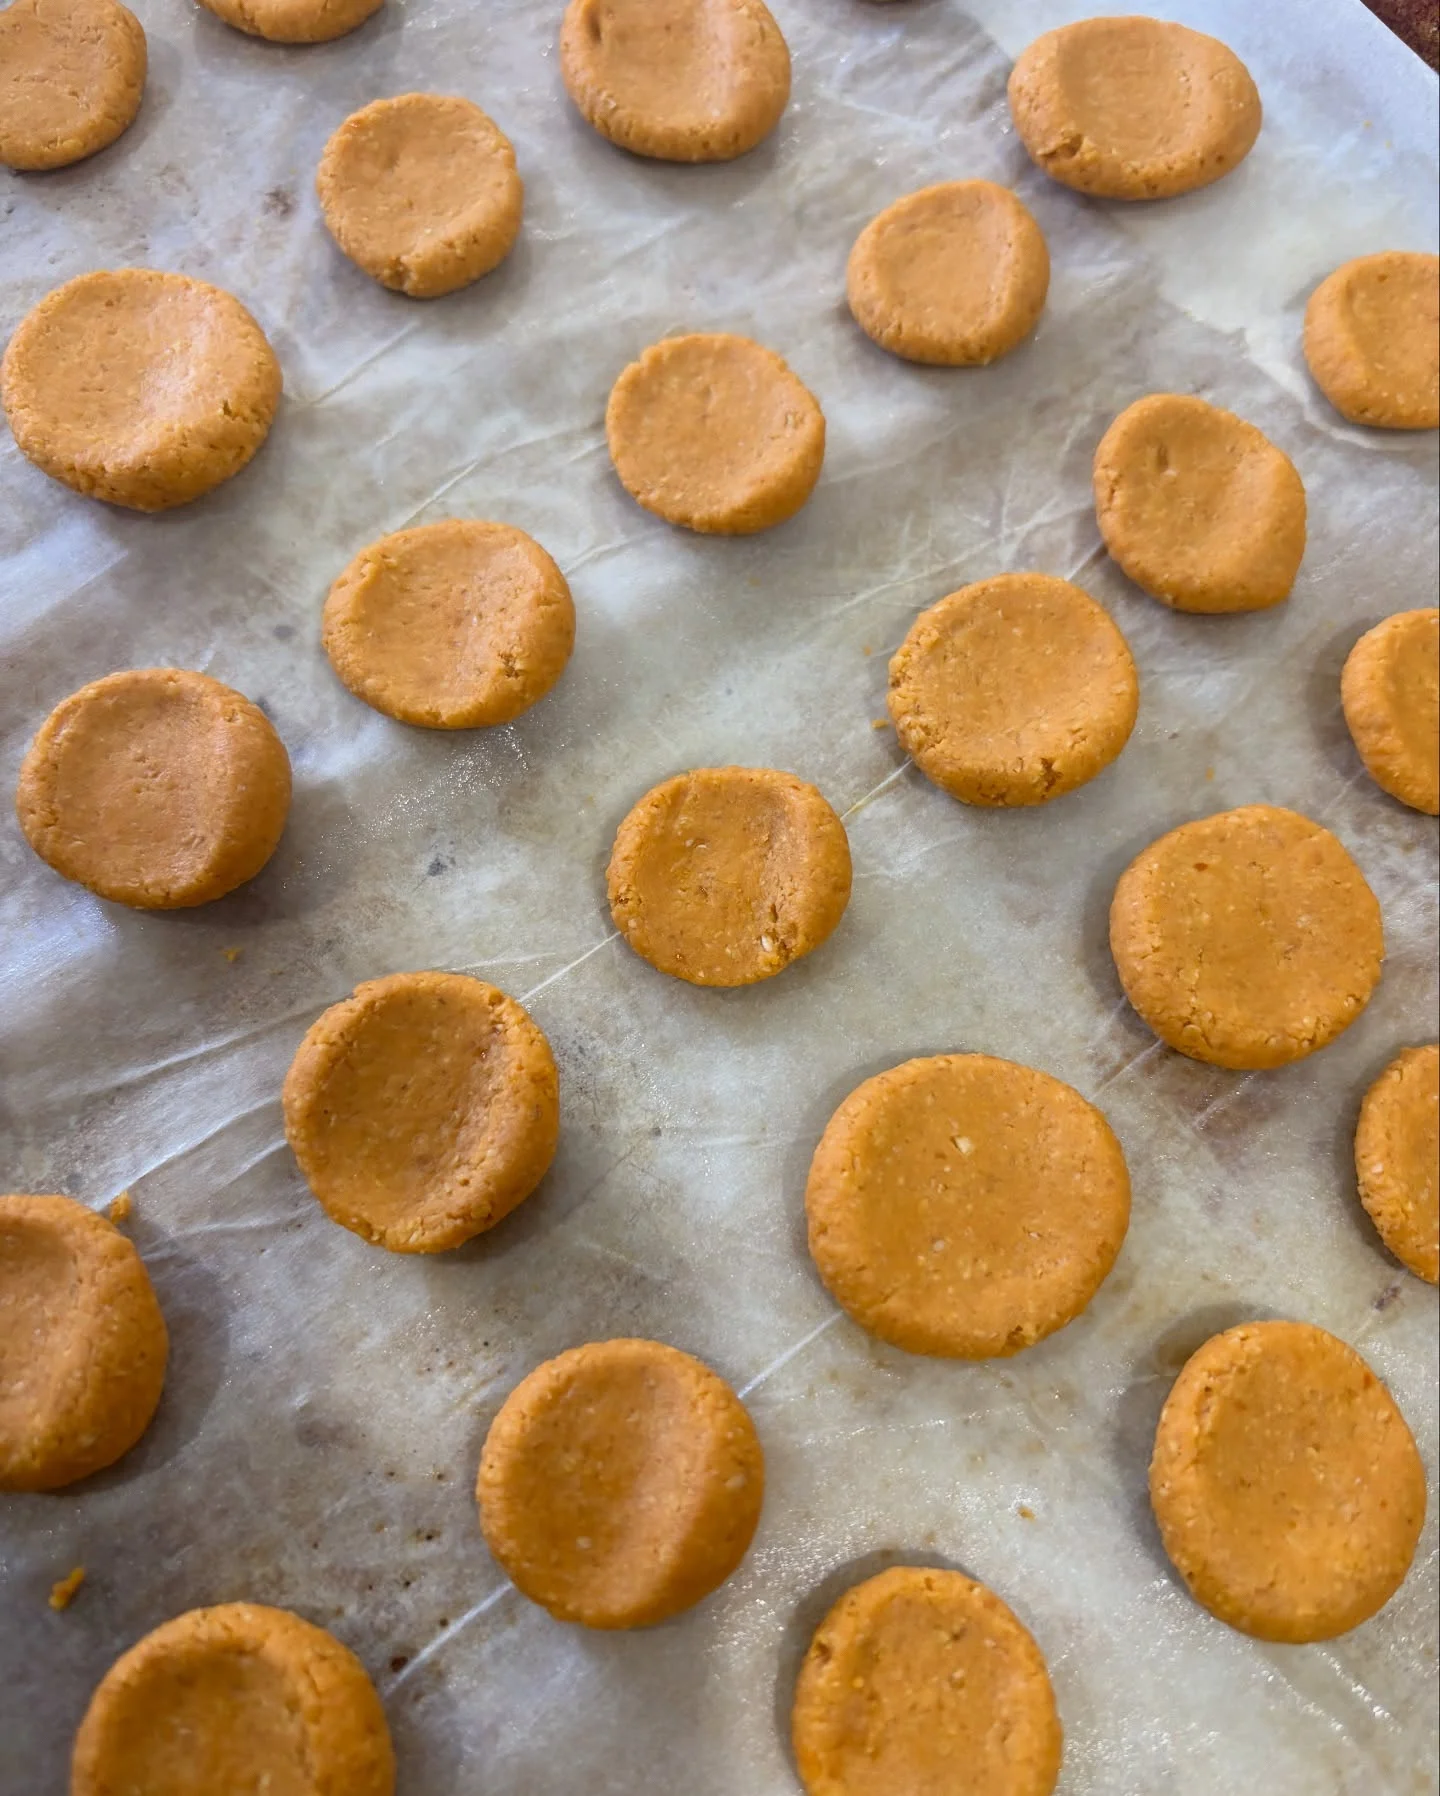
If you loved the recipe above but want a slightly crisper, more golden-brown biscuit, this variation is worth trying. It uses the same core trio of ingredients but leans into a longer bake time for extra crunch — a texture many dogs go wild for.
Ingredients:
- 1 cup whole wheat or all-purpose flour
- ½ cup pumpkin puree (not pie filling)
- ⅓ cup xylitol-free peanut butter
How to make it:
- Preheat the oven to 350°F and line a baking sheet with parchment paper.
- Combine all three ingredients in a bowl and mix until a firm dough comes together.
- Knead the dough briefly, then roll it out to roughly ¼ inch thickness.
- Use a bone-shaped cutter to punch out treats and arrange them on the prepared baking sheet.
- Bake for 20 to 25 minutes, until the edges turn a deep golden brown and the treats feel firm to the touch.
- Cool completely before storing in the fridge or freezer for extra-long freshness.
The slightly longer bake time here gives these treats a satisfying snap, which makes them a nice contrast if you’re keeping a variety of textures on hand.
📸 Photo credit: Instagram @kerrylynnechristopher
3. Frozen Raspberry Chia Yogurt Paw Prints
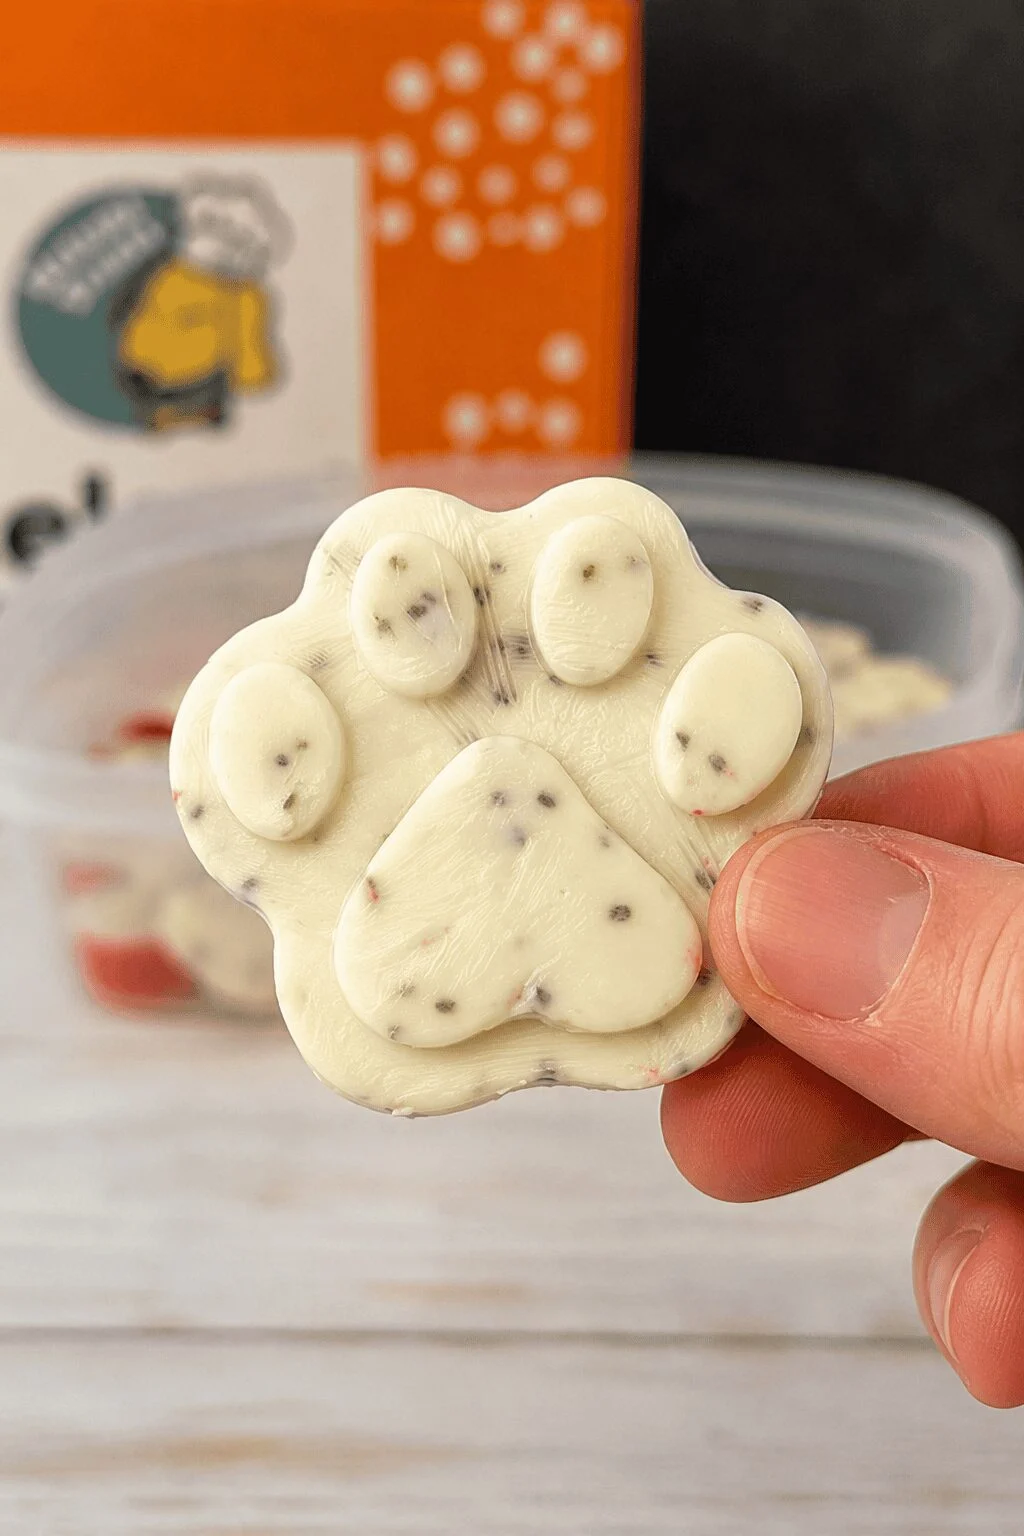
Not every treat needs an oven. This one is a no-bake option that’s perfect for hot afternoons, and it comes together in the freezer instead. Raspberries bring natural fiber, chia seeds add a boost of omega-3s, and Greek yogurt rounds it out with protein and calcium.
Ingredients:
- 1 cup low-fat plain Greek yogurt
- ½ cup fresh raspberries, mashed
- 1 tablespoon chia seeds
How to make it:
- In a bowl, mix the Greek yogurt with the mashed raspberries until the color is evenly blended throughout.
- Stir in the chia seeds so they’re spread evenly through the mixture.
- Spoon the mixture into silicone molds — paw print shapes make these extra fun — or simply use an ice cube tray.
- Freeze for at least 3 to 4 hours, or until fully solid.
- Pop the treats out of the molds and store them in a freezer-safe container.
These are especially handy in warmer months, giving your dog a cool, refreshing snack that doubles as a fun way to sneak in some antioxidants. Because these are frozen rather than baked, they’re best served immediately after coming out of the freezer, since they’ll soften quickly at room temperature.
4. Oatmeal Pumpkin Egg Bites
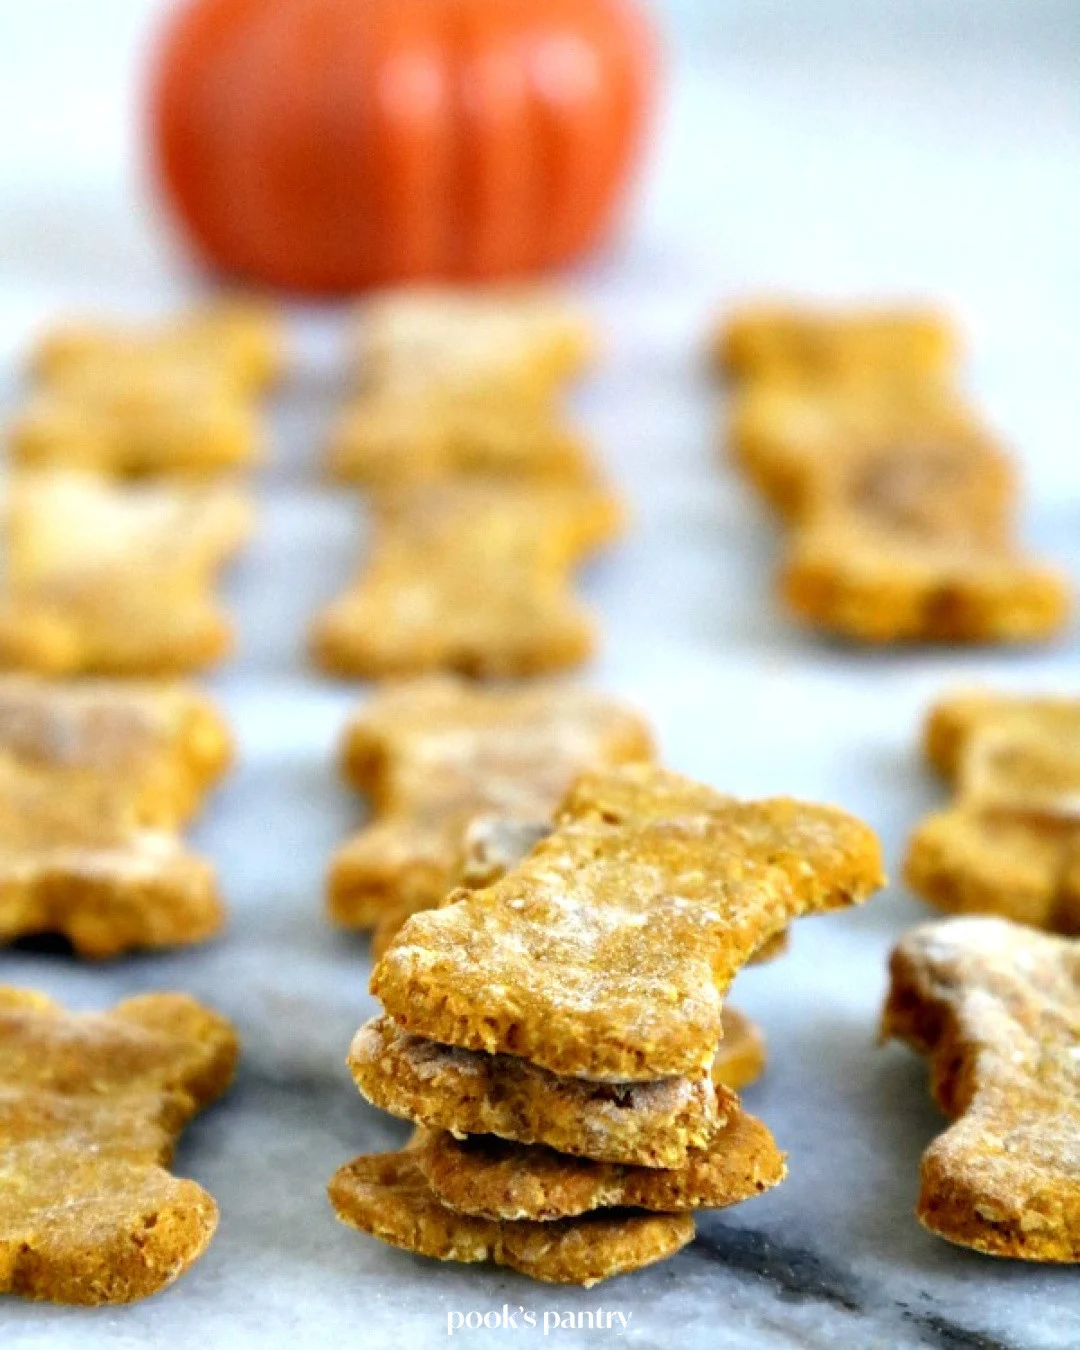
For dogs with sensitive stomachs, oats can be a gentler base than wheat flour. This recipe grinds oats into a fine, flour-like texture, then combines them with eggs and pumpkin for a treat that’s both wholesome and easy to digest.
Ingredients:
- 3 cups old-fashioned oats
- 2 eggs
- 1 cup pure pumpkin puree (not pie filling)
How to make it:
- Preheat the oven to 350°F.
- Add the oats to a food processor and blend until they reach a fine, almost flour-like texture, with just a few small pieces remaining.
- Add the eggs and pumpkin puree directly into the ground oats and process until a firm, slightly sticky dough forms.
- Roll the dough out between two sheets of parchment paper, or on a lightly floured countertop, to about ¼ inch thick.
- Cut into shapes with a cookie cutter, gathering and re-rolling the scraps until all the dough is used.
- Bake for 18 minutes, then let the treats cool completely on a wire rack.
If you’d rather skip the rolling and cutting step, you can also drop small spoonfuls of dough directly onto the baking sheet for a simpler, cookie-style treat. These store well in the fridge for up to two weeks, or in the freezer for up to three months.
📸 Photo credit: Instagram @pookspantry
5. Pumpkin Oat Flour Chews
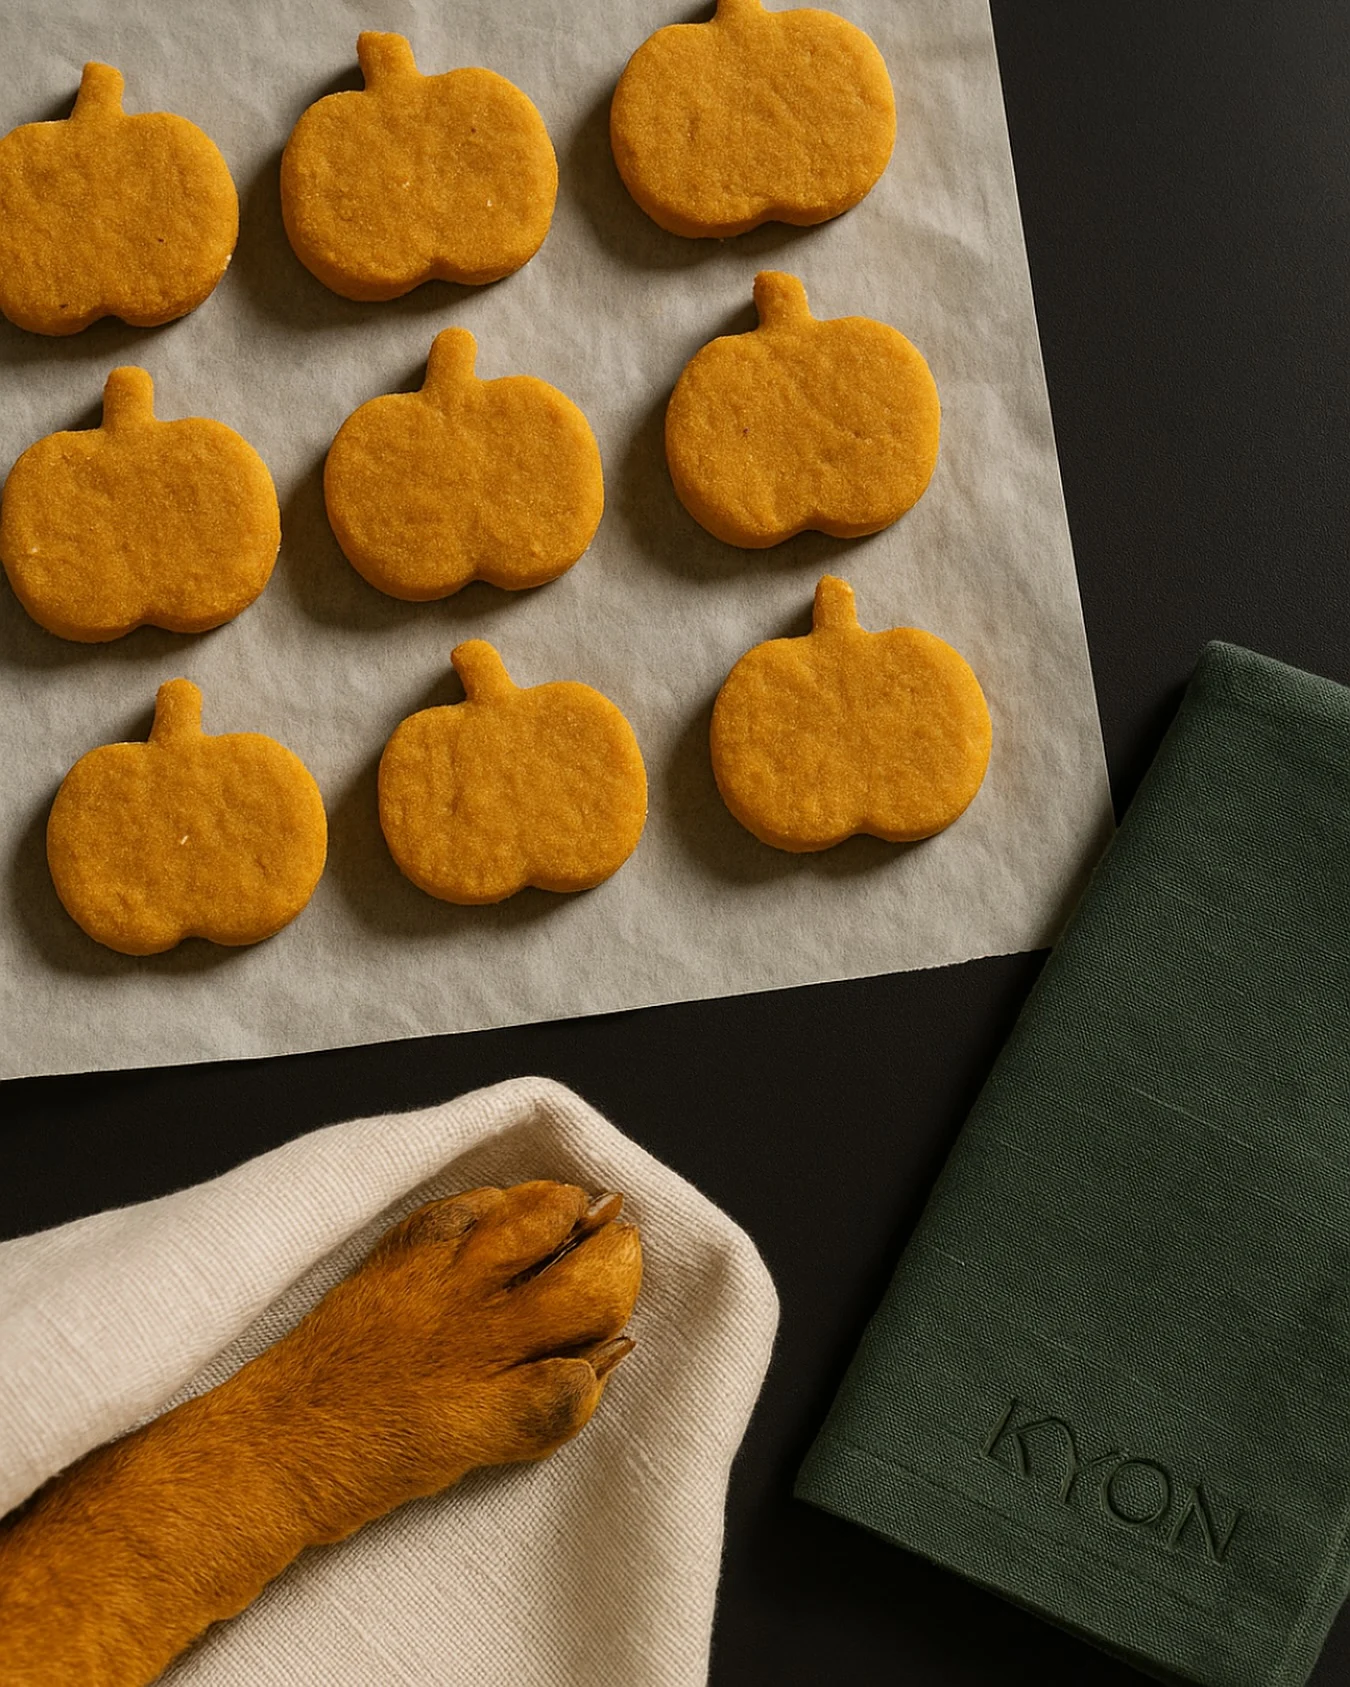
This recipe swaps whole oats for pre-ground oat flour, giving you a smoother dough that’s easy to work with and gentle on digestion — a great option if your dog does best with grain-free-adjacent, simple ingredients.
Ingredients:
- 1 cup plain pumpkin puree (no added sugar)
- 2 eggs
- 2½ cups oat flour
How to make it:
- Preheat your oven to 350°F (175°C).
- In a large bowl, combine the pumpkin puree, eggs, and oat flour, mixing until a soft, cohesive dough forms.
- Turn the dough out onto a floured surface and roll it to about ¼ inch thickness.
- Cut into shapes using your favorite cookie cutter.
- Bake for 20 minutes, until firm, then allow the treats to cool completely before serving.
Pumpkin is naturally gentle on digestion and rich in fiber, which makes this recipe a good pick for dogs who need a little extra digestive support. Store the finished treats in an airtight container for up to a week, or freeze a batch to keep them fresh longer.
📸 Photo credit: Instagram @kyondogdaycare
6. Peanut Butter Banana Oat Cookies
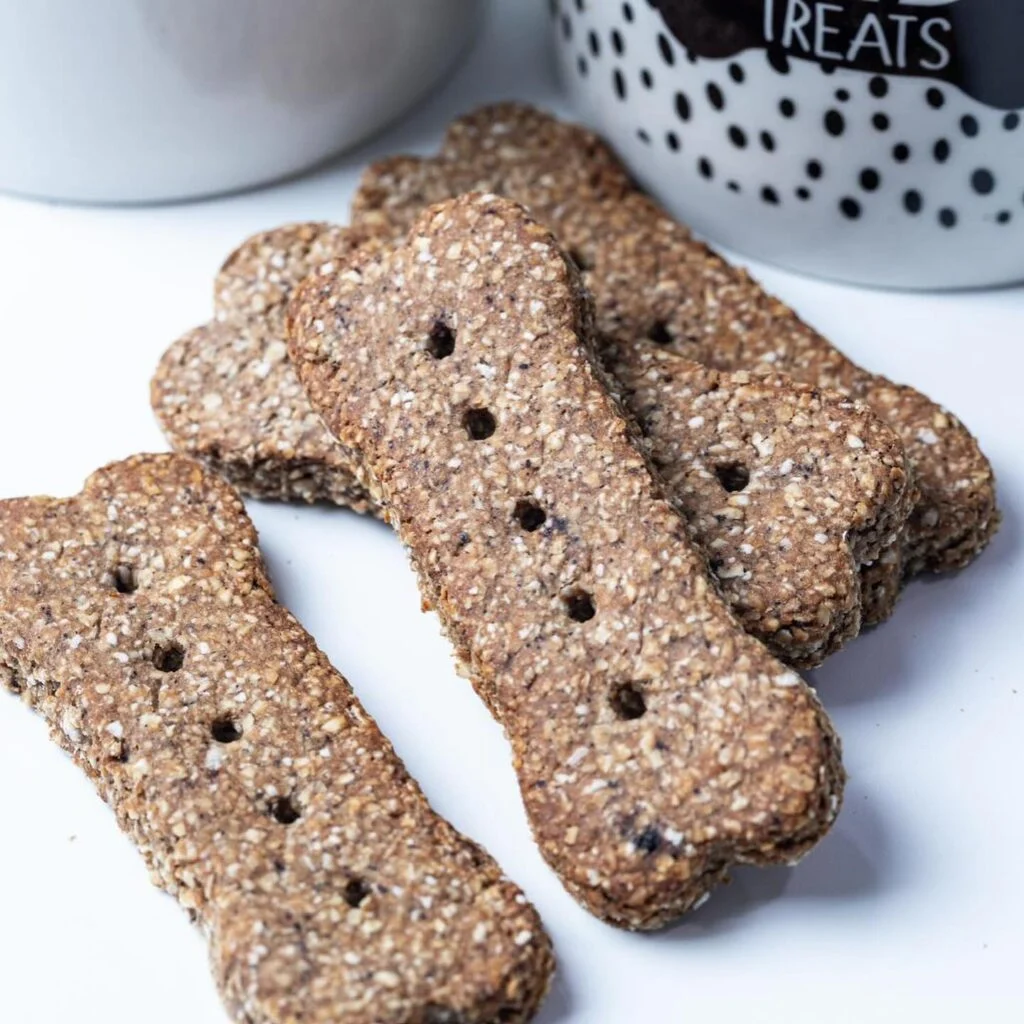
Bananas bring natural sweetness to this recipe without any added sugar, pairing nicely with the fiber from ground oats and the healthy fats in peanut butter. It’s a treat that smells like a bakery and disappears just as fast.
Ingredients:
- 2 cups rolled oats, ground into flour
- ½ cup natural peanut butter (xylitol-free)
- 2 ripe bananas, mashed smooth
How to make it:
- Preheat the oven to 350°F.
- In a bowl, mix the mashed bananas and peanut butter together until fully combined.
- Gradually stir in the ground oats until a stiff dough forms — it should start to pull away from the sides of the bowl.
- Roll the dough out to about ¼ inch thickness on a lightly floured surface.
- Cut out shapes using a bone-shaped cutter, then place them on a parchment-lined baking sheet.
- Poke a few small holes in the center of each treat to help them bake evenly without puffing up.
- Bake for 25 minutes, then cool completely on a wire rack before storing.
A quick tip: riper bananas make the dough easier to work with, since their natural sweetness and moisture help everything bind together without needing extra liquid. These keep well in an airtight container for up to two weeks, or in the freezer for up to three months.
📸 Photo credit: Instagram @puprepublicco
7. Peanut Butter Blueberry Oat Cookies
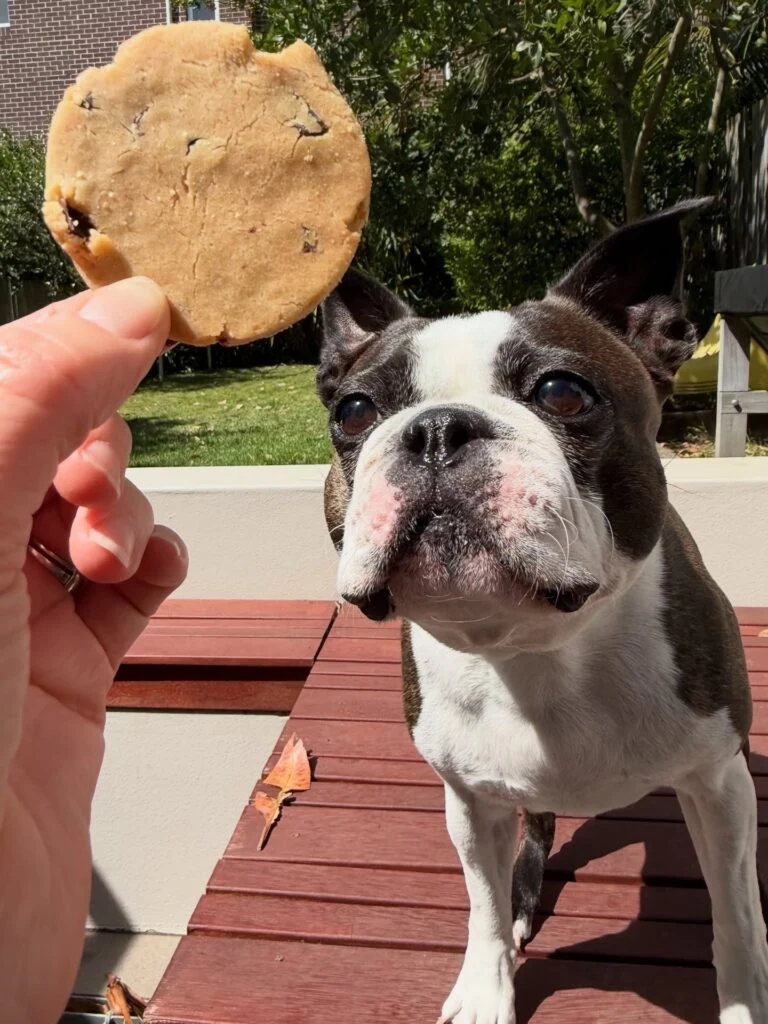
Rounding out the list is a fruity twist on the classic peanut butter treat. Blueberries add little bursts of flavor throughout the dough, along with antioxidants that make this treat as functional as it is tasty.
Ingredients:
- 1 cup unsalted, xylitol-free peanut butter
- ½ cup fresh or frozen blueberries
- 1½ cups oat flour (blend rolled oats if you don’t have oat flour on hand)
How to make it:
- Preheat the oven to 350°F.
- In a bowl, mix the peanut butter and oat flour together first — the dough will be dense and slightly sticky, similar to playdough.
- Gently fold in the blueberries, being careful not to crush them completely, so you get little pockets of fruit throughout the dough.
- Roll the dough out to about ¼ inch thickness and cut into rounds using a cookie cutter.
- Bake for 12 to 15 minutes, until the edges turn golden.
- Let the treats cool completely on a wire rack — they’ll firm up nicely as they cool, giving them a satisfying crunch.
Peanut butter contributes healthy fats that can support a shiny, healthy coat, making this treat a tasty way to add a little extra nutrition to your dog’s day.
📸 Photo credit: Instagram @archie.the.boston.and.co
5 Tips for Perfecting Your Homemade Dog Treats
Once you’ve tried a recipe or two, a few small techniques can help every batch turn out even better.
1. Roll the dough to a consistent thickness. Uneven dough leads to uneven baking — some treats might burn while others stay underdone. Rolling between two sheets of parchment paper is an easy way to keep thickness consistent without the dough sticking to your rolling pin.
2. Don’t skip the cooling step. Many of these treats firm up as they cool, so pulling them off the tray too early can leave you with a softer, crumblier treat than intended. Let them rest on a wire rack until completely cool before storing.
3. Adjust bake time for your oven. Ovens vary, and a few extra minutes can make the difference between a soft treat and a crunchy one. If your dog prefers extra-crispy treats, add 3 to 5 minutes to the bake time and keep an eye on the color.
4. Reroll the scraps. After cutting your shapes, gather the leftover dough, reroll it, and cut a few more treats. This helps you get the most out of every batch instead of wasting dough.
5. Freeze in small batches. Rather than freezing one giant block of treats, portion them into smaller freezer bags or containers. This makes it easy to grab just what you need without thawing the whole batch.
3 Fun Ways to Serve and Store Your Dog’s Treats
Once your treats are baked and cooled, how you store and serve them matters just as much as the recipe itself.
1. Set up a dedicated treat station. Having a designated spot for your dog’s treats — whether it’s a labeled jar on the counter or a small basket by the door — keeps things organized and makes grab-and-go training sessions easier. If you’re looking for inspiration, these dog treat station ideas offer some creative setups worth trying.
2. Use treats as training rewards. Because these recipes are simple and free of unnecessary additives, they make excellent training treats. Break larger biscuits into smaller pieces for quick, repeated rewards during a training session.
3. Store properly to keep treats fresh. Most of these recipes will keep in an airtight container in the fridge for one to two weeks, or in the freezer for up to three months. Labeling containers with the date you baked them helps you keep track of freshness, especially if you’re baking multiple batches at once.
If this first batch goes over well, there’s no shortage of directions to take your homemade treat-baking next. Browse this collection of homemade dog treat recipes for more ideas, or if you’re planning something special, this guide to dog birthday cake recipes is a fun next project.
Final Thoughts
Making your own dog treats doesn’t have to be complicated or time-consuming. With just three ingredients — often things you already have in your kitchen — you can whip up a batch of biscuits, chews, or frozen bites that your dog will love just as much as anything from a store shelf, if not more.
Start with whichever recipe matches what’s already in your pantry, whether that’s a can of pumpkin, a jar of peanut butter, or a couple of ripe bananas sitting on the counter. Once you’ve got the basics down, feel free to mix and match ingredients across recipes to create your own signature treat. Your dog certainly won’t mind being your taste tester along the way.

Izzy is an experienced ranch worker who has a passion for exploring nature and getting up close to wildlife. With her connections to various animal organizations, Izzy is well-versed in animal care and rehabilitation.