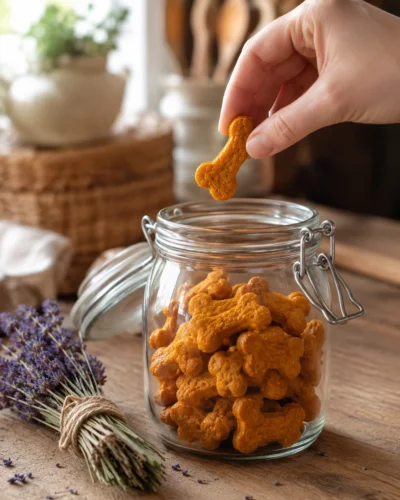
Homemade Dog Chew Treats Recipes for Every Type of Chewer
If your dog goes through store-bought chews faster than you can restock them, you’re not alone. Bully sticks, bones, and dental chews add up fast, and a lot of them come loaded with preservatives you can’t even pronounce. That’s where homemade dog chew treats recipes come in handy.
Making your own dog chews at home isn’t as complicated as it sounds. Most of these recipes use just a handful of ingredients you probably already have in your kitchen — sweet potatoes, chicken, peanut butter, and a low oven or a food dehydrator. The biggest ingredient you’ll need is patience, since most chews take a few hours of slow baking or drying to get that satisfying, long-lasting texture dogs love.
Below are nine tried-and-tested homemade dog chews you can make this week, each one collected and adapted from real dog owners who make treats for their own pups. Whether you want a quick afternoon project or a batch that’ll last your dog all month, there’s a recipe here for you.
1. Sweet Potato Chews (Two Easy Methods)
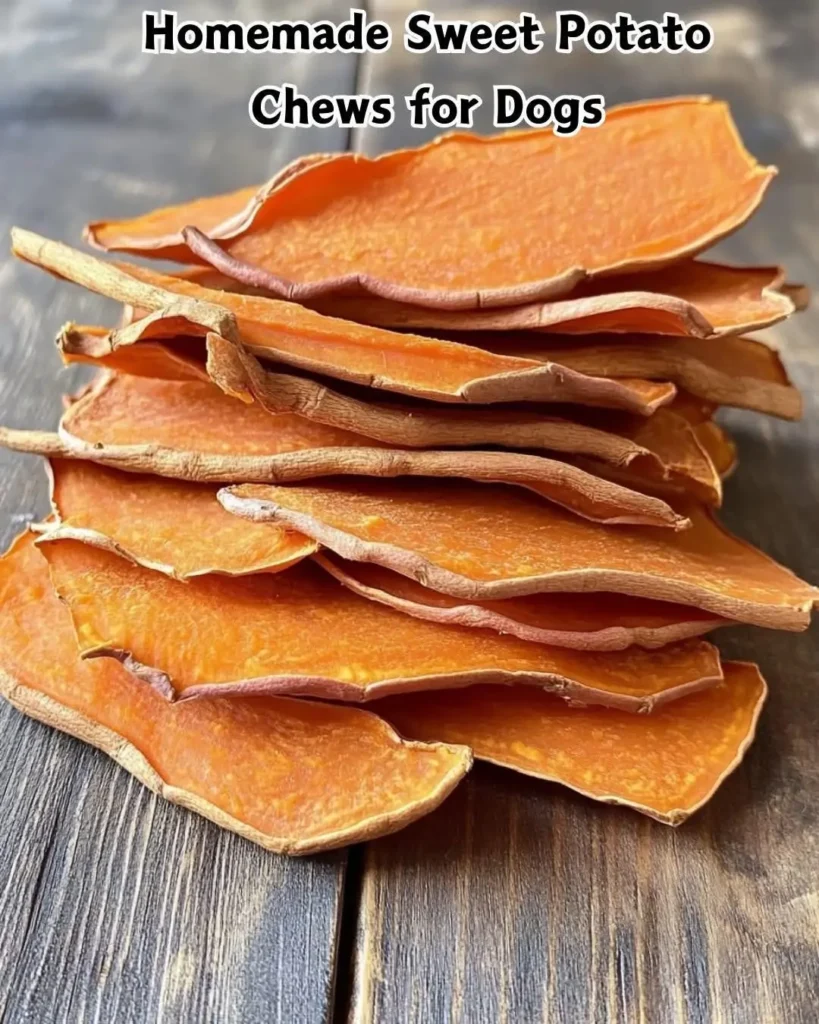
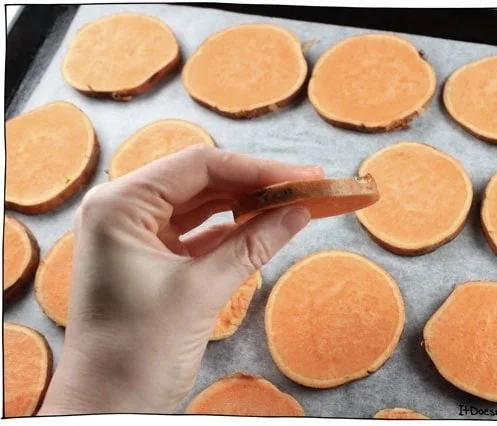
Sweet potato chews are the gateway recipe for most people who start making homemade dog chew treats. They only need one ingredient, they’re naturally sweet, and dogs go crazy for the chewy-crispy texture. Here are two slightly different ways to make them, depending on how much time you have and how chewy you want the final result.
Ingredients:
- 2 to 3 large sweet potatoes
- Optional: a light drizzle of olive oil or a dusting of cinnamon
Method 1 – Quick Oven Method (2 to 3 hours):
- Preheat your oven to 400°F (200°C).
- Wash and peel the sweet potatoes, then slice them into thin strips or coins, about ¼ inch thick.
- Lay the slices in a single layer on a parchment-lined baking sheet.
- Brush lightly with olive oil or sprinkle with cinnamon if you’d like.
- Bake for 2 to 3 hours, checking occasionally, until the slices are dried out and chewy all the way through.
Method 2 – Low and Slow Method (2½ to 3 hours):
- Preheat your oven to a lower 250°F (130°C) and line two baking sheets with parchment paper.
- Slice sweet potatoes into coins for small dogs, or lengthwise strips for bigger dogs. Keep the pieces at least ¼ inch thick so they turn chewy instead of crispy.
- Arrange in a single layer and bake for 2½ to 3 hours, flipping once halfway through, until the pieces are shrunken and dried, with some parts crispy and others chewy.
Prefer a dehydrator over the oven? Set it to 135°F (57°C) and run it for 6 to 8 hours instead. Let the chews cool completely before handing them over, then store them in an airtight container. The low-and-slow batch keeps well in the fridge for about three weeks.
Sweet potato chews are also a great low-mess option if your dog is new to chewing on food-based treats — for tips on introducing new treats safely, check out our guide on puppy veterinary needs.
📸 Photo credit: Instagram @traci_jeepgirl and @pitcrewilrescue
2. Peanut Butter Chew Sticks
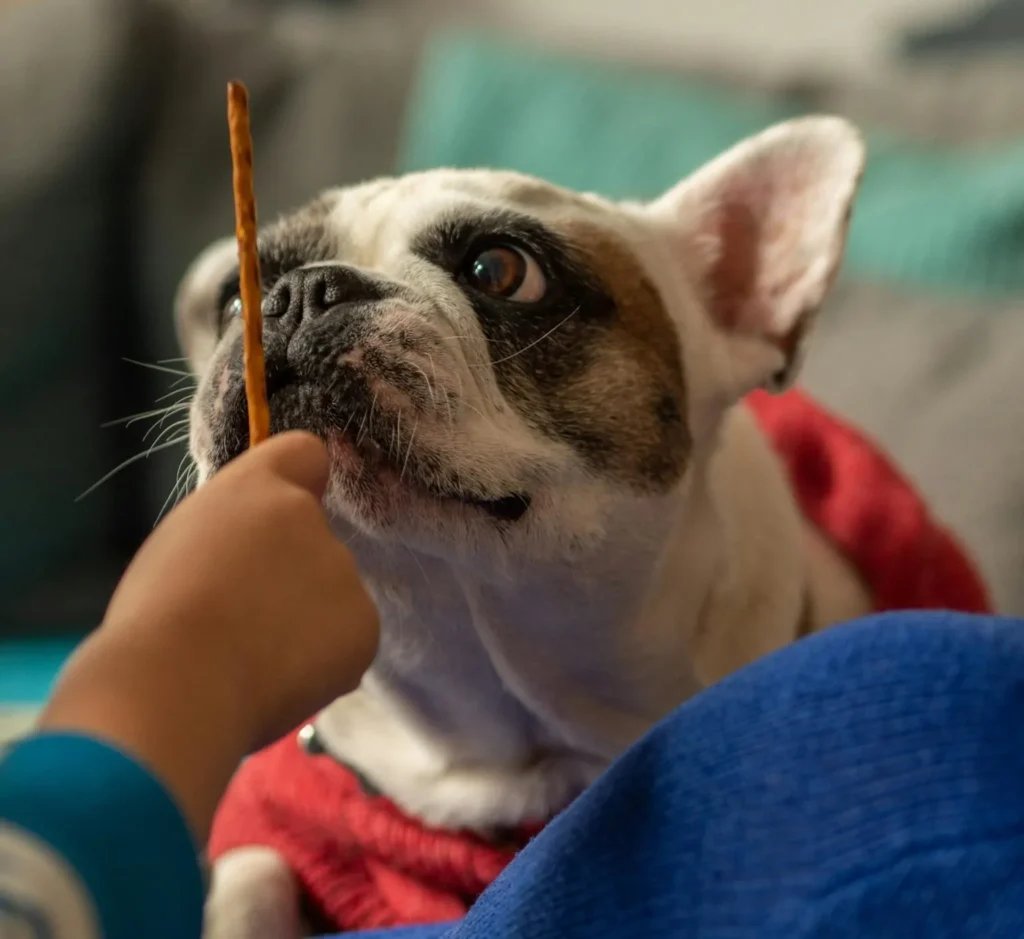
These peanut butter sticks bake up firm and golden, with a long-lasting bite that makes them perfect for dogs who like to work at a treat for a while. They’re also incredibly kid-friendly to make if you’ve got little ones who want to help in the kitchen.
Ingredients:
- 2 cups whole wheat flour
- ½ cup unsalted peanut butter (xylitol-free — always double-check the label)
- 2 large eggs
- ¼ cup water, plus more if the dough feels dry
- 1 tablespoon baking powder
- 1 teaspoon coarse sea salt (optional, used very lightly)
Instructions:
- Preheat your oven to 350°F (175°C).
- In a large bowl, mix the peanut butter and eggs together until smooth.
- Gradually add the flour and baking powder, mixing as you go. Pour in the water a little at a time until the dough holds together without sticking to your hands.
- Roll the dough into long, thin ropes about 6 inches long. You can twist them into pretzel shapes or leave them as straight sticks — dogs aren’t picky about presentation.
- Place the ropes on a parchment-lined baking sheet and bake for 25 to 30 minutes, until deep golden brown and firm all the way through.
- Cool on a wire rack for at least an hour before serving. The sticks firm up even more as they cool, which is what gives them that long-lasting chew.
These freeze well too, so it’s worth doubling the batch if your dog is a fan.
📸 Photo credit: Instagram @pexels
3. Chicken-Wrapped Sweet Potato Chews
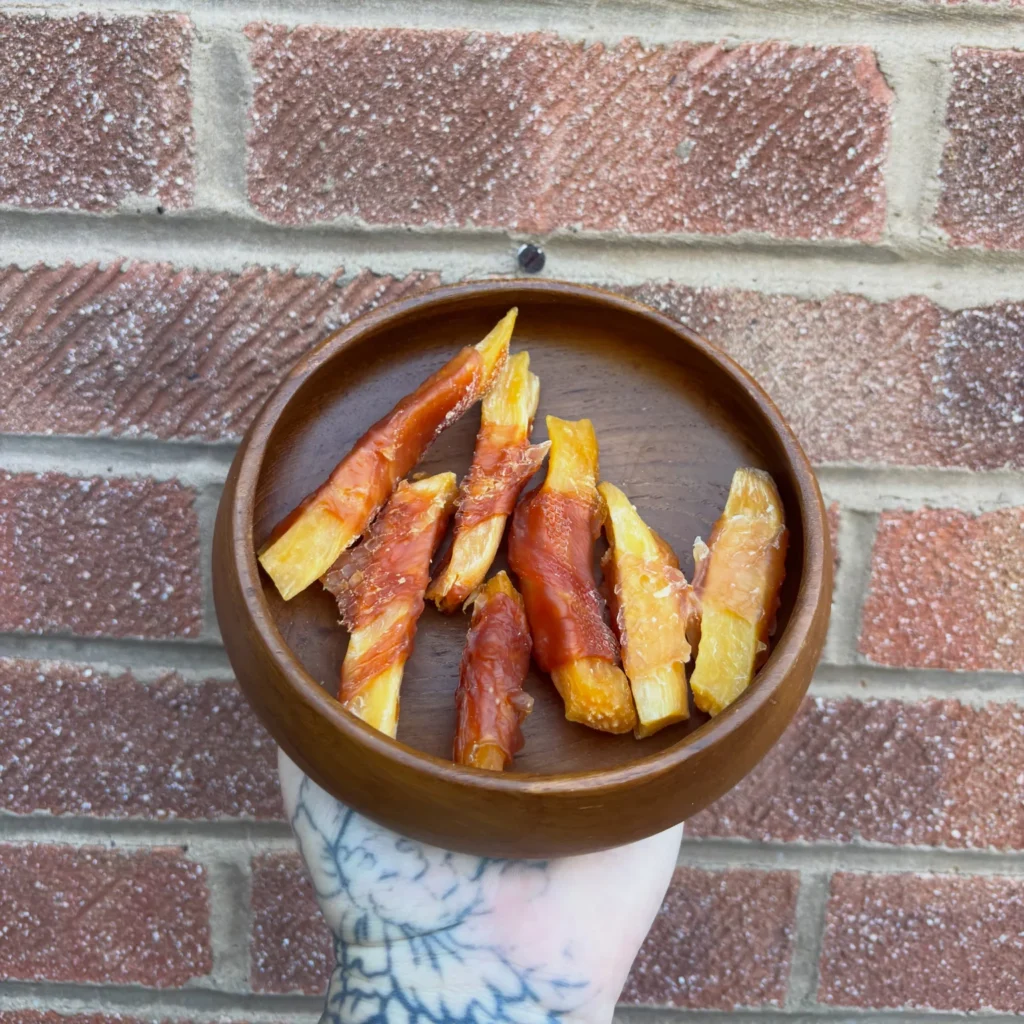
This one combines two dog-approved flavors into a single treat — chewy sweet potato on the inside, savory chicken on the outside. It’s an easy way to level up a basic sweet potato chew without much extra effort.
Ingredients:
- 2 large sweet potatoes, sliced into thin strips (about ¼ inch thick)
- 2 boneless, skinless chicken breasts, sliced into thin strips of similar length
Instructions:
- Preheat your oven to 250°F (120°C) and line a baking sheet with parchment paper.
- Wrap each sweet potato strip with a thin strip of raw chicken, securing the ends as best you can (a toothpick works if needed, just remember to remove it before serving).
- Arrange the wrapped strips in a single layer on the baking sheet.
- Bake for 3 to 4 hours, flipping halfway through, until the chicken is fully cooked through and the sweet potato inside is dried and chewy.
- Let the chews cool completely on a wire rack before serving, since the chicken needs to cool and firm up as much as the sweet potato does.
Because this recipe includes raw poultry, always make sure the chicken reaches a safe internal temperature before serving, and store leftovers in the fridge for up to a week.
📸 Photo credit: Instagram @miss_shelby_treats_
4. Canadian-Style Homemade Jerky Sticks
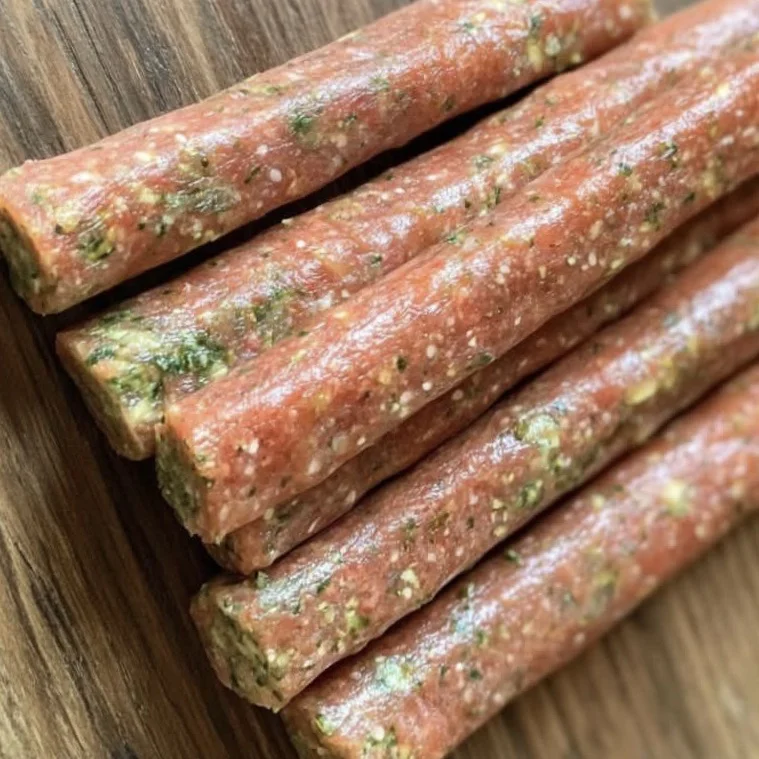
This jerky recipe leans into whole-food ingredients, packing in ground meat along with veggies for an extra nutritional boost. It’s a great way to use up ground meat you already have on hand, and the sticks hold their shape well for training or everyday treats.
Ingredients:
- 1 lb ground red meat (beef, lamb, pork, venison, or moose all work)
- ½ cup finely chopped spinach or kale
- ¼ cup grated carrots
- ¼ cup rolled oats, blended into a flour
- 1 tablespoon ground flaxseed
- 1 egg
Instructions:
- Preheat your oven to its lowest setting, around 170°F (75°C).
- Mix all the ingredients together in a large bowl until well combined.
- Shape the mixture into 4 to 5 inch sticks, keeping them roughly even in thickness so they dry at the same rate.
- Arrange the sticks on a parchment-lined baking sheet.
- Bake for 4 to 5 hours, flipping halfway through, until firm to the touch.
- Let the sticks cool completely before serving.
Each stick works out to roughly 50 to 75 calories depending on size, which makes them a solid option for training rewards. Store in the fridge for up to a week, or freeze for up to a month.
📸 Photo credit: Instagram @happytails.resort.muskoka
5. Homemade Yak Milk Chews
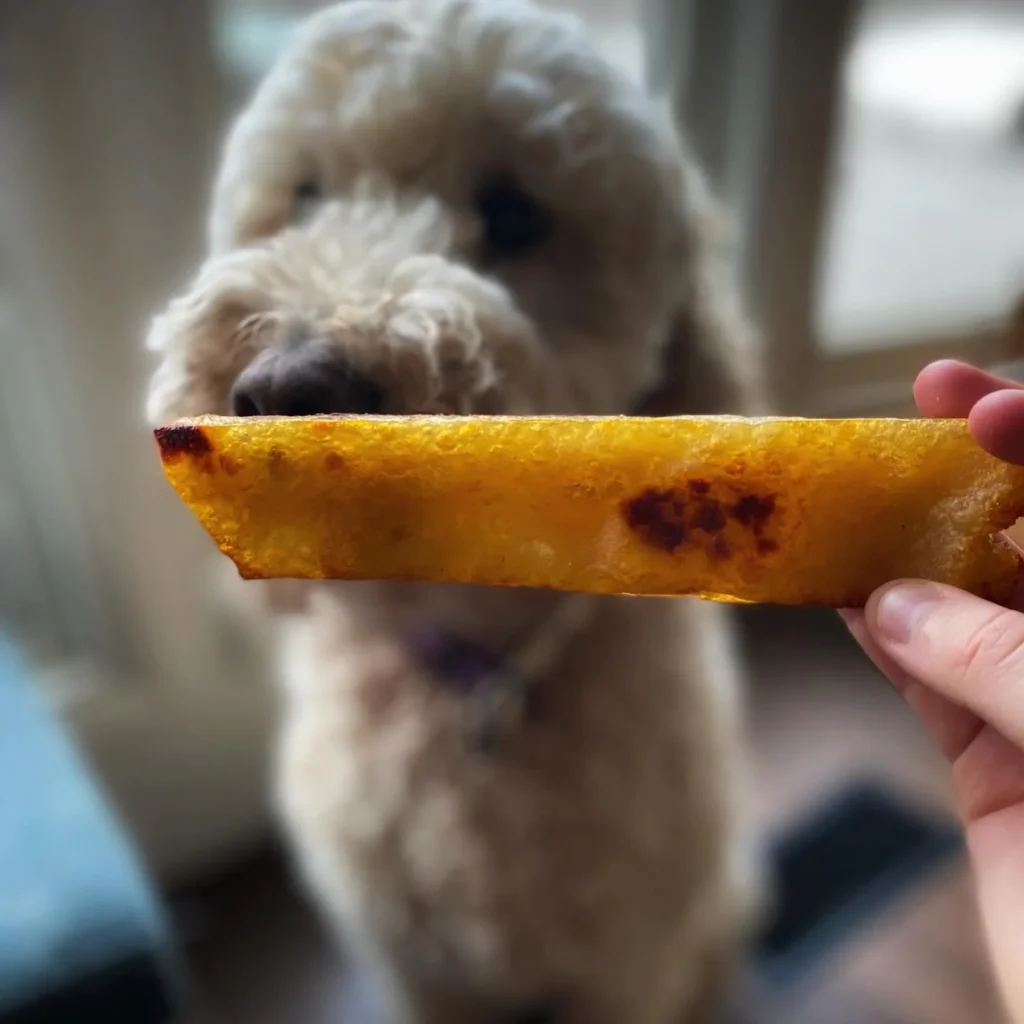
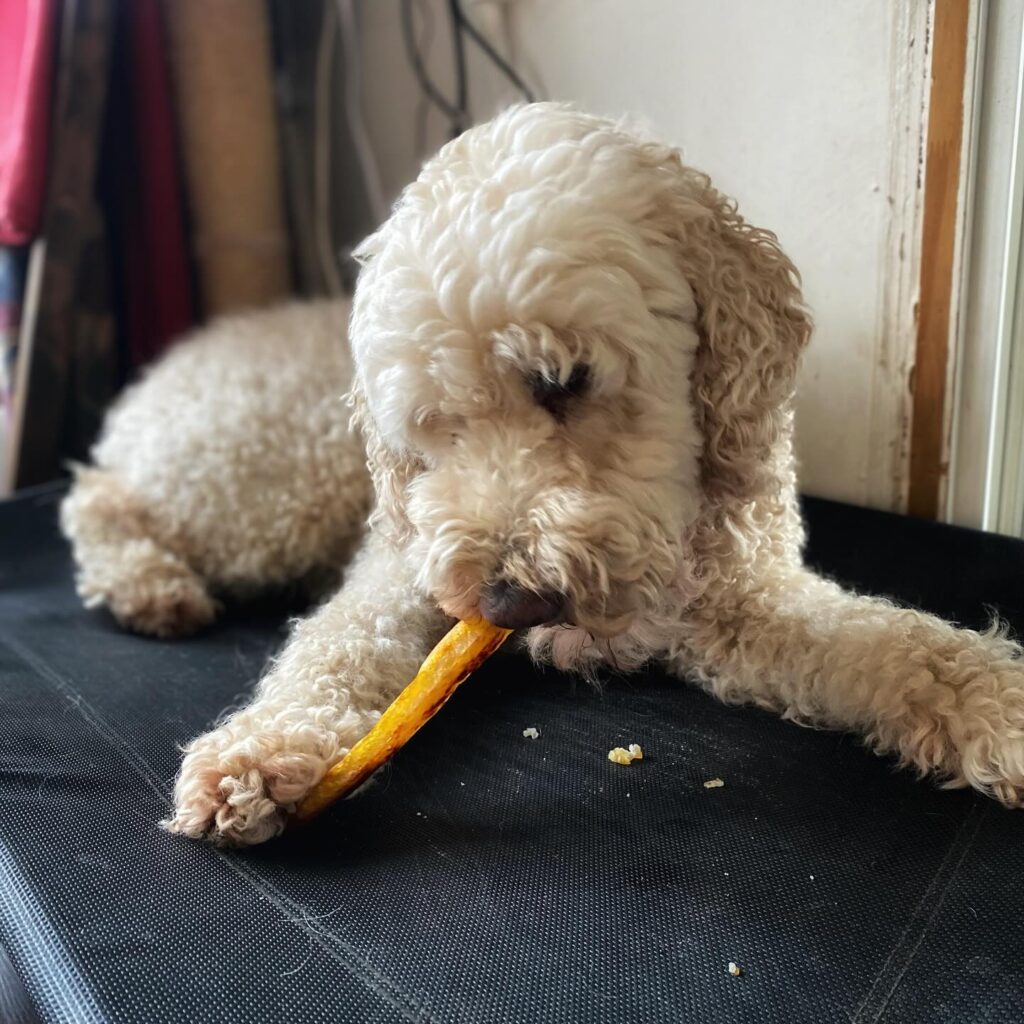
If your dog loves store-bought yak chews, you’ll be glad to know they’re actually possible to make at home for a fraction of the cost. This recipe takes some patience with drying time, but the process itself is surprisingly simple — it’s essentially a firm, pressed cheese that gets slow-baked into a hard chew.
Ingredients:
- 1 gallon (3.75L) skim milk
- ½ cup lemon or lime juice
- 1 teaspoon salt
Instructions:
- Pour the milk into a large pot and bring it to a boil over medium-low heat, stirring continuously.
- Once boiling, let it boil for 1 minute, then add the citrus juice and salt. Keep stirring until the milk separates into curds — this happens fairly quickly but takes a few minutes to fully finish.
- Strain the curds and transfer them into cheesecloth. Apply pressure and leave the wrapped curds under weight for 4 to 6 hours to firm up.
- Cut the pressed curds into chew-sized pieces for your dog and place them on a baking sheet. A wire rack works even better here, since it lets air circulate around the whole chew (if you don’t have one, just flip the pieces partway through baking).
- Bake at 350°F (175°C) for 40 minutes.
- Let the chews sit and cool for 24 to 36 hours before handing them over — this step is what gives them their signature hard, long-lasting texture.
A single gallon of milk plus citrus juice and salt usually costs under $10 and makes about four large chews and two small ones — a fraction of what a store-bought yak chew runs.
📸 Photo credit: Instagram @bizou_and_baxter
6. Dehydrator Chicken or Salmon Jerky Strips
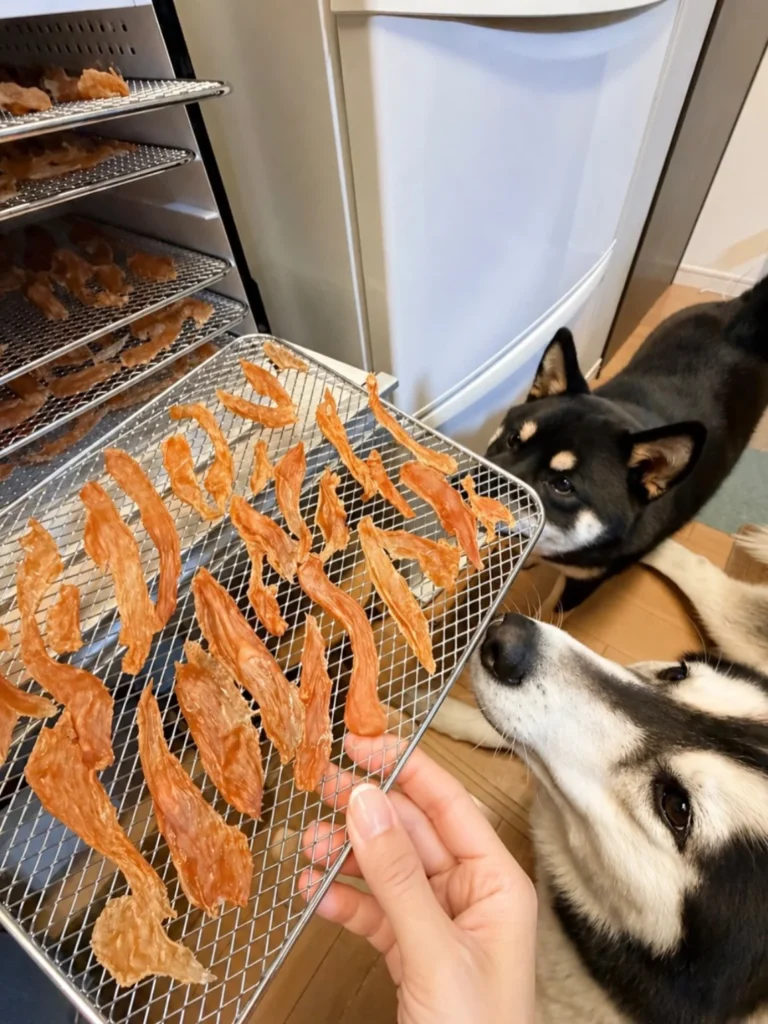
Thin, dehydrated jerky strips are one of the easiest homemade dog chews recipes to make if you already own a food dehydrator. The process is basically hands-off once the strips are cut, and you can experiment with different proteins depending on what your dog likes best.
Ingredients:
- 1 to 2 lbs boneless, skinless chicken breast or raw salmon fillet
- Optional: a light drizzle of water to help thin strips slide off the dehydrator tray easily
Instructions:
- Trim any excess fat or skin from your chicken or salmon.
- Slice the meat into long, thin strips, no more than ¼ inch thick, cutting against the grain for chicken or lengthwise for salmon.
- Arrange the strips on your dehydrator trays in a single layer, leaving space between each piece for good airflow.
- Set the dehydrator to 145°F to 160°F (63°F to 71°C) and run for 6 to 10 hours, depending on the thickness of your strips and the power of your machine.
- Check periodically — strips are done when they’re firm, dry, and slightly leathery, with no moist or sticky spots remaining.
- Let the jerky cool completely on the trays before storing.
If you don’t own a dehydrator, you can achieve a similar result in the oven set to its lowest temperature (around 170°F), propping the door open slightly to let moisture escape, though drying time will run a bit longer. Store finished jerky in the fridge for up to two weeks, or freeze for longer storage.
📸 Photo credit: Instagram @husky_life_kuroshiba_maron
7. Homemade Bone Broth & Gelatin Marrow-Style Chews

These jelly-style bars mimic the softened, gelatin-rich texture of specialty marrow chews, using just bone broth and gelatin. They’re a great option for dogs with sensitive teeth or seniors who need something a little gentler to gnaw on, since the texture softens slightly as your dog chews.
Ingredients:
- 3 cups low-sodium, unseasoned bone broth (beef, chicken, or pork all work)
- 1 cup unflavored gelatin powder
- Optional: 2 tablespoons pureed cooked liver for extra flavor
Instructions:
- Warm the bone broth in a saucepan over low heat — don’t let it boil.
- Slowly whisk in the gelatin powder, a little at a time, until fully dissolved with no lumps.
- If using, stir in the pureed liver for extra flavor and nutrition.
- Pour the mixture into a shallow, parchment-lined baking dish, aiming for a thickness of about ¾ inch to 1 inch.
- Refrigerate for 4 to 6 hours, or until fully set and firm to the touch.
- Once set, cut into bar shapes similar to a large treat, about 5 to 6 inches long for bigger dogs, or smaller pieces for small dogs.
- For a slightly firmer, longer-lasting bite, bake the cut bars at 250°F (120°C) for 20 to 30 minutes to dry the surface slightly, then cool completely before serving.
Because these are gelatin-based, they’ll stay softer than a fully dehydrated chew, so it’s best to offer them over a couple of chew sessions for small dogs, and refrigerate uneaten portions between uses.
📸 Photo credit: Instagram @wildnourishpet
8. Homemade Air-Dried Turkey Wing Chew
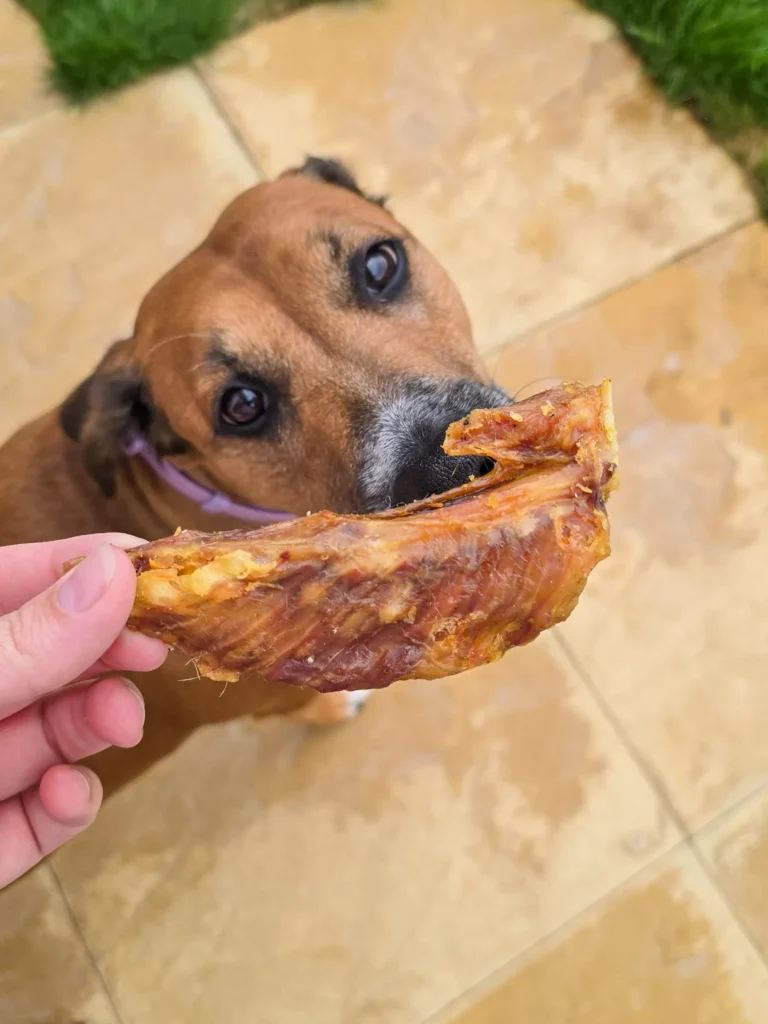
Sometimes the simplest recipes are the best ones. A single-ingredient turkey wing chew requires almost no prep work, and it’s a great way to give your dog a natural chewing outlet that also helps with dental health.
Ingredients:
- 2 to 3 raw turkey wings
Instructions:
- Preheat your oven to its lowest setting, ideally around 170°F to 200°F (75°C to 93°C).
- Rinse the turkey wings and pat them completely dry with paper towels.
- Place the wings on a wire rack set over a baking sheet, so air can circulate all the way around each wing.
- Bake for 4 to 6 hours, flipping once halfway through, until the wings are fully dried and firm with no moisture remaining.
- Let the wings cool completely before serving.
Because these are whole wings with bone, always supervise your dog while they chew, and only offer this treat to dogs that are experienced, confident chewers. Store finished wings in the fridge for up to a week, or freeze for longer.
📸 Photo credit: Instagram @amber_and_willow_the_dogs
9. Homemade Venison-Style Dental Chew Sticks
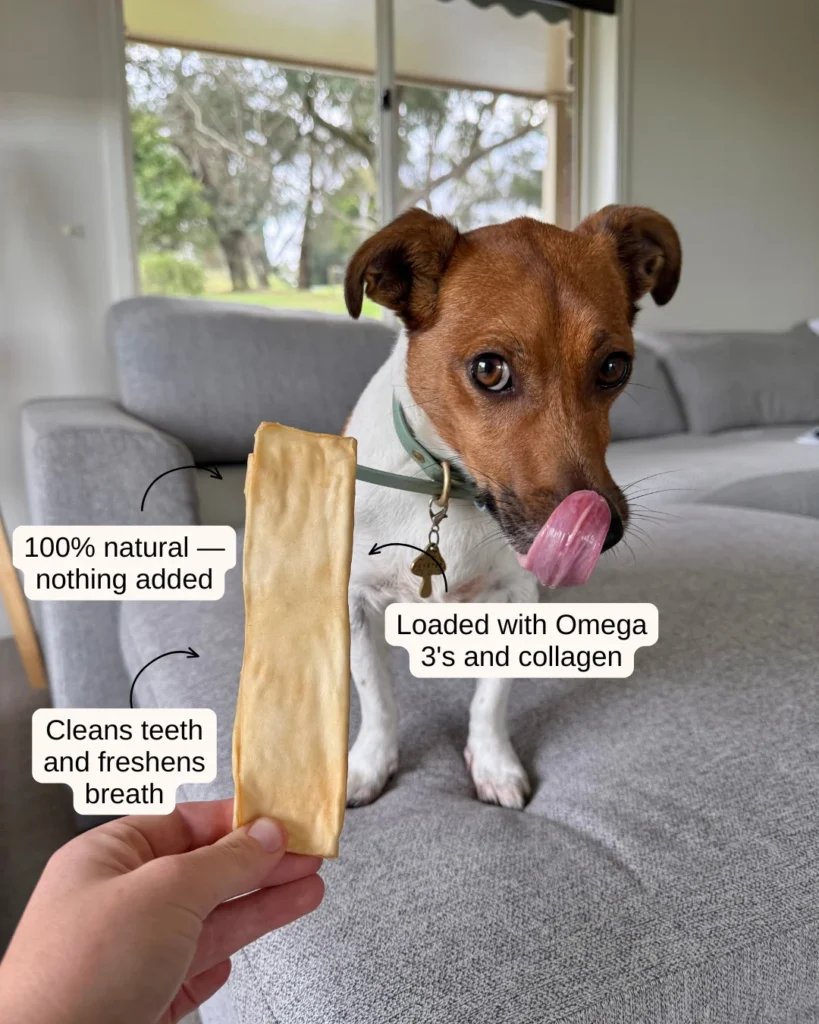
If your dog is a power chewer who goes through dental chews in record time, this recipe gives you a tougher, longer-lasting alternative you can make in batches. Ground venison (or beef, if venison isn’t available) combined with a gelatin binder creates a dense, semi-firm stick built for serious chewing.
Ingredients:
- 1 lb ground venison or lean ground beef
- 2 tablespoons unflavored gelatin powder
- ¼ cup rolled oats, blended into flour
- 1 egg
Instructions:
- Preheat your oven to 250°F (120°C) and line a baking sheet with parchment paper.
- In a large bowl, mix the ground meat, gelatin powder, oat flour, and egg until fully combined and slightly sticky.
- Shape the mixture into thick sticks, about 5 to 6 inches long and ¾ inch thick, pressing firmly so they hold their shape.
- Arrange the sticks on the baking sheet, leaving space between each one.
- Bake for 3 to 4 hours, flipping halfway through, until firm and dense all the way through with no soft spots.
- Let the sticks cool completely on a wire rack — they’ll continue to firm up as they cool, giving them that dental-chew toughness.
These sticks are best suited for medium to large dogs with strong jaws. As with any tough chew, always supervise your dog and swap out any pieces that get worn down to a small, swallowable size. If you want more inspiration for high-protein treats like this one, our homemade dog treats recipes roundup has plenty of ideas.
📸 Photo credit: Instagram @petsnacksonline
Tips for Storing Homemade Dog Chews
Storage really depends on what kind of chew you’ve made, since dried chews, baked chews, and gelatin-based chews all behave differently.
Dried and jerky-style chews (sweet potato chews, jerky strips, air-dried turkey wings) keep best in an airtight container. Store them in the fridge for about one to three weeks, or freeze for up to a month if you want to stock up.
Baked chews with flour or eggs (peanut butter sticks, dental chew sticks) can be stored at room temperature in an airtight container for a few days, but for longer freshness, the fridge or freezer is the safer bet.
Gelatin-based chews (marrow-style bars) need to stay refrigerated since they’re softer and more perishable. Use these within about a week for the best texture.
Yak milk chews are the exception — once fully baked and dried, they can be stored in a cool, dry place similar to a hard cheese, and they’ll last for months without refrigeration thanks to how much moisture is removed during the drying process.
Whatever you make, always let chews cool completely before storing them. Sealing warm treats in a container traps moisture, which can lead to mold forming faster than you’d expect.
Safety Tips for Homemade Dog Chew Treats
Making treats at home gives you more control over ingredients, but that also means the safety responsibility falls on you. A few things to keep in mind:
Watch portion size. Homemade chews are often more calorie-dense than store-bought treats, especially the meat-based ones. Break larger chews into smaller pieces for small dogs, and adjust your dog’s regular meals slightly on days they get a big chew.
Always supervise chew time. Even soft, homemade treats can become a choking hazard once they’re worn down to a small piece. This is especially true for whole-bone items like turkey wings — swap them out before they get small enough to swallow whole.
Double-check your ingredients. Peanut butter should always be xylitol-free, and it’s worth scanning any packaged ingredient labels (oats, flour, broth) for hidden sweeteners or seasonings like onion or garlic powder, which are toxic to dogs.
Know your dog’s chewing style. Aggressive chewers may need tougher, denser chews like the venison-style sticks, while puppies or seniors may do better with softer options like the gelatin marrow bars. If you’re unsure what’s appropriate for your dog’s age or dental stage, it’s worth checking in with your vet — our guide on puppy veterinary needs covers what to look out for at different life stages.
Introduce new chews gradually. Just like with any new food, introduce homemade chews one at a time and watch for any signs of an upset stomach before making them a regular part of your dog’s routine.
Final Thoughts
Making your own dog chews doesn’t have to be complicated or time-consuming — most of the effort is just waiting for things to bake or dry. Once you’ve got a couple of go-to recipes down, you can start experimenting with different proteins, shapes, and add-ins based on what your dog likes best.
If you’re looking for more ways to spoil your pup in the kitchen, take a look at our collection of homemade dog food recipes for full meals, or check out fun options like dog birthday cake recipes for their next celebration. And if chew time is really about keeping your dog entertained and their teeth clean, our breakdown of dog bones and treats is a good next stop.

Izzy is an experienced ranch worker who has a passion for exploring nature and getting up close to wildlife. With her connections to various animal organizations, Izzy is well-versed in animal care and rehabilitation.