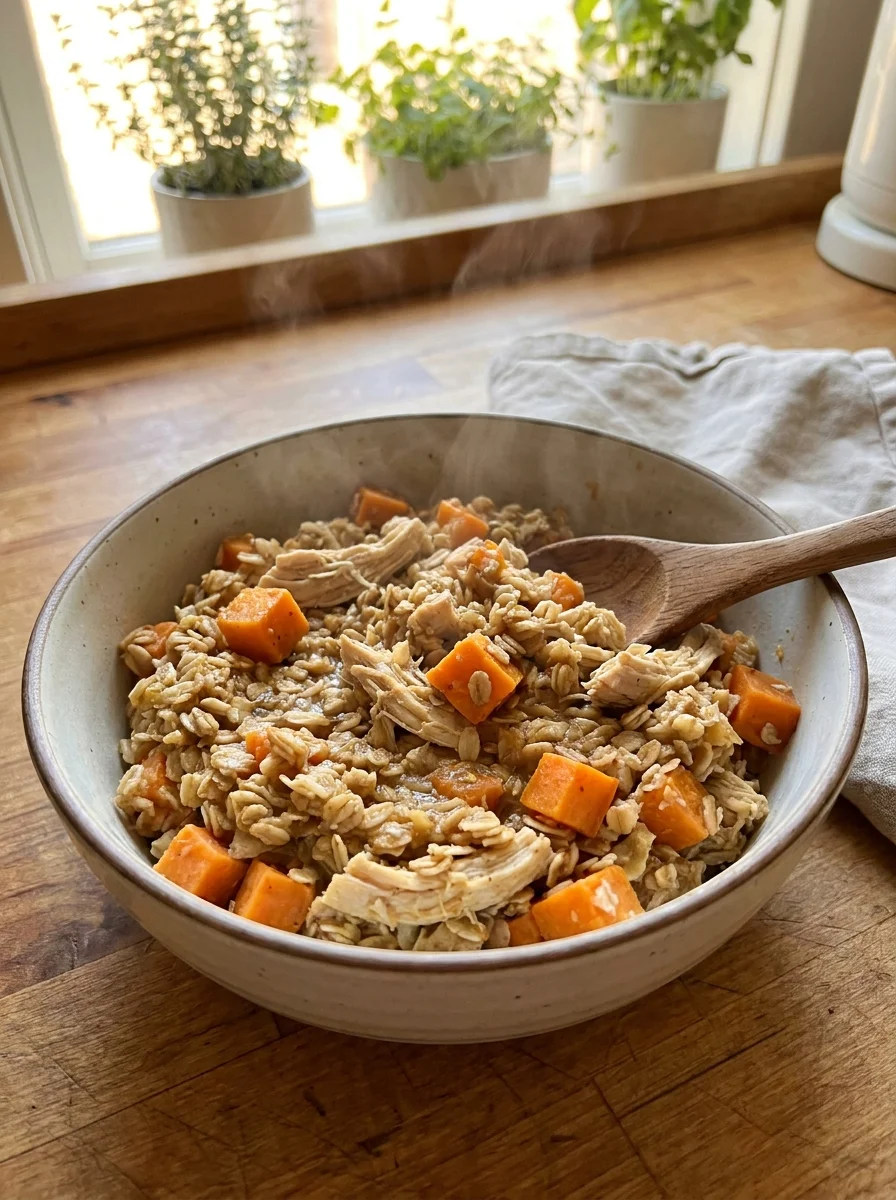
High-Protein Dog Treat Recipes for Training, Snacking, and Hot Days
If your dog gives you the puppy-dog eyes every time you open the treat jar, you already know how much they love snack time. But not all treats are created equal. Many store-bought options are packed with fillers, sugar, and mystery ingredients that don’t do much for your dog’s health — and some barely have any real meat or protein in them at all, despite the flashy packaging.
That’s where high-protein dog treat recipes come in. Made with real meat, eggs, or dairy, these treats give your dog the protein they need for strong muscles, healthy skin, and steady energy — without any of the junk. You get to see exactly what’s going into your dog’s snack, which matters a lot if your pup has a sensitive stomach or specific dietary needs.
The best part? You don’t need to be a professional baker to make them. Most of these recipes use just a handful of ingredients you probably already have in your kitchen, and none of them require any special equipment beyond a mixing bowl and a baking sheet.
In this guide, you’ll find five different high-protein dog treat recipes, each in a different style, so you can pick whatever fits your kitchen setup, your schedule, and your dog’s taste. Some are baked, some need no oven at all, and some are perfect for hot summer days. We’ll also cover a few ingredient swaps you can try once you’ve got the basics down, plus some practical storage tips and a short explanation of why protein matters so much for dogs in the first place.
Let’s get straight into the recipes.
5 High-Protein Dog Treat Formats You Can Make at Home
Before jumping into the recipes, here’s a quick look at the five formats you’ll find below. Each one uses a different cooking method, texture, and prep time, so you can pick the one that matches your schedule, your kitchen equipment, and your dog’s chewing style.
- Baked biscuits – oven-baked, crunchy, great for training and portion control
- No-bake protein balls – no oven needed, soft texture, ready in under an hour
- Dehydrated jerky strips – long-lasting, chewy, great for slow eaters and heavy chewers
- Frozen yogurt bites – cold treats, perfect for hot days or teething puppies
- Baked protein bars – cut-and-serve, great as treats or crumbled meal toppers
Each recipe below is written in a clean, ready-to-follow format with prep time, cook or freeze time, yield, ingredients, and instructions. Feel free to copy any of them straight into your own recipe box, print them out, or save them to come back to later. If you’re not sure which one to start with, the first recipe is the easiest entry point for beginners.
1. Baked Chicken & Peanut Butter Protein Biscuits (Main Recipe)
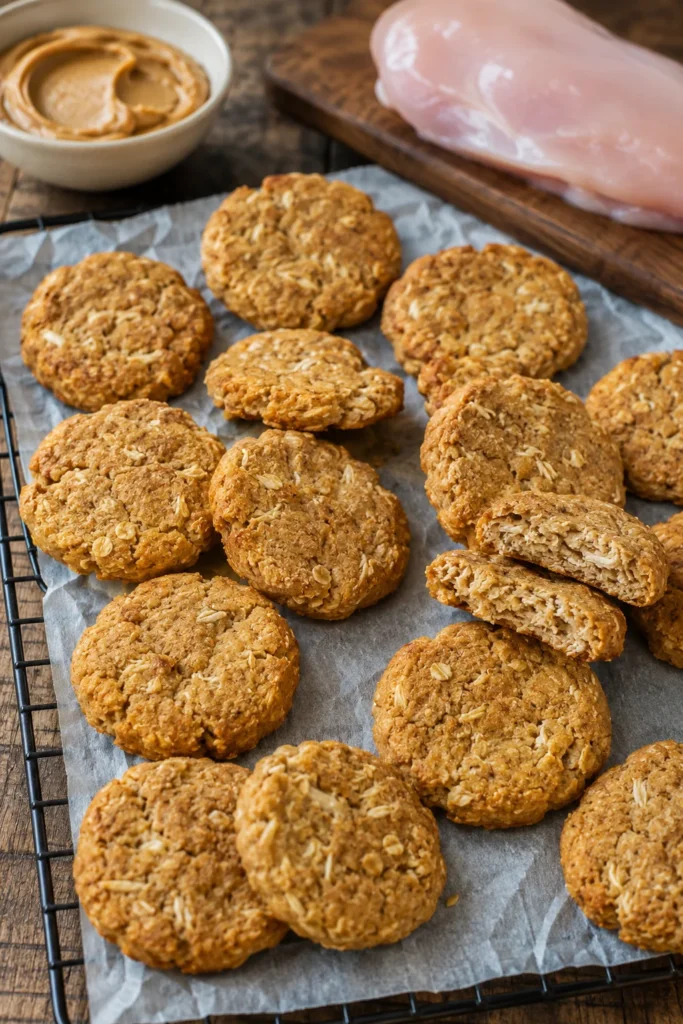
This is the treat to start with if you’re new to making high-protein dog treats at home. It uses simple pantry ingredients, bakes up crunchy, and holds its shape well — which makes it ideal for training sessions or everyday rewards. The peanut butter also makes this recipe a hit with picky eaters, since the smell alone tends to get tails wagging before the treats even come out of the oven.
Because these biscuits are firm and dry once baked, they’re easy to break into smaller pieces for training, which stretches a single batch further than you might expect.
Recipe Card
Title: Baked Chicken & Peanut Butter Protein Biscuits Prep Time: 15 minutes Bake Time: 20 minutes Total Time: 35 minutes Yield: About 24 small biscuits
Ingredients:
- 1 cup cooked chicken breast, finely shredded or ground
- 1/2 cup natural peanut butter (no xylitol, no added sugar)
- 1 large egg
- 1 cup rolled oats
- 1 tablespoon chia seeds (optional)
- 2–4 tablespoons chicken broth or water, as needed
Instructions:
- Preheat your oven to 350°F (175°C) and line a baking sheet with parchment paper.
- In a large bowl, mix the shredded chicken, peanut butter, and egg until well combined.
- Add the oats and chia seeds, then stir until a thick dough starts to form.
- Add broth or water one tablespoon at a time until the dough is soft but holds together when rolled between your hands.
- Roll the dough into small balls, about 1 inch wide, and flatten each one with your fingers or the back of a fork.
- Place the flattened biscuits on the baking sheet, leaving a little space between each one so they bake evenly.
- Bake for 18–20 minutes, or until firm and lightly golden at the edges.
- Let the biscuits cool completely on a wire rack before serving, since they’ll continue to firm up as they cool.
Notes: For extra crunch, turn off the oven after baking and leave the biscuits inside for another 10–15 minutes with the door closed. This dries them out a bit more without risking burnt edges. Store in an airtight container for up to 5 days, or freeze for up to 2 months. If your dog is new to peanut butter, introduce it slowly to check for any sensitivity, and always double-check the label for xylitol before buying.
This biscuit recipe pairs well with a proper treat storage setup if you like to keep training rewards within easy reach around the house instead of digging through the pantry every time you need one.
2. No-Bake Turkey & Oat Protein Balls
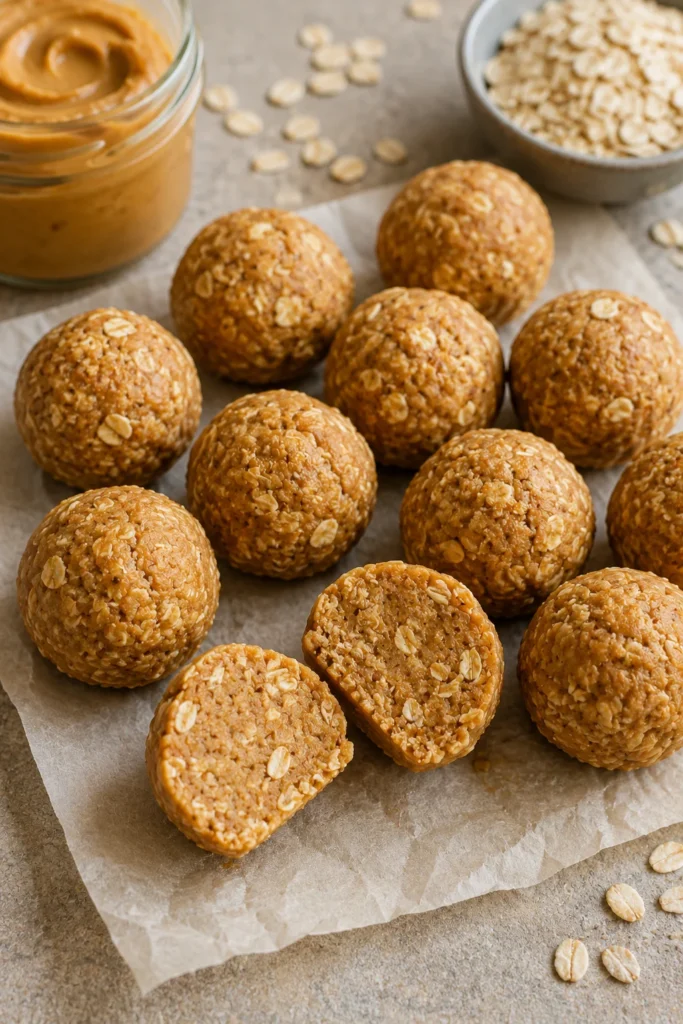
If you don’t want to turn on the oven, this recipe is for you. It comes together in one bowl and doesn’t require any baking, which makes it a great option for hot days, quick treat-making sessions, or times when your oven is already busy with dinner. It’s also one of the fastest recipes on this list from start to finish.
Because there’s no baking involved, the texture stays soft the whole way through, which makes this a good pick for dogs who prefer gentler chewing.
Recipe Card
Title: No-Bake Turkey & Oat Protein Balls Prep Time: 15 minutes Chill Time: 30 minutes Total Time: 45 minutes Yield: About 20 small balls
Ingredients:
- 1 cup cooked ground turkey, cooled
- 1/2 cup rolled oats
- 1/4 cup plain pumpkin puree (not pie filling)
- 2 tablespoons natural peanut butter
- 1 teaspoon ground cinnamon (optional)
Instructions:
- In a large bowl, combine the ground turkey, oats, pumpkin puree, and peanut butter.
- Mix well until the ingredients hold together like a thick, workable dough. If it’s too dry, add a little more pumpkin puree; if too wet, add a bit more oats.
- Add cinnamon if using, and mix again until evenly distributed.
- Roll the mixture into small, bite-sized balls using your hands, roughly the size of a marble or slightly larger.
- Place the balls on a plate or tray lined with parchment paper so they don’t stick.
- Chill in the refrigerator for at least 30 minutes to help them firm up before serving.
Notes: These treats are soft, so they’re great for puppies and senior dogs with weaker teeth or dental issues. Store in the fridge for up to 5 days, or freeze for up to 3 months. Thaw frozen balls in the fridge overnight before serving, rather than at room temperature, to keep the texture consistent.
If you’re already making homemade meals for your dog, these protein balls fit naturally alongside slow-cooked meal recipes as an easy way to use up leftover cooked meat instead of letting it go to waste.
3. Dehydrated Beef or Chicken Jerky Strips
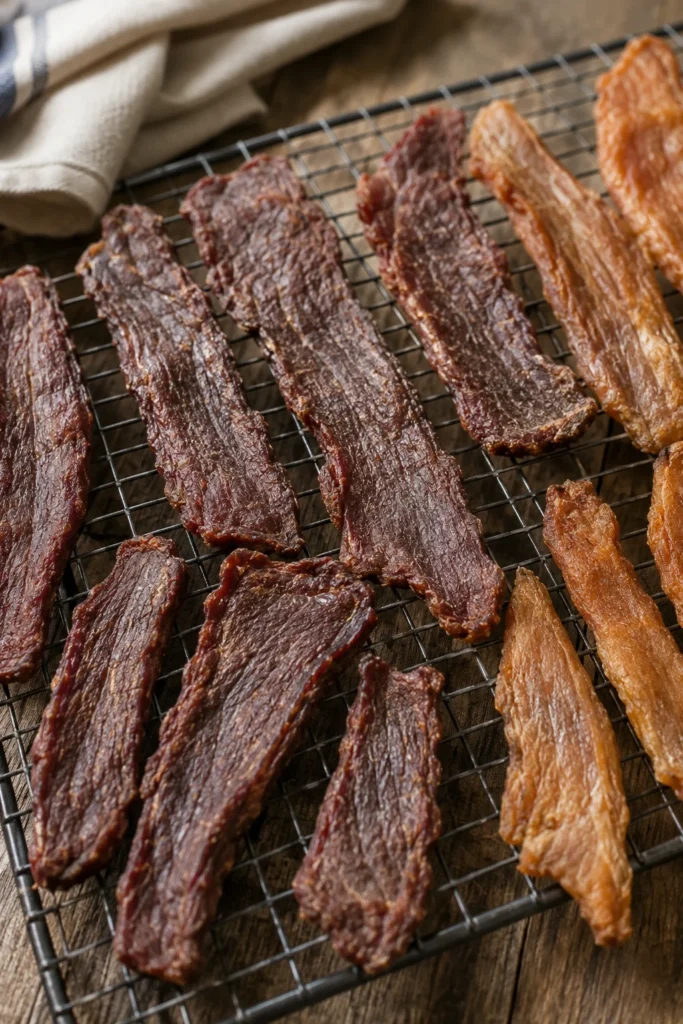
Jerky-style treats are some of the simplest high-protein dog treats you can make, since they usually require just one ingredient and no mixing at all. They’re also long-lasting once dried, which makes them great for dogs who like to chew slowly or need a treat that stretches out over a longer stretch of time.
Unlike the baked or frozen recipes above, this one is more about patience than active prep — most of the time is hands-off while the meat dries out.
Recipe Card
Title: Dehydrated Beef or Chicken Jerky Strips Prep Time: 10 minutes Dehydrate Time: 3–4 hours (oven) or 6–8 hours (dehydrator) Total Time: Varies by method Yield: About 15–20 strips, depending on meat size
Ingredients:
- 1 pound lean beef or chicken breast, trimmed of all visible fat
Instructions:
- Slice the meat into thin, even strips, about 1/4 inch thick. Freezing the meat for 20–30 minutes first makes it much easier to slice evenly, since partially frozen meat holds its shape better under a knife.
- If using an oven, preheat to 200°F (93°C) and line a baking sheet with parchment paper. If using a dehydrator, set it to the manufacturer’s recommended meat setting.
- Lay the strips flat, without overlapping, on the baking sheet or dehydrator trays so air can circulate around each piece.
- Oven method: bake for 3–4 hours, flipping halfway through, until the strips are dry and slightly leathery to the touch. Dehydrator method: follow the appliance’s timing, usually 6–8 hours depending on strip thickness.
- Check for doneness by bending a strip — it should crack slightly but not snap in half or feel wet inside.
- Let the jerky cool completely on a wire rack before storing or serving, since it will continue to firm up as it cools.
Notes: Never add seasoning, salt, garlic, or onion powder — these ingredients are unsafe for dogs, even in small amounts. Store jerky in an airtight container in the fridge for up to 2 weeks, or freeze for longer storage. This format works well as a lighter alternative to dog bones and chew treats if your dog needs a softer, easier-to-digest chew than a traditional bone.
4. Frozen Greek Yogurt Protein Bites
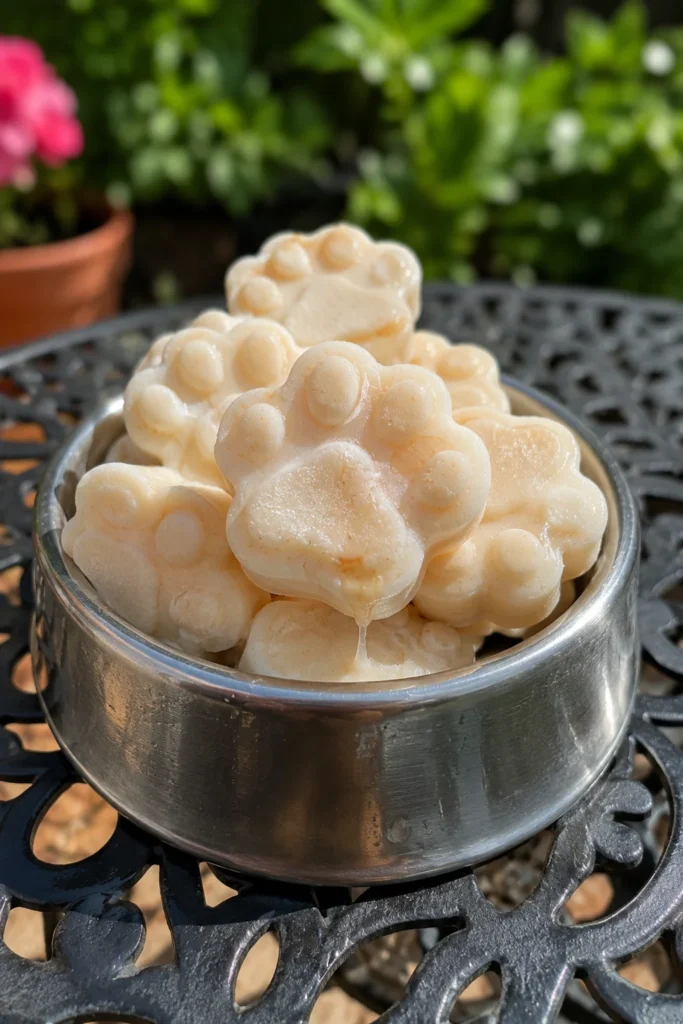
On warm days, a frozen treat can be just as rewarding as a baked one — and sometimes even more appreciated, especially by dogs who love to cool off after a walk or playtime outside. Greek yogurt adds a solid dose of protein along with a cool, creamy texture dogs tend to love, and it doubles as a gentle way to introduce probiotics into your dog’s diet.
This is also the fastest recipe on this list in terms of hands-on effort, since most of the “work” happens in the freezer without any supervision needed.
Recipe Card
Title: Frozen Greek Yogurt Protein Bites Prep Time: 10 minutes Freeze Time: 3–4 hours Total Time: About 4 hours Yield: About 24 mini bites (using an ice cube tray or silicone mold)
Ingredients:
- 1 cup plain, unsweetened Greek yogurt
- 2 tablespoons natural peanut butter
- 1/2 mashed ripe banana (optional, for sweetness)
Instructions:
- In a bowl, whisk together the Greek yogurt and peanut butter until smooth and fully blended.
- Fold in the mashed banana if using, stirring gently so it doesn’t clump.
- Spoon the mixture into a silicone ice cube tray or small mold, filling each section almost to the top.
- Place the tray in the freezer for at least 3–4 hours, or until fully solid all the way through.
- Once frozen, pop the bites out of the tray and transfer them to a freezer-safe bag or container for storage.
Notes: Always use plain Greek yogurt — flavored varieties often contain added sugar or xylitol, which is toxic to dogs. These bites will keep in the freezer for up to 2 months without losing texture or flavor. Serve one or two at a time as a cooling snack, especially after outdoor activity on hot days.
5. Baked Salmon & Egg Protein Bars
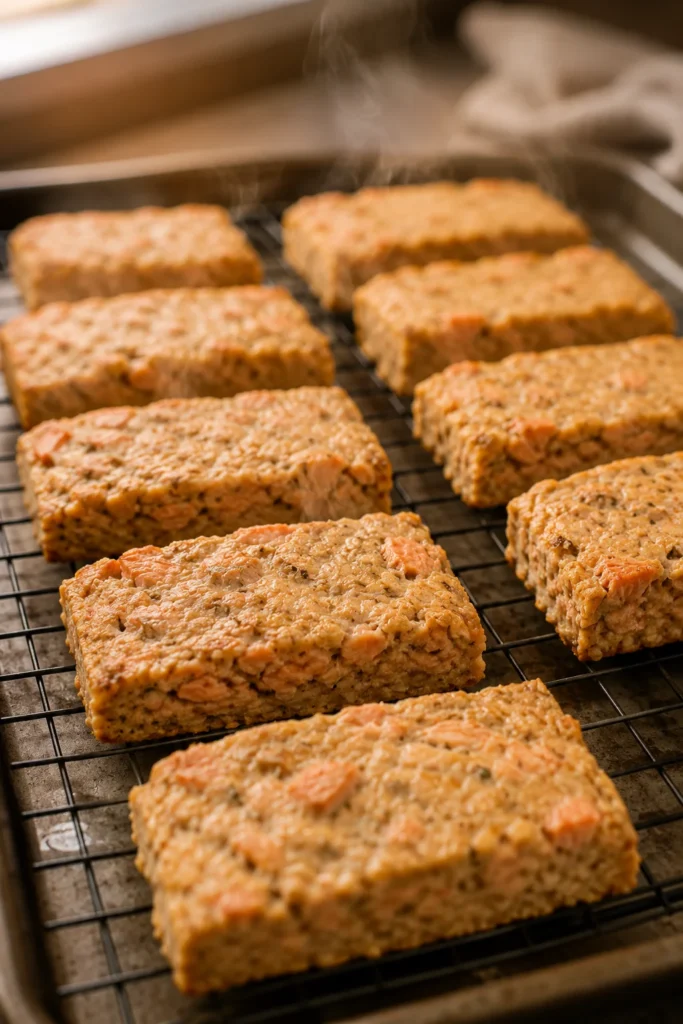
This recipe bakes like a sheet cake and gets cut into squares or bars afterward, which makes portioning quick and easy compared to shaping individual treats by hand. Salmon adds protein along with omega-3s that support healthy skin and coat, making this recipe a nice option if you’re looking for something with a slightly different nutritional angle than the poultry-based recipes above.
Since this recipe bakes in one pan, it’s also one of the easiest to scale up if you want to make a bigger batch for freezing.
Recipe Card
Title: Baked Salmon & Egg Protein Bars Prep Time: 15 minutes Bake Time: 25–30 minutes Total Time: About 45 minutes Yield: About 16 bars (from an 8×8-inch pan)
Ingredients:
- 1 can (14.75 oz) canned salmon, drained and deboned
- 2 large eggs
- 1 cup oat flour (or rolled oats blended fine)
- 1/4 cup plain pumpkin puree
Instructions:
- Preheat your oven to 325°F (163°C) and lightly grease an 8×8-inch baking pan or line it with parchment paper for easy removal.
- In a large bowl, mash the salmon well with a fork until no large chunks remain.
- Add the eggs, oat flour, and pumpkin puree, mixing until fully combined into a thick, spreadable batter.
- Spread the batter evenly into the prepared pan, smoothing the top with a spatula.
- Bake for 25–30 minutes, or until the top is firm and lightly golden and a toothpick comes out clean.
- Let the bars cool completely in the pan before cutting into squares, since they’ll be too soft to slice cleanly while warm.
Notes: These bars work great as a treat on their own or crumbled over regular food as a meal topper for picky eaters. Store in the fridge for up to 5 days, or freeze individual bars for up to 3 months. If you enjoy prepping bigger batches of homemade dog food, this recipe pairs well with a broader homemade dog food routine where you’re already cooking in larger quantities.
3 Ingredient Variations to Try
Once you’ve made a batch or two of the recipes above, you can start adjusting them to match your dog’s taste preferences or dietary needs. These aren’t new formats — they’re simple ingredient swaps you can apply to any of the recipes you already liked. Here are three that are worth trying.
1. Beef & Sweet Potato Swap
Replace the chicken or turkey in any of the recipes above with lean ground beef, and swap the oats or pumpkin for mashed cooked sweet potato. This combination adds extra fiber and a slightly sweeter flavor that many dogs enjoy, especially if they’ve grown a little tired of poultry-based treats. Beef also tends to have a richer smell that can make treats more motivating during training.
This swap works particularly well in the baked biscuit and protein bar recipes, since both hold up nicely with the denser texture that sweet potato adds to the dough.
2. Fish-Based Swap for Skin and Coat Support
If your dog has dry skin or a dull coat, try swapping the meat in the biscuit or protein ball recipes for canned sardines or mackerel, packed in water with no added salt. Fish-based treats bring extra omega-3 fatty acids, which support healthy skin and a shinier coat over time, on top of the protein benefits you’re already getting from the base recipe.
Just keep in mind that fish-based dough tends to be a little oilier, so you may need slightly less liquid than the original recipe calls for.
3. Plant-Protein Swap for Allergy-Sensitive Dogs
For dogs with meat allergies or sensitivities, cooked and mashed lentils or chickpeas can replace the meat in the no-bake protein ball recipe. This swap still delivers a good protein boost while cutting out common allergens found in poultry or beef. It’s a helpful option if you’re still narrowing down what your dog can and can’t tolerate.
Always introduce plant-based swaps gradually, giving your dog’s digestive system a few days to adjust to the new ingredient before making it a regular part of their treat rotation.
Storage & Freezing Tips
No matter which recipe you choose, proper storage keeps your treats fresh, safe to eat, and free of any unwanted texture changes. Here’s a quick breakdown by format so you always know how long a batch will last.
- Baked biscuits and bars: Store in an airtight container at room temperature for 3–5 days, or freeze for up to 2 months.
- No-bake balls: Keep refrigerated for up to 5 days, or freeze for up to 3 months.
- Jerky strips: Store in the fridge for up to 2 weeks in an airtight container, or freeze for longer shelf life.
- Frozen yogurt bites: Keep in the freezer at all times; they’ll last up to 2 months without any noticeable change in texture.
A simple trick that works across all formats: freeze treats in a single layer on a tray first, then transfer them to a bag or container once solid. This keeps them from sticking together in one large frozen clump, which makes it much easier to grab just one or two at a time later on.
It’s also worth labeling containers with the date you made the batch, especially if you’re rotating between multiple recipes. This small habit helps you keep track of freshness without having to guess.
If you like to prep treats in bulk alongside regular meals, a dedicated feeding station setup can help keep everything organized in one spot, so treat containers don’t end up scattered across different shelves in the kitchen.
Why Protein Matters for Dogs
Protein plays a big role in a dog’s daily diet, and it’s worth understanding why these recipes lean so heavily on it. Protein is made up of amino acids, which are the building blocks your dog’s body uses to repair muscle, produce enzymes, and maintain a healthy immune system. Without enough protein, dogs can lose muscle mass over time, heal more slowly from injuries, and generally feel less energetic day to day.
For active dogs — the ones who spend hours running, hiking, or playing fetch — protein helps repair the small amounts of muscle wear that happen during exercise. For growing puppies, it supports the rapid muscle and tissue development that happens in the first year of life. And for senior dogs, a bit of extra protein can help slow the natural muscle loss that comes with aging, keeping them steadier on their feet for longer.
Protein also plays a role in skin and coat health. Many of the amino acids found in high-protein ingredients, like the ones used in these recipes, support keratin production, which is the main protein that makes up hair and skin cells. That’s part of why fish-based treats, in particular, are often recommended for dogs with dry or flaky skin.
That said, treats should only make up a small part of your dog’s overall diet — generally no more than 10% of daily calories, with the rest coming from a complete and balanced dog food. High-protein treats work best as an addition to a good diet, not a replacement for one. If your dog has any existing health conditions, especially kidney issues, it’s worth checking with your vet before significantly increasing their protein intake, since some conditions call for more moderate protein levels.
If your dog’s diet needs are more specific, or if you’re not sure how much protein is appropriate for their age and activity level, a vet checkup schedule is a good place to start, especially for growing puppies whose nutritional needs shift quickly as they grow.
Final Thoughts
High-protein dog treat recipes don’t have to be complicated or time-consuming. Whether you bake a batch of chicken biscuits, roll up some no-bake protein balls, dry out a batch of jerky, freeze a tray of yogurt bites, or bake a pan of salmon bars, you’re giving your dog a snack that’s both tasty and genuinely good for them.
Each of these five formats brings something a little different to the table — some are crunchy, some are soft, some are cold, and some are chewy — so it’s worth trying more than one to see which textures and flavors your dog responds to best. Many dog owners end up keeping two or three formats in rotation, switching between them depending on the season, the occasion, or simply what’s easiest to prep that week.
Try one recipe this week, see which one your dog loves most, and build a small rotation from there. Homemade treats let you control exactly what goes into your dog’s bowl, right down to every last ingredient — and that peace of mind is worth the extra few minutes spent in the kitchen.

Izzy is an experienced ranch worker who has a passion for exploring nature and getting up close to wildlife. With her connections to various animal organizations, Izzy is well-versed in animal care and rehabilitation.