7 Dog Treats with Coconut Oil (Easy Recipes for Skin & Coat Health)
If your dog has dry, flaky skin or a dull coat, you’ve probably heard that coconut oil can help. It’s true — and the best way to use it is by baking, freezing, or mixing it right into homemade treats.
This article gives you 7 dog treats with coconut oil, each using a different method: baked, no-bake, frozen, dehydrated, and training-size bites. Every recipe below can go straight into your kitchen (and copy-pasted into your recipe box) with exact amounts, times, and yields.
We’ll also cover safe daily amounts, storage tips, and three easy ingredient swaps for dogs with allergies or sensitive stomachs. Let’s get into it.
Coconut Oil Dog Treat Recipes For Skin Health
Each recipe card below has everything you need: prep time, cook or freeze time, yield, ingredients, and step-by-step instructions. Use virgin, unrefined coconut oil for all of them — it keeps more of the natural fatty acids that help your dog’s skin.
1. Baked Coconut Oil & Oat Bites
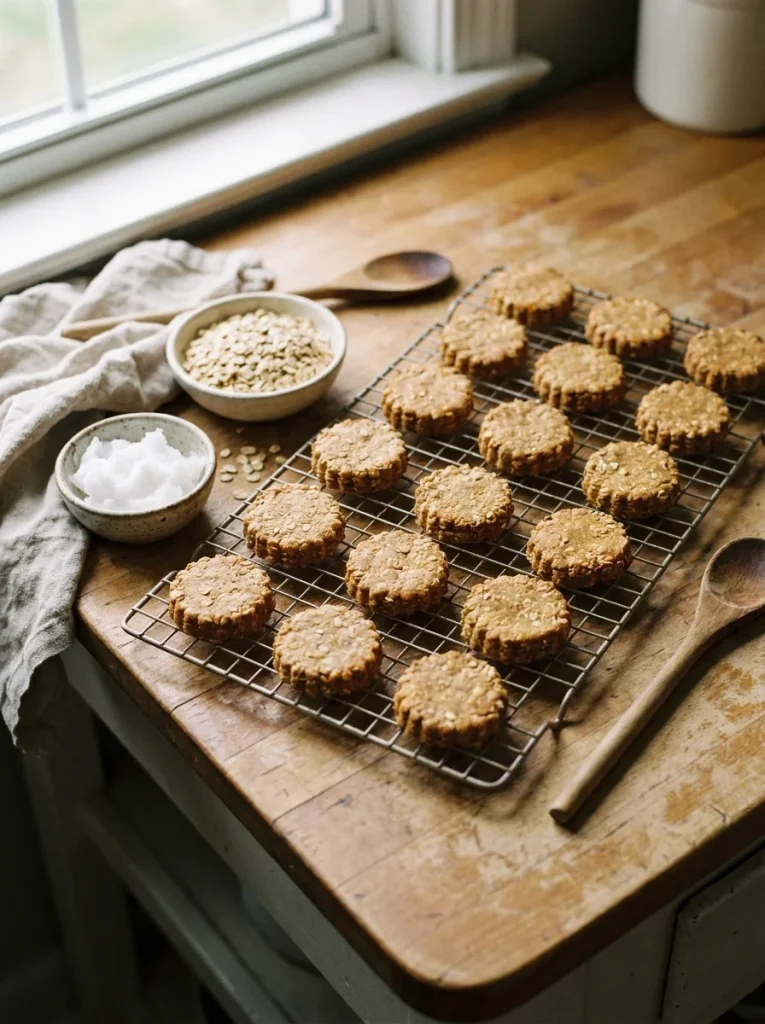
This is the master recipe — the one to start with if you’re new to homemade coconut oil dog treats. It’s simple, cheap, and holds together well, so it’s a good base for the variations later in this article.
Prep Time: 10 minutes Cook Time: 15 minutes Total Time: 25 minutes Yield: About 24 small treats
Ingredients:
- 2 cups oat flour (or old-fashioned oats blended into flour)
- ½ cup virgin coconut oil, melted
- 2 large eggs
- ¼ cup unsweetened applesauce
Instructions:
- Preheat oven to 350°F (175°C). Line a baking sheet with parchment paper.
- In a bowl, whisk the melted coconut oil, eggs, and applesauce together.
- Add the oat flour and stir until a thick dough forms.
- Roll into small balls, about 1 inch wide, and flatten slightly with your palm.
- Place on the baking sheet, spaced 1 inch apart.
- Bake for 12–15 minutes, until the edges turn light golden.
- Cool completely on a wire rack before serving.
Notes: Store in an airtight container at room temperature for 5 days, or in the fridge for up to 2 weeks. This dough also freezes well — shape it, then freeze unbaked balls on a tray before transferring to a freezer bag.
If your dog also gets bored of the same chew toys as much as the same treats, it might be worth browsing the evolution of dog toys for fresh ideas to pair with treat time.
2. No-Bake Peanut Butter Coconut Balls
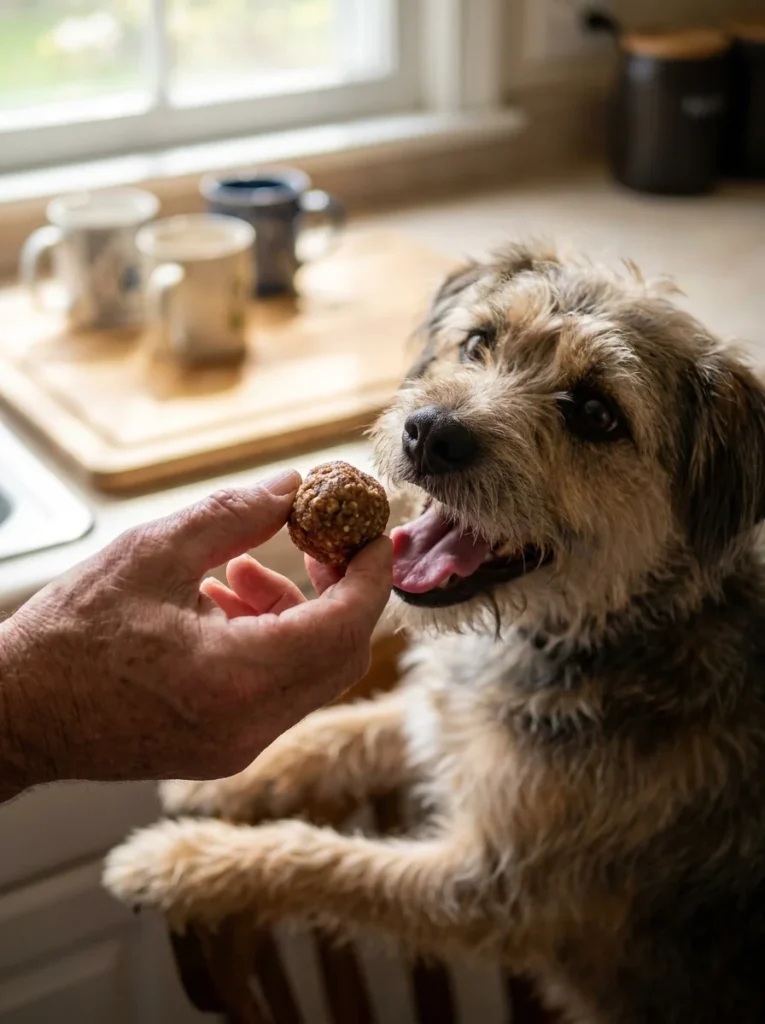
No oven, no mess — just mix and chill. This is the fastest recipe on the list, perfect for a rainy afternoon or when you’re short on time.
Prep Time: 10 minutes Chill Time: 30 minutes Total Time: 40 minutes Yield: About 20 small balls
Ingredients:
- 1 cup natural peanut butter (xylitol-free)
- 3 tablespoons virgin coconut oil, melted
- 1 cup oat flour
- 1 tablespoon ground flaxseed (optional)
Instructions:
- In a mixing bowl, stir the peanut butter and melted coconut oil together until smooth.
- Add the oat flour and flaxseed, mixing until a thick, moldable dough forms.
- If the dough feels too sticky, add 1 tablespoon of oat flour at a time until workable.
- Roll into small, bite-sized balls using your hands.
- Place the balls on a plate lined with parchment paper.
- Refrigerate for at least 30 minutes, until firm.
Notes: Keep refrigerated in an airtight container for up to 10 days. These treats soften quickly at room temperature, so don’t leave them out too long, especially in warm weather.
3. Frozen Coconut Oil & Blueberry Bites
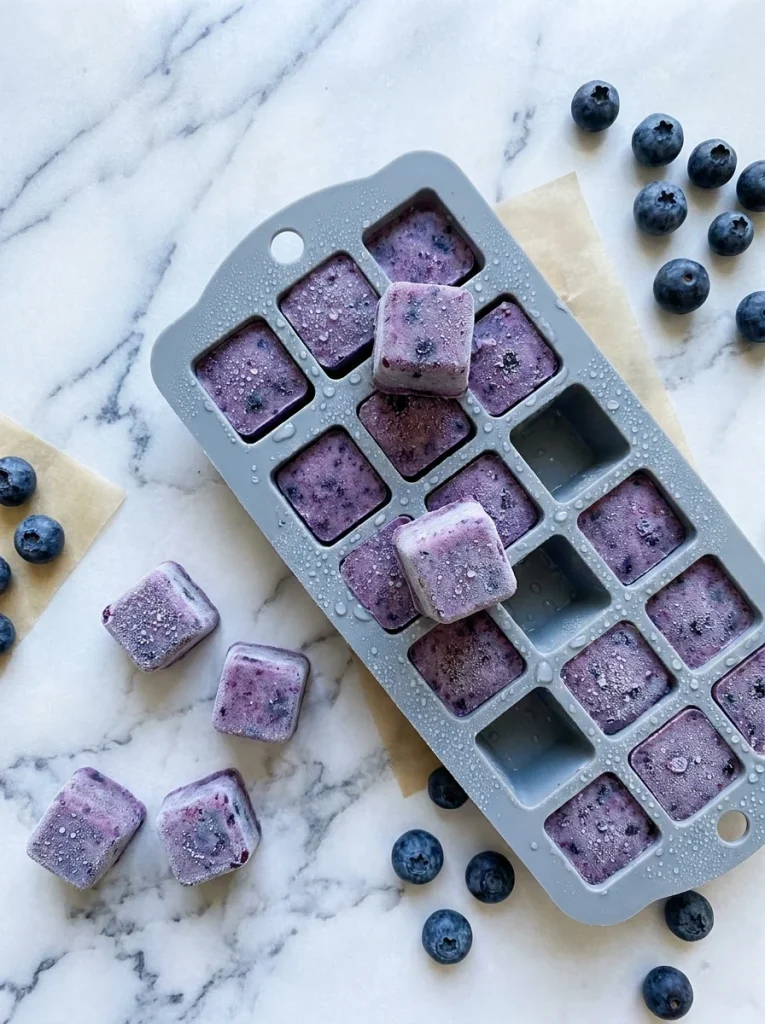
These are ideal for summer, after a walk, or any time your dog needs to cool down. The frozen texture also makes them last longer as a chew, which is great for dogs who inhale their treats.
Prep Time: 10 minutes Freeze Time: 4 hours Total Time: 4 hours 10 minutes Yield: About 12–15 mini treats
Ingredients:
- 3 tablespoons virgin coconut oil, melted
- ½ cup fresh or frozen blueberries, mashed
- ¼ cup plain unsweetened yogurt
- 1 teaspoon honey (optional)
Instructions:
- Melt the coconut oil in the microwave in 15-second bursts until fully liquid.
- In a bowl, mash the blueberries with a fork until juicy.
- Stir in the yogurt, melted coconut oil, and honey until well combined.
- Pour the mixture into a silicone mold or ice cube tray.
- Freeze for at least 4 hours, or until completely solid.
- Pop treats out of the mold and serve one at a time.
Notes: Store frozen in a freezer-safe container for up to 3 months. These melt fast, so serve them outside or on a plate, not on carpet.
4. Coconut Oil & Pumpkin Dental Chews
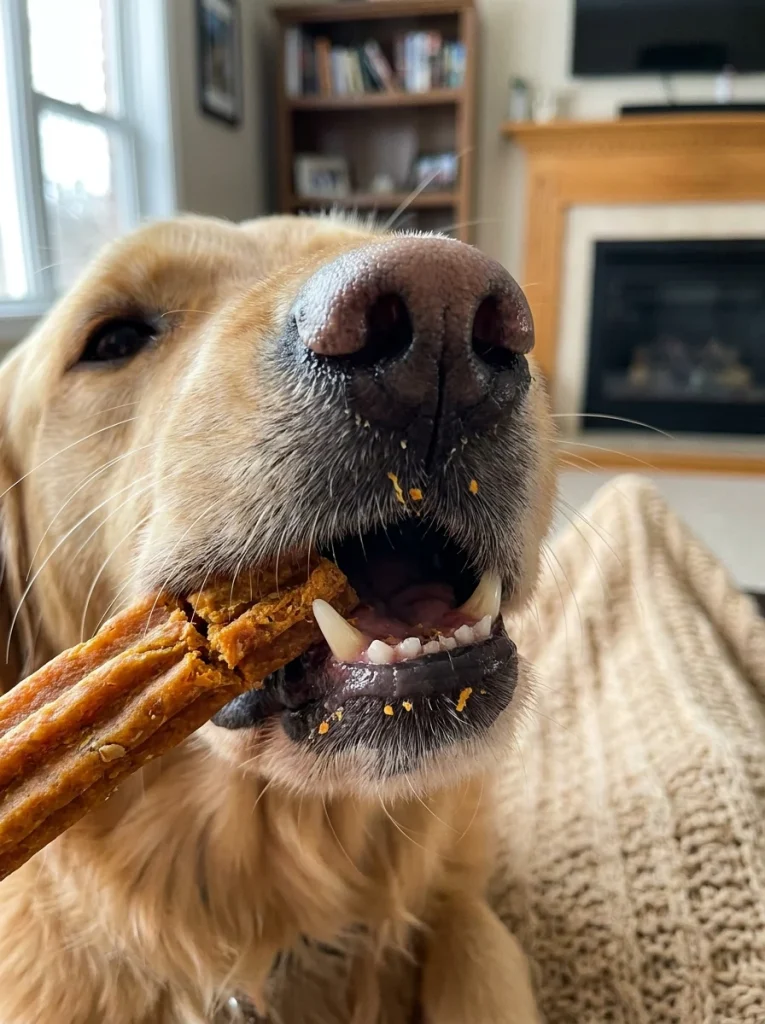
This recipe bakes longer and drier than the others, giving it a crunchy texture that helps scrape plaque off your dog’s teeth while they chew. It’s a good option if you want a treat that does double duty for skin and dental health.
Prep Time: 10 minutes Cook Time: 25 minutes Total Time: 35 minutes Yield: About 20 small chews
Ingredients:
- 2 cups oat flour
- 3 tablespoons virgin coconut oil, melted
- ⅓ cup pure pumpkin puree (not pumpkin pie filling)
- ½ teaspoon turmeric powder
- 2–3 tablespoons water, as needed
Instructions:
- Preheat oven to 325°F (165°C). Line a baking sheet with parchment paper.
- Combine the oat flour, melted coconut oil, pumpkin puree, and turmeric in a bowl.
- Add water 1 tablespoon at a time until the dough feels firm, like play-dough.
- Roll the dough to about ¼ inch thick on a floured surface.
- Cut into small stick or square shapes using a knife or cookie cutter.
- Bake for 22–25 minutes, until the edges look dry and lightly golden.
- Turn off the oven and let the chews sit inside as it cools, to maximize crunch.
Notes: Store at room temperature for up to 2 weeks, or freeze for up to 3 months. Always double-check the label says “100% pumpkin,” not pie filling, which contains added sugar and spices.
For dogs who love a good chew, it’s worth pairing this recipe with a look at smart choices for everyday dog bones and chews to round out their chewing routine.
5. Coconut Oil & Salmon Coat-Boost Treats
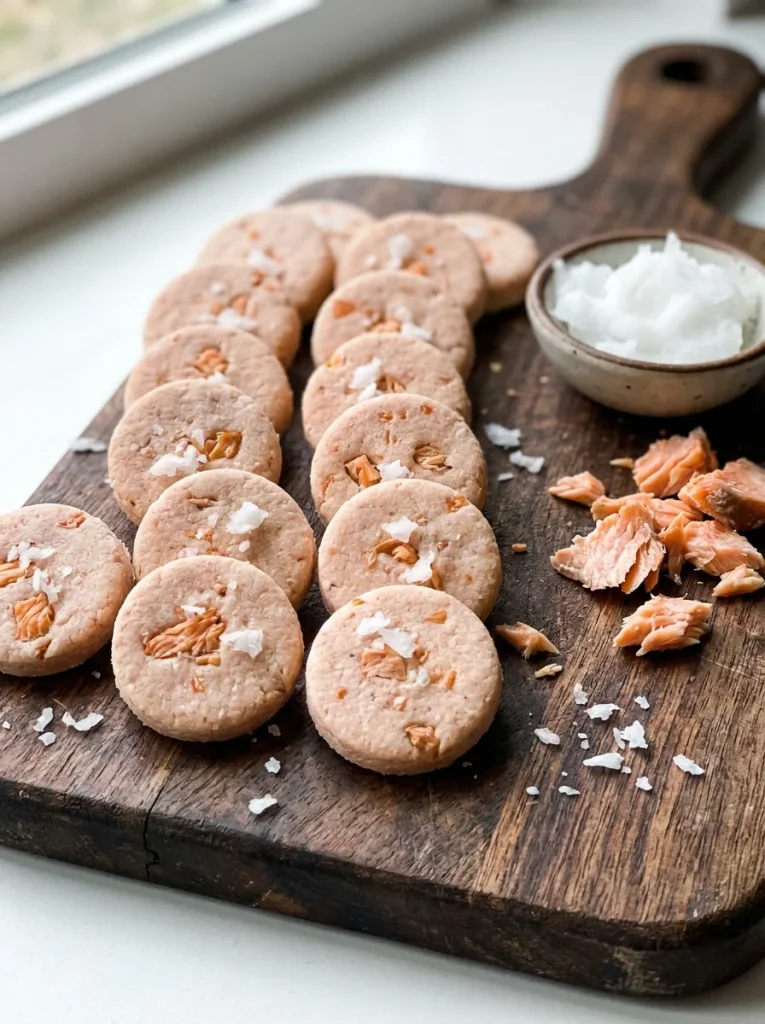
This one pairs coconut oil’s fatty acids with salmon’s omega-3s for a stronger coat-health punch. It’s a good pick for dogs with dull or thinning fur.
Prep Time: 10 minutes Cook Time: 18 minutes Total Time: 28 minutes Yield: About 18 treats
Ingredients:
- 1 cup cooked salmon, flaked (no bones, no skin)
- 1 ½ cups coconut flour
- ⅓ cup virgin coconut oil, melted
- 1 egg
- ¼ cup water (add slowly, as needed)
Instructions:
- Preheat oven to 325°F (165°C). Coconut flour burns easily at higher heat.
- In a bowl, mix the flaked salmon, melted coconut oil, and egg.
- Slowly add the coconut flour, along with small amounts of water, until a workable dough forms.
- Shape the dough into small, flat discs, about 1 inch wide.
- Place on a parchment-lined baking sheet.
- Bake for 18–20 minutes, until firm to the touch.
- Let cool completely — the treats will firm up more as they cool.
Notes: Refrigerate for up to 1 week, or freeze for up to 2 months. Coconut flour absorbs liquid differently than regular flour, so add water gradually rather than all at once.
6. Dehydrated Coconut & Sweet Potato Chews
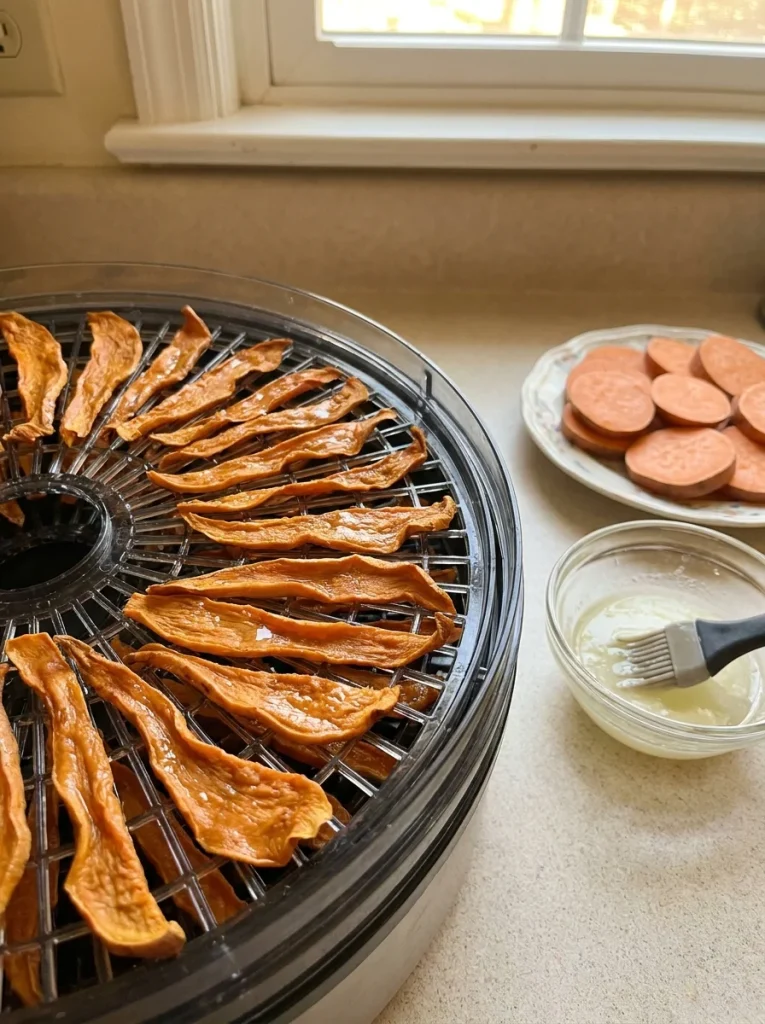
Most coconut oil treat recipes are baked or frozen — dehydrating is a different method that gives you a long-lasting, chewy treat without added preservatives. It’s a great option if you want something that travels well or lasts on the shelf.
Prep Time: 15 minutes Dehydrate Time: 6–8 hours Total Time: About 7 hours Yield: About 25 chews
Ingredients:
- 2 medium sweet potatoes, peeled and thinly sliced
- 2 tablespoons virgin coconut oil, melted
- ¼ teaspoon cinnamon (optional)
Instructions:
- Slice the sweet potatoes into thin, even rounds, about ⅛ inch thick.
- In a bowl, toss the slices gently with the melted coconut oil and cinnamon.
- Arrange the slices in a single layer on dehydrator trays, without overlapping.
- Dehydrate at 135°F (57°C) for 6–8 hours, flipping halfway through.
- Chews are done when they feel firm and leathery, not soft or wet.
- Let cool completely before storing.
Notes: No dehydrator? Use an oven on its lowest setting (around 200°F) with the door slightly propped open, and check every hour. Store in an airtight container at room temperature for up to 2 weeks, or freeze for longer storage.
7. Soft Training-Size Coconut Oil Bites
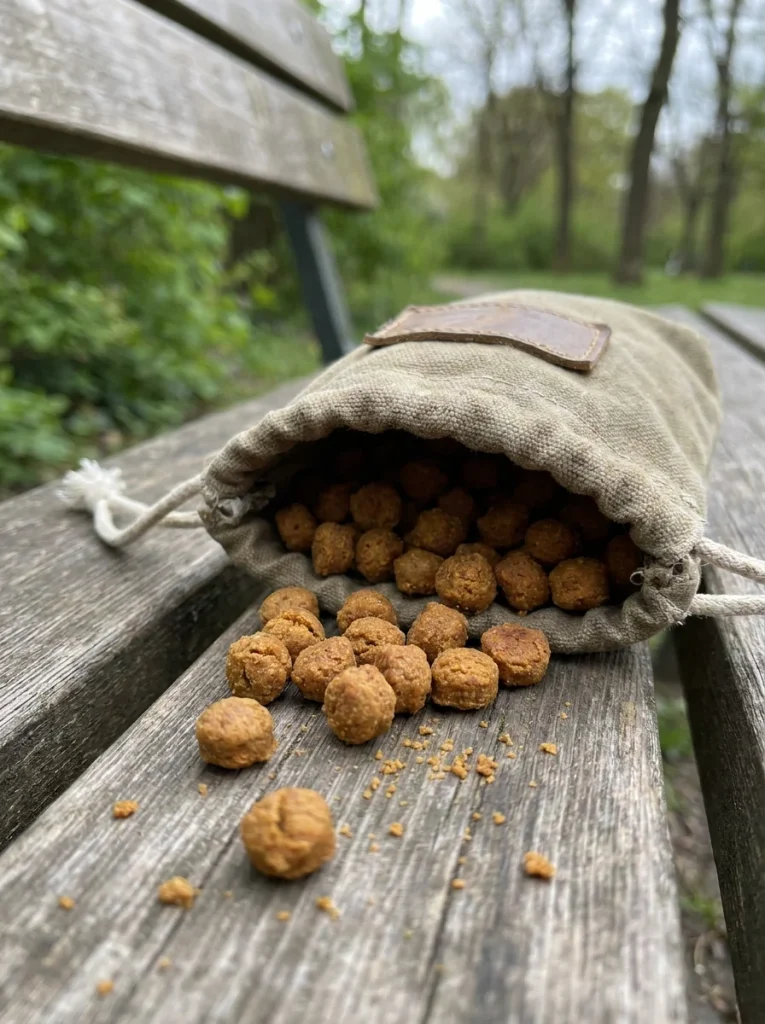
Training treats need to be small, soft, and quick to eat, so your dog doesn’t lose focus mid-session. This recipe makes tiny, pea-sized bites that still deliver the skin-and-coat benefits of coconut oil.
Prep Time: 10 minutes Cook Time: 10 minutes Total Time: 20 minutes Yield: About 60 mini bites
Ingredients:
- 1 ½ cups oat flour
- ¼ cup virgin coconut oil, melted
- 1 egg
- ¼ cup unsweetened applesauce
- 2 tablespoons finely chopped parsley (optional, for fresh breath)
Instructions:
- Preheat oven to 325°F (165°C). Line a baking sheet with parchment paper.
- Mix the melted coconut oil, egg, and applesauce in a bowl.
- Add the oat flour and parsley, stirring until a soft dough forms.
- Roll the dough flat to about ⅓ inch thick.
- Cut into tiny pea-sized pieces using a knife or pizza cutter.
- Bake for 8–10 minutes, until just set but still soft.
- Cool before using, then store extras and portion out during sessions.
Notes: Keep soft training treats refrigerated for up to 1 week, since they contain no preservatives and stay moist. If you’re working on obedience skills alongside treat training, this pairs well with methods described in reward-based approaches to dog training.
Homemade Coconut Oil Dog Treats: 3 Ingredient Variations
Once you’ve tried the base recipes above, here are three simple ingredient swaps for dogs with specific needs. These aren’t new formats — just smart changes to the same dough.
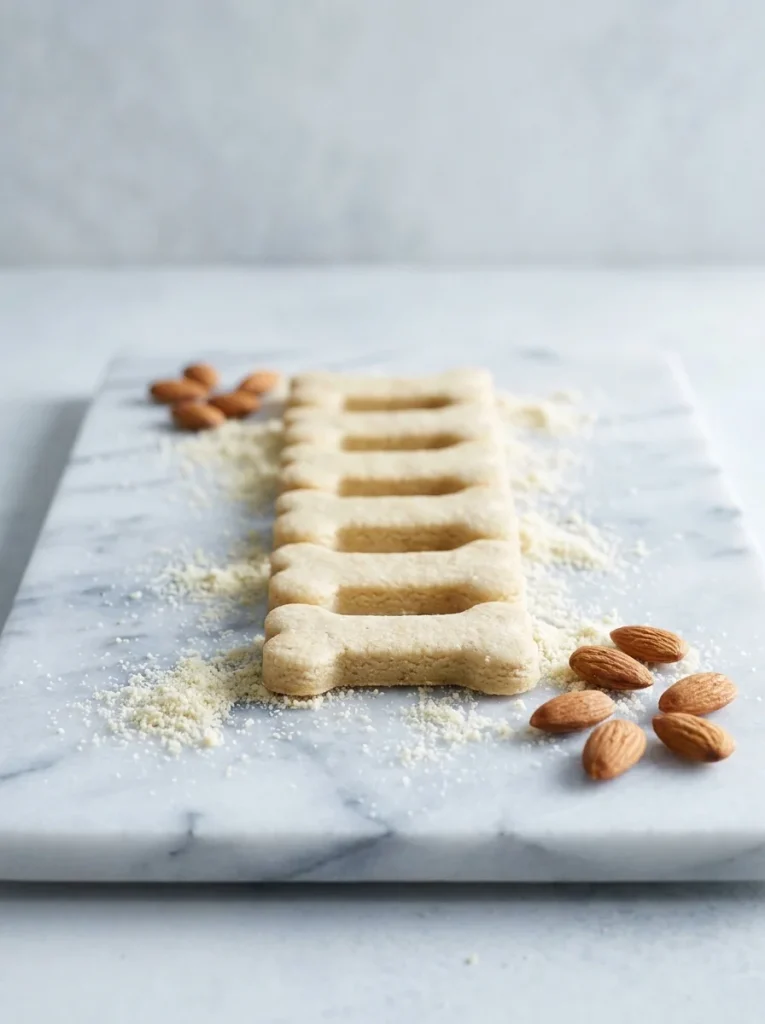
I. Grain-Free Coconut Oil Treats Swap the oat flour in any recipe for almond flour or coconut flour in equal parts. This works well for dogs with grain sensitivities. Note that coconut flour absorbs more liquid, so you may need to add an extra egg or a splash of water to keep the dough workable.
II. Low-Fat Coconut Oil Treats For dogs prone to pancreatitis or weight gain, cut the coconut oil amount in half and replace the difference with unsweetened applesauce or mashed pumpkin. This keeps the moisture and flavor while lowering the fat content. Always check with your vet first if your dog has a history of pancreatitis.
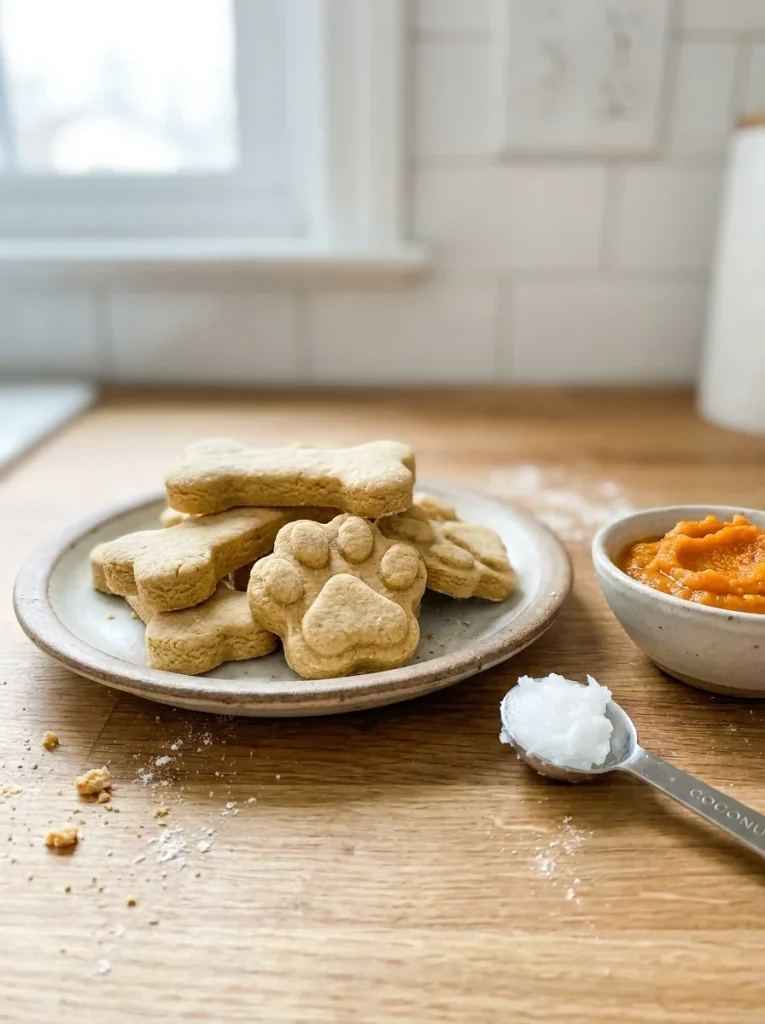
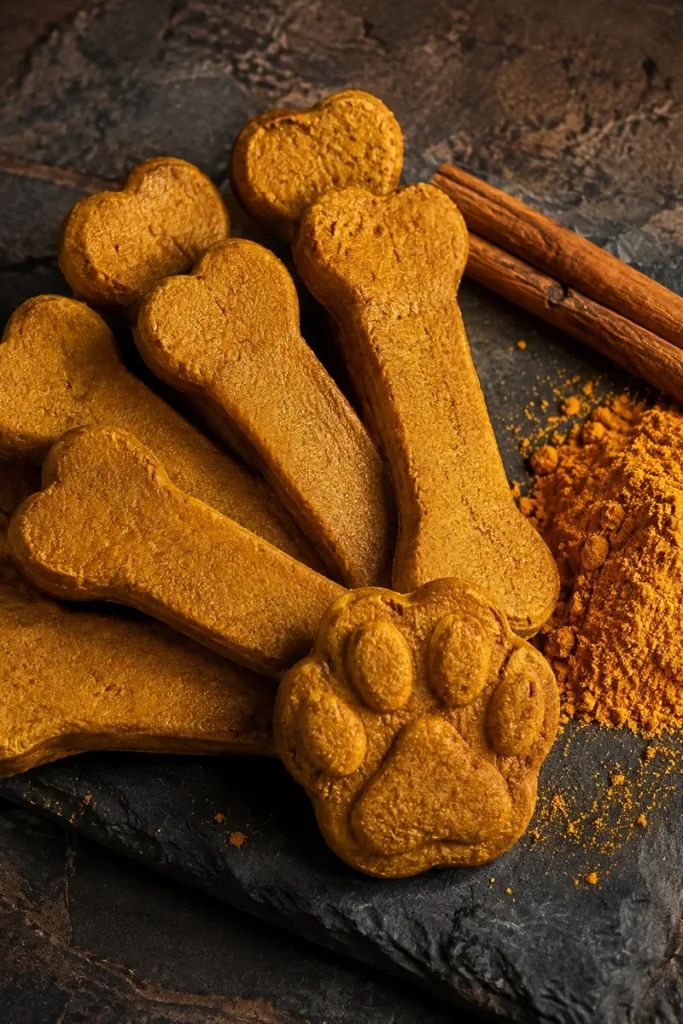
III. Turmeric Anti-Itch Coconut Oil Treats Add ½ teaspoon of turmeric powder plus a small pinch of black pepper (which helps the body absorb turmeric) to any baked recipe above. This combination is popular for dogs dealing with extra-itchy, inflamed skin. If your dog’s itching seems constant or severe, it’s worth reading more about what causes excessive licking and itching in dogs before assuming diet alone will fix it.
Storage Guide for Every Coconut Oil Treat
Different formats need different storage. Here’s a quick reference so nothing goes to waste.
| Treat Format | Counter | Fridge | Freezer |
|---|---|---|---|
| Baked (oat/pumpkin/salmon) | 5–7 days | 2 weeks | 2–3 months |
| No-bake balls | Not recommended | 10 days | 2 months |
| Frozen bites | Not recommended | A few hours only | 3 months |
| Dehydrated chews | 2 weeks | 3–4 weeks | 6 months |
| Soft training bites | Not recommended | 1 week | 1 month |
A simple treat jar or dedicated storage spot also helps keep things organized, especially if you’re rotating between several batches. If you’re setting up a treat station at home, these dog treat station ideas are worth a look.
How Much Coconut Oil Is Safe for Dogs?
More isn’t better. Too much coconut oil, too fast, can cause an upset stomach or loose stools. Use this table as a general daily guideline, spread across treats and any oil mixed into meals.
| Dog Weight | Daily Coconut Oil (Max) |
|---|---|
| Under 15 lbs | 1 teaspoon |
| 15–30 lbs | 2 teaspoons |
| 30–50 lbs | 1 tablespoon |
| Over 50 lbs | 1 ½ tablespoons |
If it’s your dog’s first time trying coconut oil, start with half the amount above for about a week. Watch how their stomach handles it before increasing.
Puppies can have coconut oil too, but in smaller amounts, and only once they’re past the early weaning stage. If you’re unsure what’s appropriate for a young puppy’s diet, it’s worth reviewing general puppy veterinary care guidelines before adding new treats to their routine.
Why Coconut Oil Helps Dog Skin and Coat
Coconut oil is rich in medium-chain fatty acids, especially lauric acid. This fatty acid has natural antimicrobial properties, which can help reduce the bacteria and yeast that often cause itchy, irritated skin.
When fed regularly, these fats help strengthen the skin’s natural barrier. That means less moisture loss, less dryness, and less flaking over time. Many owners also notice a shinier, softer coat after a few consistent weeks.
Results aren’t instant. Most dogs need 2 to 4 weeks of regular feeding before you’ll notice a real difference in their skin or coat. Consistency matters more than the amount — a small daily portion works better than one large dose now and then.
Common Mistakes to Avoid When Making These Treats
Using refined coconut oil. Refined oil goes through more processing and loses some of the beneficial compounds. Stick with virgin, unrefined coconut oil for the best results.
Adding too much oil too fast. Jumping straight to the maximum daily amount can upset your dog’s stomach. Build up gradually over a week or two.
Skipping the cooling step. Many of these treats, especially the pumpkin dental chews, continue to firm up as they cool. Cutting into them too early can leave the inside gummy.
Using pumpkin pie filling instead of pure pumpkin. Pie filling contains added sugar and spices that aren’t safe for dogs. Always check the label for “100% pumpkin.”
Storing treats in the wrong place. Frozen bites left on the counter melt fast, and soft training bites left unrefrigerated can spoil within a day or two. Match your storage to the format, using the table above as a reference.
Overfeeding as “extra” treats. These are still calorie-dense snacks. If your dog is getting several a day, consider slightly reducing their regular meal portions to balance things out.
Final Thoughts
Coconut oil is one of the simplest ingredients you can add to homemade dog treats, and it works in almost any format — baked, frozen, no-bake, or dehydrated. The seven recipes above give you options for every situation, whether you’re baking a weekend batch, cooling your dog down in summer, or prepping tiny bites for a training session.
Start with one recipe, watch how your dog’s skin and coat respond over a few weeks, and adjust the format or ingredients from there. If you want even more homemade treat ideas beyond coconut oil, this collection of homemade dog treat recipes is a good next stop.

Izzy is an experienced ranch worker who has a passion for exploring nature and getting up close to wildlife. With her connections to various animal organizations, Izzy is well-versed in animal care and rehabilitation.