
Banana and Peanut Butter Chew Sticks for Dogs Recipe
Does your dog finish a treat in two bites and then stare at you for more? Then you’ll love these banana and peanut butter chew sticks for dogs. They’re firm, they take a little time to eat, and most dogs go nuts for the taste. You also control every ingredient, so there’s no mystery filler.
The best part is how simple the recipe is. You need two main ingredients you probably already own, plus a little oat flour to hold everything together. You can freeze the sticks, bake them, dehydrate them, or stuff them into a toy. This guide covers all five methods.
Here’s the plan. We start with a quick safety check, then the main recipe, then four other ways to make chew sticks. The extra tips and background info come last, so you can get cooking right away.
Quick Safety Check Before You Start
Take two minutes to read this section. It protects your dog.
A. Check Your Peanut Butter Label
Never use peanut butter that contains xylitol. Xylitol is an artificial sweetener, sometimes listed as “birch sugar.” It is very toxic to dogs, even in small amounts. It can cause a dangerous drop in blood sugar and can harm the liver.
Look for a jar with only one or two ingredients, ideally peanuts and maybe a little salt. Skip anything with added sugar, sweeteners, or “light” on the label.
B. Keep Portions Small
Treats should make up no more than about 10% of your dog’s daily calories. Bananas and peanut butter are both healthy, but they’re also calorie-dense. One or two sticks a day is plenty for most dogs.
C. Know Your Dog’s Health
Talk to your vet first if your dog has any of these:
- Diabetes (bananas contain natural sugar)
- Pancreatitis or a history of it (peanut butter is high in fat)
- A peanut allergy
- Kidney problems that need a special diet
Puppies also have special needs. Our guide on puppy veterinary needs covers what to ask at checkups.
Banana and Peanut Butter Chew Sticks for Dogs: The Main Recipe
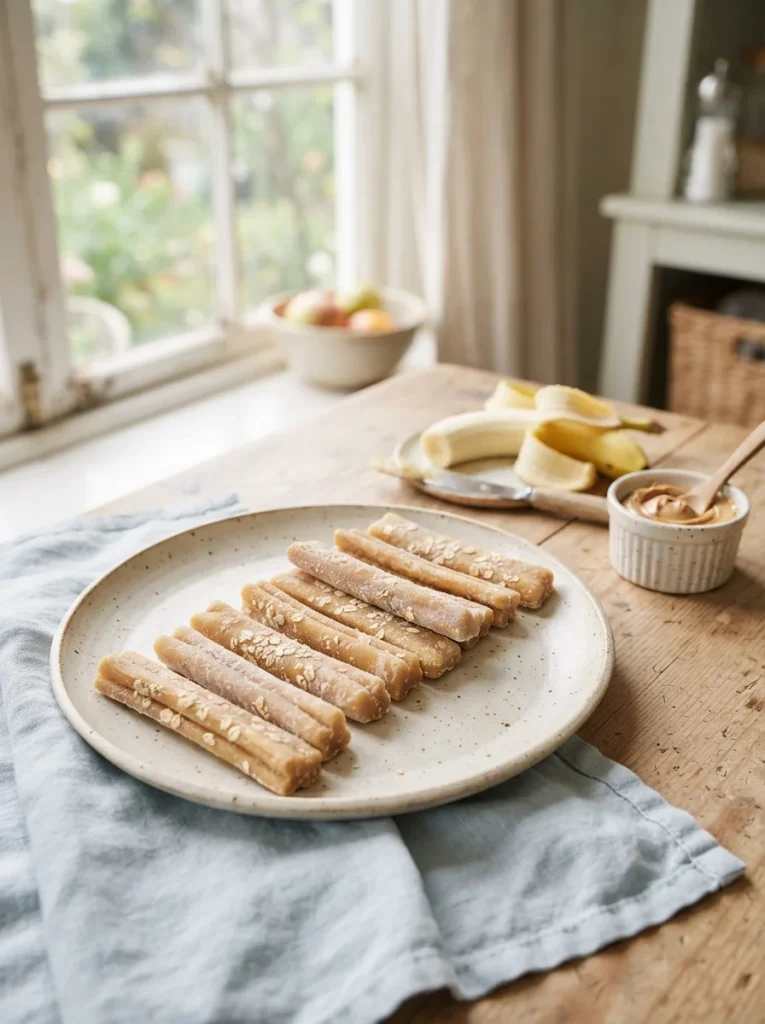
This is the base recipe. It makes soft-but-sturdy frozen sticks that dogs love on warm days. Every other format in this guide builds on it.
A. What You’ll Need
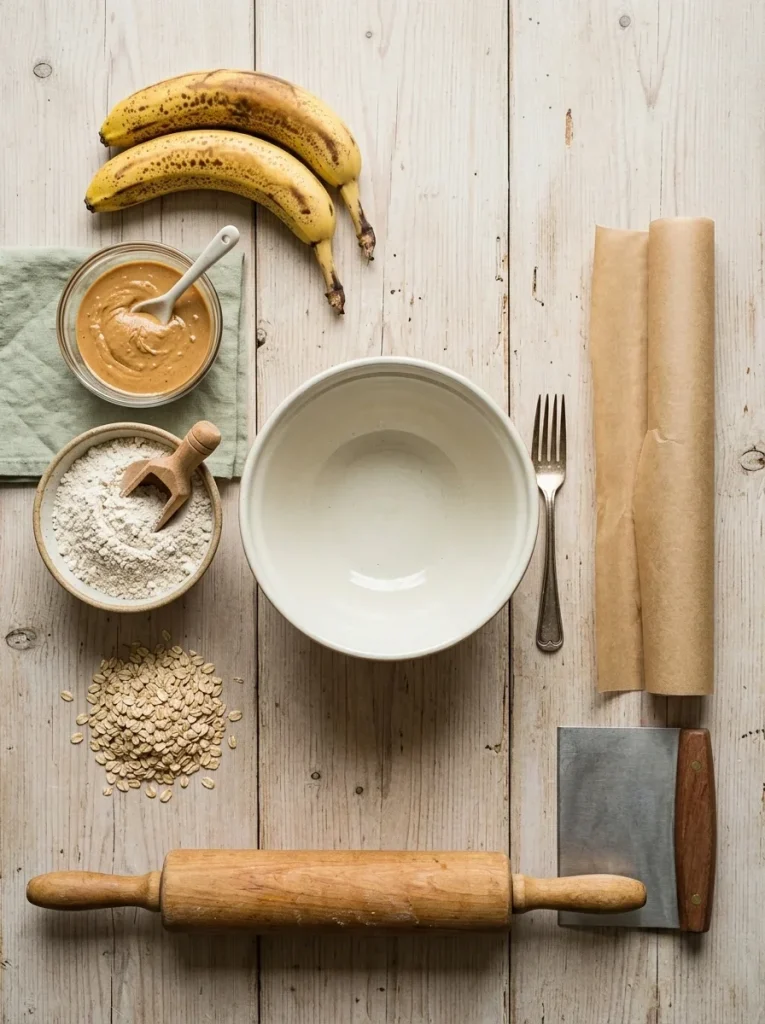
Ingredients:
- 2 ripe bananas (the spottier, the sweeter and easier to mash)
- ½ cup xylitol-free peanut butter (unsalted and unsweetened is best)
- ¾ cup oat flour (blend plain rolled oats until powdery, or buy oat flour)
Tools:
- Mixing bowl and fork
- Parchment paper
- Baking sheet or large plate
- Rolling pin or your hands
- Knife or bench scraper
B. Step-by-Step Instructions
Step 1: Mash the bananas. Use a fork to mash them in a bowl until they’re smooth. A few small lumps are fine.
Step 2: Add the peanut butter. Stir it in until the mixture looks creamy. If your peanut butter is stiff, warm it in the microwave for 10 seconds first.
Step 3: Add the oat flour. Mix in ½ cup first, then add more a spoonful at a time. You want a thick, scoopable dough that holds its shape.
Step 4: Shape the sticks. Line your baking sheet with parchment. Scoop about 2 tablespoons of dough and roll it into a log about 4 inches long and ¾ inch thick. Repeat with the rest of the dough.
Step 5: Freeze. Freeze the sticks on the sheet for 2 to 3 hours, until solid.
Step 6: Store. Move the frozen sticks into a freezer bag or airtight container.
Notes:
- Serve straight from the freezer.
- Keeps up to 3 months in the freezer.
- Always supervise your dog while they chew.
- Adjust stick size to your dog (see the sizing chart in Section 4).
Five Ways to Make Banana and Peanut Butter Chew Sticks for Dogs
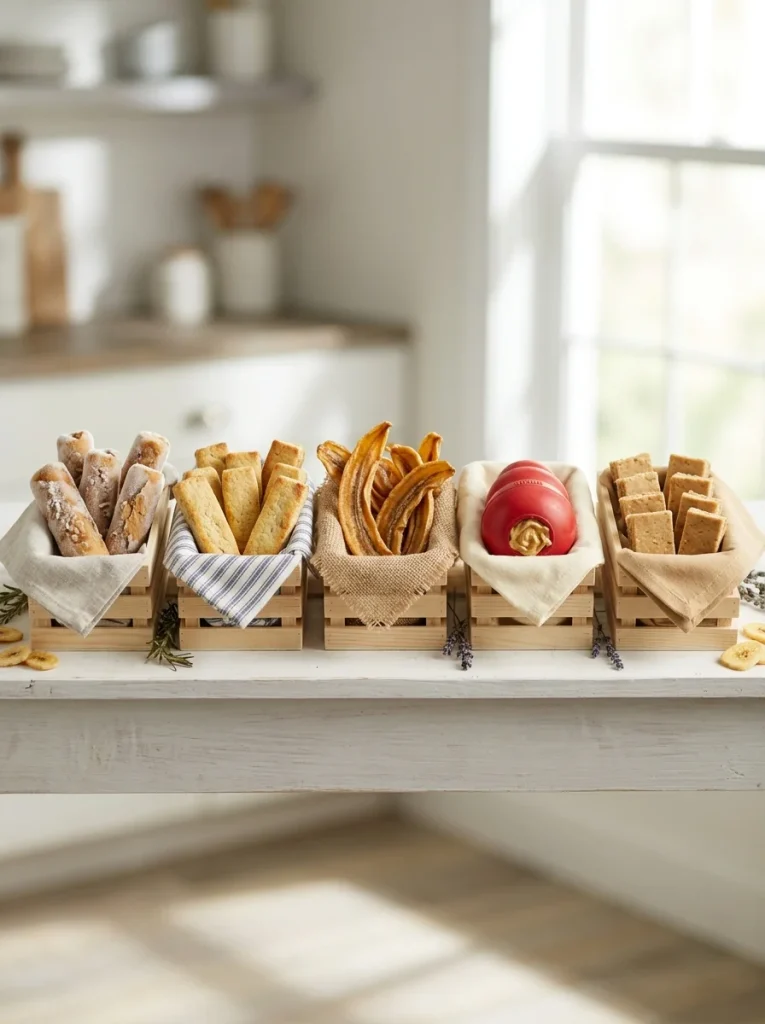
The same flavors can turn into very different treats. Pick the style that fits your dog’s chewing habits, your schedule, and your kitchen gear. Each format below follows the same layout so you can compare them quickly.
Quick Comparison:
| Format | Texture | Effort | Lasts |
|---|---|---|---|
| Frozen sticks | Cold and firm | Low | 3 months (freezer) |
| Baked sticks | Crunchy and hard | Medium | 2 weeks (fridge) |
| Dehydrated strips | Chewy and leathery | Medium | 2–3 weeks (airtight) |
| Stuffed frozen sticks | Soft and lickable | Low | 1 month (freezer) |
| No-bake log sticks | Soft and dense | Very low | 5–7 days (fridge) |
A. Frozen Chew Sticks (Shaped or Piped)
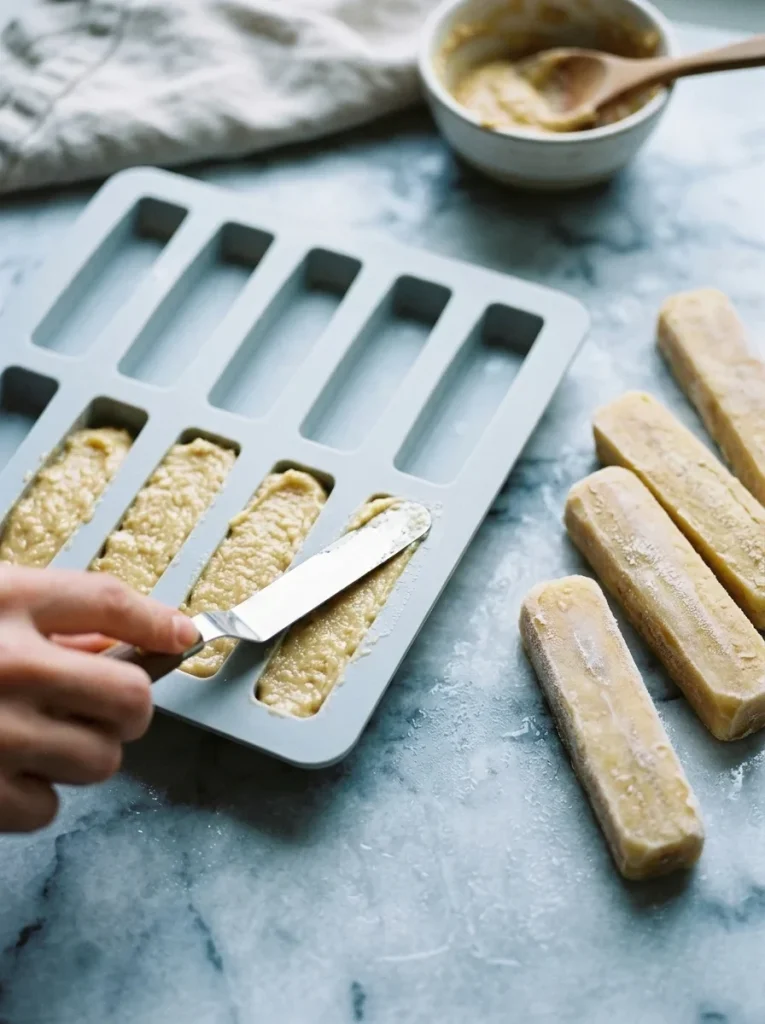
Best for: Hot days, teething puppies, and dogs who love cold treats.
Why it works: Freezing slows down eating. The cold also soothes sore gums.
You already have the shaped version from Section 2. For a neater look, try piping instead:
- Make the dough as in the main recipe, but use only ½ cup of oat flour so it stays soft.
- Spoon it into a piping bag or a sturdy zip bag and snip off one corner.
- Pipe long lines onto parchment paper, then cut them to size.
- Freeze until solid.
If you own a silicone mold shaped like sticks or bones, press the dough into it instead. Freeze, then pop the sticks out.
Pro tip: Roll the finished sticks in a little extra oat flour so they don’t freeze together in the bag.
B. Baked, Crunchy Chew Sticks
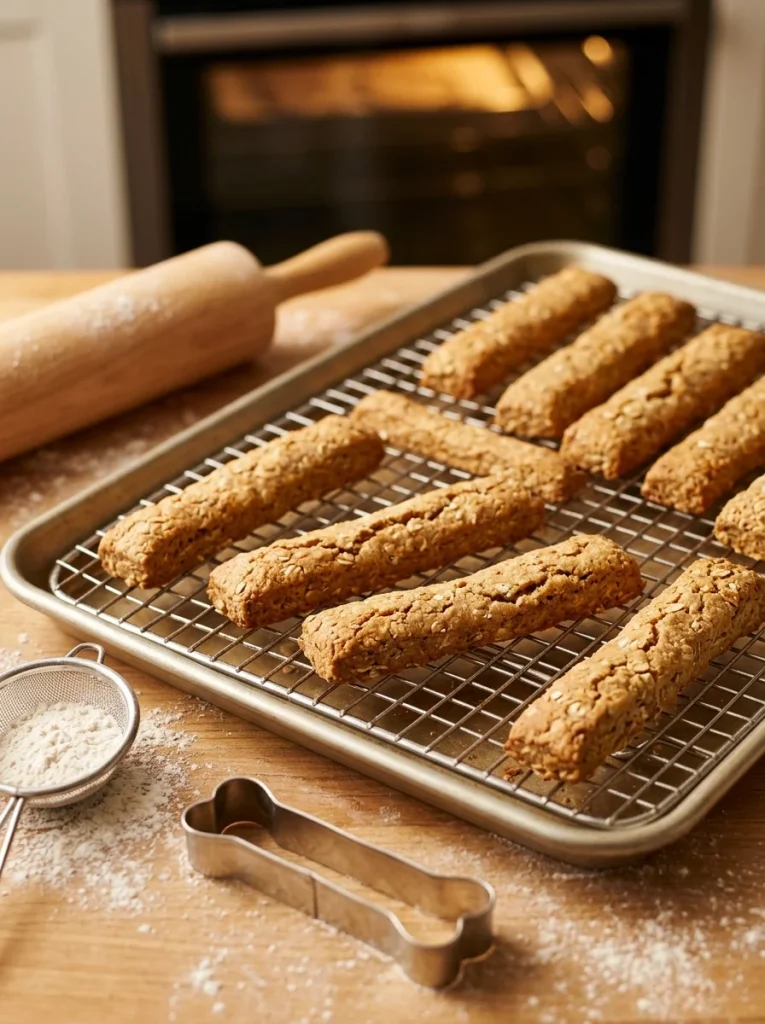
Best for: Dogs who like a firm bite and owners who want treats that don’t melt.
Why it works: Baking dries the dough into a hard, crunchy stick that stays fresh longer than a soft one.
Prep Time: 15 minutes
Bake Time: 25 minutes plus 1 hour drying
Yield: About 20 sticks
Ingredients:
- 1 ripe banana, mashed
- ⅓ cup xylitol-free peanut butter
- 1½ cups whole wheat or oat flour, plus extra for dusting
- 3–4 tablespoons water, as needed
Instructions:
- Preheat your oven to 350°F (175°C) and line a baking sheet with parchment.
- Mix the banana and peanut butter until smooth.
- Stir in the flour, adding water a spoonful at a time until a stiff dough forms.
- Roll the dough out on a floured surface to ½ inch thick.
- Cut into sticks about 4 inches long and ½ inch wide.
- Bake for 20–25 minutes, until the edges are golden.
- Turn off the oven and leave the sticks inside for 1 hour to dry out.
Notes:
- Cool fully before serving.
- Keeps 2 weeks in the fridge or 3 months in the freezer.
- Thinner sticks are crunchier. Thicker ones are chewier in the middle.
Pro tip: If your dog has a sensitive stomach, use oat flour instead of wheat.
C. Dehydrated Banana Chew Strips
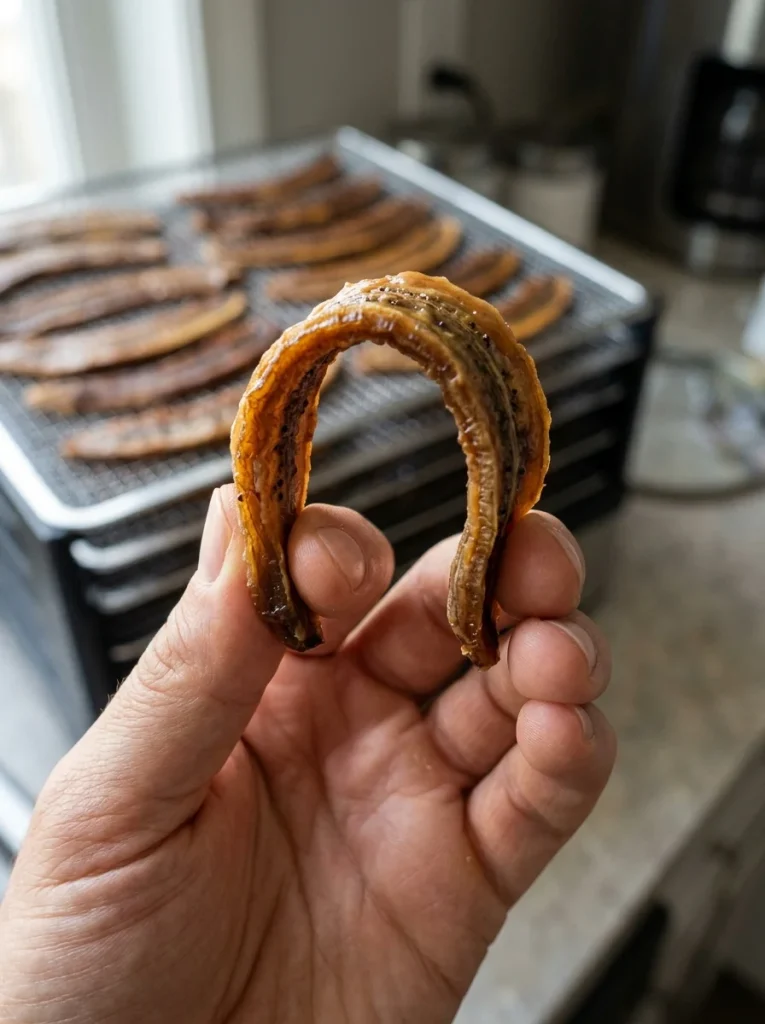
Best for: Long-lasting chews, road trips, and dogs who like a leathery texture.
Why it works: Dehydrating removes water and leaves a sweet, chewy strip that keeps well in a bag. It also travels nicely, which is handy if you’re planning a trip (see our tips on travel essentials for your dog).
Prep Time: 15 minutes
Dehydrating Time: 6–8 hours
Yield: About 20 strips
Ingredients:
- 3 firm-ripe bananas (yellow, with few spots)
- 3 tablespoons xylitol-free peanut butter
- 1 tablespoon water
Instructions:
- Peel the bananas and slice them lengthwise into strips about ¼ inch thick.
- Warm the peanut butter and water together for 15 seconds and stir until thin.
- Brush a thin layer of the peanut butter mix on one side of each strip.
- Lay the strips on dehydrator trays, leaving space between them.
- Dehydrate at 135°F (57°C) for 6–8 hours, flipping once.
- The strips are done when they bend without snapping and feel dry, not sticky.
Notes:
- No dehydrator? Bake on a low rack at your oven’s lowest setting (about 170°F) with the door slightly open, for 3–4 hours.
- Cool completely before storing.
- Keeps 2–3 weeks in an airtight container.
Pro tip: Firm bananas slice cleanly. Very ripe ones turn to mush.
D. Stuffed Frozen Sticks (Hollow Bones and Chew Toys)
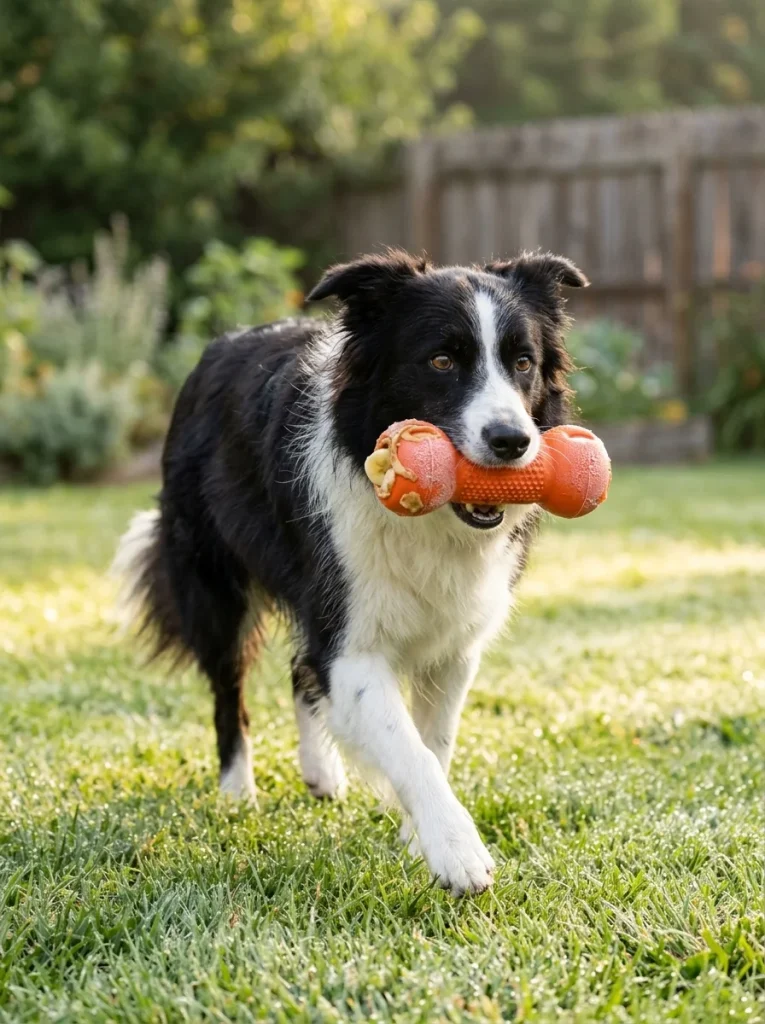
Best for: Bored dogs, crate time, and dogs who need a longer activity.
Why it works: The dog has to lick and work at the filling, which keeps them busy far longer than a plain treat.
Prep Time: 10 minutes
Freeze Time: 4 hours or overnight
Yield: 2–3 stuffed toys (depending on size)
Ingredients:
- 1 ripe banana, mashed
- ¼ cup xylitol-free peanut butter
- 2 tablespoons oat flour
- 1 hollow rubber chew toy or stuffable bone (correct size for your dog)
Instructions:
- Mash the banana and stir in the peanut butter and oat flour.
- Plug the small hole of the toy with a small ball of dough so nothing drips out.
- Stand the toy upright in a cup with the big opening facing up.
- Spoon in the filling, pressing to remove air pockets.
- Freeze for 4 hours or overnight.
Notes:
- Only use toys that are safe for your dog’s size and chewing strength.
- Remove the toy when the treat is gone, and wash it well.
- Keeps 1 month in the freezer.
Pro tip: For beginners, don’t pack the filling too tightly. Let your dog win easily at first, then make it harder next time.
If your dog loves tough chews, you might also like our roundup of safe dog bones and treats.
E. No-Bake Log Sticks (Chill and Slice)
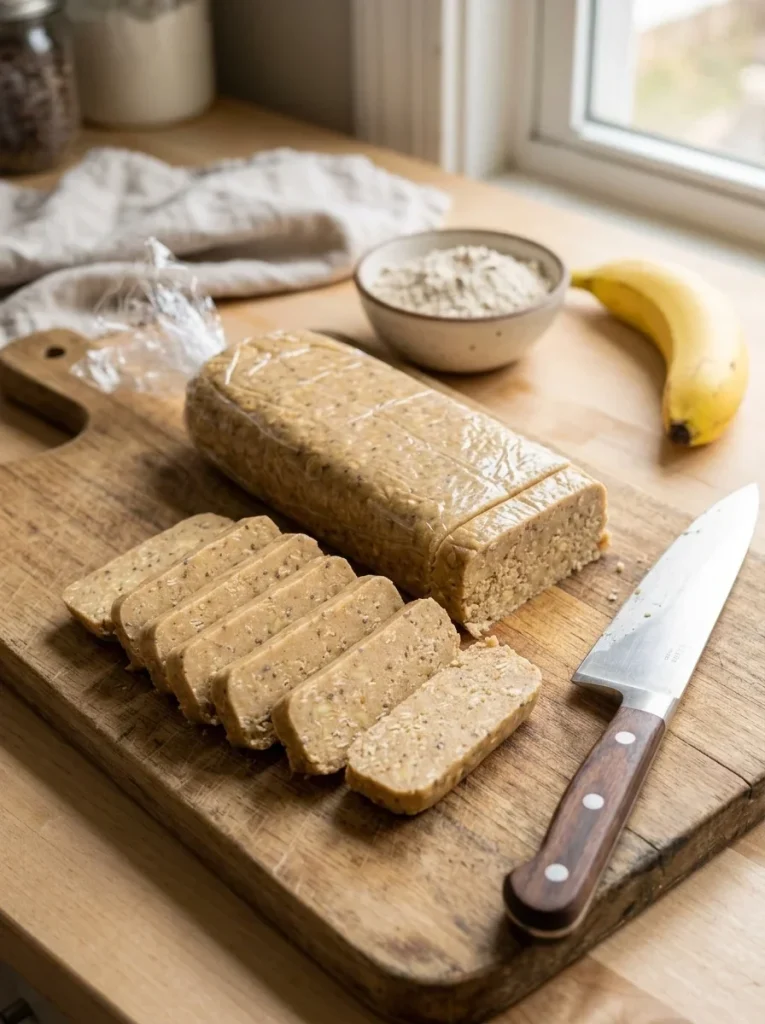
Best for: Busy days, no oven, and quick batches.
Why it works: You shape one big log, chill it, and slice it. There’s no rolling out sticks one by one.
Prep Time: 10 minutes
Chill Time: 1–2 hours
Yield: About 12 sticks
Ingredients:
- 1 ripe banana, mashed
- ⅓ cup xylitol-free peanut butter
- 1 cup oat flour, plus extra for dusting
Instructions:
- Mix the banana and peanut butter until smooth.
- Stir in the oat flour to make a firm, slightly sticky dough.
- Turn the dough onto a sheet of plastic wrap dusted with oat flour.
- Shape it into a rectangle log about 4 inches wide and 1 inch thick.
- Wrap tightly and chill for 1–2 hours.
- Unwrap and slice into sticks about ¾ inch wide.
Notes:
- Keeps 5–7 days in the fridge.
- Freeze slices for up to 2 months if you want to make a big batch.
- Use a sharp knife and wipe it between cuts for clean edges.
Pro tip: If the log is too sticky, chill it for 15 minutes before shaping.
Tips for Perfect Sticks Every Time
Small changes make a big difference. Use these quick fixes to get better results.
A. Match the Size to Your Dog
Bigger dogs need bigger sticks, and smaller dogs need smaller ones. A stick that’s too small can be swallowed whole, which is a choking risk.
| Dog Size | Weight | Stick Size |
|---|---|---|
| Extra small | Under 10 lbs | 2 inches long, ½ inch wide |
| Small | 10–25 lbs | 3 inches long, ½ inch wide |
| Medium | 26–50 lbs | 4 inches long, ¾ inch wide |
| Large | 51–90 lbs | 5–6 inches long, 1 inch wide |
B. Get the Dough Texture Right
The dough should feel like thick cookie dough. It should hold its shape when rolled but not crack.
- Too wet? Add oat flour one tablespoon at a time.
- Too dry? Add a teaspoon of water or a little more mashed banana.
C. Keep Your Hands Clean and Dry
Peanut butter dough sticks to everything. Dust your hands and your work surface with a little flour. A silicone mat also makes cleanup much easier.
D. Use Ripe Bananas (Mostly)
Ripe bananas mash easily and taste sweeter, so they’re best for frozen, baked, and no-bake sticks. Use firm-ripe bananas only for dehydrated strips.
E. Use Treats as Training Rewards
Cut chew sticks into small pieces and use them as rewards. Dogs work harder for a treat they love. Our comparison of positive reinforcement vs traditional dog training explains why reward-based methods tend to work well.
Storage and Serving Guide
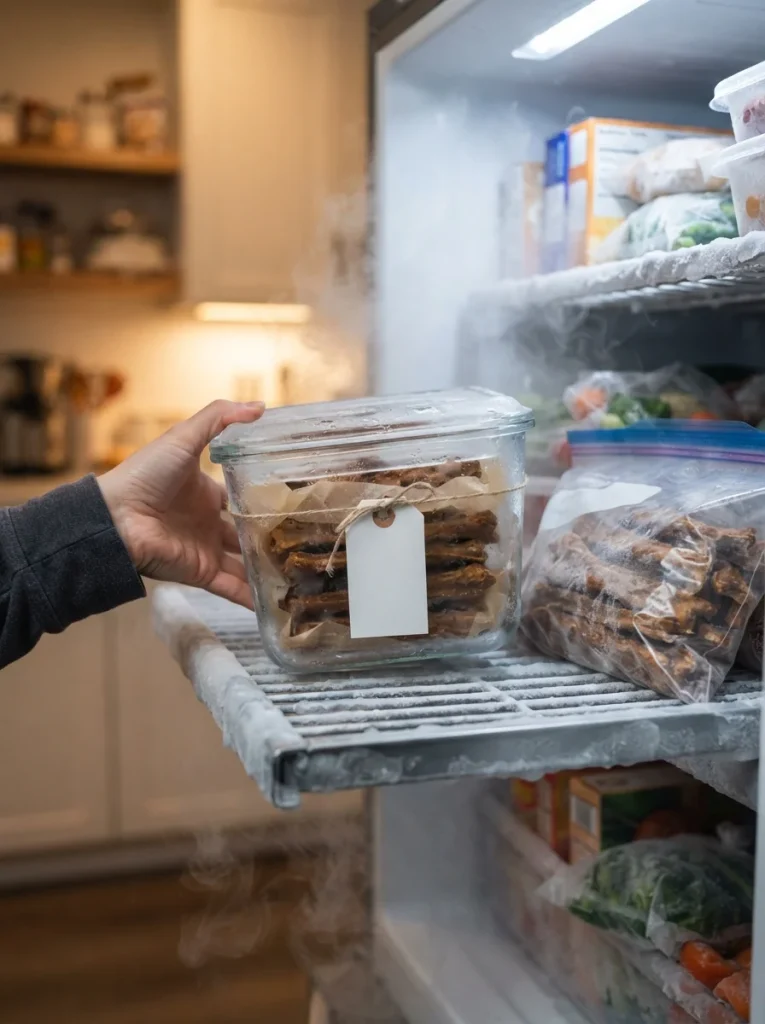
Good storage keeps your treats fresh and safe. Because these sticks contain fresh banana and no preservatives, they don’t last as long as store-bought treats.
A. How Long Each Format Lasts
- Frozen sticks: Up to 3 months in the freezer.
- Baked sticks: Up to 2 weeks in the fridge, or 3 months in the freezer.
- Dehydrated strips: 2–3 weeks in an airtight container. Store in the fridge for longer life.
- Stuffed frozen sticks: Up to 1 month in the freezer.
- No-bake log sticks: 5–7 days in the fridge.
B. Storage Tips
- Use airtight containers or heavy-duty freezer bags.
- Squeeze out extra air before sealing.
- Label each bag with the date and format.
- Separate layers with parchment paper so sticks don’t stick together.
C. Serving Tips
- Serve frozen sticks right away. They soften fast in warm weather.
- Let baked and dehydrated sticks come to room temperature before serving.
- Serve on a washable mat or outdoors, since peanut butter can stain.
- Always stay nearby while your dog chews.
D. Throw It Out When…
Toss any stick that smells sour, looks moldy, or feels slimy. When in doubt, throw it out.
Want more ideas for your treat shelf? Try our collection of homemade dog treat recipes. If you like to organize your supplies, our dog treat station ideas will help.
Troubleshooting Common Problems
Even simple recipes go wrong sometimes. Here are the most common problems and how to fix them.
A. The Dough Is Too Sticky
Add oat flour a tablespoon at a time. You can also chill the dough for 15 minutes so it firms up before shaping.
B. The Sticks Are Crumbly
The dough is too dry. Mix in a teaspoon of water or half a mashed banana, then try again.
C. Frozen Sticks Melt Too Fast
Your dough is likely too soft. Add more flour next time, and keep your dog’s sticks in the freezer until the moment you serve them.
D. Baked Sticks Are Too Hard or Burnt
Lower the temperature to 325°F and check earlier. Thinner sticks bake faster, so watch them closely.
E. Dehydrated Strips Feel Sticky
They need more time. Keep drying and test again after an hour.
F. Your Dog Gulps the Stick Down
Make thicker, longer sticks. You can also hold one end and let your dog chew the other. For dogs that gulp everything, the stuffed toy method (Section 3D) is safest.
Why This Treat Works (Short Version)
You don’t need a long science lesson. Here is what these two ingredients offer.
A. What Bananas Bring
Bananas provide potassium, fiber, and vitamin C. They’re soft and sweet, which many dogs love. They also make a great natural binder, so you don’t need eggs or sugar.
B. What Peanut Butter Brings
Peanut butter adds protein, healthy fats, and a flavor most dogs can’t resist. It also makes the sticks smell amazing, which keeps picky eaters interested.
C. When to Skip This Treat
Skip these sticks if your dog has a peanut allergy, diabetes, or pancreatitis, or if your vet has limited their fat or sugar. When in doubt, ask your vet first.
D. A Note on Chewing
Chewing is a natural behavior for dogs, and it helps them relax and burn energy. Frozen and stuffed sticks are especially good for this. If your dog chews or licks excessively out of stress, our article on why dogs lick so much explains what to watch for.
Final Thoughts
Banana and peanut butter chew sticks for dogs are one of the easiest treats you can make at home. Start with the frozen main recipe, and once you’re comfortable, try the baked, dehydrated, stuffed, or no-bake styles. Each one gives your dog a slightly different chewing experience.
Remember the golden rules: use xylitol-free peanut butter, keep portions small, and supervise every chew session. With those in place, you’ll have a fun, wholesome treat that your dog will beg for again and again.

Izzy is an experienced ranch worker who has a passion for exploring nature and getting up close to wildlife. With her connections to various animal organizations, Izzy is well-versed in animal care and rehabilitation.


