6 Homemade Oatmeal Dog Treats (Easy Recipes Your Dog Will Love)
If you’ve been searching for homemade oatmeal dog treats, you’re in the right place. Oats are cheap, easy to find, and gentle on a dog’s stomach. That makes them one of the best base ingredients for DIY dog snacks.
This guide skips the long backstory and gets straight to the good stuff: six different oatmeal dog treat recipes you can make today. Each one uses simple, dog-safe ingredients. Each one comes with a clear recipe card you can follow step by step.
Let’s start baking.
Contents
1) Classic Homemade Oatmeal Dog Treats

This is the recipe to start with if you’ve never made dog treats before. It only needs four ingredients, and most of them are already in your kitchen.
The texture comes out firm and crunchy, which is great for dogs who like to chew. It’s also a solid base recipe you can adjust later with mix-ins.
- Prep Time: 10 minutes
- Cook Time: 20 minutes
- Yield: About 24 small cookies
Ingredients:
- 2 cups rolled oats
- 1 cup oat flour (or blend extra oats into a fine powder)
- 1 egg
- ½ cup unsweetened applesauce
- ¼ cup water (add more if needed)
Instructions:
- Preheat your oven to 350°F. Line a baking sheet with parchment paper.
- In a large bowl, mix the rolled oats and oat flour together.
- Add the egg and applesauce. Stir until combined.
- Slowly add water, one tablespoon at a time, until the dough holds together without being sticky.
- Roll the dough out to about ¼-inch thickness on a floured surface.
- Cut into shapes using a cookie cutter, or simply cut into squares with a knife.
- Place the shapes on the baking sheet, spacing them slightly apart.
- Bake for 18-20 minutes, or until the edges turn golden.
- Let the treats cool completely on the baking sheet before serving.
Notes:
- Store in an airtight container at room temperature for up to 1 week.
- For longer storage, freeze for up to 3 months.
- Want bigger treats for bigger dogs? Just cut larger shapes and add a few extra minutes of bake time.
If you like the idea of having a stash of variety on hand, it’s worth browsing other dog bone and treat shapes too. Mixing up the shapes keeps things fun for both of you.
2) Peanut Butter Oatmeal Dog Treats
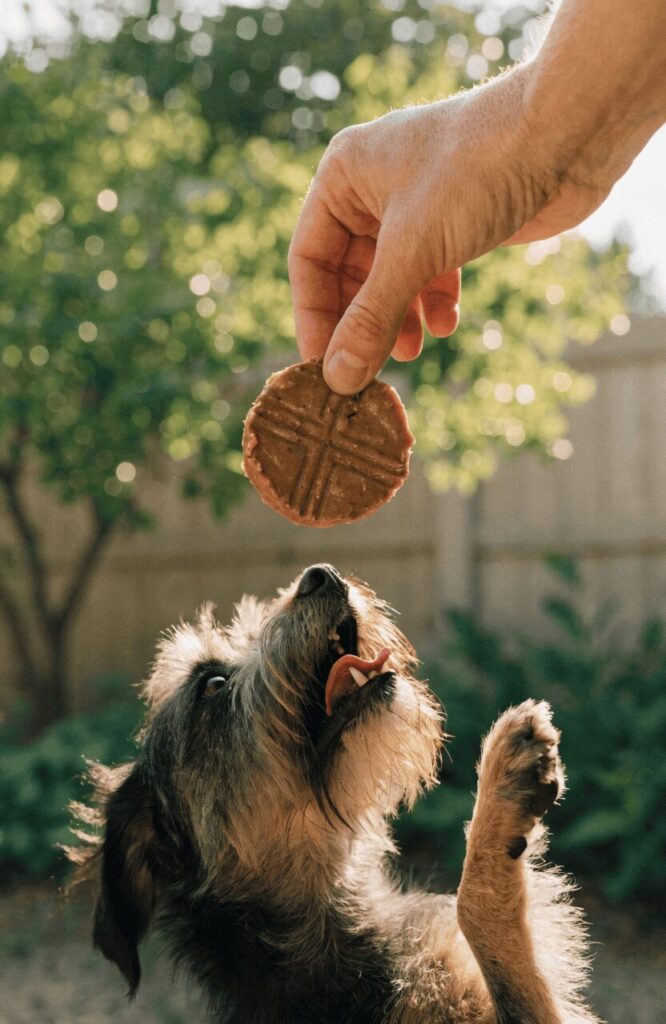
Peanut butter is the flavor most dogs go crazy for. Pairing it with oats gives you a treat that smells amazing while baking and tastes even better.
Just make sure your peanut butter doesn’t contain xylitol. That ingredient is toxic to dogs, even in small amounts.
- Prep Time: 10 minutes
- Cook Time: 20 minutes
- Yield: About 20 cookies
Ingredients:
- 2 cups rolled oats
- ½ cup natural peanut butter (no xylitol)
- 1 egg
- ½ cup water
- 1 tablespoon honey (optional)
Instructions:
- Preheat the oven to 350°F. Line a baking sheet with parchment paper.
- In a food processor or blender, grind 1 cup of the oats into a fine flour.
- In a large bowl, mix the ground oats, remaining whole oats, peanut butter, and egg.
- Add the water gradually, stirring until a thick dough forms.
- Stir in honey if using.
- Scoop the dough using a tablespoon and drop it onto the baking sheet.
- Flatten each scoop slightly with the back of a fork.
- Bake for 18-20 minutes until firm and lightly browned.
- Cool on the baking sheet before storing.
Notes:
- These treats stay soft, so they’re great for older dogs or dogs with weaker teeth.
- Store in the fridge for up to 2 weeks for extra freshness.
- Always double-check peanut butter labels before baking. Some brands now use xylitol as a sweetener.
If you’re using these as reward snacks during training sessions, they pair well with puppy training fundamentals like consistent timing and small portions.
3) Pumpkin Oatmeal Dog Treats
Pumpkin is gentle on digestion and adds natural sweetness without sugar. This recipe is a favorite for dogs with sensitive stomachs.
It’s also one of the easiest recipes on this list, with only three main ingredients.
- Prep Time: 8 minutes
- Cook Time: 18 minutes
- Yield: About 30 small treats
Ingredients:
- 2 cups rolled oats
- 1 cup canned pumpkin (plain, not pumpkin pie filling)
- 2 eggs
Instructions:
- Preheat the oven to 350°F. Line a baking sheet with parchment paper.
- Add the oats, pumpkin, and eggs to a food processor or large bowl.
- Blend or mix until everything forms a thick, even dough.
- Drop spoonfuls of the dough onto the baking sheet.
- Flatten each one slightly with a fork.
- Bake for 15-18 minutes, or until firm to the touch.
- Let the treats cool fully before handling.
Notes:
- Pumpkin pie filling is not the same as plain pumpkin. It often contains added sugar and spices that aren’t safe for dogs.
- These treats keep their soft texture, even after baking.
- Store in the fridge for up to 2 weeks, or freeze for longer storage.
This recipe is also a good one to scale up if you’re prepping treats ahead of a vet visit or new puppy checklist. Pumpkin-based snacks are often recommended during early puppy veterinary checkups for dogs adjusting to new foods.
4) Banana Oatmeal Dog Treats
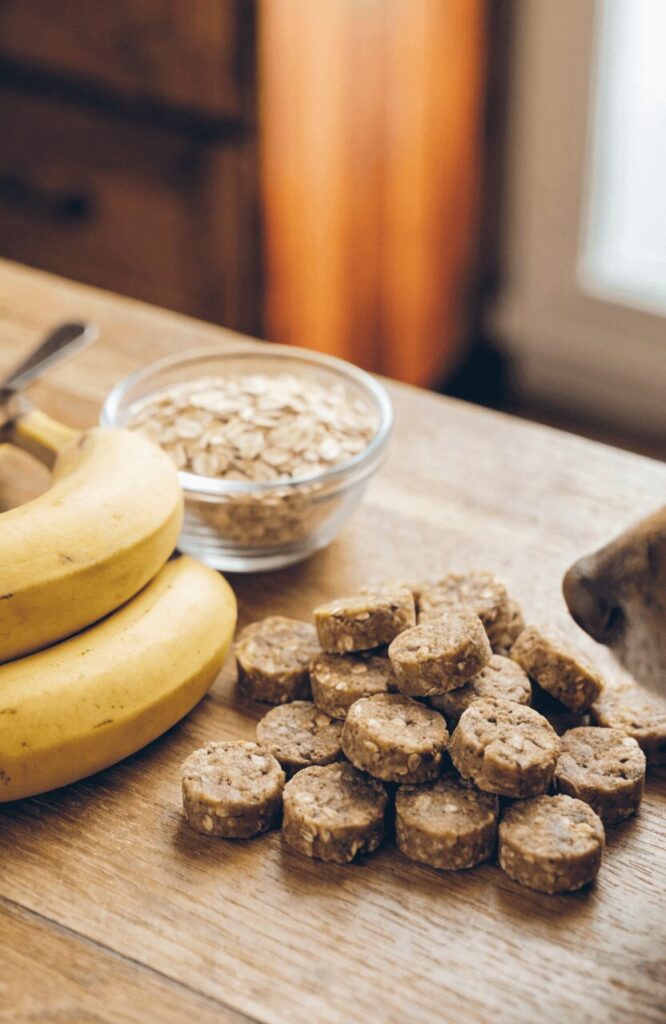
Bananas bring natural sweetness, so this recipe needs no added sugar or honey at all. It’s a great option if you want a simple, low-ingredient treat.
The riper the banana, the sweeter and softer the dough will turn out.
- Prep Time: 10 minutes
- Cook Time: 20 minutes
- Yield: About 22 cookies
Ingredients:
- 2 ripe bananas, mashed
- 2 cups rolled oats
- 1 egg
- 2 tablespoons water (if needed)
Instructions:
- Preheat the oven to 350°F. Line a baking sheet with parchment paper.
- Mash the bananas in a large bowl until smooth.
- Add the oats and egg, then mix well.
- If the dough feels too dry, add water one tablespoon at a time.
- Roll the dough into small balls, about 1 inch wide.
- Flatten each ball slightly with your palm or a fork.
- Place on the baking sheet and bake for 18-20 minutes.
- Cool completely before serving.
Notes:
- This dough is naturally sticky, so lightly wet your hands before rolling to prevent sticking.
- Banana treats brown faster than other recipes, so check at the 15-minute mark.
- Store in an airtight container in the fridge for up to 10 days.
Banana treats also make a fun stand-in topping if you’re planning a homemade birthday cake for your dog. Crumble a few on top for extra flavor and texture.
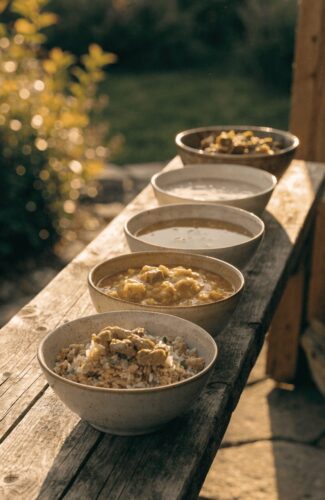
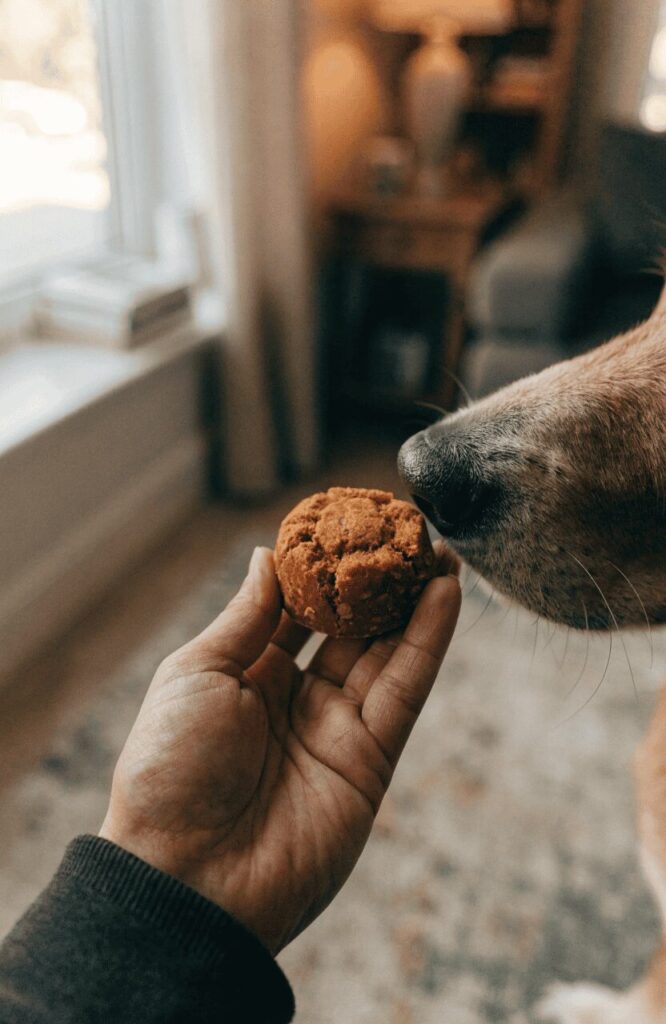
5) No-Bake Oatmeal Dog Treats
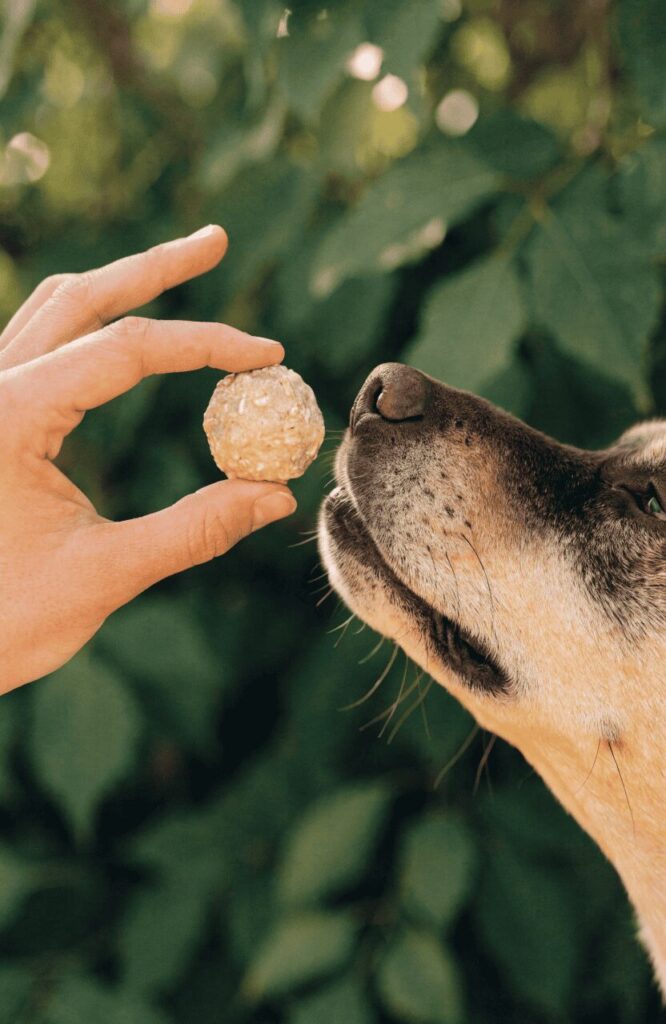
Not every recipe needs an oven. This one comes together in minutes and chills in the fridge instead of baking.
It’s a great option for hot days when you don’t want to turn on the oven, or for quick treats with less hands-on time.
- Prep Time: 10 minutes
- Freeze Time: 1 hour (or chill for 2 hours in the fridge)
- Yield: About 16 bites
Ingredients:
- 1 ½ cups rolled oats
- ½ cup natural peanut butter (no xylitol)
- ¼ cup plain Greek yogurt
- 1 tablespoon honey (optional)
Instructions:
- In a large bowl, mix the oats, peanut butter, and yogurt together.
- Add honey if you’d like a touch of extra sweetness.
- Stir until the mixture forms a thick, sticky dough.
- Roll the dough into small, bite-sized balls using your hands.
- Place the balls on a parchment-lined tray.
- Freeze for 1 hour, or refrigerate for at least 2 hours, until firm.
- Serve cold or let sit at room temperature for a few minutes first.
Notes:
- These treats stay soft, so they work well for senior dogs or dogs recovering from dental work.
- Keep refrigerated at all times. Without baking, these spoil faster than oven-baked treats.
- Use within 5 days for best freshness.
These no-bake bites are also easy to portion out and store as part of a dog treat station setup at home, so they’re always within reach during training or playtime.
6) Frozen Oatmeal Pupsicles
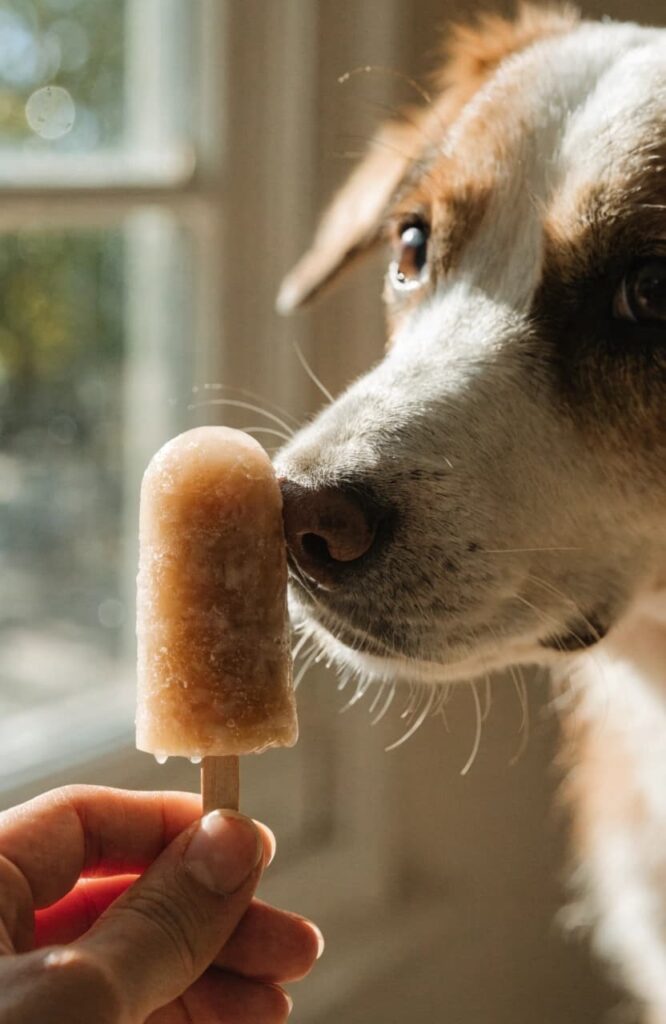
When the weather heats up, frozen treats are a great way to keep your dog cool and entertained. This recipe blends oats with yogurt and freezes into small, lickable pops.
It’s also one of the few treats on this list that doubles as both a snack and a slow-lick activity.
- Prep Time: 10 minutes
- Freeze Time: 4 hours
- Yield: About 12 small pupsicles
Ingredients:
- 1 cup rolled oats, cooked and cooled
- 1 cup plain Greek yogurt
- ½ cup mashed banana or pumpkin puree
- ¼ cup water (to thin, if needed)
Instructions:
- Cook the oats according to package directions, then let them cool fully.
- In a bowl, mix the cooled oats, yogurt, and banana or pumpkin together.
- Add water a little at a time if the mixture is too thick to pour.
- Pour the mixture into small silicone molds or an ice cube tray.
- Freeze for at least 4 hours, or until completely solid.
- Pop the pupsicles out of the molds and serve right away.
Notes:
- Use silicone molds for easier removal. Plastic ice trays can be tricky to pop out cleanly.
- These are best served outdoors, since they melt quickly once removed from the freezer.
- Store unused pupsicles in a freezer bag for up to 1 month.
3 Easy Ingredient Swaps to Try
Once you’ve made a batch or two, it’s fun to experiment. These three swaps work with almost any recipe above, especially the Classic and Peanut Butter versions.
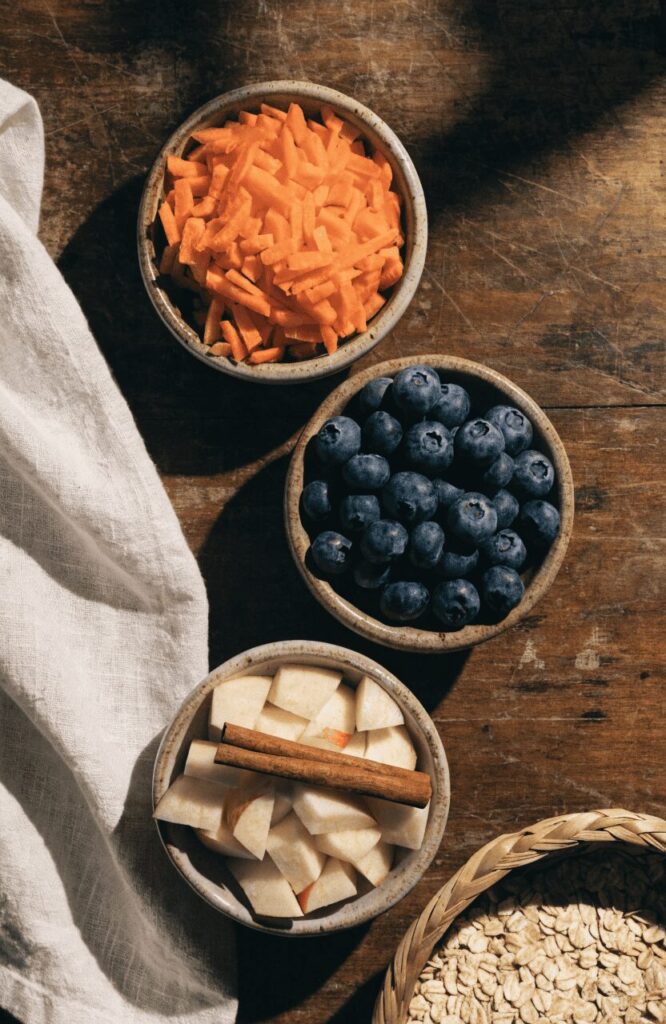
A) Apple-Cinnamon Swap
Replace the applesauce in the Classic recipe with unsweetened apple puree, and add a pinch of cinnamon. This gives the treats a warm, slightly spiced flavor without any added sugar.
B) Blueberry Swap
Fold ¼ cup of mashed fresh or frozen blueberries into any of the doughs above. Blueberries add natural sweetness along with antioxidants, and they create pretty purple flecks throughout the dough.
C) Carrot Swap
Stir in ¼ cup of finely grated carrot to any base recipe. Carrots add a light crunch and a boost of fiber, especially nice in the Classic or Pumpkin recipes.
These swaps are a simple way to keep things interesting without learning a whole new recipe. If you want to branch out even further, there’s a wider library of homemade dog treat recipes worth exploring too.
Storage & Freshness Guide
Here’s a quick reference for how long each treat type lasts:
| Treat Type | Counter | Fridge | Freezer |
|---|---|---|---|
| Baked cookies (Classic, PB, Pumpkin, Banana) | 5-7 days | 2 weeks | 3 months |
| No-Bake bites | Not recommended | 5 days | 1 month |
| Frozen Pupsicles | Not recommended | Not recommended | 1 month |
A few general tips:
- Always let baked treats cool completely before storing. Trapped heat creates moisture, which leads to mold.
- Use airtight containers or freezer bags to keep treats fresh longer.
- Label your freezer bags with the date. Homemade treats don’t have preservatives, so they don’t last as long as store-bought ones.
Why Oatmeal Works Well for Dogs
Oats are one of the safer grains for dogs to eat. They’re high in fiber, which helps support healthy digestion.
Oats also sit in a similar safe-food category as plain cereals like Cheerios for dogs, since both are low in sugar and gentle on the stomach when given in small amounts.
For dogs with grain sensitivities to wheat, oats are often a better-tolerated alternative. That said, every dog is different, so it’s smart to introduce any new ingredient slowly and watch for reactions.
Quick FAQs
Final Thoughts
Homemade oatmeal dog treats are simple to make, budget-friendly, and easy to customize. Whether you bake a batch of classic cookies, freeze a few pupsicles, or mix up a no-bake bite, your dog is going to notice the extra effort.
Start with one recipe, see what your pup loves most, then build out your own treat rotation from there.

Izzy is an experienced ranch worker who has a passion for exploring nature and getting up close to wildlife. With her connections to various animal organizations, Izzy is well-versed in animal care and rehabilitation.