10 Homemade Dog Food Recipes With Eggs (Meals, Treats & Toppers)
Eggs might be the most underrated ingredient sitting in your fridge right now. They’re cheap, they cook in minutes, and they pack in protein, healthy fats, and vitamins that most commercial kibble strips out during processing. If you’ve been searching for homemade dog food recipes with eggs that are actually easy to pull off on a weeknight, you’re in the right place.
Below are 10 tried-and-tested recipes that use eggs as the star ingredient or the protein booster. Some are full dinners, some are freezer-friendly treats, and a few are no-cook options for days when you’re short on time. Every recipe is written in a clean, copy-and-cook format with prep time, yield, ingredients, and detailed step-by-step instructions — no fluff, no guesswork.
One quick note before you start: always cook eggs fully before feeding them to your dog (no runny yolks, no raw eggs), skip the salt, butter, and seasoning blends you’d use for your own breakfast, and introduce any new recipe gradually alongside your dog’s regular food. If your dog has a health condition or you’re switching their entire diet to homemade meals, loop in your vet first. If you’d rather browse a wider variety of homemade dog meals before committing to eggs specifically, that’s worth a look too.
10 Homemade Dog Food Recipes With Eggs to Try Today
Each recipe below is portioned for an average adult dog (roughly 30-50 lbs). Adjust serving sizes up or down based on your dog’s size, activity level, and any guidance from your vet. Store everything in airtight containers and refrigerate for 3-4 days, or freeze for longer storage.
Recipe #1: Scrambled Egg & Chicken Bowl
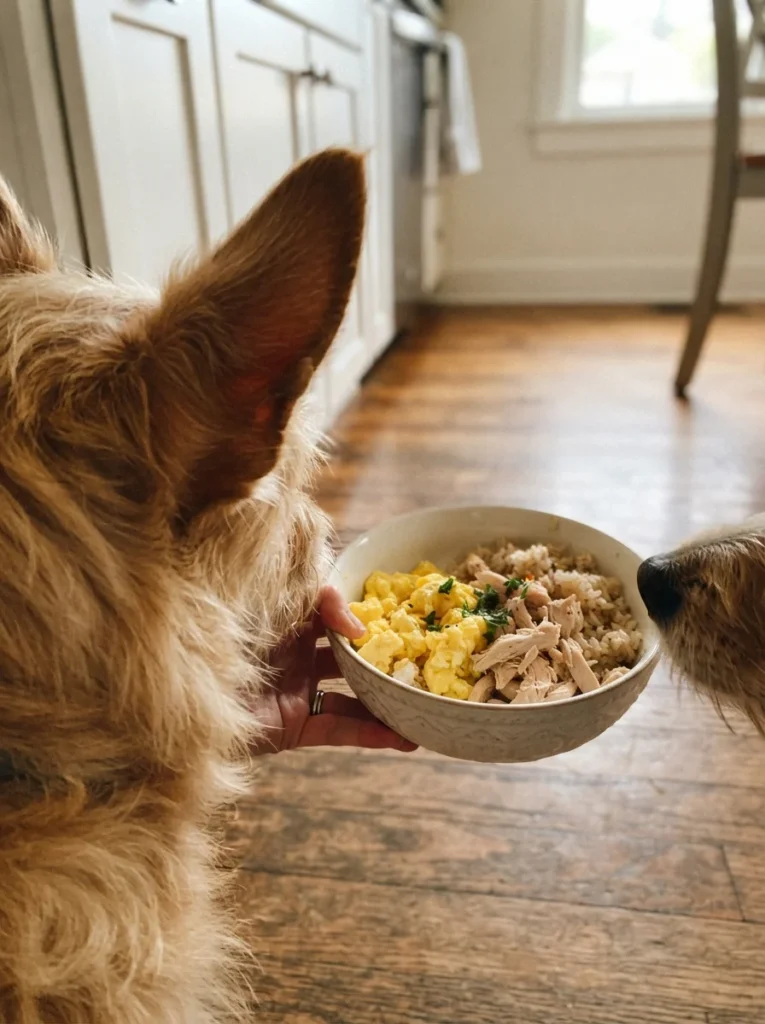
Best for: A quick, balanced weeknight dinner that takes under 25 minutes start to finish.
This is the recipe to start with if you’ve never made homemade dog food before. It’s simple, forgiving, and uses ingredients you probably already have on hand.
Prep Time: 10 minutes Cook Time: 15 minutes Yield: 4 servings (about 1 cup each)
Ingredients:
- 4 large eggs
- 2 cups cooked, shredded chicken breast (unseasoned)
- 1 cup cooked brown rice
- 1/2 cup steamed, diced carrots
- 1/4 cup steamed green beans, chopped
- 1 tablespoon plain, unsweetened pumpkin puree
- 1 teaspoon olive oil
Instructions:
- Start by gathering all your ingredients on the counter so you’re not scrambling (pun intended) halfway through cooking. Make sure your chicken is already fully cooked and shredded, and your rice and vegetables are pre-cooked and cooled slightly.
- Crack the 4 eggs into a medium mixing bowl. Use a fork or whisk to beat them together until the yolks and whites are fully blended and the mixture looks uniformly pale yellow, with no streaks of white remaining. This usually takes about 30-45 seconds of steady whisking.
- Place a nonstick skillet over medium heat and add the teaspoon of olive oil. Let the oil warm for about 30 seconds — you’ll know it’s ready when it shimmers slightly but isn’t smoking.
- Pour the whisked eggs into the skillet. Let them sit undisturbed for about 15-20 seconds so the bottom layer begins to set, then use a spatula to gently push the eggs from the edges toward the center, tilting the pan slightly to let uncooked egg flow into the empty spaces.
- Continue folding and pushing the eggs every 15-20 seconds until they’re fully cooked through with no wet or glossy patches remaining. This typically takes 3-4 minutes total. Remove the pan from heat immediately once the eggs are set, since eggs continue cooking from residual heat even off the burner.
- While the eggs cool slightly, take a large mixing bowl and add the shredded chicken, cooked brown rice, diced carrots, and chopped green beans. Use a spoon or your hands (clean, of course) to toss everything together so the ingredients are evenly distributed.
- Add the scrambled eggs to the bowl along with the tablespoon of pumpkin puree. Gently fold everything together until the eggs and pumpkin are evenly worked through the mixture, being careful not to mash the ingredients into a paste — you want distinct pieces, not a smooth blend.
- Spread the mixture out on a plate or in a wide, shallow container for a few minutes to help it cool faster. Once it’s reached room temperature, it’s ready to serve. Never serve a freshly cooked meal to your dog while it’s still hot.
- Portion into four roughly equal servings using a measuring cup, then either serve immediately or transfer to airtight containers for storage.
Notes: Swap the chicken for turkey if you want variety. This recipe refrigerates well for up to 3 days or freezes in portioned containers for up to 2 months. When reheating from frozen, thaw overnight in the fridge and let the portion come to room temperature before serving — never microwave straight from frozen, as this can create uneven hot spots.
Recipe #2: Baked Egg & Sweet Potato Muffins
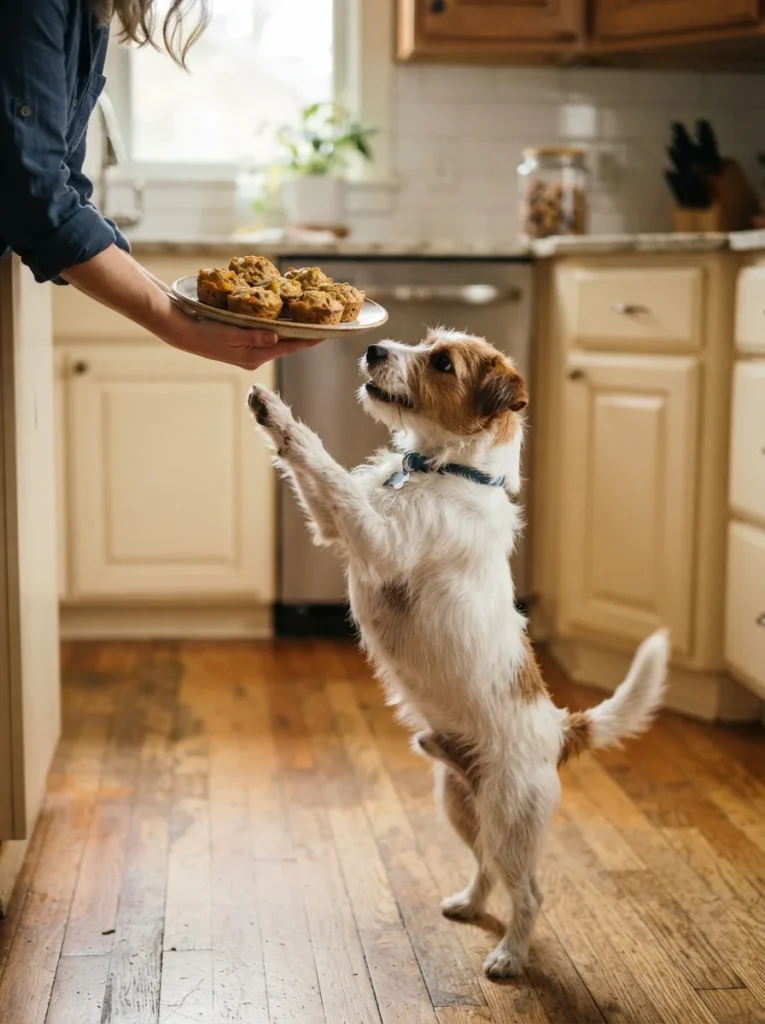
Best for: Freezer-stocked treats or food toppers you can grab in seconds.
These little muffins are dense, moist, and hold together well, which makes them great for training rewards or as a mix-in for picky eaters. If you like the idea of baking for your dog, these pair nicely with other baked dog treats for variety in the treat jar.
Prep Time: 15 minutes Cook Time: 25 minutes Yield: 12 mini muffins
Ingredients:
- 3 large eggs
- 1 cup mashed, cooked sweet potato
- 1 cup oat flour (or rolled oats blended into a fine powder)
- 1/4 cup unsweetened applesauce
- 1 tablespoon coconut oil, melted
Instructions:
- Preheat your oven to 350°F and give it a full 10-15 minutes to reach temperature before baking. While it heats, lightly grease a mini muffin tin with a small amount of coconut oil or line it with paper liners, making sure to coat every cup evenly so nothing sticks.
- If you don’t have oat flour on hand, measure out 1 cup of rolled oats and pulse them in a blender or food processor for about 30-45 seconds, until they reach a fine, flour-like consistency with no large flakes remaining.
- In a large mixing bowl, crack the 3 eggs and whisk them thoroughly for about 30 seconds until smooth and fully combined.
- Add the mashed sweet potato to the eggs. Make sure your sweet potato has been cooked (baked or boiled until fork-tender) and mashed with no large chunks remaining before adding it in. Stir until the mixture is smooth and evenly orange in color.
- Pour in the unsweetened applesauce and melted coconut oil. Stir everything together until fully incorporated — the batter should look glossy and slightly thick at this stage.
- Add the oat flour to the wet ingredients in two batches, folding gently with a spatula after each addition. Mix just until the flour disappears into the batter; overmixing can make the muffins dense and gummy rather than light.
- Using a spoon or a small cookie scoop, portion the batter into the prepared muffin cups, filling each one about two-thirds full to allow room for slight rising.
- Place the tin in the preheated oven and bake for 20-25 minutes. Check for doneness at the 20-minute mark by inserting a toothpick into the center of a muffin — if it comes out clean or with just a few dry crumbs, they’re done. If it comes out wet, bake for another 3-5 minutes and check again.
- Once baked, remove the tin from the oven and let the muffins cool in the pan for 5 minutes before transferring them to a wire cooling rack. Allow them to cool completely, at least 20-30 minutes, before serving or storing.
Notes: Store in an airtight container in the fridge for up to 5 days, or freeze for up to 2 months. These thaw quickly at room temperature, usually within 15-20 minutes, making them convenient for quick training sessions or last-minute treats.
Recipe #3: Slow Cooker Egg & Beef Stew
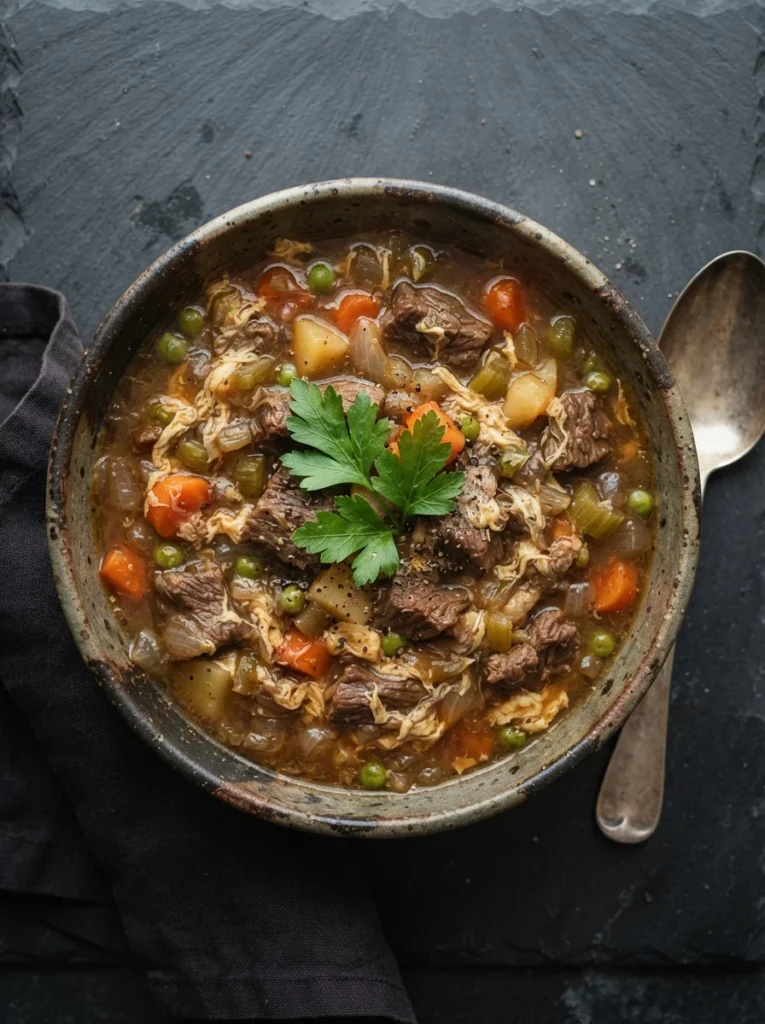
Best for: Set-it-and-forget-it batch cooking, especially if you like prepping a week’s worth of meals at once.
If your dog is a fan of stew-style meals, this one delivers a rich, hearty texture without much active cooking time. It’s also a great entry point if you want to explore more slow cooker dog meals down the line.
Prep Time: 15 minutes Cook Time: 4 hours on low Yield: 6 servings
Ingredients:
- 1.5 lbs lean ground beef
- 4 large eggs
- 1 cup diced potatoes
- 1 cup diced carrots
- 1/2 cup peas
- 2 cups low-sodium beef broth (no onion or garlic)
Instructions:
- Begin by peeling and dicing your potatoes and carrots into small, bite-sized cubes — roughly half-inch pieces work best, since smaller pieces cook more evenly in the slow cooker and are easier for your dog to chew and digest.
- Add the raw ground beef directly to the slow cooker insert, breaking it up slightly with a spoon so it isn’t in one solid clump. You don’t need to pre-cook it; the slow cooker will handle that over the next few hours.
- Add the diced potatoes and carrots on top of the beef, then pour in the 2 cups of low-sodium beef broth, making sure to check the label for any onion or garlic content, both of which are toxic to dogs.
- Set the slow cooker to low heat and cover with the lid. Cook for 3.5 hours, checking once around the halfway mark to give everything a gentle stir and make sure the beef is breaking apart evenly rather than clumping together.
- After 3.5 hours, check that the beef is fully cooked through (no pink remaining) and that the potatoes and carrots are fork-tender. If they still feel firm, continue cooking in 20-minute increments until tender.
- While the stew finishes cooking, crack the 4 eggs into a small bowl and whisk them thoroughly until smooth.
- With the slow cooker still on low heat, slowly pour the whisked eggs into the stew in a thin, steady stream while stirring gently with a spoon in a circular motion. This technique creates thin ribbons of cooked egg throughout the stew, similar to egg drop soup, rather than large clumps.
- Let the stew continue cooking for another 10-15 minutes with the lid on, until the egg ribbons are fully set and no longer look glossy or translucent.
- Stir in the peas during the final 5 minutes of cooking so they warm through without turning mushy.
- Turn off the slow cooker and let the stew cool with the lid slightly ajar for about 20-30 minutes before portioning it into serving containers. Make sure it has cooled to room temperature before serving.
Notes: This freezes exceptionally well in individual portions. Thaw overnight in the fridge before serving, and give it a quick stir once thawed since the texture can separate slightly during freezing.
Recipe #4: No-Cook Hard-Boiled Egg Rice Topper
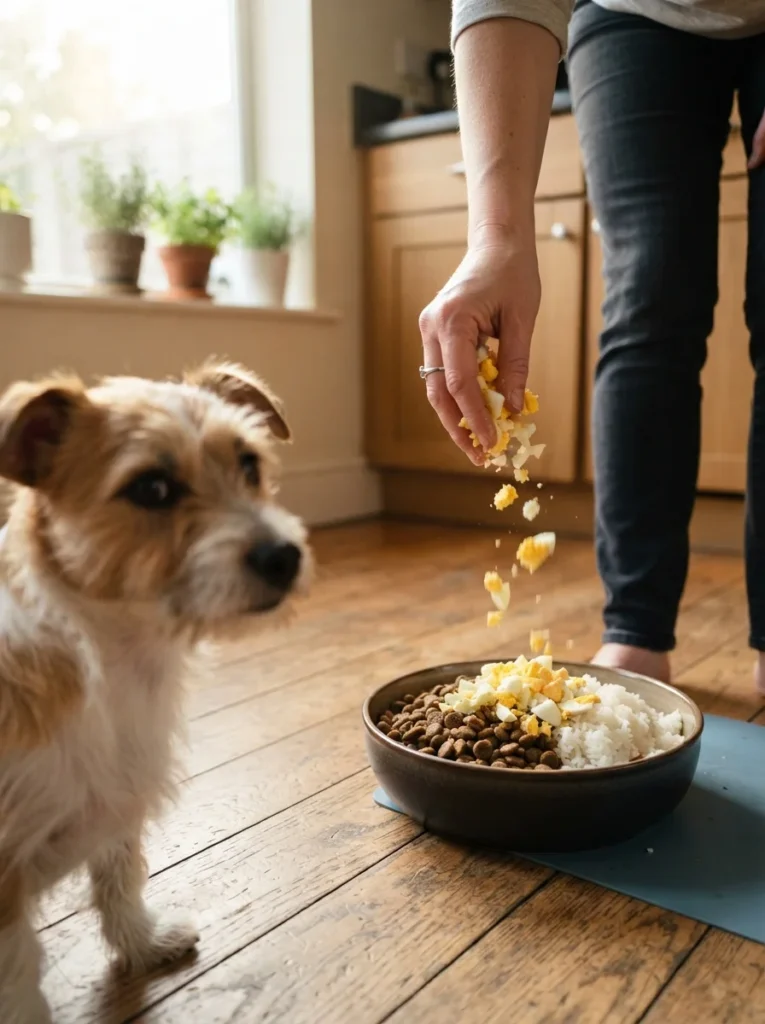
Best for: Busy mornings when you need something ready in five minutes flat.
This isn’t a full meal on its own, but it’s a fantastic topper for kibble or a light addition to another homemade recipe when you’re short on time.
Prep Time: 5 minutes (plus time to hard-boil eggs ahead) Cook Time: None (assembly only) Yield: 4 toppers
Ingredients:
- 4 hard-boiled eggs, peeled and chopped
- 2 cups cooked white rice
- 1/2 cup plain, unsweetened yogurt
- 1/4 cup shredded carrot
Instructions:
- If you haven’t already hard-boiled your eggs, do this ahead of time: place the eggs in a saucepan, cover with cold water by about an inch, bring to a boil, then remove from heat, cover, and let sit for 10-12 minutes before transferring to an ice bath to cool.
- Once cooled, peel the eggs carefully under cool running water, which helps the shells slide off more easily without tearing the egg white.
- Chop the peeled eggs into small, bite-sized pieces using a sharp knife or an egg slicer run over the egg twice in different directions to create a fine dice.
- In a mixing bowl, add the 2 cups of cooked white rice, making sure it has cooled to at least room temperature before combining with the other ingredients.
- Add the chopped eggs to the rice and gently toss with a spoon to distribute evenly throughout.
- Spoon in the plain, unsweetened yogurt, making sure to check the label for xylitol or other artificial sweeteners, which are dangerous for dogs even in small amounts.
- Add the shredded carrot and fold everything together until the mixture looks evenly combined, with the yogurt lightly coating the rice and egg pieces rather than pooling at the bottom of the bowl.
- Spoon the desired amount over your dog’s regular kibble, or serve a small portion on its own as a light snack or meal addition.
Notes: This one is best made fresh and refrigerated for up to 3 days. Because of the yogurt, it doesn’t freeze well, so only make what you’ll use within a few days, and always give it a quick stir before serving since the ingredients can settle.
Recipe #5: Frozen Egg & Pumpkin Bites
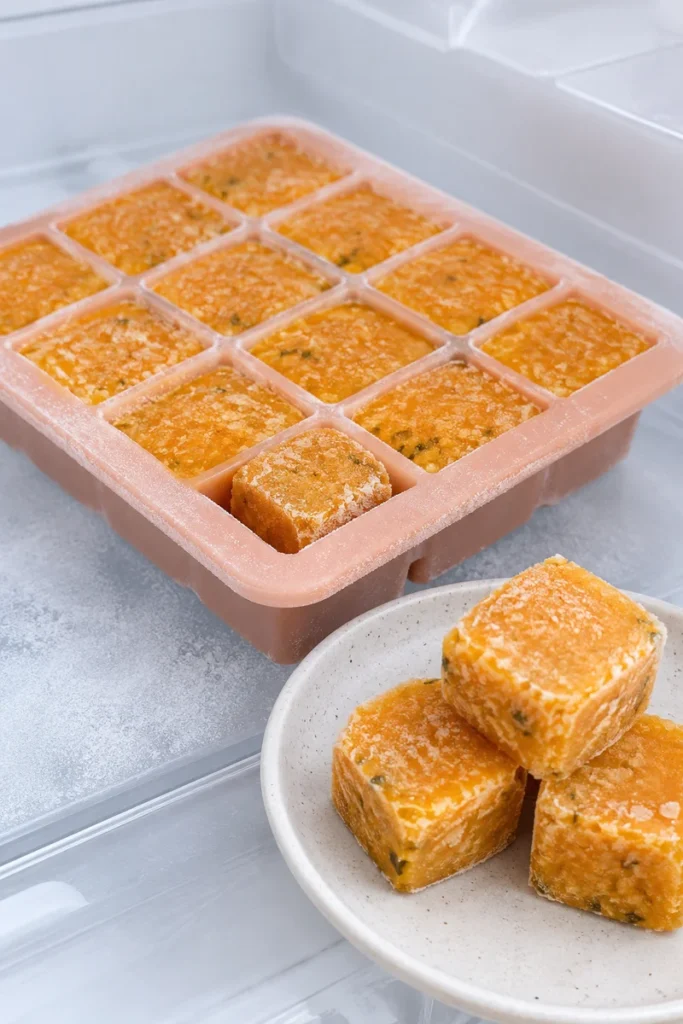
Best for: Hot days, teething puppies, or dogs who love a cold, chewy treat.
These little frozen bites are one of the easiest freezer treat recipes for eggs — just blend, pour, and freeze. They’re a nice change of pace from other frozen treat ideas if you want something protein-forward instead of fruit-based.
Prep Time: 10 minutes Freeze Time: 4 hours (or overnight) Yield: About 24 bites
Ingredients:
- 3 hard-boiled eggs, mashed
- 1 cup plain, unsweetened pumpkin puree
- 1/2 cup plain yogurt
- A splash of water, if needed to blend smoothly
Instructions:
- Hard-boil your eggs ahead of time if you haven’t already, following the same method as Recipe #4: boil, remove from heat, cover for 10-12 minutes, then cool in an ice bath before peeling.
- Once peeled and cooled, mash the eggs thoroughly with a fork in a small bowl until no large chunks remain — you’re aiming for a fairly smooth, crumbly texture.
- Transfer the mashed eggs to a food processor or blender, along with the pumpkin puree (make sure it’s plain, unsweetened pumpkin, not pumpkin pie filling, which contains added sugar and spices) and the plain yogurt.
- Blend the mixture on medium speed for about 30-45 seconds, stopping to scrape down the sides of the blender or processor with a spatula as needed to make sure everything incorporates evenly.
- Check the consistency. It should be smooth and pourable, similar to a thick smoothie. If the mixture seems too thick to pour easily, add water one tablespoon at a time, blending briefly after each addition until you reach the right consistency.
- Set a silicone ice cube tray on a flat, stable surface — a small baking sheet underneath makes it easier to transport to the freezer without spilling.
- Carefully pour or spoon the mixture into each cavity of the ice cube tray, filling each one close to the top but leaving a small gap to prevent overflow as it freezes.
- Gently tap the tray on the counter a few times to release any trapped air bubbles and help the mixture settle evenly into each mold.
- Place the tray flat in the freezer and freeze for at least 4 hours, though overnight freezing gives the best fully-solid texture.
- Once frozen solid, pop the bites out of the tray by gently flexing the silicone from the bottom, then transfer them into a freezer-safe bag or container for storage.
Notes: These keep well in the freezer for up to 2 months. Hand them out straight from the freezer as a cooling summer treat, and supervise your dog while they enjoy them, especially if they tend to gulp treats down quickly.
Recipe #6: Egg & Turkey Veggie Casserole
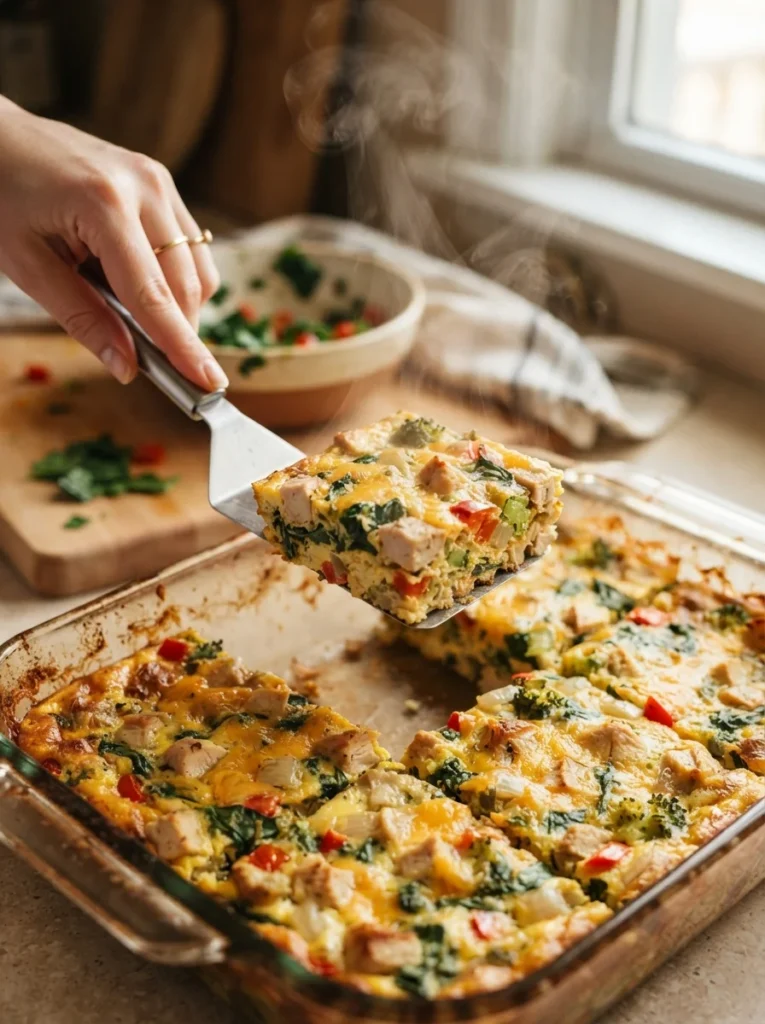
Best for: Batch cooking a week’s worth of dinners in one bake.
This casserole is essentially a giant frittata packed with lean protein and veggies. Cut it into squares and you’ve got portioned meals ready to go for days.
Prep Time: 15 minutes Cook Time: 35 minutes Yield: 8 servings
Ingredients:
- 6 large eggs
- 2 lbs ground turkey, cooked and drained
- 2 cups chopped spinach
- 1 cup shredded zucchini
- 1 cup cooked quinoa
- 1/4 cup grated parmesan (optional, small amount only)
Instructions:
- Preheat your oven to 375°F, giving it plenty of time to reach full temperature before you place the casserole inside.
- Lightly grease a 9×13-inch baking dish with a small amount of oil or nonstick spray, making sure to coat the bottom and sides evenly so the casserole releases cleanly after baking.
- If your ground turkey isn’t already cooked, brown it in a skillet over medium heat, breaking it apart with a spatula as it cooks, until no pink remains, about 8-10 minutes. Drain any excess fat and let it cool slightly before using.
- In a large mixing bowl, crack the 6 eggs and whisk vigorously for about 45 seconds to a minute, until the mixture is fully blended, slightly frothy on top, and uniform in color.
- Add the cooked, cooled ground turkey to the whisked eggs and stir gently to combine.
- Fold in the chopped spinach, shredded zucchini, and cooked quinoa one at a time, stirring after each addition so everything is evenly distributed throughout the egg mixture rather than clumped in one area.
- If using parmesan, sprinkle it in now and give the mixture one final stir. Keep the amount small, as too much cheese can upset a dog’s stomach.
- Pour the entire mixture into your prepared baking dish, using a spatula to spread it out evenly so it’s roughly the same thickness from edge to edge — this helps it cook evenly.
- Place the dish in the preheated oven and bake for 30-35 minutes. Check for doneness around the 30-minute mark by inserting a knife or toothpick into the center; it should come out clean, and the top should look set with no wet, jiggly areas remaining.
- Remove from the oven and let the casserole rest in the pan for 10-15 minutes before cutting, which helps it firm up and makes slicing much cleaner.
- Once cooled to room temperature, cut into 8 even squares using a sharp knife, wiping the blade clean between cuts for neater portions.
Notes: Freeze individual squares for up to 3 months. Thaw in the fridge overnight before serving, and warm slightly to room temperature if your dog prefers meals that aren’t cold straight from the fridge.
Recipe #7: Egg Drop Fish & Rice Dinner
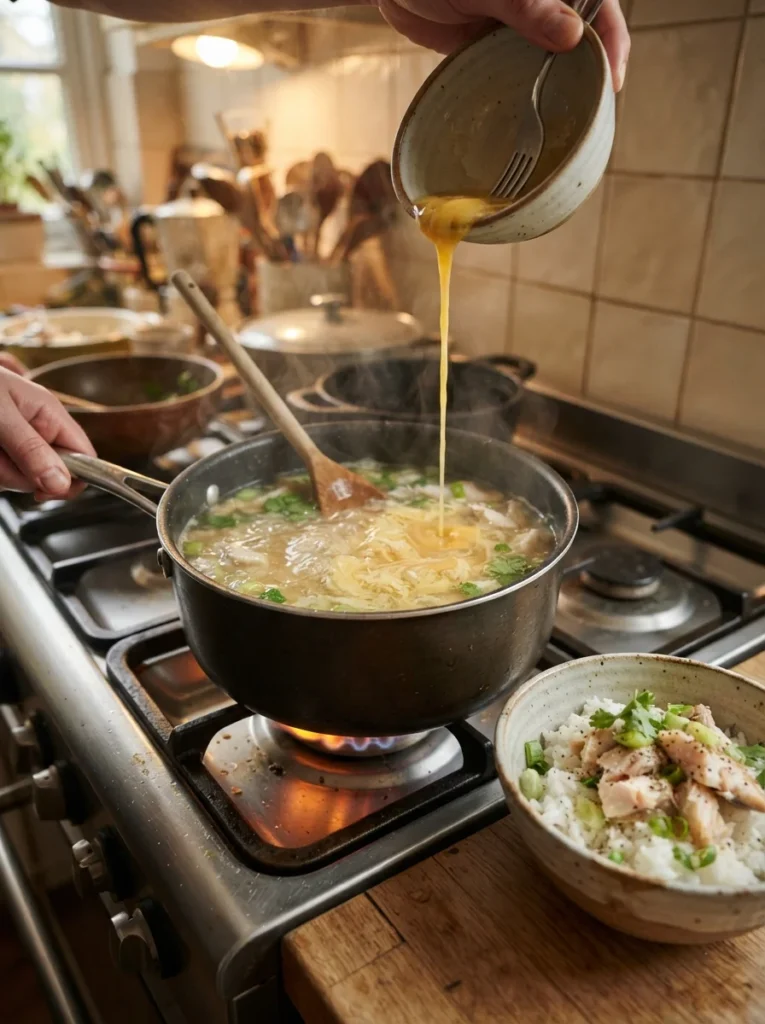
Best for: Dogs with sensitive stomachs who need something gentle and easy to digest.
This one borrows the technique from egg drop soup — warm broth with silky ribbons of egg stirred through it. It’s soft, mild, and easy on the stomach, which makes it a good option during recovery from an upset tummy.
Prep Time: 10 minutes Cook Time: 20 minutes Yield: 5 servings
Ingredients:
- 2 large eggs, whisked
- 1 lb cooked, flaked salmon or whitefish (boneless)
- 2 cups cooked white rice
- 1/2 cup steamed peas
- 1 cup low-sodium fish or chicken broth
Instructions:
- If your fish isn’t already cooked, poach it gently in a separate pan of simmering water for about 8-10 minutes, until it flakes easily with a fork. Once cooked, check thoroughly for any small bones by running your fingers through the flaked fish, since even small bones can be a choking hazard.
- Crack the 2 eggs into a small bowl and whisk thoroughly until smooth, with no streaks of egg white remaining.
- Pour the low-sodium broth into a small saucepan and warm it over low-to-medium heat. You want it gently simmering, not boiling rapidly — small, steady bubbles are what you’re looking for.
- Once the broth is simmering, hold the bowl of whisked eggs a few inches above the saucepan and slowly drizzle the eggs in, using a spoon to gently stir the broth in a circular motion at the same time. This slow, steady pour is what creates the delicate egg ribbons rather than one large clump.
- Continue stirring gently for about 1-2 minutes after adding all the egg, until the ribbons are fully cooked through and no longer look glossy or translucent.
- Remove the saucepan from heat and let it cool for a few minutes.
- In a large mixing bowl, combine the flaked fish, cooked white rice, and steamed peas.
- Pour the warm egg-broth mixture over the fish, rice, and peas, then gently fold everything together until evenly combined and the broth has been absorbed slightly by the rice.
- Let the mixture cool completely to room temperature before portioning it out and serving.
Notes: Make sure the fish is fully deboned before cooking. This recipe stores in the fridge for up to 3 days but is best enjoyed fresh, since the rice can absorb the broth over time and change the texture slightly.
Recipe #8: Baked Egg Frittata Squares
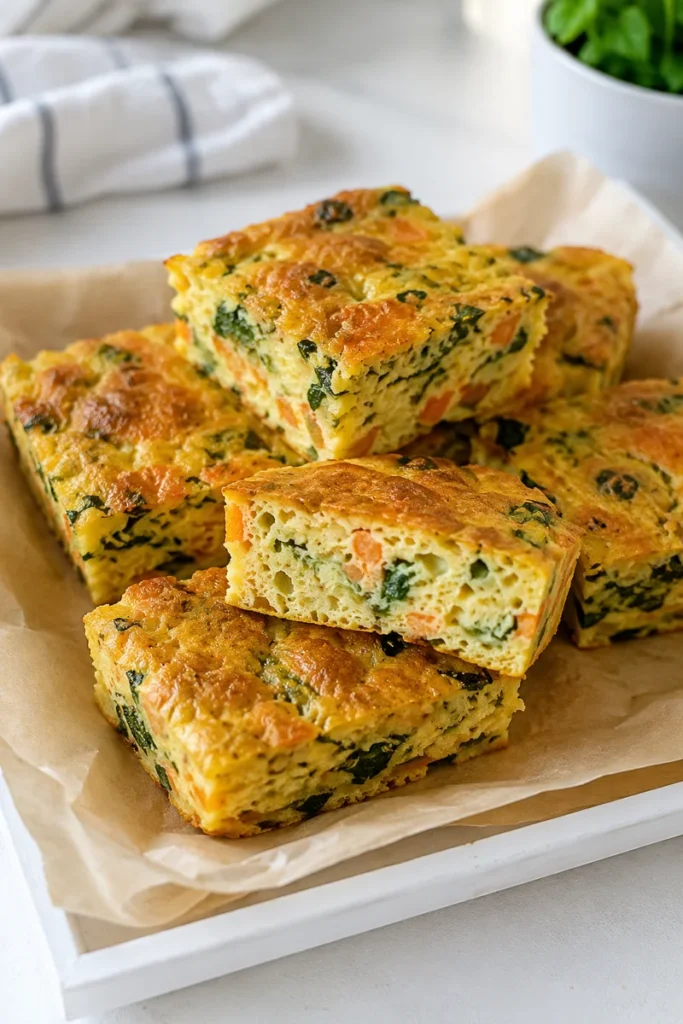
Best for: Grab-and-go portions you can prep once and use all week.
This is essentially an egg-forward casserole with a higher egg-to-filling ratio, giving it a firmer, more portable texture than Recipe #6.
Prep Time: 10 minutes Cook Time: 25 minutes Yield: 9 squares
Ingredients:
- 8 large eggs
- 1 cup diced, cooked chicken or turkey
- 1/2 cup shredded carrot
- 1/2 cup chopped spinach
- 1/4 cup plain cottage cheese
Instructions:
- Preheat your oven to 350°F and lightly grease an 8×8-inch baking pan, making sure to coat the corners well since that’s where sticking tends to happen most.
- Crack all 8 eggs into a large mixing bowl and whisk thoroughly for about a minute, until the mixture is smooth, slightly airy, and uniform in color with no visible streaks of white.
- Add the plain cottage cheese to the whisked eggs and stir until mostly blended — a few small curds remaining is fine and actually adds a nice texture once baked.
- Fold in the diced, cooked chicken or turkey, making sure the pieces are small and bite-sized so they distribute evenly and are easy for your dog to eat once baked.
- Add the shredded carrot and chopped spinach, stirring gently after each addition until the vegetables are evenly spread throughout the mixture rather than settling in clumps.
- Pour the entire mixture into your prepared baking pan and use a spatula to smooth the top so it bakes evenly across the whole pan.
- Place the pan in the preheated oven and bake for 20-25 minutes. Start checking at the 20-minute mark — the frittata is done when the center is fully set (no jiggle when you gently shake the pan) and a toothpick inserted in the middle comes out clean.
- Remove from the oven and let the frittata cool in the pan for about 10 minutes before attempting to cut it, which allows it to firm up and hold its shape.
- Once cooled slightly, run a knife around the edges of the pan to loosen it, then cut into 9 even squares directly in the pan.
Notes: These freeze beautifully. Wrap individual squares in parchment paper or place in a freezer-safe container with layers separated by wax paper, and pull one out as needed for a quick topper or standalone snack.
Recipe #9: Egg & Oatmeal Breakfast Bowl
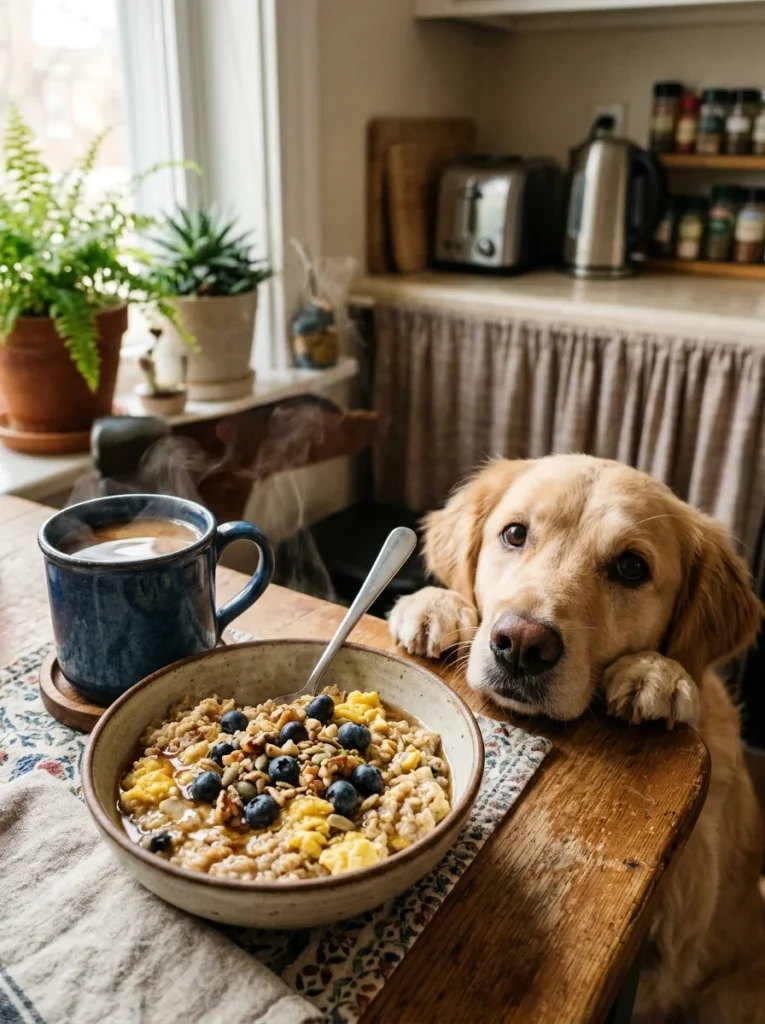
Best for: A warm, filling start to the day, especially in colder months.
This one leans into comfort-food territory. It’s soft, warm, and a nice change from the usual dinner-style recipes on this list.
Prep Time: 10 minutes Cook Time: 10 minutes Yield: 4 servings
Ingredients:
- 2 large eggs, scrambled
- 1 cup rolled oats, cooked in water
- 1/4 cup mashed banana
- 1 tablespoon plain peanut butter (double-check the label for xylitol — it’s toxic to dogs)
- A splash of water or milk to loosen, if needed
Instructions:
- Start by cooking the rolled oats according to the package instructions, using plain water rather than milk or flavored liquids. Typically this means combining 1 cup of oats with about 2 cups of water in a small saucepan, bringing it to a gentle boil, then reducing the heat and simmering for 5 minutes, stirring occasionally, until thickened.
- While the oats cook, crack the 2 eggs into a separate bowl and whisk until fully combined.
- Heat a small nonstick pan over medium heat and pour in the whisked eggs. Let them sit for about 15 seconds before gently pushing them around the pan with a spatula, folding continuously until fully cooked through with no runny sections, about 2-3 minutes total.
- Once the oats have finished cooking, remove them from heat and let them sit for a minute or two to cool slightly before combining with other ingredients.
- In a mixing bowl, combine the cooked oats and scrambled eggs.
- Add the mashed banana, making sure it’s mashed until smooth with no large chunks, and stir it into the oat and egg mixture.
- Check the peanut butter label carefully before adding — it should contain only peanuts (or peanuts and salt), with no xylitol or other artificial sweeteners listed anywhere in the ingredients. Once confirmed safe, stir in the tablespoon of peanut butter until it melts slightly into the warm mixture and distributes evenly.
- If the mixture seems too thick or dry, add a small splash of water or plain milk and stir until you reach a soft, easily scoopable consistency.
- Let the bowl cool to a safe, warm-but-not-hot temperature before serving — test it with your finger the way you would a baby’s food.
Notes: Best served fresh. If you want to prep ahead, store the oats and eggs separately and combine just before serving, since reheating the full mixture together can make the texture gummy.
Recipe #10: Egg & Liver Meatloaf Bake
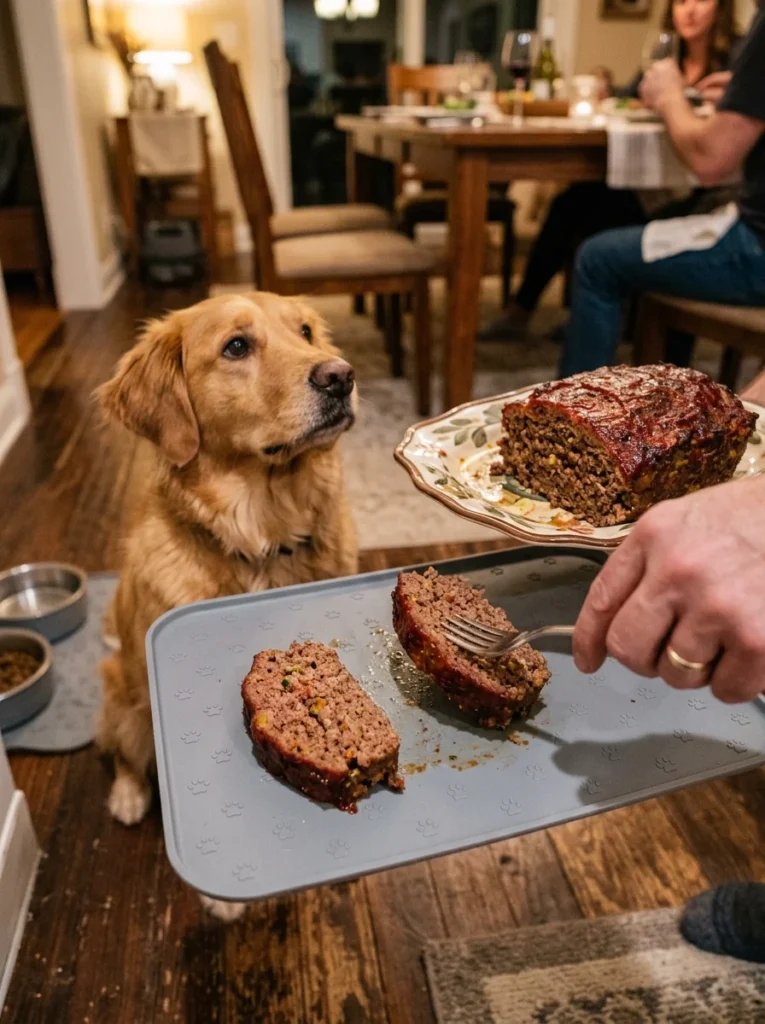
Best for: An occasional richer meal or special-occasion dinner — not an everyday staple due to the liver content.
This is the most nutrient-dense recipe on the list, thanks to the liver. It’s best fed occasionally rather than daily, since organ meat is rich and can cause loose stools if overdone.
Prep Time: 15 minutes Cook Time: 45 minutes Yield: 8 servings
Ingredients:
- 4 large eggs
- 1 lb ground beef or turkey
- 1/2 lb beef liver, finely chopped
- 1 cup rolled oats
- 1/2 cup grated carrot
- 1/4 cup chopped fresh parsley
Instructions:
- Preheat your oven to 350°F and lightly grease a standard loaf pan, coating the bottom and sides so the finished loaf releases cleanly after baking.
- Using a sharp knife, finely chop the beef liver into very small pieces, roughly a quarter-inch or smaller. The finer you chop it, the more evenly it will distribute through the loaf and the less likely your dog is to pick around it.
- In a large mixing bowl, crack the 4 eggs and whisk them briefly, just enough to break up the yolks and combine them with the whites.
- Add the ground beef or turkey to the eggs, along with the chopped liver, rolled oats, grated carrot, and chopped parsley.
- Using clean hands, mix everything together thoroughly, working the ingredients until they’re evenly distributed throughout the mixture. This usually takes 2-3 minutes of hands-on mixing — you want no large pockets of any single ingredient.
- Transfer the mixture into your prepared loaf pan, then use your hands or the back of a spatula to press it down firmly and evenly, making sure there are no air pockets and the top is relatively flat.
- Place the loaf pan on the middle rack of the preheated oven and bake for 40-45 minutes.
- Check for doneness using a meat thermometer inserted into the center of the loaf — it should read 165°F. If you don’t have a thermometer, cut a small slit in the center to check that the meat is no longer pink and the juices run clear.
- Remove the pan from the oven and let the loaf rest inside the pan for 10-15 minutes before slicing. This resting period allows the loaf to firm up, which makes for much cleaner slices.
- Once rested, run a knife around the edges of the pan, then carefully turn the loaf out onto a cutting board and slice into even portions.
Notes: Freeze individual slices for up to 3 months. Serve as an occasional meal, not a daily staple, due to the richness of the liver, and start with a small portion the first time to see how your dog’s stomach handles it.
Storing and Freezing Your Egg-Based Dog Food
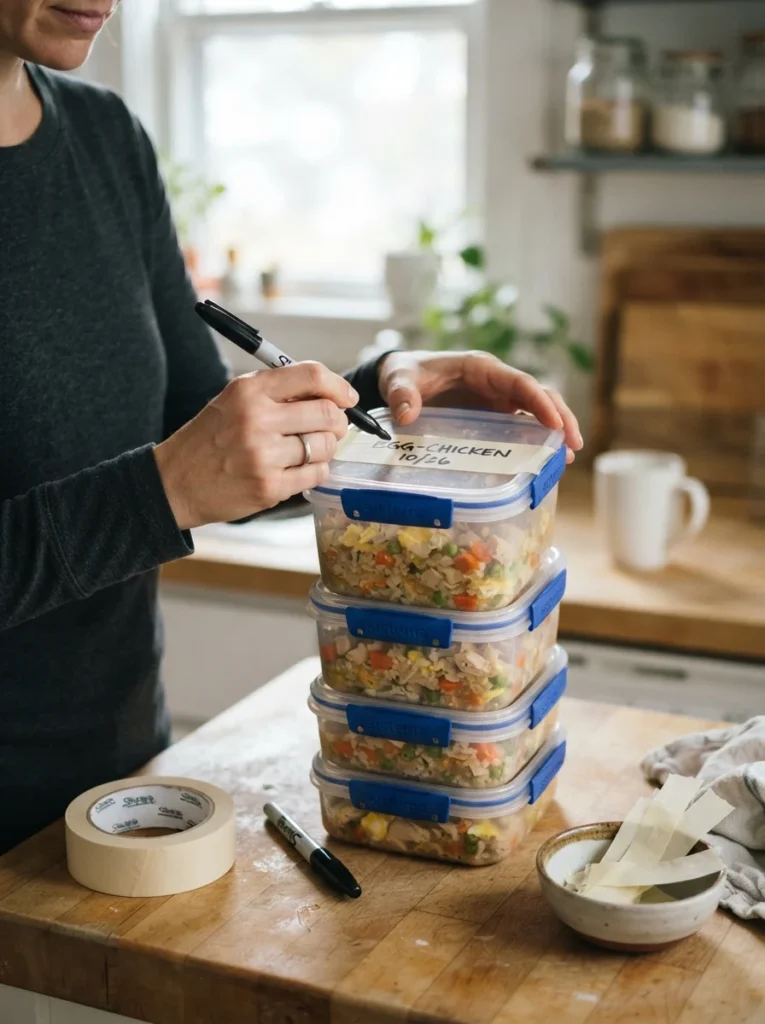
Most of these recipes hold up well in the fridge for 3-4 days when stored in airtight containers. For longer storage, portion each recipe into single-serving containers or freezer bags before freezing — this makes thawing and serving much faster later on, since you won’t need to defrost an entire batch just to feed one meal.
Ice cube trays and silicone muffin molds are especially useful for the frozen bites and casseroles on this list, since they create pre-portioned servings you can pop out one at a time. Label each container with the recipe name and date so nothing gets lost in the back of the freezer, and try to use frozen portions within 2-3 months for the best texture and flavor.
Always thaw frozen portions in the refrigerator overnight rather than at room temperature, since slow, cold thawing reduces the risk of bacterial growth. Never microwave a portion straight from frozen without checking that it’s cooled evenly before serving — hot spots can burn a dog’s mouth, even if the rest of the portion feels only lukewarm. If you’re setting up a dedicated space for feeding and meal prep, a proper feeding station setup can make this whole rotation a lot smoother, especially if you’re cycling through several recipes at once and need somewhere organized to store bowls, containers, and scoops.
Why Eggs Are a Smart Addition to Your Dog’s Bowl
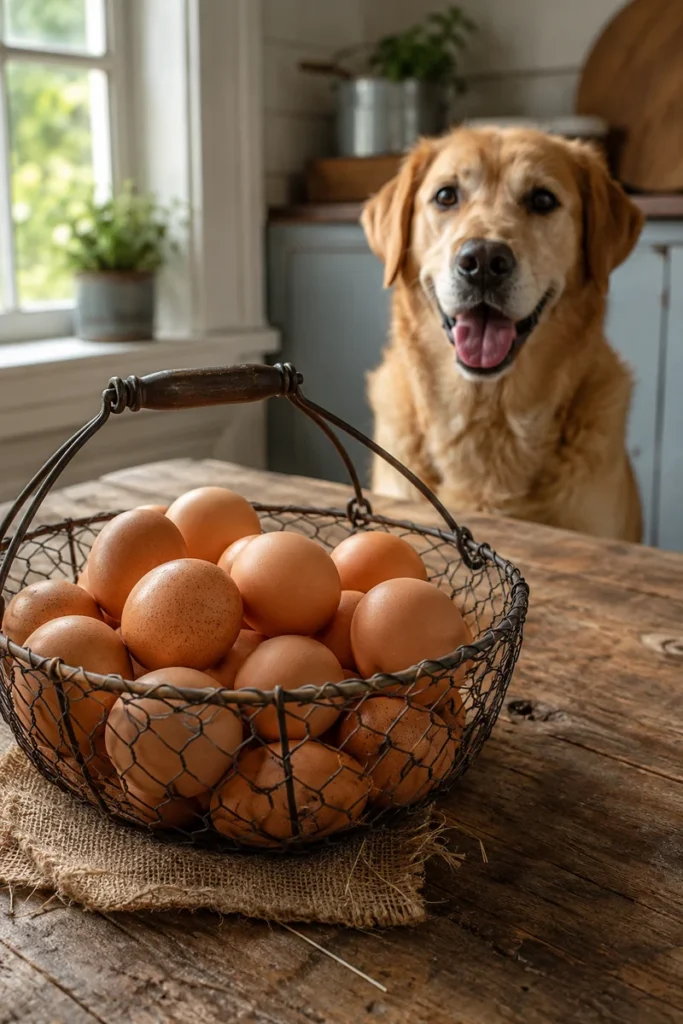
Eggs are one of the most complete protein sources you can feed a dog. They contain all the essential amino acids a dog’s body needs, along with biotin, riboflavin, folate, vitamin A, and selenium. The biotin content in particular supports healthy skin and a shinier coat, which is why so many homemade recipes and treats lean on eggs as a base ingredient.
Eggs also provide choline, a nutrient that supports brain function and liver health. For dogs transitioning off processed kibble, eggs are an easy way to add high-quality protein without introducing a lot of new or unfamiliar ingredients, which can be gentler on a dog’s digestive system during the switch.
That said, moderation matters. Eggs are calorie-dense and contain cholesterol, so they should be one part of a balanced diet rather than the entire diet on their own. Always cook eggs fully — raw eggs carry a salmonella risk and can interfere with biotin absorption over time. And skip the salt, butter, or seasoning you’d normally add for yourself; a dog’s system doesn’t need any of it, and some seasonings can even be harmful in larger amounts.
Final Thoughts
Cooking for your dog doesn’t have to mean hours in the kitchen every night. With a dozen eggs and a few pantry staples, you can rotate through everyday dinners, freezer-friendly treats, and gentle recovery meals without much effort. Start with one or two recipes from this list, see how your dog responds, and build out a rotation from there based on what they enjoy most and what fits your schedule.
If you’re just getting started with homemade meals or switching a puppy over from commercial food, it’s worth checking in on general puppy feeding guidance first, since younger dogs often have different nutritional needs than adults. From there, these 10 recipes give you more than enough variety to keep mealtime interesting for months to come, whether you’re batch cooking on Sundays or just looking for a quick, egg-based dinner on a busy Tuesday night.

Izzy is an experienced ranch worker who has a passion for exploring nature and getting up close to wildlife. With her connections to various animal organizations, Izzy is well-versed in animal care and rehabilitation.