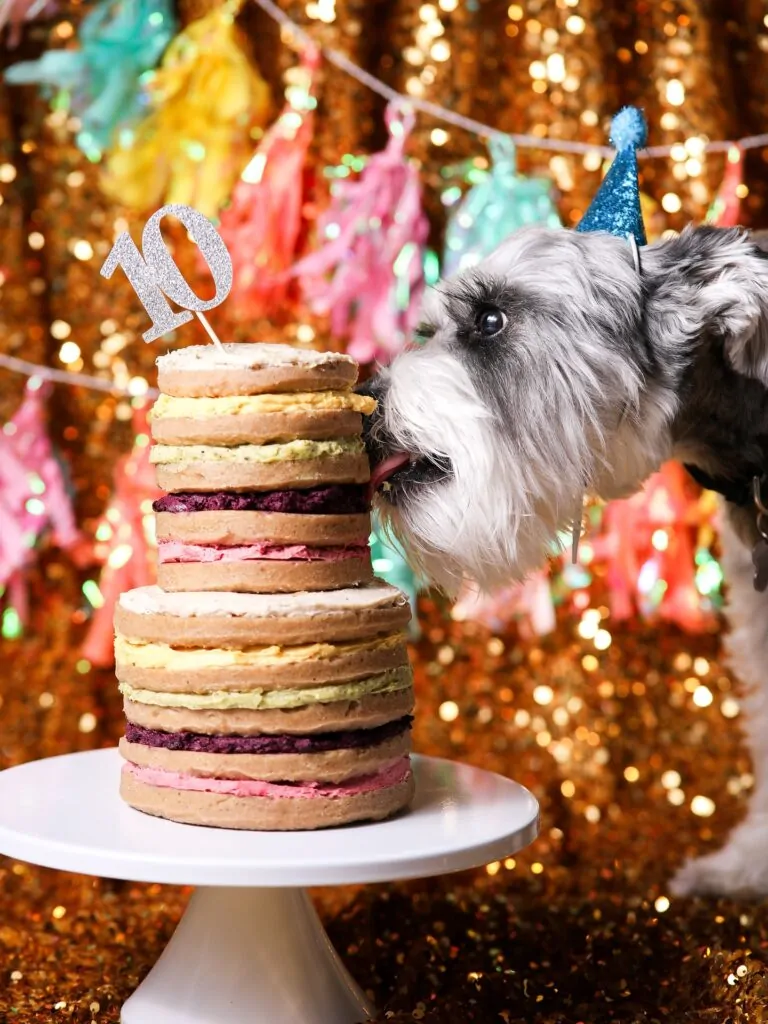
Chicken Broth Gummy Dog Treats for Joint and Gut Health
If your dog goes wild every time you open a can of broth, you’re not alone. Chicken broth gummy dog treats have become one of the most popular homemade treats for pet parents who want something healthy, tasty, and fun to make. They’re soft, chewy, easy on the stomach, and packed with nutrients that support joints, digestion, and hydration.
The best part? You only need a few simple ingredients and a little patience. No baking, no fancy tools, and no mystery preservatives. Just real food turned into a treat your dog will beg for.
In this guide, you’ll find four different chicken broth gummy dog treats recipes, from a classic base recipe to fun variations with honey, probiotics, and bee pollen. Each one is simple enough for a first-time treat maker but tasty enough to become a regular in your dog’s treat jar.
Let’s get into the recipes first, then we’ll cover the “why” behind these treats, the tools you need, and the mistakes to avoid so your gummies turn out perfect every time.
Recipe #1 – Classic Chicken Broth Gummy Dog Treats
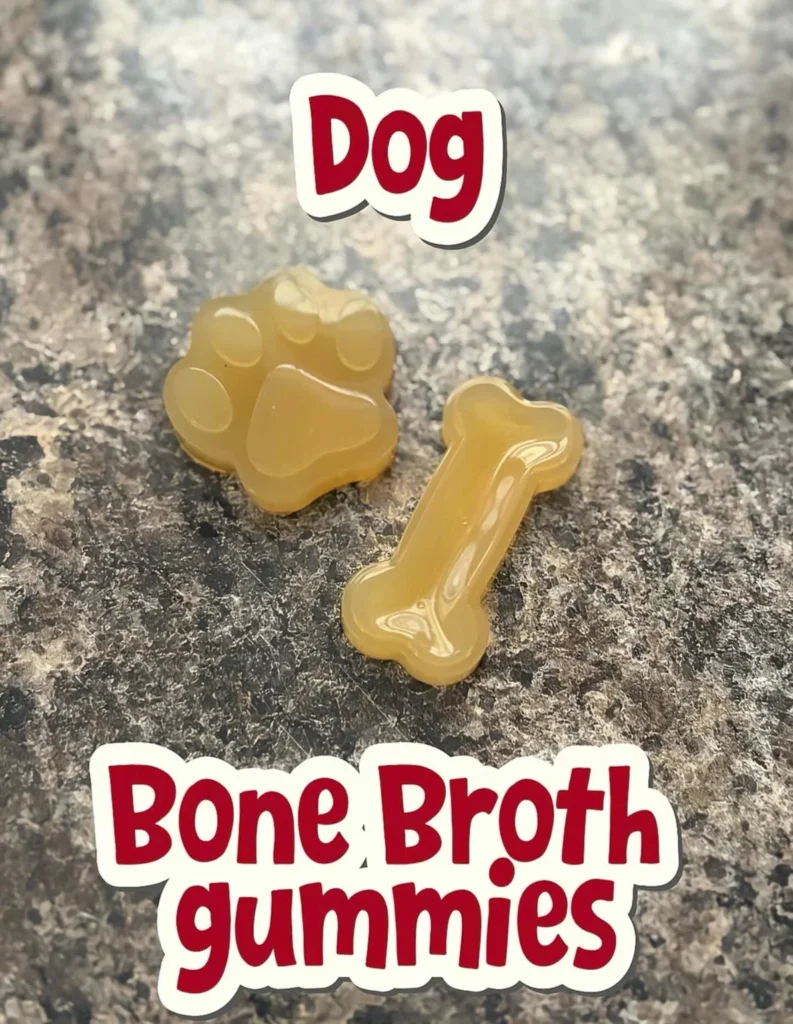
This is the treat that started it all. It’s simple, it’s reliable, and it works for almost any dog, no matter their size or age. Think of this as your go-to base recipe. Once you get the hang of it, you can experiment with the other variations below.
Prep Time: 10 minutes | Chill Time: 2 hours | Yield: 20-24 mini gummies
Ingredients:
- 1 cup low-sodium chicken broth (dog-safe, no onion or garlic)
- 2 tablespoons unflavored gelatin powder
- Optional: 1 tablespoon pumpkin puree
- Optional: 1 teaspoon turmeric powder with a pinch of black pepper
- Optional: 1 tablespoon peanut butter (xylitol-free)
- Optional: 1 teaspoon soaked chia seeds
Instructions:
- Pour half a cup of cold chicken broth into a small bowl or saucepan. Sprinkle the gelatin powder evenly across the top and let it sit for 5 to 10 minutes until it turns spongy and thick. This “blooming” step keeps your gummies smooth instead of clumpy.
- Place the pan on the stove over low heat. Stir constantly until the gelatin fully dissolves, about 2 to 3 minutes. Never let the mixture boil, or your gummies won’t set properly.
- Remove from heat and stir in the remaining half cup of chicken broth along with any optional add-ins. Whisk until smooth.
- Pour the mixture into silicone molds, mini ice cube trays, or a shallow baking dish. Tap gently on the counter to remove air bubbles.
- Refrigerate for at least 2 hours, or until firm to the touch.
- Pop the gummies out of the molds and store in an airtight container in the fridge for up to two weeks, or freeze for up to three months.
Tip: For more ideas on rewarding your pup the healthy way, check out this guide to homemade dog treats.
📸 Photo credit: Instagram @sitmeanssitsatx_cibolo
Recipe #2 – Chicken Broth Coat & Joint Support Gummies
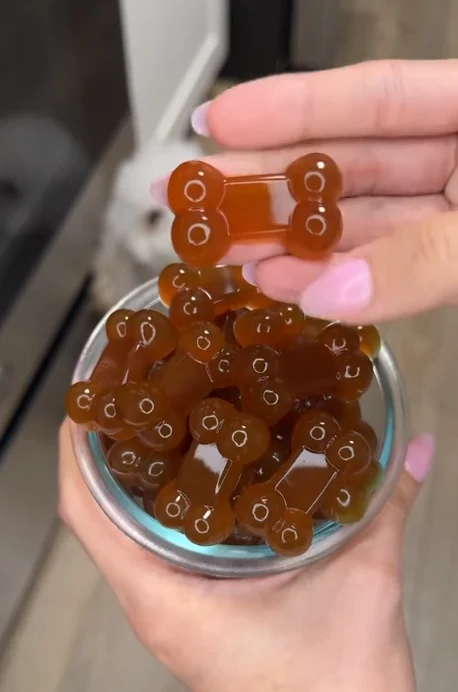
This next recipe is a fun twist that focuses on skin and coat health, along with joint support. It uses cute paw print and bone-shaped molds, which makes it a hit for photos and for picky eaters who like a little variety in shape and texture.
Note: this recipe was inspired by a photo of golden, honey-toned gummy treats shaped like bears and honeycombs. Since the original post didn’t include a full written recipe, we built this one to match the look and likely ingredients shown, keeping it simple, dog-safe, and focused on joint and coat support.
Prep Time: 10 minutes | Chill Time: 2 hours | Yield: 18-20 mini gummies
Ingredients:
- 1 cup low-sodium chicken broth
- 2 tablespoons unflavored gelatin powder
- 1 tablespoon raw honey (used sparingly, as an occasional treat)
- 1/2 teaspoon turmeric powder with a pinch of black pepper
- Optional: 1 teaspoon fish oil
Instructions:
- Pour half of the chicken broth into a bowl. Sprinkle the gelatin over the top and let it sit for 5 to 10 minutes until it thickens.
- Warm the bloomed mixture over low heat, stirring constantly, until it turns into a smooth liquid. Keep the heat low so the gelatin doesn’t lose its setting strength.
- Remove from heat and stir in the honey, turmeric, black pepper, and fish oil if using.
- Pour the mixture into paw print, bone, or honeycomb-shaped molds. Tap out any air bubbles.
- Chill for at least 2 hours, then pop the gummies out.
- Store in the fridge for up to two weeks or freeze for longer storage.
Tip: For more inspiration on treats worth trying at home, take a look at this roundup of dog bone treat ideas.
Recipe #3 – Calming Chicken Broth Probiotic Gummies
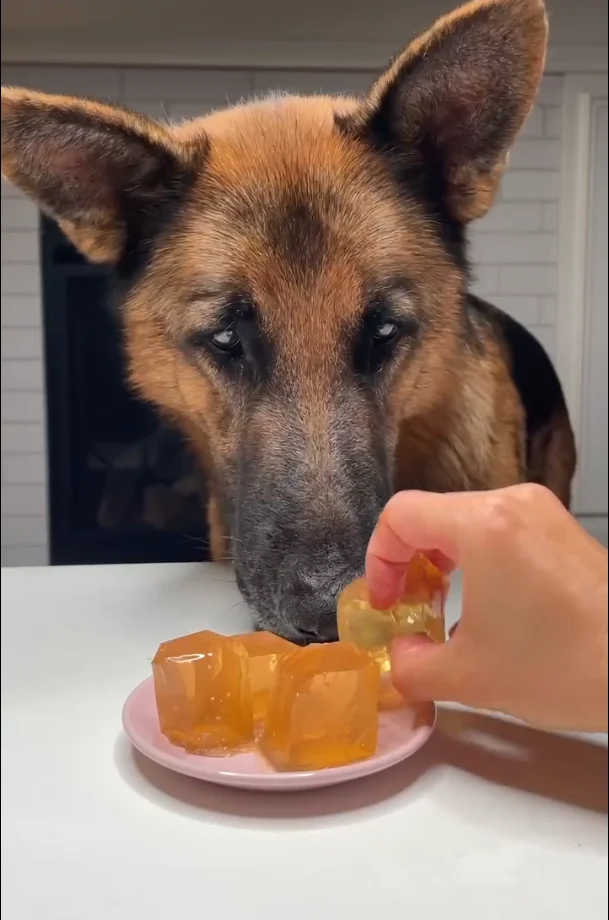
Some dogs need a little extra help staying relaxed, whether it’s due to thunderstorms, car rides, or general anxiety. This recipe swaps in chicken broth as the base while adding calming herbs and gut-friendly probiotics.
Prep Time: 10 minutes | Chill Time: 2 hours | Yield: 20 mini gummies
Ingredients:
- 2 cups low-sodium chicken broth (can be brewed with a small amount of chamomile for a calming effect)
- 2 tablespoons unflavored gelatin powder
- Dog-safe probiotic powder (follow the dosage on the label based on your dog’s size)
Instructions:
- If using chamomile, steep it in the chicken broth first, then let it cool to room temperature.
- Sprinkle the gelatin over the cooled broth and whisk until fully dissolved. If needed, warm slightly over low heat, but avoid boiling.
- Pour into silicone molds and tap out any air bubbles.
- Refrigerate until firm, about 2 hours.
- Once set, cut the gummies into bite-sized pieces and coat them lightly with the probiotic powder just before serving. This helps preserve the probiotic’s potency, since heat and long storage can reduce its effectiveness.
Tip: If your dog tends to lick excessively when anxious, this article on excessive licking in dogs might offer some helpful context.
Recipe #4 – Chicken Broth & Bee Pollen Gummy Bites
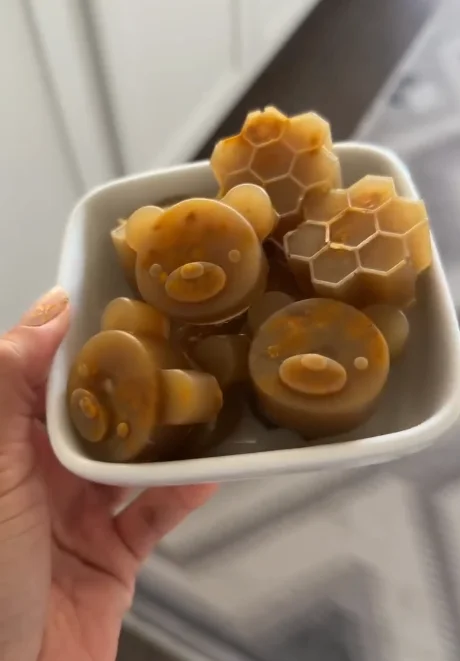
This recipe adds a layered look and a boost of bee pollen, which some pet owners use for its natural nutrients. It’s a fun one to make with kids since the layering step feels a bit like a science project.
Prep Time: 10 minutes | Chill Time: 3-5 hours | Yield: 15-18 mini gummies
Ingredients:
- 6 oz hot water
- 2 tablespoons unflavored gelatin powder
- 1 tablespoon chicken broth powder (or concentrated chicken broth)
- A small pinch of bee pollen
Instructions:
- In a bowl, combine the hot water and gelatin powder. Stir until the gelatin fully dissolves.
- Stir in the chicken broth powder until completely mixed in and smooth.
- Fill your molds halfway with the mixture. Sprinkle a small amount of bee pollen on top of each one, then finish filling the mold with the remaining broth mixture.
- Refrigerate for 3 to 5 hours, or until fully set.
- Serve within 3 to 4 days for best freshness, since this batch doesn’t keep as long as the others.
Tip: Looking for a cute spot to keep treats like these? Check out these dog treat station ideas for inspiration.
Why Make Chicken Broth Gummy Dog Treats at Home
Now that you’ve got four recipes to try, let’s talk about why these treats are worth the extra effort compared to store-bought options.
1. Health Benefits
Chicken broth itself is a great source of hydration and can be gentle on a dog’s stomach, especially for picky eaters or dogs recovering from an upset tummy. When combined with gelatin, these gummies also offer:
- Joint support from the natural collagen in gelatin, which may help with mobility over time
- Skin and coat benefits, especially when paired with add-ins like fish oil or turmeric
- Low-calorie training rewards, since a single small gummy has far fewer calories than most store-bought treats
- Easy digestion, since the ingredients are simple and free from artificial fillers
2. Why Chicken Broth Works Better Than Store-Bought Treats
Most packaged dog treats contain preservatives, added sugars, or fillers that don’t offer much nutritional value. When you make chicken broth gummy dog treats at home, you control exactly what goes into them. You know there’s no hidden sodium, no artificial flavoring, and nothing your dog might be sensitive to.
Homemade treats also let you customize based on your dog’s specific needs, whether that’s joint support for a senior dog or a gentle recipe for a dog with a sensitive stomach. For more recipe ideas along these lines, this list of homemade dog treat recipes is a great place to keep exploring.
What You Need Before You Start
Before you jump into the kitchen, here’s a quick rundown of the tools and ingredients that make this process smooth and mess-free.
1. Basic Equipment
- A small saucepan or heat-safe bowl
- A whisk or fork for mixing
- Silicone molds, mini ice cube trays, or a small baking dish
- Measuring cups and spoons
- An airtight storage container for the fridge or freezer
Silicone molds are especially handy because the finished gummies pop out easily without tearing. Fun shapes like paws, bones, and bears also make treat time more exciting for your dog (and for you).
2. Choosing Safe Chicken Broth
Not all chicken broth is safe for dogs. Always check the label and avoid broths that contain:
- Onion or onion powder
- Garlic or garlic powder
- High sodium content
- Added seasonings or artificial flavoring
The safest option is to make your own chicken broth at home using plain chicken, water, and dog-safe vegetables like carrots. If you’re buying store-bought broth, look for one labeled specifically as dog-safe or low-sodium with a short, simple ingredient list.
If you’re ever unsure whether an ingredient is safe, it’s worth checking in with your vet, especially if your dog has ongoing health needs. This guide on puppy veterinary needs covers some of the basics worth knowing.
Tips for Perfect Gummy Dog Treats Every Time
Once you’ve made a batch or two, these tips will help you get consistent, perfectly set gummies every single time.
1. Storage and Shelf Life
Store your chicken broth gummy dog treats in an airtight container in the refrigerator. Most batches stay fresh for up to two weeks. If your recipe includes fresh add-ins like probiotics, aim to use those gummies within 3 to 5 days for the best quality.
2. Freezing for Longer Use
If you want to make a bigger batch, freezing is a great option. Most chicken broth gummies freeze well for up to three months. Just portion them into small freezer bags or containers, and thaw a few at a time in the fridge as needed. They thaw quickly, usually within an hour at room temperature.
3. Portion Size by Dog Weight
Gummies are meant to be a treat, not a meal replacement, so portion control matters. As a general guide:
- Small dogs (under 20 lbs): 1 small gummy per day
- Medium dogs (20-50 lbs): 1-2 gummies per day
- Large dogs (50+ lbs): 2-3 gummies per day
These are general starting points. Always adjust based on your dog’s size, activity level, and any dietary restrictions your vet has recommended. Treats like these also work well as training rewards, especially if you’re working on reinforcing good behavior. This piece on positive reinforcement training has some useful tips on pairing treats with training in a healthy way.
Common Mistakes to Avoid When Making Chicken Broth Gummies
Even a simple recipe can go wrong if you skip a step or rush the process. Here are the most common mistakes to watch out for.
1. Using Flavored or Salty Broth
Regular chicken broth made for human consumption often contains onion, garlic, or high amounts of sodium, all of which can be harmful to dogs. Always double-check labels or make your own broth at home to be safe.
2. Boiling the Gelatin
It’s tempting to speed things up by cranking the heat, but boiling gelatin breaks down its structure. This means your gummies won’t set properly, and you’ll end up with a runny, sticky mess instead of firm, chewy treats. Keep the heat low and be patient.
3. Skipping the Blooming Step
Blooming the gelatin, letting it sit in cold liquid before heating, prevents clumps and helps it dissolve evenly. Skipping this step often results in gritty or unevenly set gummies. It only takes 5 to 10 minutes, so it’s worth the wait.
Final Thoughts
Chicken broth gummy dog treats are one of the easiest, most rewarding homemade treats you can make for your dog. With just a few basic ingredients and a little patience, you can create four completely different recipes, each with its own flavor twist and health benefit.
Whether you go with the classic base recipe, the coat and joint support version, the calming probiotic gummies, or the layered bee pollen bites, your dog is bound to be excited every time the treat jar opens. Best of all, you know exactly what’s going into every single bite.
If you’re looking to expand your homemade treat rotation even further, this collection of human-grade dog food recipes is a great next stop for more kitchen inspiration.

Izzy is an experienced ranch worker who has a passion for exploring nature and getting up close to wildlife. With her connections to various animal organizations, Izzy is well-versed in animal care and rehabilitation.