Apple & Carrot Dog Treat Bones: Crunchy, Hard & Healthy
There is something deeply satisfying about the sound of a dog happily gnawing on a hard, crunchy treat. It is not just about keeping their mouth busy; it is about providing a chew that supports dental health, satisfies that natural urge to bite and work through food, and gives them a sense of calm satisfaction.
The apple and carrot combination is a favorite for good reason. Apples offer a crisp, slightly sweet flavor that most dogs love, while carrots add an earthy, mild taste and plenty of texture. When you bake these two ingredients together into a firm, bone-shaped treat, you create a snack that is sturdy enough to hold up during a good gnawing session yet made entirely from wholesome ingredients.
In this guide, we are walking you through the perfect homemade bone recipe. This is not a soft, squishy snack that falls apart in a bowl; it is a structured, hard treat designed specifically for a dog’s jaw and chewing style. We will cover the rolling and baking techniques that ensure your bones come out firm, how to cut them into the right shape, and how to serve them safely.these recipes are built for dogs, not humans.
The Roll-Cut-and-Bake Bone Method
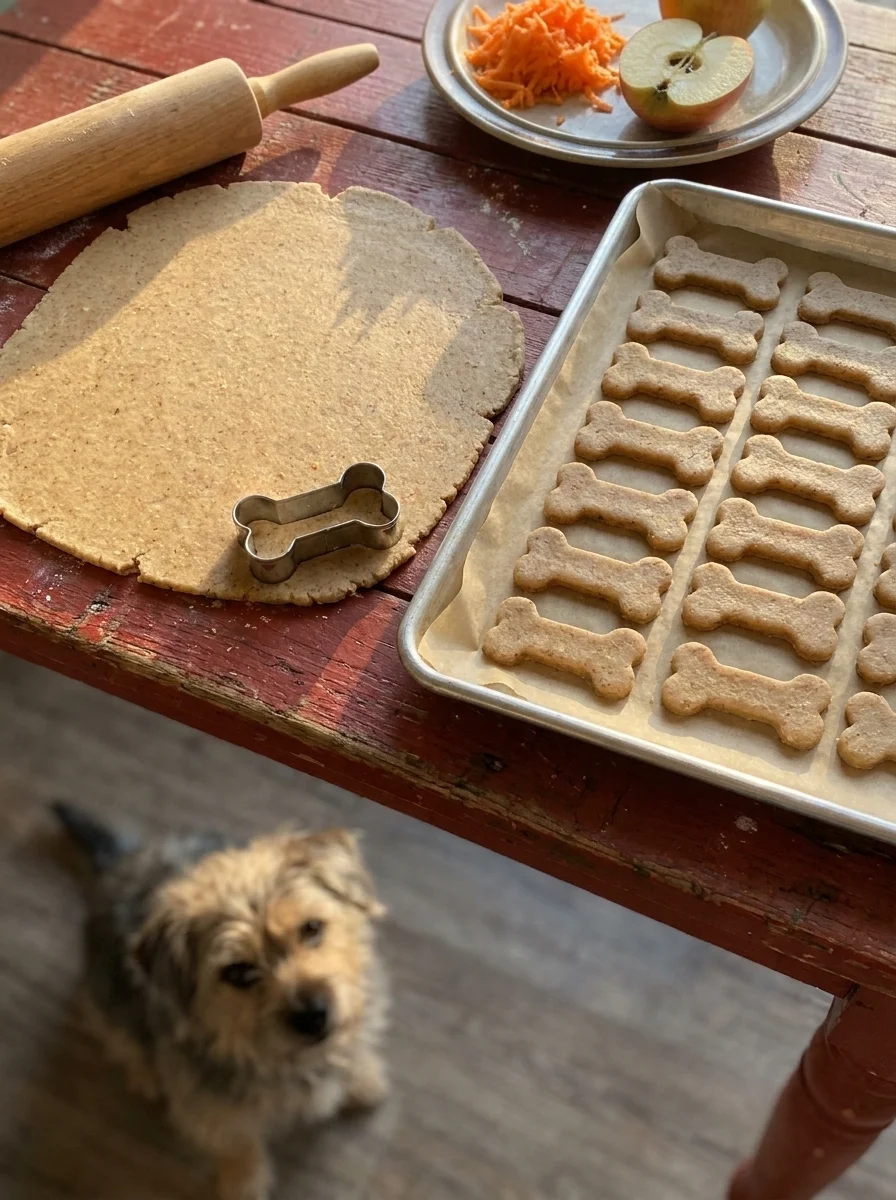
Creating a treat that actually functions as a “bone” for a dog requires a specific approach to dough preparation. Unlike drop biscuits or waffles that rely on spreading, bone treats need structural integrity. The secret lies in how you handle the raw mixture before it ever hits the oven.
Roll it even: Consistency is key here. Once you mix the ingredients into a cohesive dough, you need to roll it out to a uniform thickness. For standard-sized bones, aim for about a quarter-inch thick. If you roll it too thin, the bone will burn before it gets hard in the center. If you roll it too thick, the inside may stay soft and chewy rather than crispy and firm.
Cut with a bone cutter: A bone-shaped cutter makes this process easy and fun. Press down firmly to ensure you get a clean edge. If you do not have a bone cutter, you can use a cookie cutter that resembles a femur or you can even roll the dough into long, cylindrical sticks and slice them into rounded pieces. The shape matters less than the consistency of the size; you want pieces that fit comfortably in your dog’s mouth.
Bake until hard, cool until harder: This is the most critical step for making a “hard” bone treat. You are not looking for a golden-brown color necessarily; you are looking for dryness and firmness. Bake the bones until they are deeply browned and the center feels solid when tapped. The magic happens when you pull them out of the oven. The bones are still slightly pliable when they first come out, but they continue to dry and set as they cool. Let them sit on a wire rack for at least an hour, or ideally overnight, until they are completely cool to the touch and snap firmly.
Recipe 1: Classic Apple & Carrot Dog Treat Bones
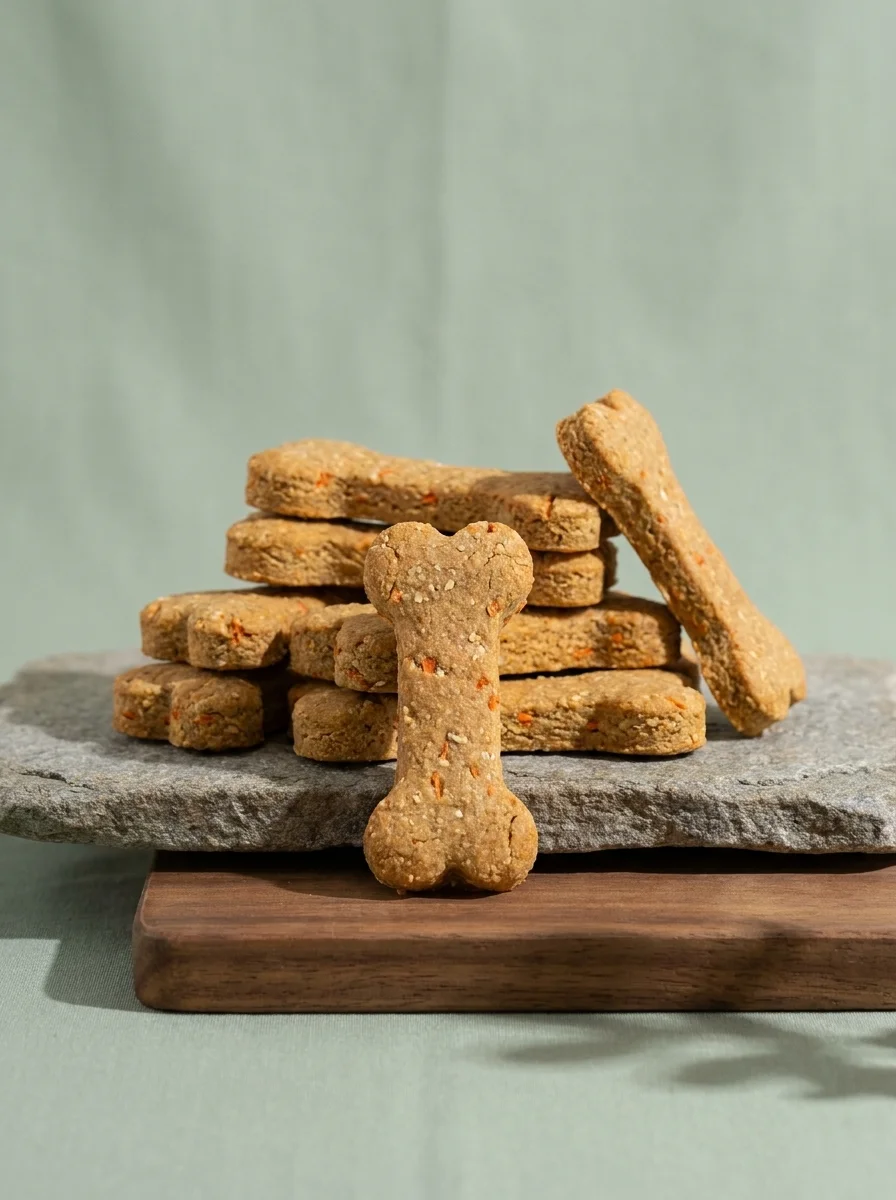
This is the foundational recipe for your homemade dog bones. It uses oat flour as the base, which is gentler on sensitive stomachs than wheat flour and adds a wholesome texture. The addition of eggs and coconut oil binds the ingredients together, ensuring the bones hold their shape during the long baking process.
Ingredients
- 1 medium apple, grated
- 1 cup grated carrot
- 2 cups oat flour
- 1 large egg
- 2 tablespoons melted coconut oil
- 1 tablespoon honey
- 1/4 cup rolled oats
Step-by-Step Instructions
- Preheat your oven to 350°F and line two baking sheets with parchment paper.
- Core the apple completely, discarding all seeds and the core, then grate it into fine shreds. Grate the carrot using the large holes of your box grater.
- In a large bowl, combine the oat flour and rolled oats. Add the grated apple, grated carrot, egg, melted coconut oil, and honey.
- Mix until a shaggy dough forms. If it is too wet, add a tablespoon more oat flour at a time. If it is too dry, add a teaspoon of water. The dough should hold together when squeezed.
- Turn the dough onto a lightly floured surface and roll it out to a thickness of 1/4 inch. Use a bone-shaped cutter to press out your treats, re-rolling scraps as needed.
- Place the cut bones on the prepared baking sheets, spacing them about an inch apart.
- Bake for 28 to 30 minutes, or until the bones are firm and deep brown. Remove from the oven and let them cool completely on a wire rack until they are hard and crunchy.
This recipe is a great starting point if you are new to baking dog treats. The flavor is mild and sweet, which most dogs find irresistible, and the texture is sturdy enough to last through a good chew session. Because oats are included, the bones have a slightly denser structure that resists crumbling, making them ideal for active dogs who work through their food quickly.
Apple & Carrot Treat Bone Variations
Once you have mastered the classic recipe, you might want to tweak the texture or size to better fit your dog’s specific needs. Here are two variations that keep the same wholesome ingredients but change the outcome slightly.
Variation 1: Extra-Hard Apple & Carrot Bones
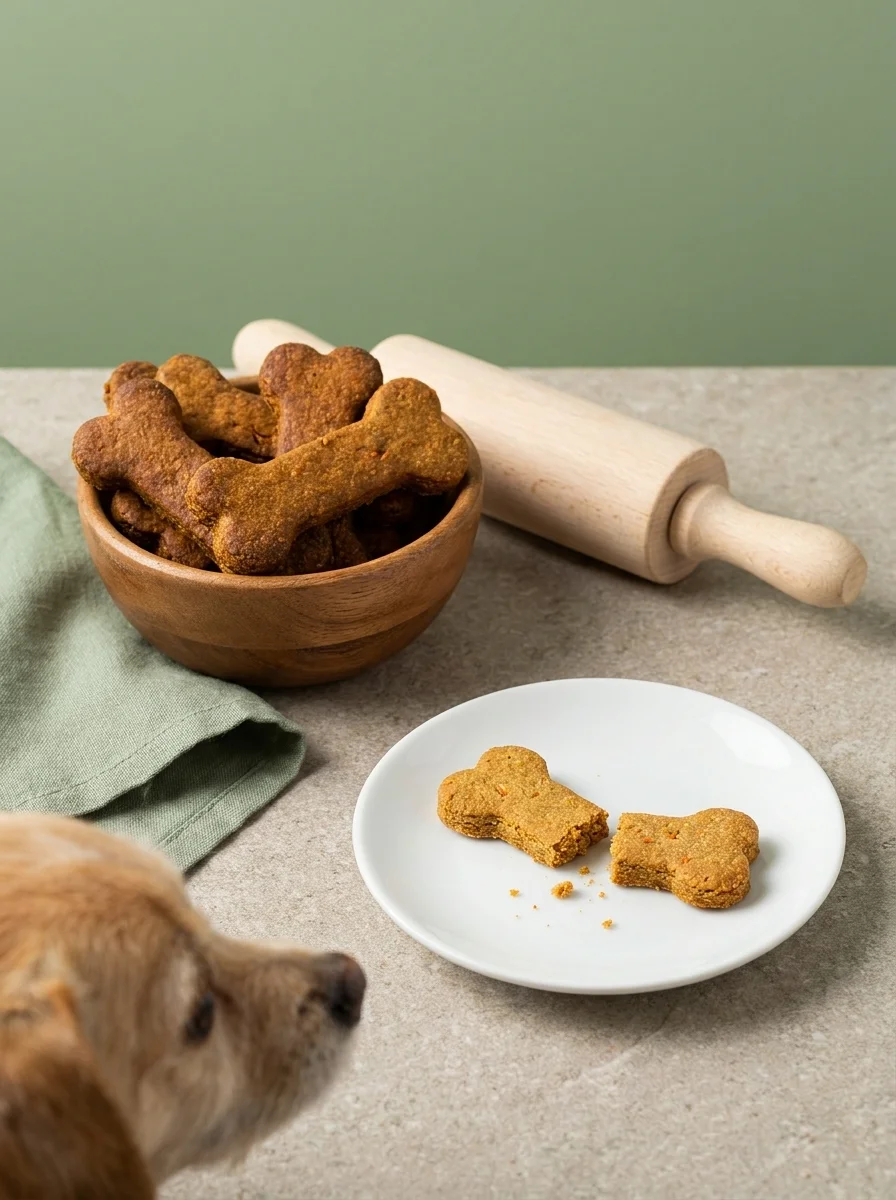
For dogs that chew through standard treats quickly, this version adds ground flaxseed to the mix. The extra fiber and binding properties of the flaxseed create a denser, harder treat that takes longer to gnaw through, extending the chewing time.
Ingredients
- 1 medium apple, grated
- 1 cup grated carrot
- 2 cups oat flour
- 1 large egg
- 2 tablespoons melted coconut oil
- 1 tablespoon honey
- 1 tablespoon ground flaxseed
Step-by-Step Instructions
- Preheat your oven to 350°F and line two baking sheets with parchment paper.
- Core the apple completely, discarding all seeds, then grate it. Grate the carrot.
- Combine all ingredients in a large bowl. Mix until a firm, slightly sticky dough forms.
- Roll the dough out to 1/4 inch thickness on a floured surface and cut into bone shapes.
- Bake for 40 to 45 minutes. The longer bake time is essential to ensure the flaxseed binds and the center of the bone becomes very hard.
- Remove from the oven and let them cool in the switched-off oven with the door slightly cracked for an hour to dry out fully. Transfer to a wire rack to cool completely until they are brittle.
Variation 2: Mini Apple-Carrot-Parsley Training Bones
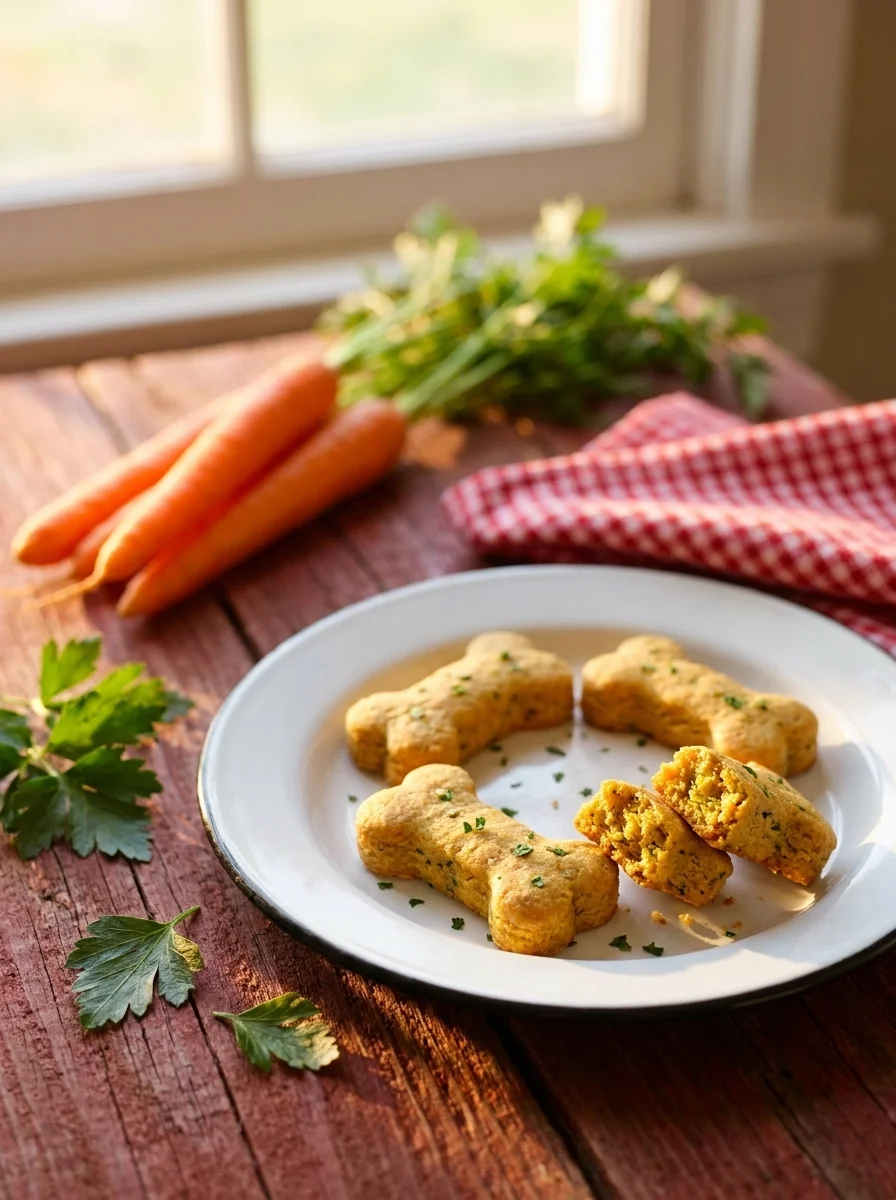
These small, delicate bones are perfect for small-breed dogs or for use as high-value rewards during training sessions. The addition of fresh parsley adds a touch of green color and a mild, fresh aroma.
Ingredients
- 1/2 cup grated apple
- 1/2 cup grated carrot
- 1 1/2 cups oat flour
- 1 tablespoon chopped fresh parsley
- 1 large egg
- 2 tablespoons melted coconut oil
- 1 tablespoon honey
Step-by-Step Instructions
- Preheat your oven to 350°F and line two baking sheets with parchment paper.
- Core and grate the apple, discarding all seeds. Grate the carrot and finely chop the parsley.
- Mix all ingredients in a bowl until a dough forms. It will be slightly less sticky than the standard recipe.
- Roll the dough out to 1/4 inch thickness. Use a small round or bone cutter to create mini treats.
- Place on baking sheets, spacing them closer together since they are smaller.
- Bake for 15 to 18 minutes, or until firm. Cool completely on a wire rack until hard.
These mini bones are great for breaking up into smaller pieces for very small dogs or for rewarding specific behaviors during obedience classes. Because they are smaller, they bake faster, so keep a close eye on them to prevent over-browning.
Troubleshooting Bones That Go Soft
Bones soft after cooling: If the bones are pliable when they come out of the oven, they likely need more time. The center needs to be completely dry. Next time, add five to ten minutes to your baking time. If you have a batch that is already baked but soft, you can re-bake them briefly in a low oven at 275°F for ten minutes to pull the moisture out.
Bones too thick: If you rolled the dough thicker than a quarter-inch, the outside will burn before the inside sets, or the inside will stay moist. For the next batch, focus on rolling the dough evenly and thinly. A thinner bone bakes faster and uniformly, resulting in a crispier texture throughout.
Bones losing crunch in storage: Moisture is the enemy of crunchy treats. If your bones are softening in the container, they may have been stored before they were fully cooled, or the container is not airtight. Make sure the bones are at room temperature and completely hard before sealing the container. If they have already softened, you can re-crisp them briefly in a low oven.
Storage and Freezing
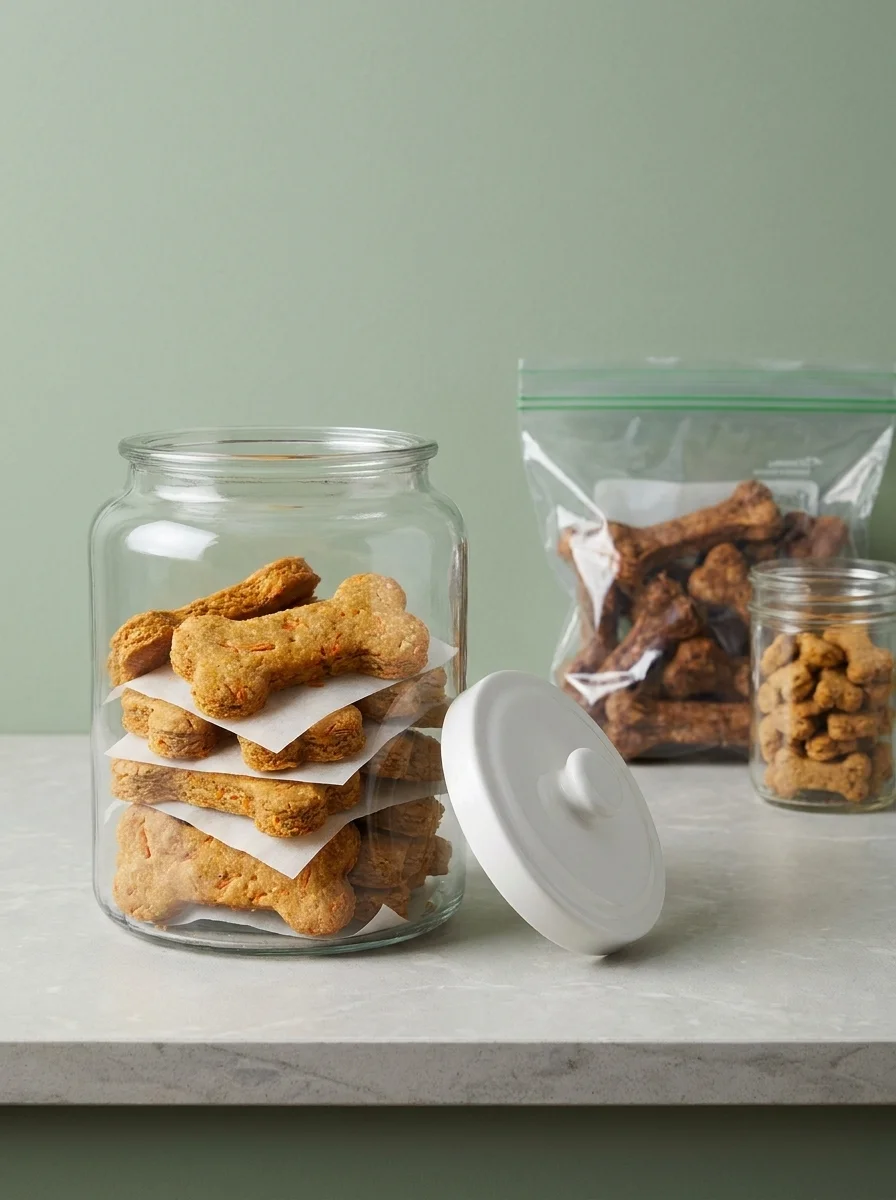
Proper storage is essential to maintaining that perfect crunch. Keep your cooled bones in an airtight container at room temperature for up to one week. If you live in a humid climate, you can keep them in the refrigerator for up to two weeks. For longer storage, freeze the bones in a single layer on a baking sheet until solid, then transfer them to a freezer-safe bag or container for up to two months. When you are ready to serve, thaw them overnight in the fridge. If they have lost a bit of their edge after freezing, a quick five-minute stint in a low oven will bring the crunch back.
Frequently Asked Questions
Final Thoughts
Baking your own dog treats is a rewarding way to show your furry friend some extra love. The apple and carrot combination is a winner because it is nutritious, affordable, and something most dogs will happily chomp on.
Remember that patience is key. The hardening process happens as the treats cool, so do not be tempted to serve them while they are still warm. And always keep an eye on your dog when they are chewing a hard treat, especially if they are a new chewer. If you are looking for other ways to keep your dog busy and fed, try these homemade apple pie for dogs, sweet potato dog waffles, homemade cheese dog treats, carrot and apple waffles for dogs, or 2-ingredient pumpkin dog treats. Happy baking, and may your dog’s tail wag with joy over their new crunchy favorite.

Izzy is an experienced ranch worker who has a passion for exploring nature and getting up close to wildlife. With her connections to various animal organizations, Izzy is well-versed in animal care and rehabilitation.