Strawberry & Banana Frozen Balls For Dogs: Easy Homemade Recipe
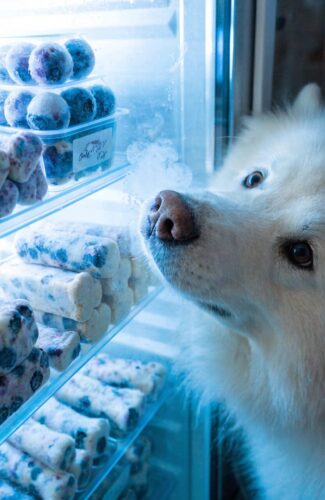
It’s a hot afternoon, your dog is pacing by the back door, and every time you open the fridge, two eyes lock onto you like you’re holding the last treat on earth. You want to give your pup something cool and satisfying, but you don’t want another bag of store-bought biscuits loaded with fillers you can’t pronounce.
That’s exactly where strawberry & banana frozen balls for dogs come in. They’re a two-ingredient-plus frozen snack you can make in under 15 minutes, with nothing but real fruit and a scoop of yogurt. No mold required, no fancy equipment, and no mystery ingredients. Just roll, freeze, and hand one over.
This guide walks you through the exact recipe, a few tasty variations, and some other formats dog owners use for this same treat, plus how to store, serve, and troubleshoot them so they turn out right every single time.
Why Frozen Balls Are the Easiest Frozen Dog Treat to Make
Most frozen dog treat recipes ask you to buy silicone molds, pour a runny mixture, and wait for it to set just right. If the mixture is too thin, it leaks out the sides. If it’s too thick, it won’t pour evenly. Frozen balls skip all of that guesswork entirely.
Here’s why this format works so well for most households:
- No mold cleanup. You scoop and roll with a spoon or your hands, then straight into the freezer. There’s no silicone tray to wash, no popping treats out of tight little compartments, and no wasted mixture stuck in corners you can’t reach.
- Built-in portion control. Each ball is roughly one bite-sized serving, so you’re not guessing how much to break off or cutting a frozen block into pieces later.
- Freezer-ready in one batch. You make a dozen or more at once and grab one whenever your dog earns a reward or just needs to cool down on a warm day.
- Kid-friendly to make. Because there’s no pouring into small mold cavities, this is a recipe you can hand off to a child who wants to help make treats for the family dog. Rolling balls is a much easier task than carefully filling silicone molds without spilling.
- Freezes and thaws faster in small quantities. Individual balls freeze solid faster than a large tray of poured mixture, and you can pull out just one or two at a time instead of thawing an entire batch.
If you’re already building out a spot in your kitchen for treats and toys, this is a great snack to keep stocked next to your dog treat station — just swap in a small freezer-safe container so it’s easy to grab a ball on your way out the door.
The Base Recipe: Strawberry & Banana Frozen Balls for Dogs
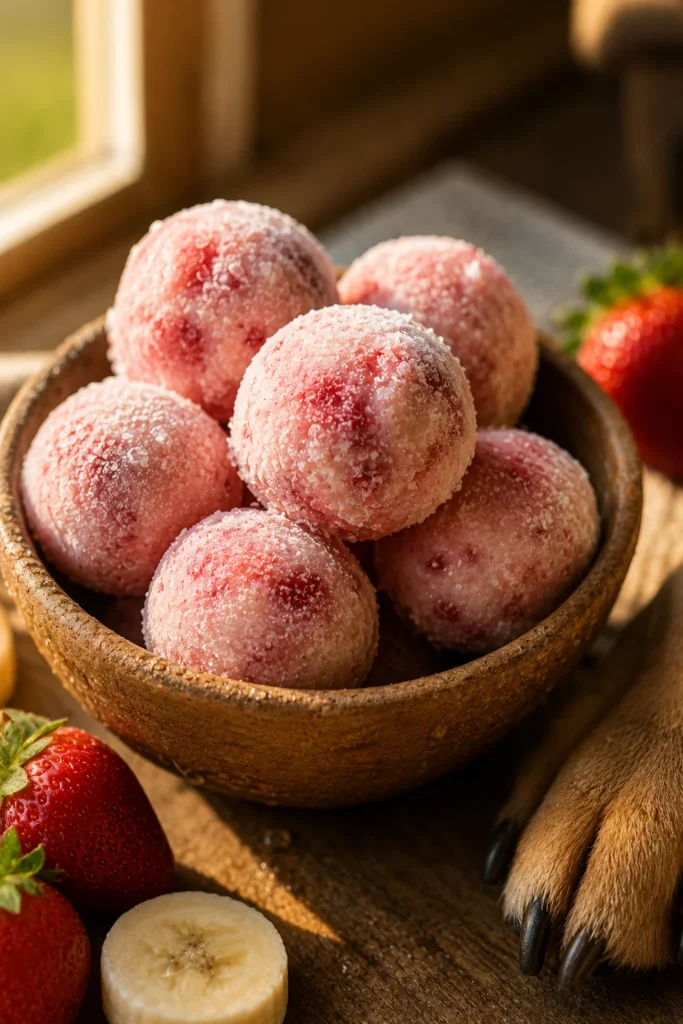
This is the core recipe. Everything else in this article builds off of it, so it’s worth getting comfortable with this version before trying any variations or alternative formats.
📋 Recipe Card: Strawberry & Banana Frozen Balls for Dogs
Prep Time: 10 minutes Freeze Time: 2–3 hours Total Time: 2 hours 10 minutes – 3 hours 10 minutes Yield: About 20–24 bite-sized balls (depending on size) Difficulty: Easy
Ingredients:
- 1 cup fresh strawberries, stems removed
- 1 ripe banana, peeled
- 1/2 cup plain, unsweetened Greek yogurt
- 1 tablespoon water (only if the mixture is too thick to scoop)
Instructions:
- Rinse the strawberries thoroughly and remove the green tops.
- Add the strawberries, banana, and yogurt to a blender or food processor.
- Blend until smooth. If the mixture feels too thick to scoop easily, add the water one teaspoon at a time until it loosens up slightly.
- Line a baking sheet or flat tray with parchment paper.
- Using a small cookie scoop, melon baller, or a teaspoon, scoop out small portions of the mixture and roll them between your palms into balls about the size of a marble to a small grape (adjust size based on your dog’s size).
- Place each ball on the parchment-lined tray, spacing them so they don’t touch.
- Freeze the tray flat for 2–3 hours, or until the balls are completely firm.
- Once frozen solid, transfer the balls into a freezer-safe bag or airtight container for long-term storage.
Notes:
- If the mixture is too sticky to roll by hand, chill it in the fridge for 15–20 minutes before scooping — this firms it up just enough to handle.
- Wet your hands slightly before rolling to keep the mixture from sticking to your palms.
- Always use plain yogurt. Flavored or sweetened yogurts often contain xylitol or added sugar, both of which are unsafe for dogs.
- For puppies or very small dogs, roll the balls smaller and break them in half before serving.
- Ripe, spotty bananas work better than firm, green ones — they blend smoother and add more natural sweetness, which means you won’t need any added sugar at all.
- If you want a firmer, less icy texture, strain a little liquid off the yogurt before blending. Watery yogurt leads to a grainier, icier ball once frozen.
A Few Extra Pointers for First-Timers
If this is your first time making frozen treats for your dog, a couple of small habits will save you frustration later.
First, always taste-test your blend for consistency, not flavor — you’re checking whether it holds its shape when rolled, not whether it tastes good to you. A properly blended mixture should feel like soft cookie dough: moist enough to stick together, firm enough to hold a round shape without sliding off your palm.
Second, resist the urge to make the balls too large. It’s tempting to make bigger treats so you get fewer, heartier snacks, but oversized frozen treats are harder for dogs to chew safely and take longer to consume, which can lead to brain freeze discomfort or a dog trying to swallow a piece that’s too big. Stick to bite-sized portions and let your dog have two or three small ones instead of one large one.
Three Tasty Variations on the Base Recipe
Once you’ve got the base recipe down, you can tweak the ingredients slightly to add variety, texture, or a nutritional boost. These are genuine ingredient swaps, not just the same treat renamed with a different label.
1. Peanut Butter Strawberry-Banana Balls
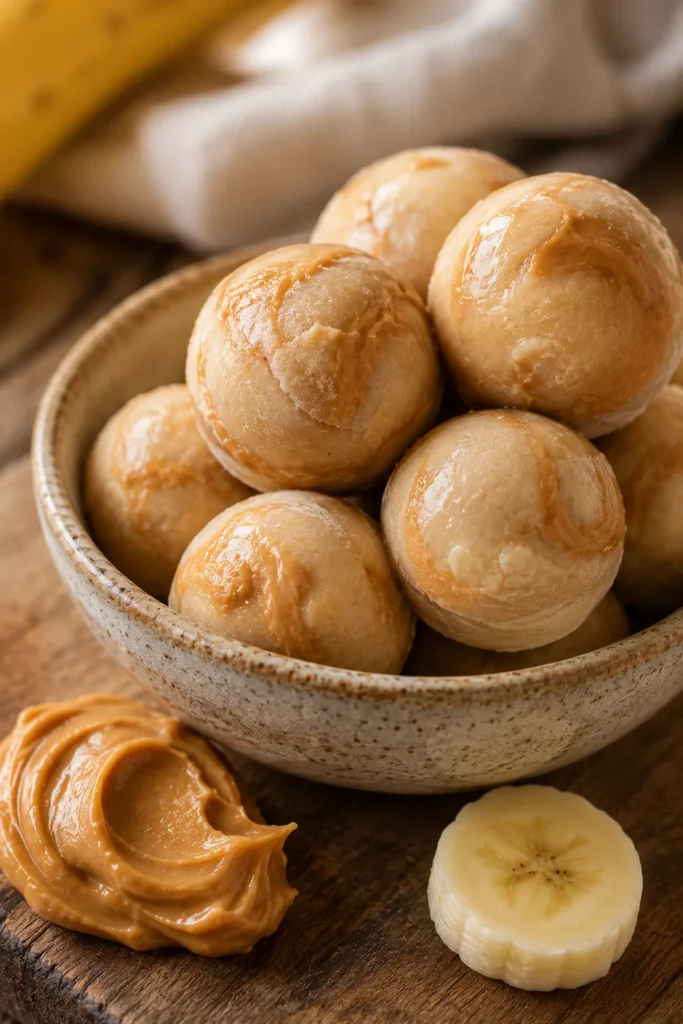
Add 1–2 tablespoons of plain, unsalted peanut butter to the blender along with the strawberries, banana, and yogurt. Make sure the peanut butter is xylitol-free — always check the label, since some “natural” or “keto” peanut butters now use xylitol as a sweetener, and it’s highly toxic to dogs even in small amounts.
This variation adds a richer, nuttier flavor and a bit more protein and healthy fat, which most dogs go wild for. It also tends to freeze slightly creamier than the base recipe, since peanut butter doesn’t turn as icy as fruit puree alone. If your dog is a picky eater who usually turns their nose up at fruit-based treats, this variation is often the one that wins them over.
2. Pumpkin-Boosted Balls
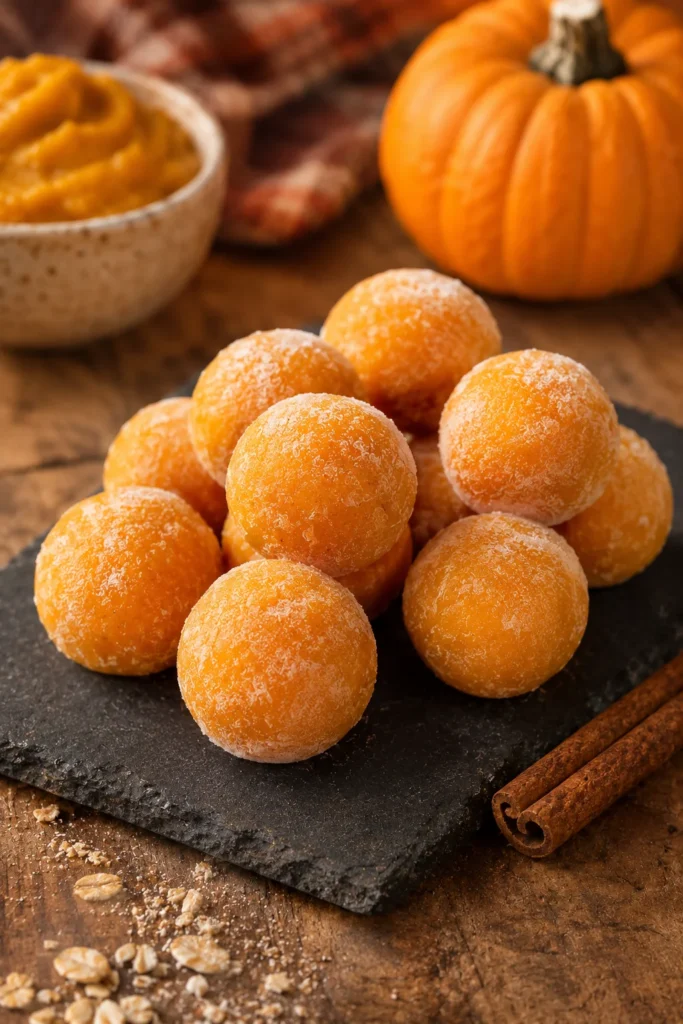
Swap out the yogurt for 1/4 cup of plain canned pumpkin puree (not pumpkin pie filling, which contains added sugar and spices) blended with 1/4 cup plain yogurt. Pumpkin adds fiber, which can be gentle on digestion and is often recommended by vets for dogs with occasional loose stools.
This version also gives the treat a slightly firmer, less icy texture once frozen, since pumpkin puree is naturally thicker than plain yogurt. It’s a good option if you’re making treats for a senior dog or a dog with a sensitive stomach, since the fiber content tends to be easier on digestion than fruit alone.
3. Cottage Cheese Swap
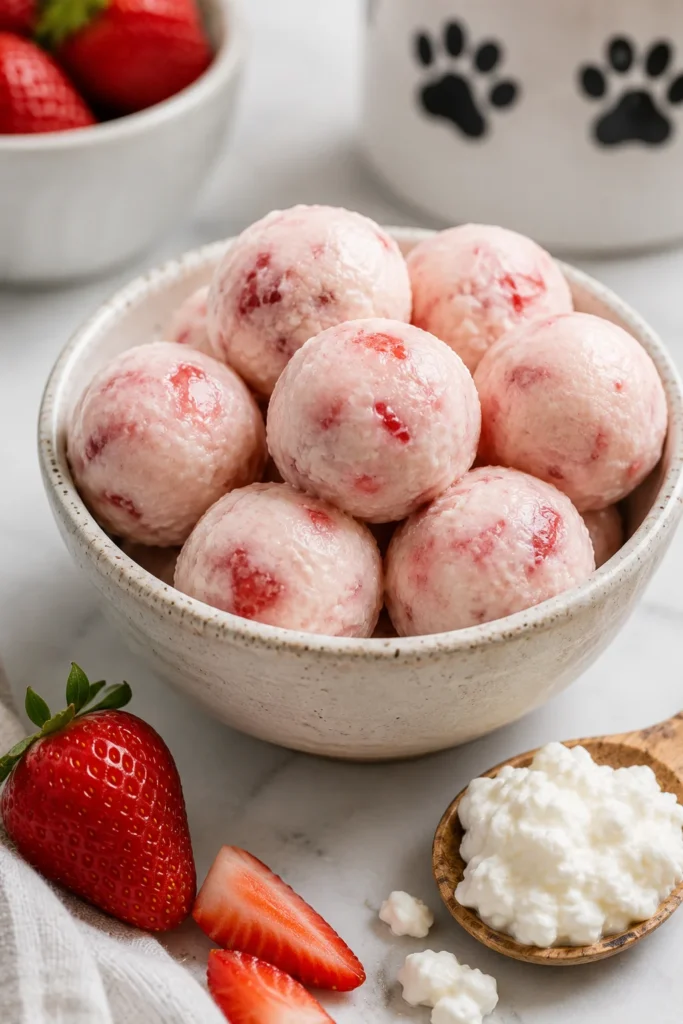
If your dog doesn’t tolerate yogurt well, replace it with plain, low-sodium cottage cheese in the same amount. Cottage cheese blends a little chunkier than yogurt, so pulse the blender instead of running it continuously if you want a smoother finish, or leave it slightly chunky if your dog doesn’t mind texture.
Cottage cheese also has a milder flavor than yogurt, which can be helpful if you’re introducing this treat to a dog who’s never had a fruit-and-dairy combination before. It’s a gentler starting point before working up to tangier yogurt-based versions.
Any of these variations pair well as a reward during training sessions — especially if you’re working on positive reinforcement techniques and want a low-mess, high-value treat that doesn’t crumble in your pocket the way dry biscuits often do.
Other Ways Dog Owners Make This Treat
The “ball” shape isn’t the only way to make this snack. Depending on your equipment and how much time you have, you might prefer one of these other formats. None of these are just the same recipe with a new name — each one changes the texture, presentation, or serving method in a real, meaningful way.
1. Mold or Ice Cube Tray Version
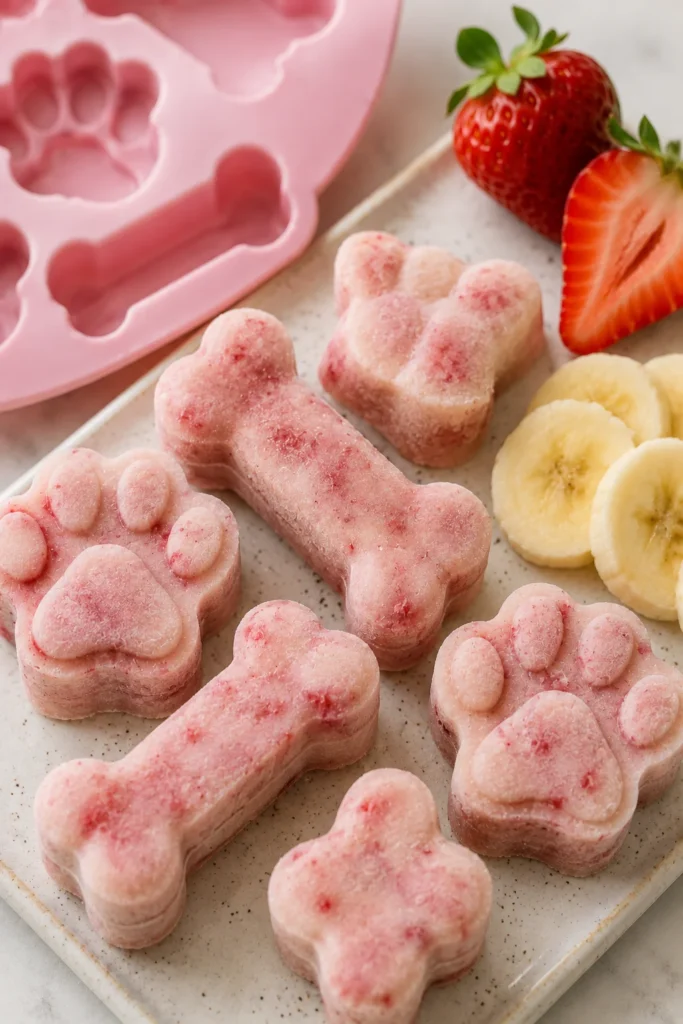
Instead of rolling by hand, pour the blended mixture directly into a silicone dog treat mold or a standard ice cube tray. This gives you uniform shapes and works well if you’re short on time, since there’s no rolling step involved at all.
The tradeoff is that you’ll need to already own, or go buy, a mold or tray, and popping frozen treats out of tight silicone compartments can sometimes be trickier and messier than just grabbing a pre-rolled ball from a bag. Molds are worth it if you want a more polished, uniform look — for example, if you’re making treats to share with friends who also have dogs, or if you just prefer paw-print and bone shapes over round balls.
2. Popsicle Version
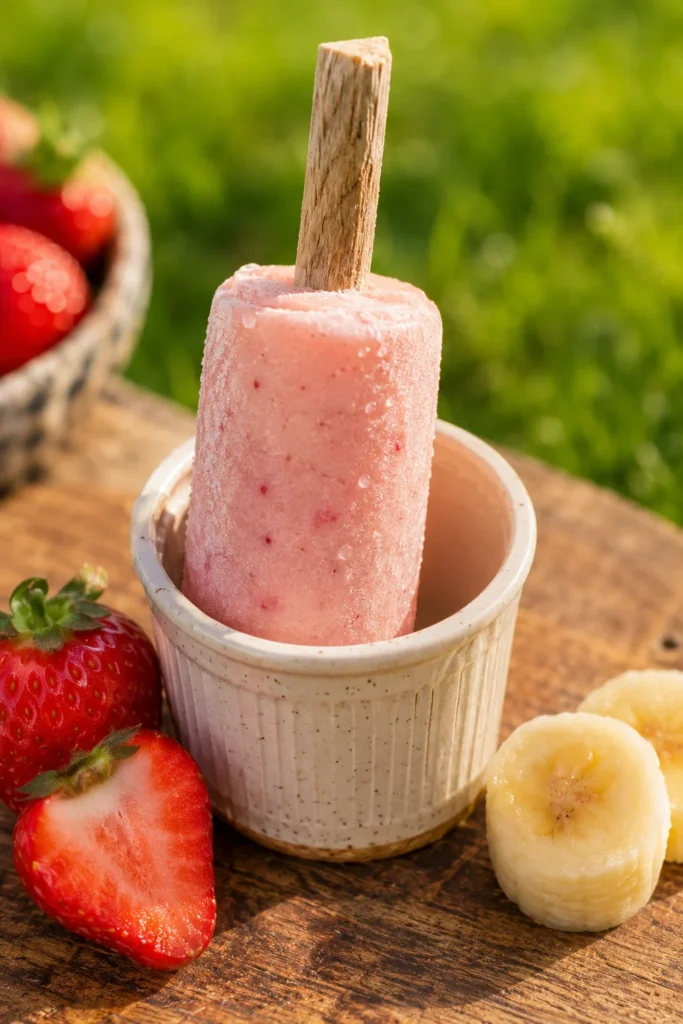
For dogs who like to work for their treat, pour the mixture into a small paper cup or popsicle mold and insert a dog-safe chew stick (not a wooden popsicle stick, which can splinter and become a choking hazard). This turns the snack into a lick-and-chew activity rather than a quick bite, which is great for keeping a dog occupied on a hot day when you want the treat to last longer than a few seconds.
This format is especially popular for outdoor use, since the stick keeps your dog’s paws and the ground cleaner as the treat slowly melts and gets licked away, rather than a ball that gets dropped in the grass and picked back up.
3. Layered Version
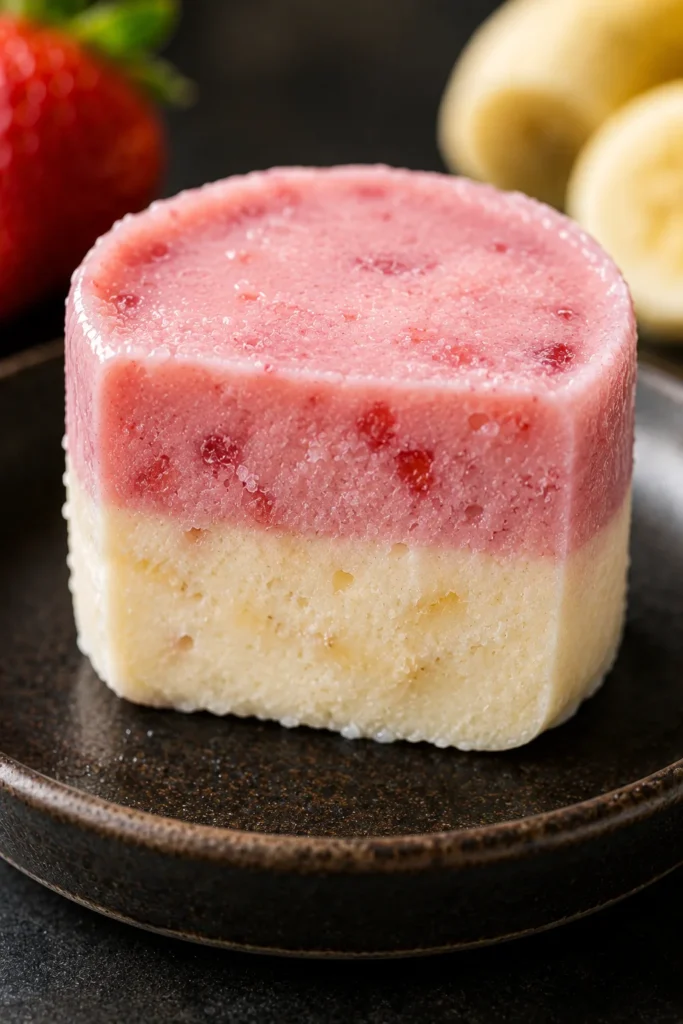
Blend the strawberries and banana separately instead of together. Pour a thin layer of one puree into the bottom of a mold or small cup, freeze for 20–30 minutes until set, then pour the second puree on top and freeze again. This gives you a two-tone treat with a slightly different flavor in each bite — more of a presentation upgrade than a functional one, but a fun option if you’re making these for a special occasion, like a dog’s birthday or a hot-weather pet party.
The layered method does take longer overall, since each layer needs its own short freeze time before the next one goes on top, but the visual effect is a nice touch if you’re taking photos to share or gifting a batch to a friend’s dog.
4. Mash-and-Freeze Version (No Blender Needed)
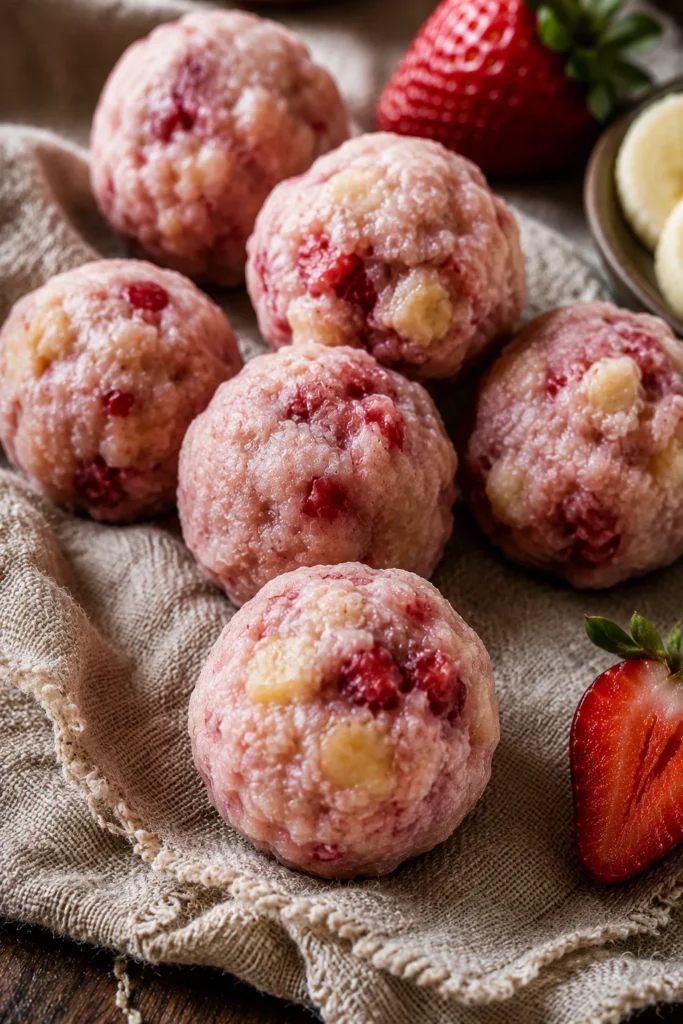
If you don’t have a blender or food processor, you can skip that step entirely. Mash the banana with a fork and finely chop the strawberries by hand, mix in the yogurt, and scoop the chunkier mixture into balls or a lined tray. The texture will be less smooth and more like a fruit-and-yogurt mash, but it works just as well nutritionally and saves you an appliance and a cleanup step.
This version is a good fallback for anyone traveling, staying somewhere without kitchen equipment, or simply not wanting to dig out and wash a blender for a quick batch of treats. Some dogs actually prefer the chunkier texture, since it gives them a bit more to chew rather than a smooth, quickly-melting bite.
5. Mini Muffin Tin Version (For Bigger Dogs)
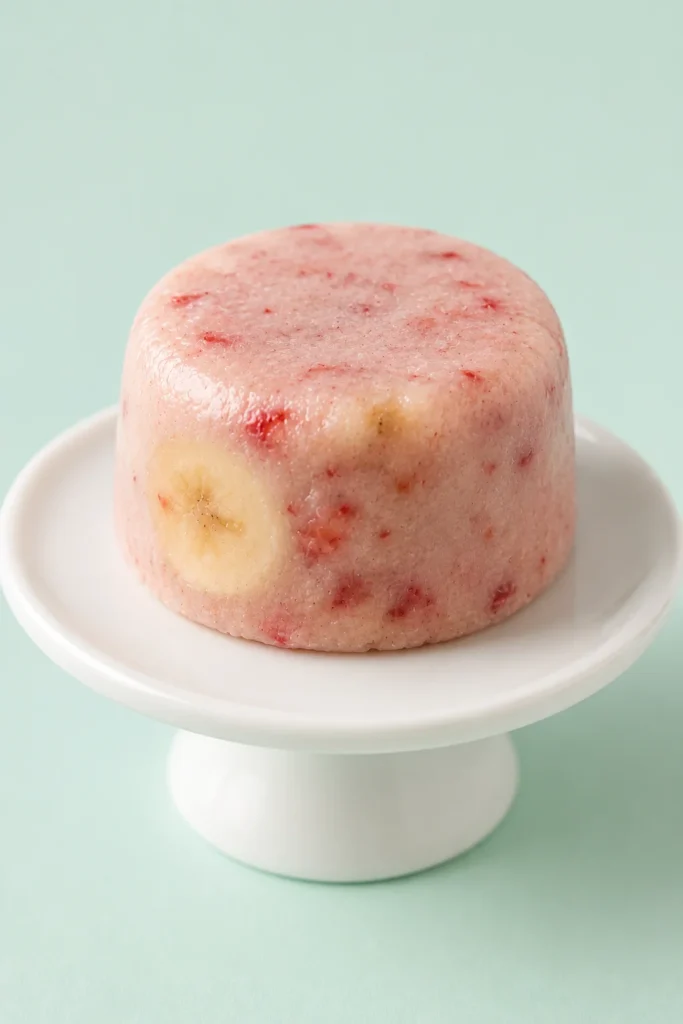
For larger breeds who can handle bigger portions, pour the mixture into a greased mini muffin tin instead of rolling small balls. This creates a larger, single treat per dog rather than several small bites — useful if you’re making a bigger batch for a dog who eats fast and doesn’t need bite-sized pieces to slow them down.
This format also works well if you want to press a few extra mix-ins into the center of each treat, like a small piece of banana or a dab of peanut butter, since the muffin tin cavities are roomier than a rolled ball or ice cube tray slot.
If you’re looking for more homemade snack ideas beyond this one, our guide to homemade dog treats covers several other easy recipes worth trying, and if you’re planning something special, our dog birthday cake recipes use a lot of the same safe-ingredient principles you’ll find here.
How to Store, Serve, and Portion These Treats
Getting the storage and portioning right matters just as much as the recipe itself. A great batch of treats can still go to waste if they’re stored poorly or served in the wrong amounts.
Storage:
- Once fully frozen, transfer the balls into a freezer-safe zip bag or airtight container. This keeps them from absorbing odors from other frozen food sitting nearby.
- Properly stored, these treats stay good in the freezer for up to 2 months.
- Avoid leaving them out at room temperature for more than 15–20 minutes before serving, since the mixture will start to soften, get sticky, and can make a mess on floors or furniture.
- Label your container with the date you made the batch, so you always know how fresh it is and can rotate older batches to the front.
Serving:
- Give these as an occasional treat, not a meal replacement. One to three balls per serving is plenty for most dogs, depending on size.
- For small dogs or puppies, break larger balls in half to avoid choking hazards, especially if your dog tends to gulp treats down quickly instead of chewing.
- These make a great reward during a training session, a hot-day cooldown snack, or a stuffing for a rubber chew toy to keep a dog occupied while you’re busy.
Portioning by size:
- Small dogs (under 20 lbs): 1–2 balls per serving
- Medium dogs (20–50 lbs): 2–3 balls per serving
- Large dogs (50+ lbs): 3–4 balls per serving, or consider the mini muffin tin version for a single larger treat
As with any new treat, introduce it slowly and watch for any signs of an upset stomach, especially the first time you serve it. Start with just one small ball and wait a few hours before offering more, so you can catch any reaction early rather than after a full serving.
If your dog tends to lick excessively after eating something new, it’s worth keeping an eye on that behavior. Our guide on excessive licking in dogs explains what’s normal and what might be worth mentioning to your vet.
Quick Health Notes
Both strawberries and bananas are generally safe for dogs in moderation. Strawberries contain fiber and vitamin C, while bananas offer potassium and natural sweetness without needing any added sugar at all.
A few quick safety points worth remembering:
- Always remove strawberry stems and leaves before blending, since the leafy tops aren’t meant to be eaten and can be a minor choking hazard.
- Bananas are high in natural sugar, so they should only be a small part of your dog’s overall diet, not a daily habit or a substitute for regular meals.
- Avoid any yogurt, peanut butter, or dairy substitute that contains xylitol — it’s toxic to dogs even in small amounts and can cause a rapid, dangerous drop in blood sugar.
- Some dogs are lactose intolerant, so if your dog has never had yogurt or cottage cheese before, introduce it in a small amount first and watch for any stomach upset.
- If your dog has diabetes, kidney issues, or any dietary restriction, check with your vet before adding fruit-based treats to their regular routine, since even natural sugars can affect certain health conditions.
If you’re raising a puppy and are still working out what’s safe to introduce and when, our puppy veterinary needs guide is a good place to start before adding new treats like this one to their diet.
Wrapping Up
Strawberry & banana frozen balls for dogs are about as simple as homemade treats get — a handful of real ingredients, a few minutes of prep, and a freezer that does the rest of the work. Whether you stick with the base recipe, try one of the ingredient variations, or switch up the format entirely with a mold, popsicle, or layered version, you end up with a treat that’s a lot healthier than most store-bought options.
Keep a batch stocked in the freezer, and the next time your dog gives you that begging stare on a hot afternoon, you’ll have something ready to go — cool, safe, and made with ingredients you already trust.

Izzy is an experienced ranch worker who has a passion for exploring nature and getting up close to wildlife. With her connections to various animal organizations, Izzy is well-versed in animal care and rehabilitation.