How to Make a Bat Bow Tie For Dogs at Home
Halloween is one of the best times of year to dress up your dog. And if you want something cute, spooky, and comfortable, a bat bow tie for dogs is one of the easiest ways to do it.
Unlike full costumes, a bat bow tie clips or straps onto your dog’s collar in seconds. It doesn’t cover their body, doesn’t restrict movement, and most dogs barely notice they’re wearing it.
In this guide, you’ll learn what to look for before buying one, how to pick the right size, and how to make your own DIY bat bow tie for dogs at home using simple materials. We’ll also cover the best ways to attach it and fun ways to style it for Halloween and beyond.
Let’s get started.
1. 3 Things to Look for Before Buying a Bat Bow Tie For Dogs
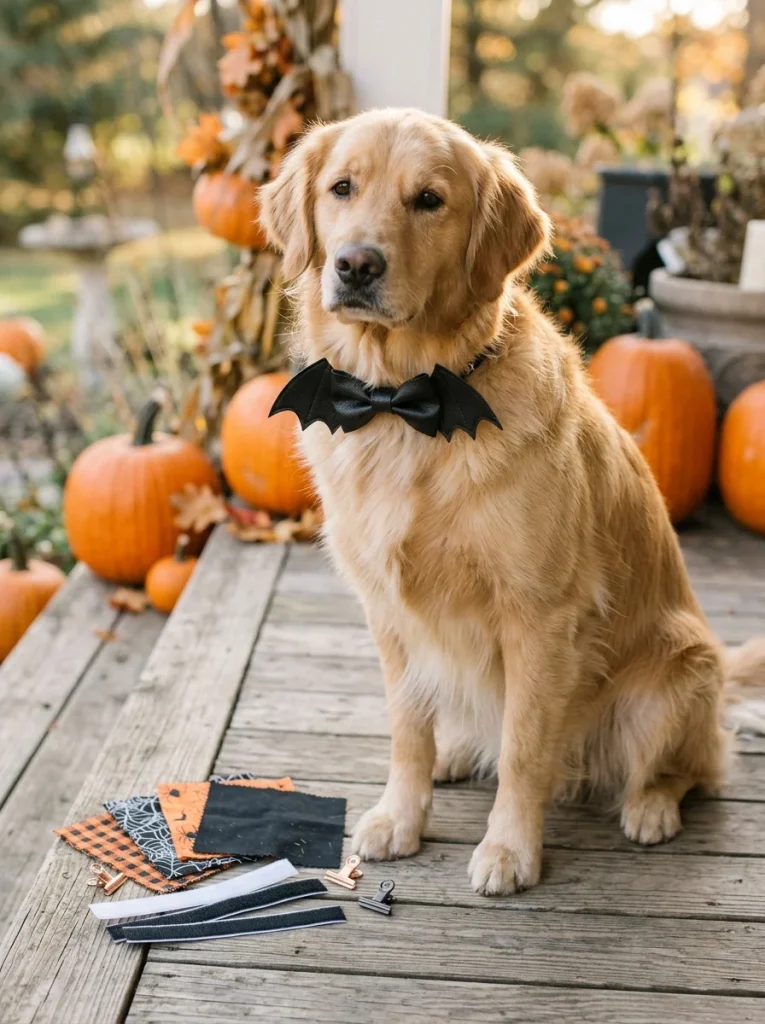
If you’d rather buy one instead of making it, here’s what actually matters.
1. Material Quality
Cheap bow ties tend to fray, tear, or lose their shape after one wash. Look for:
- Faux leather (durable and doesn’t fray)
- Felt (soft and beginner-friendly)
- Cotton or canvas blends (breathable for warm climates)
Avoid stiff synthetic fabrics that can scratch your dog’s neck or chin.
2. Attachment Type
Bat bow ties usually attach in one of three ways:
- Velcro strips
- A metal clip
- A slide loop that threads onto the collar
Each option works well. The right one depends on your dog’s collar type and how much they tend to scratch at accessories. We’ll cover this more in the accessories section below, and you can also check these dog accessory tips for general guidance on choosing pet-safe add-ons.
3. Comfort and Breathability
A good bat bow tie should feel almost weightless on your dog. If it’s too heavy, stiff, or bulky, your dog may try to paw at it or rub it off. Lightweight fabric with soft edges is always the safer choice, especially for dogs who already deal with skin sensitivity or itchiness.
2. How to Choose the Right Size Bat Bow Tie For Dogs
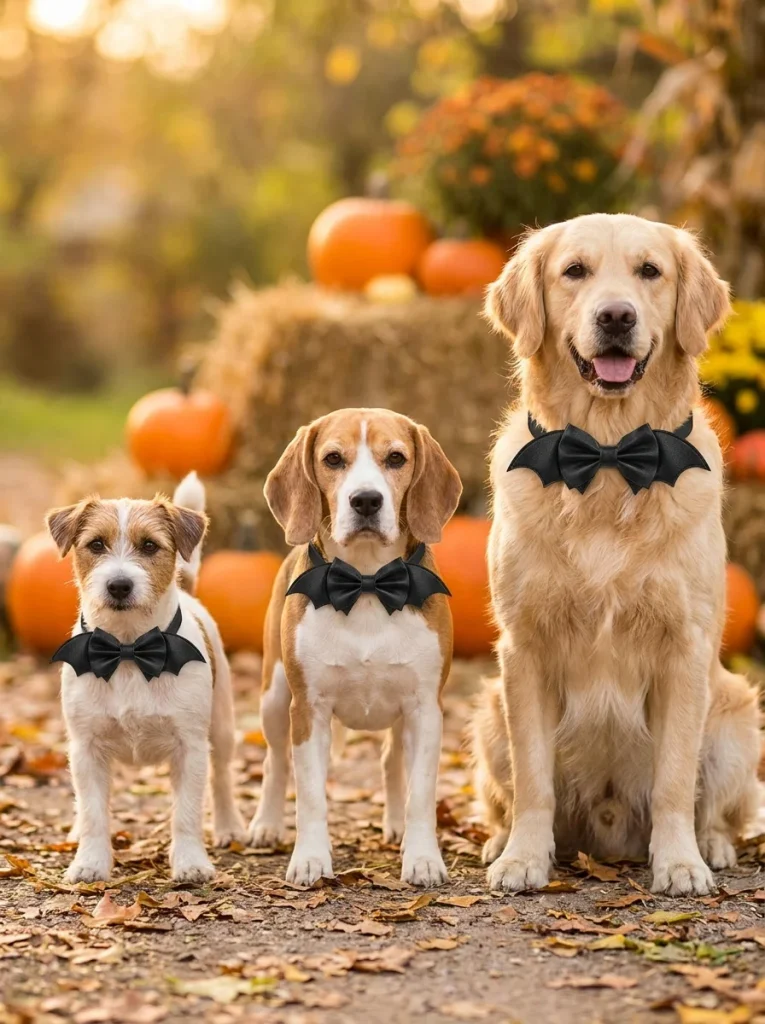
Size matters more than most people realize. A bow tie that’s too big can flop over. One that’s too small can look squished instead of dramatic.
1. Measuring Your Dog’s Neck
Before buying or making a bat bow tie, measure your dog’s collar size. Here’s a simple guide:
| Dog Size | Neck Size (approx.) | Bow Tie Width |
|---|---|---|
| Small (Chihuahua, Yorkie) | 8–12 inches | 3–4 inches |
| Medium (Beagle, Corgi) | 12–18 inches | 4–5 inches |
| Large (Labrador, Shepherd) | 18–26 inches | 5–7 inches |
If you’re unsure which category your dog falls into, this list of best small dog breeds can help you compare typical sizes.
2. Small vs. Large Breed Considerations
Small dogs do best with lightweight, compact bow ties. Anything too big can overwhelm their frame and make it harder for them to move their head comfortably.
Large dogs, on the other hand, can handle a bigger, more dramatic bat bow tie. In fact, oversized wings tend to look even better on bigger breeds because there’s more visible fabric to show off the bat shape.
3. DIY Bat Bow Tie For Dogs: Step-by-Step Instructions
Now for the fun part. Making your own DIY bat bow tie for dogs is cheaper than buying one, and you can customize the size, color, and fabric exactly the way you want.
This tutorial works whether you sew or not. Both methods are explained below.
What You’ll Need
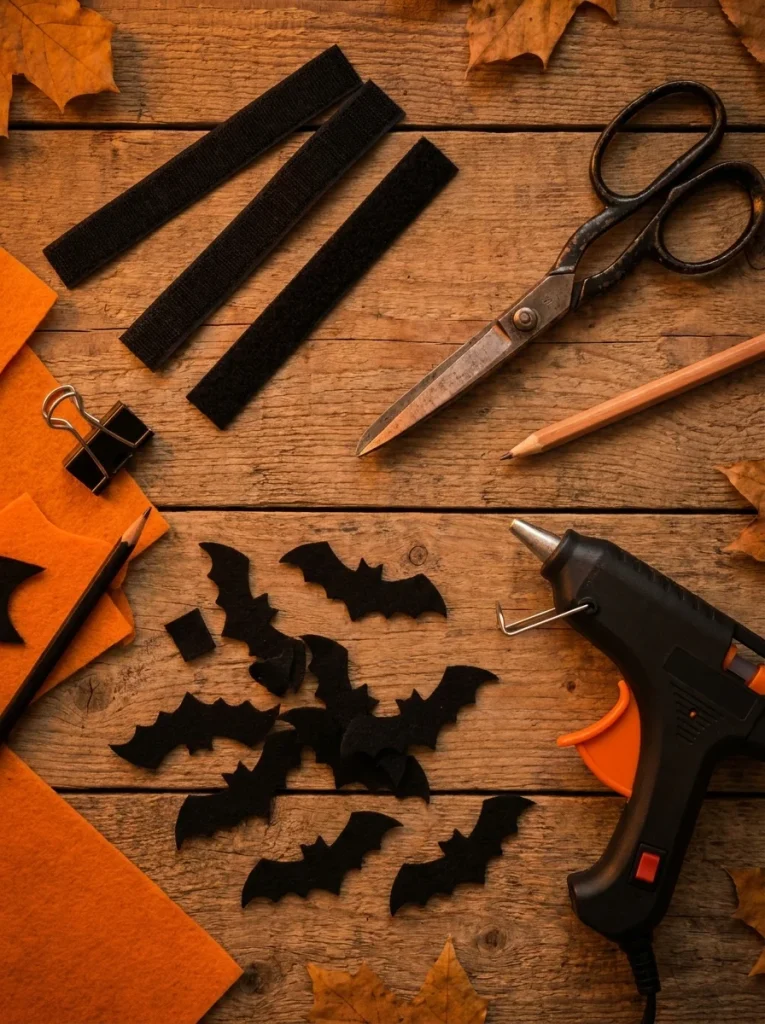
- Faux leather, felt, or cotton fabric (a 6×6 inch piece is enough for small-medium dogs)
- Scissors
- A glue gun (for no-sew method) or a needle and thread (for sewing method)
- Velcro strips or a small metal clip
- A pencil or chalk for tracing
- A printed bat wing template (you can freehand it too — see below)
Step 1: Draw or Print Your Bat Pattern
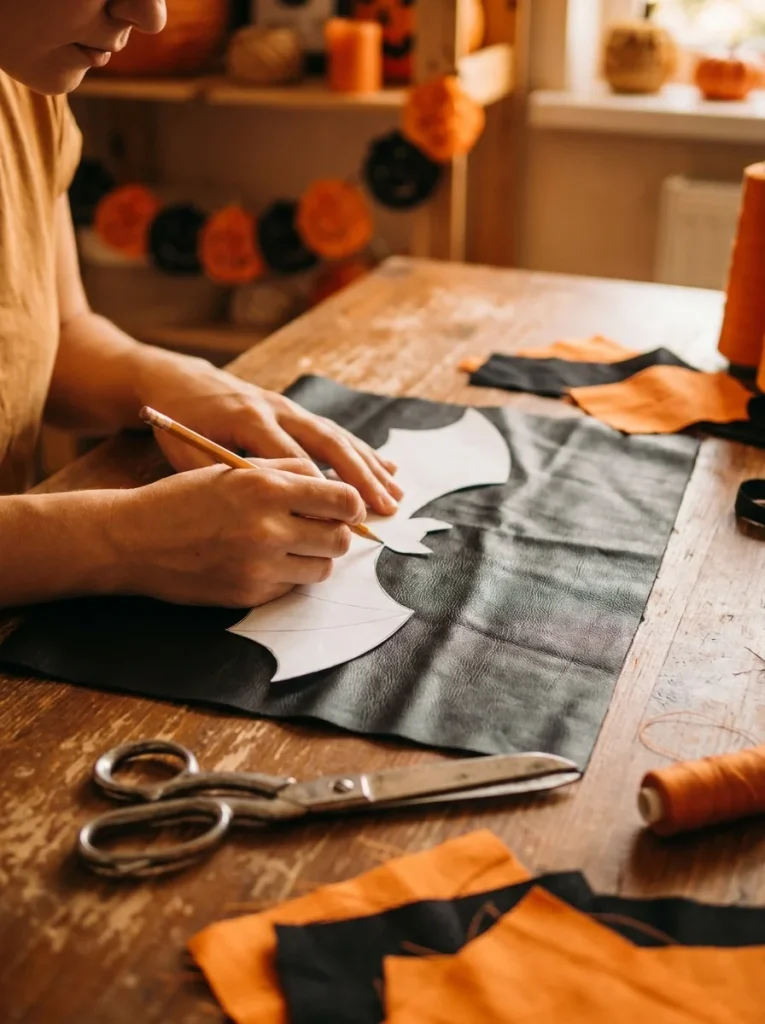
You need two shapes:
- The wings – a wide, curved shape like two connected bat wings
- The body strip – a small rectangle that will wrap around and hold the wings together
If you don’t have a printed template, draw the wing shape freehand on paper first. Think of two triangle-ish “wing” shapes joined in the middle, similar to a bow tie shape but with pointed, jagged edges instead of smooth curves.
Cut the paper pattern out first. This way, if it’s the wrong size, you can adjust it before cutting your actual fabric.
Step 2: Trace and Cut the Fabric
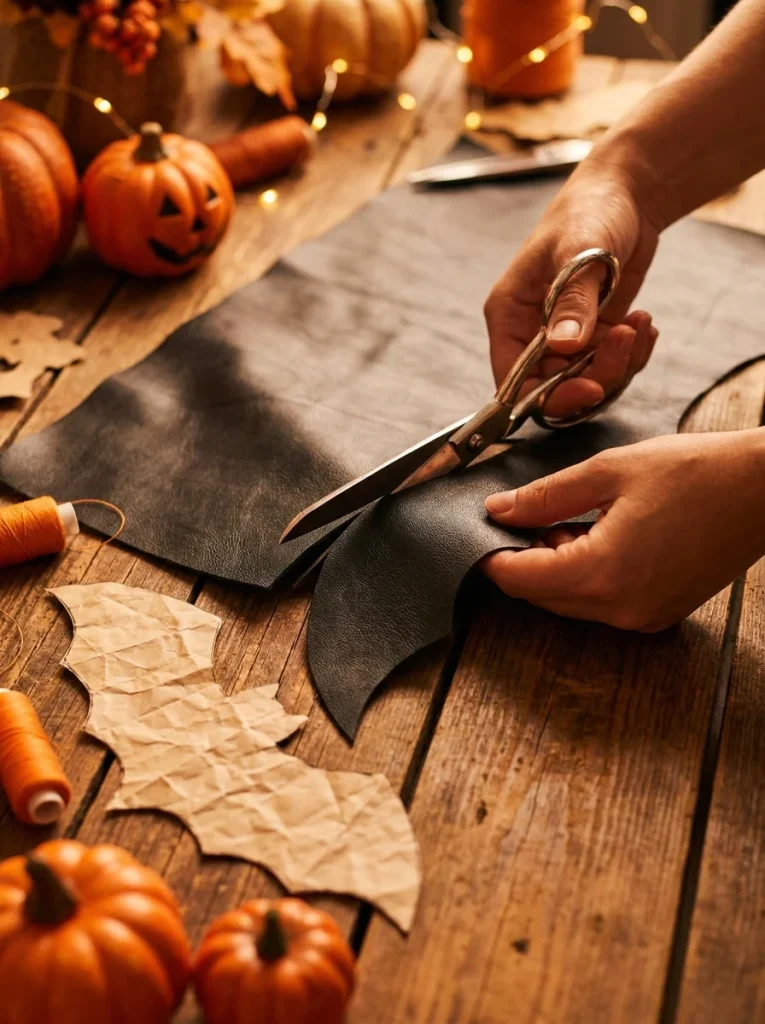
Place your paper pattern on the back of your fabric and trace around it. Cut out:
- One wing piece
- One small rectangle strip for the body
Tip: If you’re using faux leather, the edges won’t fray, so you don’t need to hem or finish them. This makes faux leather the easiest material for beginners.
Step 3: Shape the Bat Wings
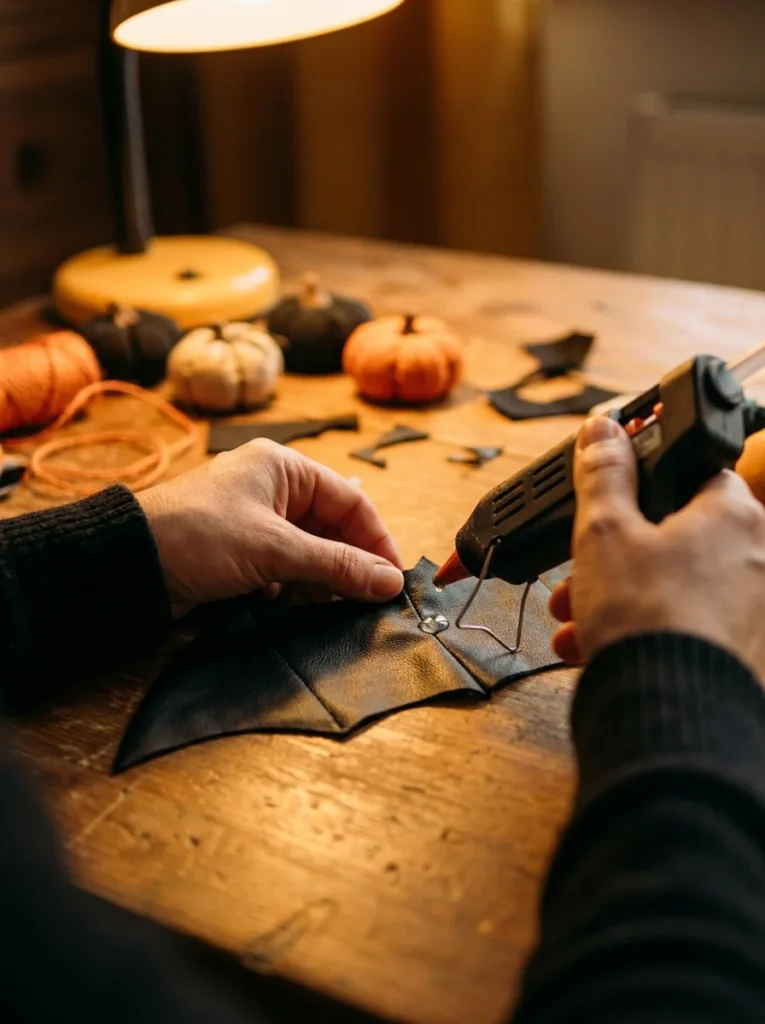
Pinch the wing fabric together at the center, the same way you’d pinch fabric to make a regular bow tie shape. Once pinched, the two “wings” should flare out on either side.
- No-sew method: Add a small dab of hot glue at the pinch point and hold it for 10–15 seconds until it sets.
- Sewing method: Use a few small hand stitches to tack the pinch together. You only need 3–4 stitches, so this step is beginner-friendly even if you’ve never sewn before.
Step 4: Create the Center Loop
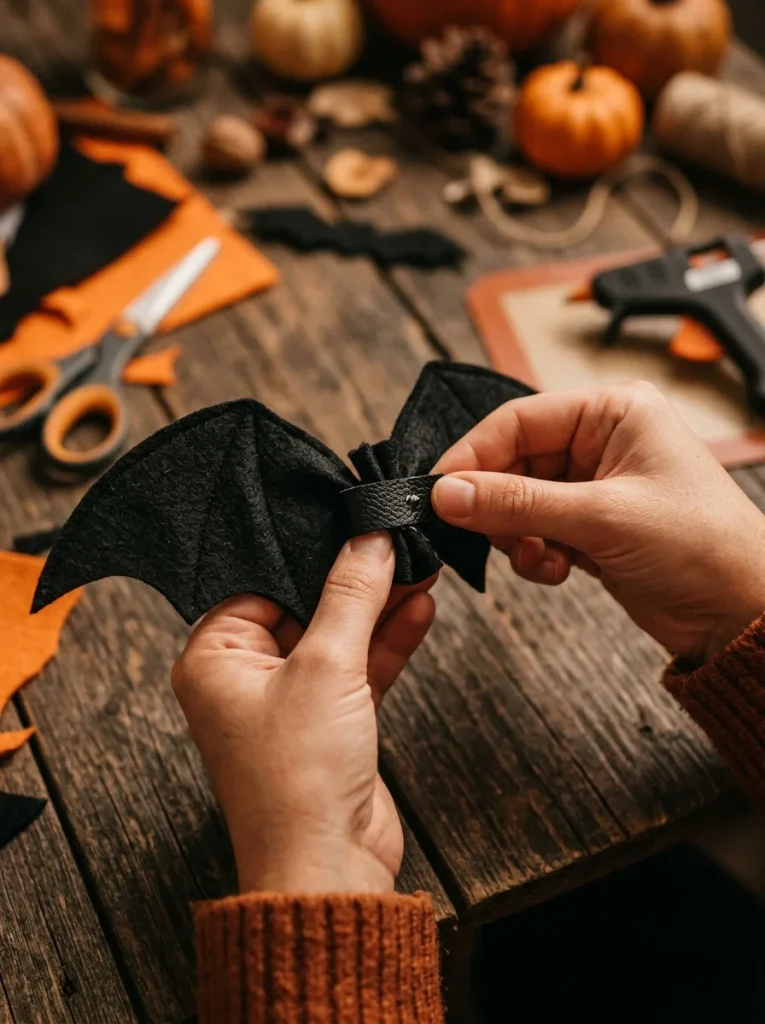
Take your small rectangle strip and fold it around the pinched center of the wings, like a belt wrapping around the middle of the bow tie.
- Glue or stitch the two ends of the strip together at the back
- This creates a loop that holds the wing shape in place
Step 5: Attach the Collar Fastener
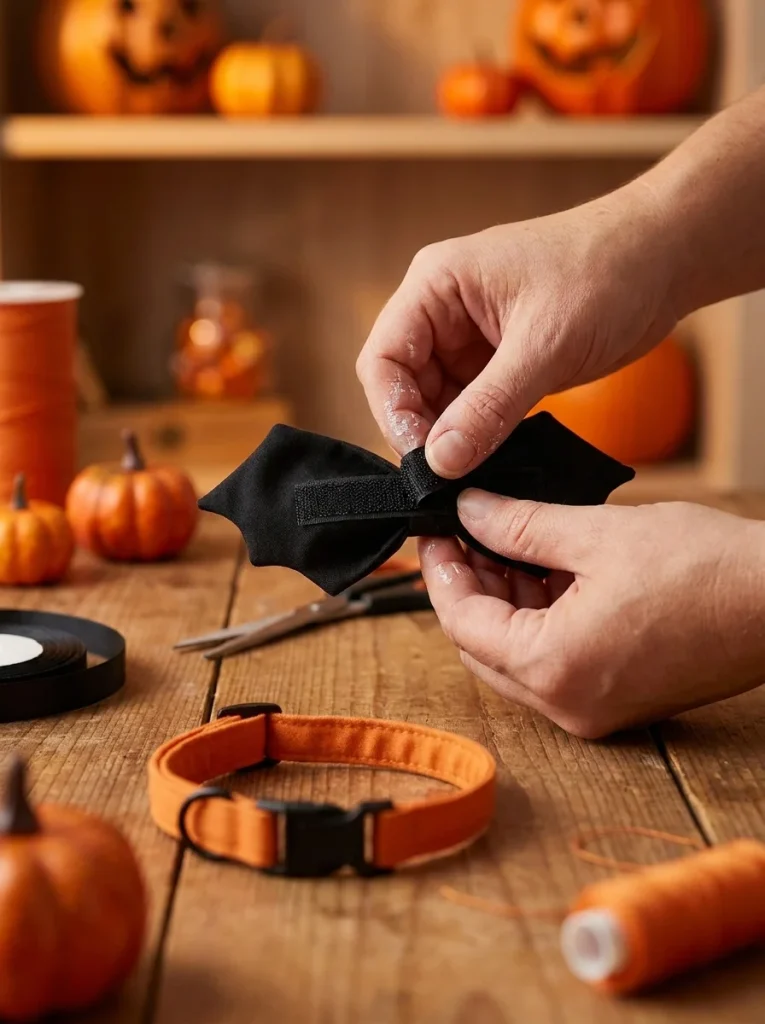
On the back of the center strip, attach your velcro strips or clip:
- Velcro: Glue or sew the velcro so it can wrap around your dog’s actual collar and stick together underneath
- Clip: Simply glue the clip flat against the back of the strip
Make sure the fastener is centered so the bow tie sits evenly on the collar, not tilted to one side.
Step 6: Final Fit Check
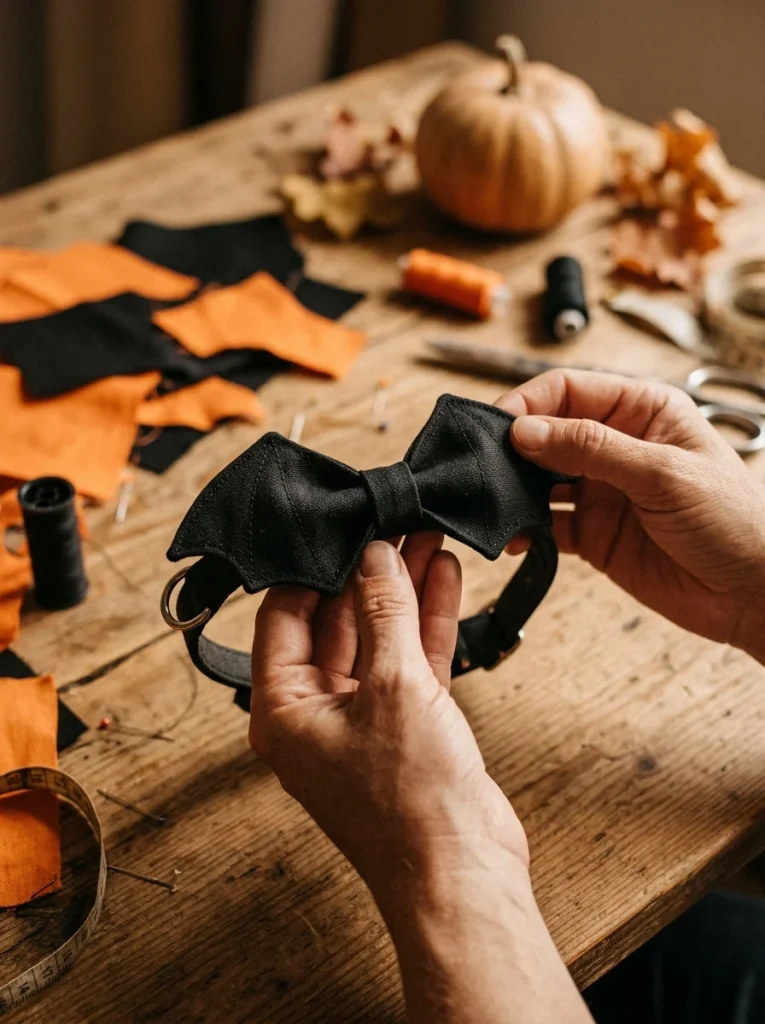
Before your dog wears it, attach the bow tie to a collar and check:
- Does it sit flat, or does it flop forward?
- Is the velcro or clip secure enough to stay in place during movement?
- Are there any rough edges near where it touches the dog’s neck?
If the wings feel floppy, add a tiny dot of glue at the base of each wing tip to help them hold their shape better.
Quick DIY Tips for Better Results
- Making it oversized? Add extra velcro dots to the back of each wing so they don’t sag under their own weight.
- Want a shinier look? Add a thin strip of glitter fabric or ribbon along the wing edges.
- Making multiple? Cut all your fabric pieces first, then assemble them in batches. It’s faster and keeps your workspace less messy.
That’s it. This entire project usually takes less than 20 minutes from start to finish, even for beginners.
4. 2 Ways to Attach a Bat Bow Tie to Your Dog’s Collar
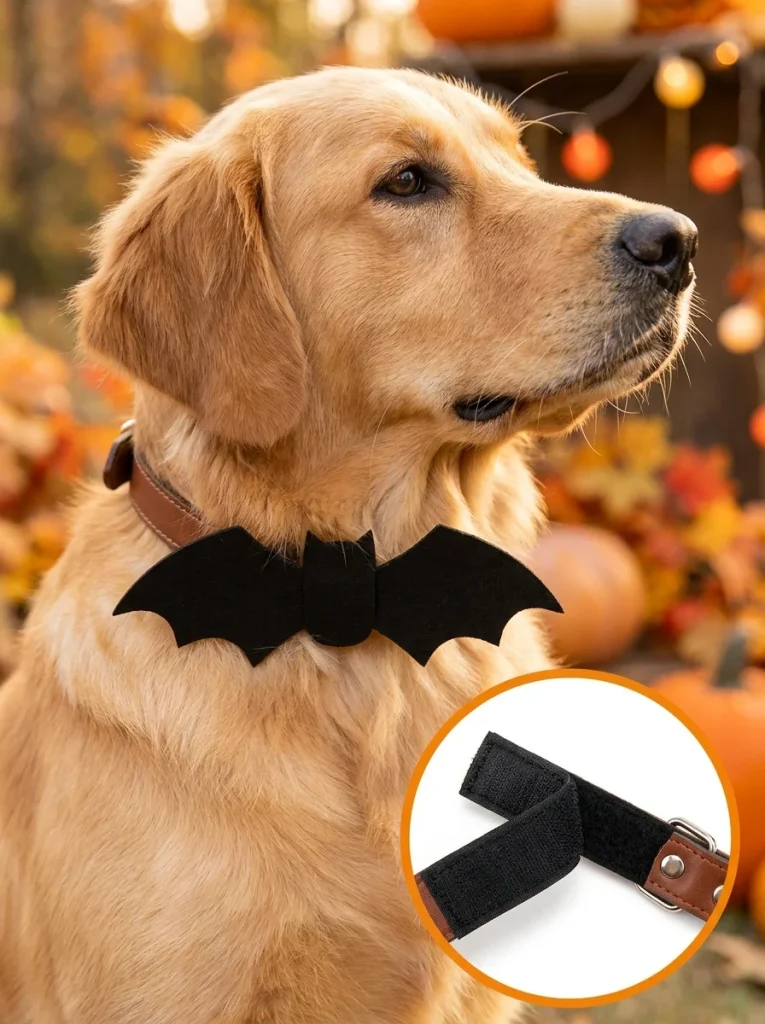
Once your bow tie is made (or bought), you have two main options for attaching it.
1. Velcro Method
Velcro wraps directly around the collar and sticks to itself. This is the most beginner-friendly option because:
- It’s adjustable to different collar widths
- It’s easy to remove for washing
- It works well for dogs who don’t tug at their collar much
The downside: dogs who scratch a lot at their neck may loosen the velcro over time.
2. Clip-On Method
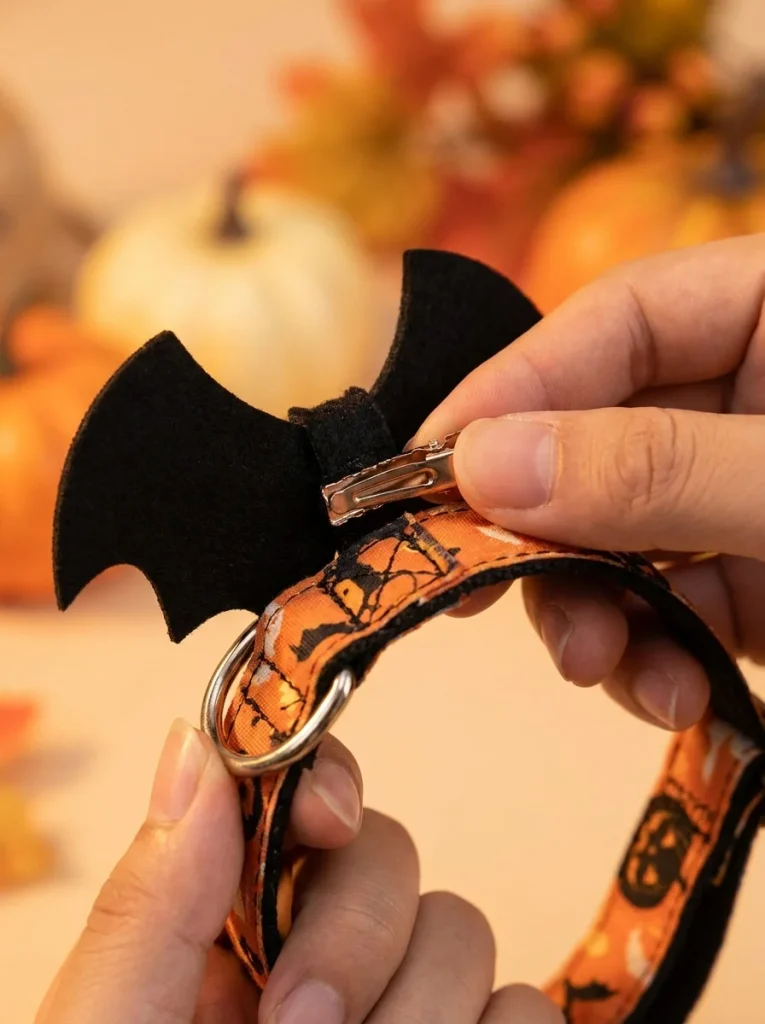
A clip attaches directly onto the collar like a keychain clip. This is a better option if:
- Your dog has thicker fur that might get caught in velcro
- You want a more secure, no-slip attachment
- You’re using a thinner collar or a leash ring
If your dog already wears a specialty collar, like a flea collar, a clip-on bow tie is usually safer since it won’t interfere with the collar’s contact against the skin.
5. Styling and Gift Ideas With a Bat Bow Tie For Dogs
A bat bow tie isn’t just for October 31st. Here are ways to get more use out of it.
1. Halloween Party Looks
Pair the bat bow tie with:
- A simple black bandana for a “vampire” look
- Small fabric wings on a harness for a full bat costume without covering the whole body
- A matching human bow tie or hair accessory for family photos
This works especially well for trick-or-treating, since your dog stays comfortable while still looking festive.
2. Everyday Gothic-Chic Styling
Some pet owners keep their bat bow tie as a year-round accessory instead of a one-time costume piece. A black bat bow tie paired with a plain collar can look stylish for everyday walks, especially on dogs with lighter-colored fur where the contrast stands out.
3. Gifting for Pet Lovers
A handmade bat bow tie also makes a fun, low-cost gift for other dog owners. If you’re already thinking about pet-related gift ideas, this list of trendy dog gifts has more ideas that pair well with a handmade accessory like this.
Final Thoughts
A bat bow tie for dogs is one of the simplest ways to make your dog look Halloween-ready without stuffing them into an uncomfortable costume. Whether you buy one or make your own, the key is choosing the right size, a comfortable material, and a secure attachment method.
If you’re going the DIY bat bow tie for dogs route, the entire project takes less than half an hour and costs just a few dollars in fabric and glue. Once you’ve made one, you’ll probably want to make a few more in different colors for different occasions.
Your dog gets to look adorable and spooky. You get bragging rights for making it yourself. Everybody wins.

Izzy is an experienced ranch worker who has a passion for exploring nature and getting up close to wildlife. With her connections to various animal organizations, Izzy is well-versed in animal care and rehabilitation.