Granny Square Dog Sweater Crochet Pattern: Free Flower Sweater
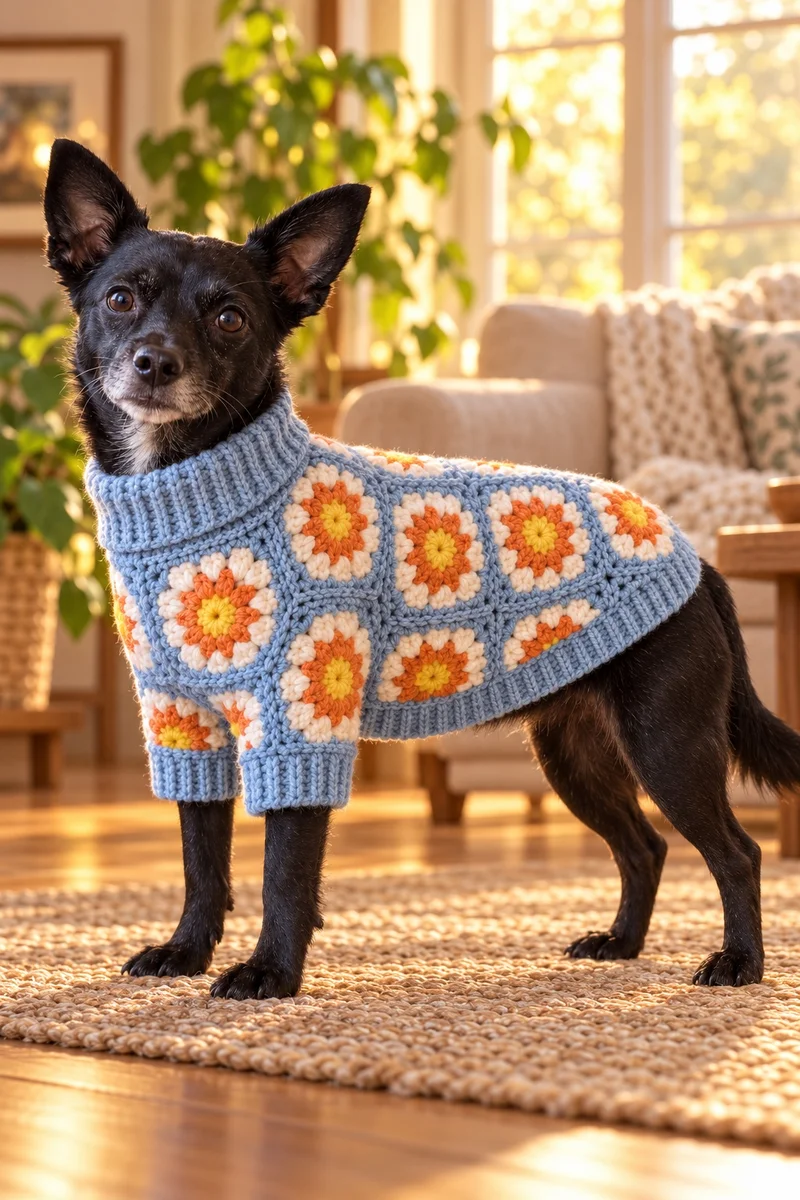
Granny squares are not just for blankets anymore. This Granny Square Dog Sweater Crochet Pattern turns the flower granny square into a proper little dog sweater — ribbed turtleneck collar, neat leg openings with cuffs, and a stretchy belly band. The sample is sky blue with sunny yellow-centered flowers in orange and white, but the pattern is written on a simple Color A/B/C/D system, so you can plug in any palette you love.
It is written for an adventurous beginner. If you can double crochet, work in the round, and join granny squares, you know every skill it asks of you. Four sizes, XS through L, from Chihuahua to Labrador — with materials, size and gauge guide, the flower square pattern, and finishing instructions below.
Before You Get Started
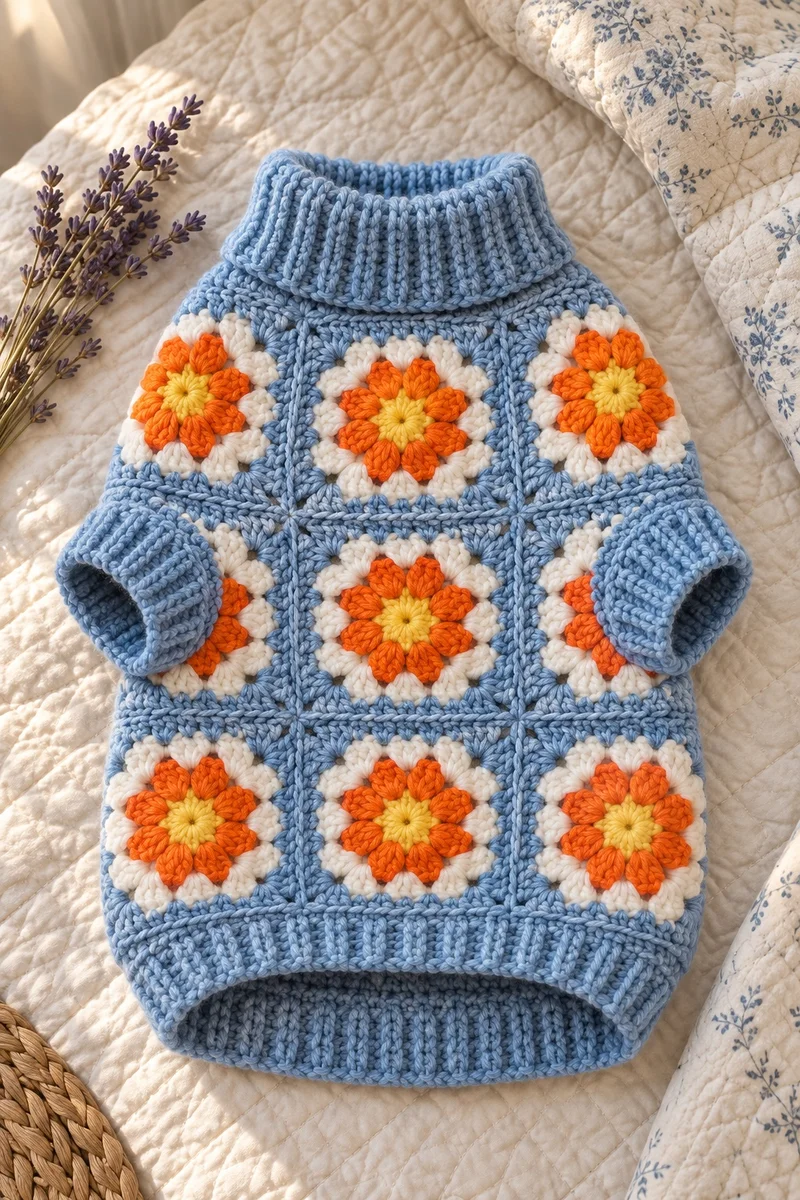
The Flower Granny Sweater is built square by square. You will crochet a set of identical 4-round flower granny squares (the count depends on your size), join them into a tube for the body, then work ribbing directly onto the live edges: a turtleneck collar at the neck, short cuffs around each leg opening, and a belly band along the bottom. The two front leg openings are simply vertical slits left unjoined between squares — no cutting, no steeking, nothing scary.
You should be comfortable working joined rounds, changing colors, and counting stitches. The only “new” skill is the front-post double crochet used for the ribbing — a double crochet worked around a stitch post instead of into its top. Any smooth worsted-weight yarn that meets gauge works; if you substitute, check that your blocked square still measures 4 inches, because every size here is built on that number.
Fit & comfort check: You should be able to slide two fingers comfortably between the sweater and your dog at the neck and chest. Never leave a dog unsupervised in a handmade garment until you know they will not chew it — a long-lasting carrot and sweet potato chew keeps mouths happily busy during the first supervised wear.
Sweaters can snag on crates, fences, and furniture. Check the leg cuffs regularly for rubbing, especially on short-coated breeds, and skip any buttons, beads, or decorative extras — they are chewing hazards. If your dog freezes, panics, or tries to back out of the sweater, take it off and try a shorter wearing session later.
Tools & Materials Needed
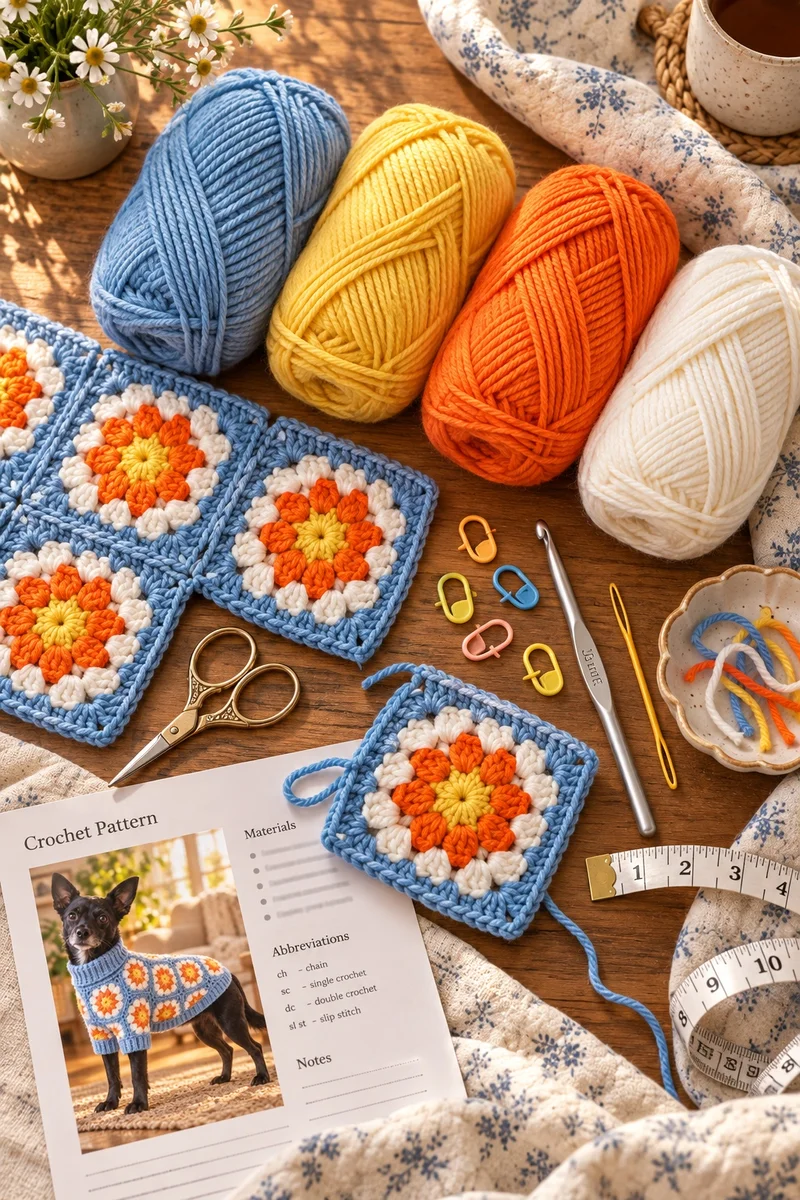
Yarn
- Worsted-weight (#4) acrylic or acrylic-blend yarn, soft and machine-washable. The pattern uses four colors, written as Color A (flower center — sample: yellow), Color B (petals — sample: orange), Color C (ring round — sample: white), and Color D (main/joining/ribbing — sample: sky blue).
- Color D: 2 (2, 3, 3) skeins of 100 g / 200 m for sizes XS (S, M, L)
- Colors A, B, C: 1 skein each (you will use less than half of each)
- A smooth yarn shows the flower motif best; avoid fuzzy or eyelash yarns for this one.
Hook & Notions
- US H-8 (5.0 mm) crochet hook, or size needed to obtain gauge
- Stitch markers (at least 4 — they mark your leg-opening positions)
- Yarn needle for weaving in ends (there will be many — weave as you go!)
- Scissors and a flexible tape measure
Size Info and Gauge
XS
Chest: 12″
Back length: 8″
Squares: 6 (3 across × 2 long)
Chihuahuas, Yorkies, tiny terriers
S
Chest: 16″
Back length: 12″
Squares: 12 (4 across × 3 long)
Mini poodles, Shih Tzus, small spaniels
M
Chest: 20″
Back length: 12″
Squares: 15 (5 across × 3 long)
Beagles, French bulldogs, spaniels
L
Chest: 24″
Back length: 16″
Squares: 24 (6 across × 4 long)
Labradors, pointers, large mutts
Gauge: one blocked flower square = 4″ × 4″ (12 dc × 7 rows = 4″ in double crochet, US H-8 / 5.0 mm hook). Crochet one full square, block it lightly, and measure — every size in this pattern is built on that 4-inch number, so this is the one swatch you must not skip.
Abbreviations (US Terms)
ch – chain • sc – single crochet • dc – double crochet • sl st – slip stitch • fpdc – front post double crochet • bpdc – back post double crochet • MR – magic ring • sp(s) – space(s) • st(s) – stitch(es) • RS – right side
Pattern Notes
- Sizes are written as XS (S, M, L) throughout. Circle your size before you begin.
- The ch 3 at the start of a round counts as a dc.
- Work with the right side facing; the flower motif is designed to be viewed from the RS.
- Join new colors with a sl st and weave in ends as you go — four colors per square means ends multiply fast.
- Join squares with Color D through the back loops only, so seams sit on the wrong side.
- Mark your two leg-opening positions with stitch markers before joining — the per-size positions are in the Joining section.
- Block each square lightly to 4 inches before joining; unblocked squares will not line up.
Pattern Instructions
The Flower Granny Square
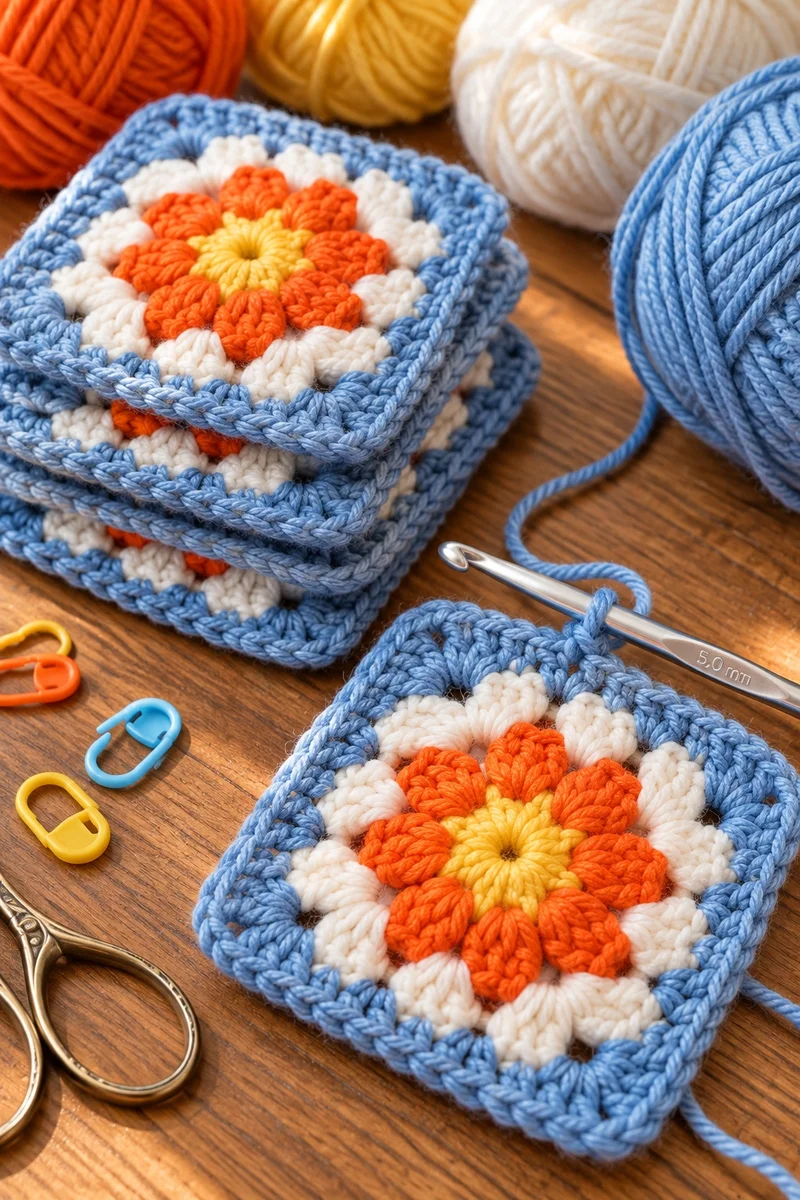
Choose your own colors. Each round is written in a color letter so you can swap in any palette you like:
- Color A — flower center (sample: yellow)
- Color B — petals (sample: orange)
- Color C — ring round (sample: white)
- Color D — main, joining, and ribbing color (sample: sky blue)
Color change: Fasten off the old color. Join the new color with a sl st in the next st. The ch 3 at the start of a round counts as a dc unless stated otherwise.
Round 1 (Color A): MR, ch 3 (counts as dc), 15 dc into ring. Join with sl st to top of ch-3. (16 dc)
Round 2 (Color B): Join B in any st. Ch 3 (counts as dc), dc in same st, ch 2, skip 1 st, *(2 dc, ch 2, 2 dc) in next st, skip 1 st* — repeat * around for 8 petals total. Join with sl st to top of ch-3. (32 dc, 8 ch-2 sps)
Round 3 (Color C): Join C in any ch-2 sp. Ch 3 (counts as dc), 2 dc in same sp, ch 1, *3 dc in next ch-2 sp, ch 1* — repeat * around. Join with sl st to top of ch-3. (24 dc, 8 ch-1 sps)
Round 4 (Color D): Join D in any ch-1 sp. Ch 3 (counts as dc), 2 dc in same sp, ch 2, 3 dc in same sp (first corner made), ch 1, 3 dc in next ch-1 sp, ch 1, *(3 dc, ch 2, 3 dc) in next ch-1 sp (corner), ch 1, 3 dc in next ch-1 sp, ch 1* — repeat * 3 more times. Join with sl st to top of ch-3. (36 dc; 9 dc per side)
Fasten off and weave in all ends. Block lightly to 4 inches square.
Make:
- XS: 6 squares (3 across x 2 long)
- S: 12 squares (4 across x 3 long)
- M: 15 squares (5 across x 3 long)
- L: 24 squares (6 across x 4 long)
Joining the Body
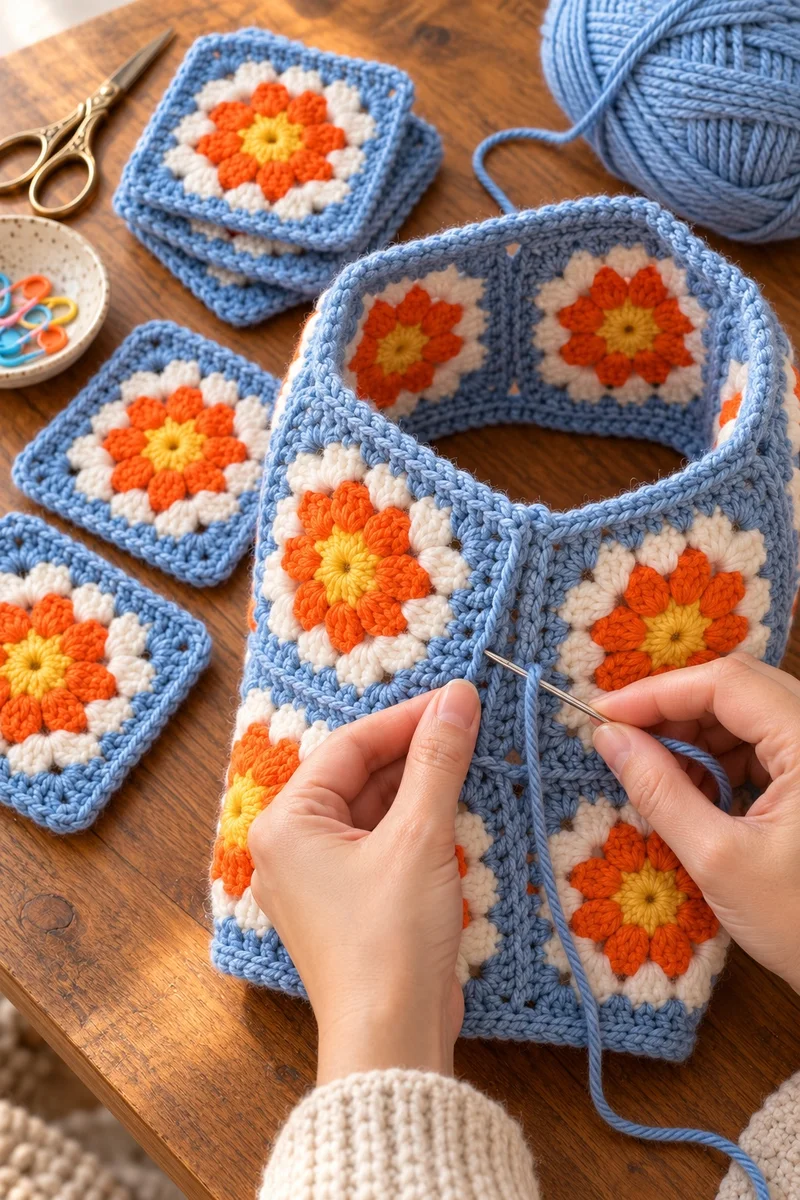
Lay your squares flat, right side up, in a rectangle: squares-across by squares-long per size (XS 3 x 2, S 4 x 3, M 5 x 3, L 6 x 4). The top short edge of the rectangle is the neck edge; the bottom short edge is the tail edge.
Using Color D, join the squares into columns first (each column = squares-long), working through back loops only so seams lie on the wrong side. Then join the columns side by side into a closed ring — this ring is the body tube, and its top row of squares forms the neckline.
Leg openings: The two leg openings are vertical slits in the tube wall, each one square tall, sitting just below the neckline on the belly side. When joining the columns side by side, join the neck-row squares to each other fully, but LEAVE the two slit spots unjoined for one square-length (the height of the second row down):
- XS: between columns 1-2 and between columns 2-3
- S: between columns 1-2 and between columns 3-4
- M: between columns 2-3 and between columns 3-4
- L: between columns 2-3 and between columns 4-5
Count columns from any square — the only thing that matters is that the two slits sit next to each other on the same half of the tube. That half is the belly; the opposite half is the back. Every other join is worked normally. Gently pull apart the unjoined edges to reveal each slit.
Ribbed Collar
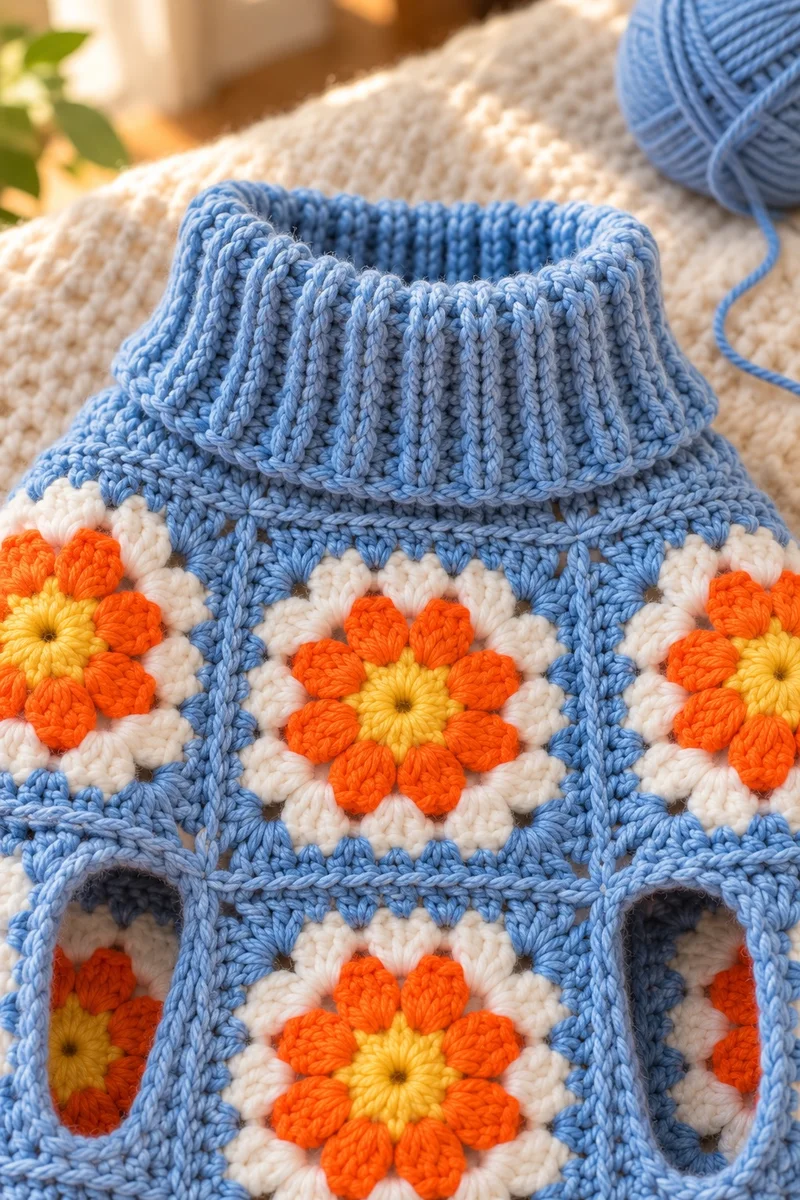
With Color D, join yarn at the neckline edge (the short end of the tube) with a sl st in any st.
Round 1: Ch 1. Work sc evenly around the neckline — 12 sc per square edge, or 36 (48, 60, 72) sc total. If your count is off, work 2 sc in a corner space (or work 1 sc in a corner space) until you reach the exact count. Join with sl st to first sc. (36 (48, 60, 72) sc)
Rounds 2-7 (XS, S) / Rounds 2-9 (M, L): *fpdc in next sc, bpdc in next sc* — repeat * around for 6 (8) rounds. (18 (24, 30, 36) fpdc and 18 (24, 30, 36) bpdc each round)
Fasten off and weave in ends.
Leg Openings and Cuffs
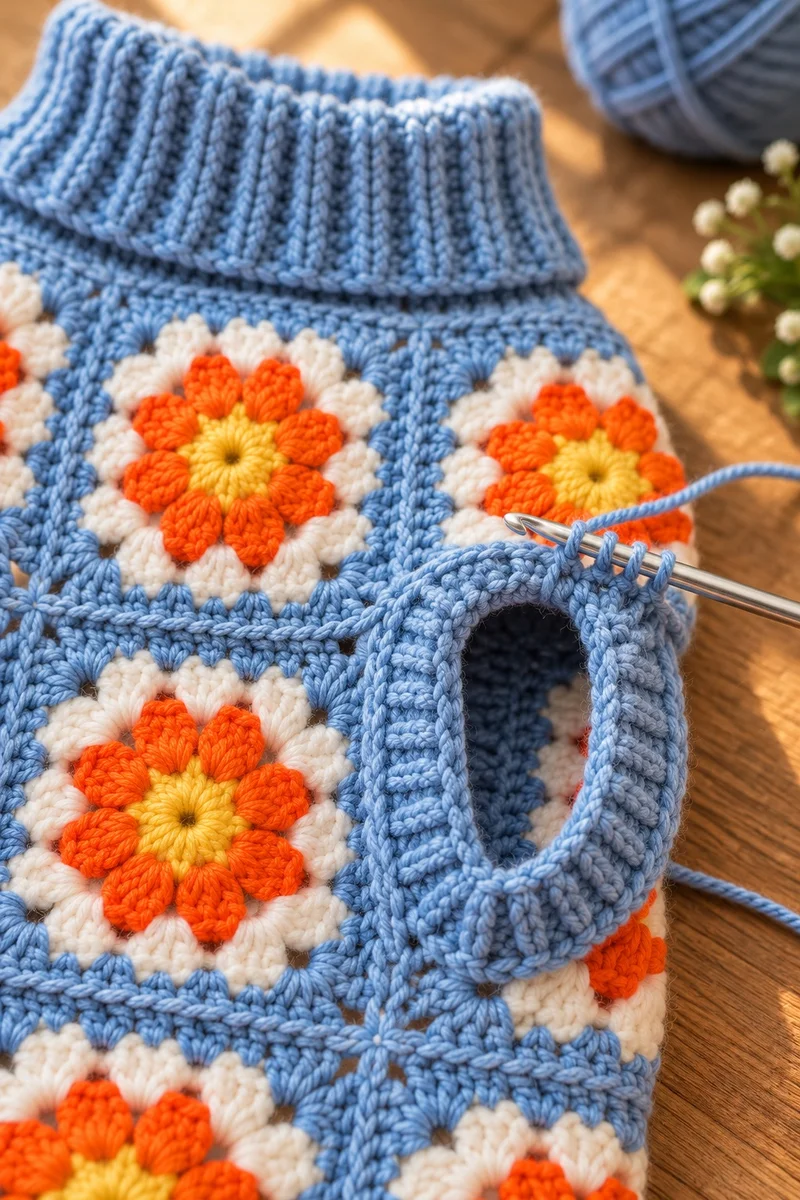
Work both leg openings identically. Gently pull apart the unjoined edges to open each slit fully.
With Color D, join yarn with a sl st at the top of one slit.
Round 1: Ch 1. Work 12 sc evenly down the left edge of the slit and 12 sc evenly up the right edge of the slit. Join with sl st to first sc. (24 sc)
Rounds 2-4: *Fpdc in next st, bpdc in next st* — repeat around for 3 rounds. Join with sl st to first st of each round. (12 fpdc and 12 bpdc each round)
Fasten off and weave in ends. Repeat on the second leg opening.
Belly Band
With Color D, join yarn at the bottom (tail) edge of the tube with a sl st in any st.
Round 1: Ch 1. Work sc evenly around the bottom edge — 12 sc per square edge, or 36 (48, 60, 72) sc total. If your count is off, work 2 sc in a space (or 1 sc in a space) until you reach the exact count. Join with sl st to first sc. (36 (48, 60, 72) sc)
Rounds 2-5: *fpdc in next sc, bpdc in next sc* — repeat * around for 4 rounds. (18 (24, 30, 36) fpdc and 18 (24, 30, 36) bpdc each round)
Fasten off and weave in ends.
Finishing
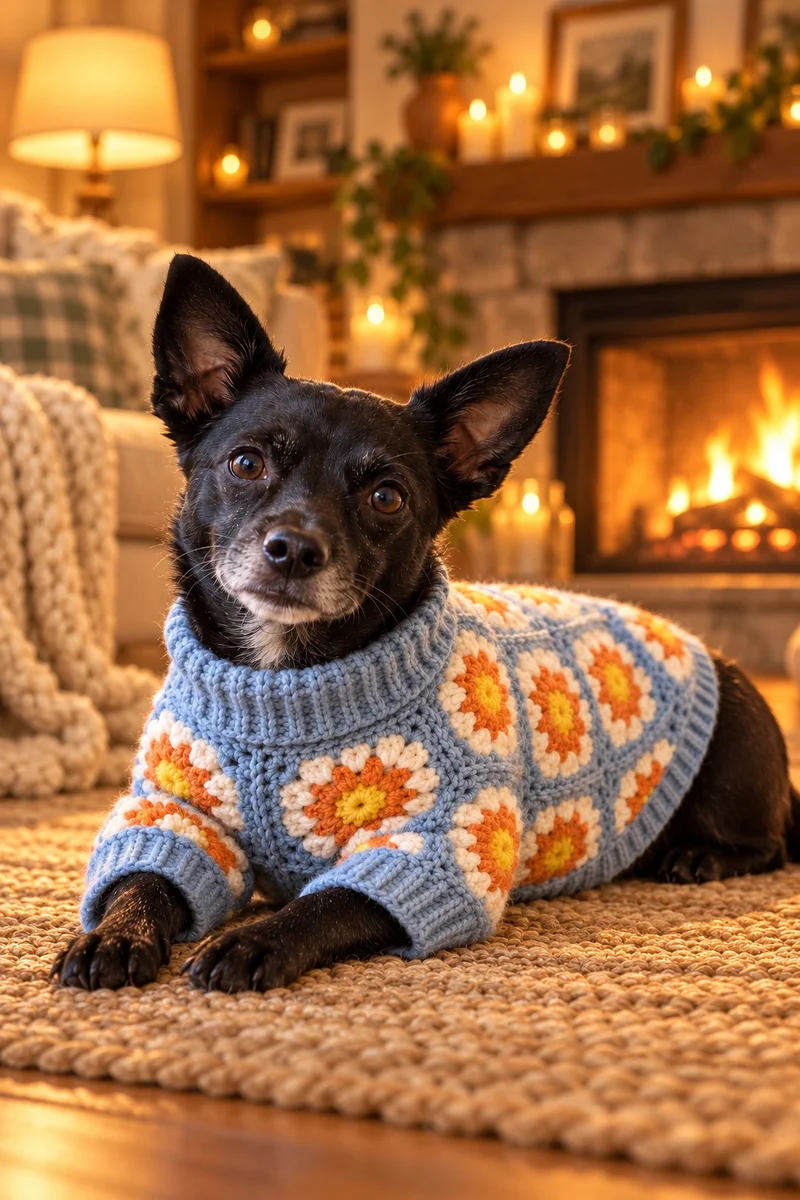
Weave in every remaining end, working tails through the backs of several stitches and trimming close. Steam-block lightly (hover, never press acrylic) so the squares relax into an even tube.
Check three fit points: two fingers under the collar, leg openings sitting just behind the front legs without pulling, and the belly band ending around mid-belly. If a cuff feels snug, add one extra ribbing round — the pattern shows you exactly where.
Customizing the Fit
Longer body: Add one full row of squares to the length — about 4 inches per row, perfect for long-backed breeds. Work it between the leg openings and the belly band.
Wider chest: Add one column of squares around (about 4 inches of chest room), then re-mark your leg-opening positions so the slits stay centered on the belly.
Between sizes: Make the smaller size — the ribbed collar and belly band stretch generously, and a slightly snug sweater stays put better than a loose one.
Color play: The A/B/C/D system is your playground. Try a solid tonal version, a scrappy every-square-different version, or a two-tone flower. The joining and ribbing never change.
Frequently Asked Questions
Final Thoughts
There is something satisfying about a garment made from granny squares — each flower is a finished object in itself, and then one afternoon of joining turns a pile of them into a sweater. Make the sample palette, or raid your stash and invent your own. Either way, the construction is the same, the math is checked, and your dog gets a one-of-a-kind sweater to show off on the next chilly walk — after a warm bowl of crockpot turkey dog food.
If this was your first granny-square garment, you now know every skill behind most square-based wearables. The same flower square scales up beautifully into blankets, tote bags, and cardigans.
Happy crocheting — and give your model an extra pumpkin biscuit for sitting still during the fitting.
Izzy is an experienced ranch worker who has a passion for exploring nature and getting up close to wildlife. With her connections to various animal organizations, Izzy is well-versed in animal care and rehabilitation.