15 Homemade Dog Treats to Make and Sell – Easy Recipes for Beginners
If you love baking for your dog and you keep hearing “you should sell these,” this list is your starting point. Below are 15 homemade dog treats to make and sell, covering baked biscuits, no-bake bites, frozen pops, dehydrated chews, and bakery-style extras that customers love to buy again and again.
Each recipe below is written as a clean, copy-ready card, so you can jump straight to the ingredients and steps without wading through a long story first. That’s intentional. When you’re trying to figure out which dog treats to sell, you want to compare formats quickly, not read paragraphs of backstory for every cookie.
If you want even more ideas before you commit to a batch, browse more treat recipes to try for extra inspiration beyond what’s covered here.
Whether you’re baking for a local farmers market, a small Etsy shop, or just your neighbor’s dog, these dog treats to sell were chosen because they store well, look good in packaging, and use ingredients most dogs can safely eat. A few use pantry staples you probably already have, and a few are built specifically to stand out on a table next to everyone else’s peanut butter biscuits. Let’s get into the recipes.
15 Dog Treats to Sell That Keep Customers Coming Back
Each treat below uses a different method, so you get real variety in your product lineup instead of 15 versions of the same cookie. That variety matters more than it sounds like it should — buyers who come back a second time often want to try something different, not just restock the same bag. Pick two or three to start, then expand once you know what sells.
1. Classic Peanut Butter Dog Bones (Baked & Rolled)
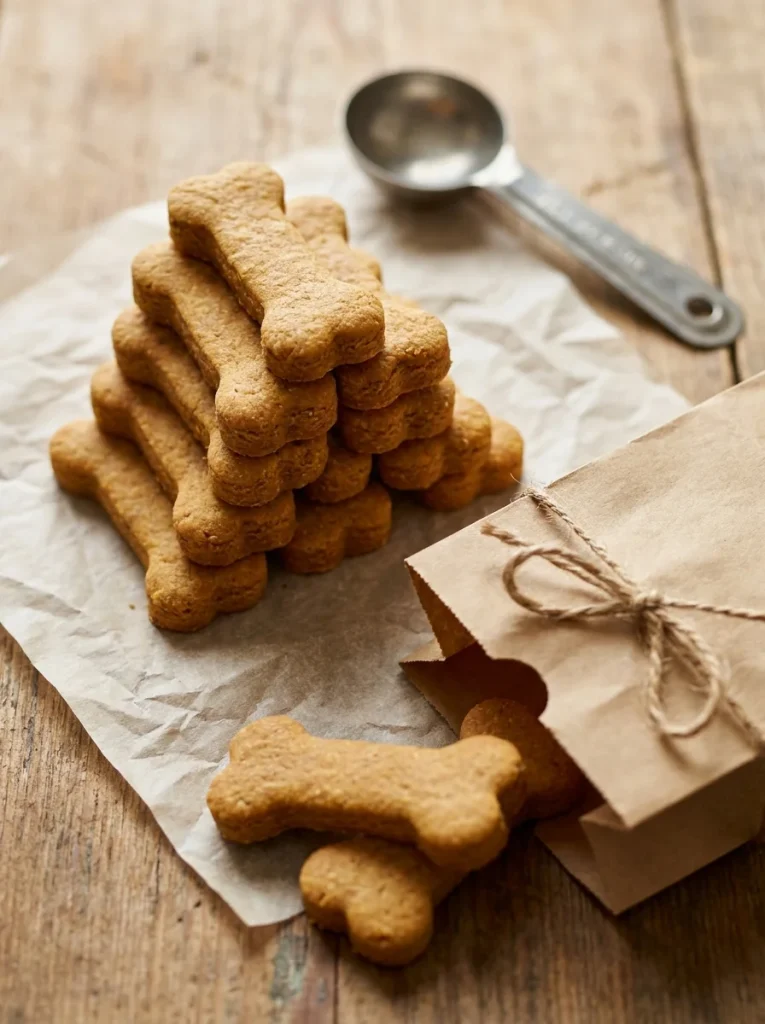
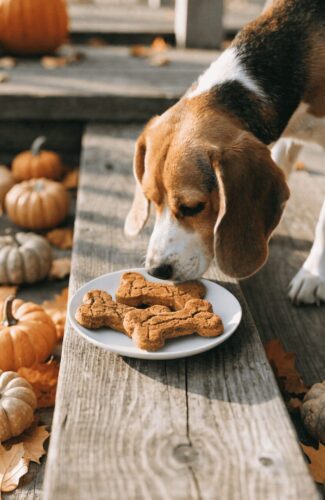
This is the treat most people picture when they think of homemade dog treats to sell. It’s crunchy, holds its shape well in packaging, and has a long shelf life, which makes it a safe first recipe if you’re not sure where to start.
It’s also the easiest of the 15 to batch-produce, since the dough rolls out flat and one cookie cutter gets you dozens of uniform pieces in one go.
Prep Time: 15 minutes
Bake Time: 25 minutes
Yield: 24 treats
Ingredients:
- 2 cups whole wheat flour
- 1/2 cup natural peanut butter (no xylitol)
- 1 egg
- 1/2 cup water or low-sodium chicken broth
- 1 tablespoon oil
Instructions:
- Preheat the oven to 350°F.
- Mix the peanut butter, egg, oil, and broth in a bowl.
- Stir in the flour a little at a time until a stiff dough forms.
- Roll the dough to 1/4-inch thickness and cut with a bone-shaped cutter.
- Bake for 20–25 minutes until firm and lightly golden.
Notes: Let the bones cool completely before packaging, or condensation will build up inside the bag and soften them. This shape pairs well with classic bone-shaped treats if you want a matching style to sell alongside it, and it’s easy to double or triple the recipe once you know your batch size works.
2. Pumpkin Peanut Butter Training Bites (Baked & Soft)
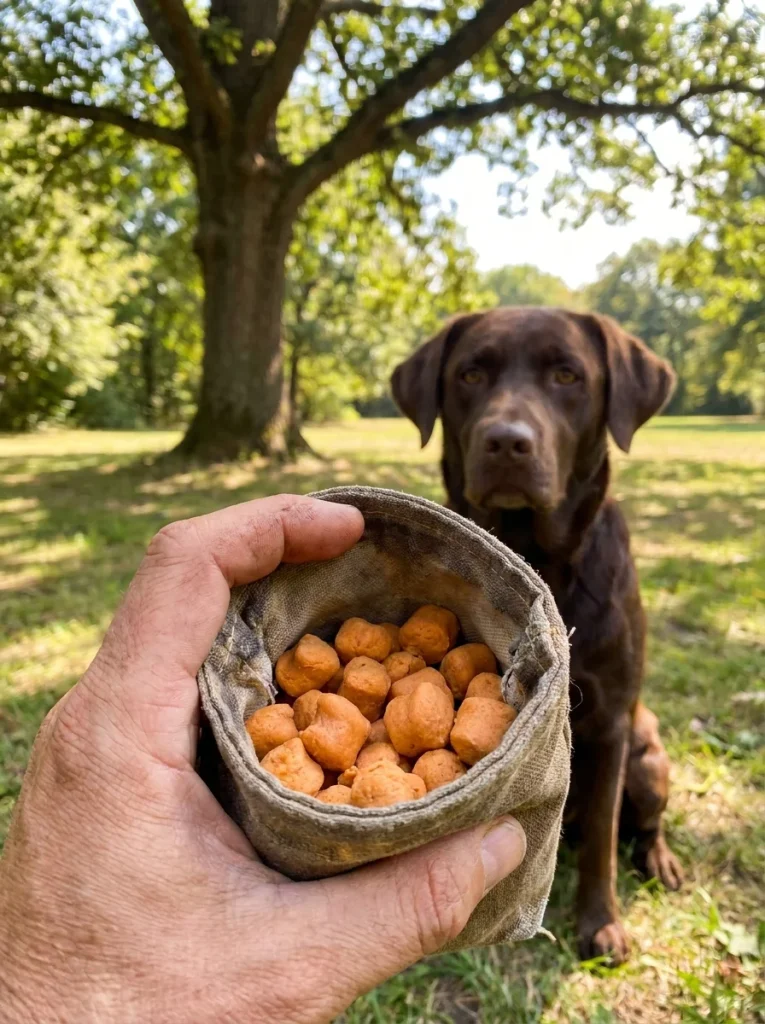
Unlike the rolled biscuit above, these are dropped by the spoonful, so there’s no rolling pin or cookie cutter needed. That makes them faster to prep on a busy baking day, even though the bake time is shorter too.
Small, soft, and easy to break apart, they’re a favorite for buyers who use them during obedience work — see these puppy training tips for how owners typically use bite-sized treats like this one during a training session.
Prep Time: 10 minutes
Bake Time: 15 minutes
Yield: 40 mini bites
Ingredients:
- 1 cup pumpkin puree (plain, not pie filling)
- 1/3 cup peanut butter
- 1 1/2 cups oat flour
- 1 egg
Instructions:
- Preheat the oven to 325°F.
- Mix the pumpkin, peanut butter, and egg until smooth.
- Add the oat flour and stir until a thick batter forms.
- Drop small teaspoon-sized mounds onto a lined baking sheet.
- Bake for 12–15 minutes until set but still soft in the center.
Notes: Keep these in the fridge, since the soft texture means a shorter shelf life than a hard biscuit. If you’re selling at a market, pack them in small resealable pouches so buyers can grab a handful at a time for training sessions.
3. Cheese and Herb Savory Biscuits (Baked & Rolled)
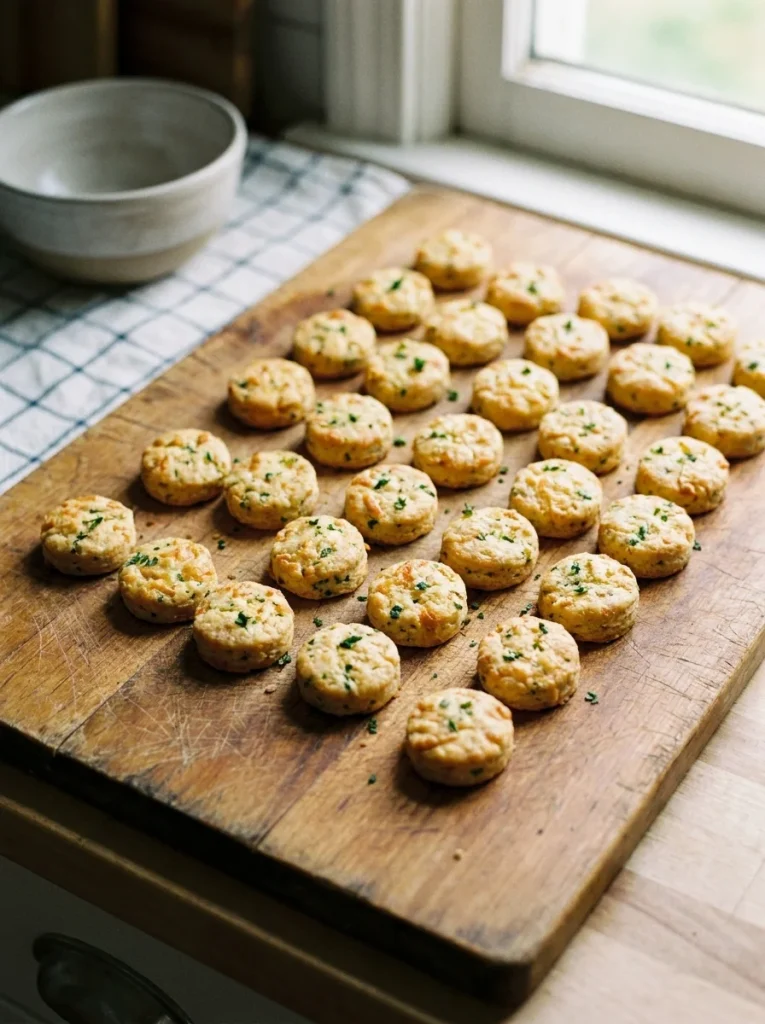
Most dog treat lists lean sweet. This one gives buyers a savory option, which is worth having in your lineup since not every dog — or owner — wants peanut butter on repeat.
Having at least one savory item also helps if you ever sell to a customer whose dog has a peanut allergy or just prefers something different.
Prep Time: 15 minutes
Bake Time: 20 minutes
Yield: 30 small biscuits
Ingredients:
- 1 1/2 cups whole wheat flour
- 1/2 cup shredded cheddar cheese
- 1 tablespoon chopped fresh parsley
- 1/4 cup water
- 2 tablespoons olive oil
Instructions:
- Preheat the oven to 350°F.
- Combine the flour, cheese, and parsley in a bowl.
- Add the water and oil, mixing until a dough forms.
- Roll to 1/4-inch thick and cut into small rounds or strips.
- Bake 18–20 minutes until firm.
Notes: Parsley also helps freshen breath, which is a nice selling point to mention in your product description. Cheese-based dough can brown faster than plain flour dough, so check these a few minutes before the timer ends the first time you make them.
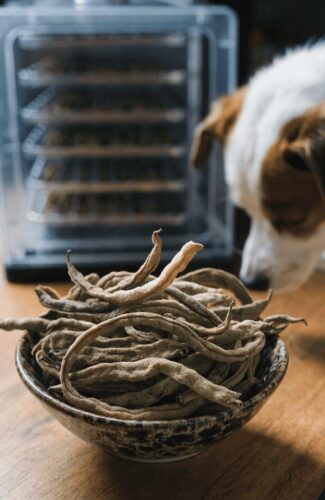
4. Chicken and Sweet Potato Jerky Strips (Dehydrated)
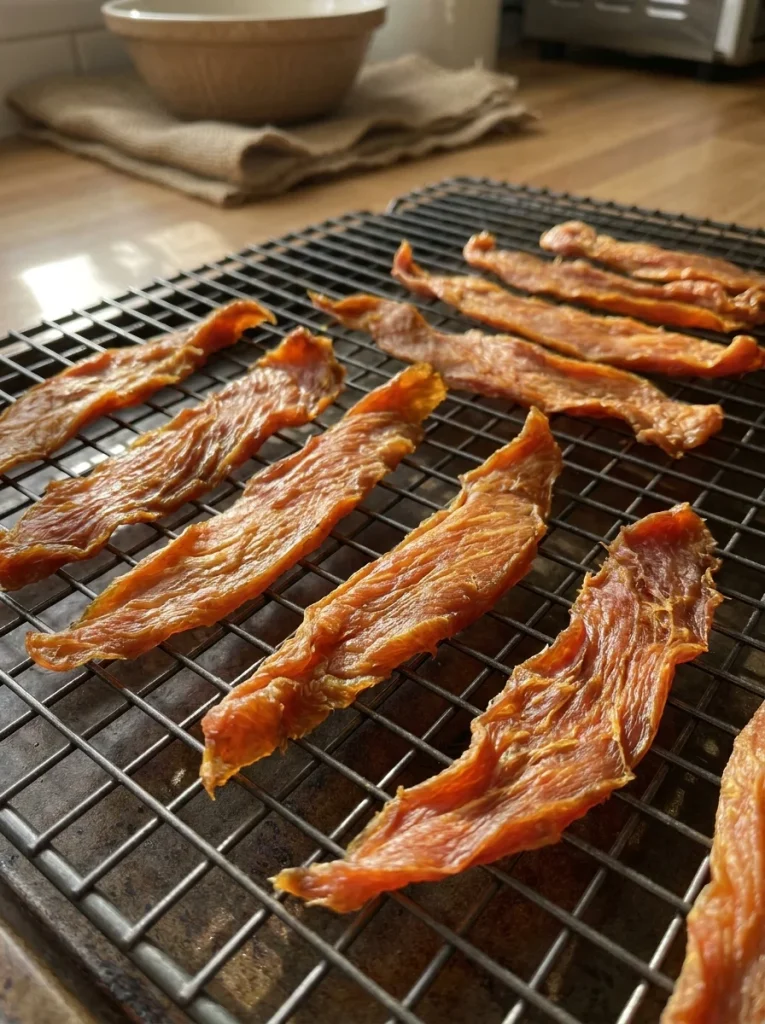
This is a no-flour, meat-forward option. It’s more time-intensive than baking, but jerky-style treats often sell at a premium price because of the ingredients and the low, slow cooking method behind them.
Buyers tend to associate jerky with quality, so this is a good treat to feature prominently if you’re trying to build a higher-end section of your product lineup.
Prep Time: 15 minutes
Dehydrate Time: 6–8 hours
Yield: 20 strips
Ingredients:
- 1 lb boneless, skinless chicken breast
- 1 medium sweet potato
Instructions:
- Slice the chicken and sweet potato into thin, even strips (about 1/4-inch thick).
- Lay the strips on a dehydrator tray without overlapping, or use an oven set to its lowest temperature.
- Dehydrate for 6–8 hours until fully dry and slightly leathery, not sticky.
- Let cool completely before storing.
Notes: These need to be fully dried, or they’ll spoil quickly once bagged. Store in the fridge or freezer for the longest shelf life, and label the bag with a “keep refrigerated” note so buyers store it correctly at home.
5. Single-Ingredient Sweet Potato Chews (Dehydrated)
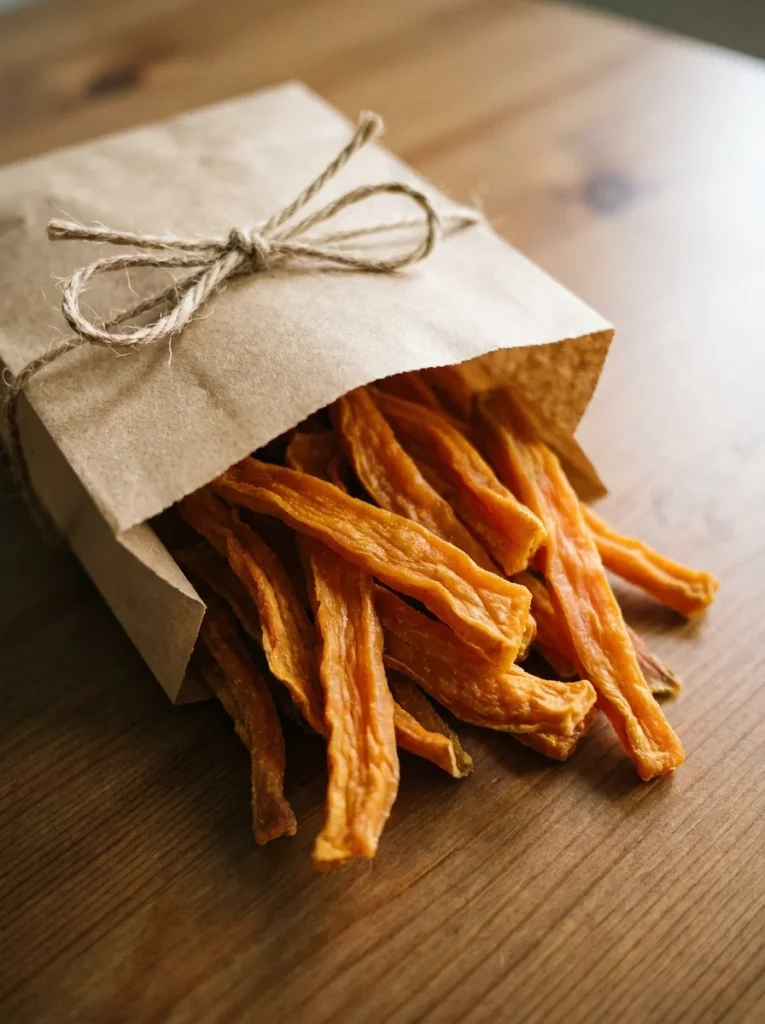
This is the simplest recipe on the list, and that’s exactly why it sells. One ingredient, easy to explain, and great for buyers who want something plain for a dog with food sensitivities or allergies.
It’s also one of the cheapest treats here to produce, since sweet potatoes are inexpensive and a few can stretch into a large batch.
Prep Time: 10 minutes
Dehydrate Time: 6 hours
Yield: 25–30 chews
Ingredients:
- 2–3 large sweet potatoes
Instructions:
- Wash the sweet potatoes and slice lengthwise into 1/4-inch strips.
- Arrange on a dehydrator tray or a wire rack on a baking sheet.
- Dehydrate at a low setting (or bake at 250°F) for 5–6 hours, flipping halfway.
- Chews are done when firm and slightly chewy, not soft.
Notes: No seasoning, no additives — this one markets itself as a “one-ingredient treat,” which is a phrase that tends to catch a buyer’s eye scrolling through a market table or online listing.
6. No-Bake Peanut Butter Oat Bites
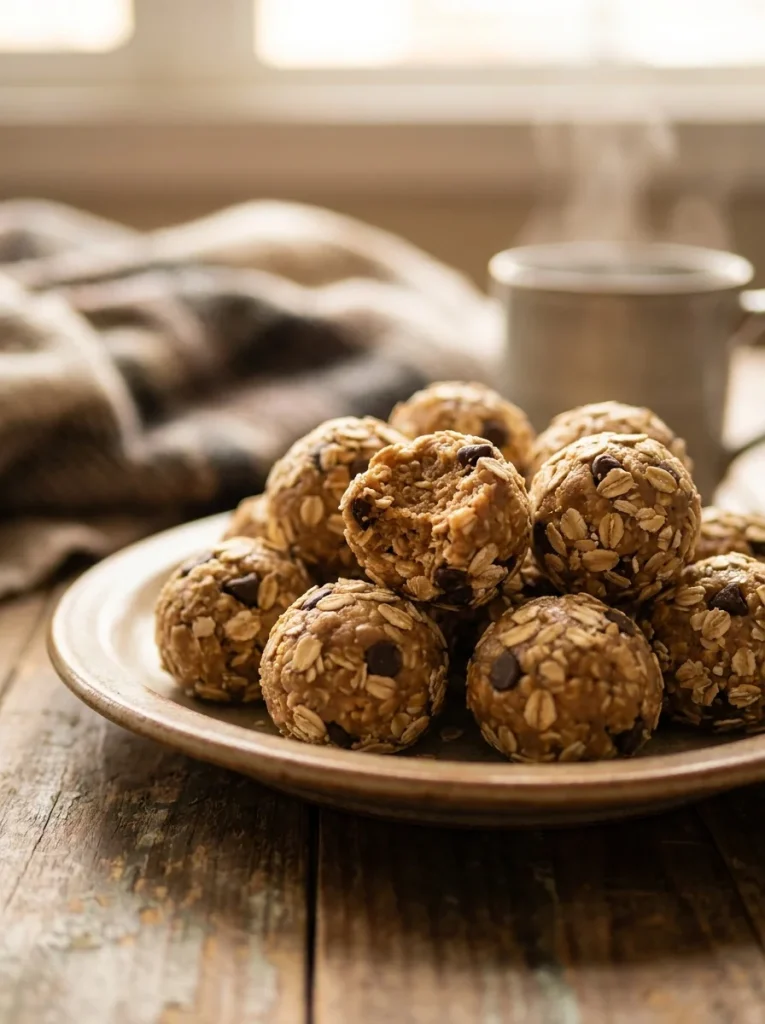
For sellers without much oven time, no-bake treats are a fast way to build inventory. These come together in one bowl with no baking required, which makes them a good option if your oven is already full of other batches.
They also don’t require any special equipment beyond a mixing bowl, so they’re an easy recipe to hand off to a helper if you’re making treats as a family project.
Prep Time: 10 minutes
Chill Time: 30 minutes
Yield: 20 bites
Ingredients:
- 1 cup rolled oats
- 1/2 cup peanut butter
- 2 tablespoons honey
- 2 tablespoons water (as needed)
Instructions:
- Mix the oats, peanut butter, and honey in a bowl.
- Add water a little at a time until the mixture holds together when pressed.
- Roll into small balls using your hands.
- Refrigerate for 30 minutes to firm up.
Notes: These must stay refrigerated. Let buyers know this treat is a fridge item, not a pantry one, and consider selling it in smaller batches since it won’t hold up to long storage the way a baked biscuit will.
7. No-Bake Banana Coconut Bites
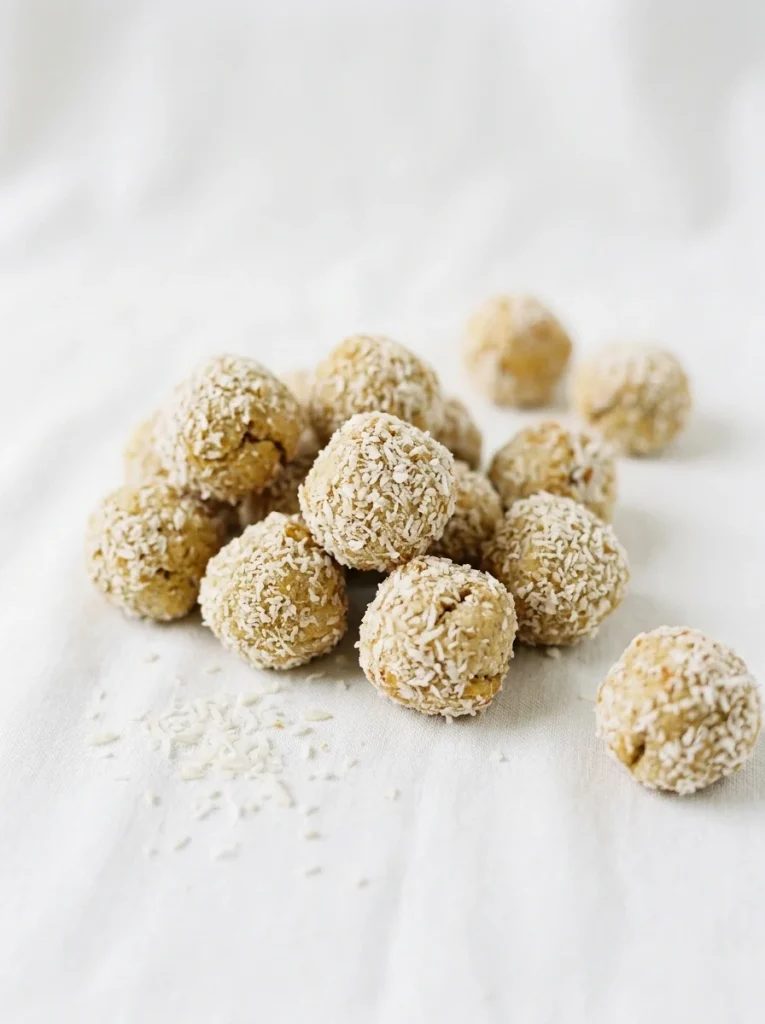
A second no-bake option, but different enough in ingredients and texture to stand on its own — coconut adds a different flavor and a rolled coating that peanut butter bites don’t have.
This one also gives you a naturally peanut-free treat to offer, which some buyers specifically search for.
Prep Time: 10 minutes
Chill Time: 30 minutes
Yield: 18 bites
Ingredients:
- 1 ripe banana, mashed
- 1 cup oat flour
- 2 tablespoons unsweetened shredded coconut
- 1 tablespoon coconut oil
Instructions:
- Mash the banana in a bowl until smooth.
- Mix in the oat flour and coconut oil until a dough forms.
- Roll into small balls, then roll each one in shredded coconut.
- Chill for 30 minutes before serving or packaging.
Notes: Great for dogs with peanut allergies, which is worth calling out clearly in your product listing or label, since it’s often the first thing an allergy-conscious buyer looks for.
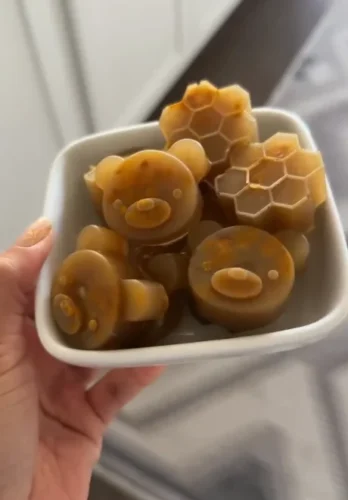
8. Frozen Yogurt and Berry Pupsicles
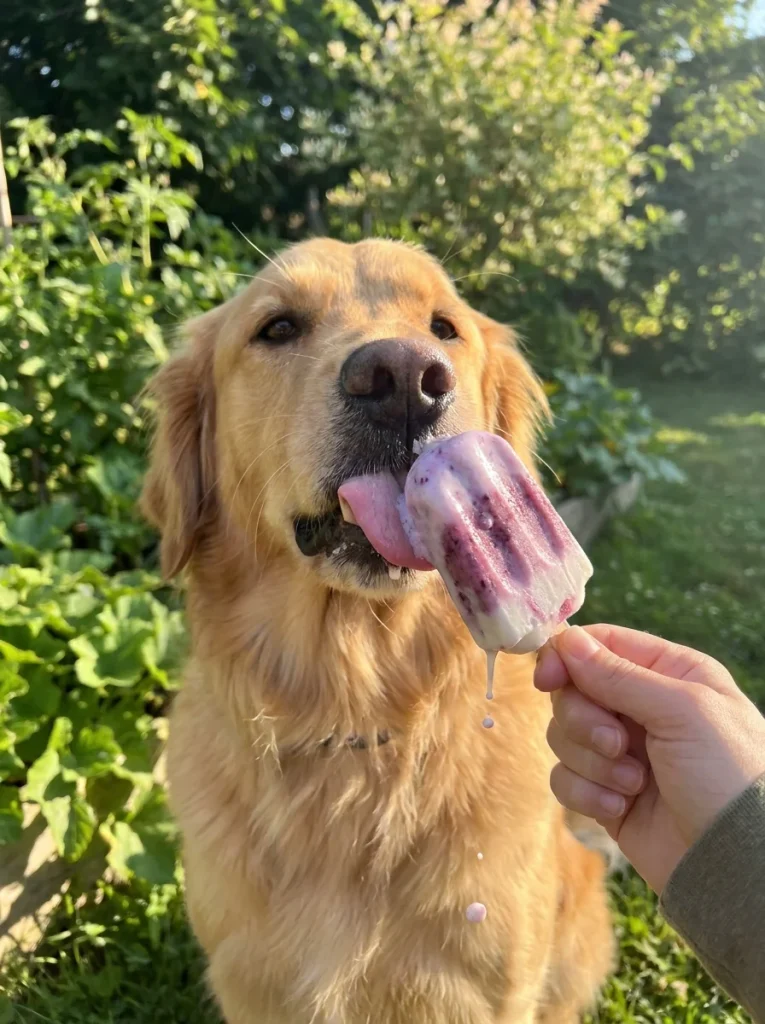
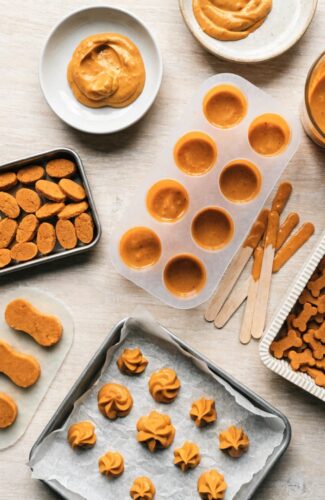
Frozen treats sell especially well in warmer months. This one uses a mold, giving you a clean, uniform shape that photographs well for online listings and looks more polished than a freeform treat.
Because they’re portioned into a mold, they’re also easy to price individually rather than by weight, which can simplify your pricing at a market table.
Prep Time: 10 minutes
Freeze Time: 4 hours
Yield: 12 pupsicles
Ingredients:
- 2 cups plain Greek yogurt
- 1/2 cup mashed blueberries or strawberries
- 1 tablespoon honey (optional)
Instructions:
- Mix the yogurt, mashed berries, and honey in a bowl.
- Spoon the mixture into silicone molds or a small ice cube tray.
- Freeze for at least 4 hours, or until solid.
- Pop out of the molds and store in a freezer bag.
Notes: These need to stay frozen until pickup or delivery, so factor cold packaging — like an insulated bag or ice pack — into your pricing and your planning for the day of sale.
9. Frozen Kefir and Fruit Bark
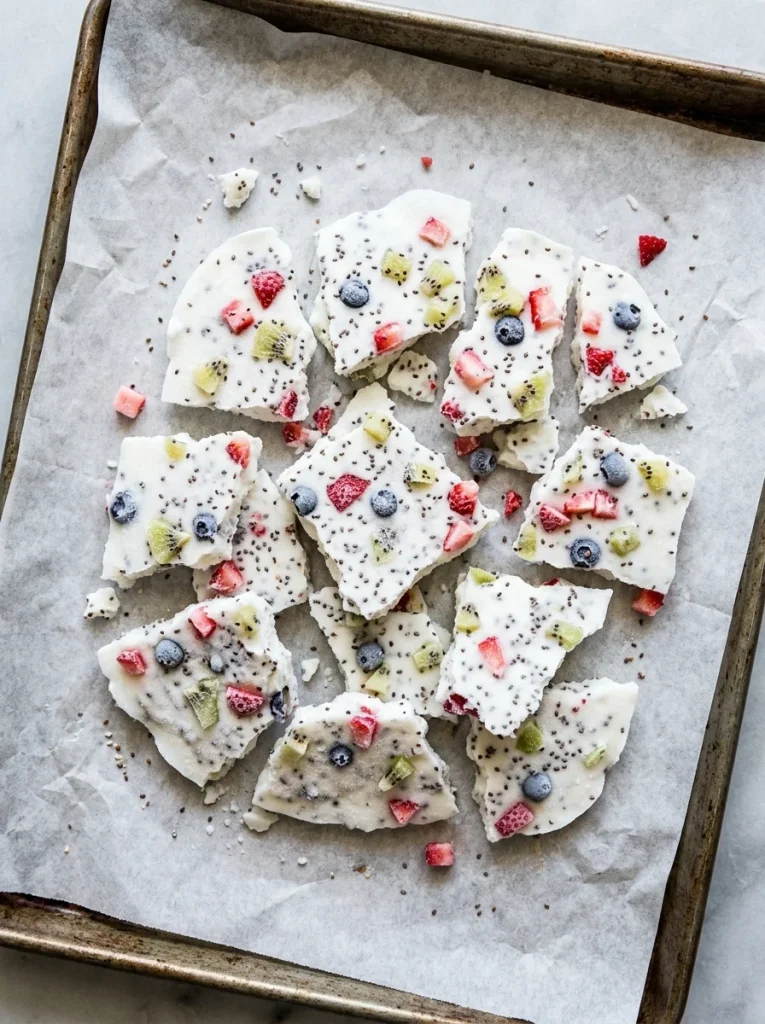
Different from the pupsicle above, this treat is poured flat onto a tray and broken into pieces, similar to how chocolate bark is made for people. It’s an easy way to use up extra fruit that’s a little too ripe for anything else.
Because the pieces break unevenly, this treat also feels more homemade and rustic, which some buyers actually prefer over a perfectly molded shape.
Prep Time: 10 minutes
Freeze Time: 3–4 hours
Yield: 15–20 pieces
Ingredients:
- 2 cups plain kefir
- 1/2 cup diced apple or banana
- 2 tablespoons chia seeds
Instructions:
- Pour the kefir onto a parchment-lined baking sheet, keeping it about 1/4-inch thick.
- Scatter the diced fruit and chia seeds evenly over the top.
- Freeze for 3–4 hours until solid.
- Break into irregular pieces once frozen.
Notes: Kefir’s probiotics are an easy talking point for buyers interested in gut health, but keep the listing description simple and factual — no health claims needed to sell it, since the format and ingredients speak for themselves.
10. Stuffed Frozen Kong Cups
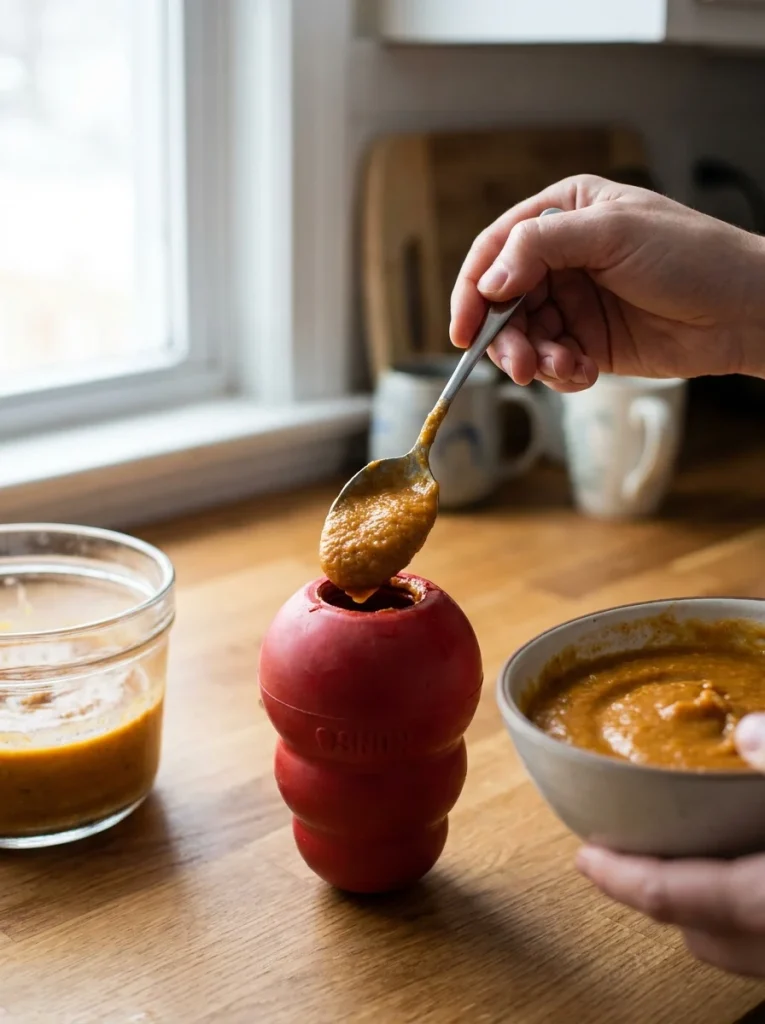
This one is a full enrichment treat, not just a snack. It’s sold as a mess-free way to stuff a Kong-style toy, which appeals to owners looking for something beyond a basic biscuit or bite.
It’s also one of the more unique items on this list, which can help your shop or table stand out if most other sellers nearby are only offering baked goods.
Prep Time: 10 minutes
Freeze Time: 4 hours
Yield: 6–8 cups
Ingredients:
- 1 cup plain yogurt
- 1/2 cup pumpkin puree
- 1/4 cup mashed banana
Instructions:
- Mix all ingredients together until smooth.
- Spoon the mixture into silicone cupcake molds or directly into Kong-style toys.
- Freeze for 4 hours or until solid.
- Pop out of molds and store frozen, or sell pre-stuffed inside the toy.
Notes: Selling these pre-frozen inside a small toy is a popular upsell — check out these treat station ideas for display inspiration if you sell in person and want an eye-catching setup.
11. Carob-Dipped Biscuits (Bakery Style)
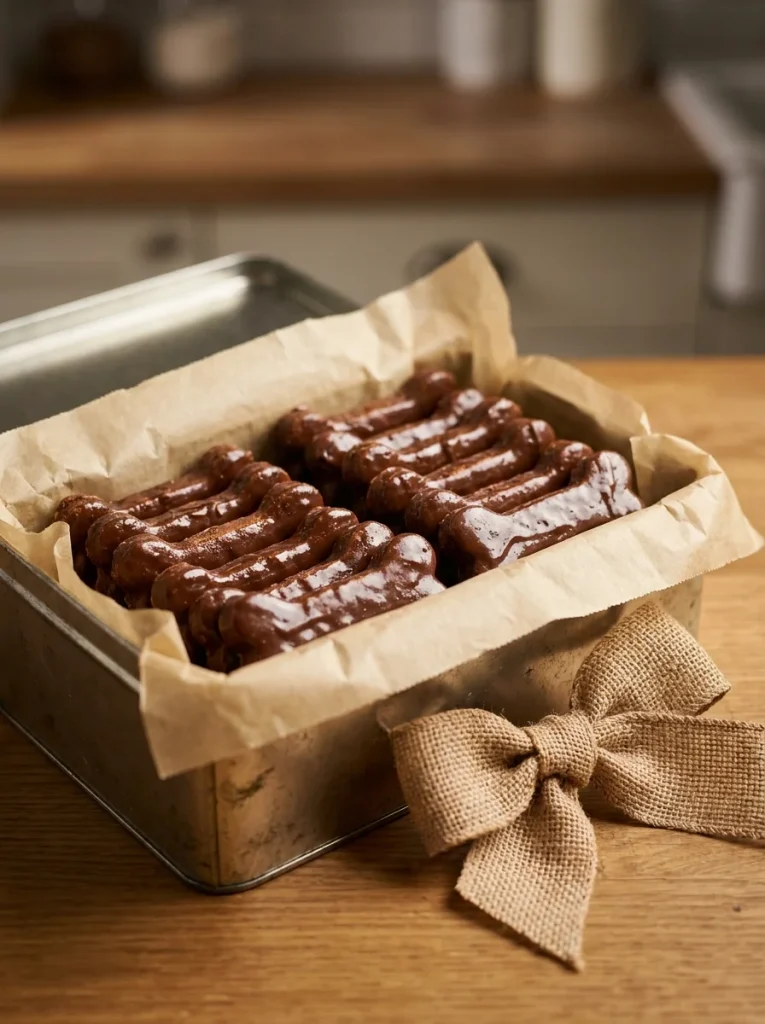
This takes the classic biscuit from item one and dresses it up. Carob is dog-safe (chocolate is not), and the dipped look makes these treats feel premium, which helps justify a higher price point at a market or online.
Visually, this is one of the strongest items on the list for photos, since the dark coating contrasts nicely against packaging and catches the eye of anyone scrolling past.
Prep Time: 20 minutes
Bake Time: 20 minutes
Yield: 20 biscuits
Ingredients:
- 1 batch baked biscuits (see recipe #1)
- 1/2 cup carob chips
- 1 teaspoon coconut oil
Instructions:
- Bake a batch of plain biscuits using recipe #1 and let cool fully.
- Melt the carob chips with the coconut oil in short microwave bursts, stirring between each.
- Dip half of each biscuit into the melted carob.
- Place on parchment paper and let the coating set at room temperature or in the fridge.
Notes: Carob melts and sets differently than chocolate, so work in small batches to keep the coating smooth and avoid it seizing up before you finish dipping.
12. Mini Pupcakes with Yogurt Frosting
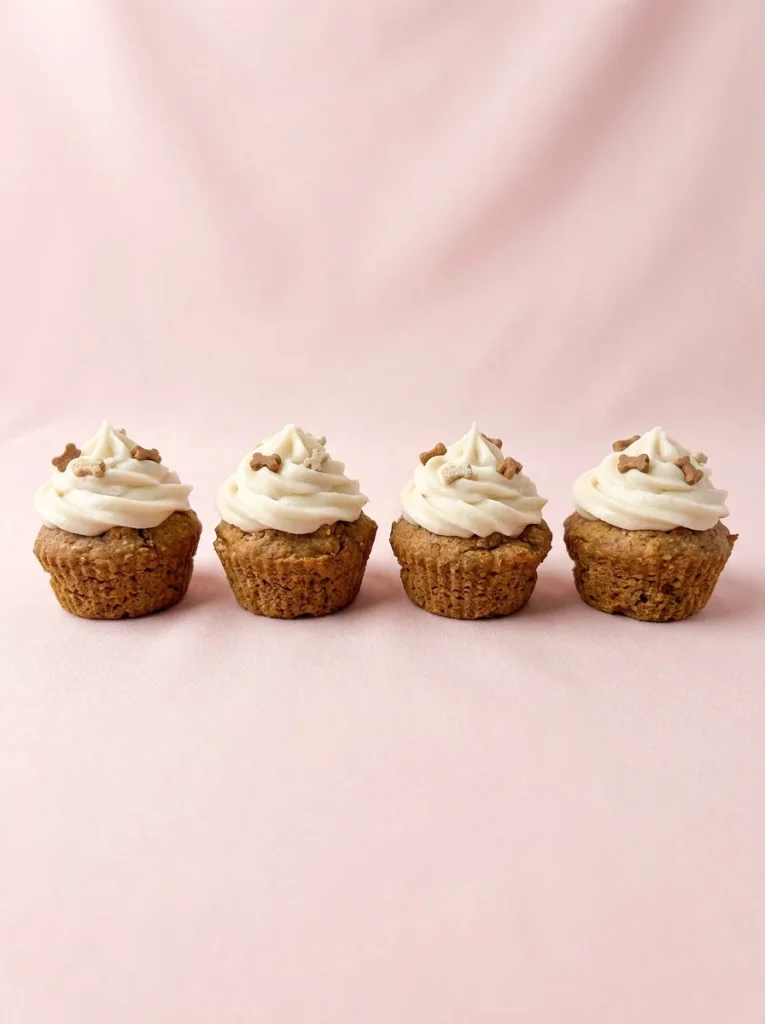
A cake-style treat is a strong seller for birthdays and “gotcha day” celebrations. Buyers often order these ahead of a specific date, which can help you plan your baking schedule around known demand instead of guessing.
If you want a bigger version for a special occasion, these dog birthday cake recipes show how to scale the same idea up into a full cake instead of individual pupcakes.
Prep Time: 15 minutes
Bake Time: 18 minutes
Yield: 12 mini pupcakes
Ingredients:
- 1 cup oat flour
- 1 mashed banana
- 1/4 cup unsweetened applesauce
- 1 egg
- 1/2 teaspoon baking powder
- 1/2 cup plain Greek yogurt (for frosting)
Instructions:
- Preheat the oven to 350°F and line a mini muffin tin.
- Mix the flour, banana, applesauce, egg, and baking powder into a batter.
- Fill each muffin cup about two-thirds full.
- Bake for 15–18 minutes, then cool completely.
- Top each pupcake with a small dollop of plain yogurt before serving.
Notes: Frost only right before sale or delivery, since the yogurt topping doesn’t hold at room temperature for long and can slide off if it sits out too long.
13. Dehydrated Apple Chips
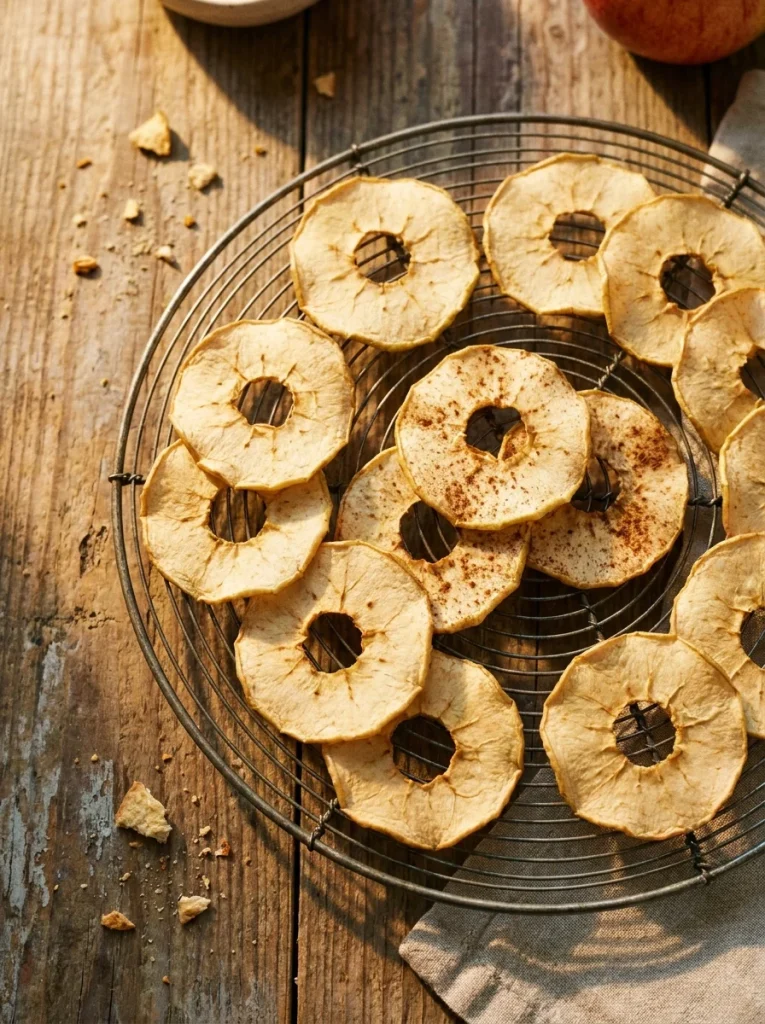
A fruit-based dehydrated treat rounds out your chew lineup with something lighter and crisper than the sweet potato and jerky options above, giving buyers a lower-calorie option to choose from.
This is also a good treat to offer in a smaller size bag, since it works well as a light, everyday snack rather than a special-occasion item.
Prep Time: 10 minutes
Dehydrate Time: 4–5 hours
Yield: 30–40 chips
Ingredients:
- 3 medium apples, cored (seeds removed)
Instructions:
- Slice the apples into thin rounds, about 1/8-inch thick.
- Pat the slices dry with a towel to remove extra moisture.
- Arrange in a single layer on a dehydrator tray or wire rack.
- Dehydrate for 4–5 hours until dry and slightly crisp.
Notes: Apple seeds contain trace amounts of a toxic compound, so always core the apple fully before slicing, and double-check each slice before it goes on the tray.
14. Turkey and Rice Training Meatballs
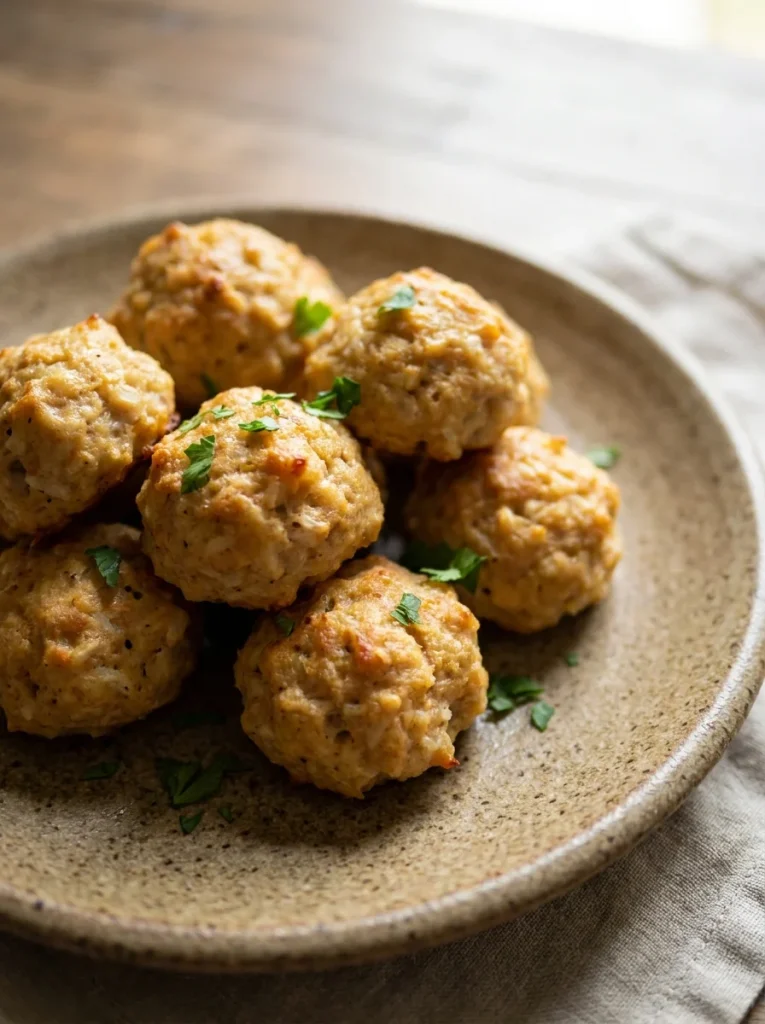
This treat looks and feels different from every biscuit or bite above — it’s a small, round, savory meatball, which stands out in a product photo and gives buyers a protein-forward option they won’t find in most other homemade treat lineups.
Because it’s a fresh-meat recipe, it also tends to appeal to buyers specifically looking for something closer to a full meal topper than a snack.
Prep Time: 15 minutes
Bake Time: 20 minutes
Yield: 30 mini meatballs
Ingredients:
- 1 lb ground turkey
- 1/2 cup cooked white rice
- 1 egg
Instructions:
- Preheat the oven to 375°F.
- Mix the ground turkey, cooked rice, and egg together in a bowl.
- Roll into small, bite-sized balls.
- Place on a lined baking sheet and bake for 18–20 minutes until fully cooked through.
Notes: These are a fresh-meat treat, so they belong in the fridge or freezer, not on a shelf. Label clearly so buyers know to keep them cold, and consider selling them in smaller portions since they won’t last as long as a dry biscuit.
15. Blueberry Oat Biscotti (Double-Baked)
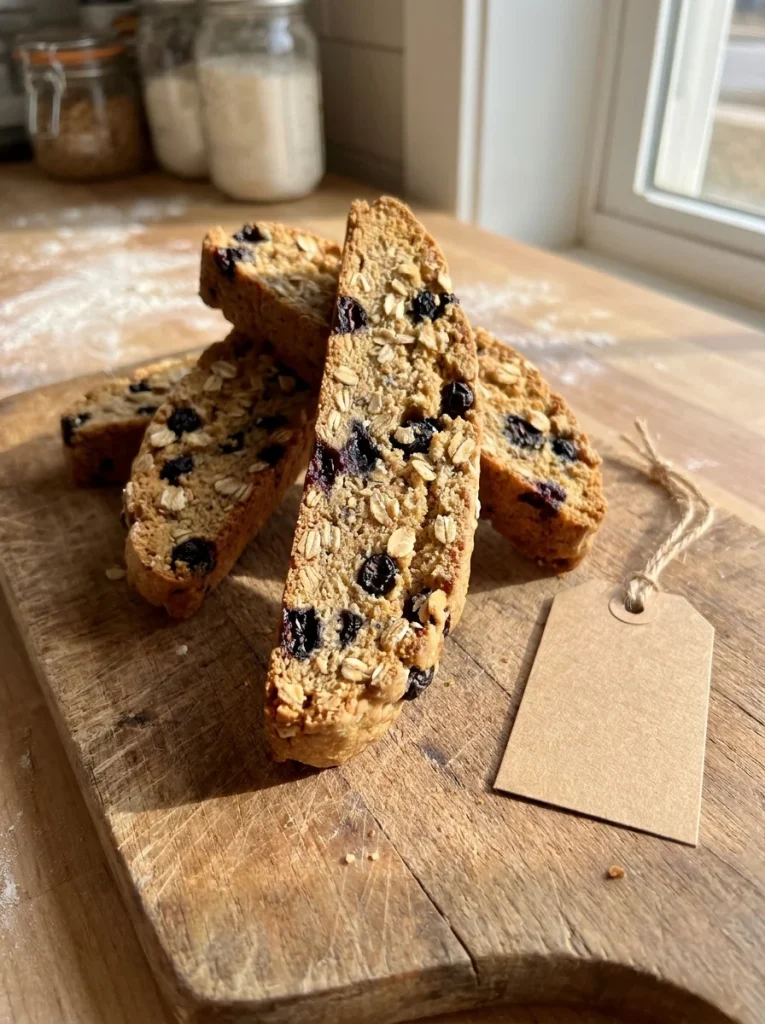
Biscotti is baked twice, which makes it extra hard and long-lasting — a strong choice if you’re selling at markets where treats sit out for hours or need to travel by mail to a customer.
Out of all 15 recipes here, this is the one best suited for shipping, since the double bake removes almost all the moisture that would otherwise cause a treat to spoil or get crushed in transit.
Prep Time: 20 minutes
Bake Time: 40 minutes total (two bakes)
Yield: 20–24 pieces
Ingredients:
- 2 cups whole wheat flour
- 1/2 cup dried blueberries
- 1/3 cup rolled oats
- 2 eggs
- 2 tablespoons honey
Instructions:
- Preheat the oven to 350°F.
- Mix the flour, oats, blueberries, eggs, and honey into a firm dough.
- Shape the dough into a flat log on a lined baking sheet and bake for 25 minutes.
- Remove, let cool slightly, then slice into 1/2-inch pieces.
- Lay the slices cut-side down and bake again for 12–15 minutes until dry and firm.
Notes: The second bake is what gives biscotti its long shelf life, making it one of the best options here for shipping or bulk orders that need to travel or sit in inventory for a while.
How to Package and Price Homemade Dog Treats to Sell
Once you’ve picked your recipes, packaging and pricing decide whether your dog treats to sell actually sell. A great recipe can still flop if it’s priced wrong or packaged in a way that doesn’t hold up. Here’s how to set that up without overcomplicating it.
a. Label Every Bag Properly
Every bag should list the ingredients, the date it was made, and your name or business name. This builds trust with buyers and is often a legal requirement, depending on where you live, so it’s worth treating as a non-negotiable step rather than an afterthought.
A simple printed sticker works fine — it doesn’t need to look fancy, it just needs to be clear and consistent across every bag you sell.
b. Choose Shelf-Stable Formats for Selling
Baked biscuits, dehydrated jerky, and biscotti hold up best for markets, shipping, or shelf display. Save frozen and refrigerated treats for local pickup or delivery only, since they require extra planning around cold storage and timing.
If you’re new to selling, it often makes sense to start with two or three shelf-stable recipes before adding anything frozen or fresh, just to keep your first few batches simple to manage.
c. Price by Batch Cost, Not Guesswork
Add up the cost of ingredients, packaging, and your time, then divide by the number of treats in a batch. From there, a common approach is pricing 2–3 times your per-unit cost, which covers your expenses and leaves room for actual profit.
It also helps to check what similar treats sell for locally or online, so your pricing feels fair to buyers while still reflecting the quality of homemade ingredients.
d. Pick Packaging That Looks Store-Bought
A clear bag with a simple sticker label goes a long way. Buyers judge homemade dog treats to sell partly on presentation, so a clean, consistent look across your whole lineup helps repeat sales and makes your products easier to recognize at a glance.
Small touches, like a matching color scheme or a simple logo, can make a big difference in how professional your treats look sitting next to everyone else’s at a market table.
Why Homemade Dog Treats to Sell Are So Popular Right Now
More dog owners are reading ingredient labels the same way they read labels on their own food. Homemade treats let buyers see exactly what’s inside, without artificial preservatives or long ingredient lists they can’t pronounce, which builds a level of trust that mass-produced treats often can’t match.
They’re also simply cheaper to produce than store-bought treats, which gives home bakers room to price competitively while still making a profit. That combination — better ingredients and a fair price — is a big part of why small-batch sellers keep finding an audience even in a market full of big commercial brands.
If you want to branch out further, these homemade dog food recipes follow the same idea, just applied to full meals instead of snacks, and they’re worth exploring once your treat business is up and running.
Whatever the reason, the demand for small-batch, honest ingredient treats isn’t slowing down, which makes now a good time to start selling.
Start With One Batch
You don’t need all 15 recipes on day one. Pick two or three — maybe one baked biscuit, one no-bake bite, and one dehydrated chew — and see which one your customers ask for again. From there, build your lineup around what actually sells, and keep your labeling and packaging consistent as you grow.
Trying a small, mixed batch first also gives you a realistic sense of how long each recipe takes to make, how well it holds up, and how buyers respond, before you commit to producing it in bulk.
Final Thoughts
Fifteen recipes is a lot to take in at once, so don’t feel like you need to launch with all of them. The sellers who do well tend to start small, get comfortable with one or two formats, and only add more once they understand their own process and their customers’ preferences.
Focus on treats that are easy for you to make consistently, since consistency matters more to repeat buyers than variety alone. A biscuit that tastes and looks the same every time builds more trust than a rotating menu that’s never quite the same twice.
From there, packaging, labeling, and pricing are what turn a good recipe into an actual product. Get those basics right, and any of the 15 dog treats to sell on this list can become a reliable part of your lineup.

Izzy is an experienced ranch worker who has a passion for exploring nature and getting up close to wildlife. With her connections to various animal organizations, Izzy is well-versed in animal care and rehabilitation.